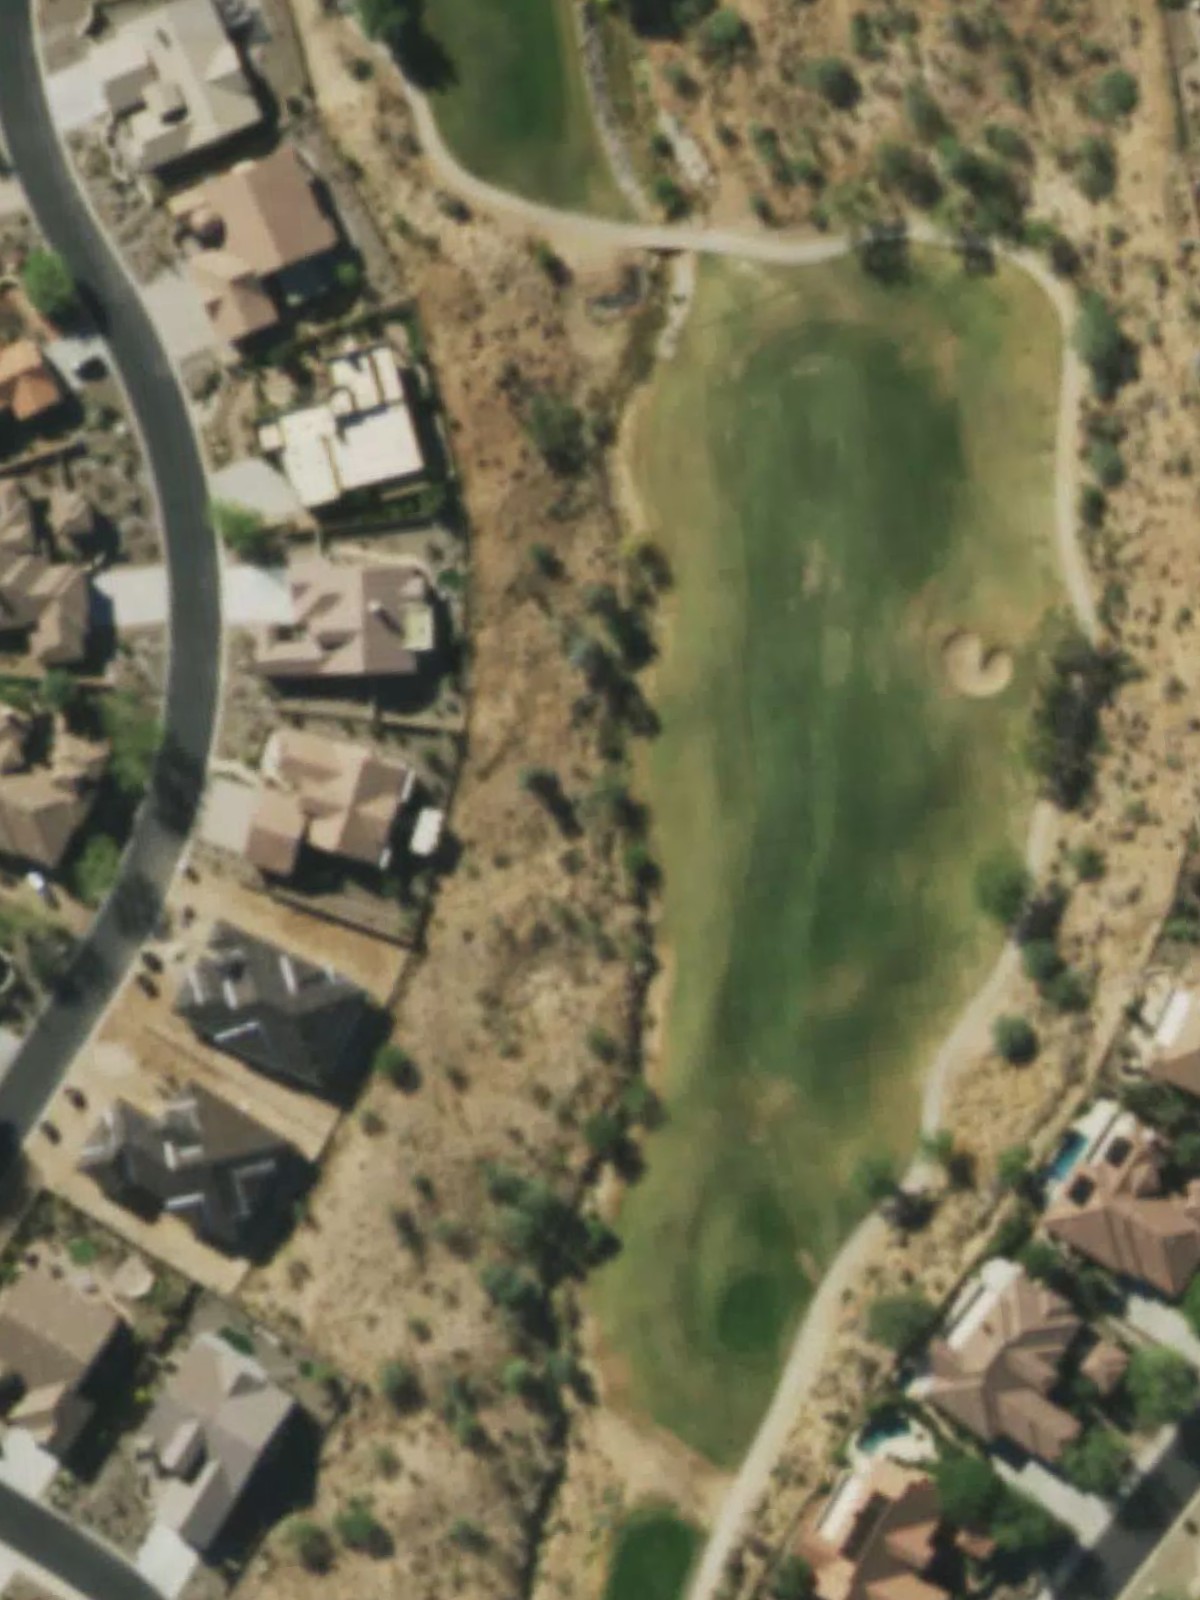
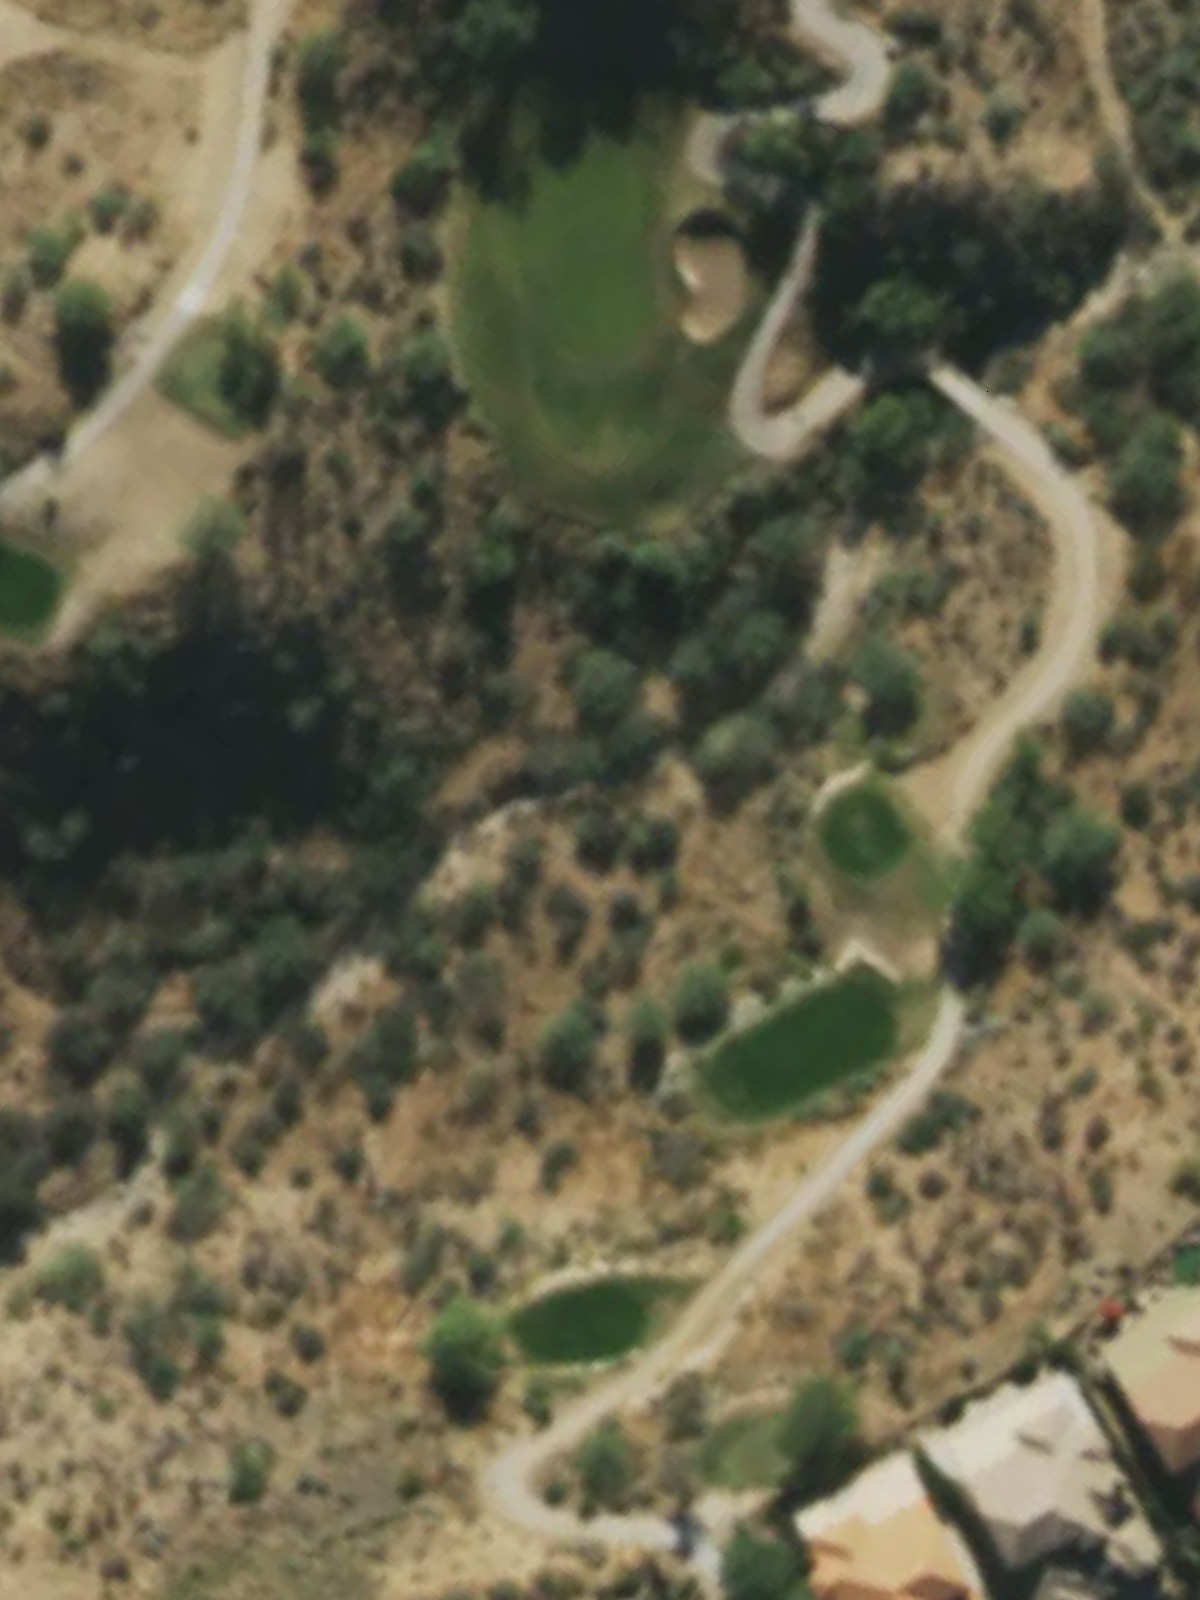
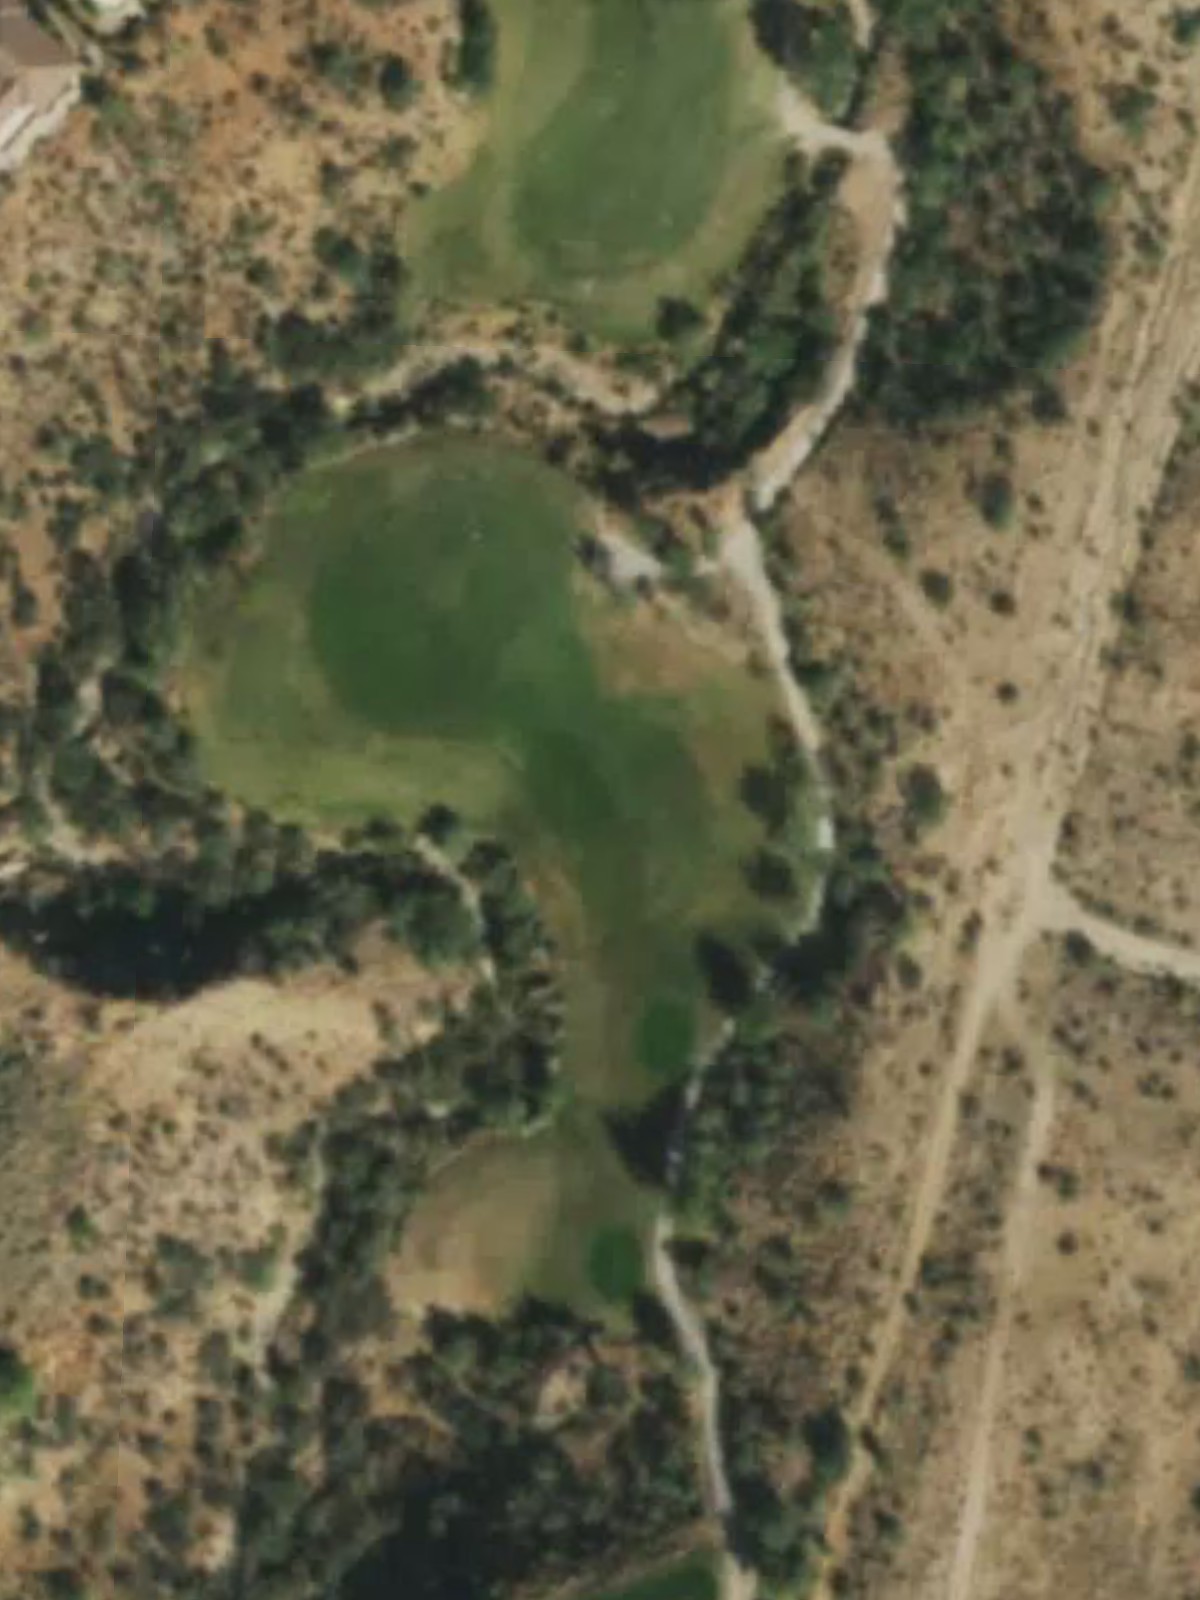
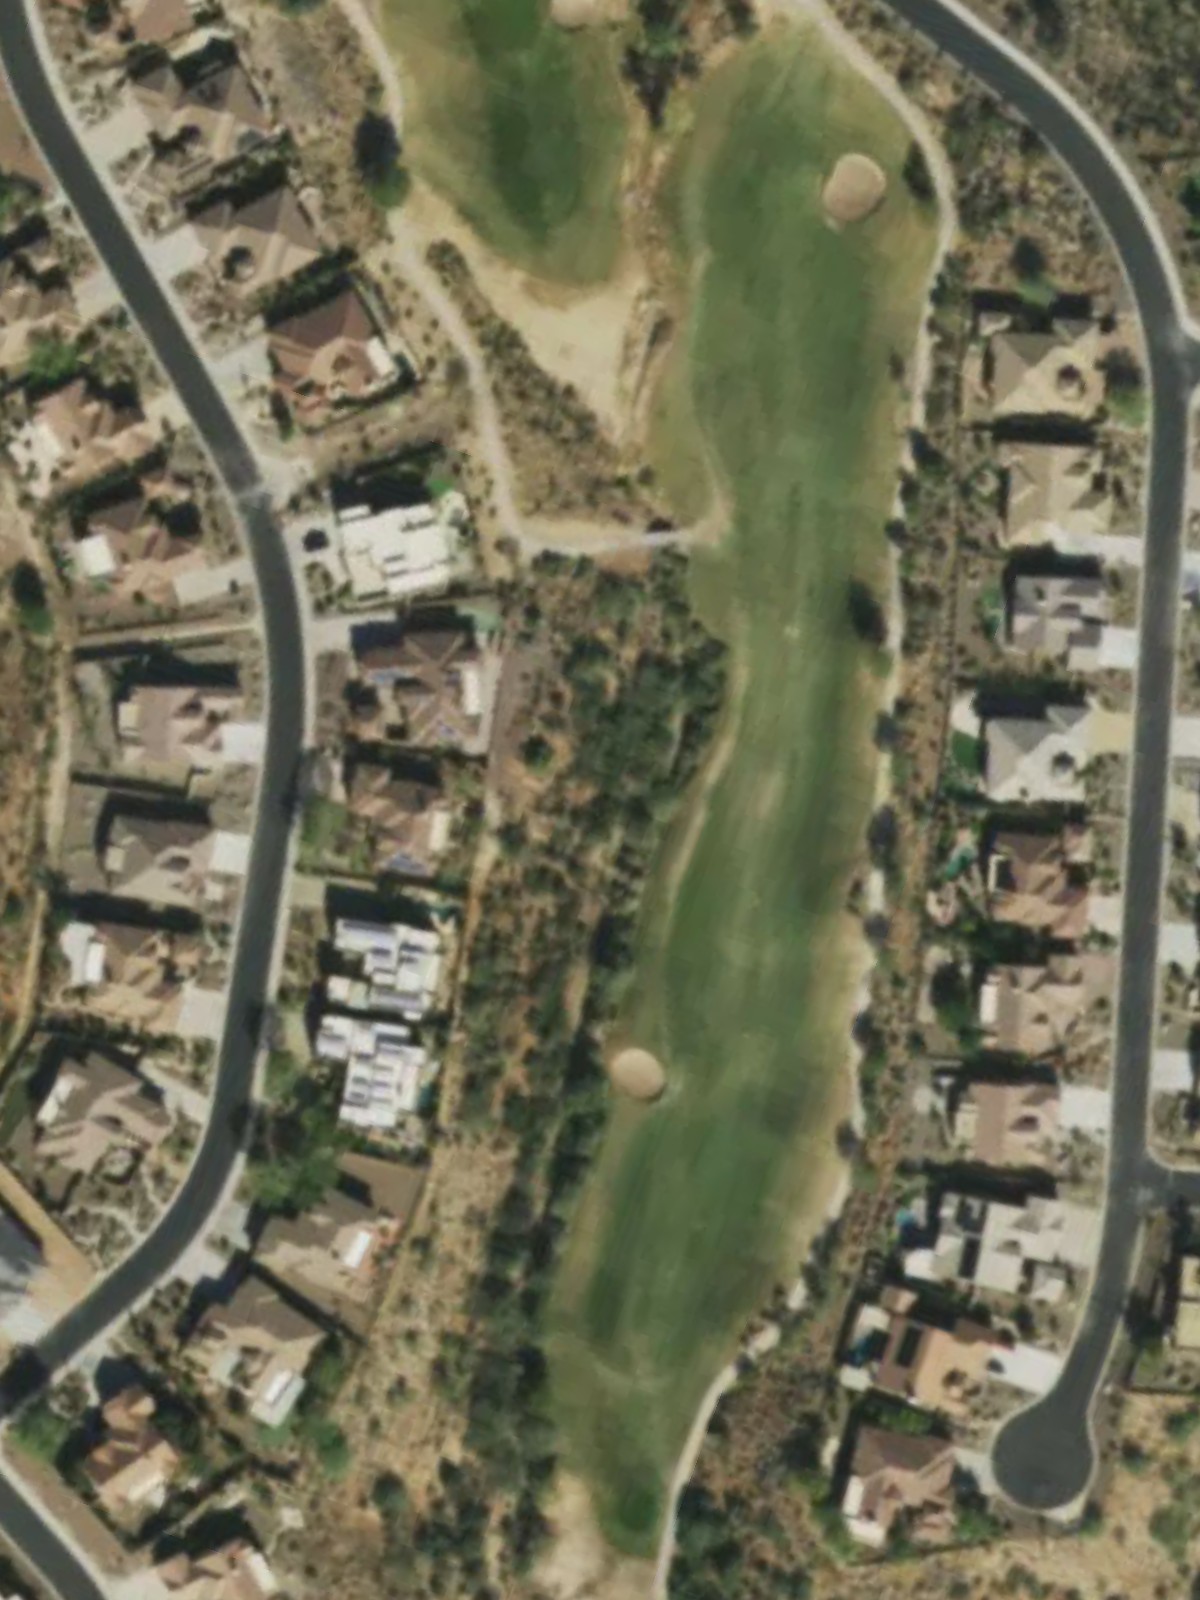
Preserve At Saddlebrooke, The is an 18-hole golf course in Tucson, AZ with a par of 72. It offers 9 tee sets: black (6,924 yards, slope 137, rating 72.3), black/purple (6,593 yards, slope 132, rating 71.5), purple (6,329 yards, slope 128, rating 69.5), purple/green (5,957 yards, slope 124, rating 67.8), green (5,337 yards, slope 116, rating 65), green/red (5,063 yards, slope 112, rating 63.8), red (4,859 yards, slope 108, rating 63), red/yellow (4,475 yards, slope 100, rating 61.8), red/short course (3,648 yards, slope 98, rating 59.4). The hardest hole is #10, a par 5 playing 388 yards from the first tee.
Preserve At Saddlebrooke, The
Tucson, AZ
Get PDF Yardage Book
We'll email you the PDF link. No spam, ever.
Create Your Game Plan
Pick your tees, enter your bag, and get a personalized shot-by-shot strategy for every hole.
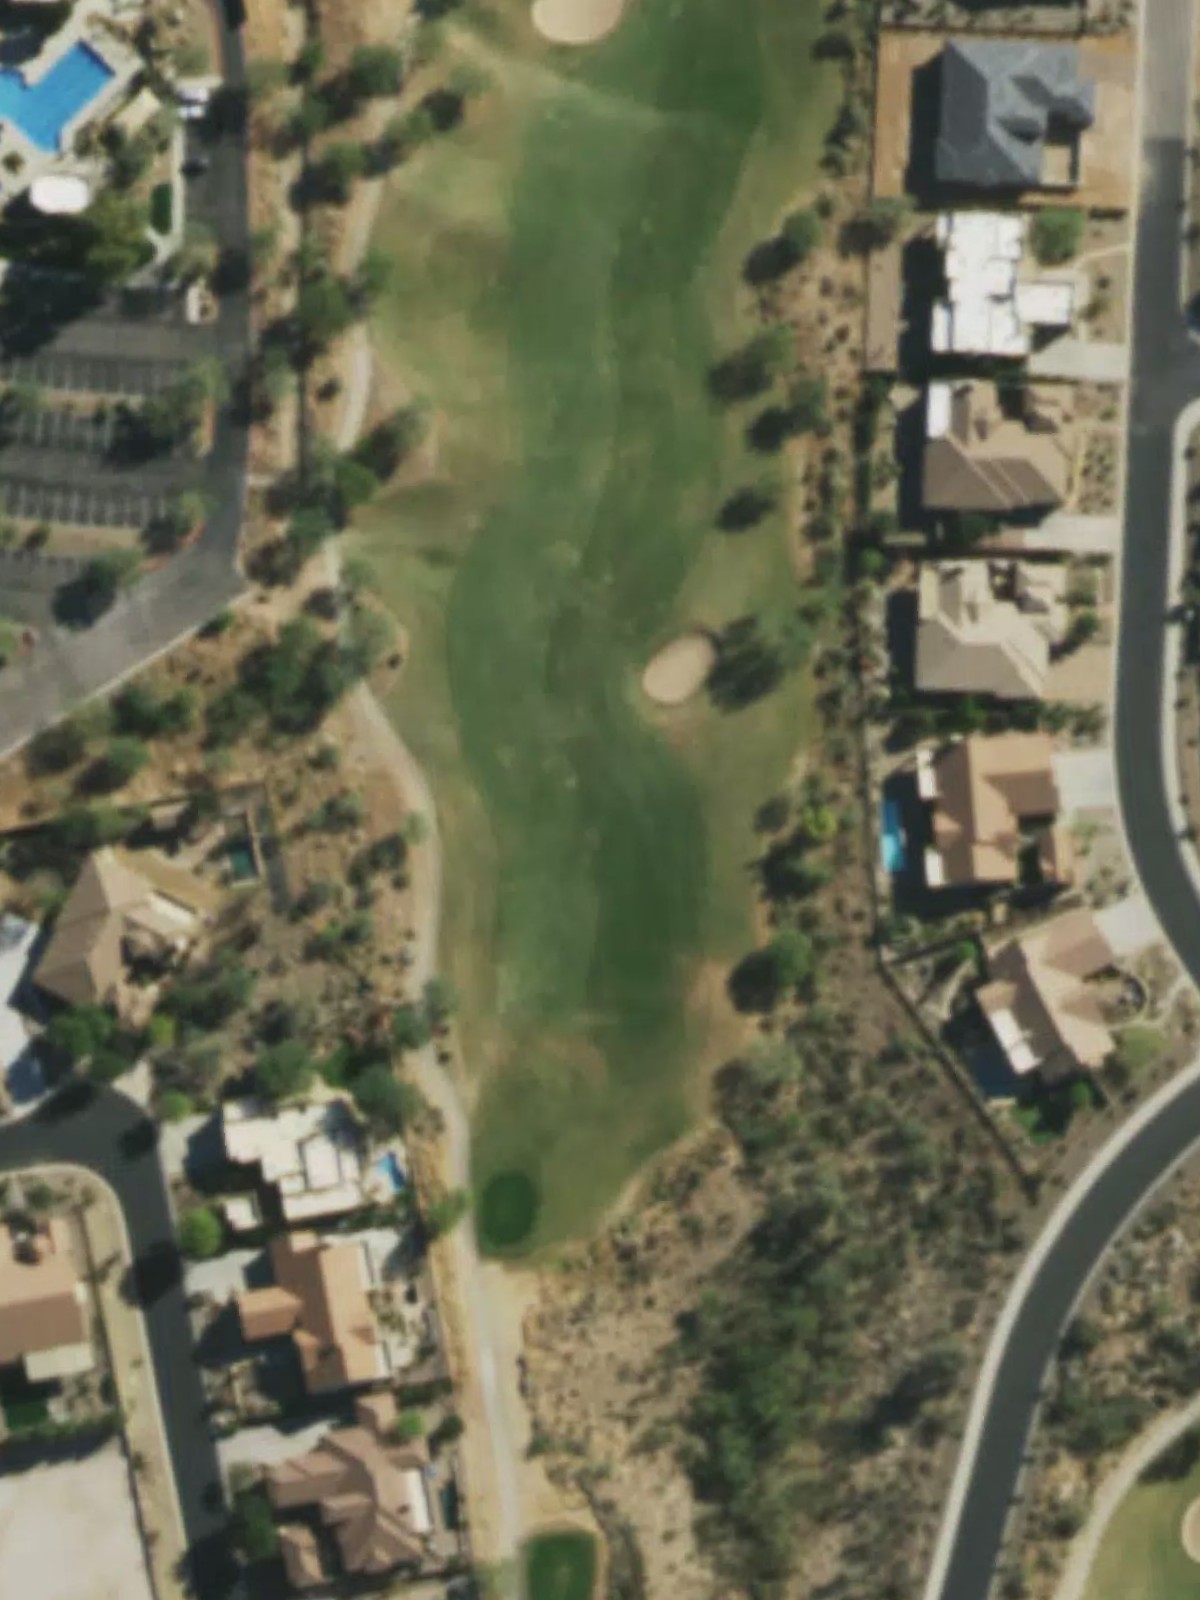
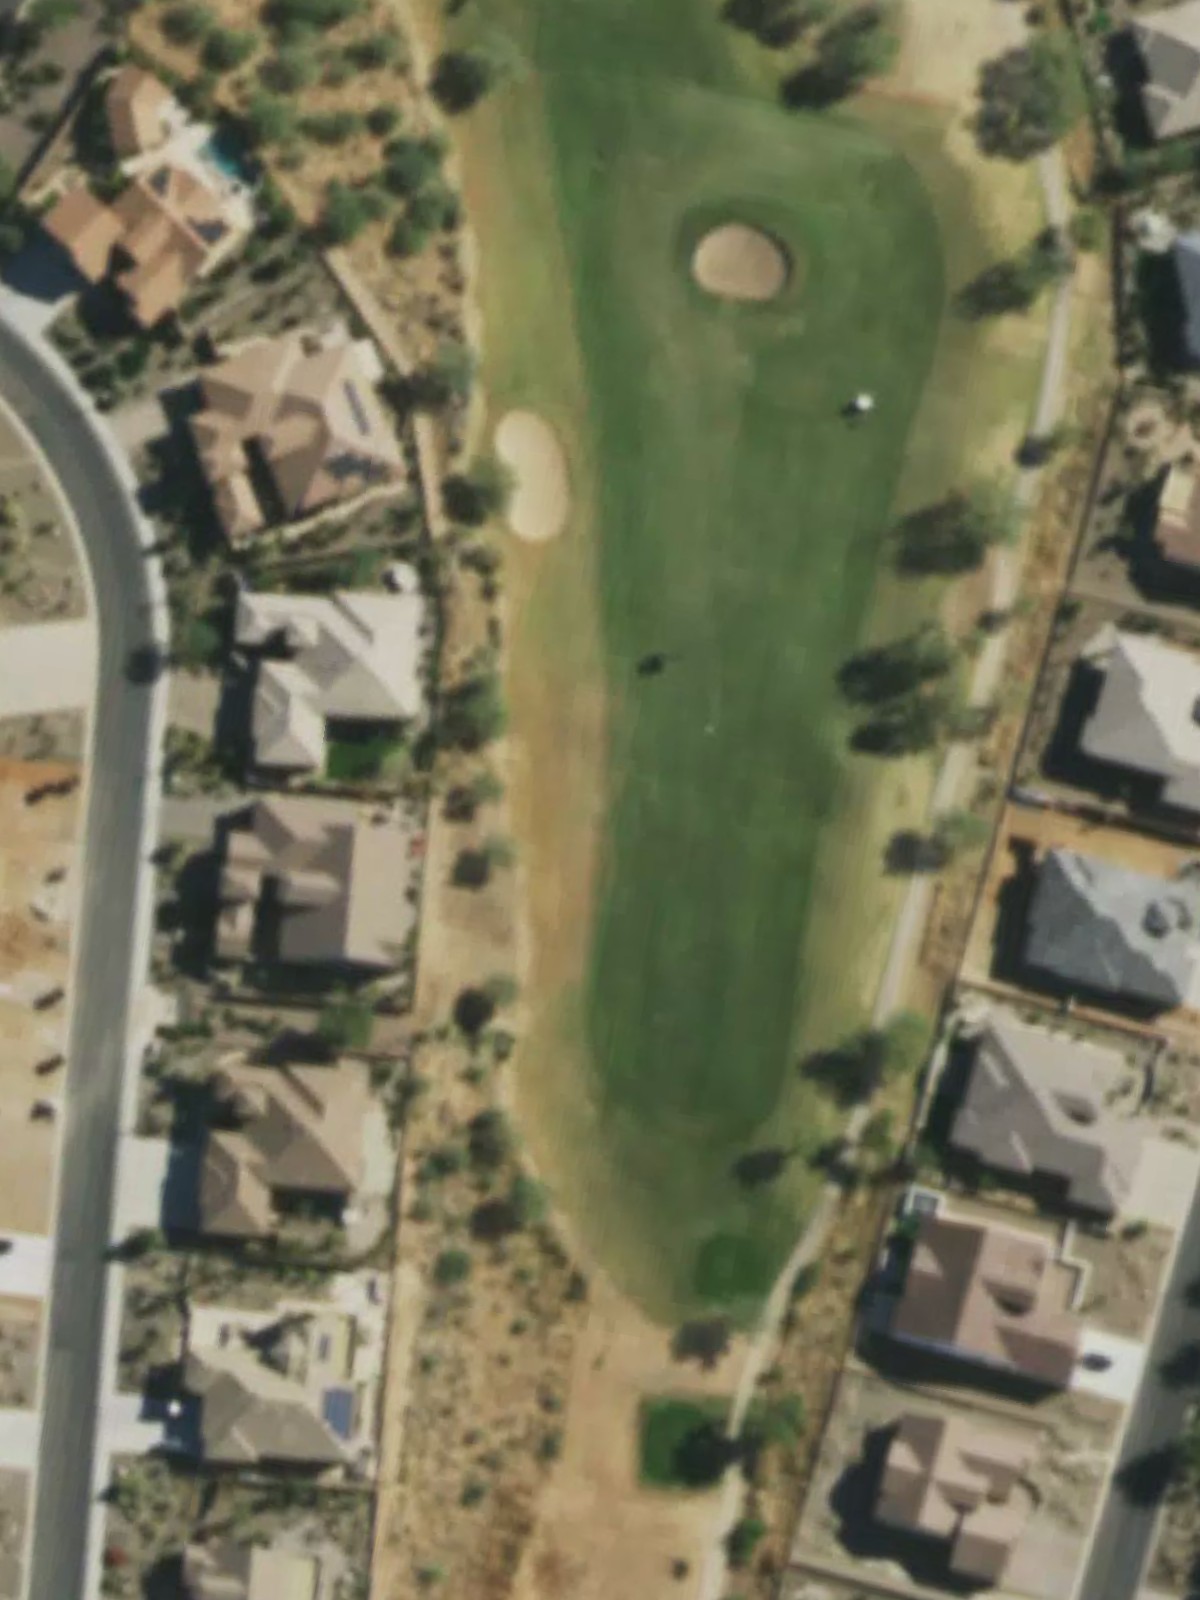
A relatively straightforward opening par 4 with a fairway that remains wide off the tee but narrows as it approaches the green. Bunkers guard the right side of the green, requiring accuracy on the approach shot to avoid a difficult recovery.
A short par 4 that rewards an aggressive approach but demands precision. The compact design makes this a good scoring opportunity, though greenside bunkers protect the putting surface and demand respect on the second shot.
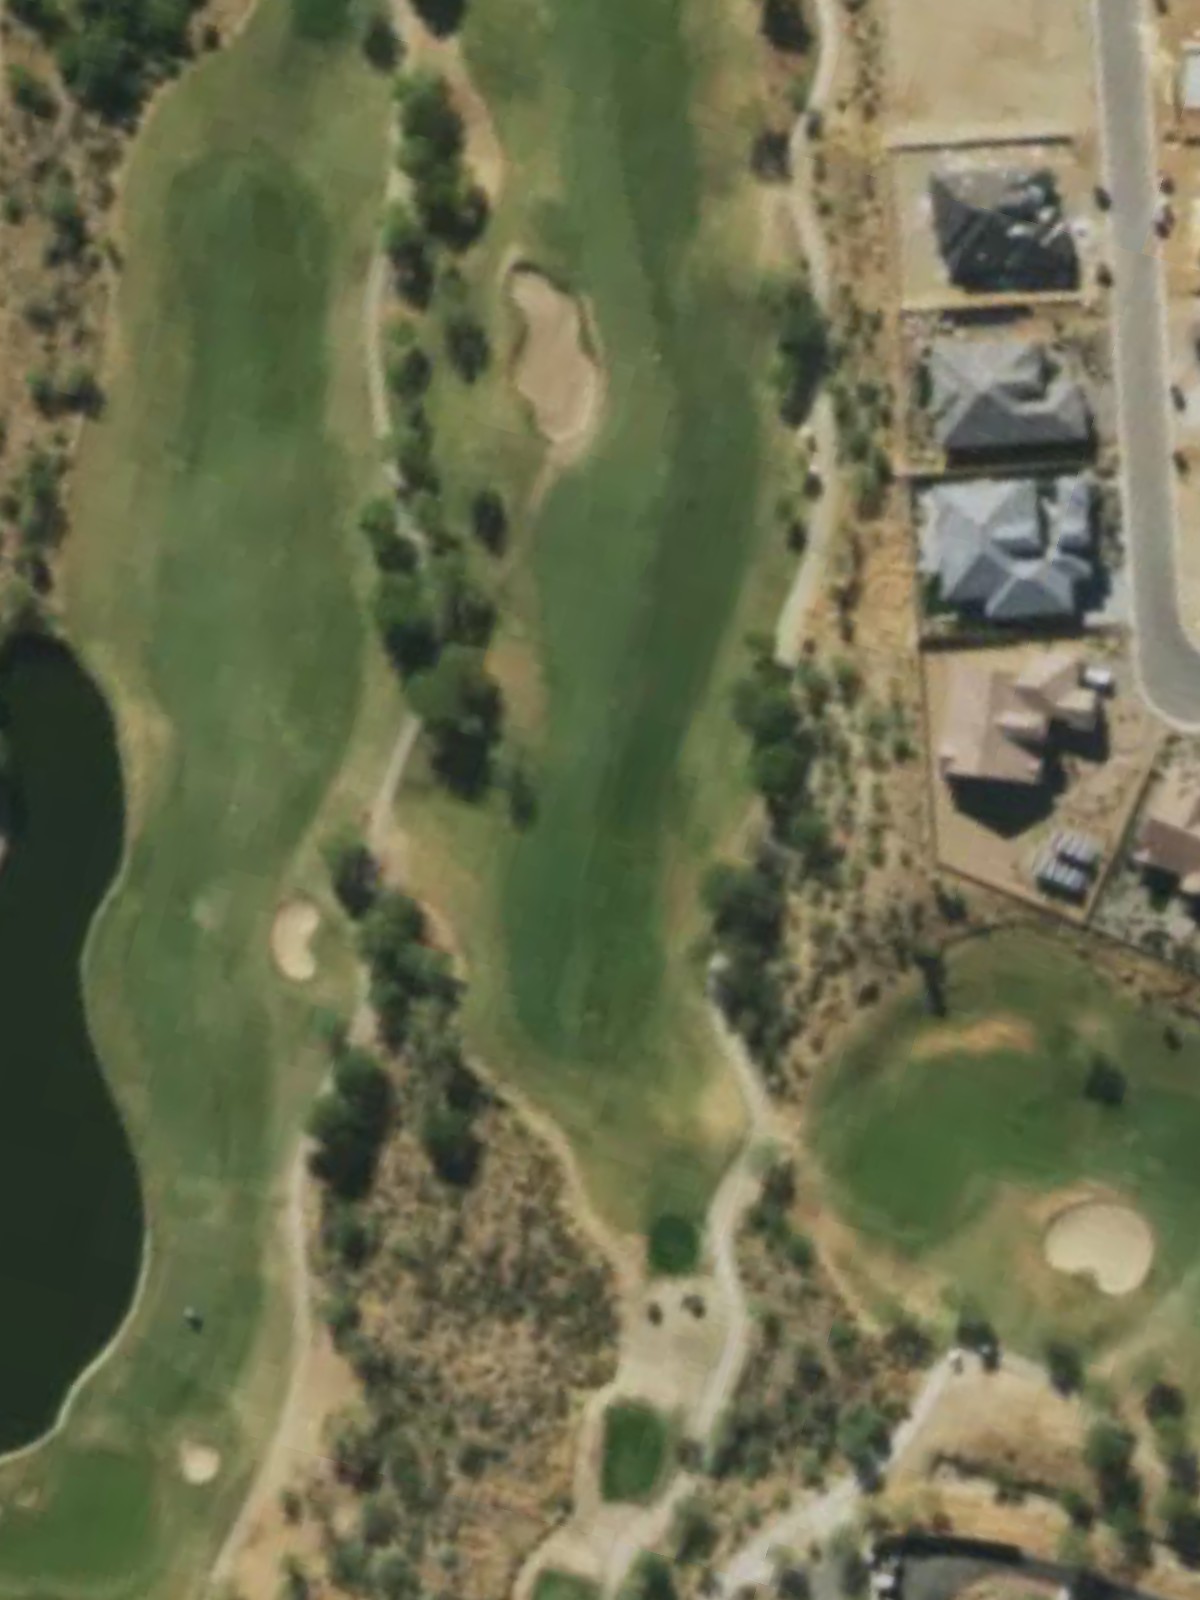
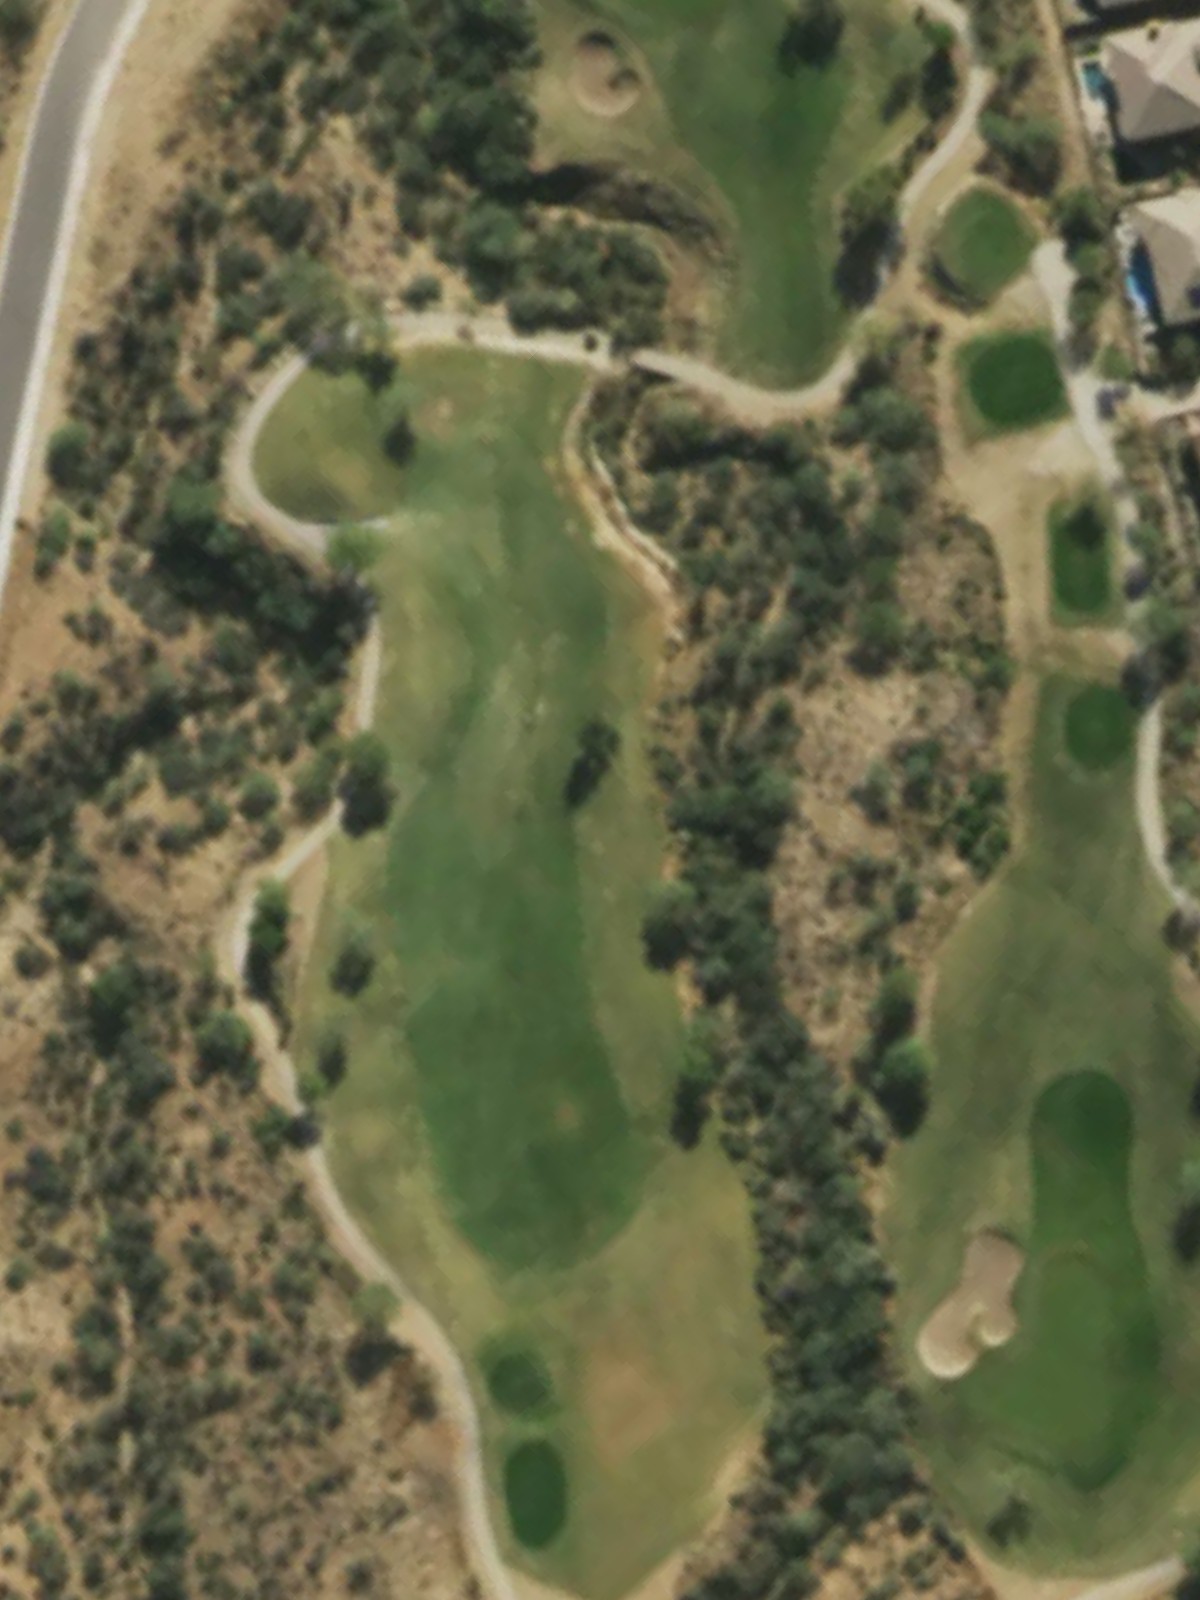
A substantial par 5 that offers multiple routes to the green depending on distance and comfort level. The length and shape create an interesting strategic puzzle, with positioning off the tee critical to setting up the most favorable angles into the green.
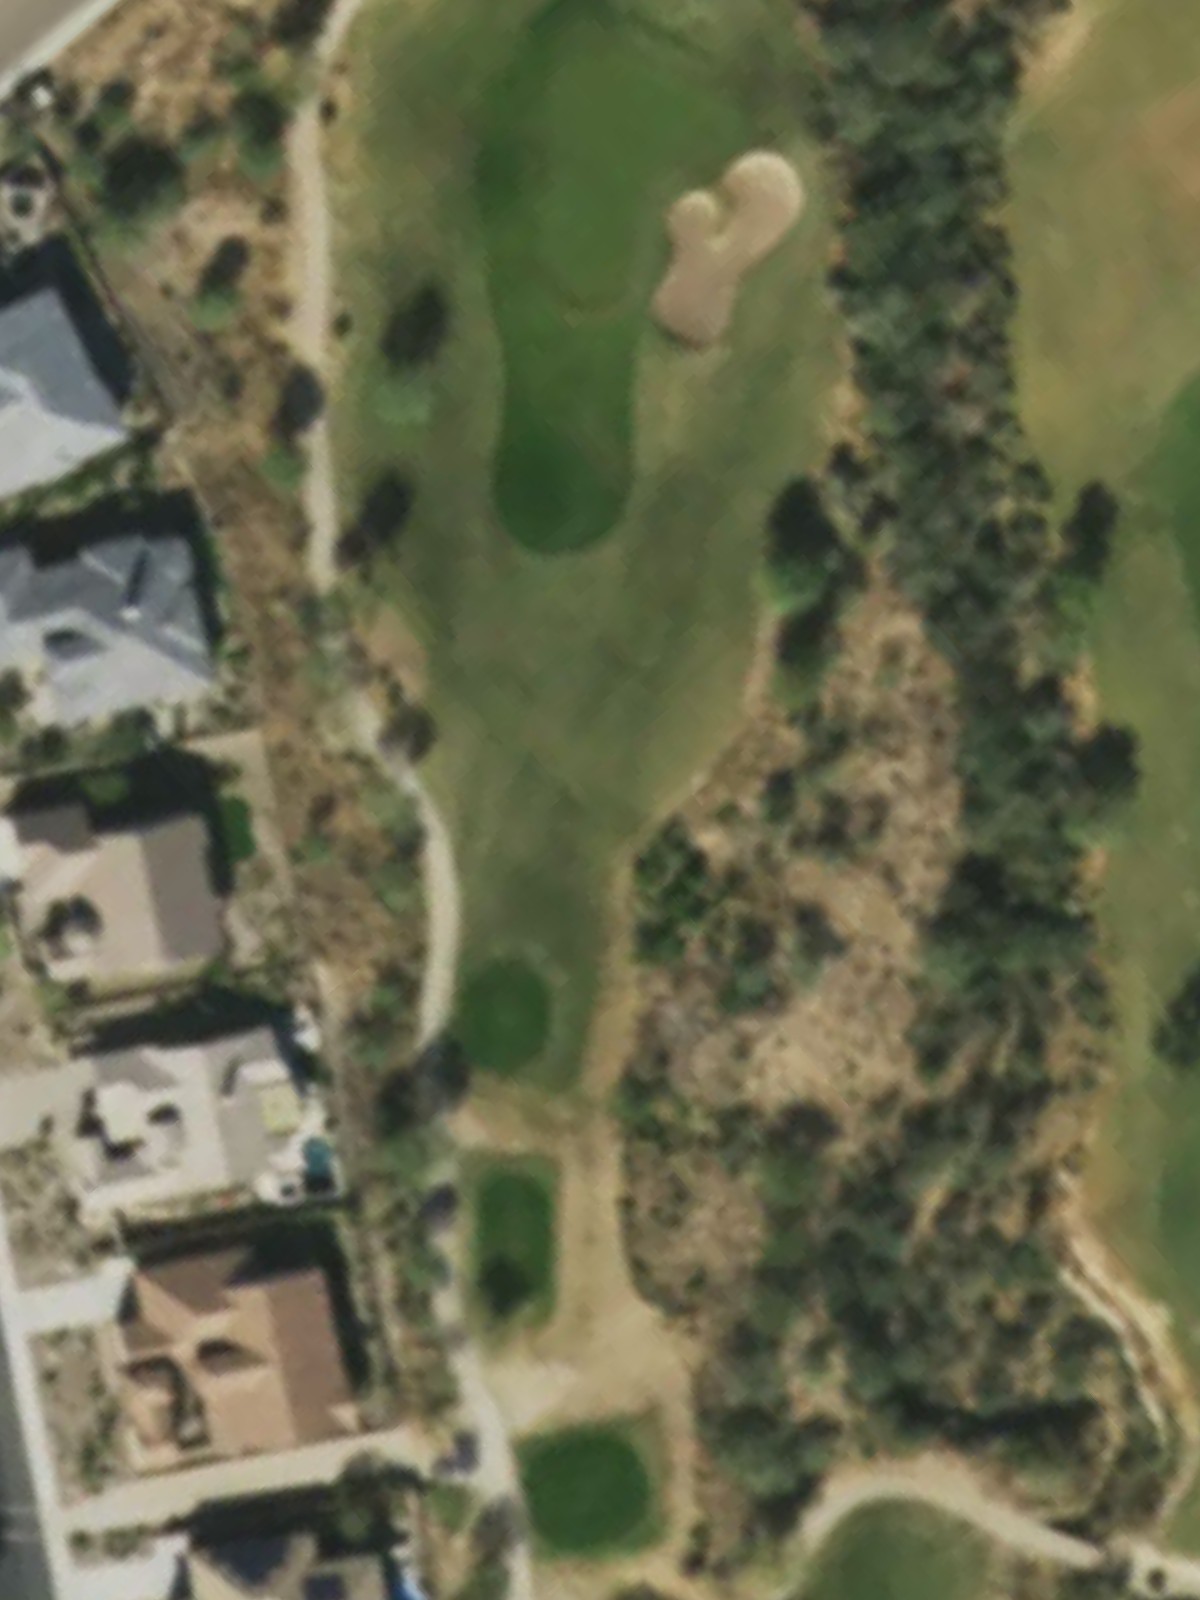
A short par 3 that plays as the course's easiest hole from the tee. The brief yardage leaves little room for error, and bunkers or water surrounding the green require a precise strike to secure a birdie opportunity.
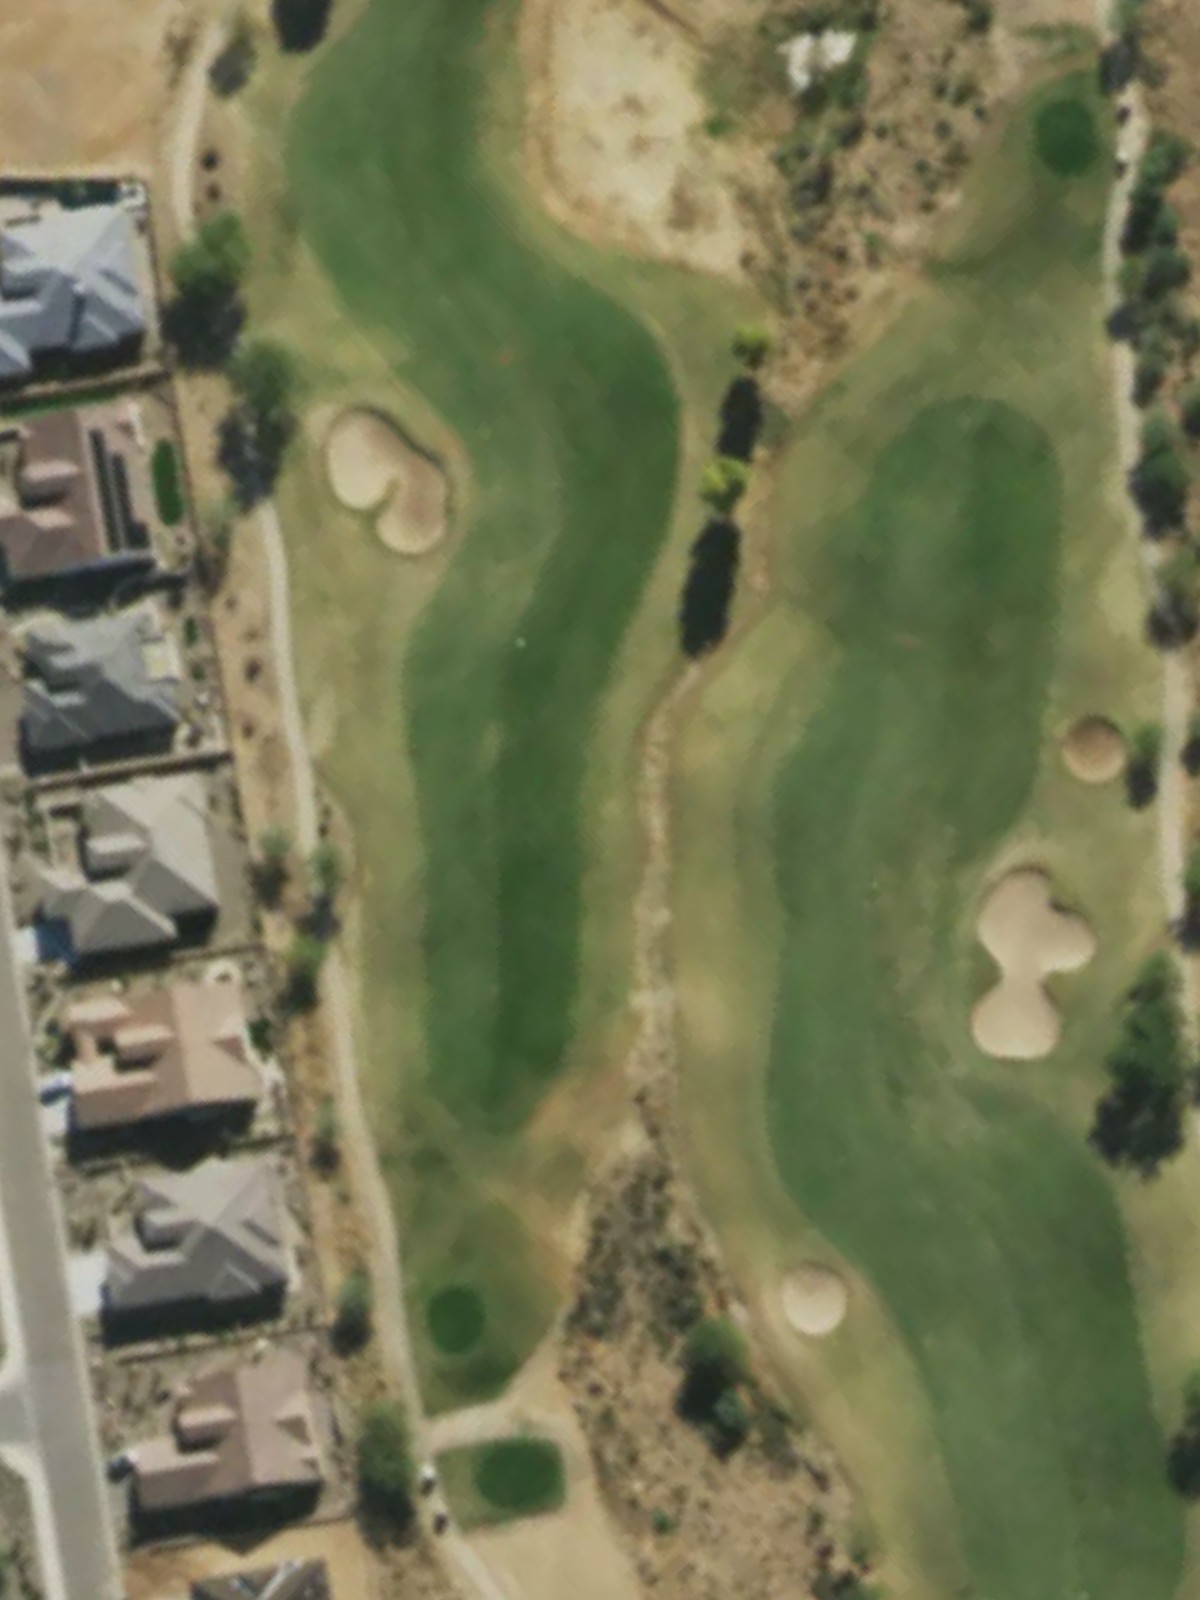
A strong par 4 and one of the course's most difficult holes, with length that demands power off the tee and precision into the green. Strategic hazards likely frame both sides of the fairway and surround the green, making solid execution essential from start to finish.
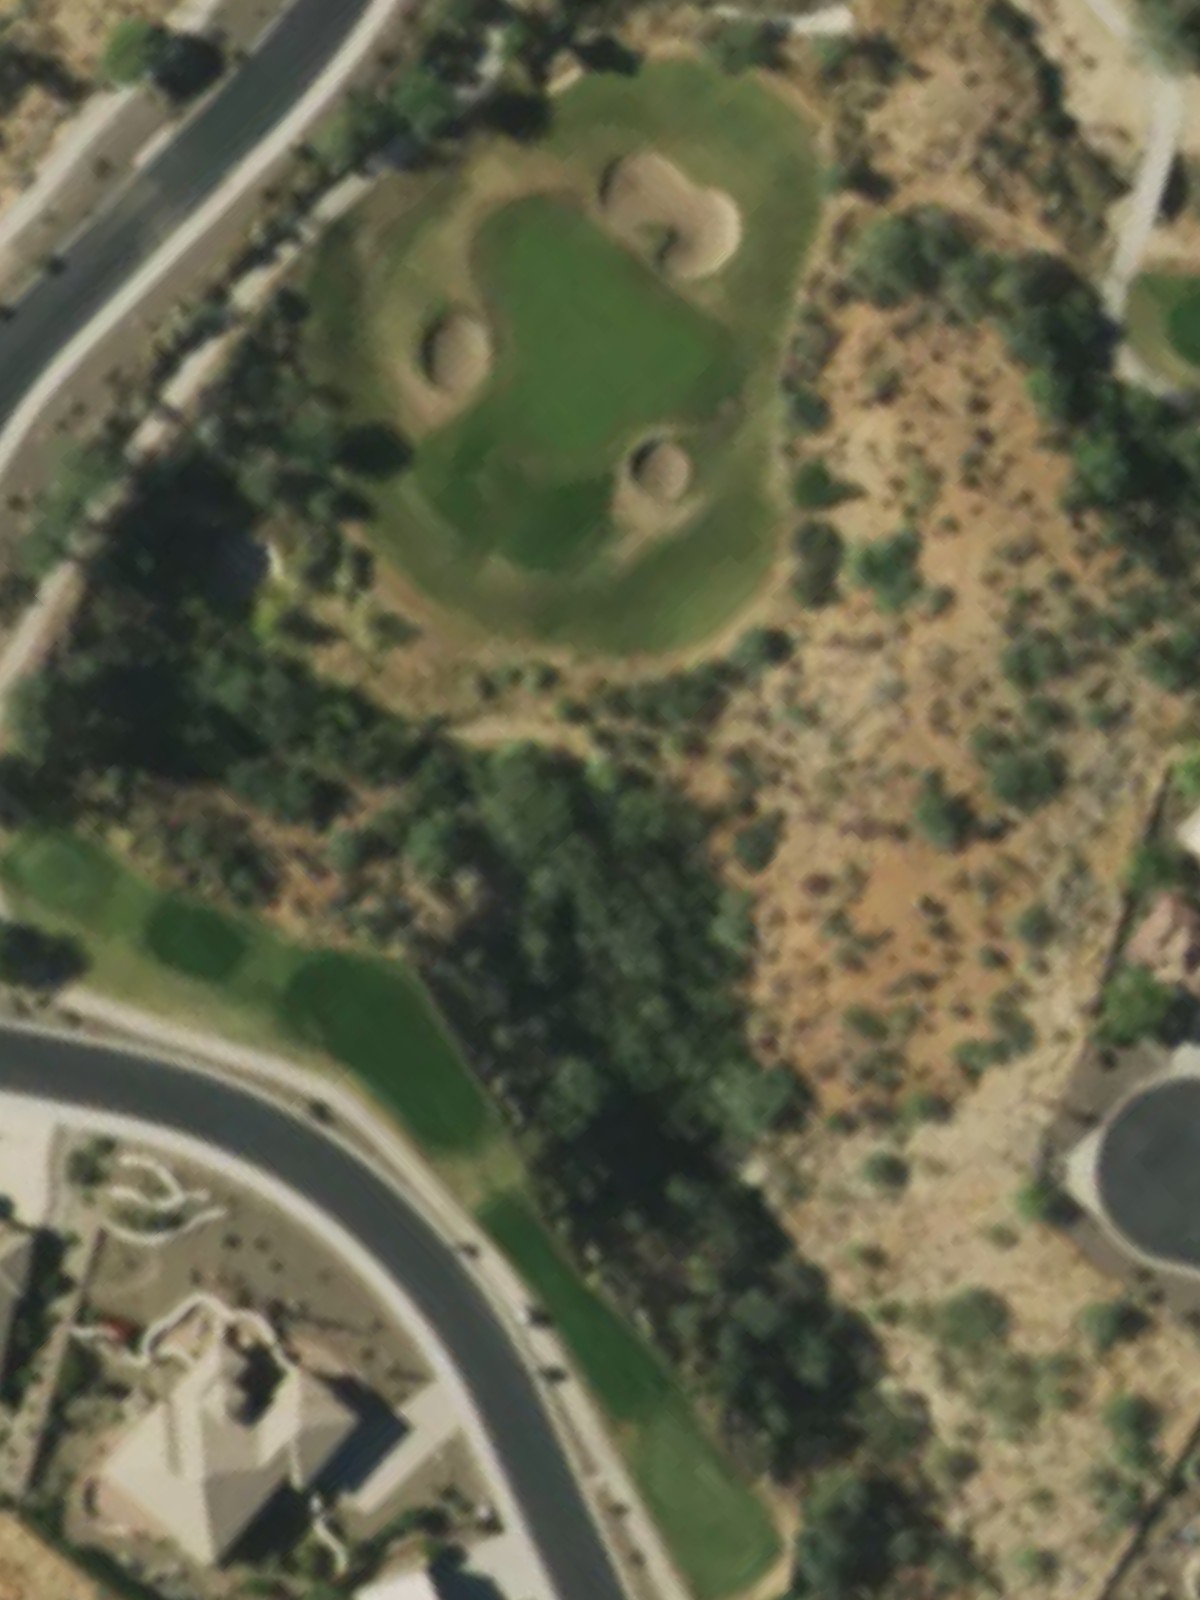
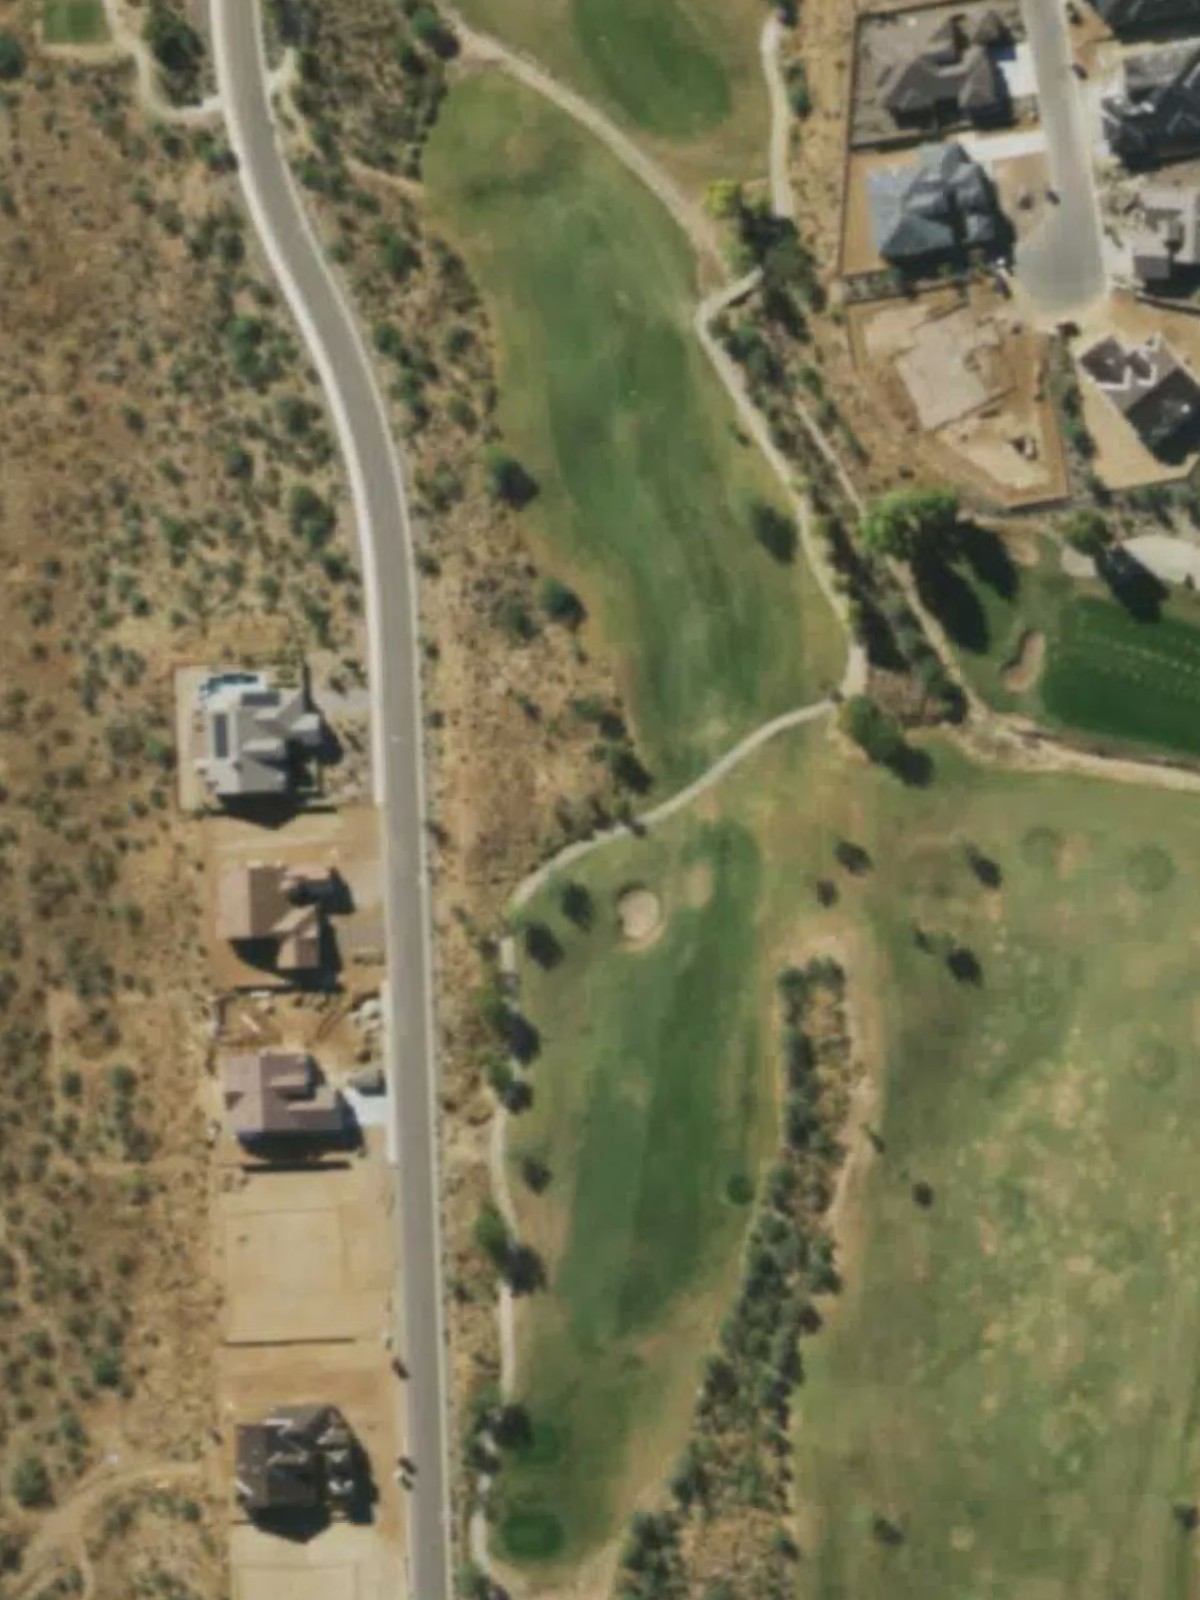
A very short par 3 with minimal yardage, making club selection and distance control the primary challenge. Despite its brevity, greenside bunkers or water hazards preserve difficulty and prevent it from becoming a routine par.
The second-hardest hole on the course, this par 4 features considerable length off the championship tees and likely a dramatic shape such as a dogleg. Hazards strategically placed along the corridor or around the green demand both power and placement to avoid trouble.
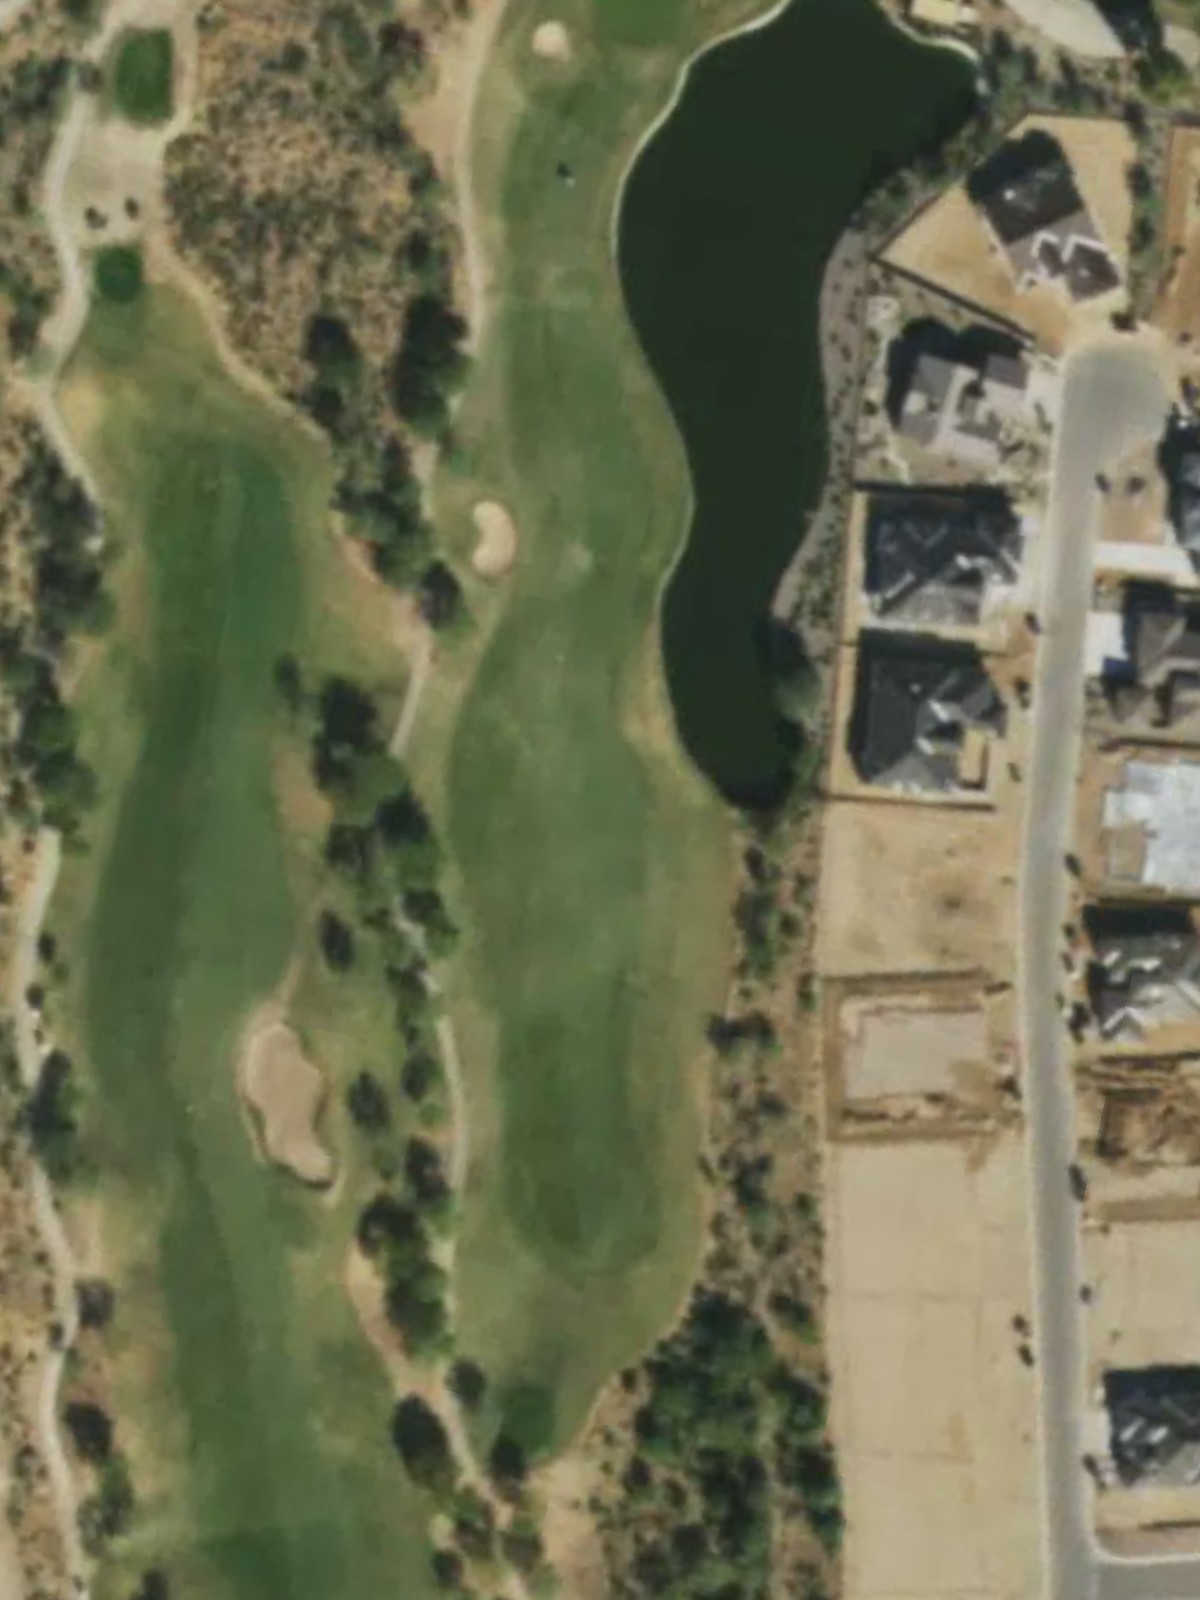
A lengthy par 5 with substantial yardage that tests a golfer's ability to reach distant targets. Water, bunkers, or both likely guard critical areas of the fairway and green complex, requiring careful management of risk on each shot.
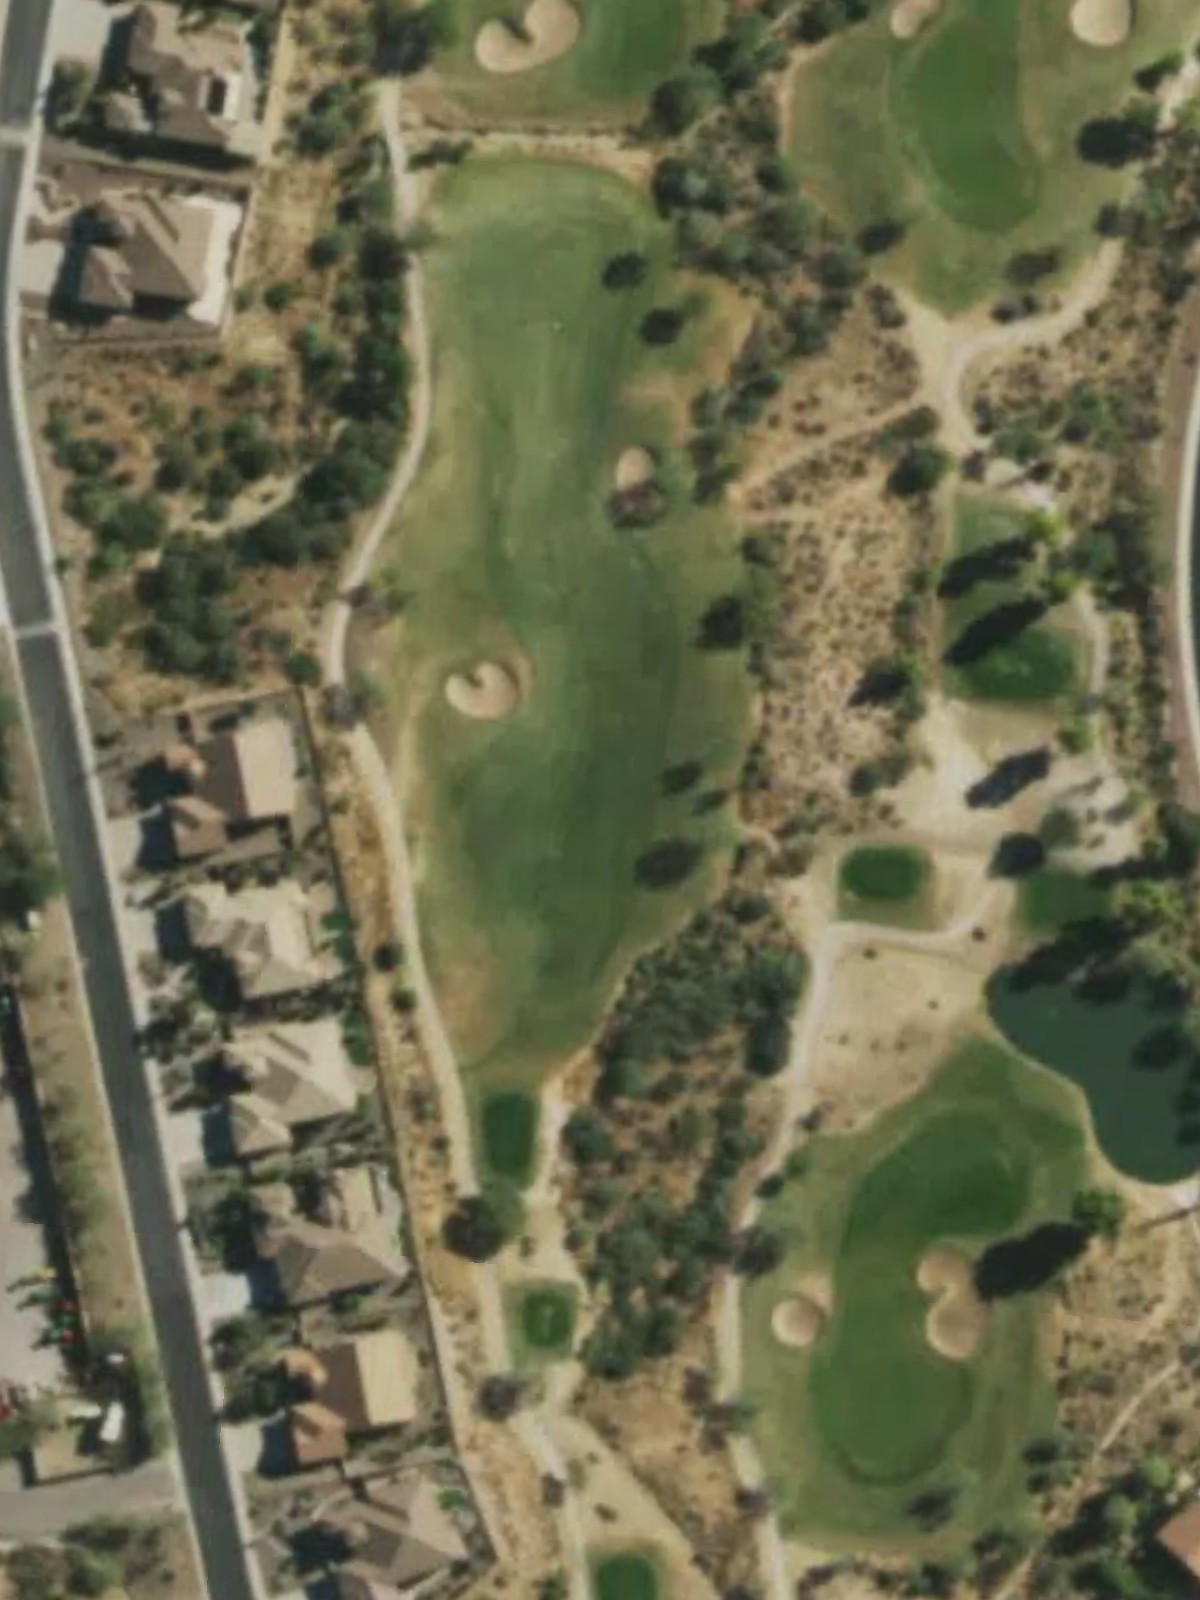
A mid-length par 4 with a relatively straightforward layout that offers a fair scoring opportunity. Bunkers or water may frame one or both sides, and greenside hazards demand an accurate approach to avoid penalty strokes.
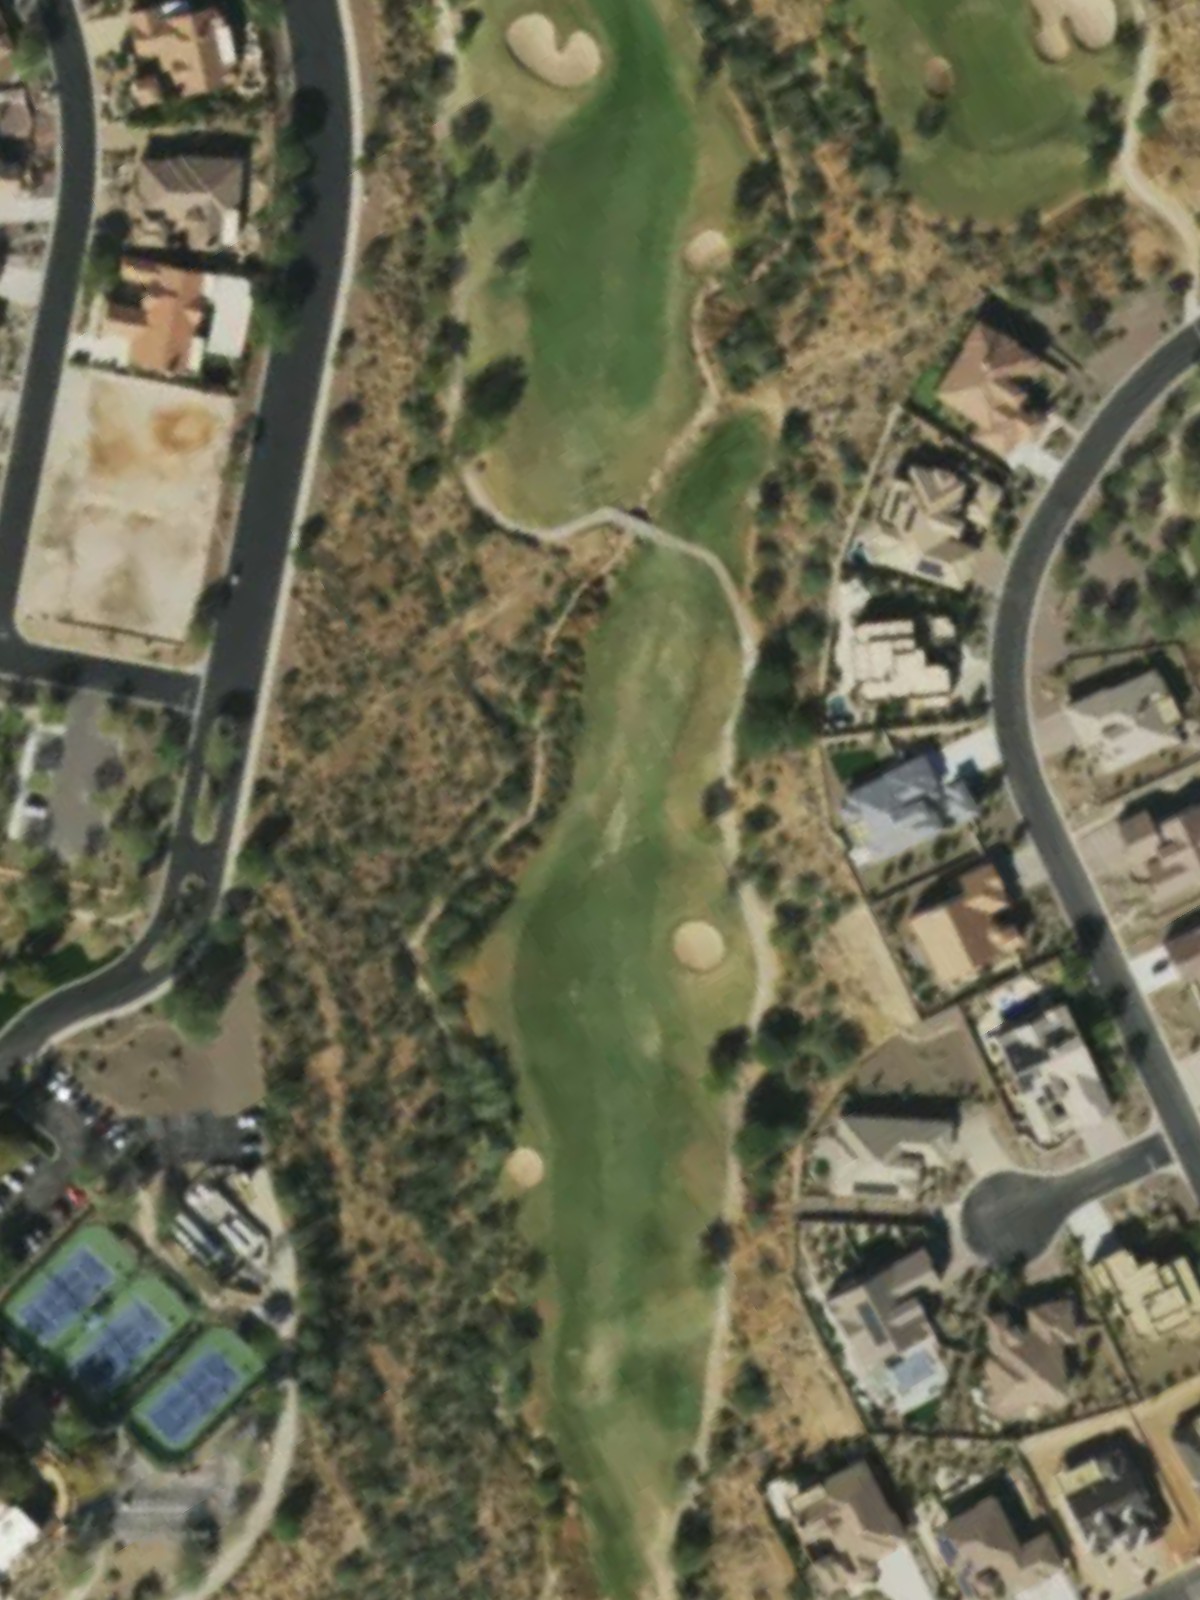
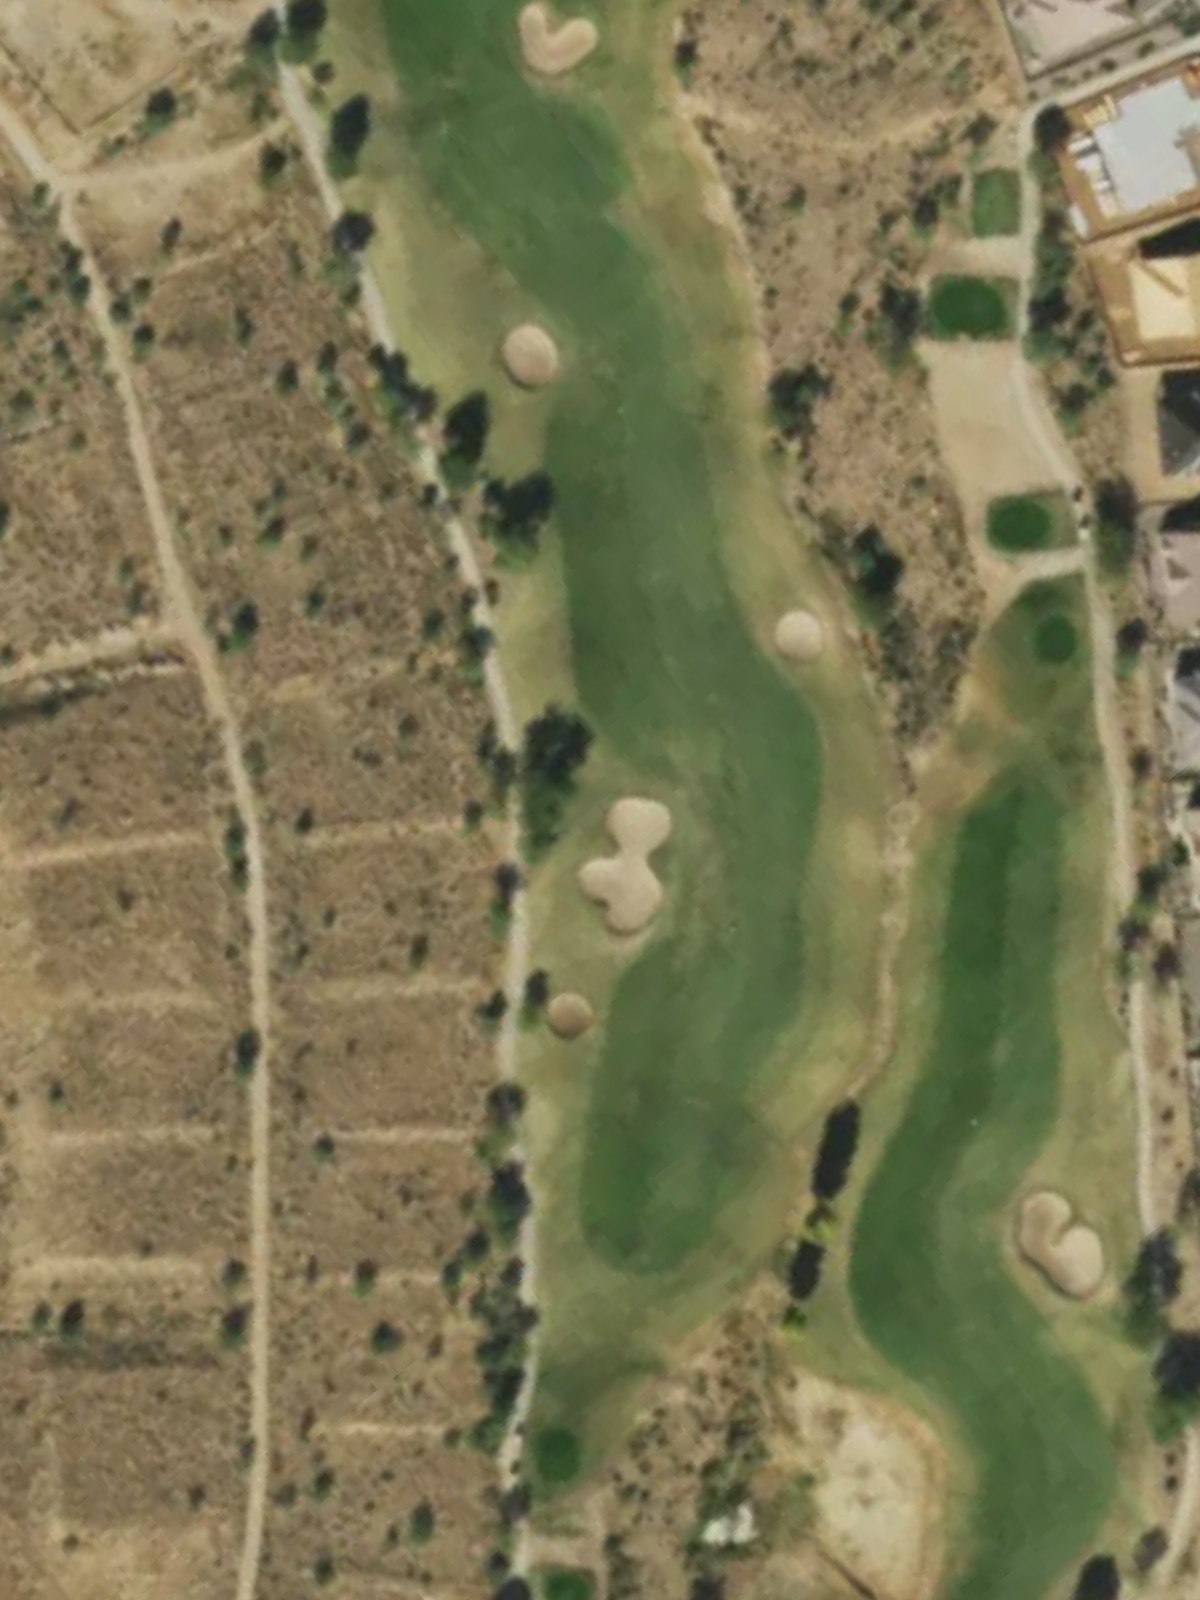
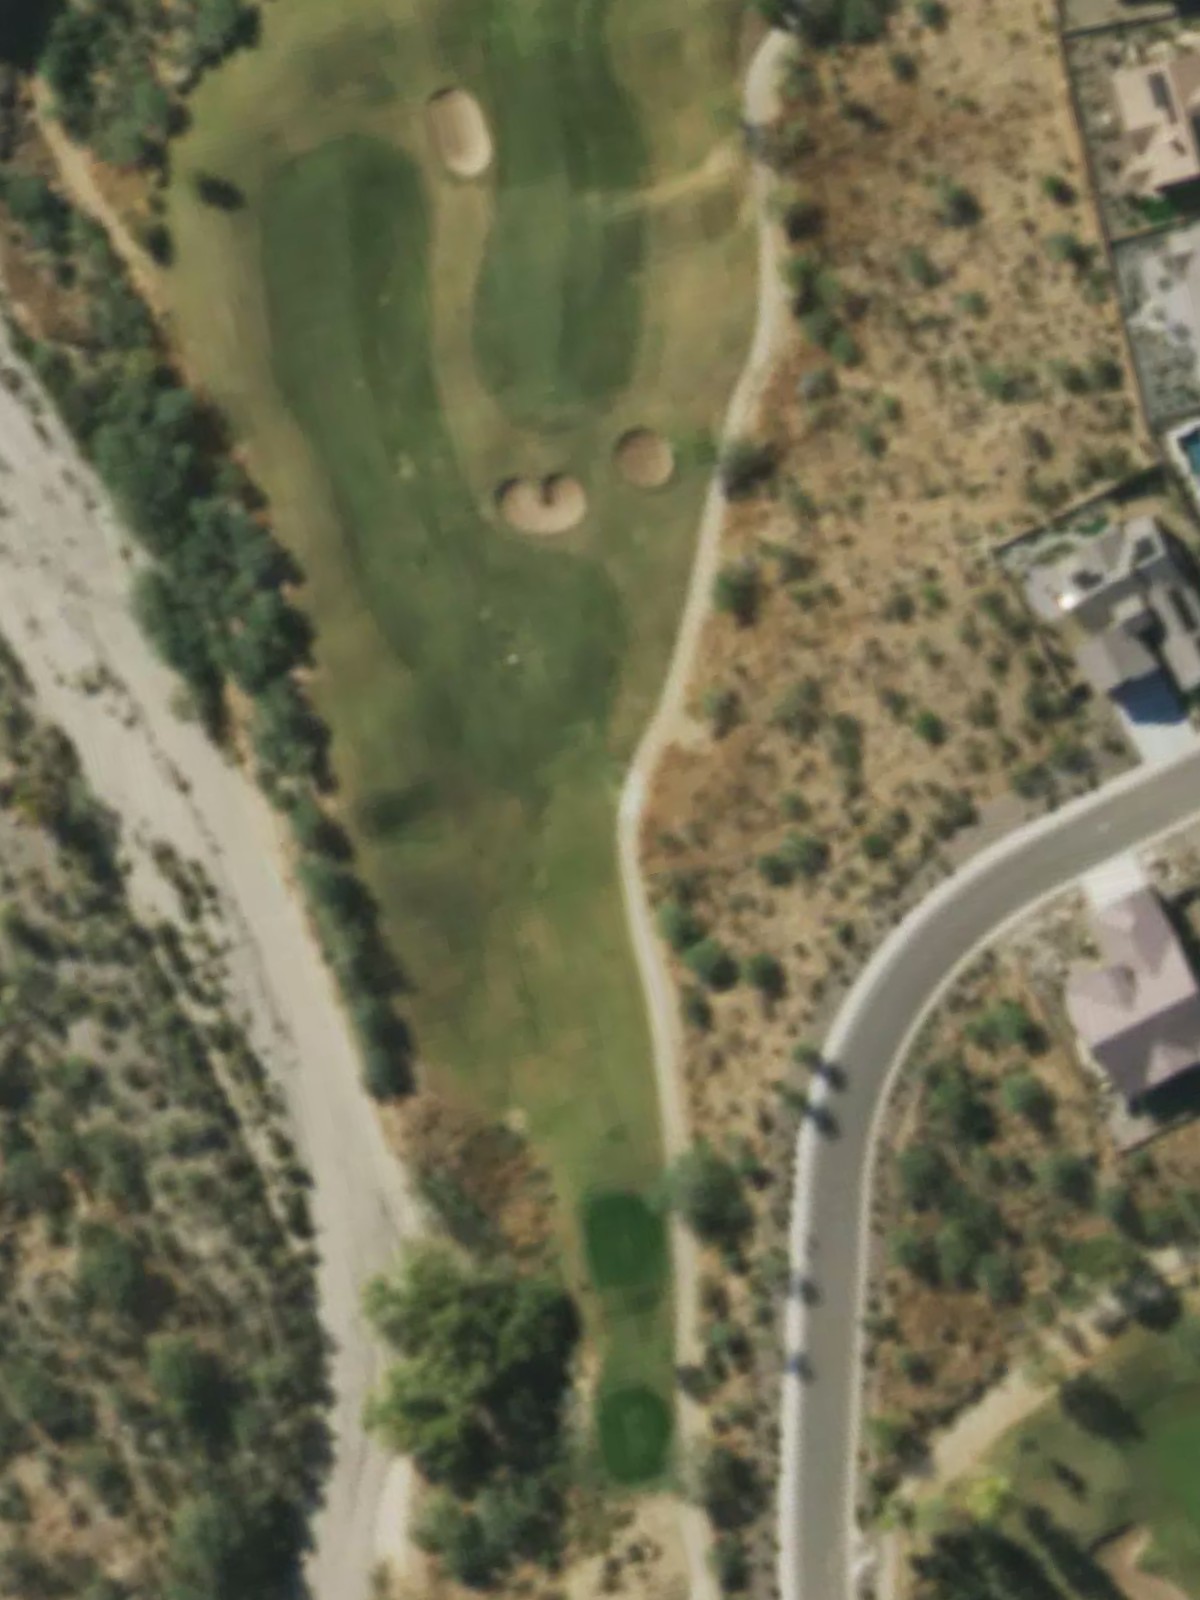
The course's most difficult hole and a true test, this imposing par 5 stretches to over 550 yards from the back tees. Significant hazards—likely water, out of bounds, or bunkers—define the strategic options and penalize poor execution on every shot.
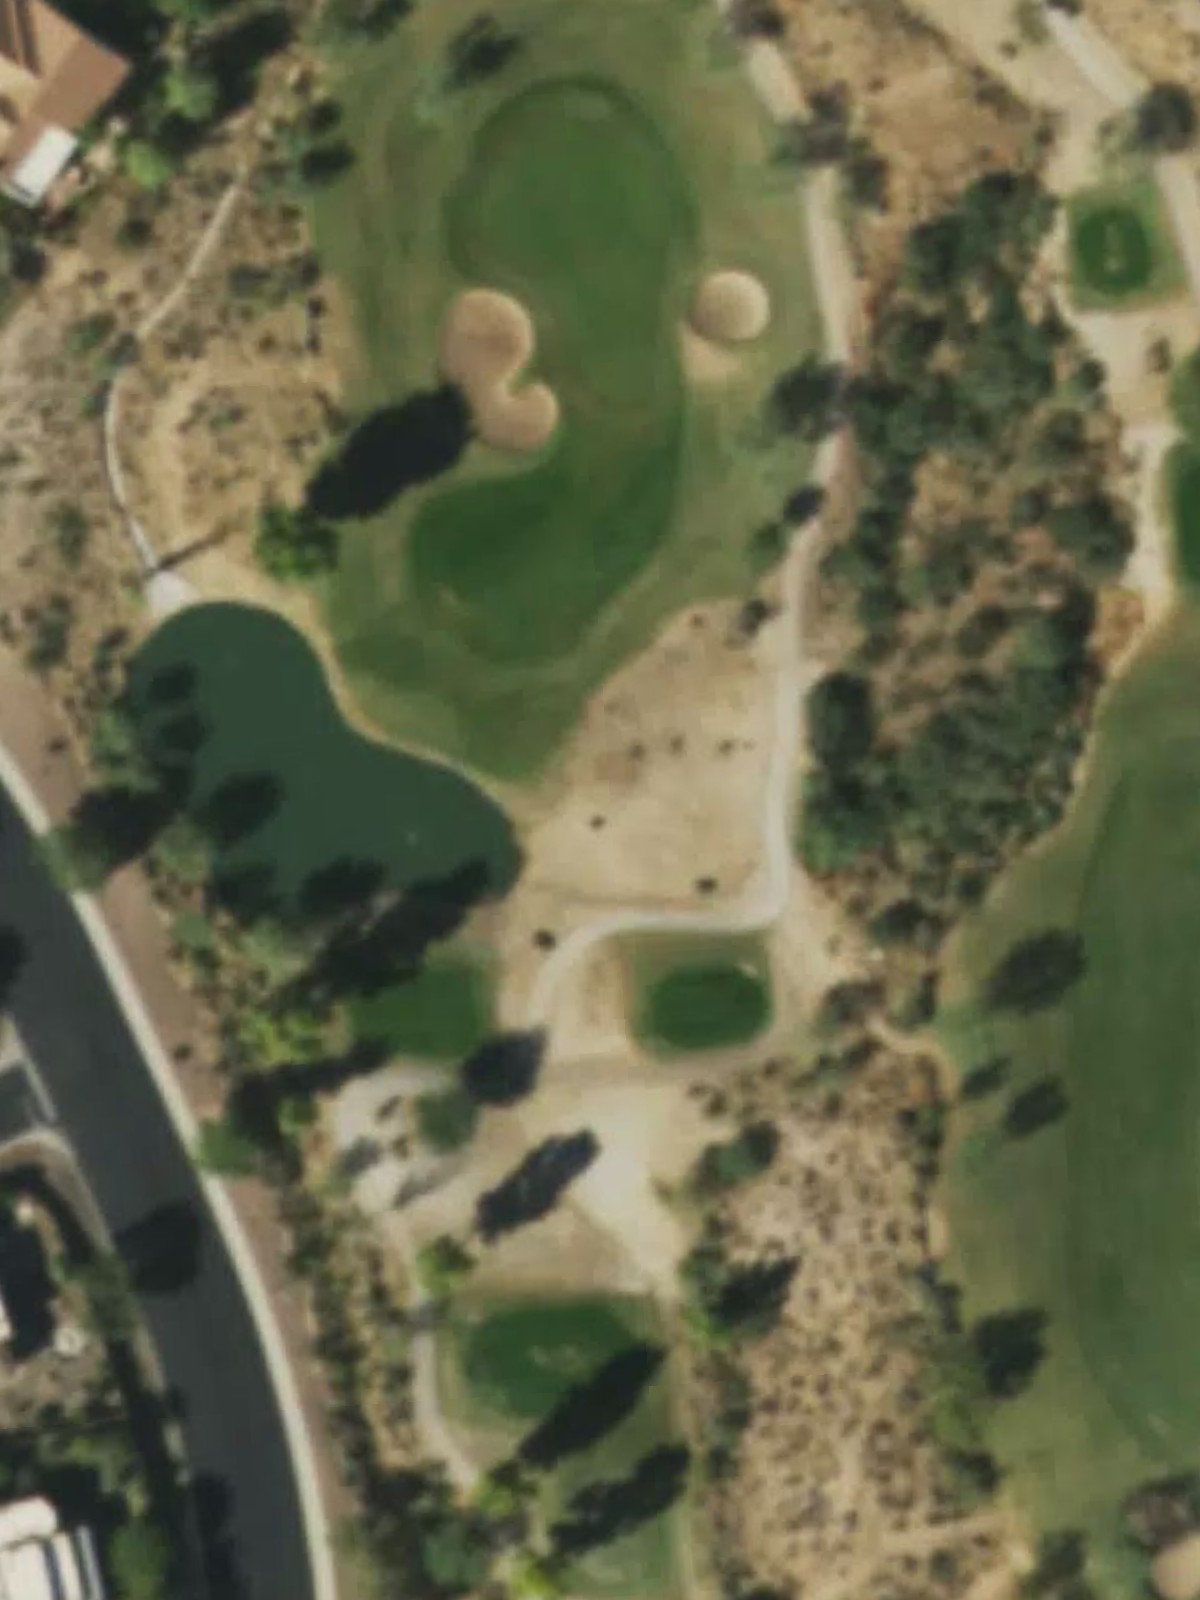
A short par 3 that plays straightforward but requires solid contact to the green. Bunkers or a water hazard likely guard the putting surface, keeping this hole competitive despite its modest yardage.
The third-most difficult hole, this substantial par 4 combines significant length with strategic hazard placement. Water, bunkers, or both likely force difficult decisions on club selection and alignment throughout the hole.
One of the course's easiest par 4s, this short hole offers good scoring potential with straightforward architecture. Minimal hazards or those set well away from the primary landing areas make this a prime birdie opportunity.
A mid-length par 3 that requires careful distance control and accuracy into a well-protected green. Bunkers or water surrounding the putting surface elevate the difficulty despite moderate yardage.
A relatively short par 4 that balances playability with strategic interest through its shape and hazard placement. Bunkers or water likely frame the approach into the green, requiring a solid second shot to avoid bogey.
A demanding par 5 of considerable length that tests power and accuracy across multiple shots. Strategic hazards—water, bunkers, or out of bounds—likely define the fairway corridor and green complex, creating a difficult risk-reward calculation.
A short par 4 that provides a reprieve in difficulty but still demands precision off the tee and into the green. Compact yardage makes this a birdie candidate if hazards can be avoided on the approach.
A strong finishing par 4 that closes the round with a solid test of accuracy and distance. Hazards likely guard critical areas near the green, ensuring the final hole remains challenging and memorable.
Scorecard
| Hole | 1 | 2 | 3 | 4 | 5 | 6 | 7 | 8 | 9 | Out | 10 | 11 | 12 | 13 | 14 | 15 | 16 | 17 | 18 | In | Tot |
|---|---|---|---|---|---|---|---|---|---|---|---|---|---|---|---|---|---|---|---|---|---|
| Par | 4 | 4 | 5 | 3 | 4 | 3 | 4 | 5 | 4 | 36 | 5 | 3 | 4 | 4 | 3 | 4 | 5 | 4 | 4 | 36 | 72 |
| HCP | 6 | 12 | 14 | 18 | 4 | 16 | 2 | 8 | 10 | 1 | 15 | 3 | 17 | 13 | 7 | 9 | 11 | 5 | |||
| black | 445 | 367 | 517 | 160 | 410 | 167 | 406 | 552 | 412 | 3436 | 554 | 174 | 435 | 354 | 207 | 387 | 592 | 355 | 430 | 3488 | 6924 |
| black/purple | 366 | 367 | 519 | 160 | 410 | 167 | 406 | 520 | 380 | 3295 | 501 | 174 | 420 | 354 | 180 | 387 | 528 | 355 | 399 | 3298 | 6593 |
| purple | 366 | 343 | 496 | 137 | 379 | 147 | 362 | 520 | 380 | 3130 | 501 | 152 | 420 | 329 | 180 | 358 | 528 | 332 | 399 | 3199 | 6329 |
| purple/green | 366 | 343 | 496 | 137 | 330 | 147 | 362 | 441 | 342 | 2964 | 501 | 152 | 360 | 329 | 144 | 358 | 455 | 332 | 362 | 2993 | 5957 |
| green | 324 | 292 | 444 | 102 | 330 | 113 | 295 | 441 | 342 | 2683 | 388 | 105 | 360 | 268 | 144 | 292 | 455 | 280 | 362 | 2654 | 5337 |
| green/red | 324 | 292 | 444 | 102 | 283 | 113 | 295 | 406 | 271 | 2530 | 388 | 105 | 322 | 268 | 116 | 292 | 431 | 280 | 331 | 2533 | 5063 |
| red | 324 | 265 | 441 | 97 | 283 | 89 | 252 | 406 | 271 | 2428 | 388 | 104 | 322 | 240 | 116 | 272 | 431 | 245 | 313 | 2431 | 4859 |
| red/yellow | 270 | 265 | 330 | 97 | 236 | 89 | 252 | 362 | 271 | 2172 | 388 | 104 | 281 | 240 | 116 | 237 | 431 | 245 | 261 | 2303 | 4475 |
| red/short course | 200 | 200 | 300 | 97 | 200 | 89 | 252 | 300 | 200 | 1838 | 300 | 104 | 200 | 240 | 116 | 200 | 300 | 150 | 200 | 1810 | 3648 |