Poppy Ridge Gc is an 18-hole golf course in Livermore, CA with a par of 72. It offers 5 tee sets: black (7,080 yards, slope 137, rating 74.5), blue (6,672 yards, slope 133, rating 72.7), white (6,200 yards, slope 127, rating 70.7), white/gold combo (5,685 yards, slope 123, rating 68.2), gold (5,225 yards, slope 119, rating 65.8). The hardest hole is #4, a par 4 playing 406 yards from the first tee.
Poppy Ridge Gc
Livermore, CA
Get PDF Yardage Book
We'll email you the PDF link. No spam, ever.
Create Your Game Plan
Pick your tees, enter your bag, and get a personalized shot-by-shot strategy for every hole.
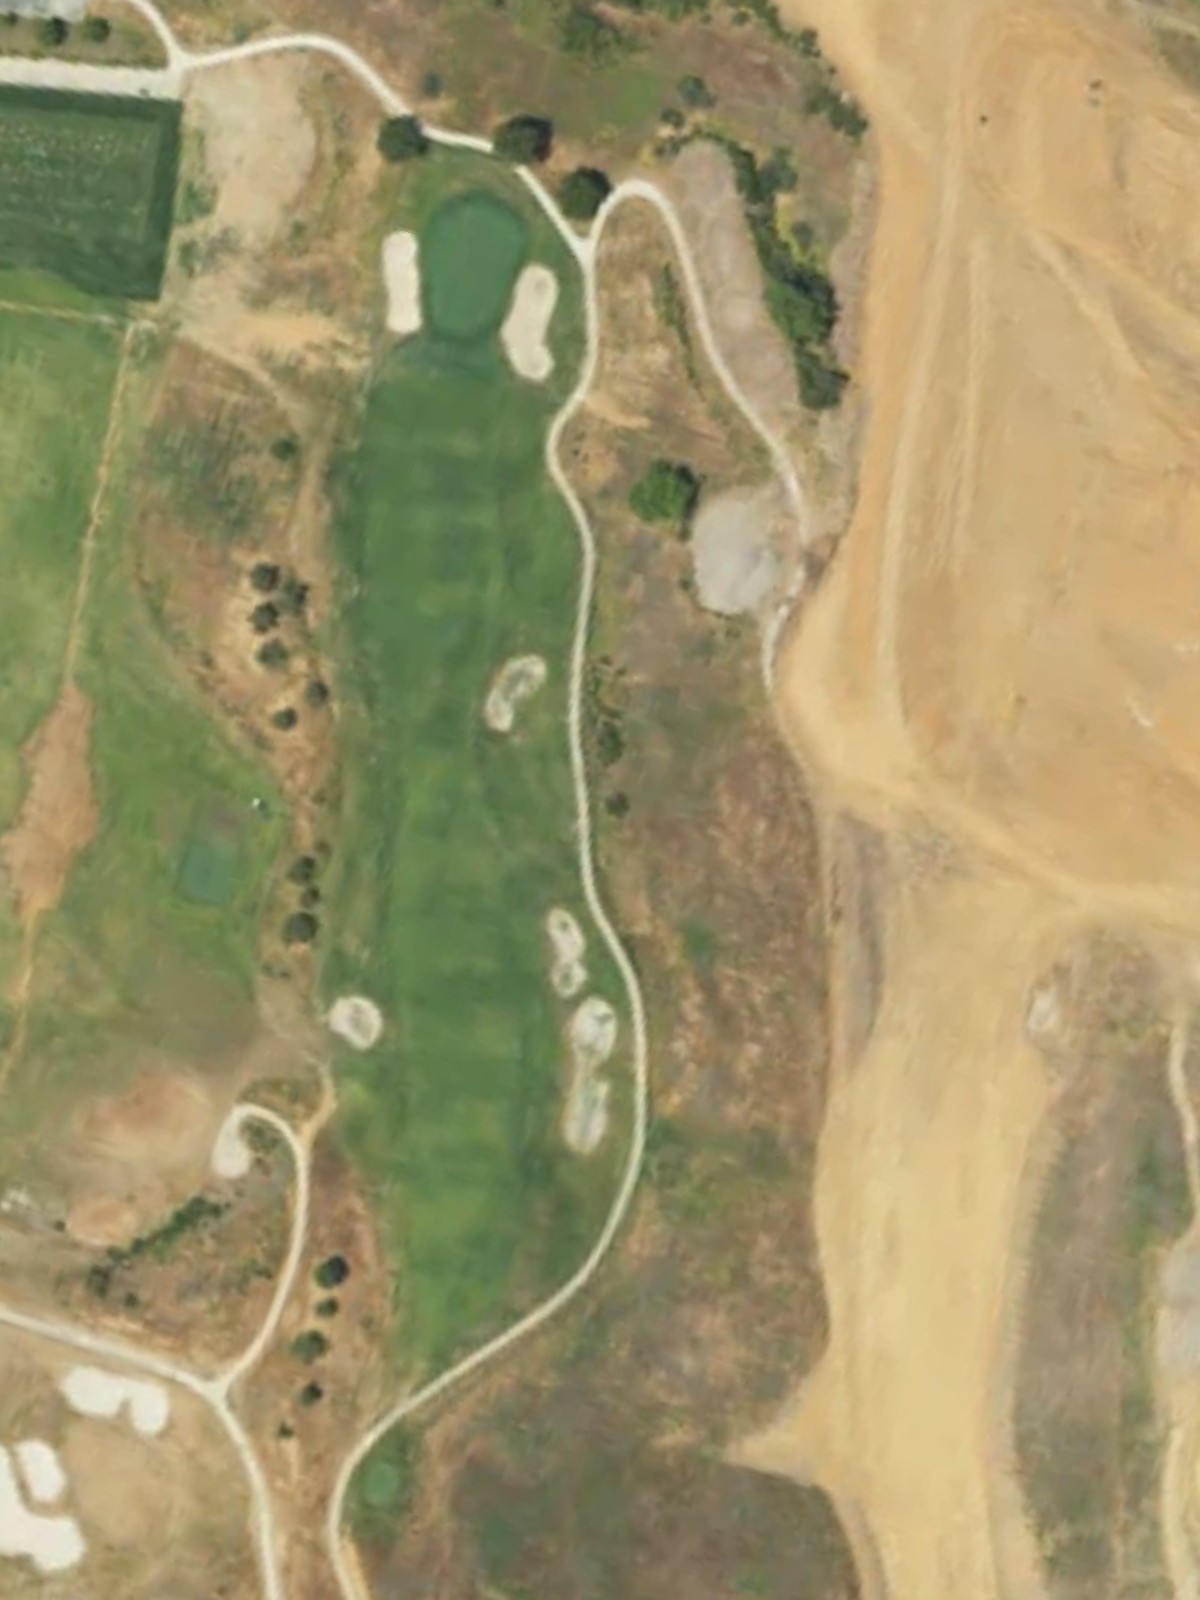
A welcoming opening par 4 with a relatively straight fairway that plays shorter from the forward tees. The green is protected by bunkers on the right, making accuracy off the tee important for approach positioning.
A short par 3 requiring a precise tee shot to reach the elevated green. Water hazards and bunkers surround the putting surface, leaving little margin for error on this strategic one-shotter.
A straightforward par 4 that demands solid ball-striking off the tee and into a well-bunkered green complex. The hole's mid-handicap rating reflects a balanced test with hazards positioned to penalize errant shots.
The course's number-one handicap, this formidable par 4 features a long carry to the fairway with bunkers strategically placed throughout. The green presents a significant challenge, requiring a precise approach shot to avoid trouble on the sides and back.
A reachable par 5 with a wide fairway inviting aggressive play, though strategic bunkering narrows options approaching the green. The hole rewards solid striking with opportunity for birdie while punishing wayward shots.
A demanding par 4 with bunkers threatening both sides of the fairway and clustering around the green. The hole's elevated difficulty requires careful positioning throughout to avoid the various sand hazards.
A short par 3 from an elevated tee playing downhill to the green, which is surrounded by bunkers and rough terrain. The dramatic elevation change and close hazards make this a deceptively tricky one-shotter.
A par 5 with a wide-open fairway that allows aggressive play for longer hitters, though bunkers guard the approach to the green. The hole's birdie potential is balanced by strategic hazard placement near the putting surface.
As the third-handicap hole, this par 4 presents a significant challenge with narrow fairway corridors and bunkering that demands precision. The green complex is well-guarded, requiring an accurate approach to set up par.
The fourth-toughest hole, this par 4 features a tight driving corridor with bunkers positioning play throughout the hole. Water and sand hazards guard the green, making this a comprehensive test of accuracy and distance control.
A short par 3 from the tee to a small, well-defended green surrounded by bunkers and rough. The elevation and hazard placement make club selection critical despite the modest yardage.
A mid-length par 4 with a relatively open fairway that gradually tightens approaching the green complex. Greenside bunkers and undulating terrain create the primary challenge on this moderate-handicap hole.
An eighth-handicap par 4 featuring a generous fairway that narrows significantly before reaching a heavily bunkered green. The strategic hazard placement rewards long, accurate drives with a clear approach into the putting surface.
A mid-length par 5 offering multiple routes to the green with bunkering that affects both second and third shot options. The hole balances accessibility with strategic complexity, providing opportunity for aggressive players while challenging others.
Rated as the second-toughest hole, this par 4 demands precision from tee to green with bunkers threatening the fairway and surrounding the green. The demanding layout leaves little room for error over the entire hole.
A sixth-handicap par 4 with a challenging tee shot into a narrow fairway corridor flanked by hazards. The green complex features strategic bunkering that requires careful approach play to avoid costly mistakes.
The easiest hole on the course, this short par 3 features a straightforward shot to an accessible green. Despite being the most forgiving hole, bunkers and rough terrain still demand reasonable accuracy.
A finishing par 5 with a wide fairway that encourages aggressive play from the tee and second shot, with bunkers strategically placed to challenge approach angles. The green's bunkering and contours provide a closing test that can reward strong finishing play.
Scorecard
| Hole | 1 | 2 | 3 | 4 | 5 | 6 | 7 | 8 | 9 | Out | 10 | 11 | 12 | 13 | 14 | 15 | 16 | 17 | 18 | In | Tot |
|---|---|---|---|---|---|---|---|---|---|---|---|---|---|---|---|---|---|---|---|---|---|
| Par | 4 | 3 | 4 | 4 | 5 | 4 | 3 | 5 | 4 | 36 | 4 | 3 | 4 | 4 | 5 | 4 | 4 | 3 | 5 | 36 | 72 |
| HCP | 17 | 15 | 11 | 1 | 7 | 5 | 13 | 9 | 3 | 4 | 16 | 14 | 8 | 12 | 2 | 6 | 18 | 10 | |||
| black | 370 | 196 | 397 | 424 | 557 | 422 | 171 | 525 | 450 | 3512 | 431 | 192 | 390 | 440 | 540 | 450 | 440 | 166 | 519 | 3568 | 7080 |
| blue | 346 | 165 | 363 | 406 | 538 | 394 | 152 | 504 | 427 | 3295 | 419 | 169 | 369 | 418 | 511 | 422 | 419 | 149 | 501 | 3377 | 6672 |
| white | 304 | 148 | 312 | 387 | 516 | 369 | 113 | 485 | 401 | 3035 | 395 | 130 | 349 | 391 | 481 | 402 | 402 | 130 | 485 | 3165 | 6200 |
| white/gold combo | 304 | 148 | 312 | 342 | 453 | 324 | 113 | 485 | 369 | 2850 | 278 | 130 | 349 | 310 | 481 | 331 | 341 | 130 | 485 | 2835 | 5685 |
| gold | 251 | 138 | 283 | 342 | 453 | 324 | 89 | 405 | 369 | 2654 | 278 | 94 | 263 | 310 | 430 | 331 | 341 | 109 | 415 | 2571 | 5225 |