Pole Creek Golf Club is an 18-hole golf course in Tabernash, CO with a par of 72. It offers 5 tee sets: blue (6,838 yards, slope 130, rating 70.9), white (6,289 yards, slope 127, rating 68.4), white/gold (6,009 yards, slope 122, rating 67.6), gold (5,537 yards, slope 110, rating 65.2), red (4,733 yards, slope 96, rating 62.2). The hardest hole is #1, a par 4 playing 254 yards from the first tee.
Pole Creek Golf Club
Tabernash, CO
Get PDF Yardage Book
We'll email you the PDF link. No spam, ever.
Create Your Game Plan
Pick your tees, enter your bag, and get a personalized shot-by-shot strategy for every hole.
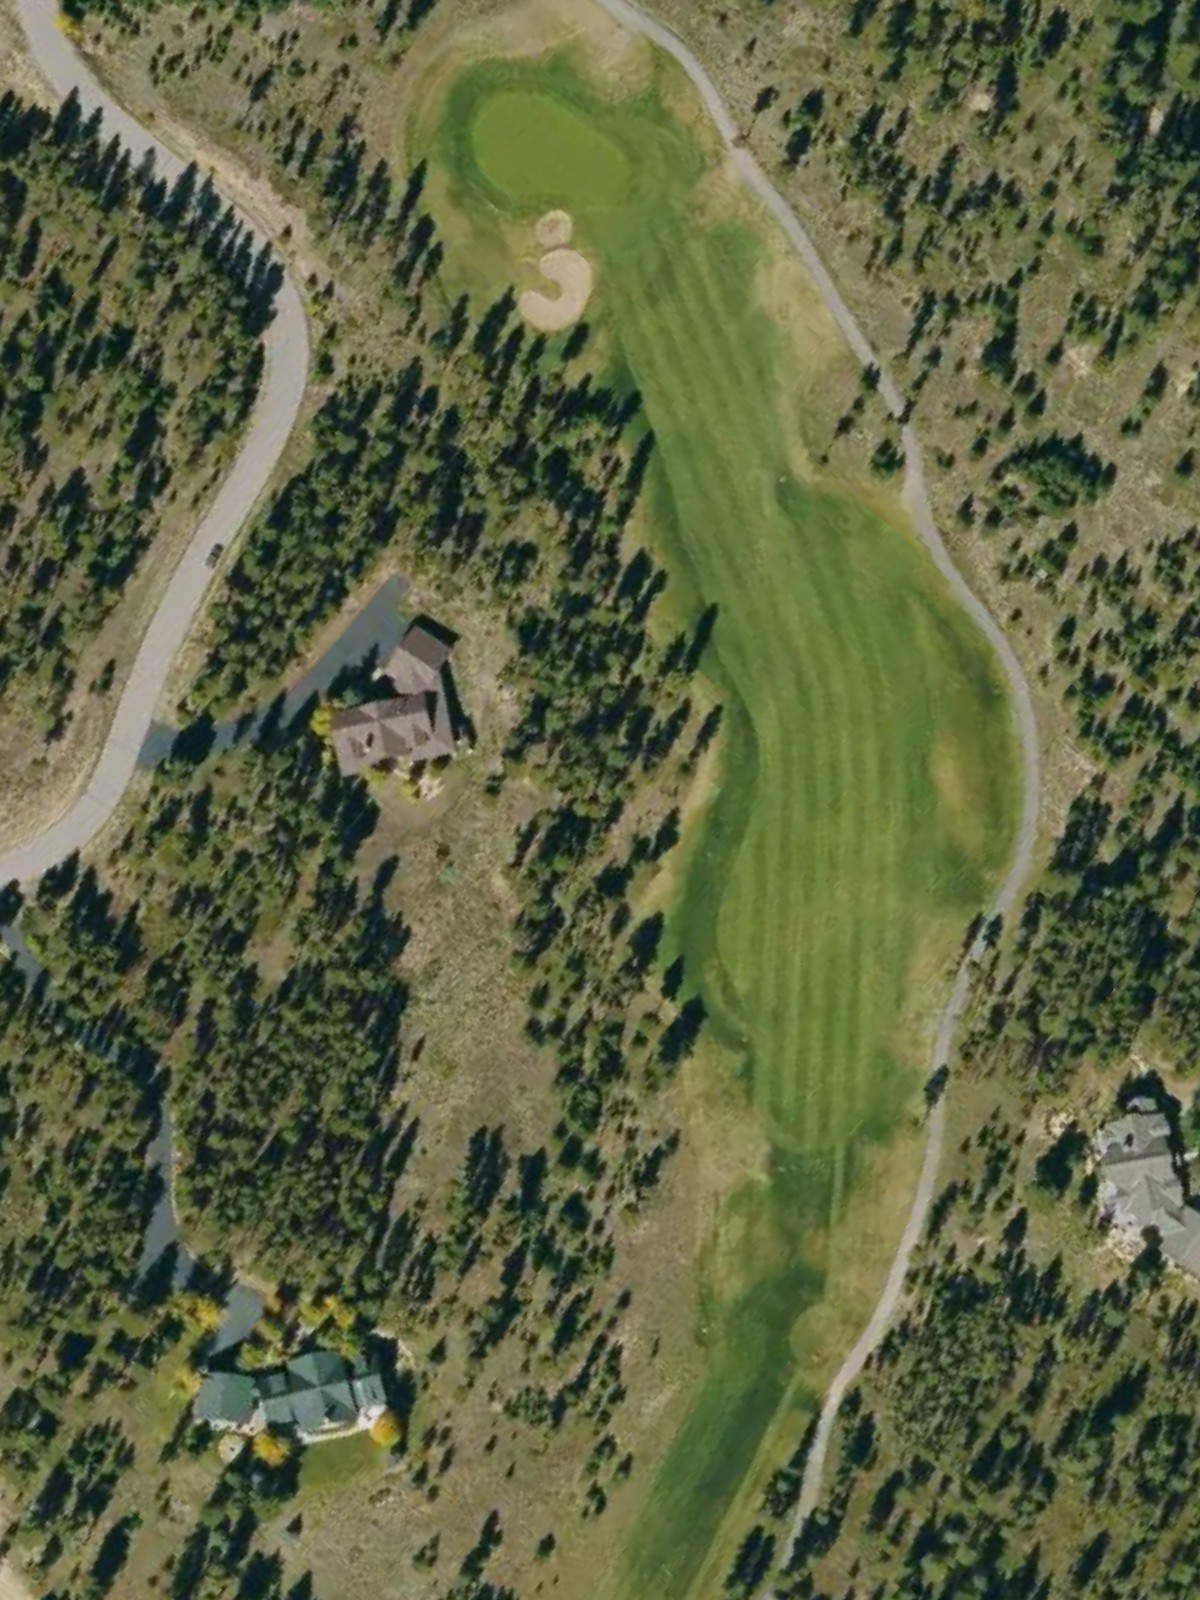
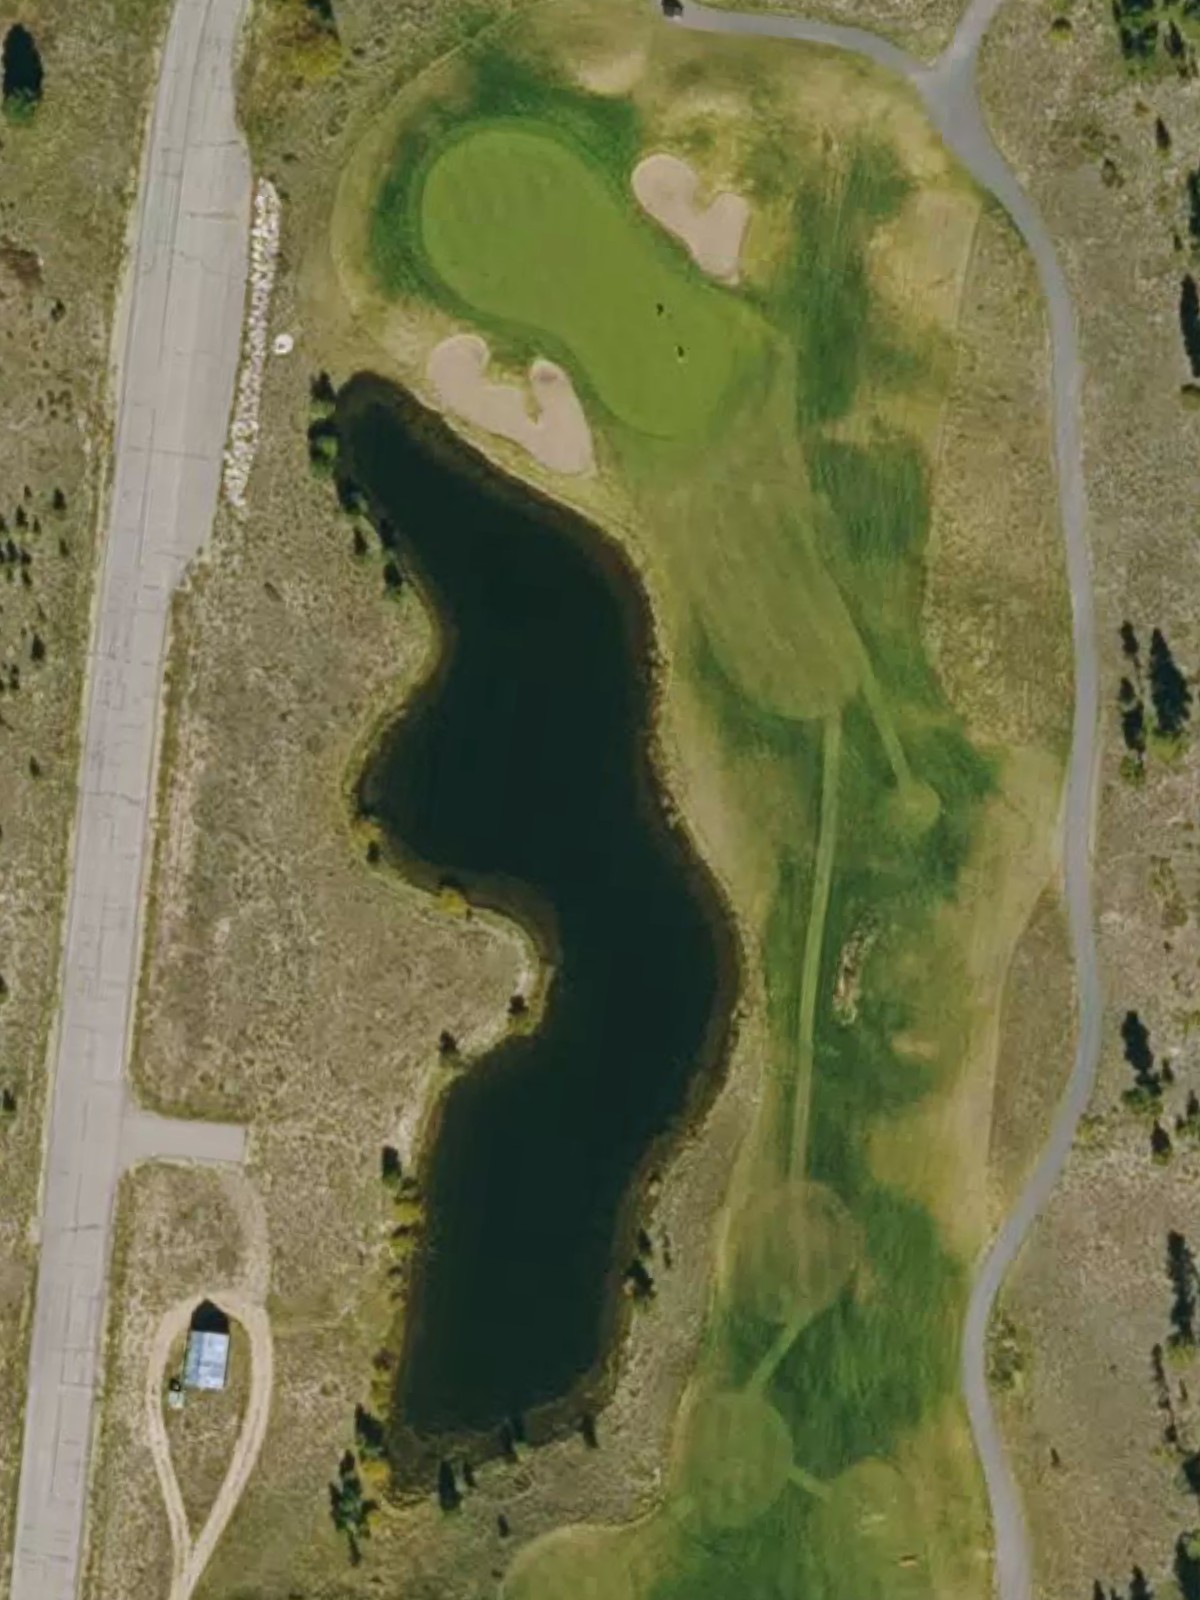
A straightforward par 4 that plays as the course's most difficult hole. The fairway is relatively open off the tee, but narrows approaching the green where bunkers and rough demand precision on the approach shot.
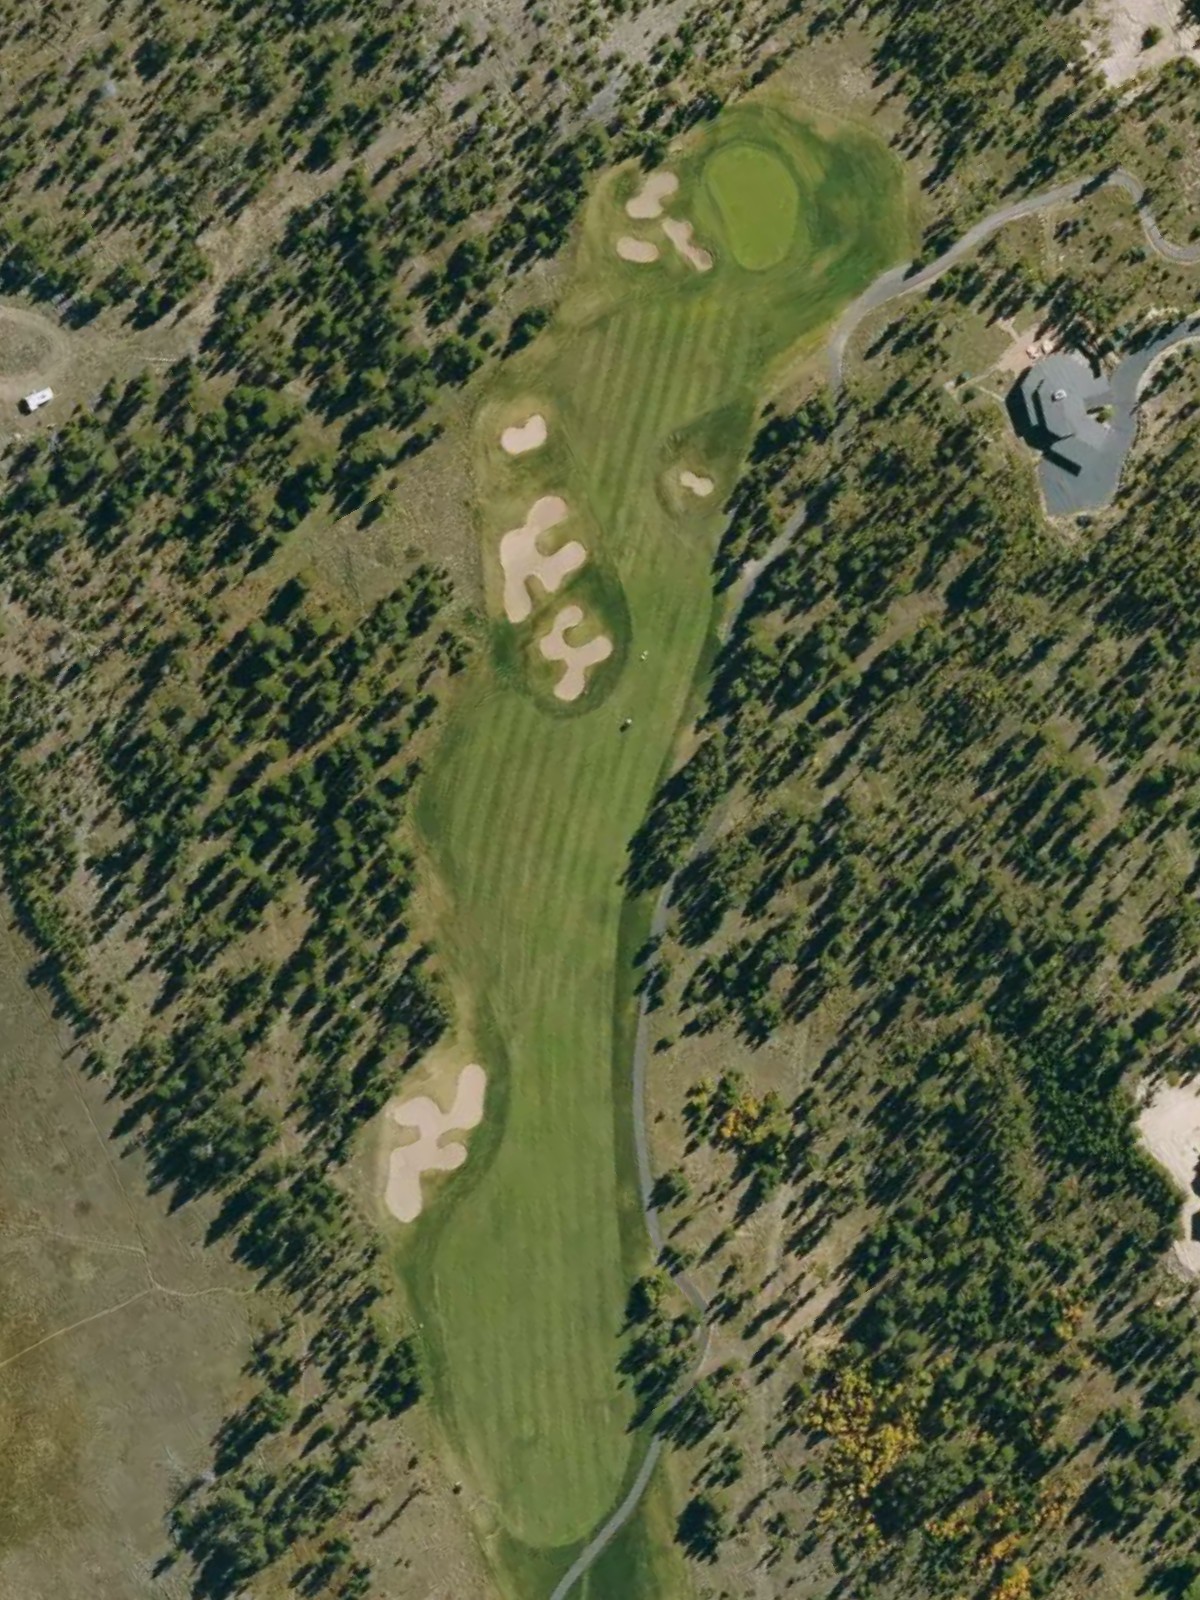
A short par 3 over a modest distance that plays as the easiest hole on the course. Despite its length, strategic bunkering and green complexity make it more challenging than yardage alone suggests.
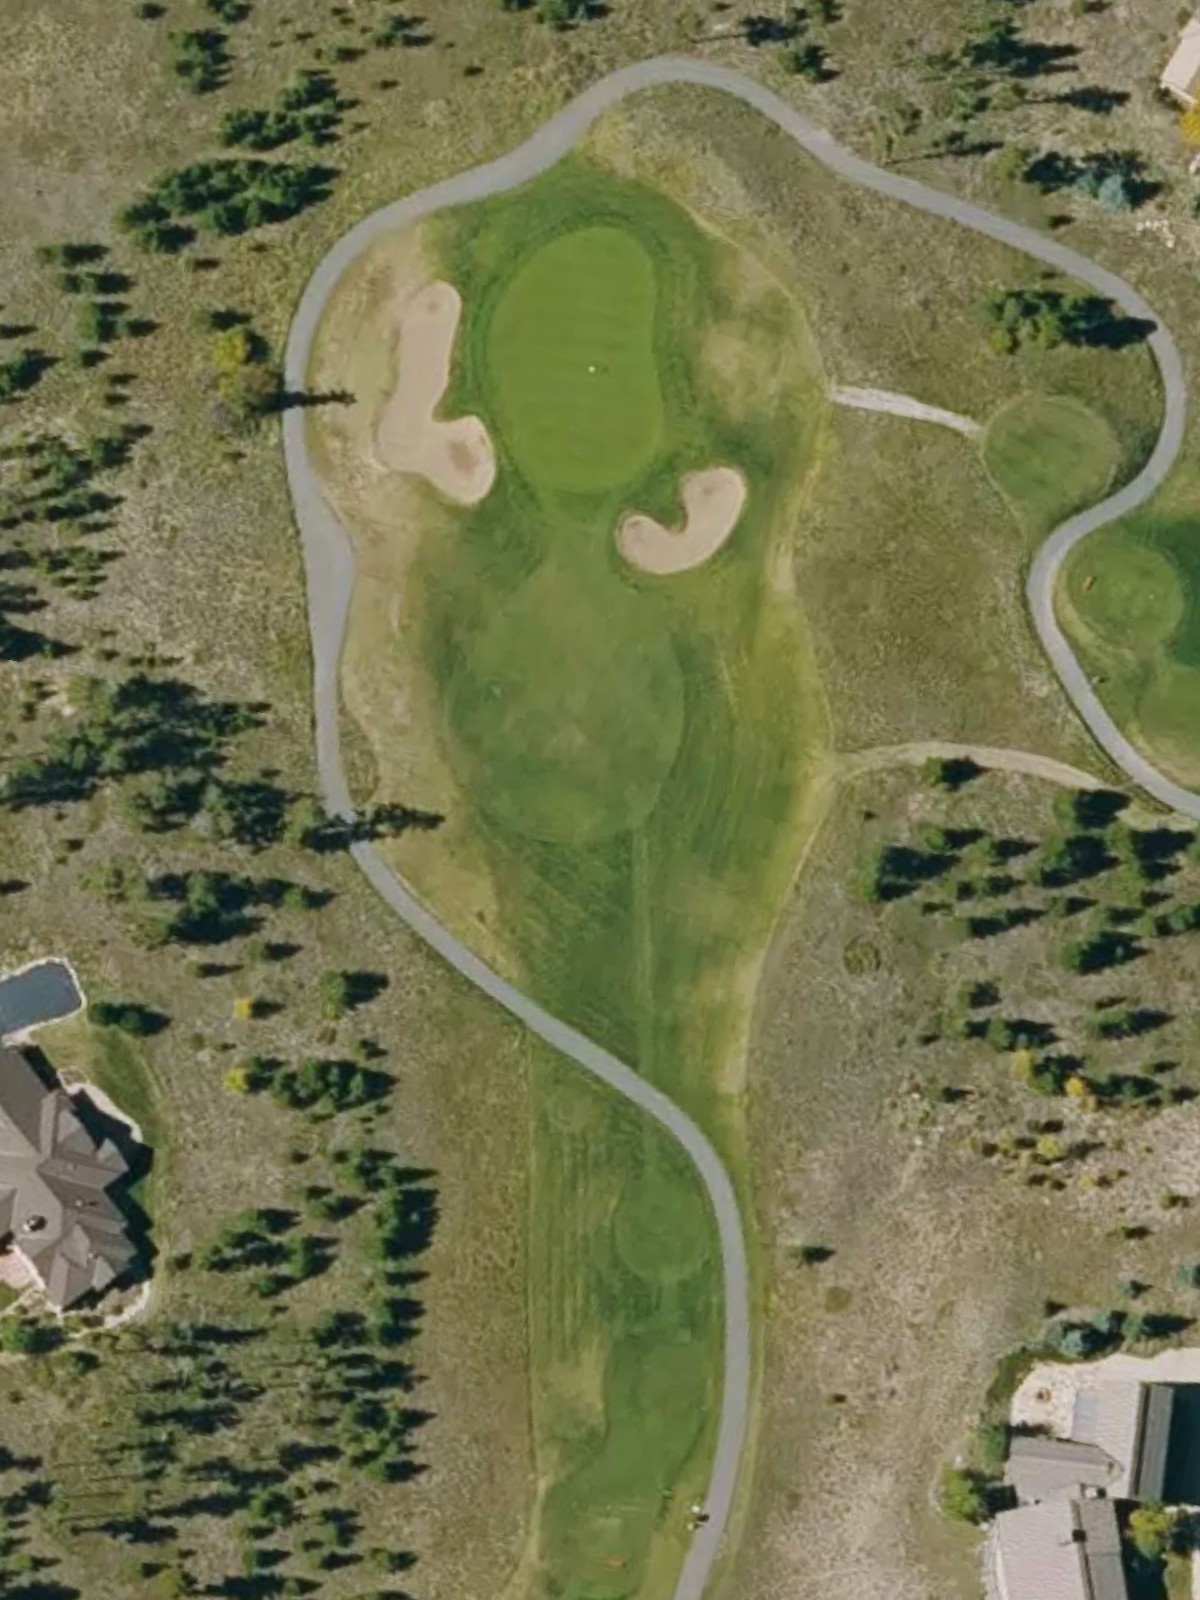
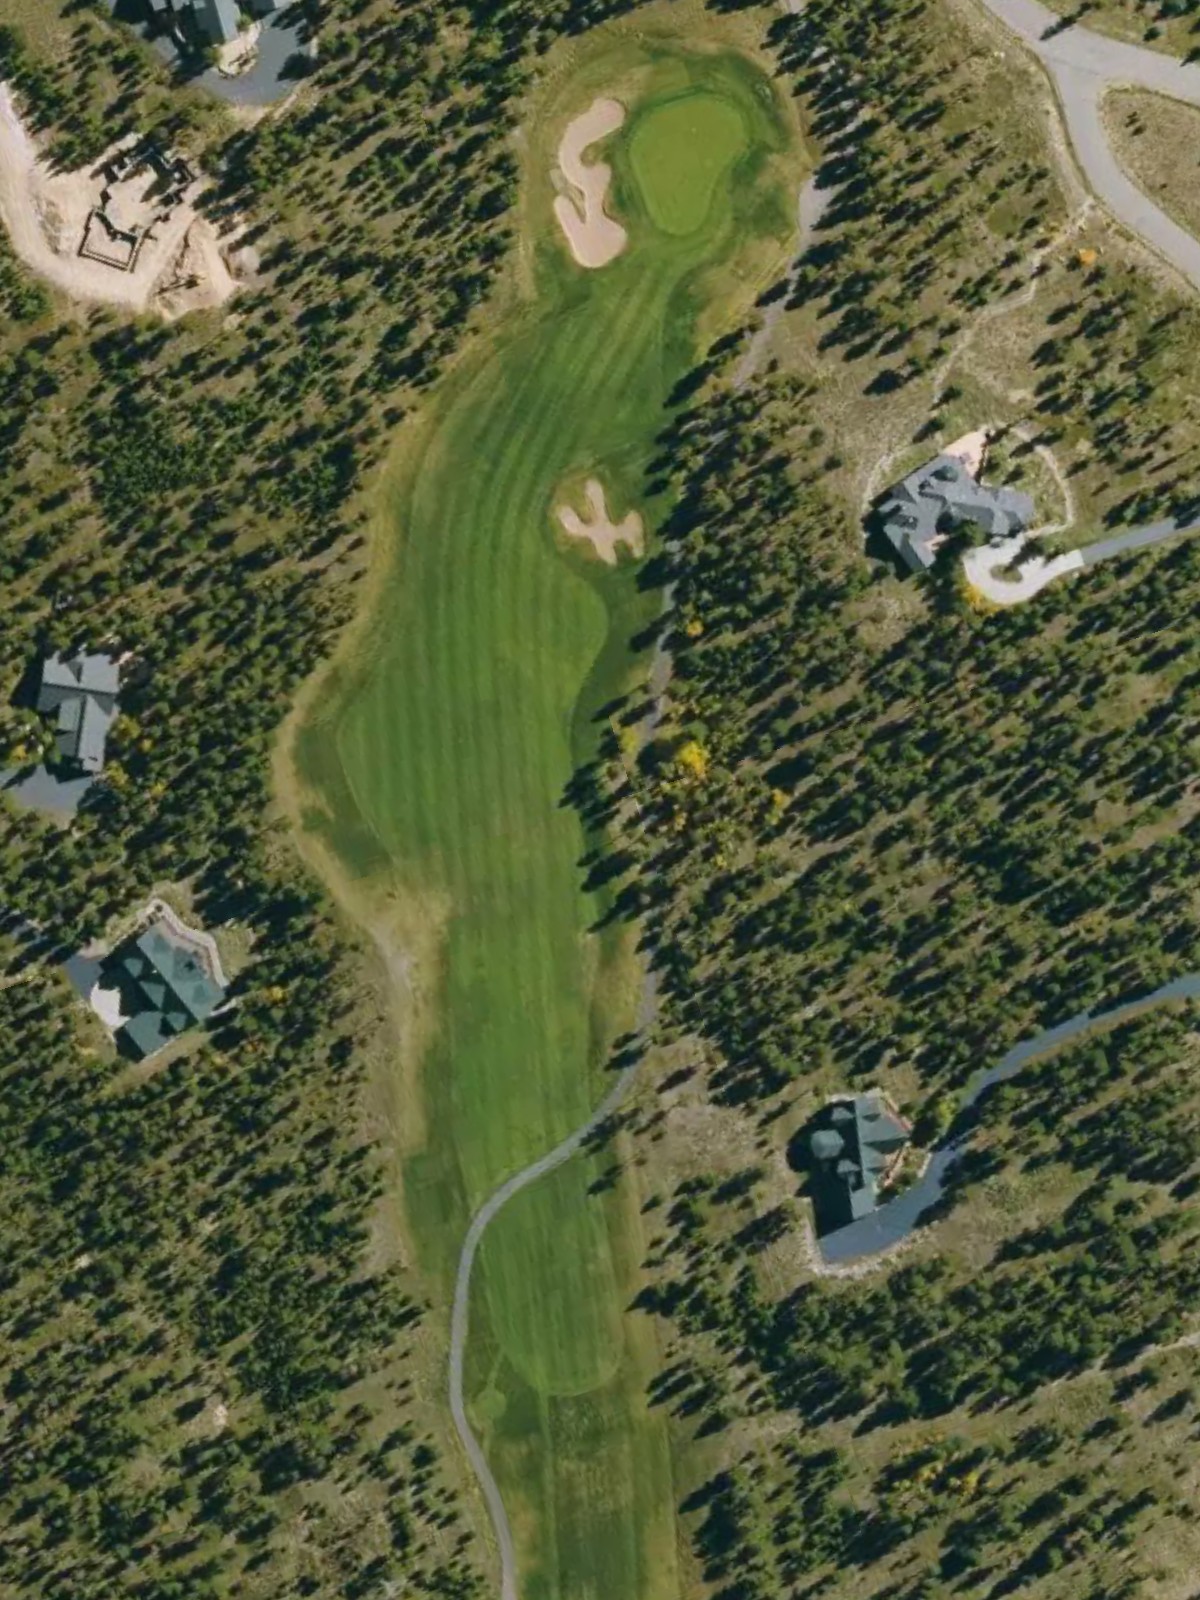
A mid-length par 4 with a straightforward routing and relatively open fairway. The green is the primary defense, requiring an accurate approach to avoid surrounding hazards.
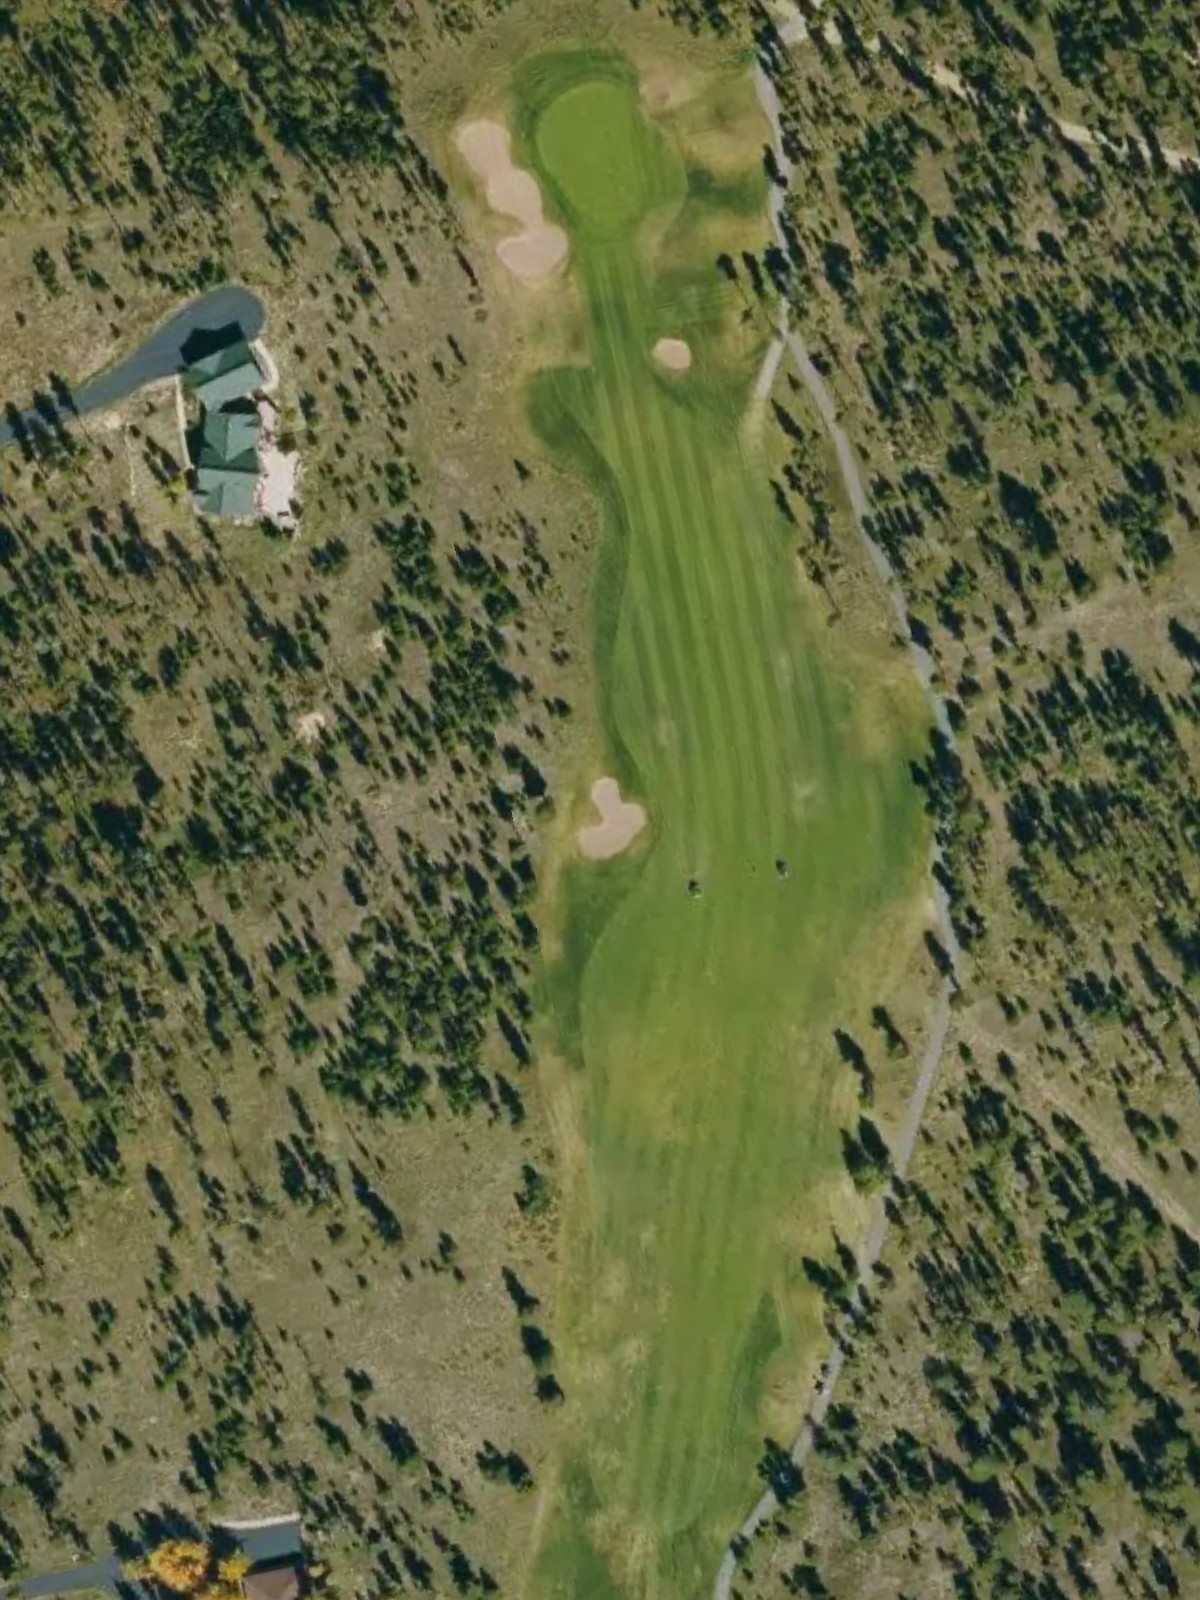
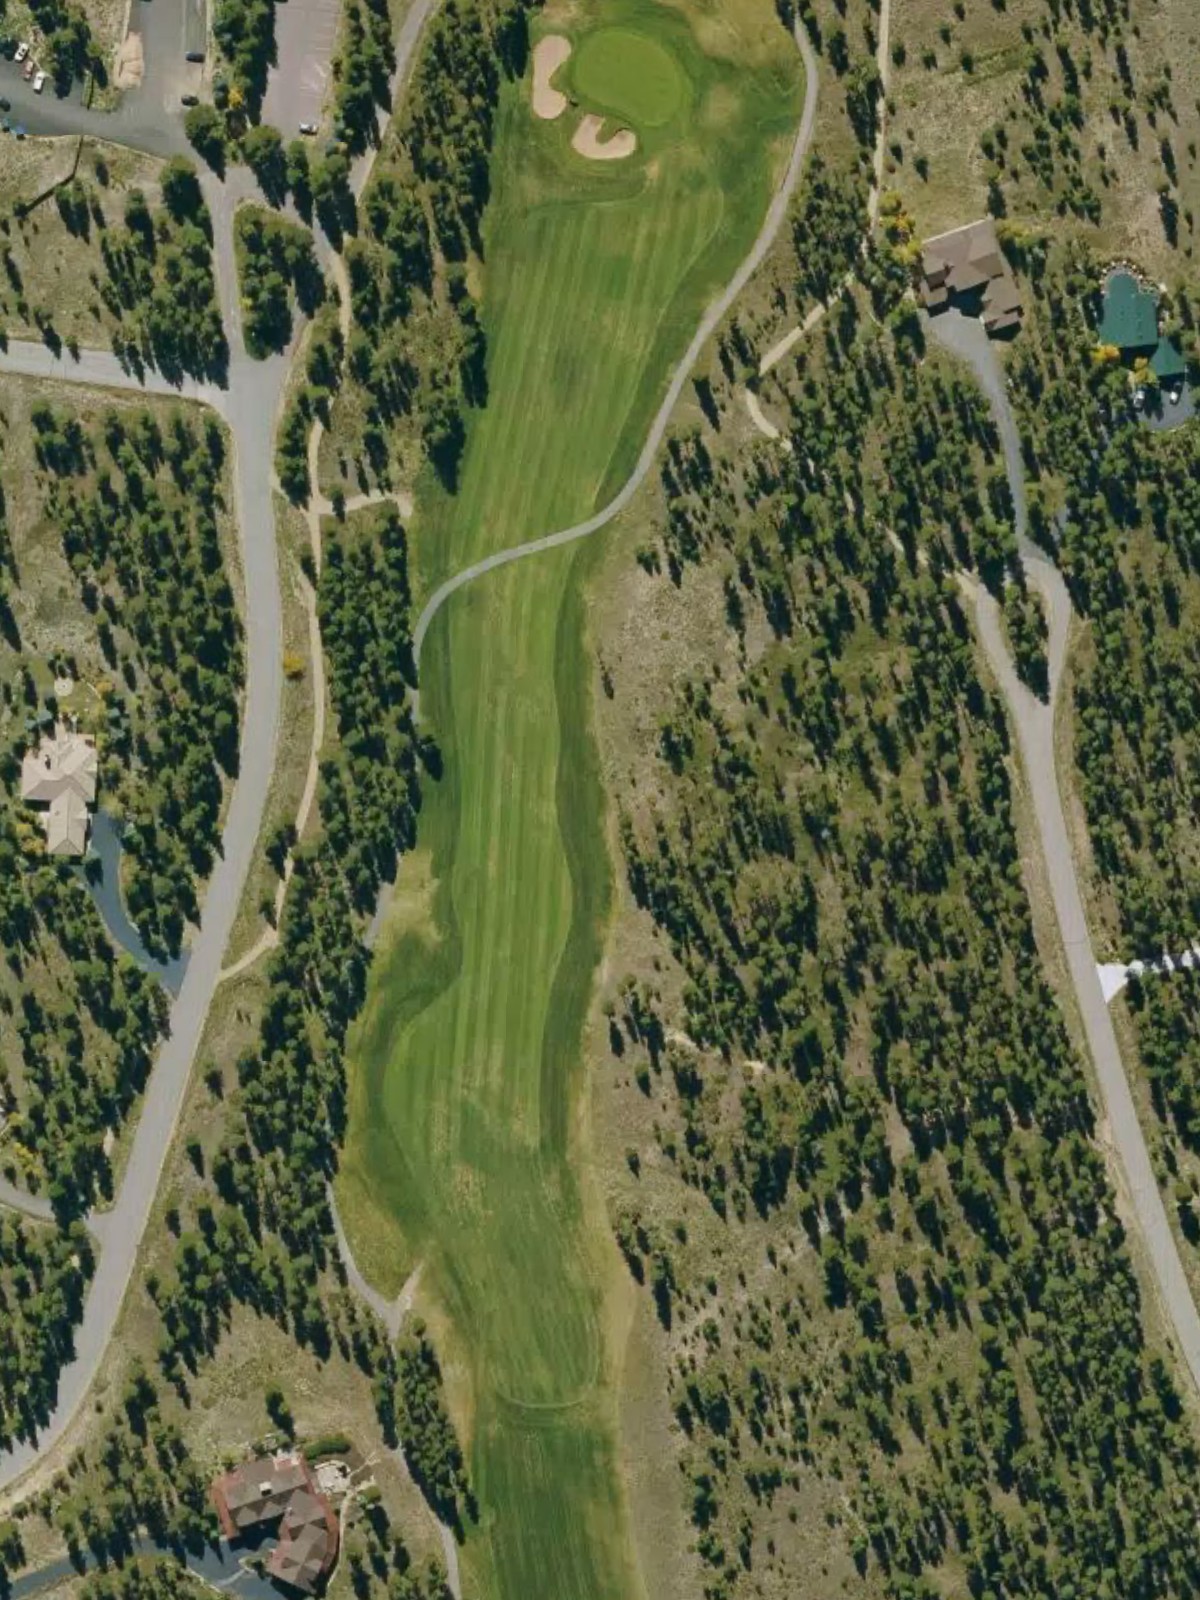
A solid par 4 that presents a good test of all-around play. Fairway definition and greenside bunkering create the main challenges on this strategically designed hole.
A very short par 3 that plays at under 170 yards from the back tees. Despite its brevity, precise aim is required to navigate the green's defenses and avoid penalty areas.
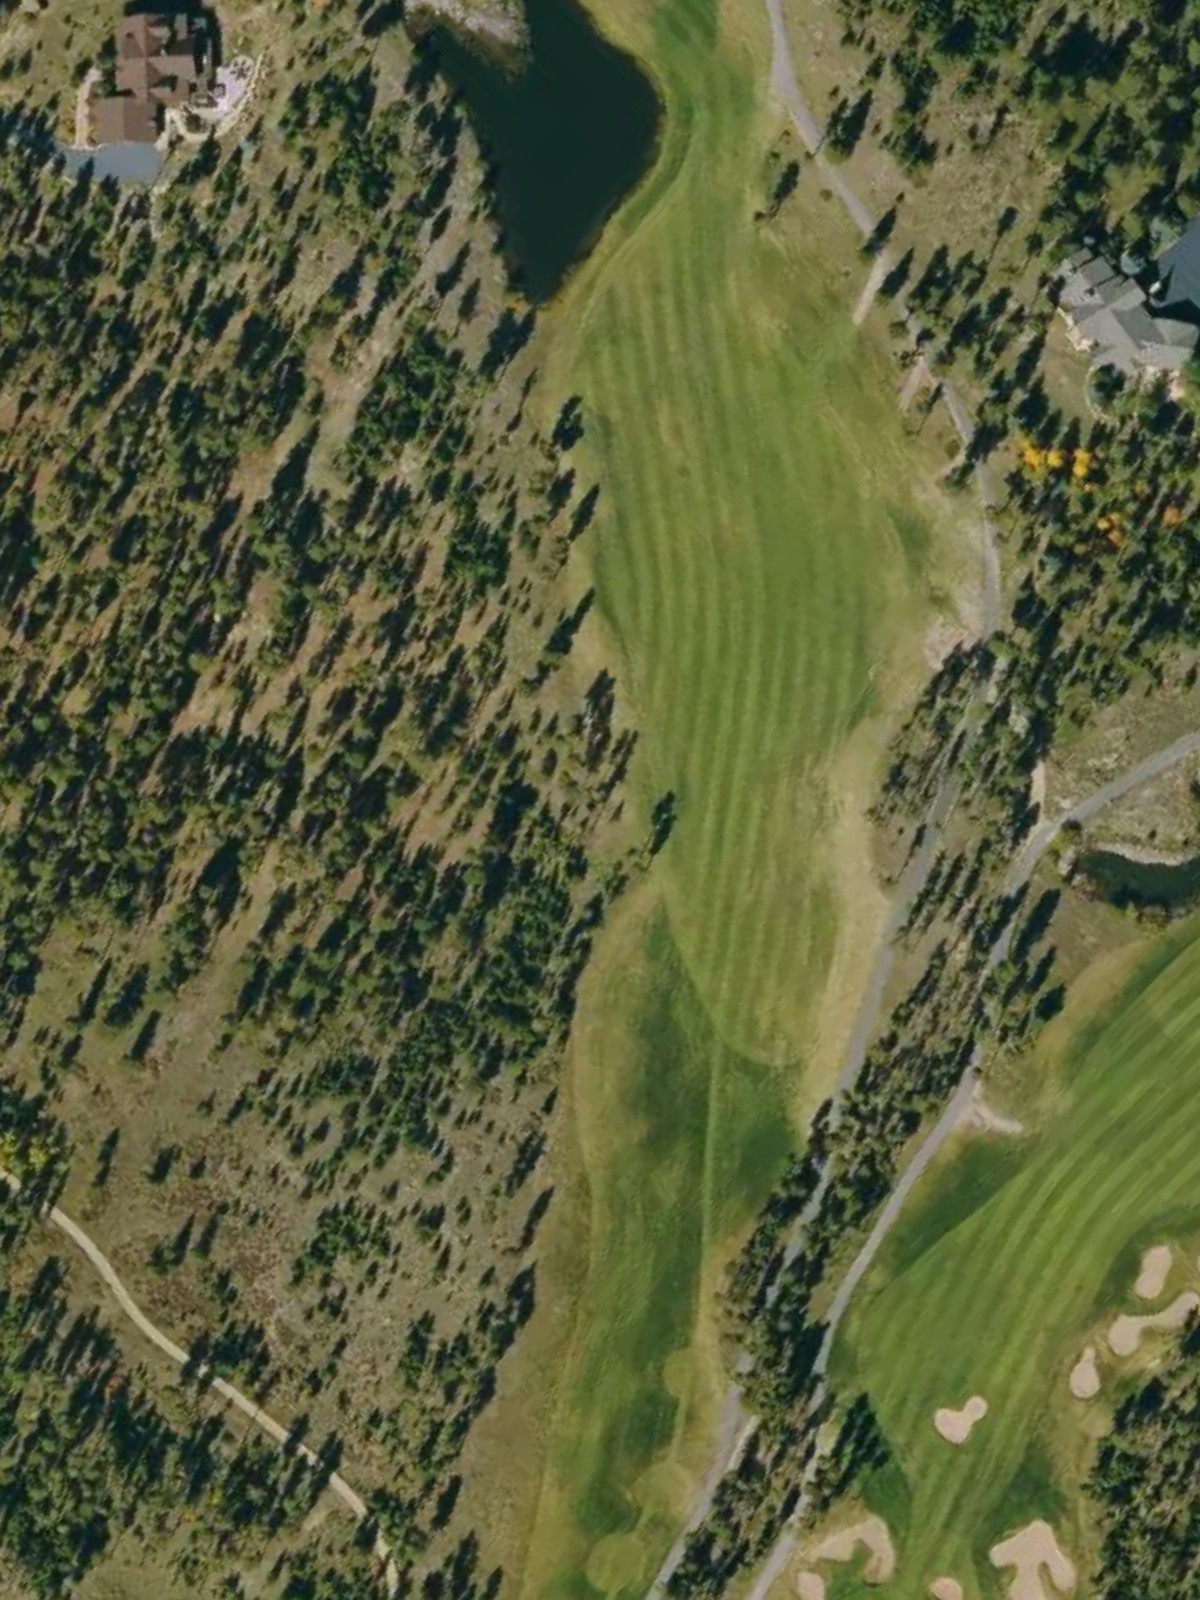
A long par 5 and the course's third-toughest hole, offering multiple ways to navigate the extended fairway. Strategic placement becomes critical as the hole requires two quality shots to reach the green in regulation.

A short par 4 playing under 340 yards from the tips and the course's 15th-hardest hole. The compact layout offers an opportunity for birdie despite its modest length.
A challenging par 4 ranked as the fifth-toughest hole on the course. The hole demands both length and accuracy, with hazards positioned to punish errant shots both off the tee and on approach.
A substantial par 5 that ranks among the course's most difficult holes. Two solid shots are required to reach scoring position, with the final approach determining the outcome.
A short par 4 playing under 350 yards and the easiest hole on the course. The modest length provides a scoring opportunity despite the course routing and hole design.
A long par 5 that ranks as the tenth-toughest hole and requires sustained accuracy over distance. The extended fairway presents options for different approach strategies to the green.
A mid-length par 4 that plays as the course's eighth-toughest challenge. Strategic positioning off the tee is important to access the best approach angles to the green.
A very short par 3 playing under 180 yards from the back tees and the course's 16th-hardest hole. The brief distance belies the precision required to avoid the green's defenses.

A mid-length par 4 ranked as the sixth-toughest hole on the course. Hazard placement and fairway design reward accuracy and penalize loose shots.
A short par 3 playing under 200 yards from the tips with moderate difficulty. The hole's compactness still demands solid execution to avoid the surrounding dangers.
A long par 5 and the course's fourth-toughest hole, requiring distance and precision from tee to green. Strategic positioning becomes increasingly important as the hole progresses toward the green complex.
A challenging par 4 and the second-toughest hole on the course, demanding both length and accuracy. The hole's difficulty is earned through strategic hazard placement and green design rather than length alone.
A mid-length par 4 finishing hole that presents a balanced test of skill. The hole's strategic design provides a fitting conclusion to the round with challenges off the tee and on approach.
Scorecard
| Hole | 1 | 2 | 3 | 4 | 5 | 6 | 7 | 8 | 9 | Out | 10 | 11 | 12 | 13 | 14 | 15 | 16 | 17 | 18 | In | Tot |
|---|---|---|---|---|---|---|---|---|---|---|---|---|---|---|---|---|---|---|---|---|---|
| Par | 4 | 3 | 4 | 4 | 3 | 5 | 4 | 4 | 5 | 36 | 4 | 5 | 4 | 3 | 4 | 3 | 5 | 4 | 4 | 36 | 72 |
| HCP | 1 | 17 | 11 | 9 | 13 | 3 | 15 | 5 | 7 | 18 | 10 | 8 | 16 | 6 | 14 | 4 | 2 | 12 | |||
| blue | 413 | 161 | 405 | 427 | 167 | 557 | 339 | 472 | 542 | 3483 | 348 | 511 | 348 | 179 | 385 | 192 | 550 | 433 | 409 | 3355 | 6838 |
| white | 389 | 146 | 386 | 397 | 161 | 543 | 307 | 428 | 508 | 3265 | 322 | 473 | 302 | 159 | 332 | 161 | 517 | 399 | 359 | 3024 | 6289 |
| white/gold | 353 | 146 | 386 | 397 | 161 | 514 | 307 | 366 | 508 | 3138 | 303 | 433 | 302 | 159 | 294 | 161 | 461 | 399 | 359 | 2871 | 6009 |
| gold | 353 | 130 | 370 | 366 | 122 | 514 | 283 | 366 | 469 | 2973 | 303 | 433 | 268 | 115 | 294 | 127 | 461 | 294 | 269 | 2564 | 5537 |
| red | 254 | 109 | 259 | 324 | 75 | 415 | 258 | 307 | 404 | 2405 | 233 | 421 | 254 | 74 | 283 | 111 | 407 | 286 | 259 | 2328 | 4733 |