Pokegama Golf Course is an 18-hole golf course in Grand Rapids, MN with a par of 71. It offers 8 tee sets: blue (6,426 yards, slope 132, rating 70.8), white (6,105 yards, slope 129, rating 69.4), white/yellow (5,742 yards, slope 125, rating 67.7), yellow (5,585 yards, slope 121, rating 66.8), yellow/red (5,284 yards, slope 121, rating 65.6), red (4,997 yards, slope 110, rating 63.7), green (4,000 yards, slope 109, rating 60.8), orange (3,000 yards, slope 96, rating 56). The hardest hole is #5, a par 5 playing 401 yards from the first tee.
Pokegama Golf Course
Grand Rapids, MN
Get PDF Yardage Book
We'll email you the PDF link. No spam, ever.
Create Your Game Plan
Pick your tees, enter your bag, and get a personalized shot-by-shot strategy for every hole.
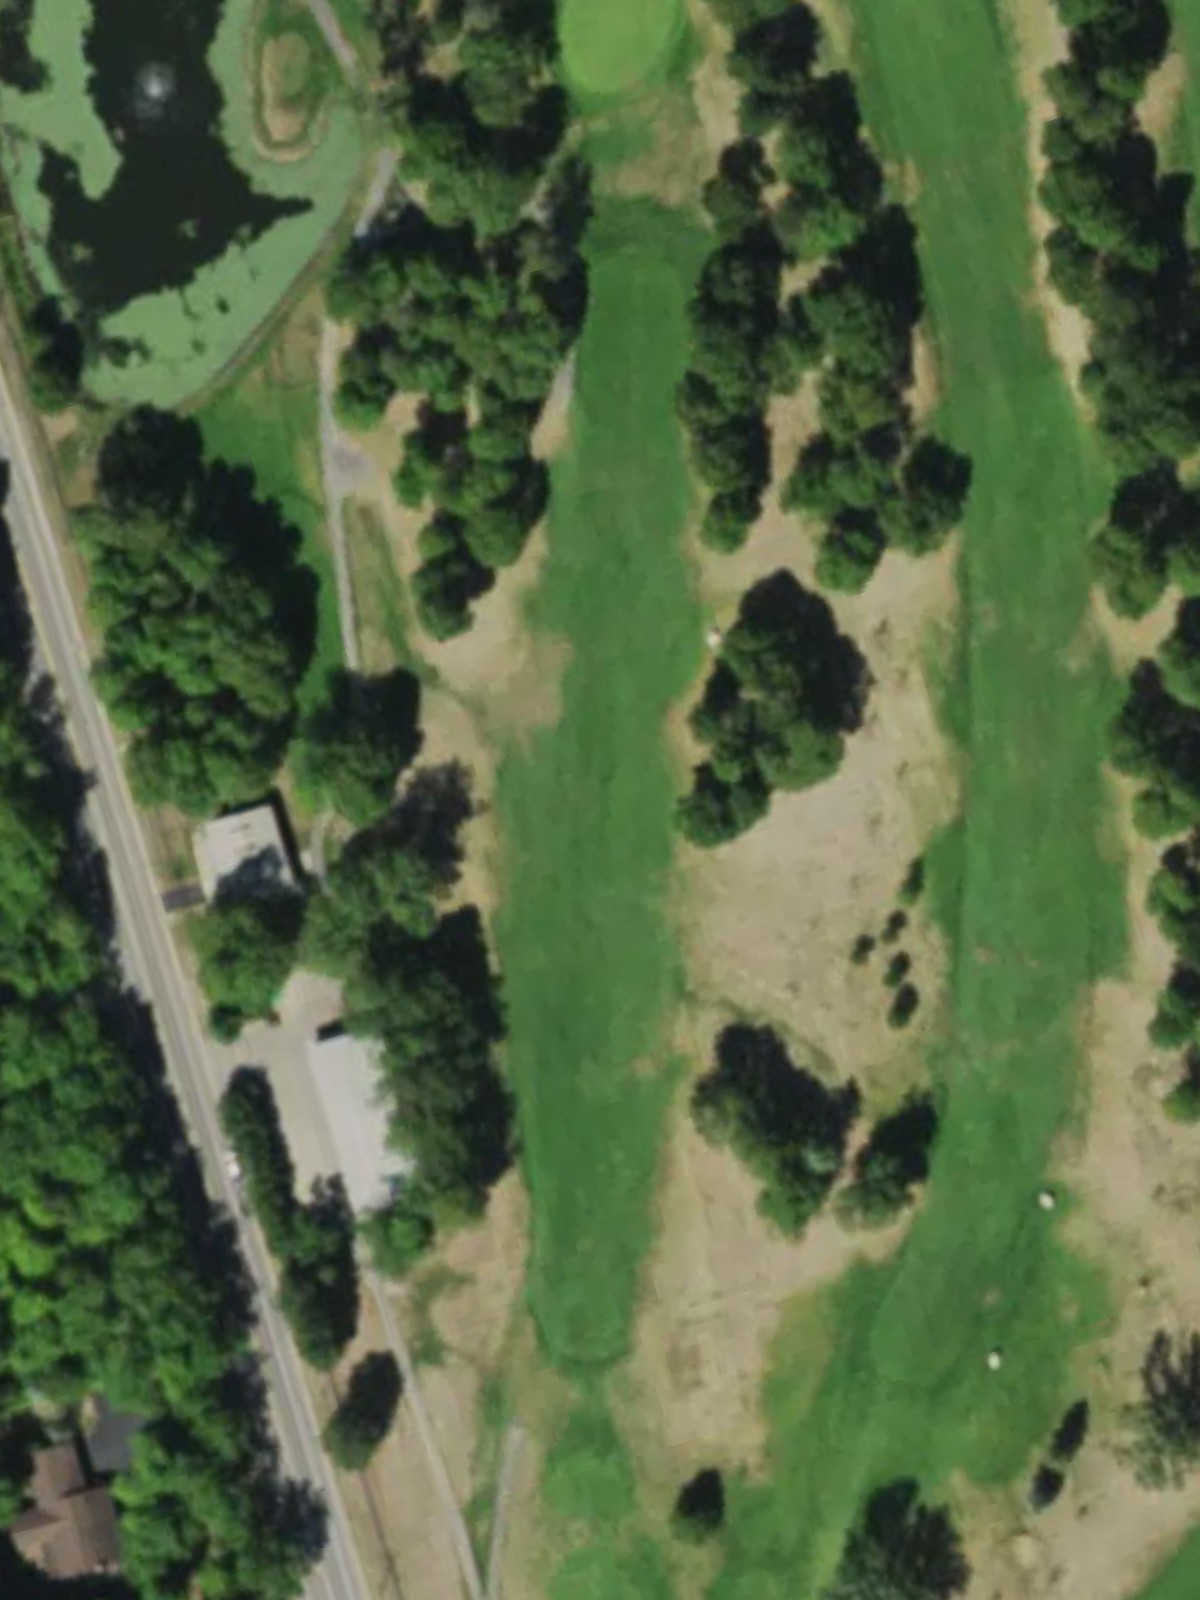
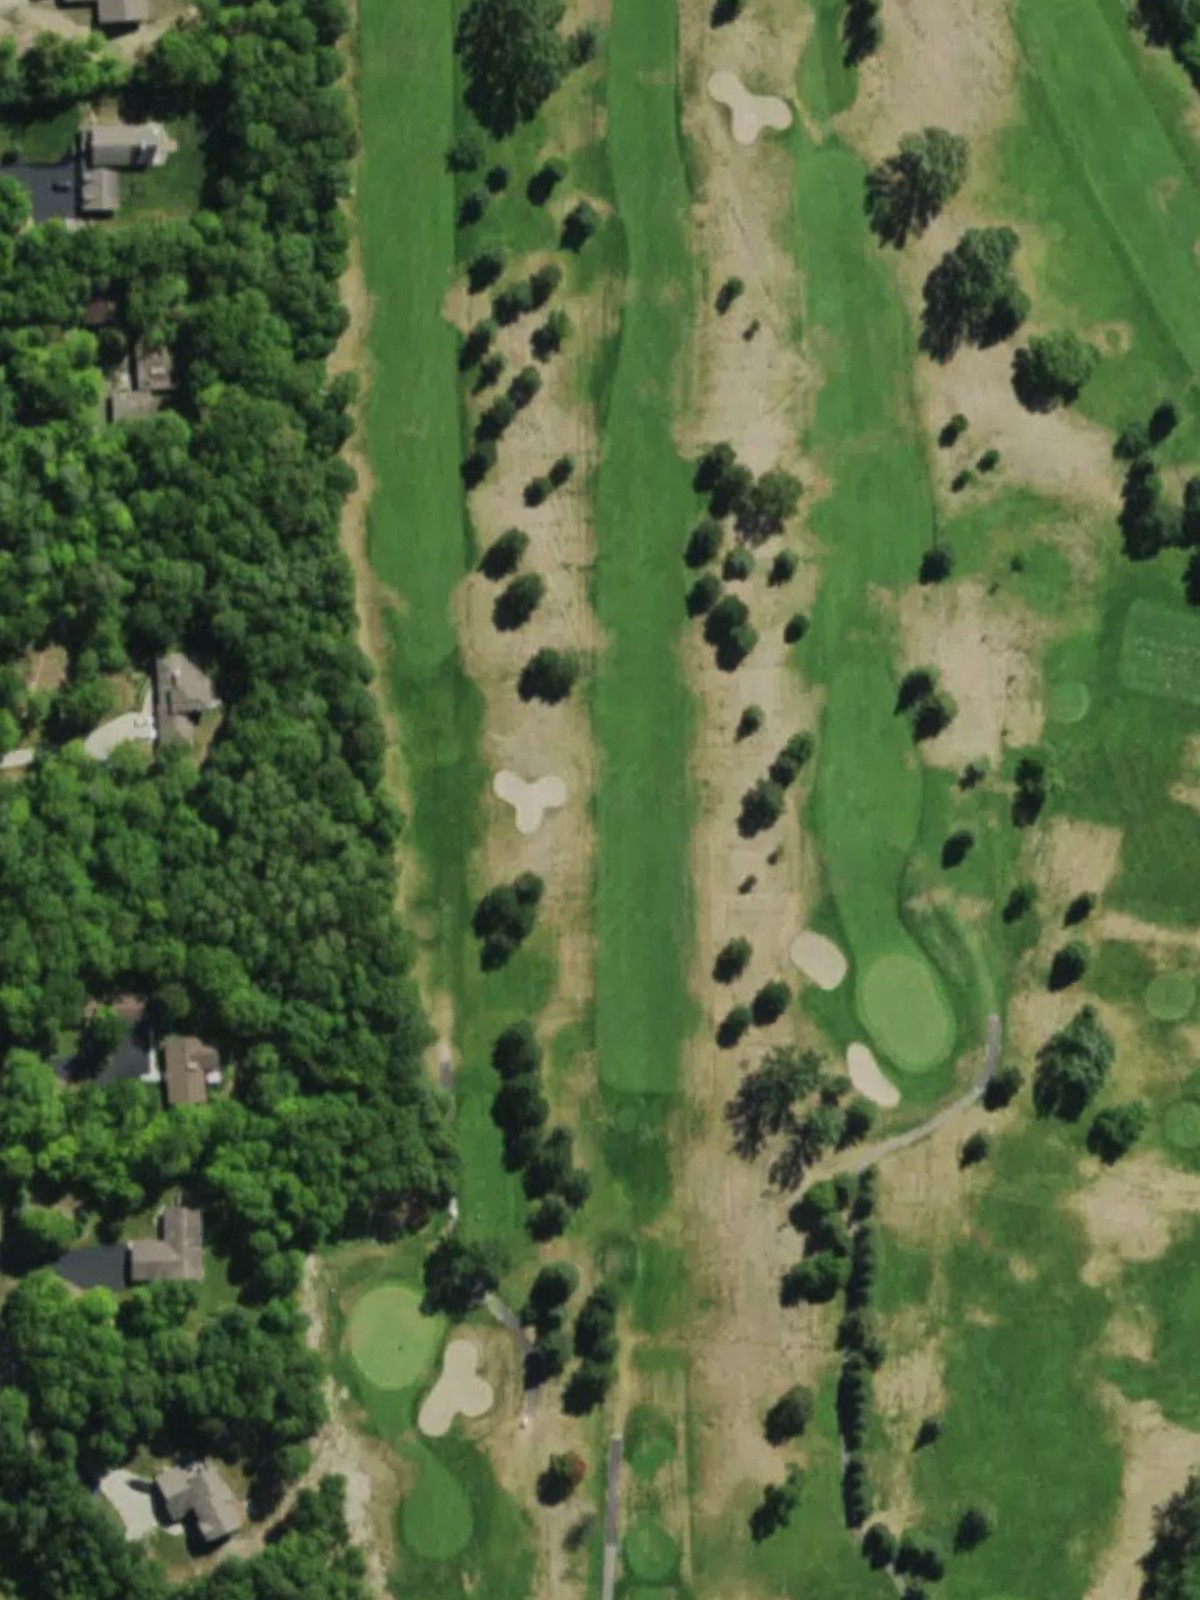
A straightforward par 4 that opens with a wide fairway before narrowing as it approaches the green. Bunkers protect the right side of the green, demanding accuracy on the approach shot to avoid sand.
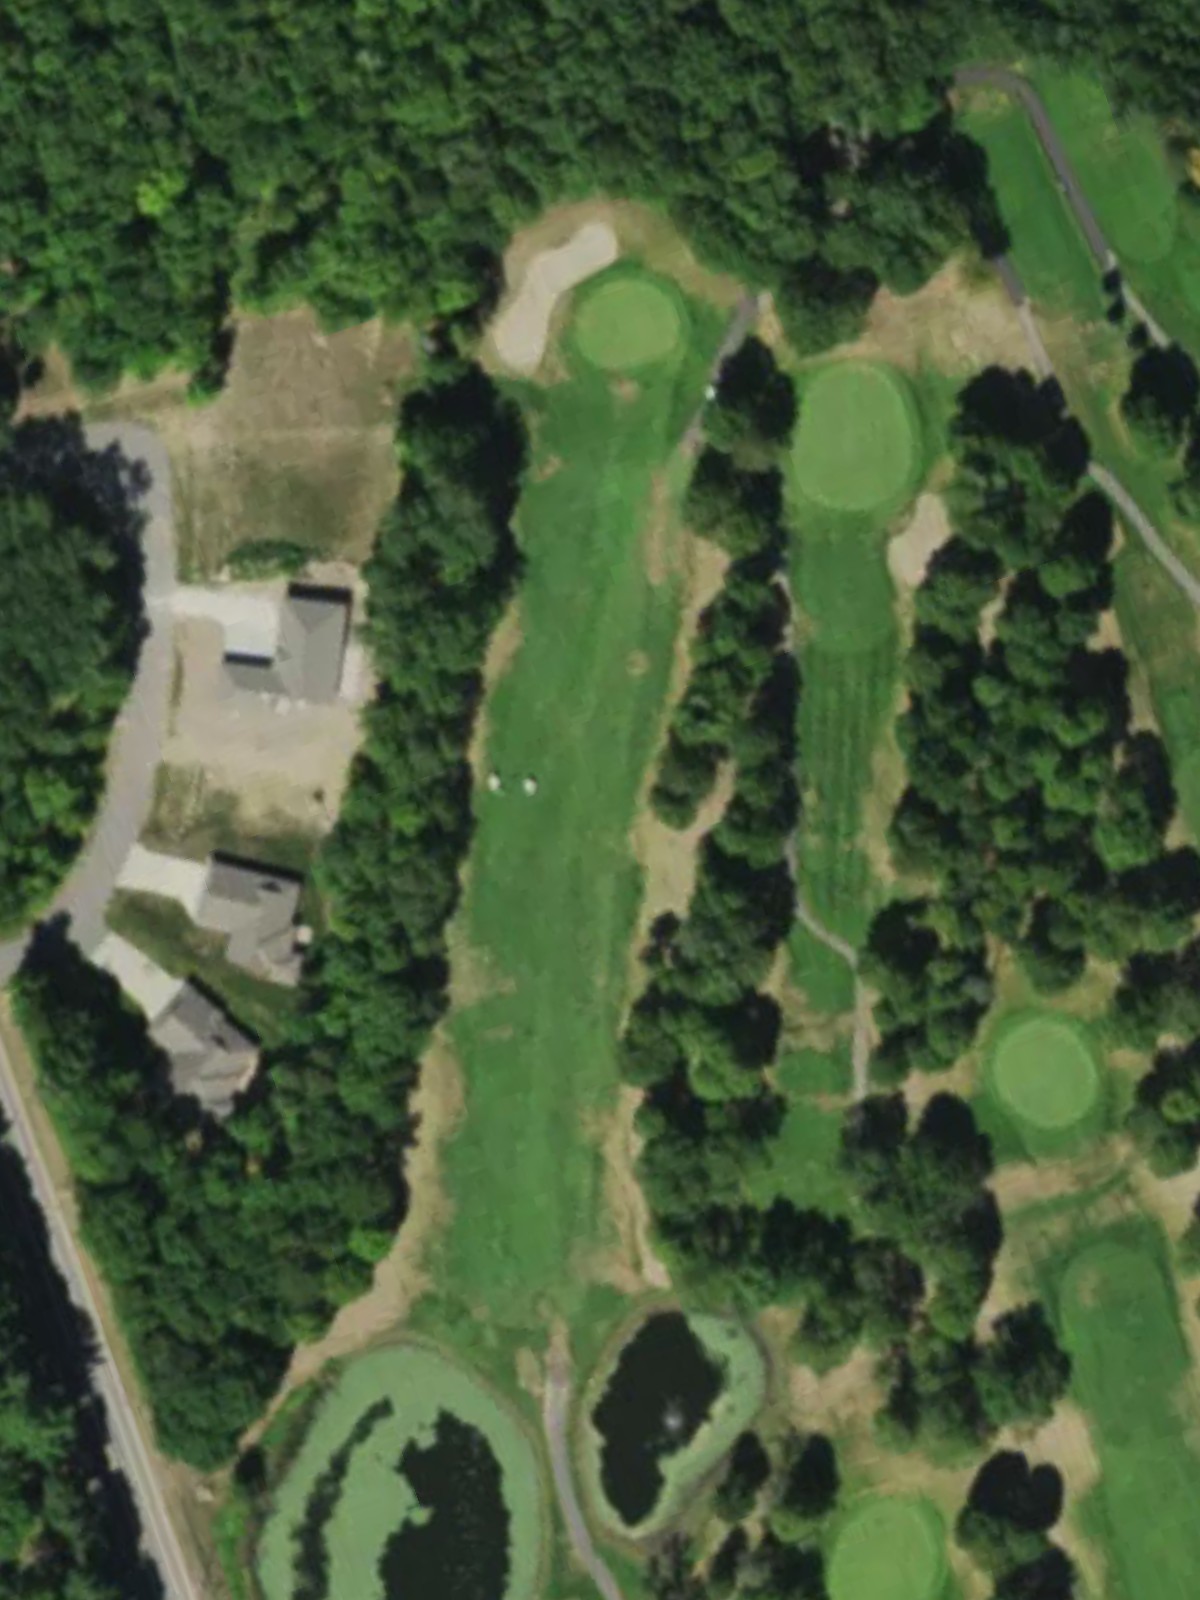
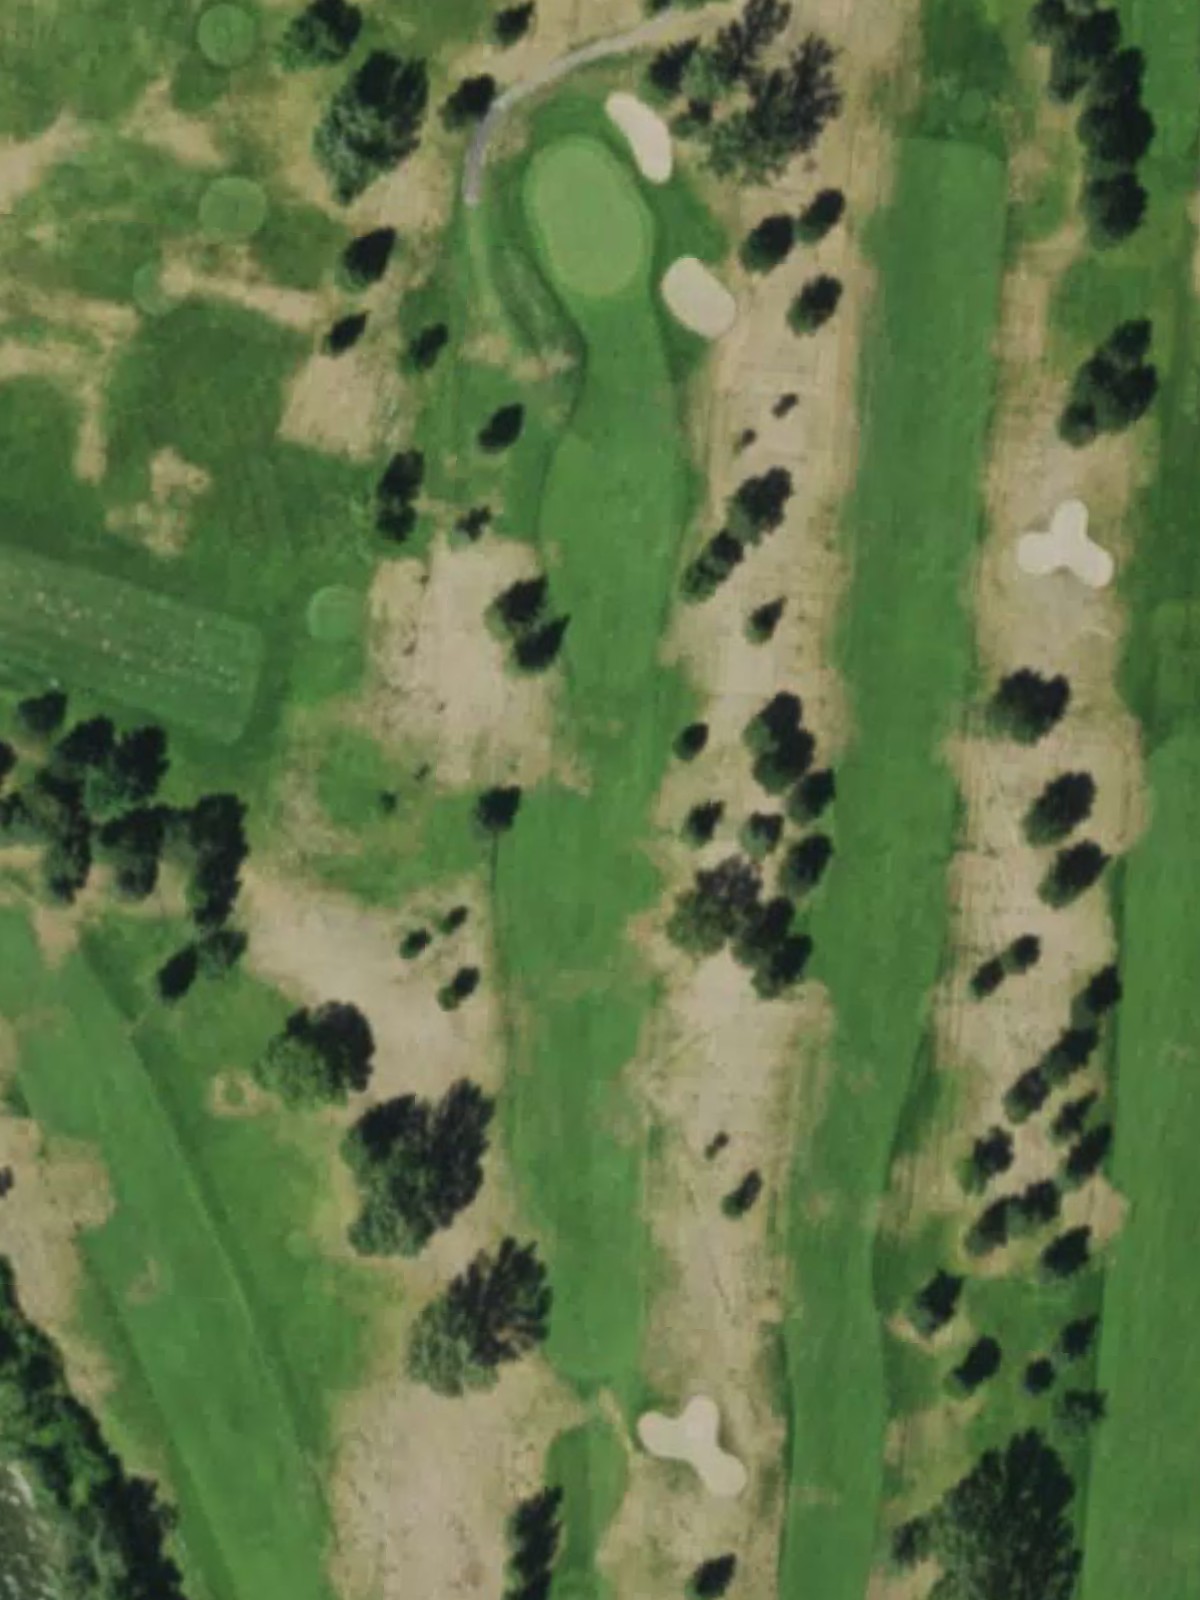
A demanding par 4 that plays as the course's second-hardest hole and requires a well-executed approach to a well-bunkered green. The length and strategic bunkering make this a scoring challenge from the tee box onward.
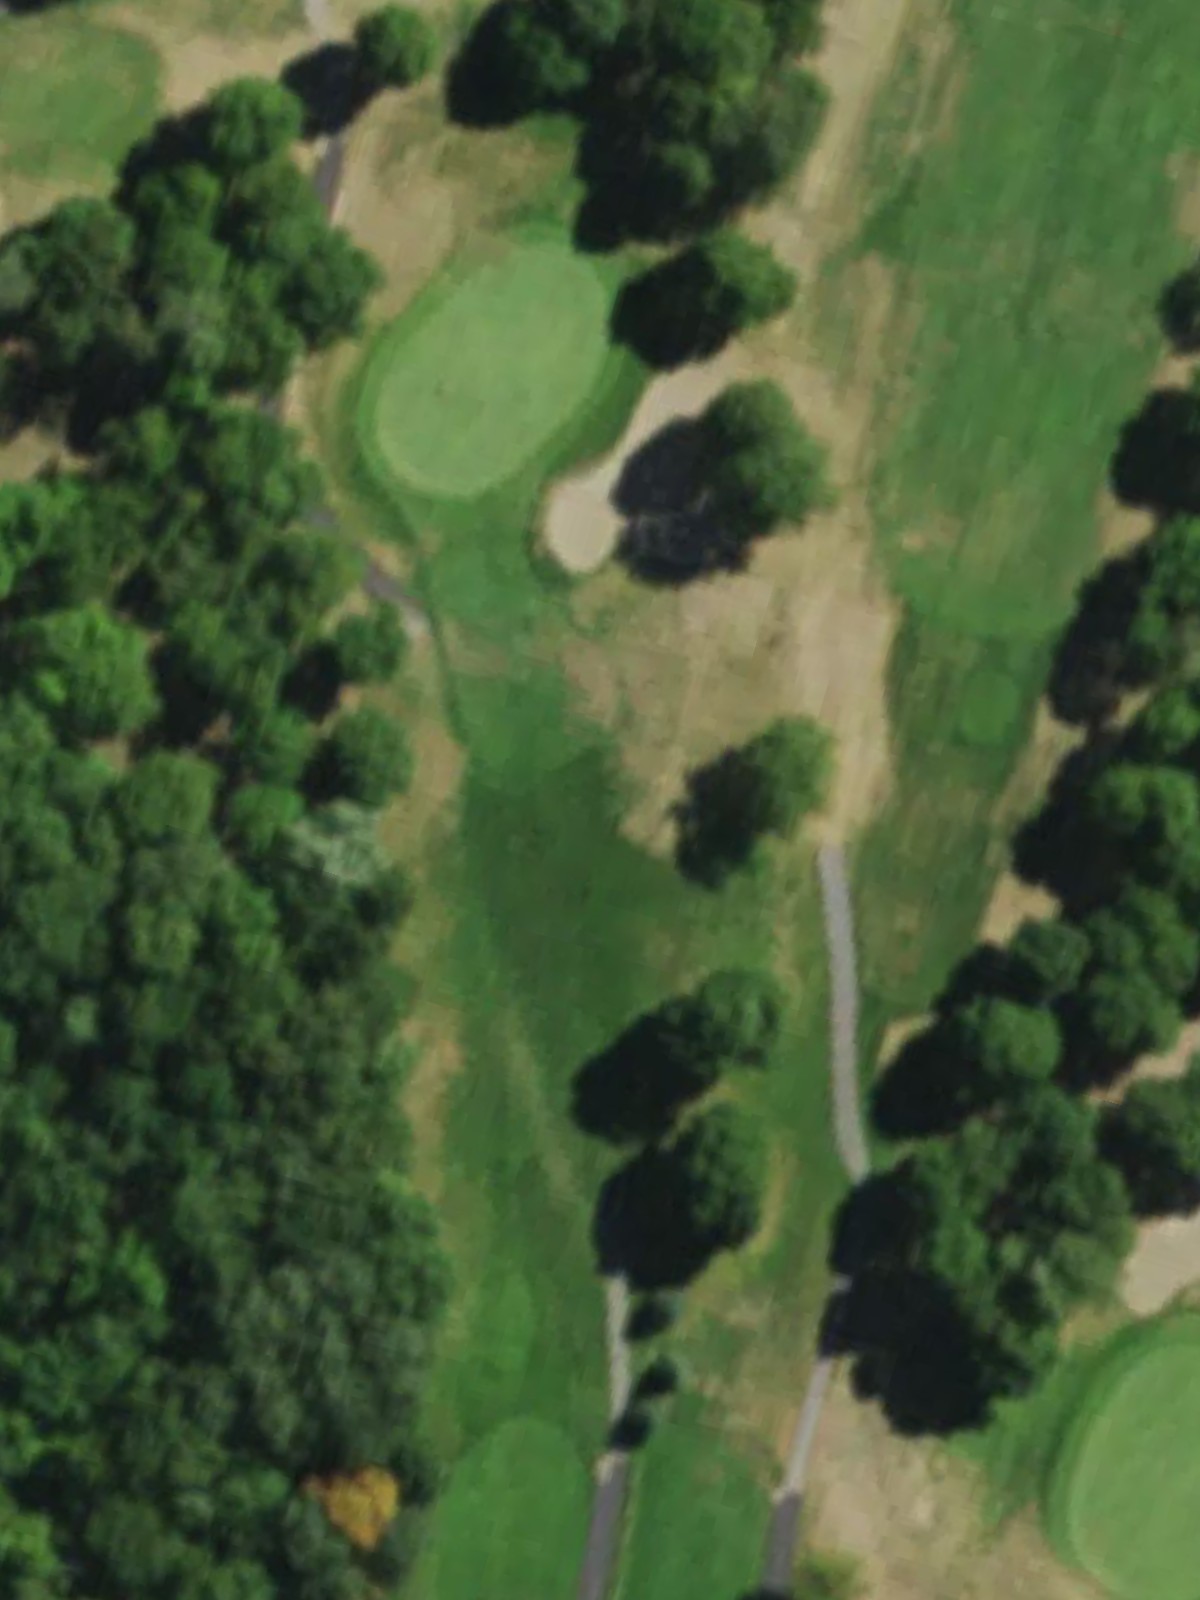
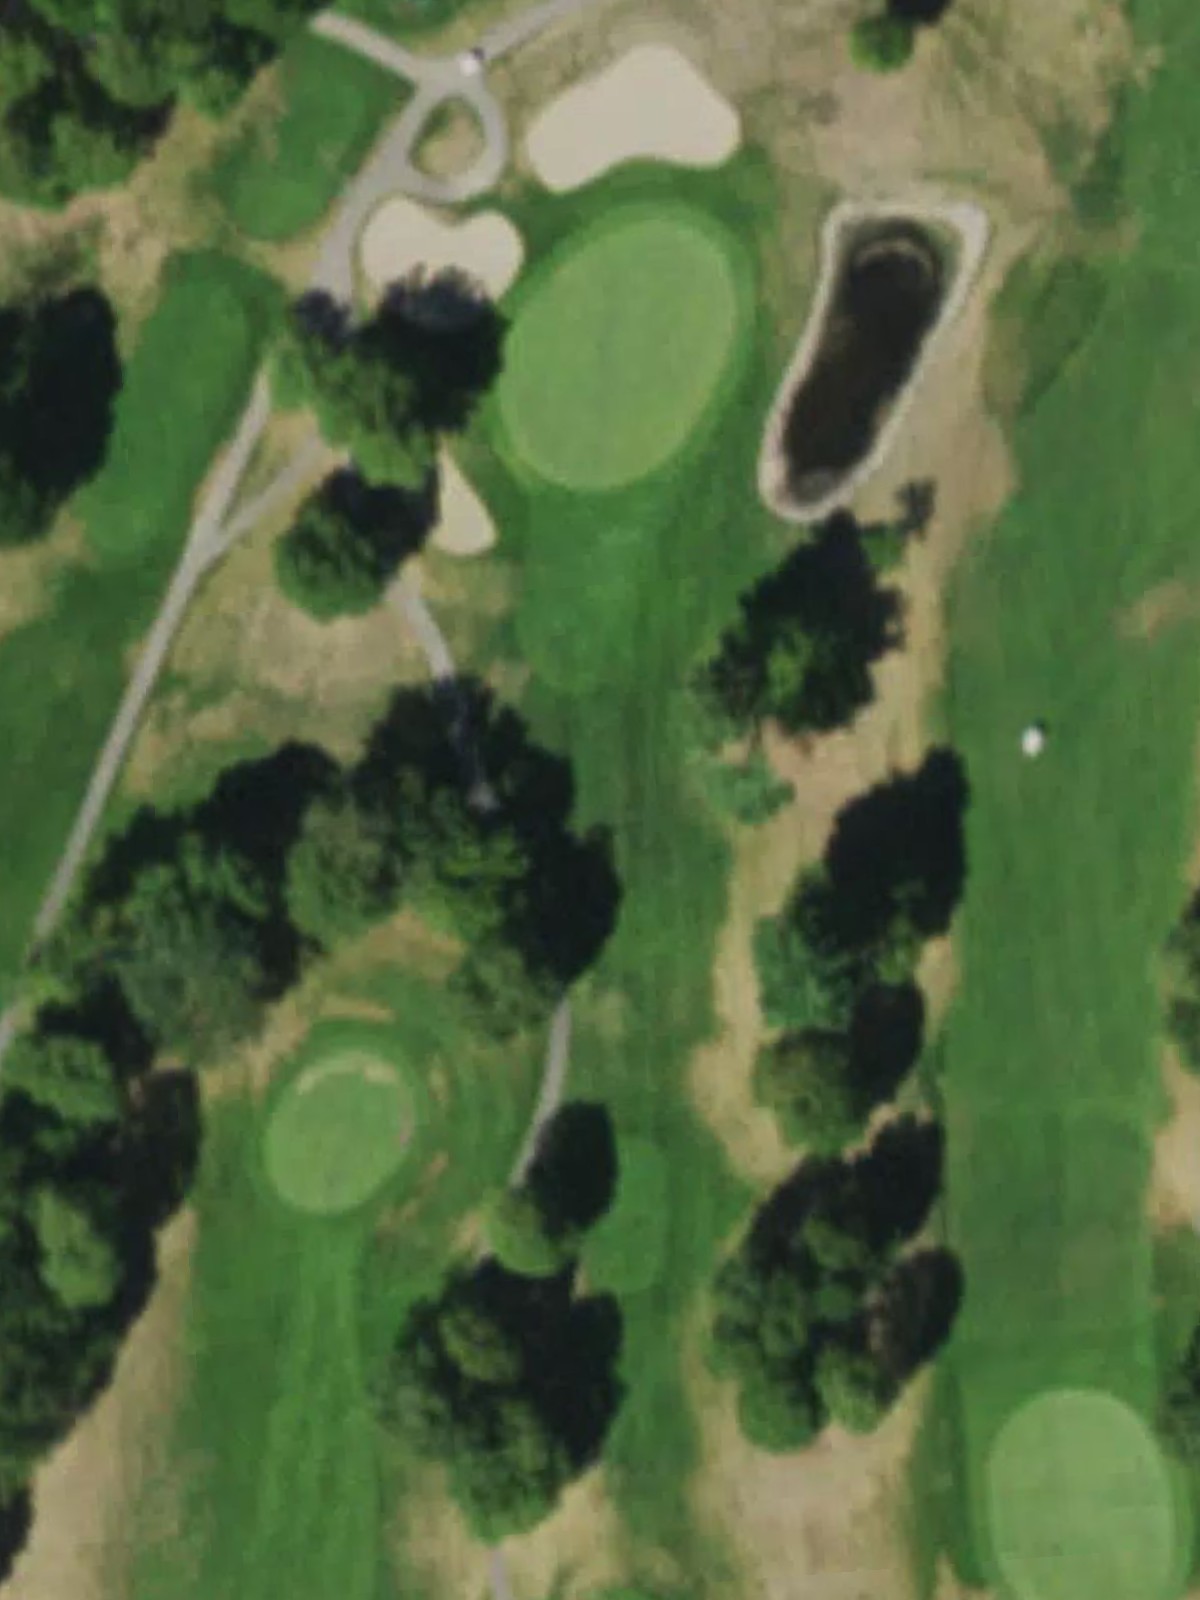
A short par 3 that demands precision over distance to find a compact green. The modest yardage belies the focus required to avoid missing the target area.

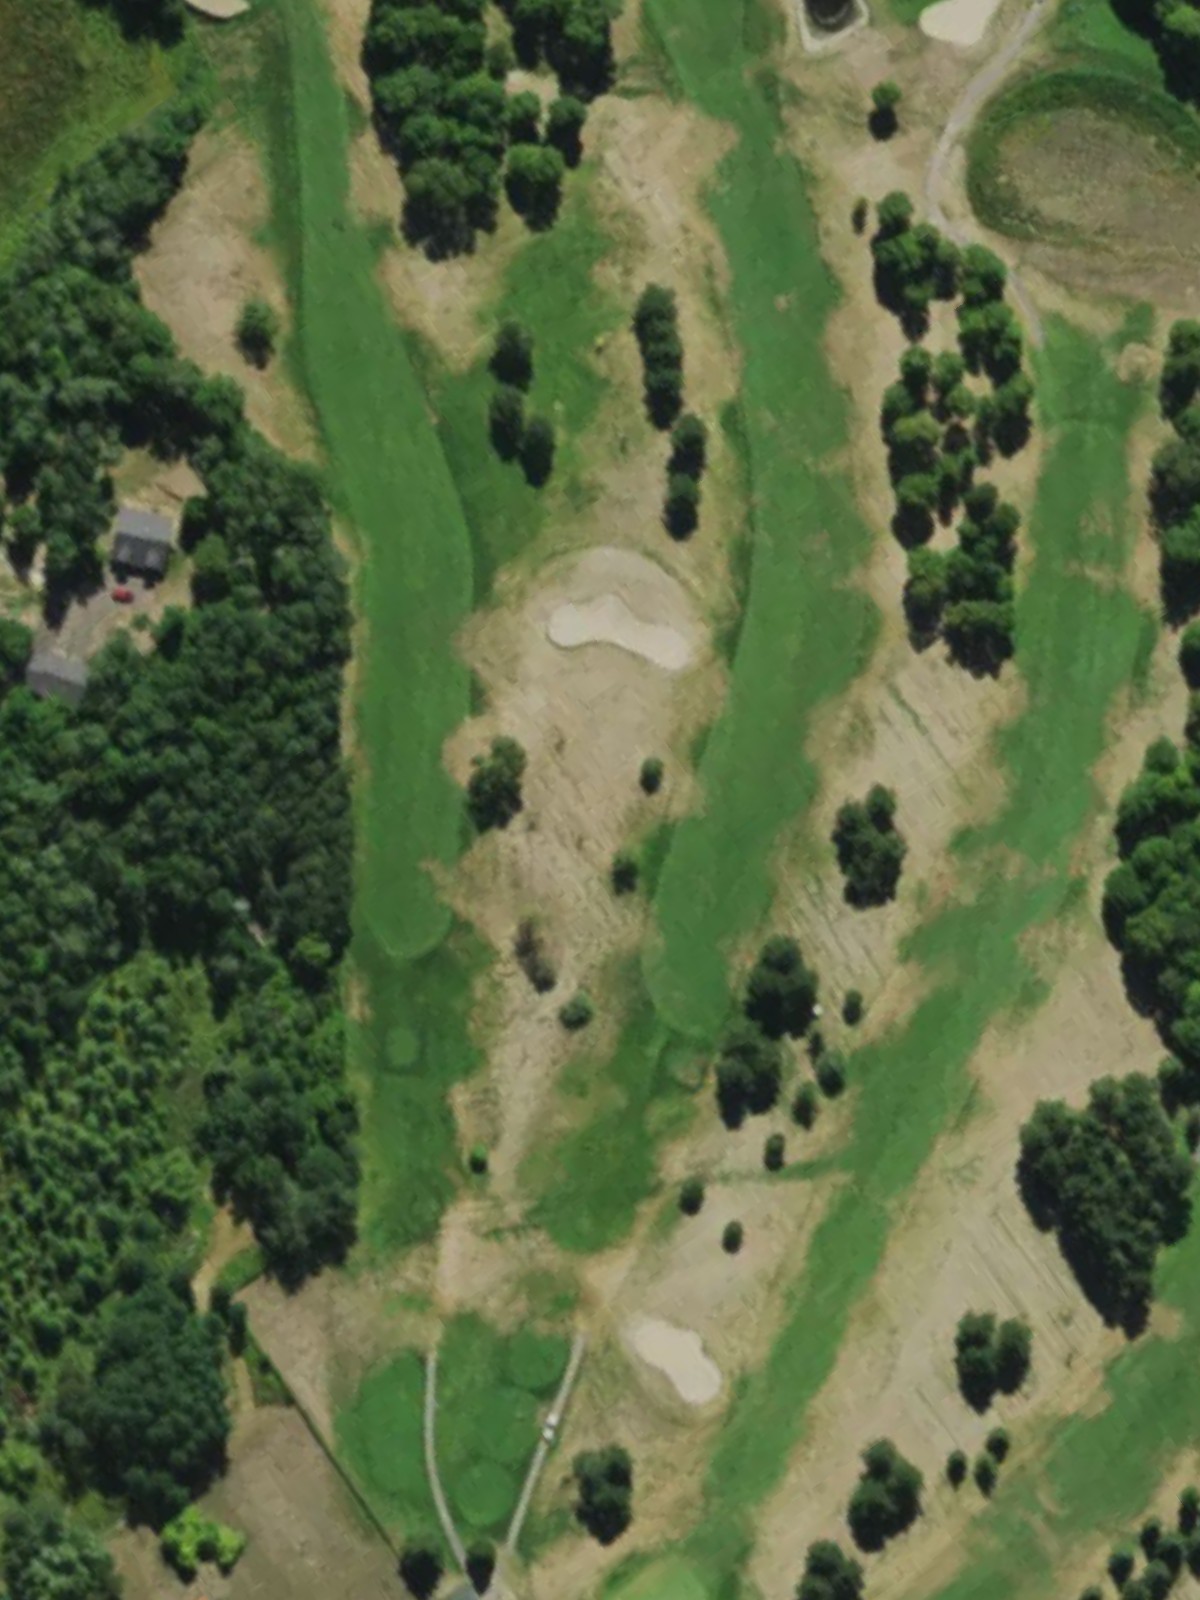
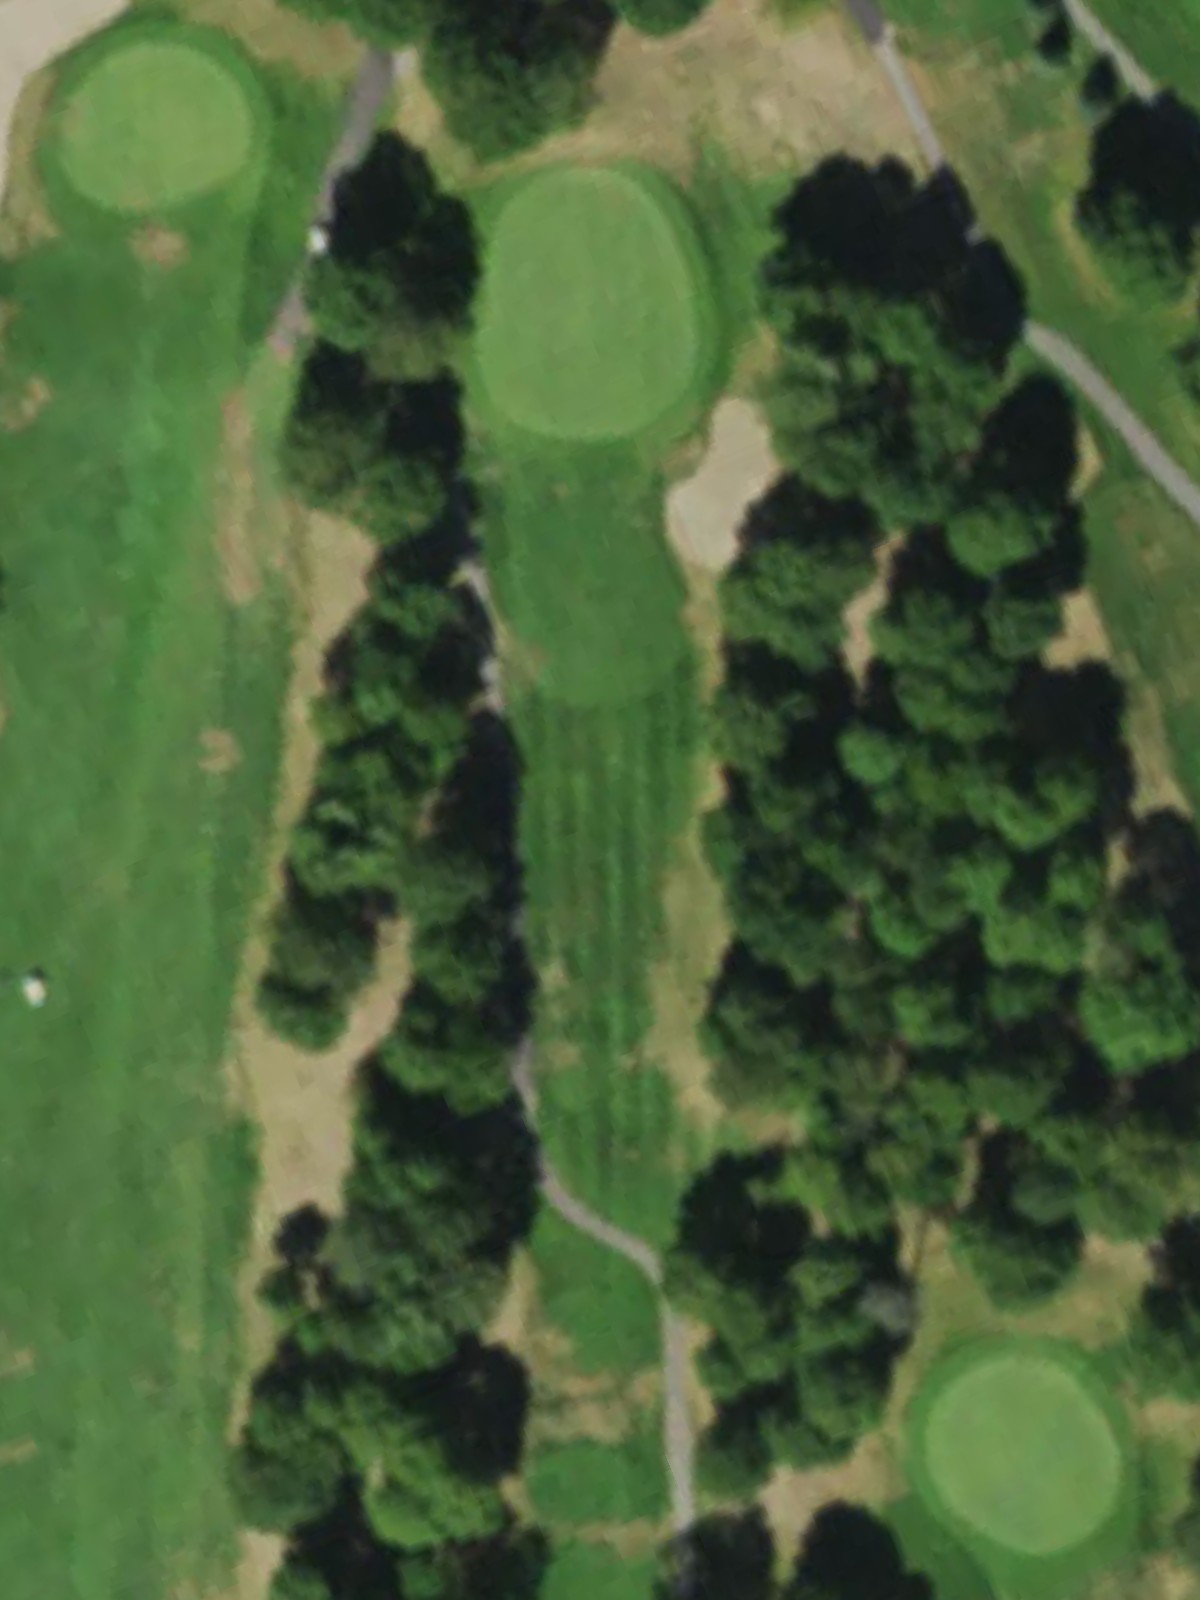
A strong par 4 with considerable length that tests the golfer's ability to reach the green in regulation. Strategic hazards frame the approach, making club selection and placement critical.
The course's most difficult hole, this par 5 requires two solid shots to reach scoring position on a long canvas. The length and complexity demand accuracy and strategy throughout the hole.
A lengthy par 5 that offers birdie potential for those who navigate its challenges with placement and distance control. Hazards positioned throughout the hole reward thoughtful execution.
A mid-length par 4 with character that balances accessibility with enough teeth to challenge the scoring card. The hole's design creates interesting risk-reward decisions off the tee.
The shortest par 3 on the course, playing to a tight green that requires a precise strike. The brevity of yardage is offset by the accuracy demands of the target.

A par 4 of moderate length with a character hole feel that transitions the back nine into play. Strategic elements on or near the green add complexity to what may appear straightforward from the tee.

A strong par 5 that kicks off the back nine with a substantial challenge and birdie opportunity for solid ballstrikers. Hazards and length combine to make this a pivotal hole in the course's back-nine sequence.
A short par 3 that offers a reprieve from longer holes while still demanding an accurate short-game mentality. The modest distance masks the precision required to attack the green.
A well-designed par 4 that sits among the course's most challenging holes despite moderate length. Strategic bunkering and green complexity create a compelling test of both power and placement.
A lengthy par 4 that stretches across the scorecard and provides one of the round's toughest tests. The distance and strategic layout make this a hole that separates strong play from weaker efforts.

Playing as the second-most difficult hole on the course, this par 4 demands respect and accuracy despite offering scoreable length from certain tees. Strategic hazards and green design create a compelling challenge.
A short par 3 that provides a breather while maintaining the integrity of the test through accuracy demands. The modest yardage should not be confused with a stress-free hole.
A strategic par 5 that offers complexity and birdie opportunity for those who navigate its challenges effectively. The length and hazard placement throughout create meaningful decision-making opportunities.
The easiest hole on the course, this short par 3 provides a momentum opportunity before the closing test. Its brevity offers a chance to reset before the finale.
A closing par 4 that provides a suitable finish with enough length and challenge to leave an impression on the round. The strategic finish requires solid execution to sign the card with confidence.
Scorecard
| Hole | 1 | 2 | 3 | 4 | 5 | 6 | 7 | 8 | 9 | Out | 10 | 11 | 12 | 13 | 14 | 15 | 16 | 17 | 18 | In | Tot |
|---|---|---|---|---|---|---|---|---|---|---|---|---|---|---|---|---|---|---|---|---|---|
| Par | 4 | 4 | 3 | 4 | 5 | 5 | 4 | 3 | 4 | 36 | 5 | 3 | 4 | 4 | 4 | 3 | 5 | 3 | 4 | 35 | 71 |
| HCP | 13 | 3 | 15 | 7 | 1 | 5 | 9 | 17 | 11 | 6 | 16 | 8 | 10 | 2 | 14 | 4 | 18 | 12 | |||
| blue | 362 | 391 | 159 | 386 | 520 | 524 | 373 | 189 | 410 | 3314 | 485 | 168 | 383 | 434 | 415 | 204 | 484 | 149 | 390 | 3112 | 6426 |
| white | 348 | 372 | 146 | 372 | 498 | 509 | 354 | 170 | 385 | 3154 | 469 | 156 | 359 | 426 | 398 | 160 | 472 | 141 | 370 | 2951 | 6105 |
| white/yellow | 348 | 310 | 146 | 363 | 480 | 509 | 354 | 145 | 345 | 3000 | 469 | 156 | 340 | 341 | 305 | 160 | 472 | 141 | 358 | 2742 | 5742 |
| yellow | 341 | 310 | 137 | 363 | 480 | 466 | 321 | 145 | 345 | 2908 | 456 | 136 | 340 | 341 | 305 | 140 | 465 | 136 | 358 | 2677 | 5585 |
| yellow/red | 341 | 270 | 137 | 363 | 401 | 466 | 321 | 145 | 236 | 2680 | 456 | 136 | 291 | 426 | 305 | 140 | 400 | 136 | 314 | 2604 | 5284 |
| red | 336 | 270 | 132 | 292 | 401 | 436 | 282 | 100 | 236 | 2485 | 402 | 118 | 291 | 426 | 305 | 125 | 400 | 131 | 314 | 2512 | 4997 |
| green | 267 | 201 | 112 | 248 | 304 | 377 | 230 | 78 | 197 | 2014 | 308 | 84 | 241 | 371 | 252 | 97 | 281 | 88 | 264 | 1986 | 4000 |
| orange | 198 | 154 | 77 | 182 | 222 | 281 | 169 | 56 | 147 | 1486 | 237 | 62 | 176 | 265 | 186 | 70 | 252 | 72 | 194 | 1514 | 3000 |