Pleasant Valley Country Club is an 18-hole golf course in Little Rock, AR with a par of 71. It offers 7 tee sets: gold (6,658 yards, slope 145, rating 74), blue (6,357 yards, slope 142, rating 72.3), blue/white combo (6,158 yards, slope 140, rating 71.5), white (6,012 yards, slope 138, rating 70.7), black/white combo (5,752 yards, slope 131, rating 68.4), black (5,617 yards, slope 123, rating 66), green (5,617 yards, slope 134, rating 69.1).
Pleasant Valley Country Club
Little Rock, AR
Get PDF Yardage Book
We'll email you the PDF link. No spam, ever.
Create Your Game Plan
Pick your tees, enter your bag, and get a personalized shot-by-shot strategy for every hole.
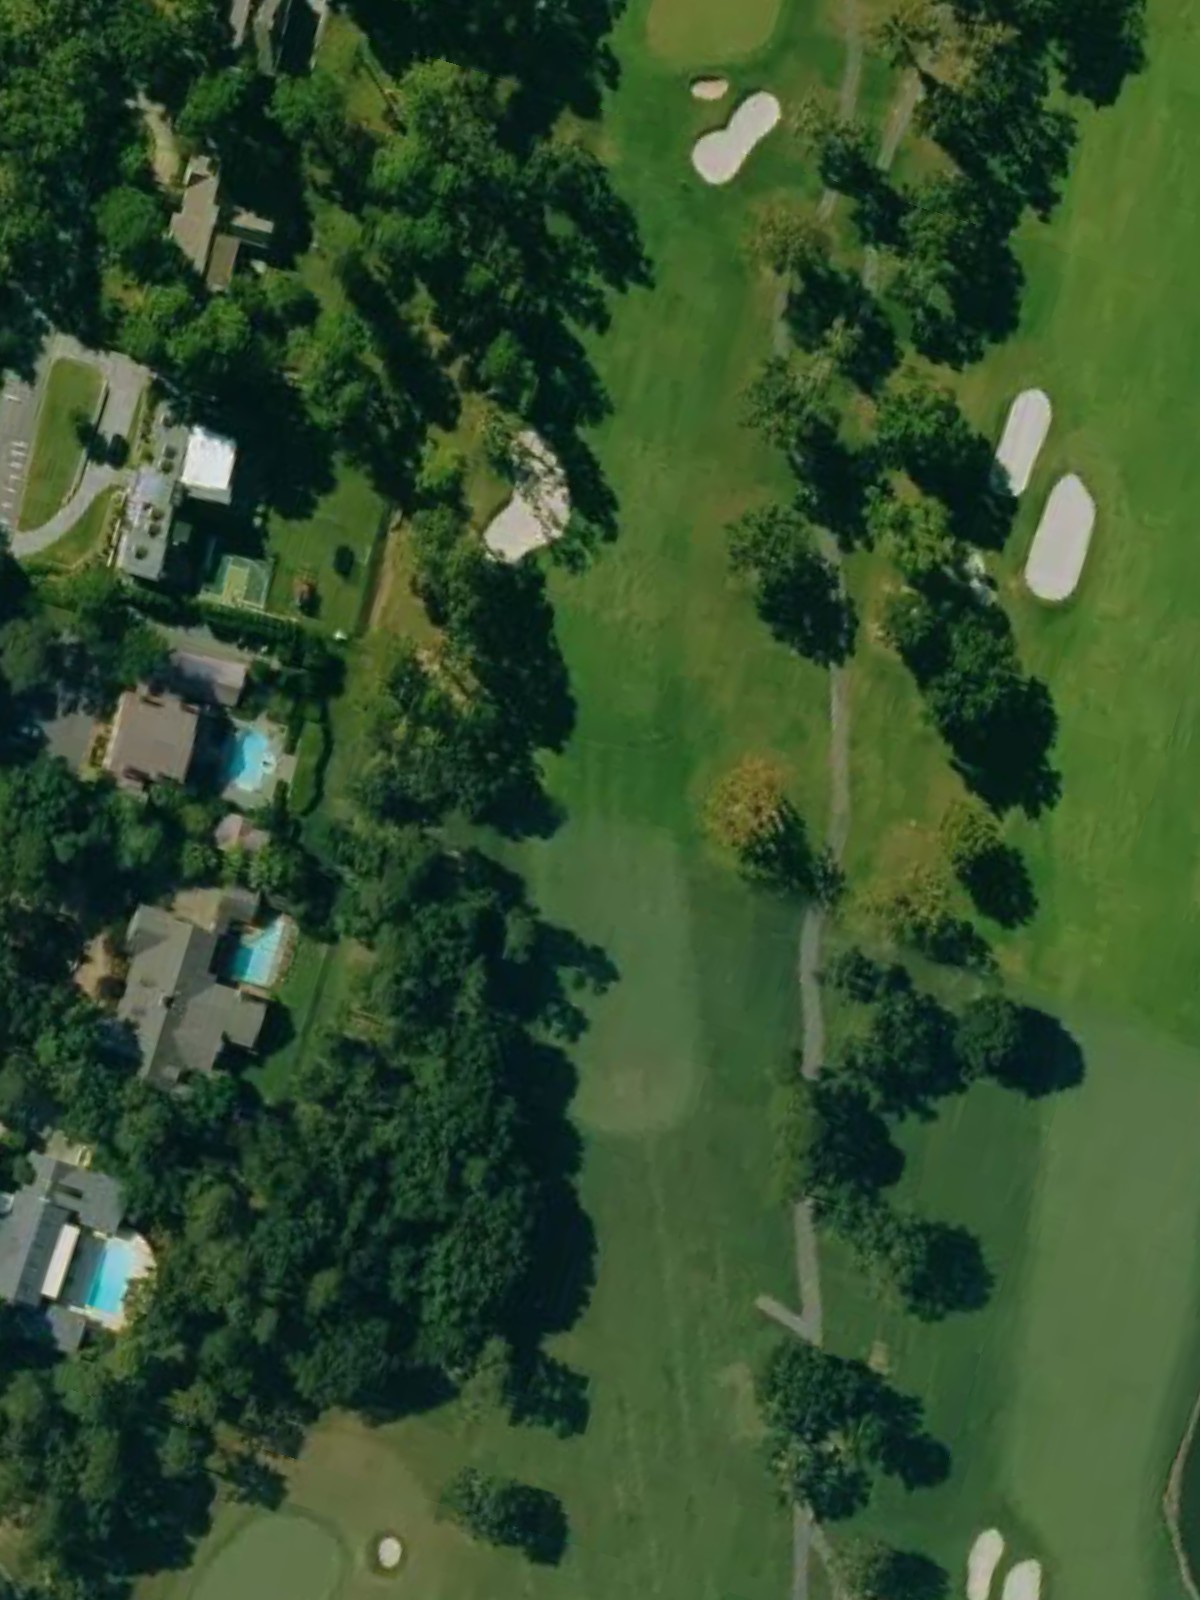
A straightforward par 4 that offers a relatively open fairway with room to work. The approach must avoid two greenside bunkers guarding the right side of the green, making precision on the second shot essential.

A short par 3 requiring an accurate tee shot to a modest green. The hole's brevity is deceptive, as the green is well-defended and leaves little margin for error despite the shorter yardage.
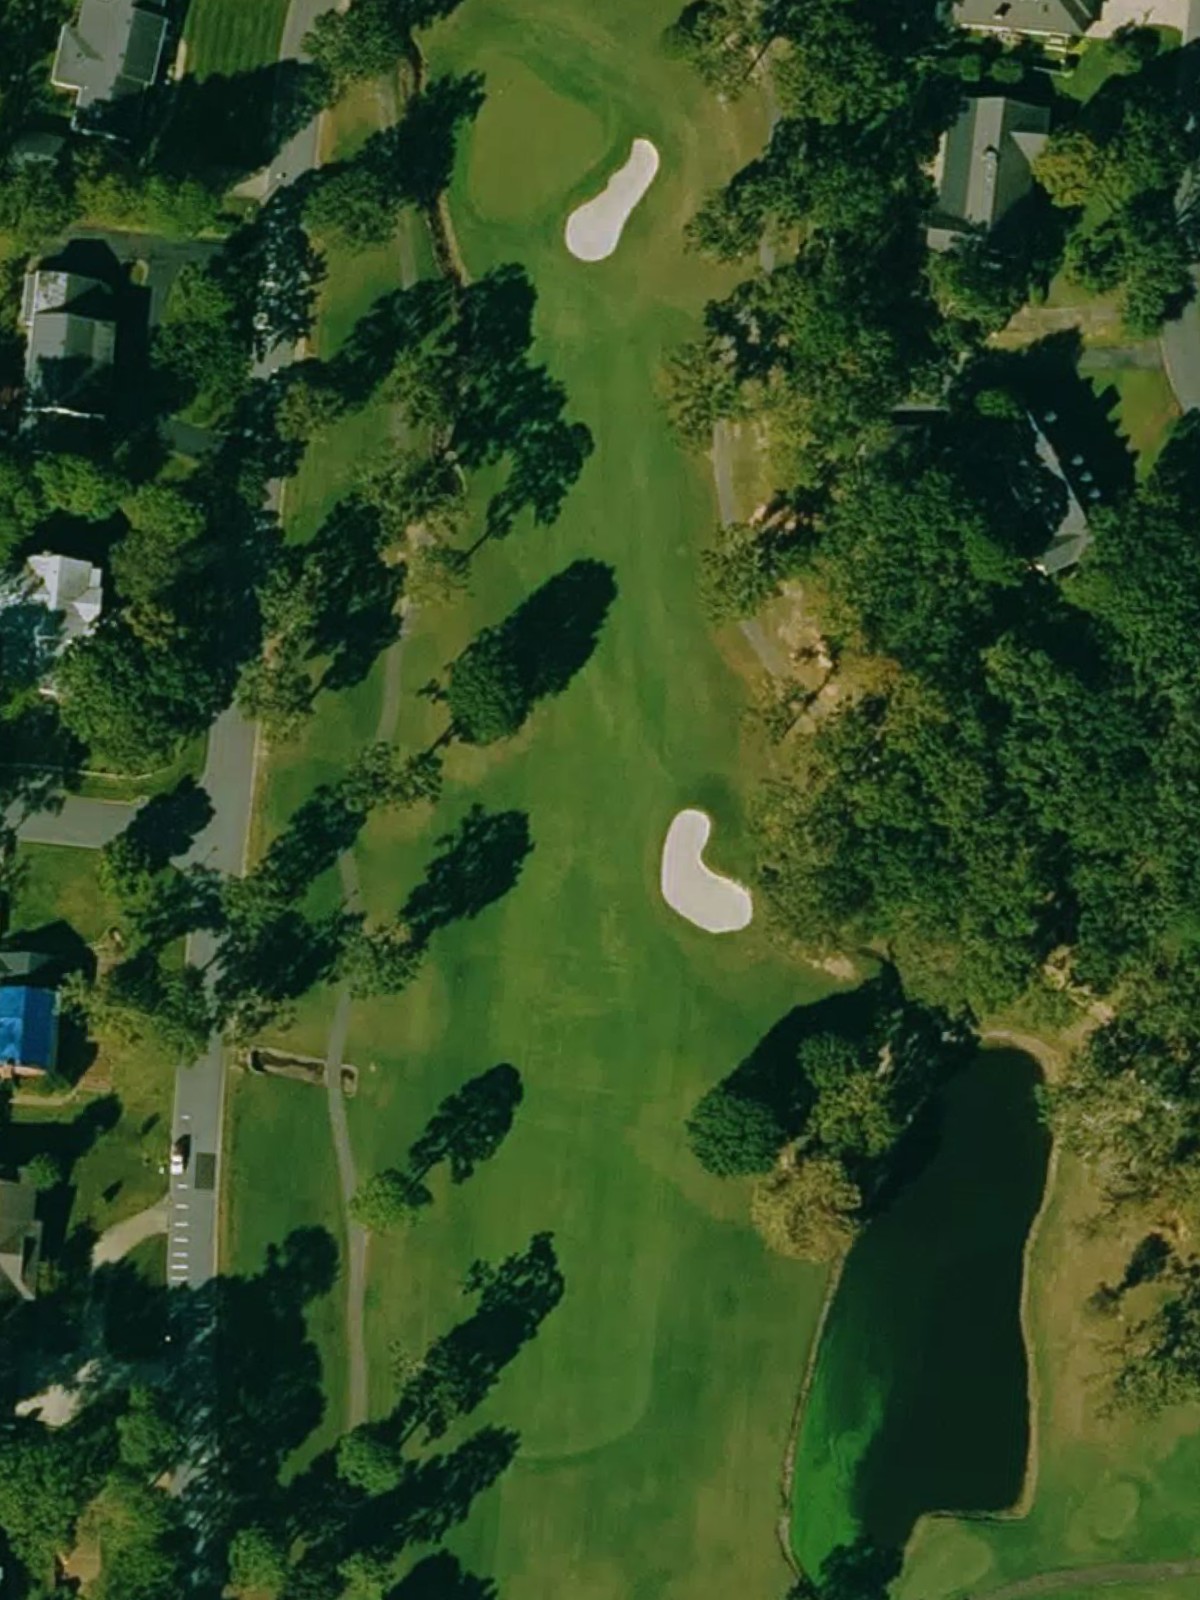
A solid par 4 that demands two quality shots to reach the green in regulation. The fairway is relatively open, but the approach requires careful positioning to avoid trouble around the well-bunkered green.
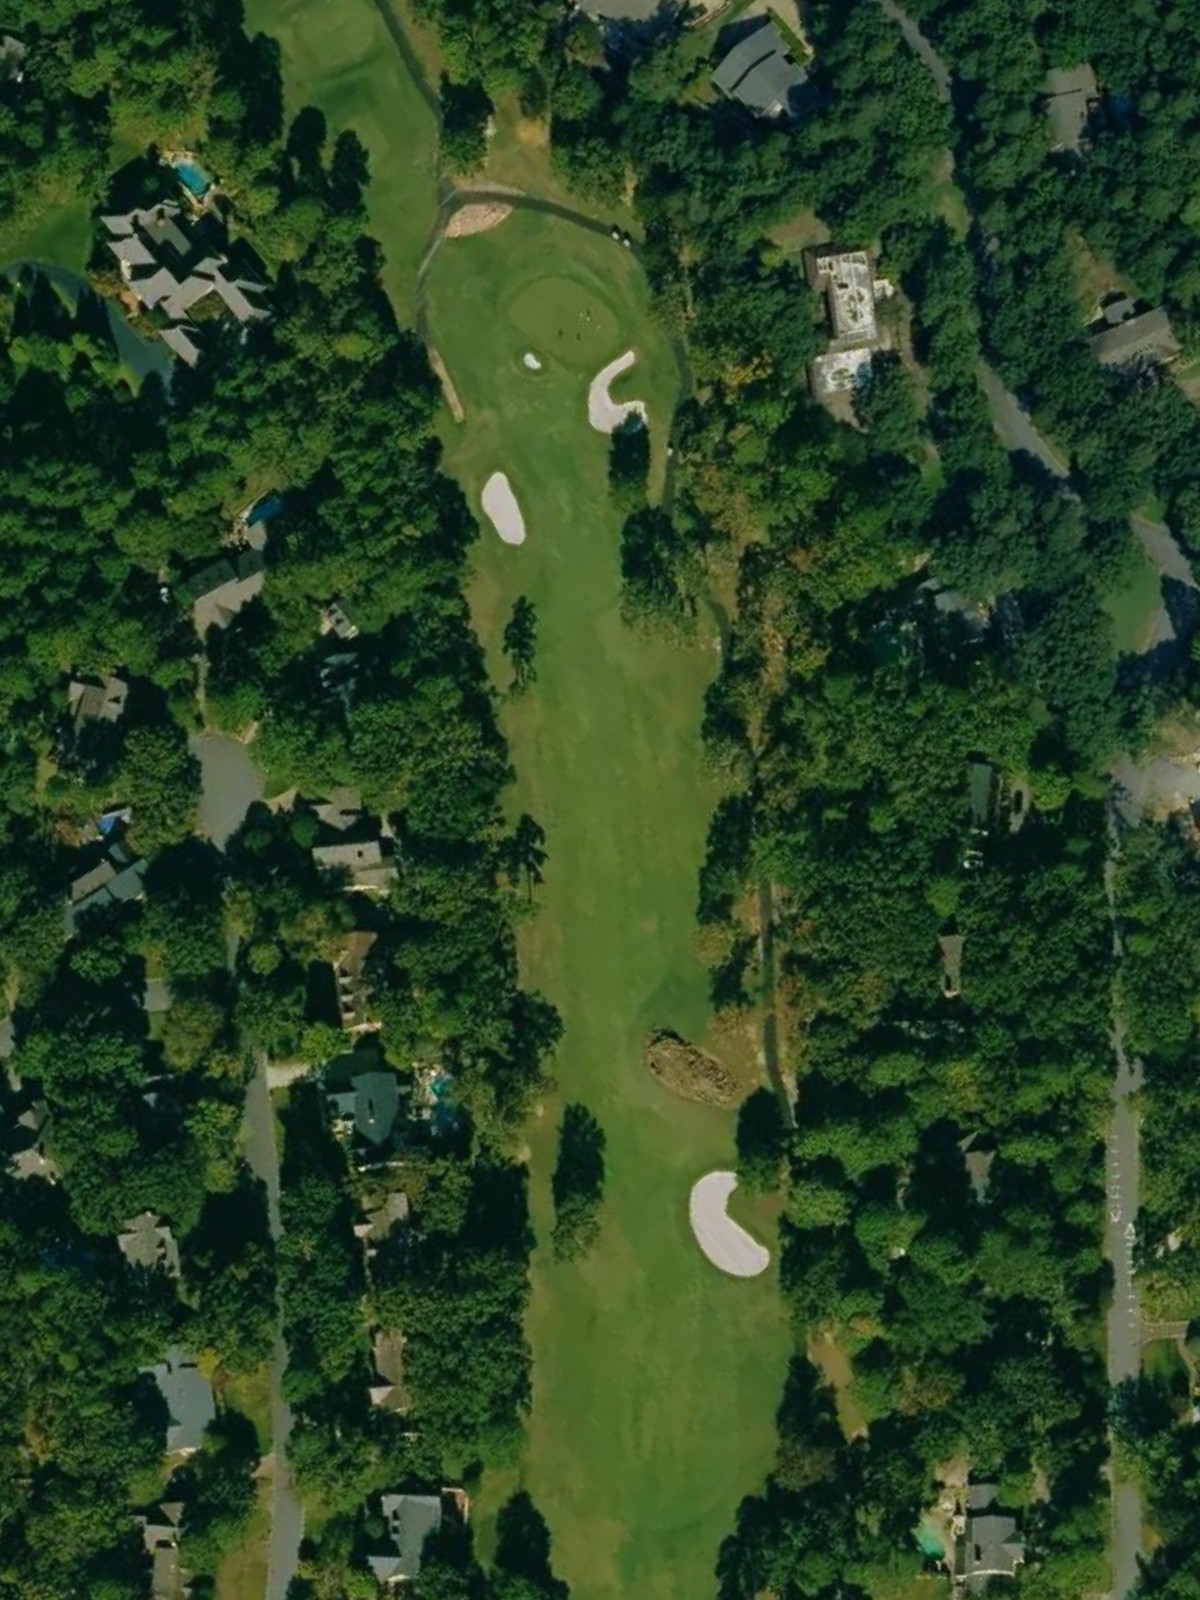
A par 5 that can be played aggressively by longer hitters looking to reach in two. The hole stretches across a significant distance and requires strategic positioning on the second shot to set up a manageable approach to the green.
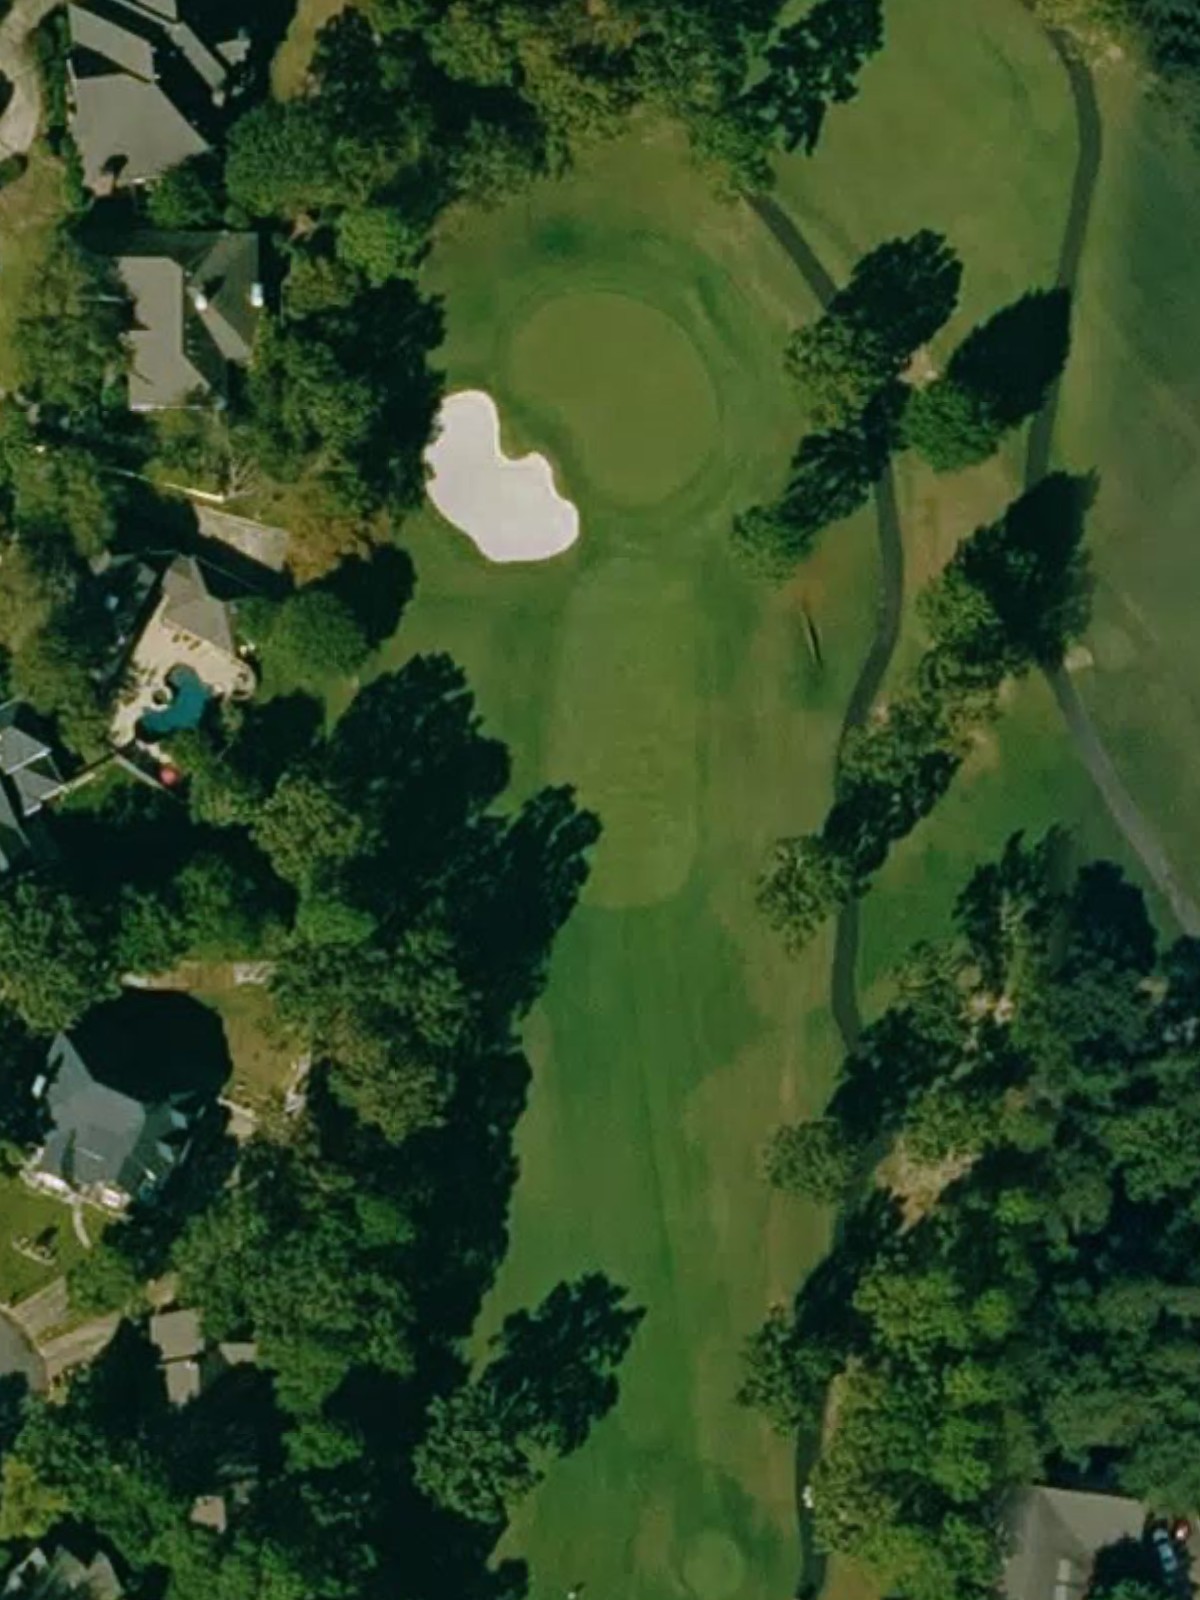
A mid-length par 3 that plays longer than it appears and demands an accurate strike from the tee. The green is relatively exposed, making distance control critical for a solid score.
A challenging par 4 with length and strategic complexity requiring two well-executed shots. Hazards frame the approach to the green, and accuracy off the tee is essential to position for a clear second shot.
A straightforward par 4 with a playable fairway and reasonable approach. The hole's moderate length allows for strategic positioning rather than sheer power, though precision remains important around the green.
A par 5 that invites aggressive play from longer hitters while remaining accessible for those laying up. The fairway offers room to work, but the second shot must be carefully placed to set up the approach to a well-guarded green.
A substantial par 4 requiring two strong shots to reach the green in regulation. The hole's length and layout demand both distance and accuracy, particularly on the approach shot to avoid missing the green.
A mid-length par 4 with a relatively open design that tests accuracy more than power. The green sits with subtle protection, requiring a clean approach for a scoring opportunity.
A par 4 of moderate length that plays fairly straightforward with room in the fairway. The second shot to the green is the key decision point, with positioning essential for a manageable approach.
A par 5 with a generous fairway and realistic birdie potential for those who position their second shot well. The hole offers multiple routes to the green depending on risk tolerance and ability.
A short par 3 that requires precision from the tee despite the modest distance. The compact green demands accuracy and proper club selection to avoid trouble.
A lengthy par 5 that rewards aggressive play while remaining playable for strategic approaches. The fairway is relatively open, but the second shot must be carefully plotted to position for a successful third shot.
A brief par 3 where distance control from the tee is paramount to hit the small green. The hole's short length belies the precision required to avoid missing the putting surface.
A compact par 4 that relies more on accuracy than distance, offering a scoring opportunity for those who place their shots well. The fairway is playable, and the approach should be straightforward for accurate tee shots.
A very short par 3 where precision trumps distance in the tee shot. Despite the modest yardage, the green's size and shape demand accuracy to secure a good outcome.
A moderate par 4 closing hole that finishes the round with a balanced test of skill. The fairway offers reasonable room off the tee, and the approach to the green provides a fitting finale to the back nine.
Scorecard
| Hole | 1 | 2 | 3 | 4 | 5 | 6 | 7 | 8 | 9 | Out | 10 | 11 | 12 | 13 | 14 | 15 | 16 | 17 | 18 | In | Tot |
|---|---|---|---|---|---|---|---|---|---|---|---|---|---|---|---|---|---|---|---|---|---|
| Par | 4 | 3 | 4 | 5 | 3 | 4 | 4 | 5 | 4 | 36 | 4 | 4 | 5 | 3 | 5 | 3 | 4 | 3 | 4 | 35 | 71 |
| HCP | - | - | - | - | - | - | - | - | - | - | - | - | - | - | - | - | - | - | |||
| gold | 378 | 182 | 388 | 524 | 242 | 452 | 382 | 557 | 463 | 3568 | 432 | 413 | 482 | 161 | 506 | 180 | 373 | 150 | 393 | 3090 | 6658 |
| blue | 366 | 159 | 374 | 508 | 219 | 430 | 368 | 523 | 448 | 3395 | 407 | 390 | 468 | 156 | 490 | 163 | 363 | 142 | 383 | 2962 | 6357 |
| blue/white combo | 350 | 159 | 374 | 508 | 203 | 410 | 368 | 496 | 422 | 3290 | 393 | 390 | 468 | 139 | 490 | 142 | 336 | 142 | 368 | 2868 | 6158 |
| white | 350 | 147 | 336 | 492 | 203 | 410 | 349 | 496 | 422 | 3205 | 393 | 367 | 454 | 139 | 474 | 142 | 336 | 134 | 368 | 2807 | 6012 |
| black/white combo | 350 | 147 | 336 | 475 | 177 | 360 | 349 | 496 | 359 | 3049 | 347 | 358 | 454 | 139 | 434 | 142 | 336 | 134 | 359 | 2703 | 5752 |
| black | 338 | 122 | 321 | 475 | 177 | 360 | 341 | 480 | 359 | 2973 | 347 | 358 | 441 | 134 | 434 | 122 | 323 | 126 | 359 | 2644 | 5617 |
| green | 338 | 122 | 321 | 475 | 177 | 360 | 341 | 480 | 359 | 2973 | 347 | 358 | 441 | 134 | 434 | 122 | 323 | 126 | 359 | 2644 | 5617 |