Pinewood Cc is an 18-hole golf course in Asheboro, NC with a par of 72. It offers 5 tee sets: black tees (6,762 yards, slope 139, rating 73.9), white tees (6,269 yards, slope 135, rating 71.4), gold tees (5,632 yards, slope 128, rating 68.4), blue tees (5,090 yards, slope 119, rating 65.6), silver tees (4,539 yards, slope 114, rating 63.5). The hardest hole is #7, a par 5 playing 330 yards from the first tee.
Pinewood Cc
Asheboro, NC
Get PDF Yardage Book
We'll email you the PDF link. No spam, ever.
Create Your Game Plan
Pick your tees, enter your bag, and get a personalized shot-by-shot strategy for every hole.
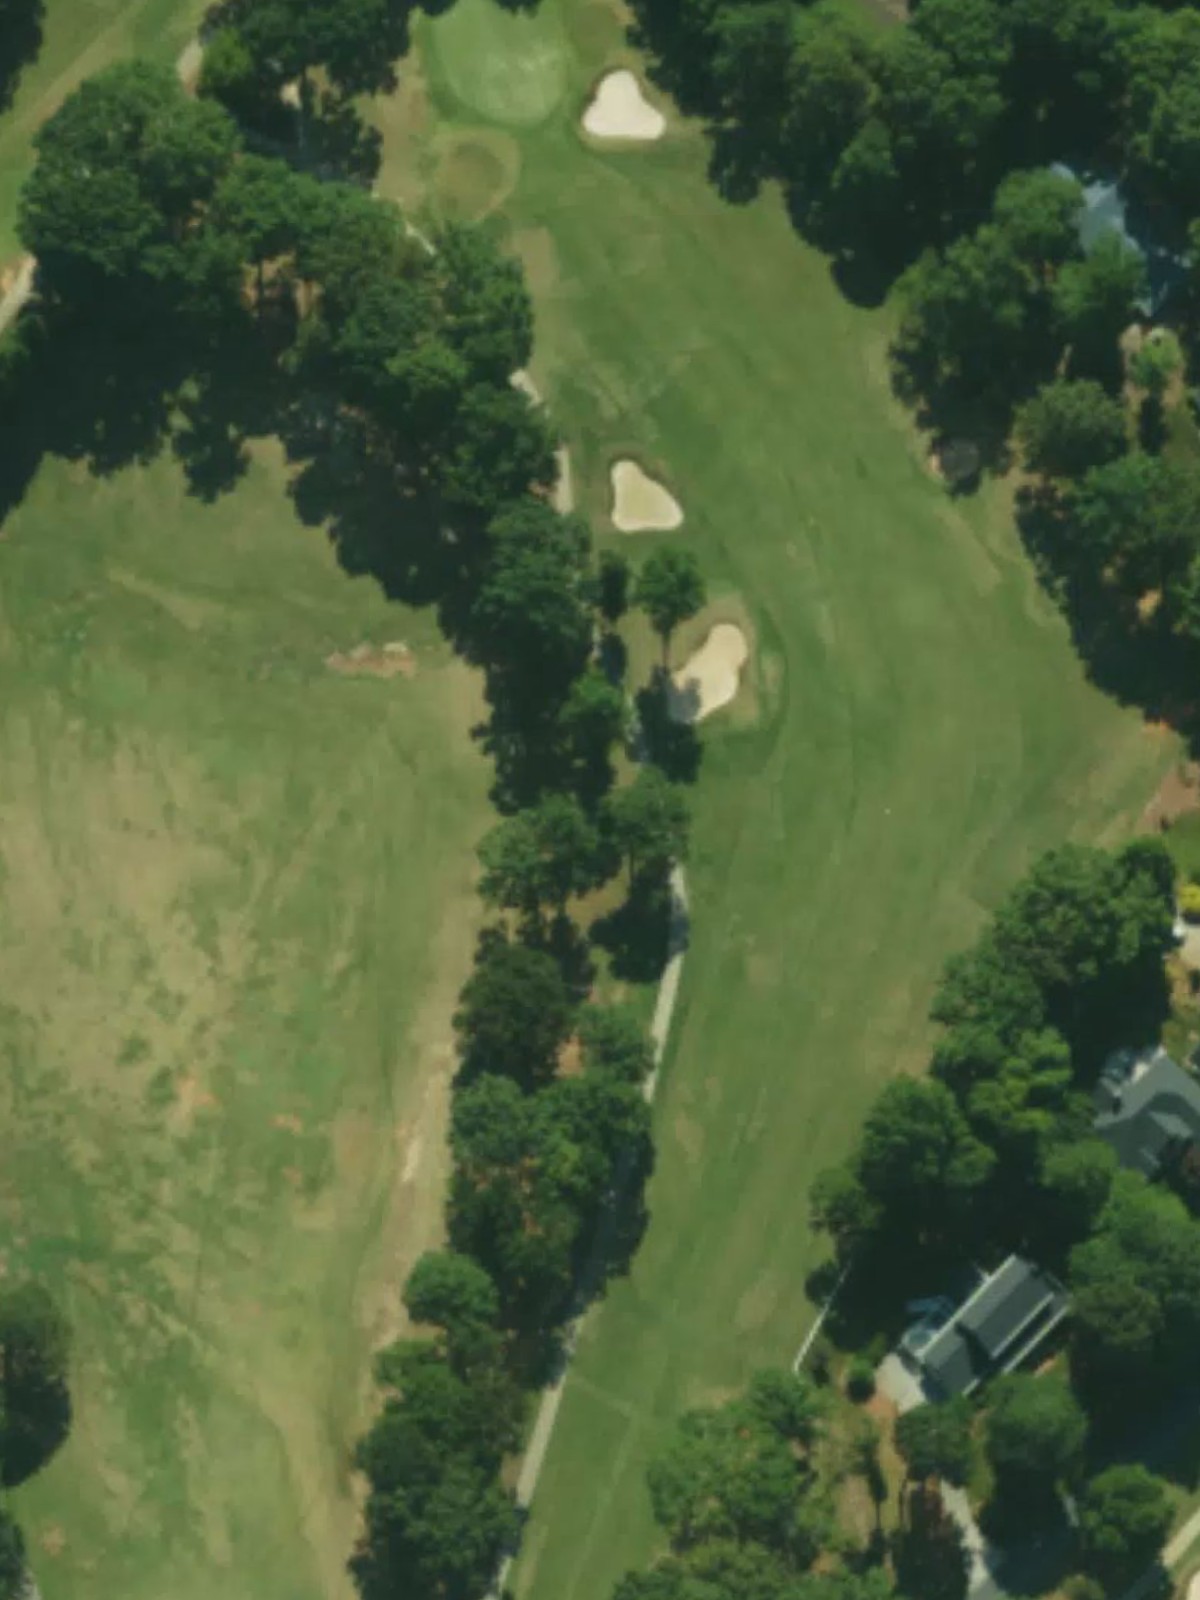
A straightforward par 4 that plays shorter from the forward tees, with a fairway that remains relatively open off the tee. The approach to the green requires precision, as bunkers protect the right side and the green itself is modestly sized.

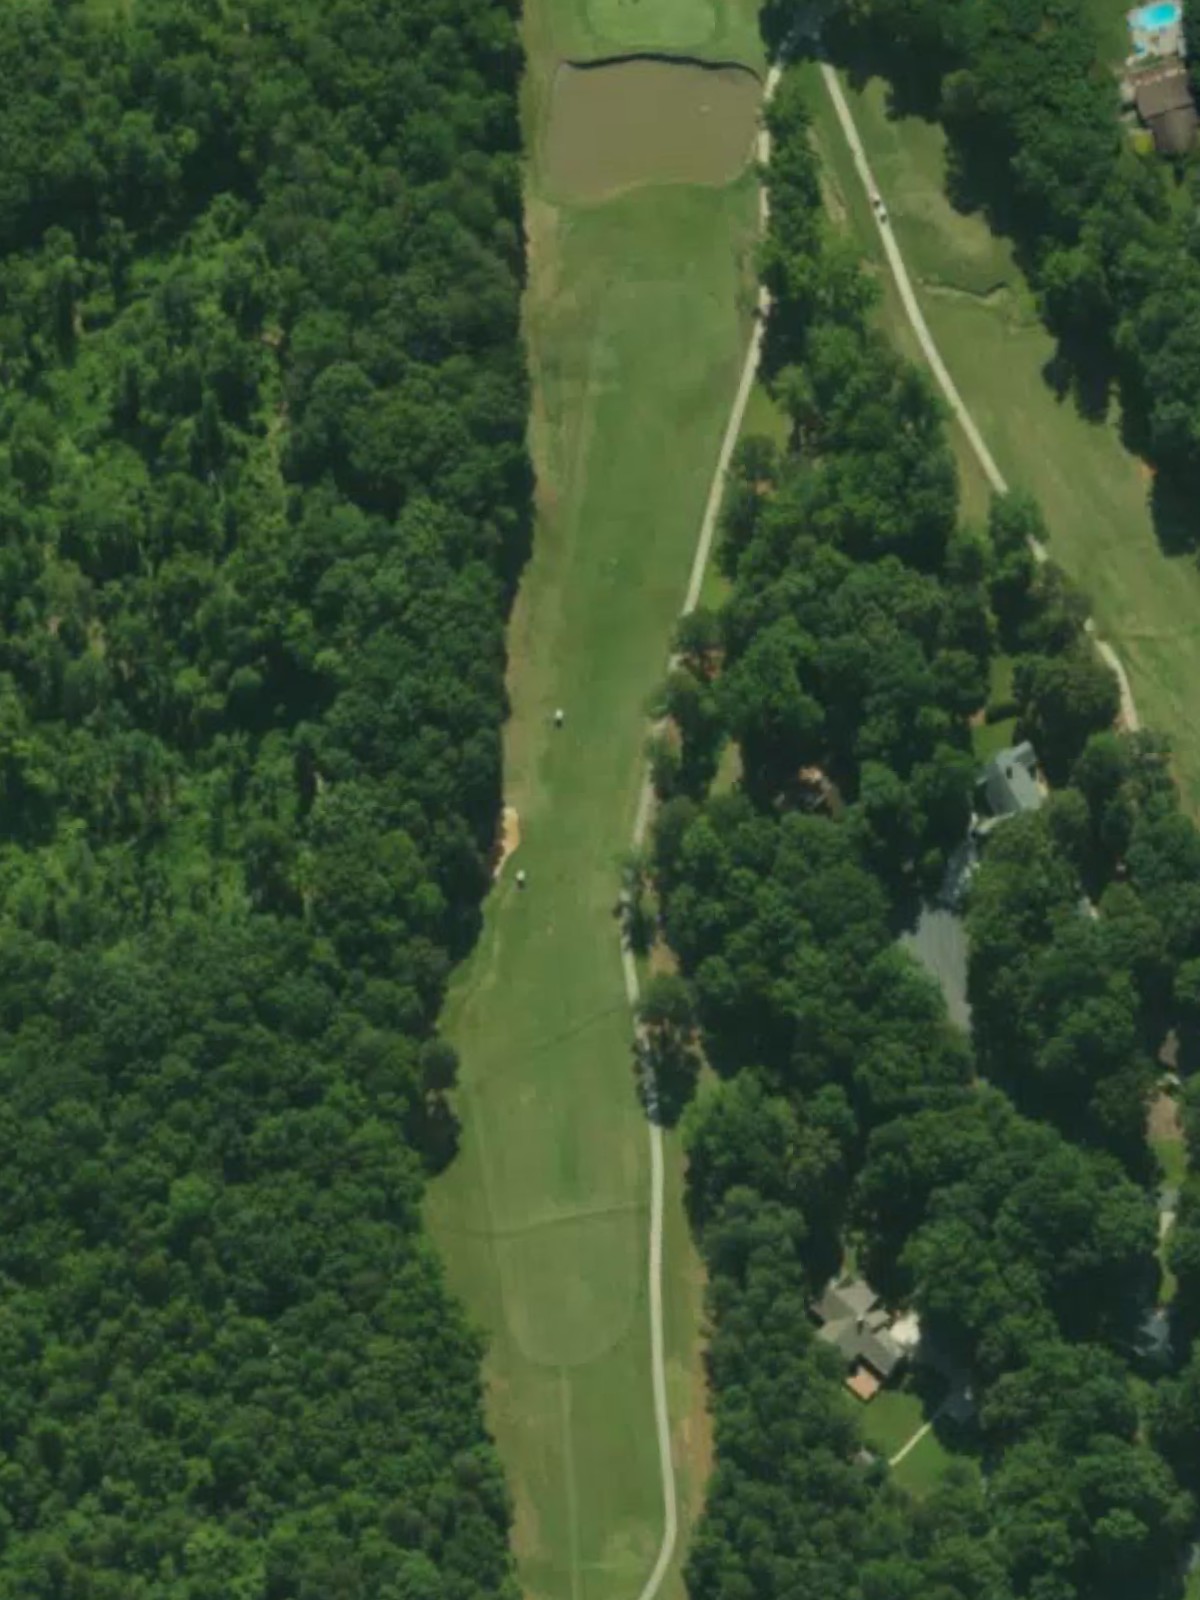
A mid-length par 4 that demands accuracy rather than distance, particularly from the back tees where the hole stretches significantly. The fairway narrows as it approaches the green, making position off the tee critical for a clear second shot.
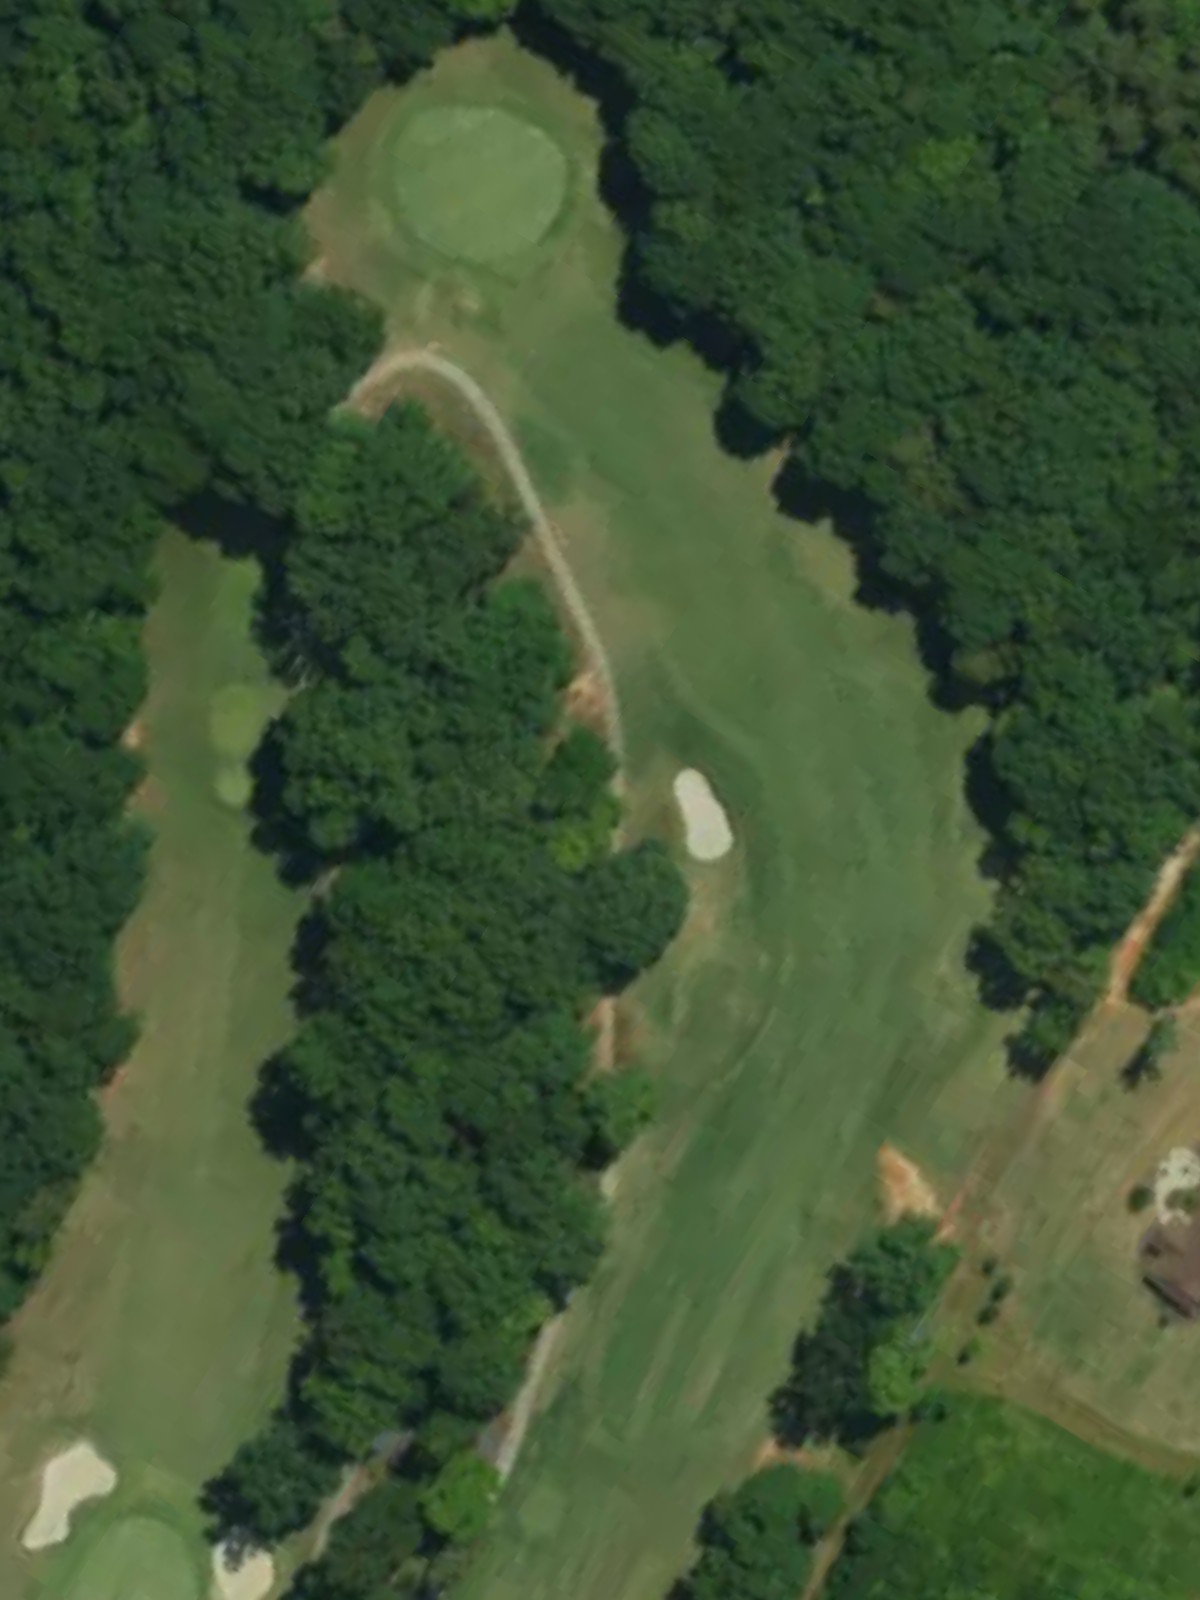
The course's signature three-shotter features length and a generous fairway that allows players to position for the best angles into the green. Strategic use of the fairway width is essential to avoid hazards and set up a manageable final approach.
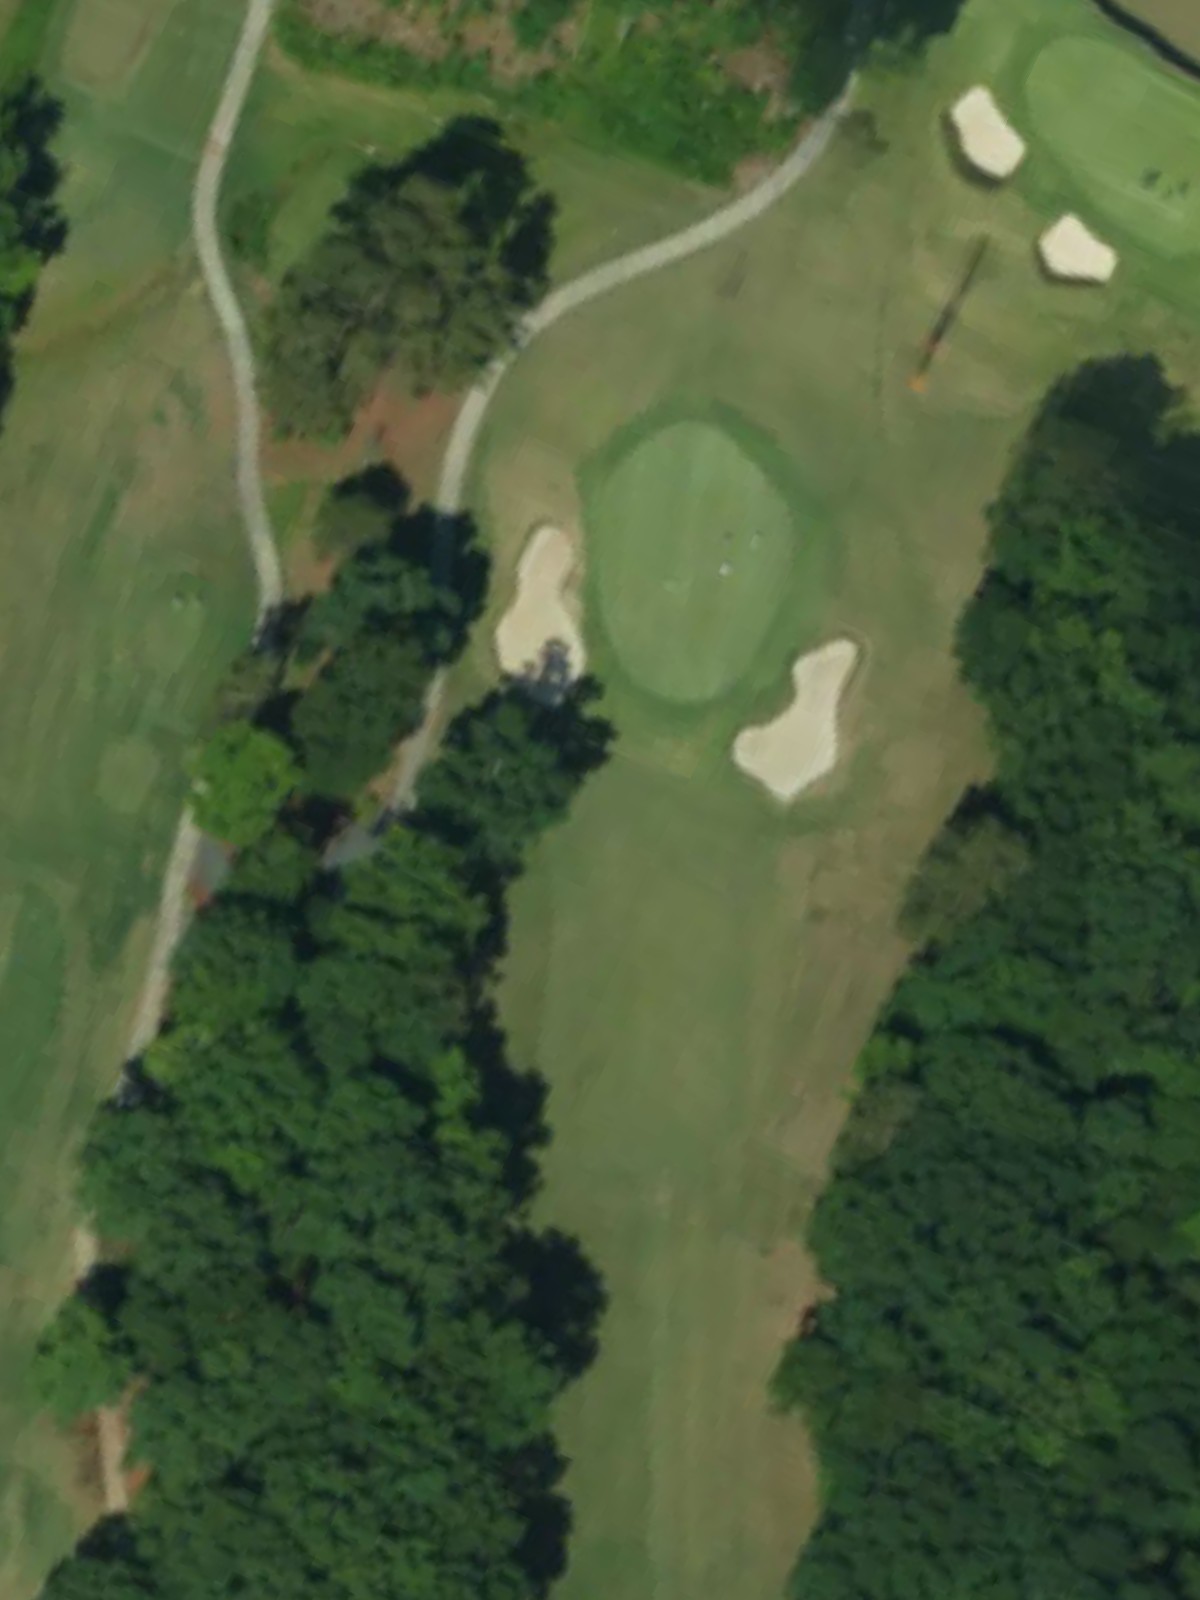
A compact par 4 that rewards accuracy on the tee shot with a relatively short approach to follow. The green complex is well-defined, with hazards positioned to catch wayward second shots on both sides.
A short par 3 that plays deceptively simple from the forward tees but requires a full swing from the back markers. The green is well-protected, with bunkers and rough surrounding the putting surface to punish imprecision.
A demanding par 4 that ranks among the course's toughest, with a fairway that tightens considerably at the landing zone. Water and bunkers guard the approach to the green, making club selection and placement critical throughout the hole.
The course's most difficult hole, this long par 5 requires distance off the tee and strategic positioning to avoid hazards that dot the fairway. The fairway width expands at the landing zone but narrows again near the green, demanding precision on the third shot.
A picturesque short par 3 that offers relief from the tougher stretch, though the compact green demands an accurate tee shot. Bunkers flank the putting surface on both sides, and the hole plays significantly longer from the back tees.
A solid par 4 that transitions well into the back nine, with a fairway that provides ample room off the tee for most golfers. The approach plays to a moderately sized green protected by strategic bunkering on the front and sides.
A mid-length par 4 that opens the back nine with a straightforward design but requires solid execution. The fairway narrows near the green, and hazards positioned right and left demand accurate approach shots.
A balanced par 4 that plays slightly uphill to a green nestled among bunkers and rough. The fairway provides a reasonable landing area, but the approach shot must navigate the hazards guarding the elevated green complex.
One of the course's easiest holes, this short par 3 offers a reprieve with a large, relatively open green. Despite its brevity, the green is surrounded by bunkers and rough that punish poor contact from any tee.
A mid-length par 4 that plays consistently longer than its yardage suggests, with a fairway that narrows at the approach zone. Bunkers guard the right side of the green, and the left side falls away, making an accurate second shot essential.
A heavily bunkered par 4 that ranks among the course's most challenging, with hazards positioned throughout the fairway and surrounding the green. The hole demands both length and accuracy to avoid the multiple trouble spots.
A substantial par 4 that stretches significantly from the back tees, with a fairway that remains generally open off the tee. The approach to the green requires precise distance control, as bunkers and hazards frame the putting surface on both sides.
A long par 5 that ranks second in difficulty and rewards strategic positioning over brute force, with water and bunkers guarding key areas of the fairway. The width of the fairway at the landing zone allows for positioning decisions that set up the approach to the well-protected green.
A charming short par 3 that plays to a small, well-defended green framed by bunkers and rough. The hole plays dramatically longer from the black tees but remains a birdie opportunity from the forward markers.
A strong finishing par 5 that demands two solid shots to reach the green in regulation, with hazards positioned to catch pulled or pushed tee shots. The fairway widens in the landing area but narrows near the green, which is guarded by bunkers and rough on the approach.
Scorecard
| Hole | 1 | 2 | 3 | 4 | 5 | 6 | 7 | 8 | 9 | Out | 10 | 11 | 12 | 13 | 14 | 15 | 16 | 17 | 18 | In | Tot |
|---|---|---|---|---|---|---|---|---|---|---|---|---|---|---|---|---|---|---|---|---|---|
| Par | 4 | 4 | 5 | 4 | 3 | 4 | 5 | 3 | 4 | 36 | 4 | 4 | 3 | 4 | 4 | 4 | 5 | 3 | 5 | 36 | 72 |
| HCP | 13 | 11 | 3 | 9 | 15 | 5 | 1 | 17 | 7 | 14 | 10 | 18 | 12 | 6 | 8 | 2 | 16 | 4 | |||
| black tees | 362 | 385 | 512 | 381 | 211 | 373 | 504 | 222 | 374 | 3324 | 383 | 378 | 212 | 427 | 464 | 415 | 497 | 175 | 487 | 3438 | 6762 |
| white tees | 344 | 374 | 475 | 360 | 193 | 342 | 476 | 182 | 343 | 3089 | 363 | 349 | 193 | 384 | 415 | 382 | 477 | 149 | 468 | 3180 | 6269 |
| gold tees | 319 | 328 | 457 | 302 | 171 | 327 | 366 | 151 | 298 | 2719 | 354 | 327 | 174 | 354 | 357 | 336 | 449 | 121 | 441 | 2913 | 5632 |
| blue tees | 270 | 320 | 421 | 283 | 159 | 311 | 330 | 98 | 286 | 2478 | 307 | 304 | 137 | 342 | 291 | 330 | 372 | 97 | 432 | 2612 | 5090 |
| silver tees | 270 | 205 | 350 | 283 | 159 | 229 | 330 | 98 | 231 | 2155 | 307 | 304 | 71 | 269 | 291 | 330 | 372 | 97 | 343 | 2384 | 4539 |