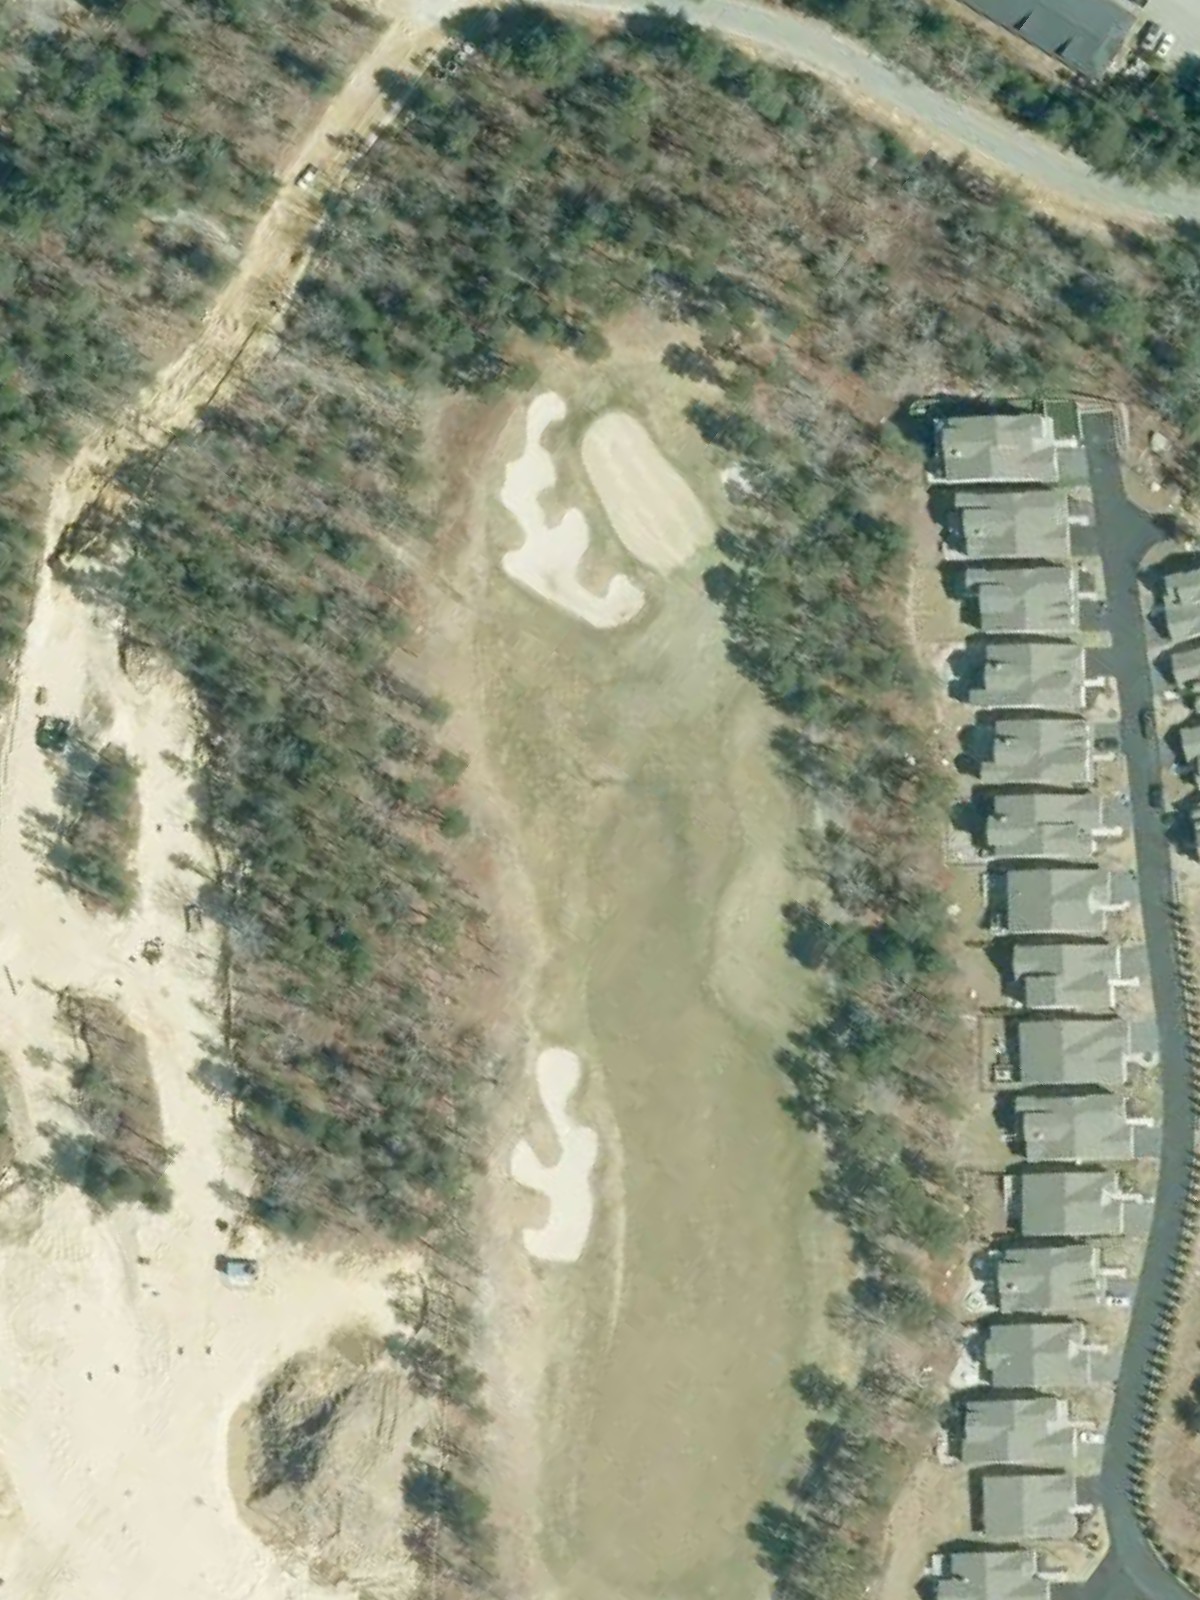
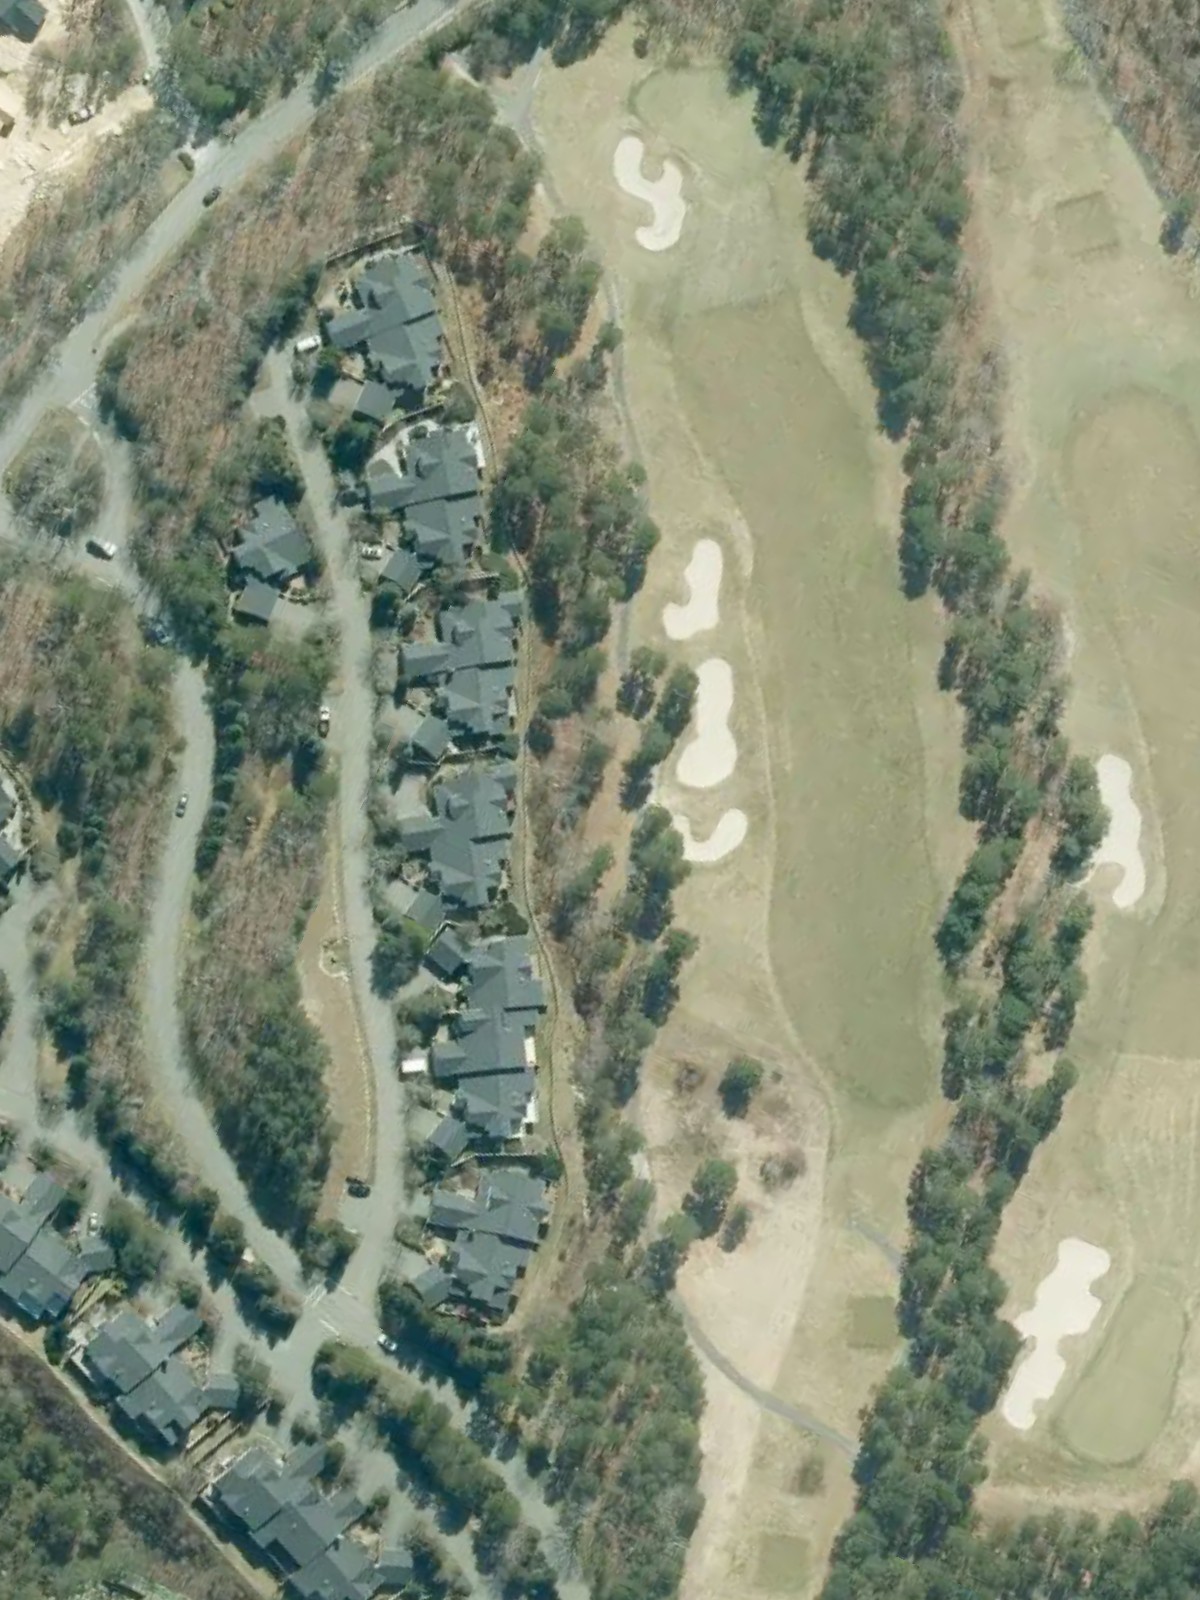
Pine Hills Golf Club is an 18-hole golf course in Gresham, WI with a par of 72. It offers 2 tee sets: blue (6,227 yards, slope 126, rating 70.2), white (5,631 yards, slope 111, rating 68.2). The hardest hole is #13, a par 5 playing 497 yards from the first tee.
Pine Hills Golf Club
Gresham, WI
Get PDF Yardage Book
We'll email you the PDF link. No spam, ever.
Create Your Game Plan
Pick your tees, enter your bag, and get a personalized shot-by-shot strategy for every hole.
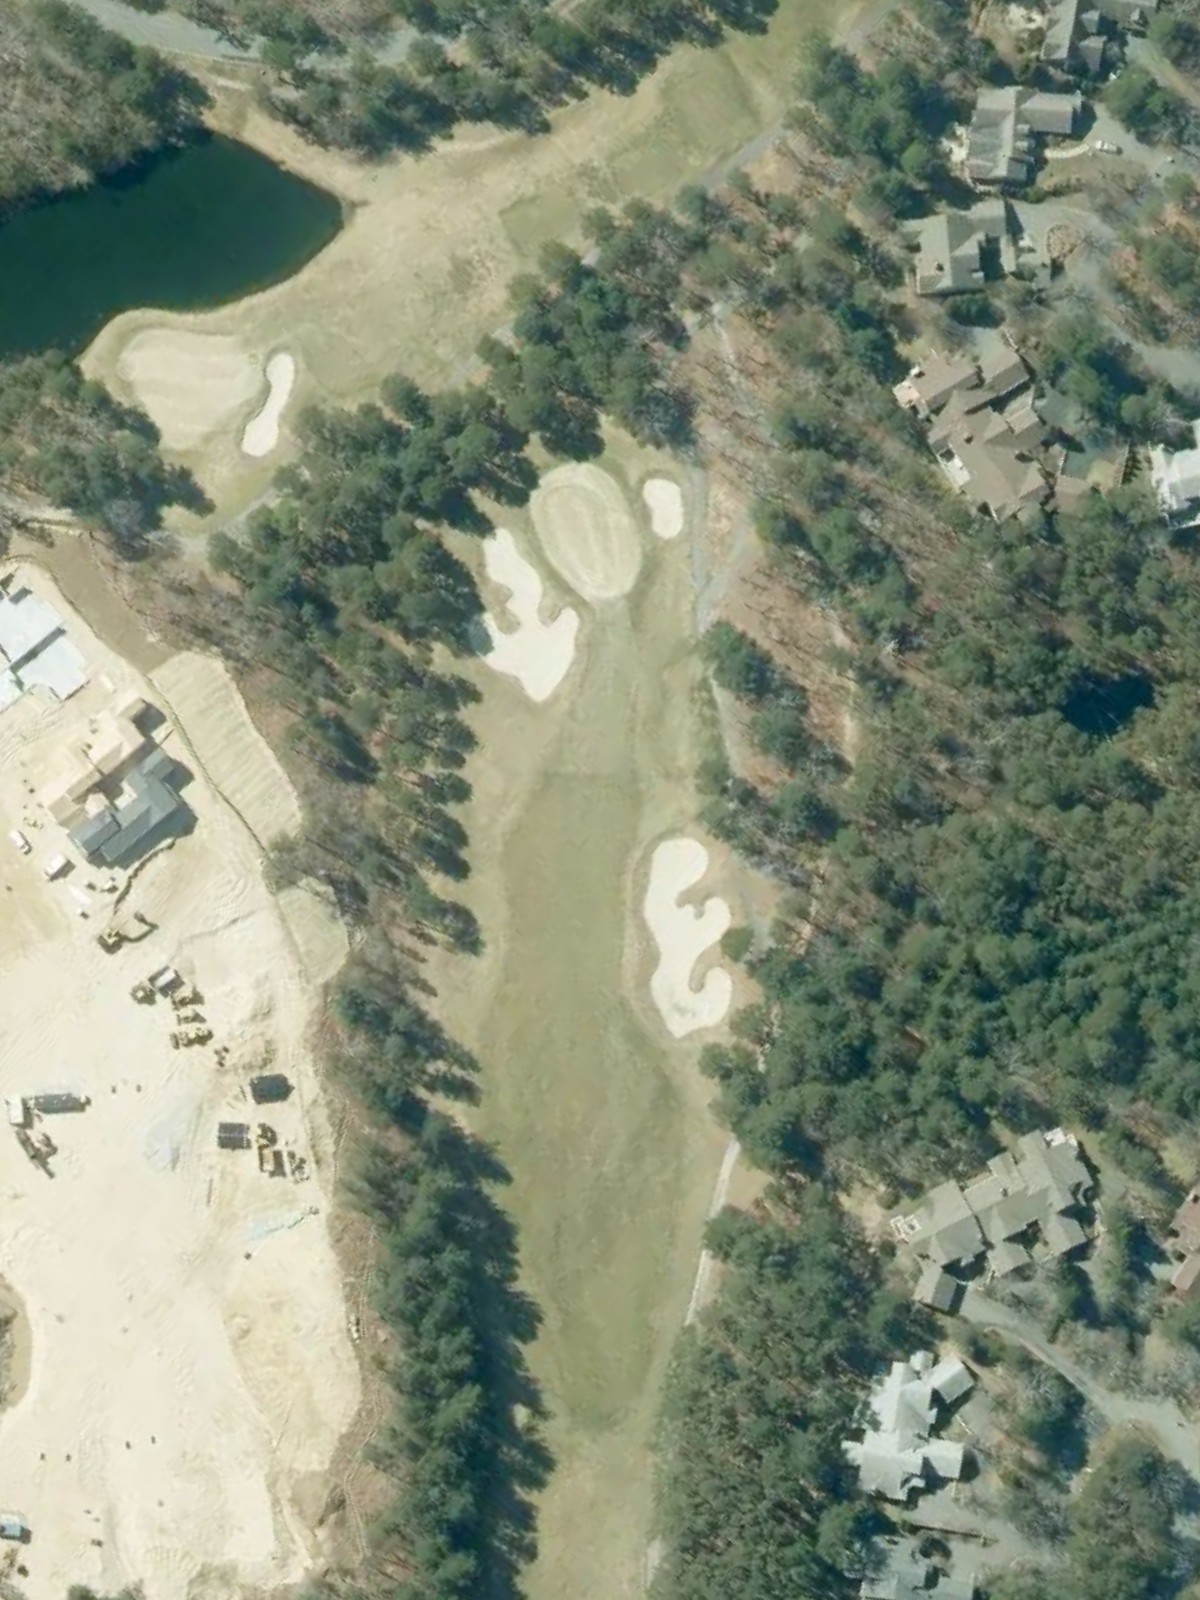
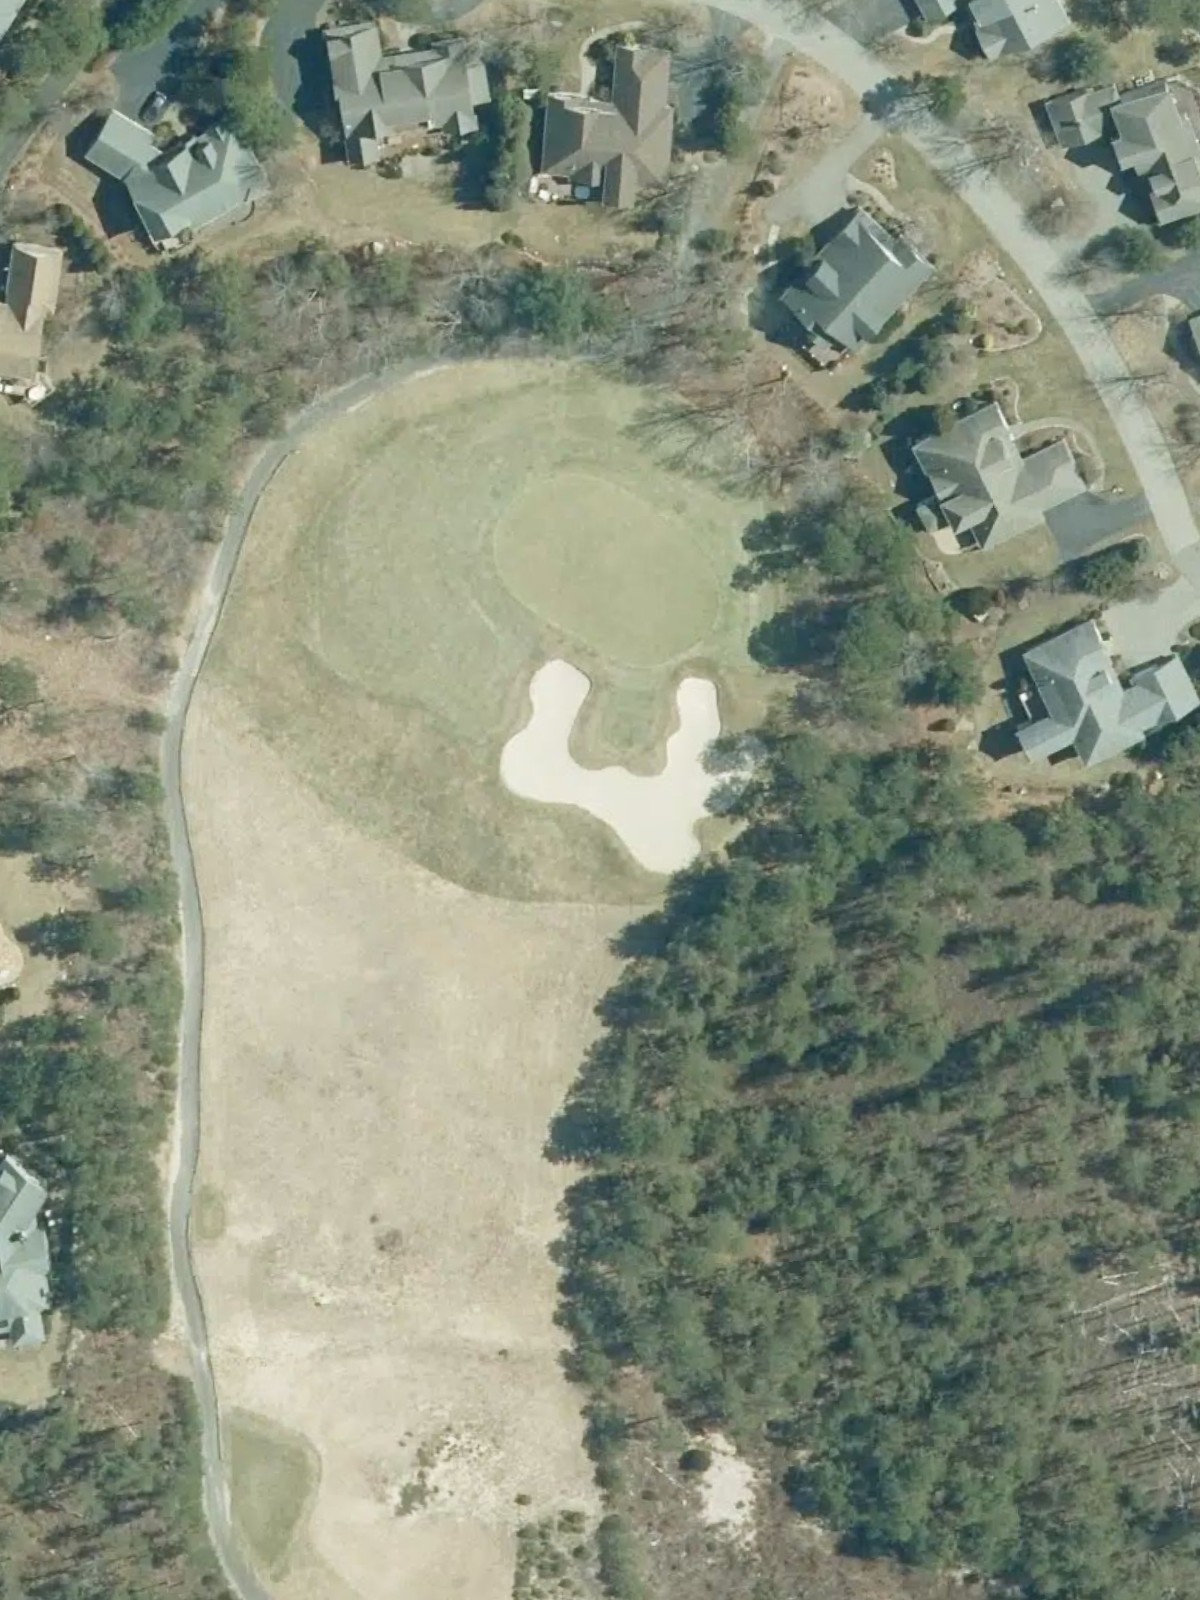
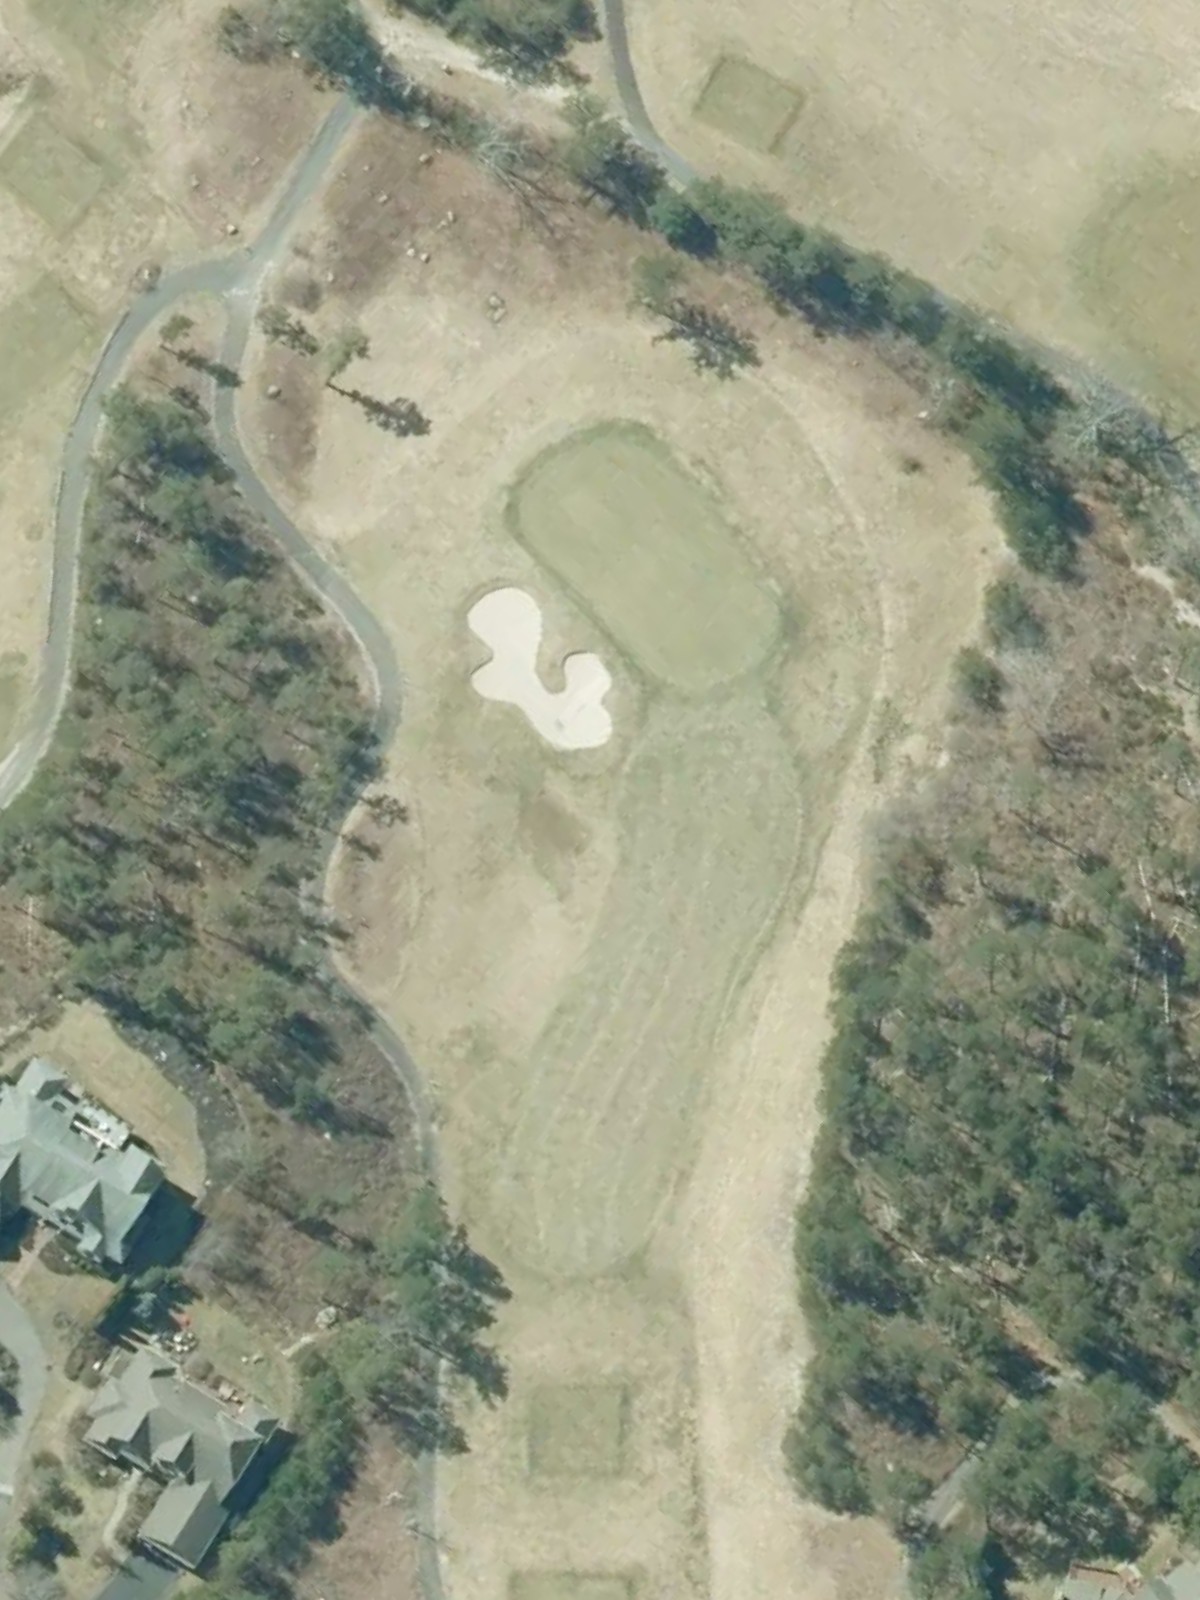
A short, straightforward opening par 4 with a welcoming fairway that tightens as it approaches the green. Bunkers protect both sides of the putting surface, rewarding accuracy on the approach shot.
A mid-length par 4 that demands precision from the start, with out-of-bounds lurking along the right side throughout the hole. The fairway narrows considerably at the landing area, and the green is defended by bunkers left and right.
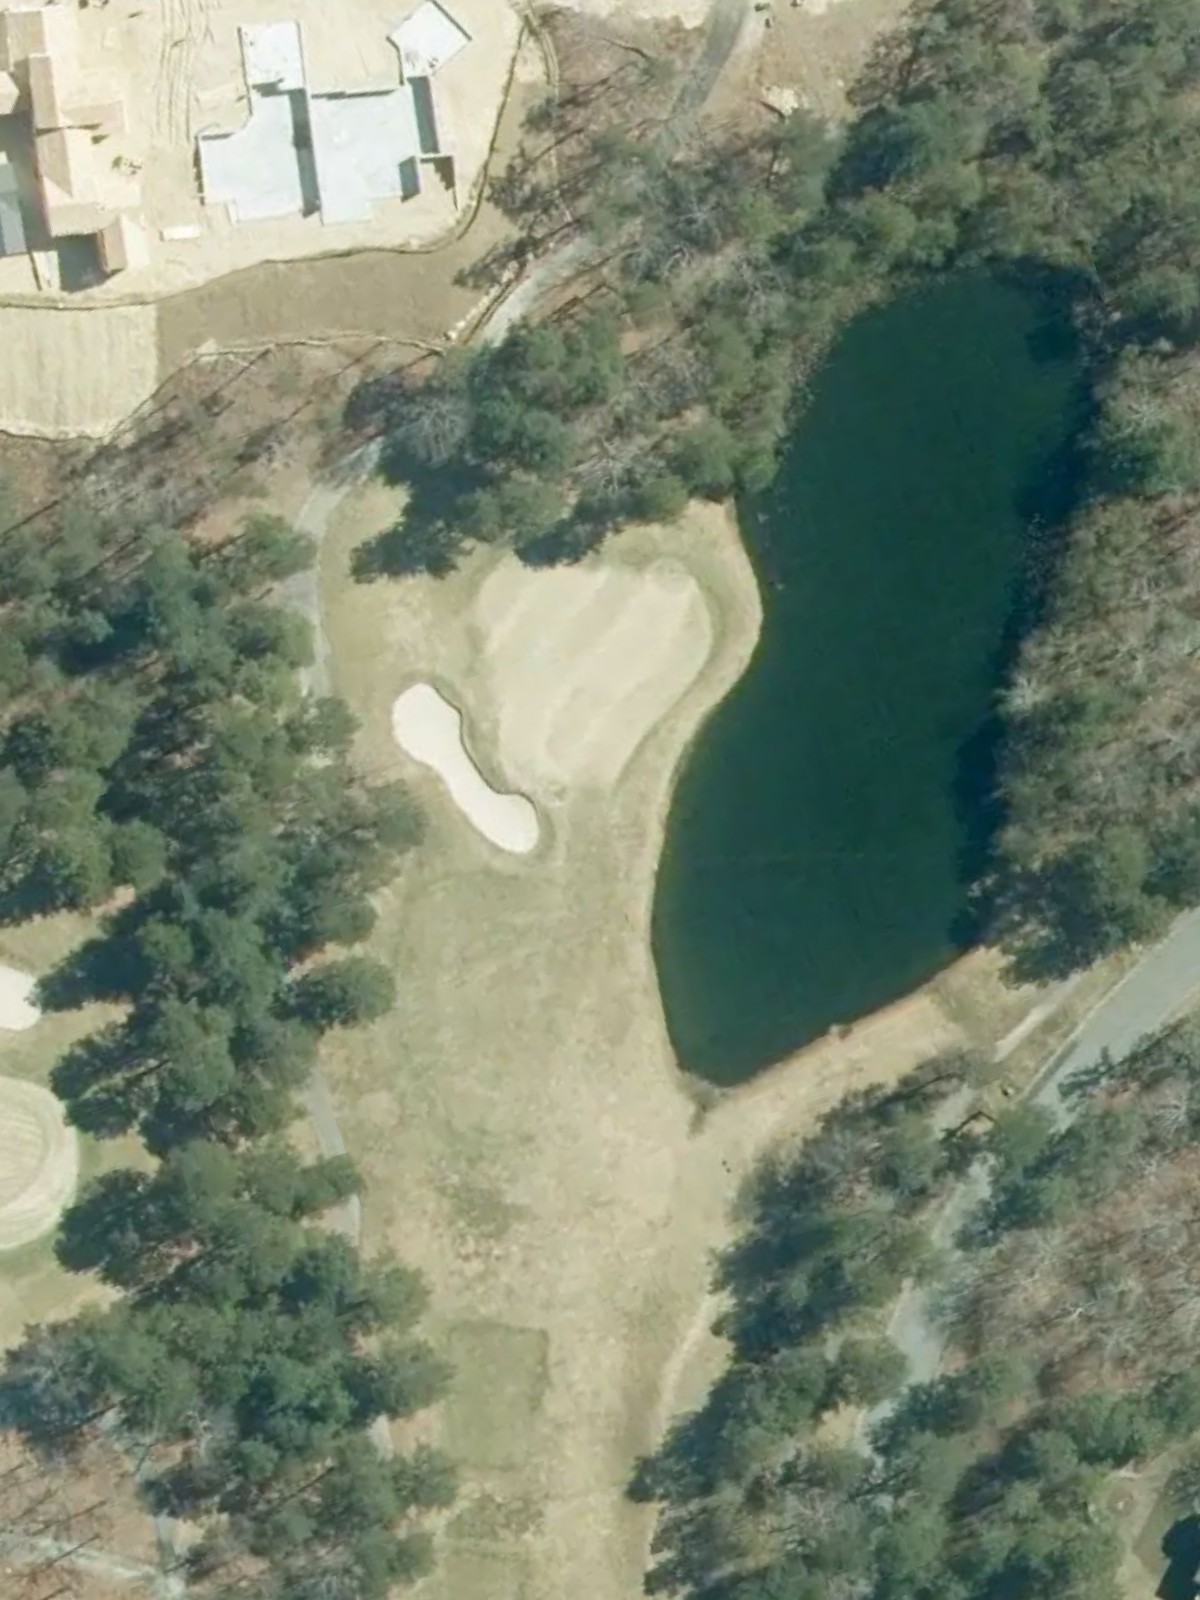
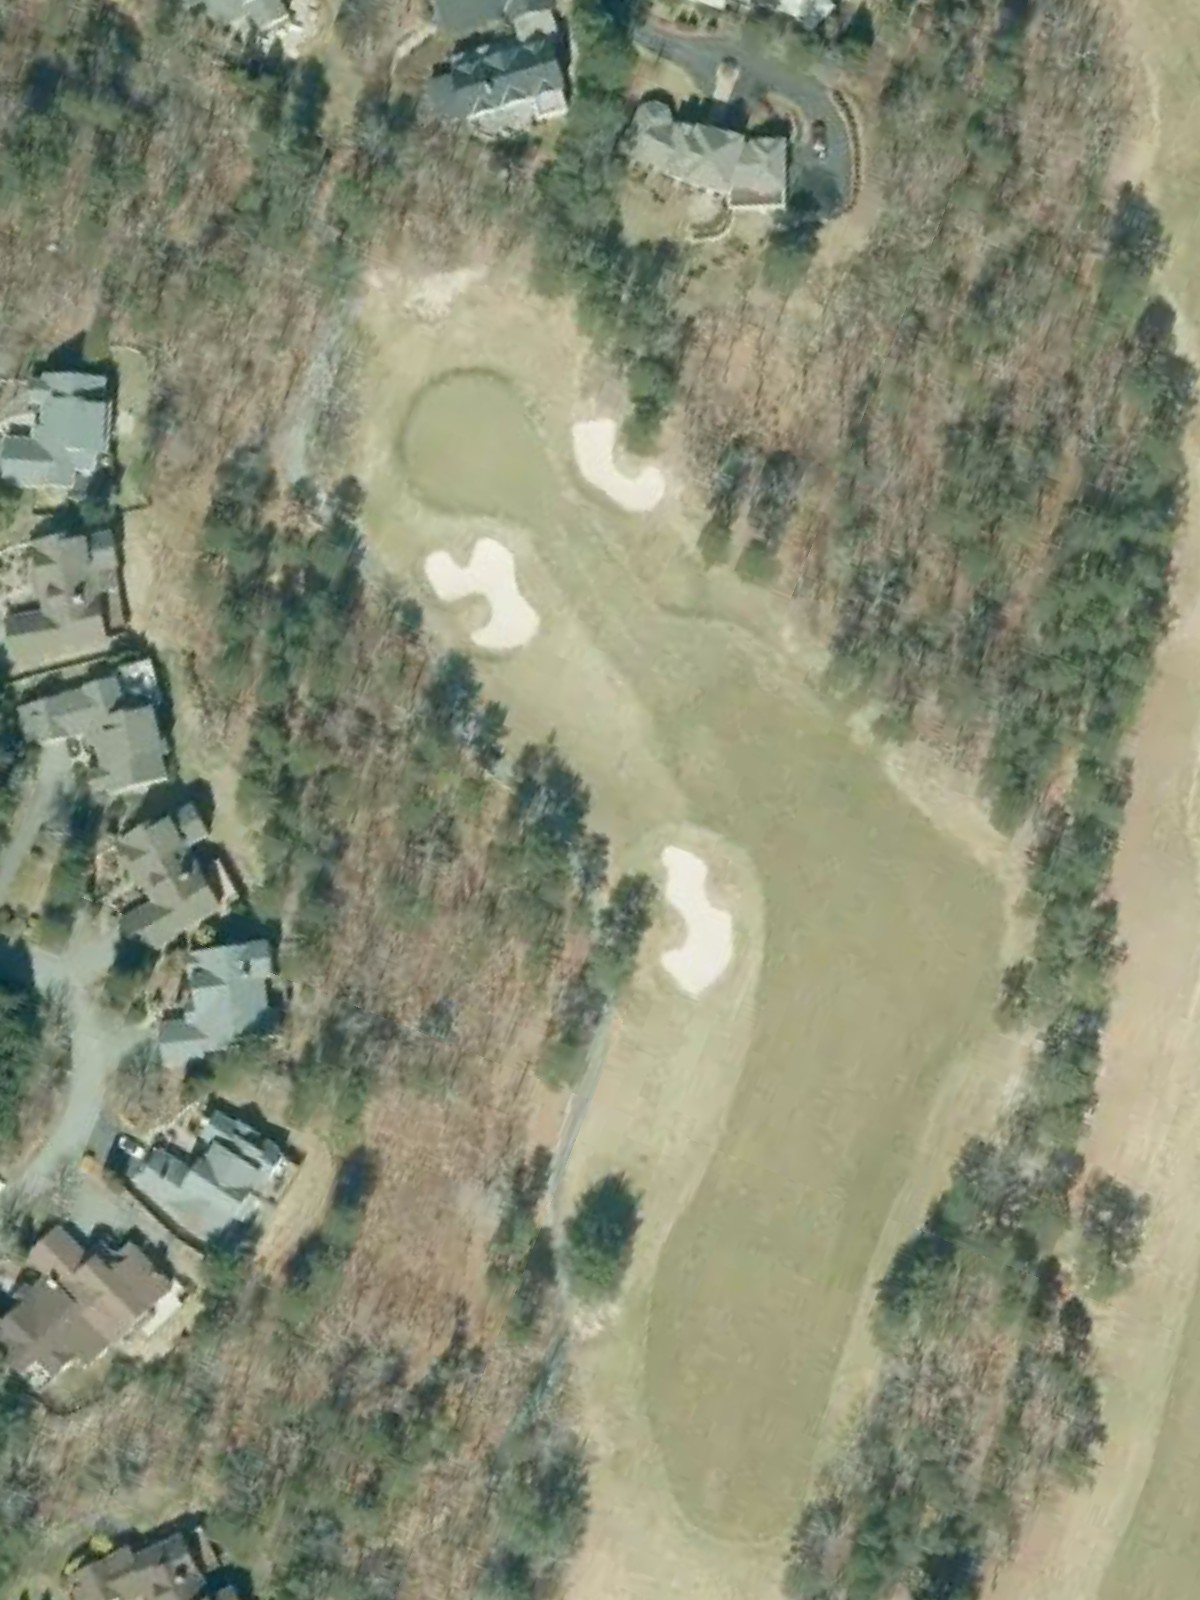
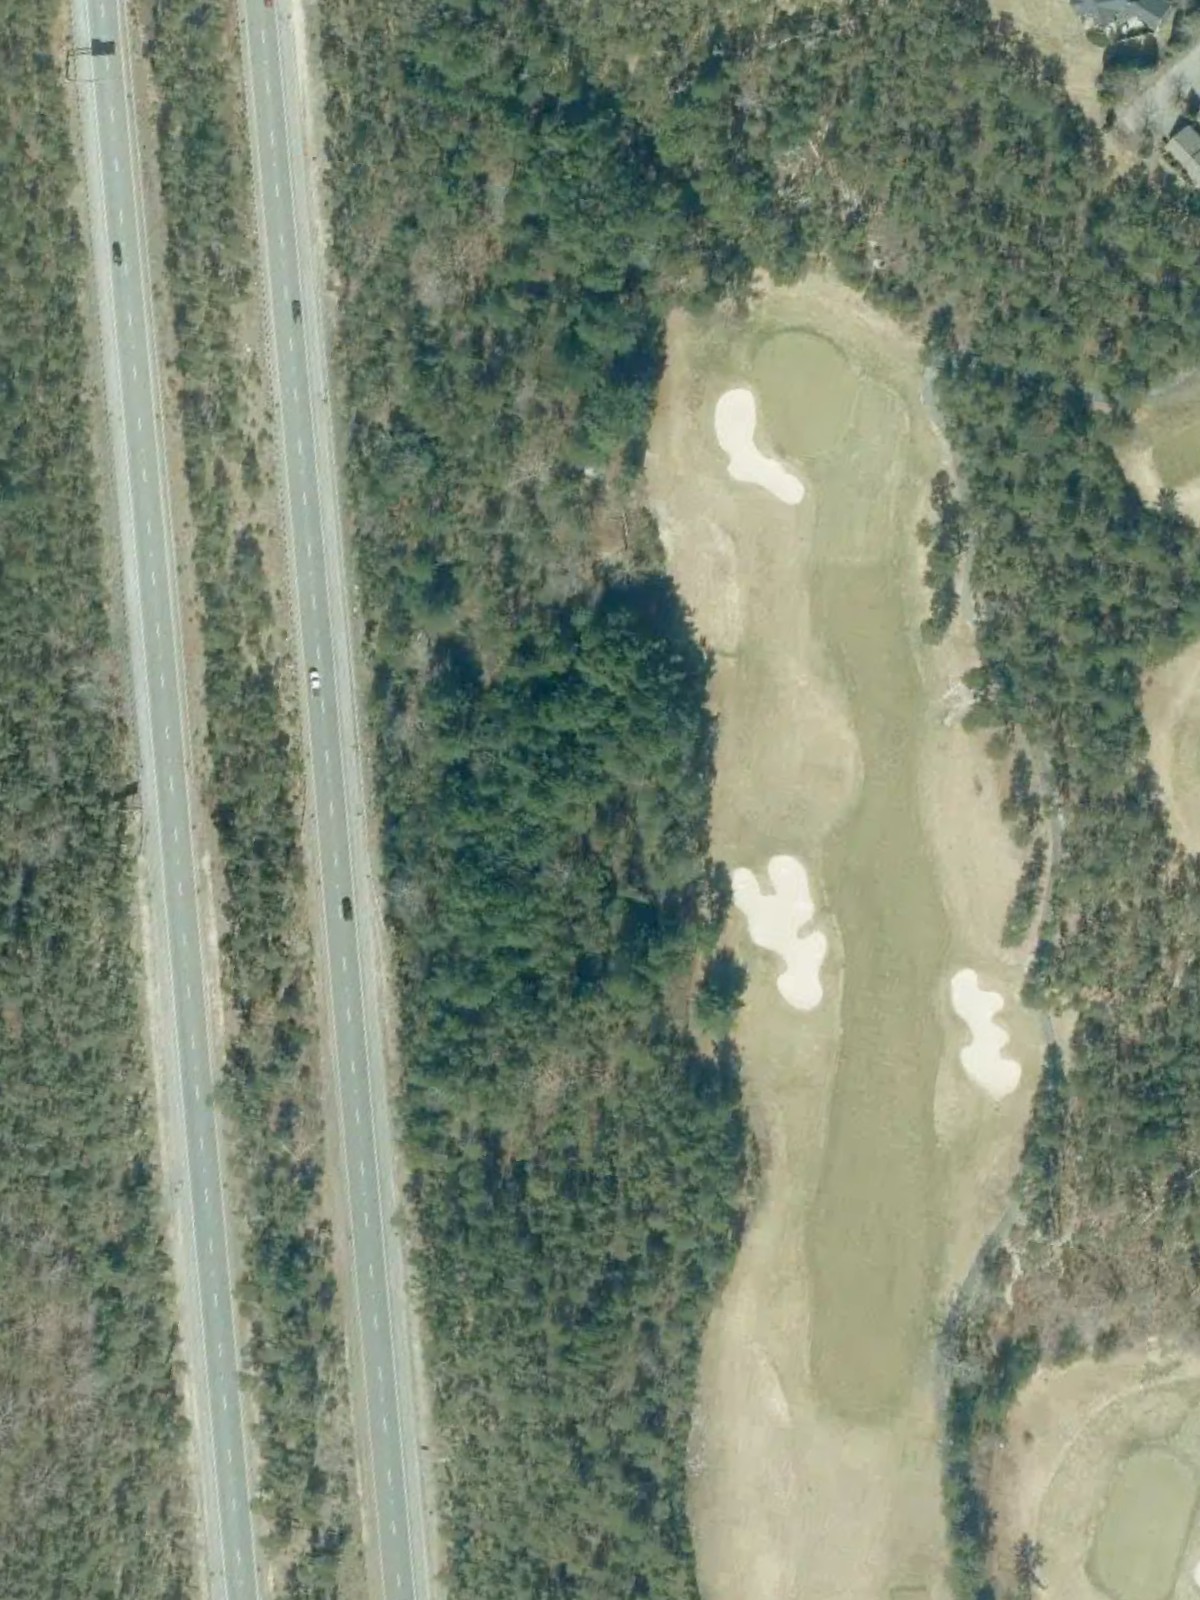
A challenging par 4 with a slight dogleg right and a narrow landing zone off the tee. Water guards the left side of the fairway and continues left of the green, making accuracy critical on both shots.
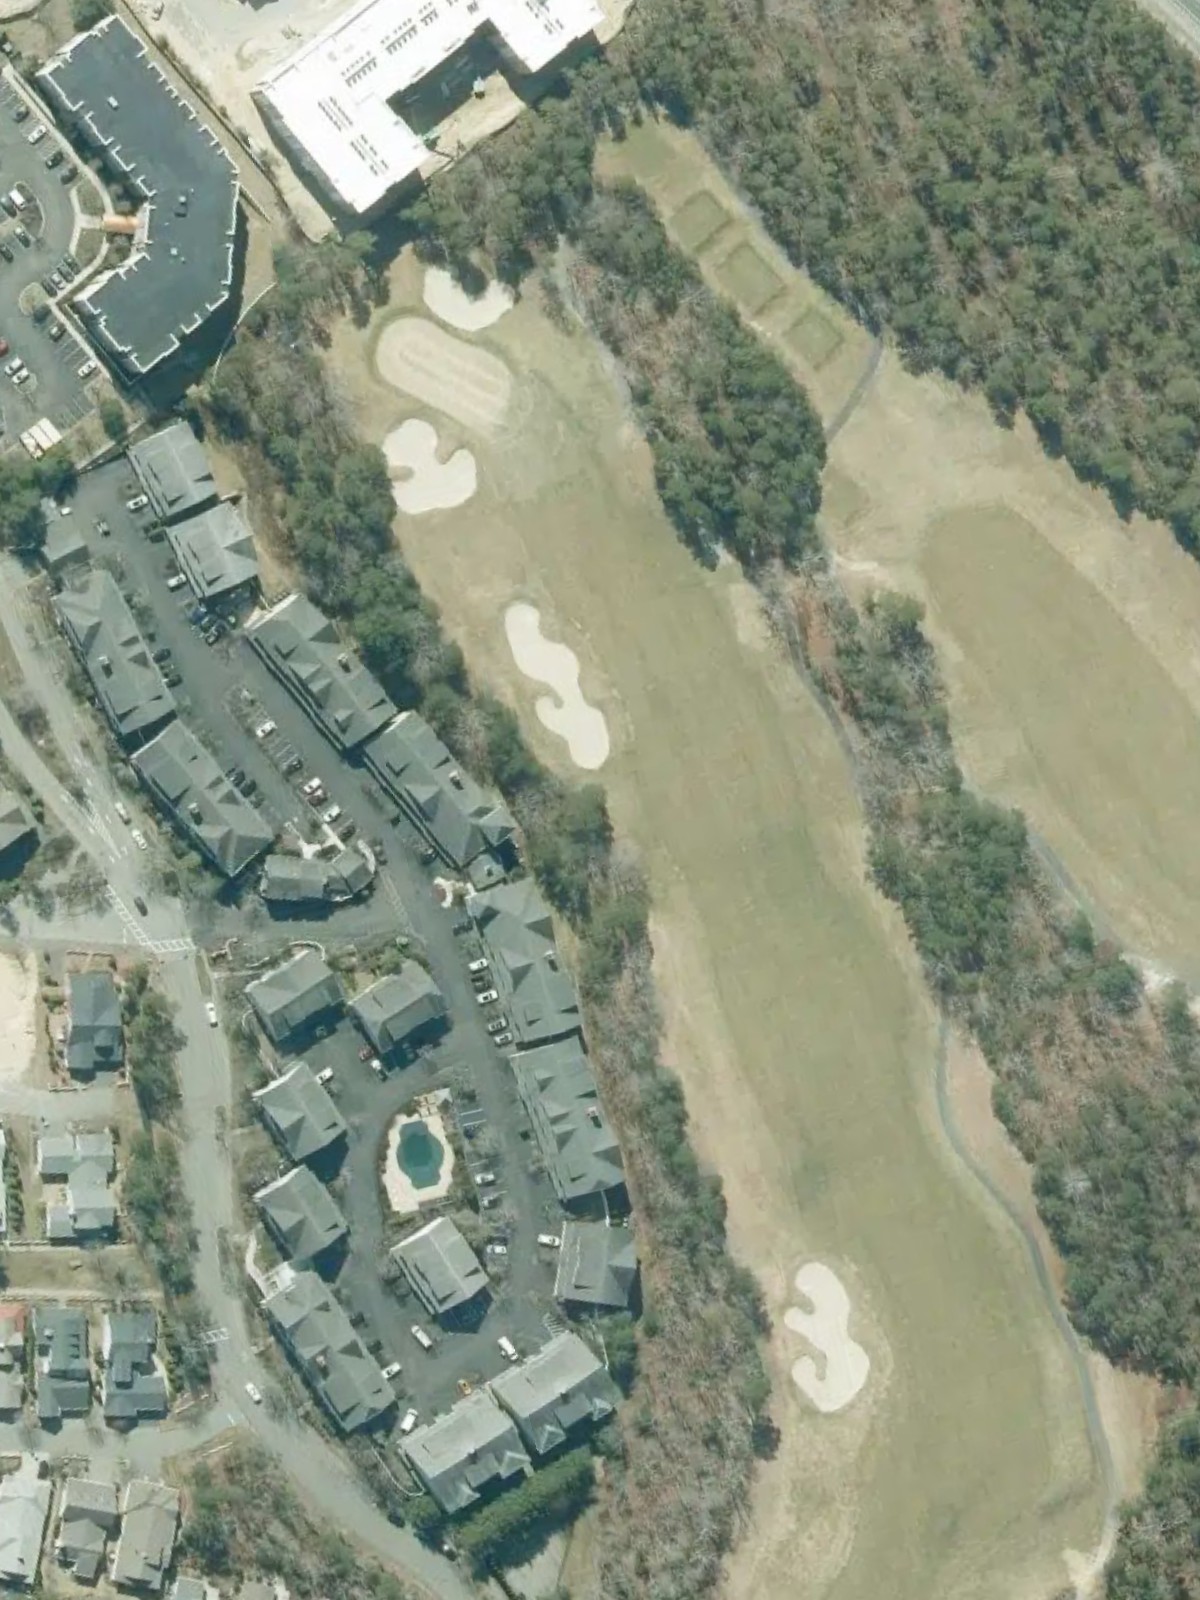
A reachable par 5 with a generous fairway that bends gently right toward a two-tiered green. Strategic bunkering frames the right side of the fairway and surrounds the green, placing a premium on placement over pure distance.
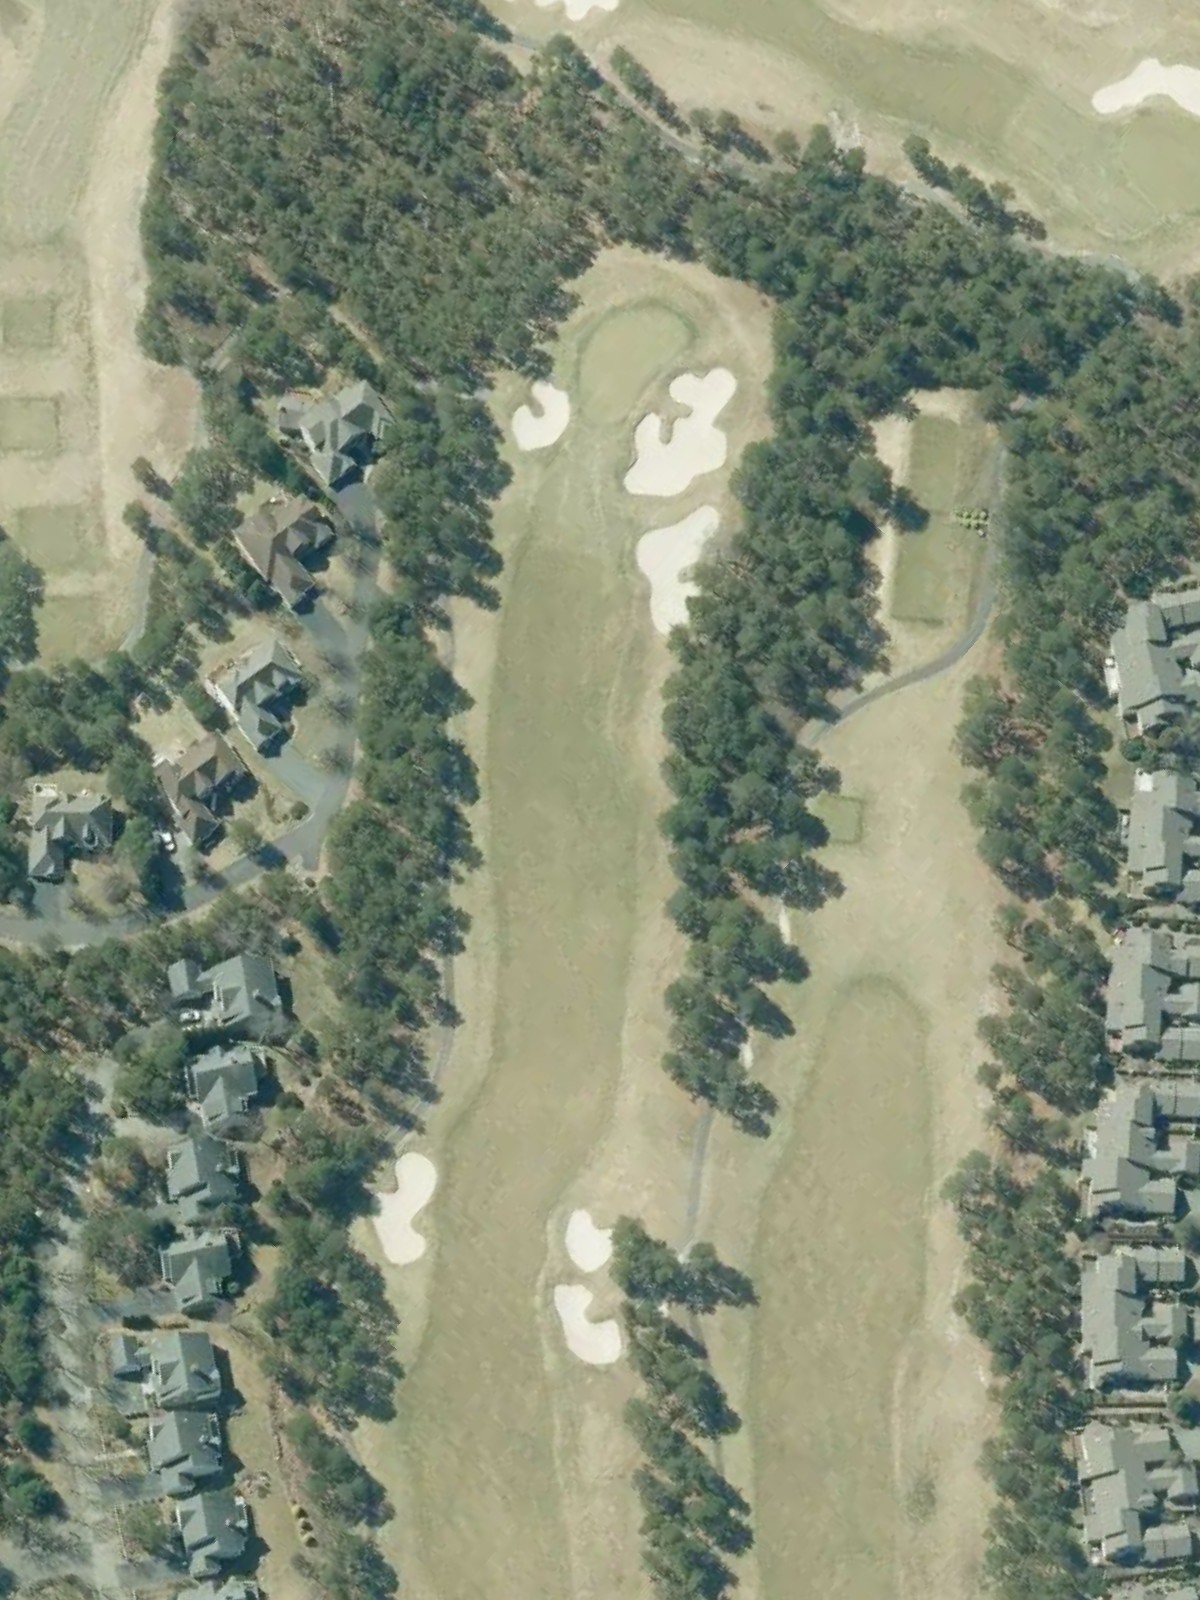
A short par 3 playing to a well-bunkered green surrounded by hazards on all sides. The compact green demands a precise tee shot with little room for error in this risk-reward opportunity.
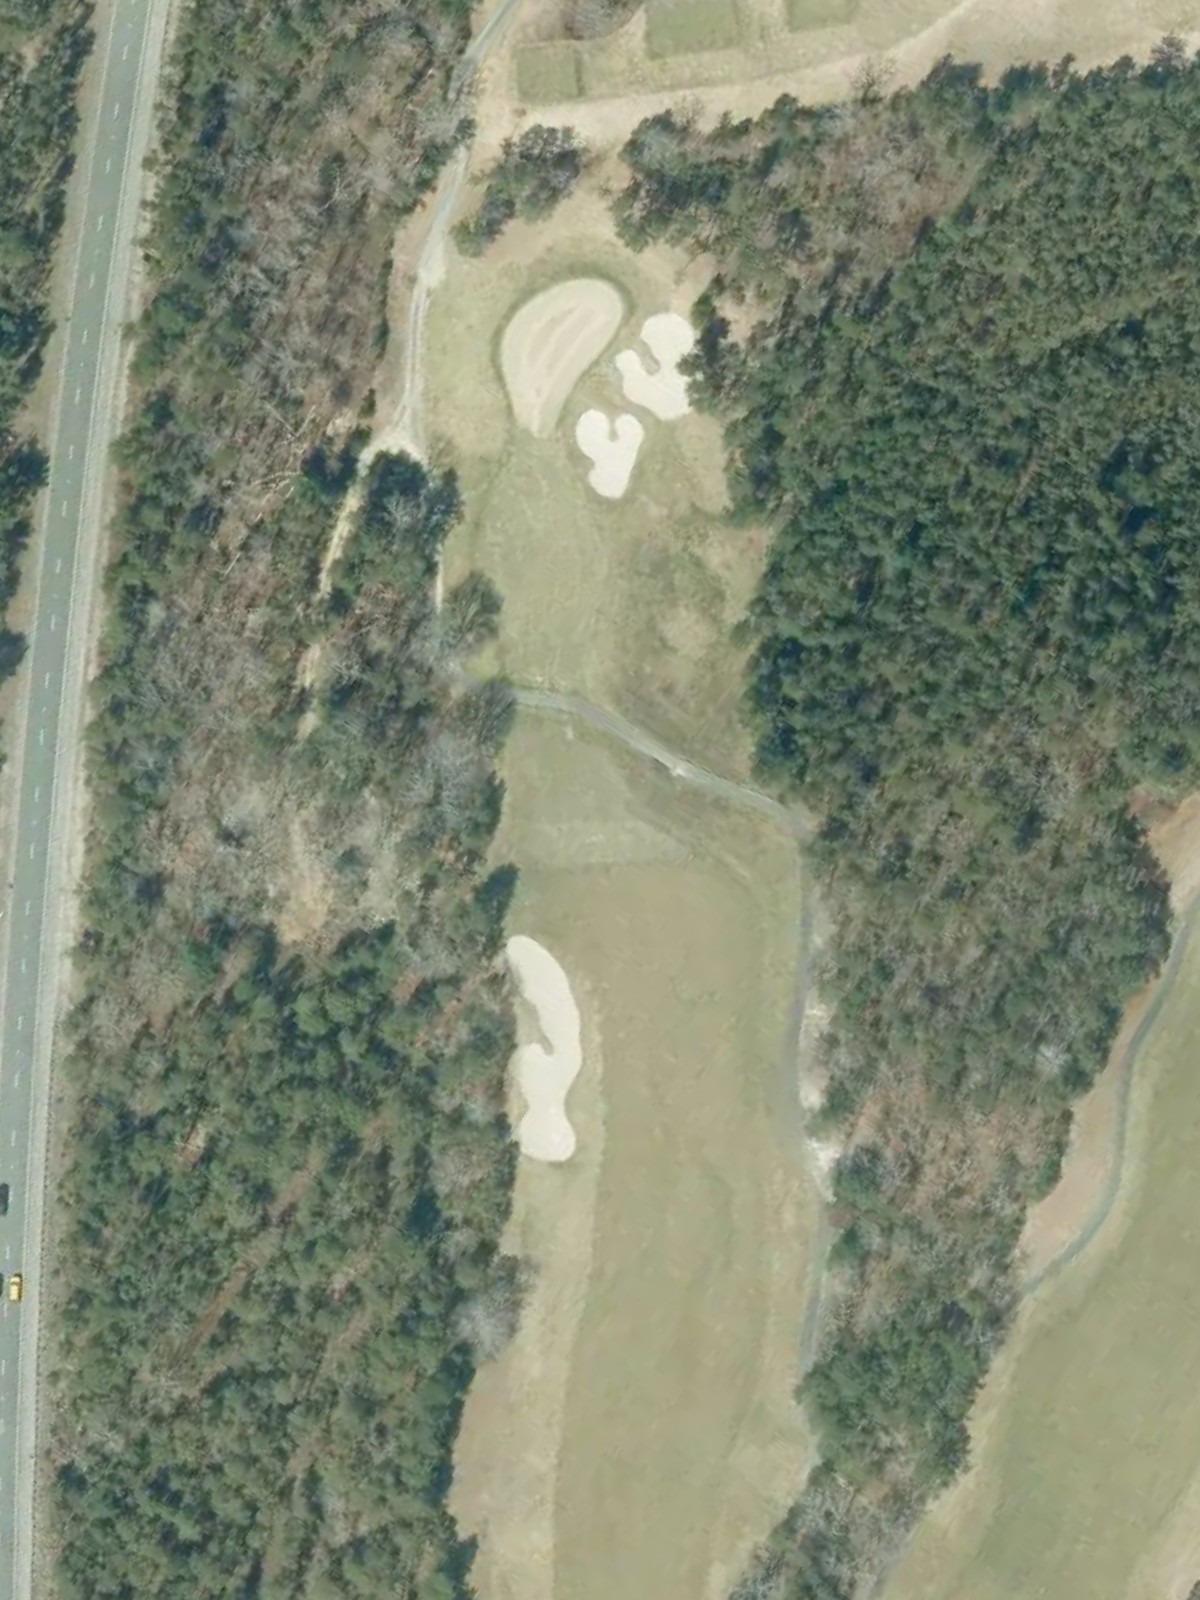
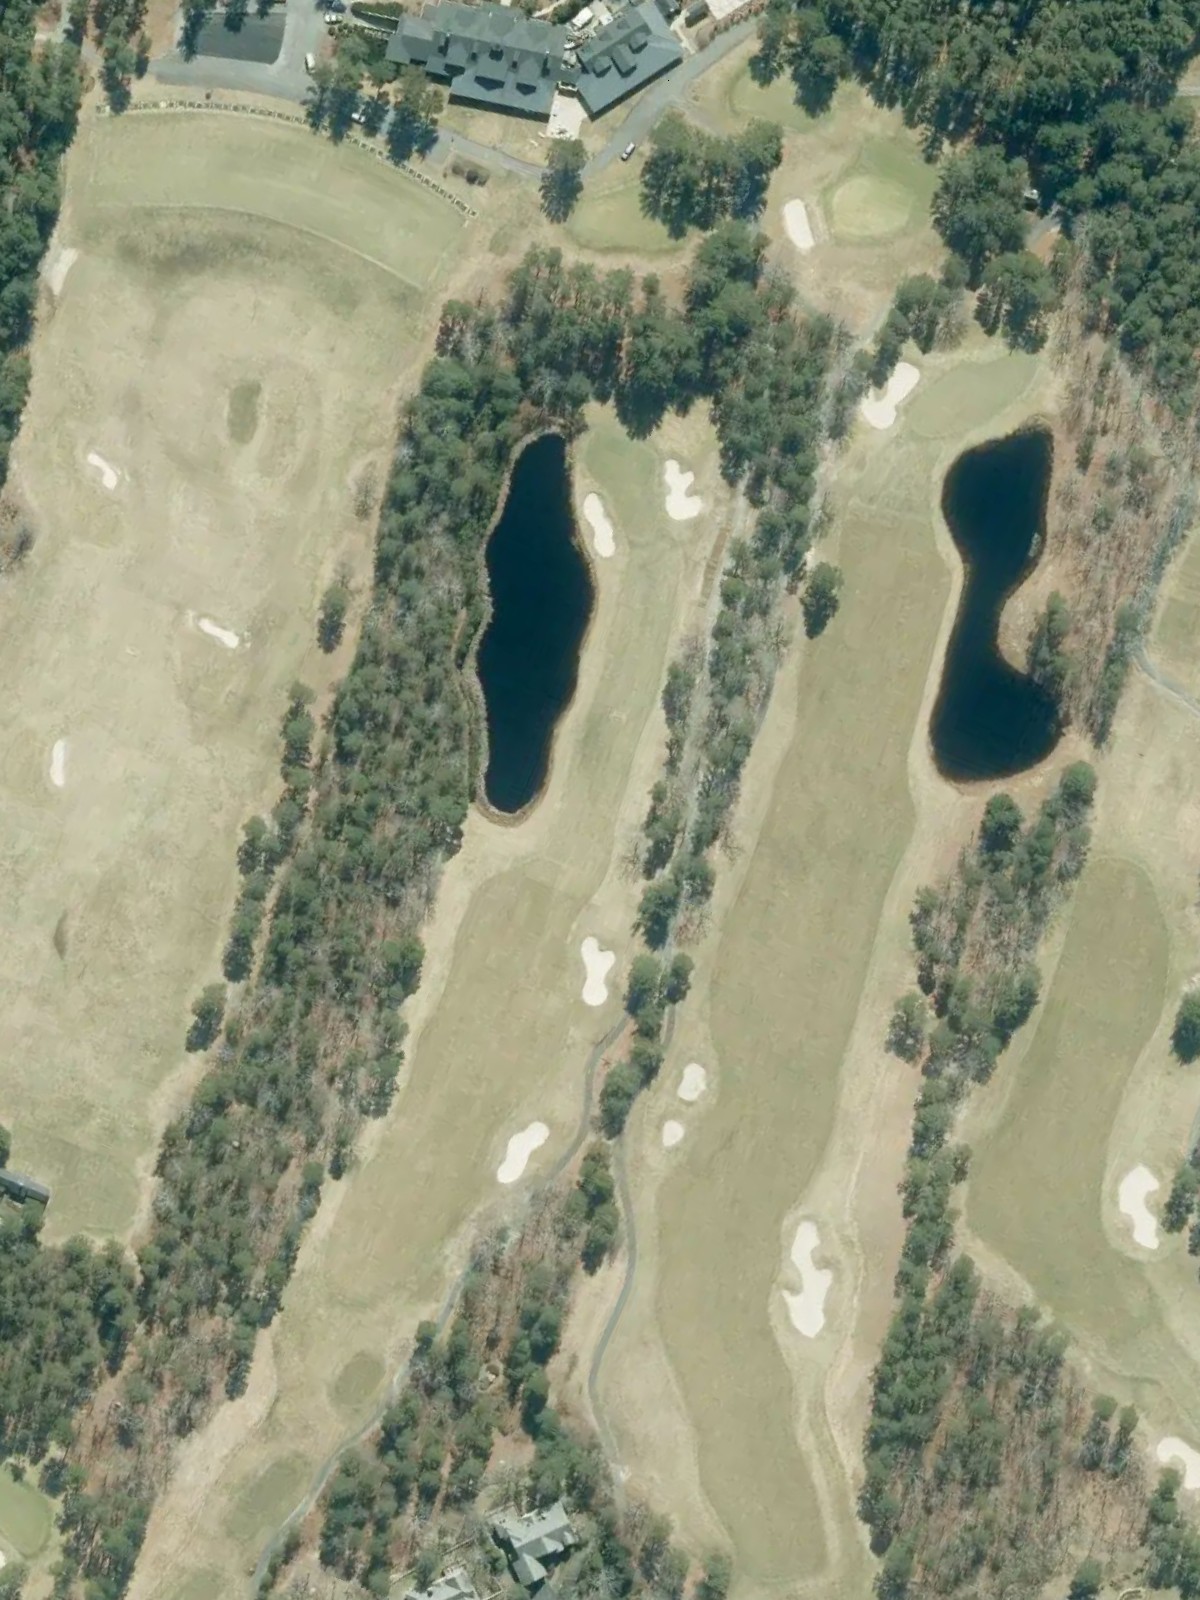
A long par 5 with a fairway that gradually slopes downhill and doglegs left around a series of bunkers. Water comes into play on the left side of the fairway and left of the green, demanding careful positioning for the second shot.
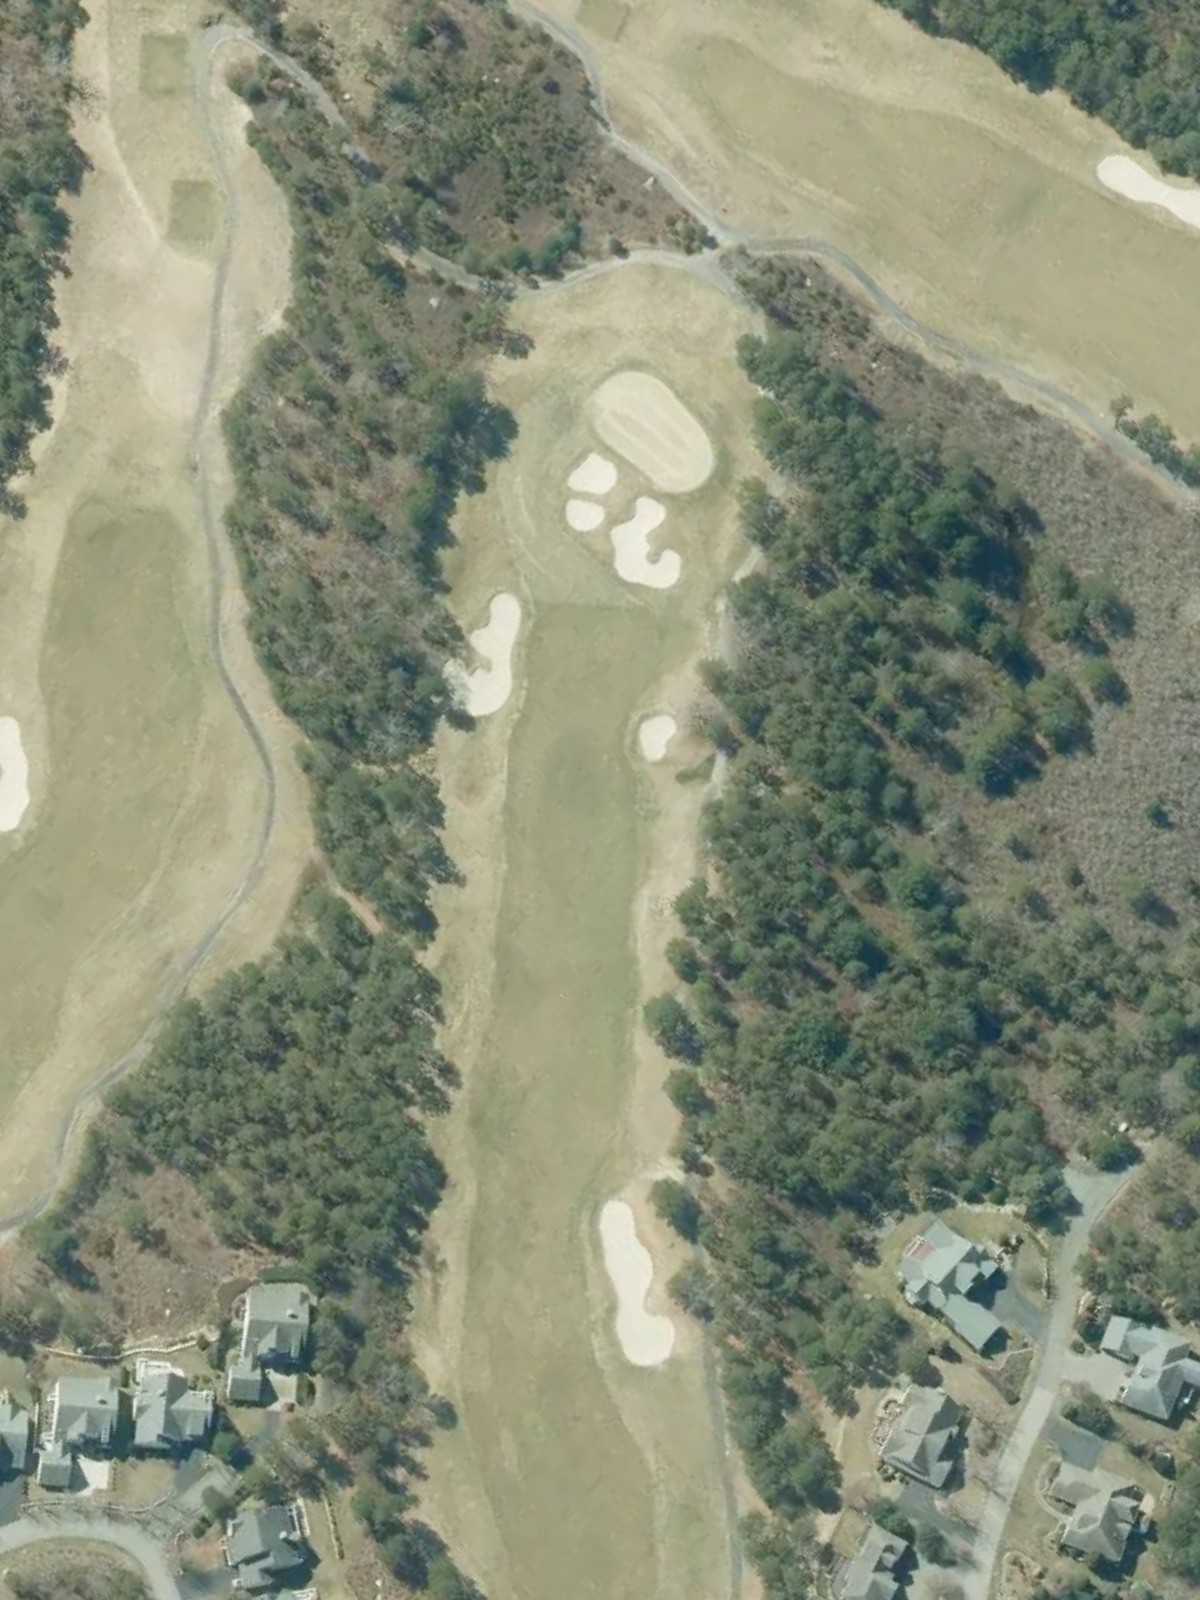
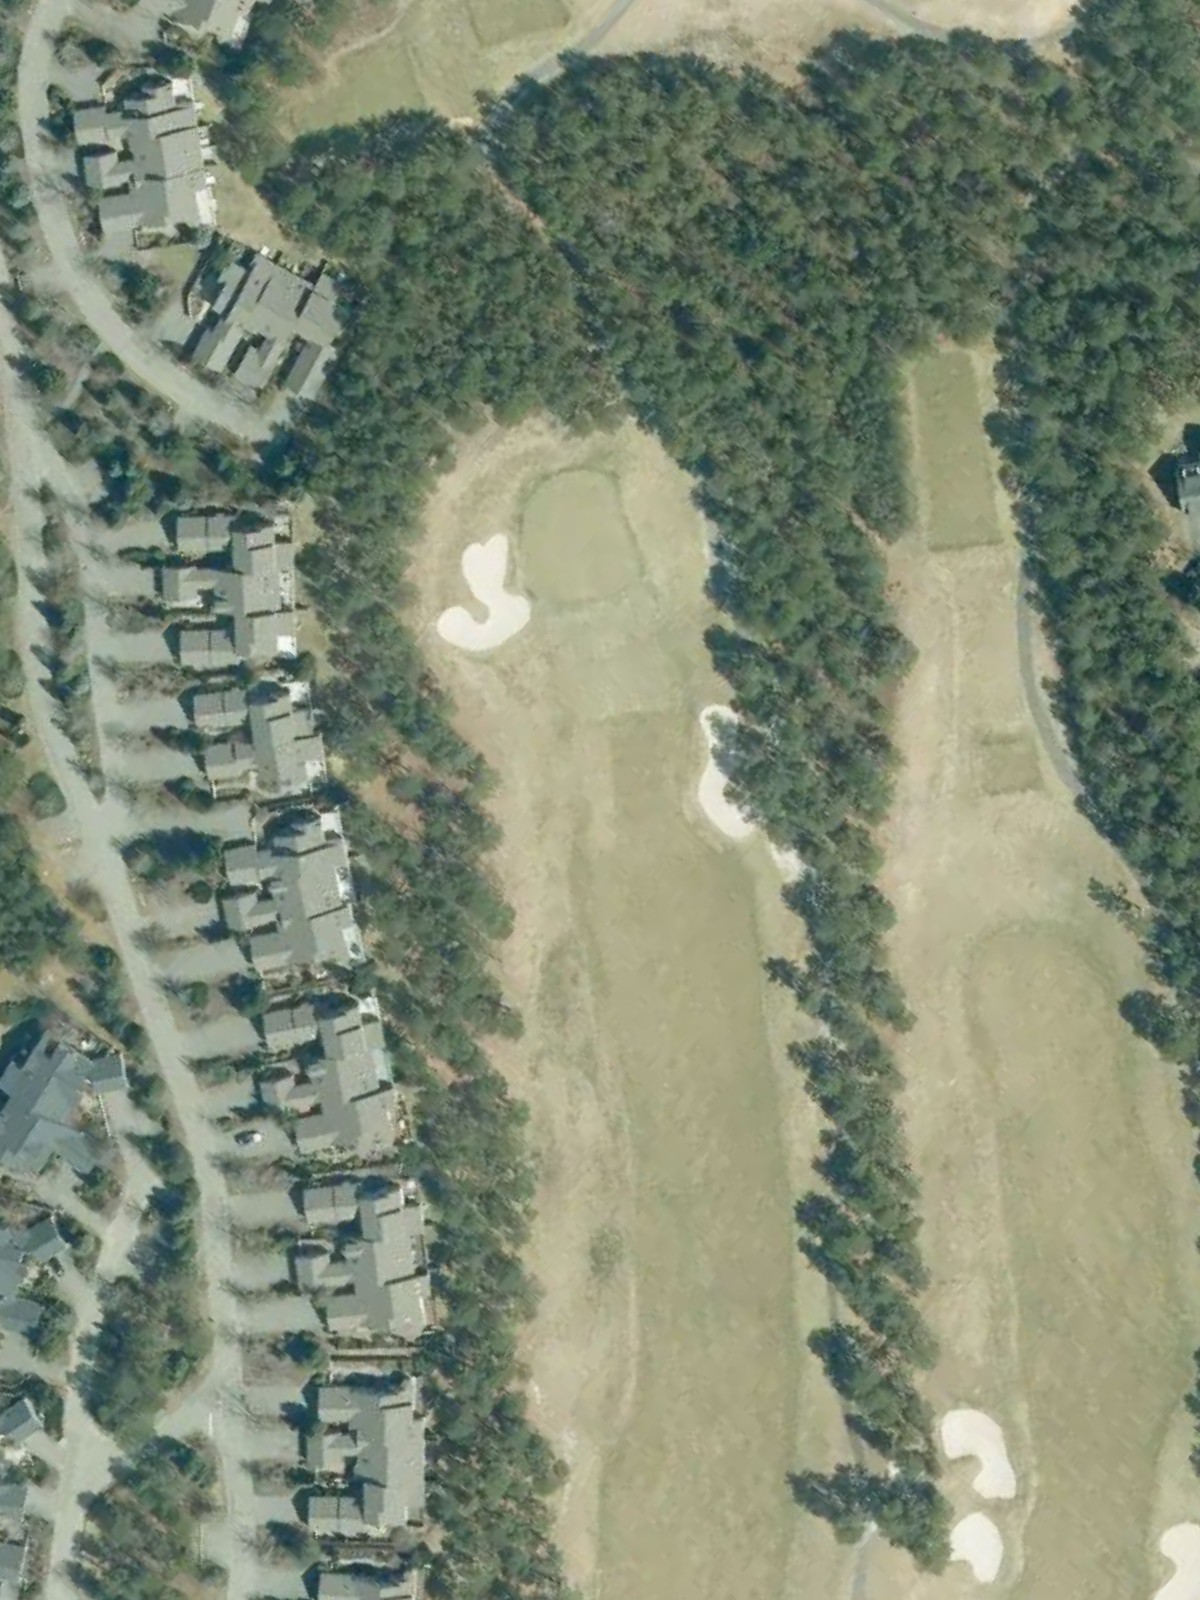
An uphill par 4 that plays longer than its yardage suggests, with a fairway that narrows significantly near the green. Bunkers line the right side of the fairway, and the elevated green is protected by sand on both flanks.
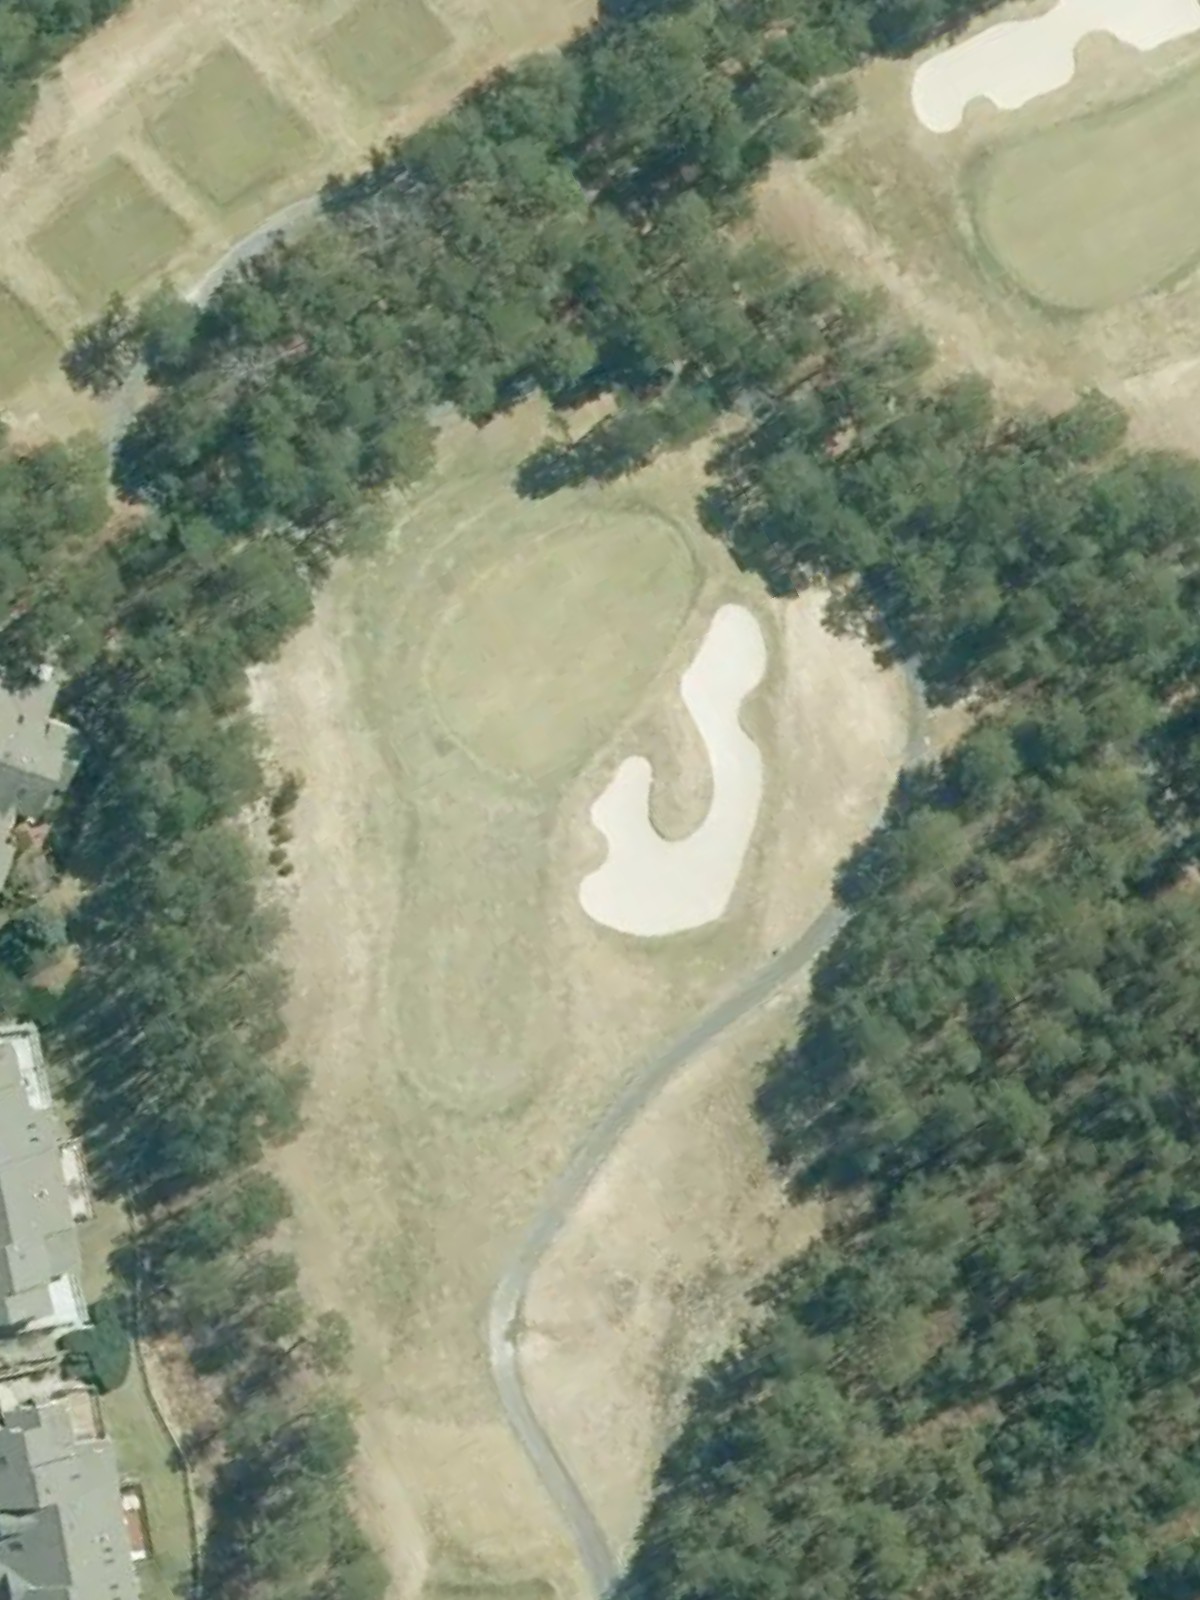
A short downhill par 3 playing to an elevated green with bunkers guarding the front and left side. The dramatic elevation change and tight green make this a deceptive test despite its modest length.
A formidable par 4 that ranks among the course's toughest, with a dogleg right and water hazard along the right side throughout. The narrow approach to the well-bunkered green leaves little margin for error.
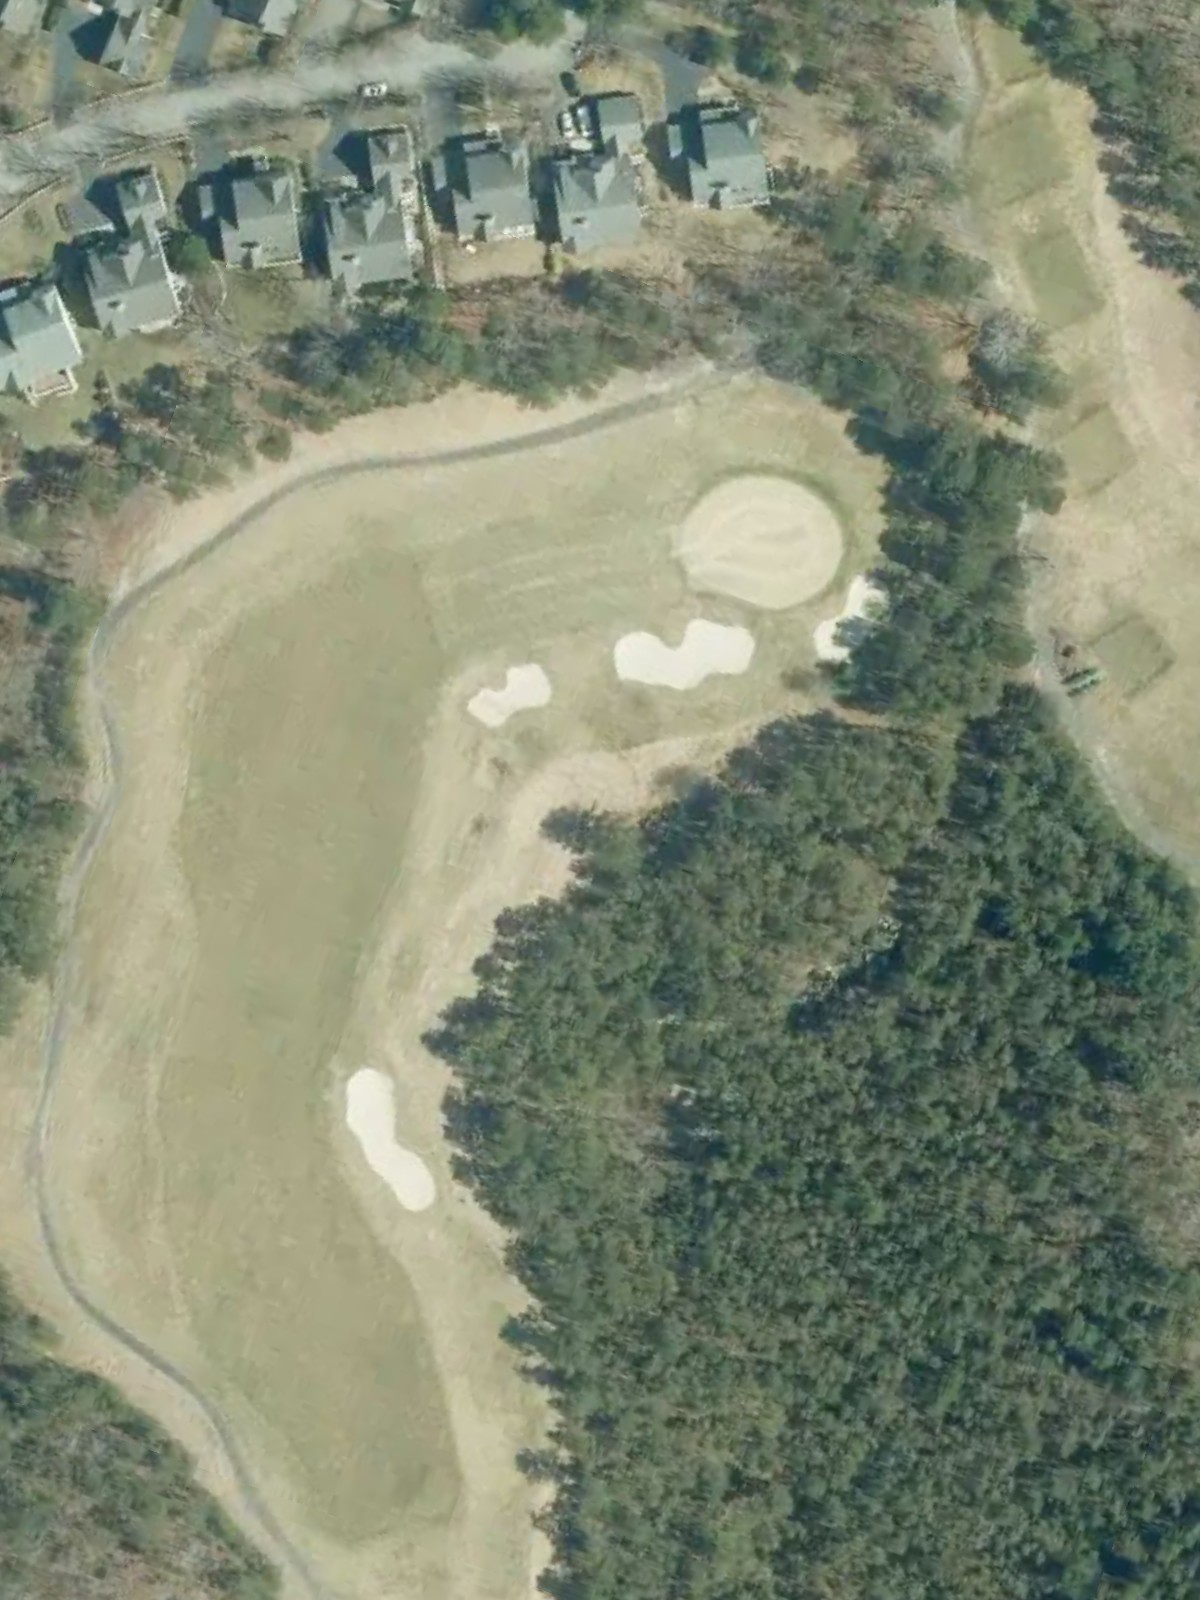
A gently curving par 4 with fairway bunkers positioned to catch wayward drives. The green sits slightly elevated and is flanked by bunkers, requiring a controlled approach shot to set up a birdie opportunity.
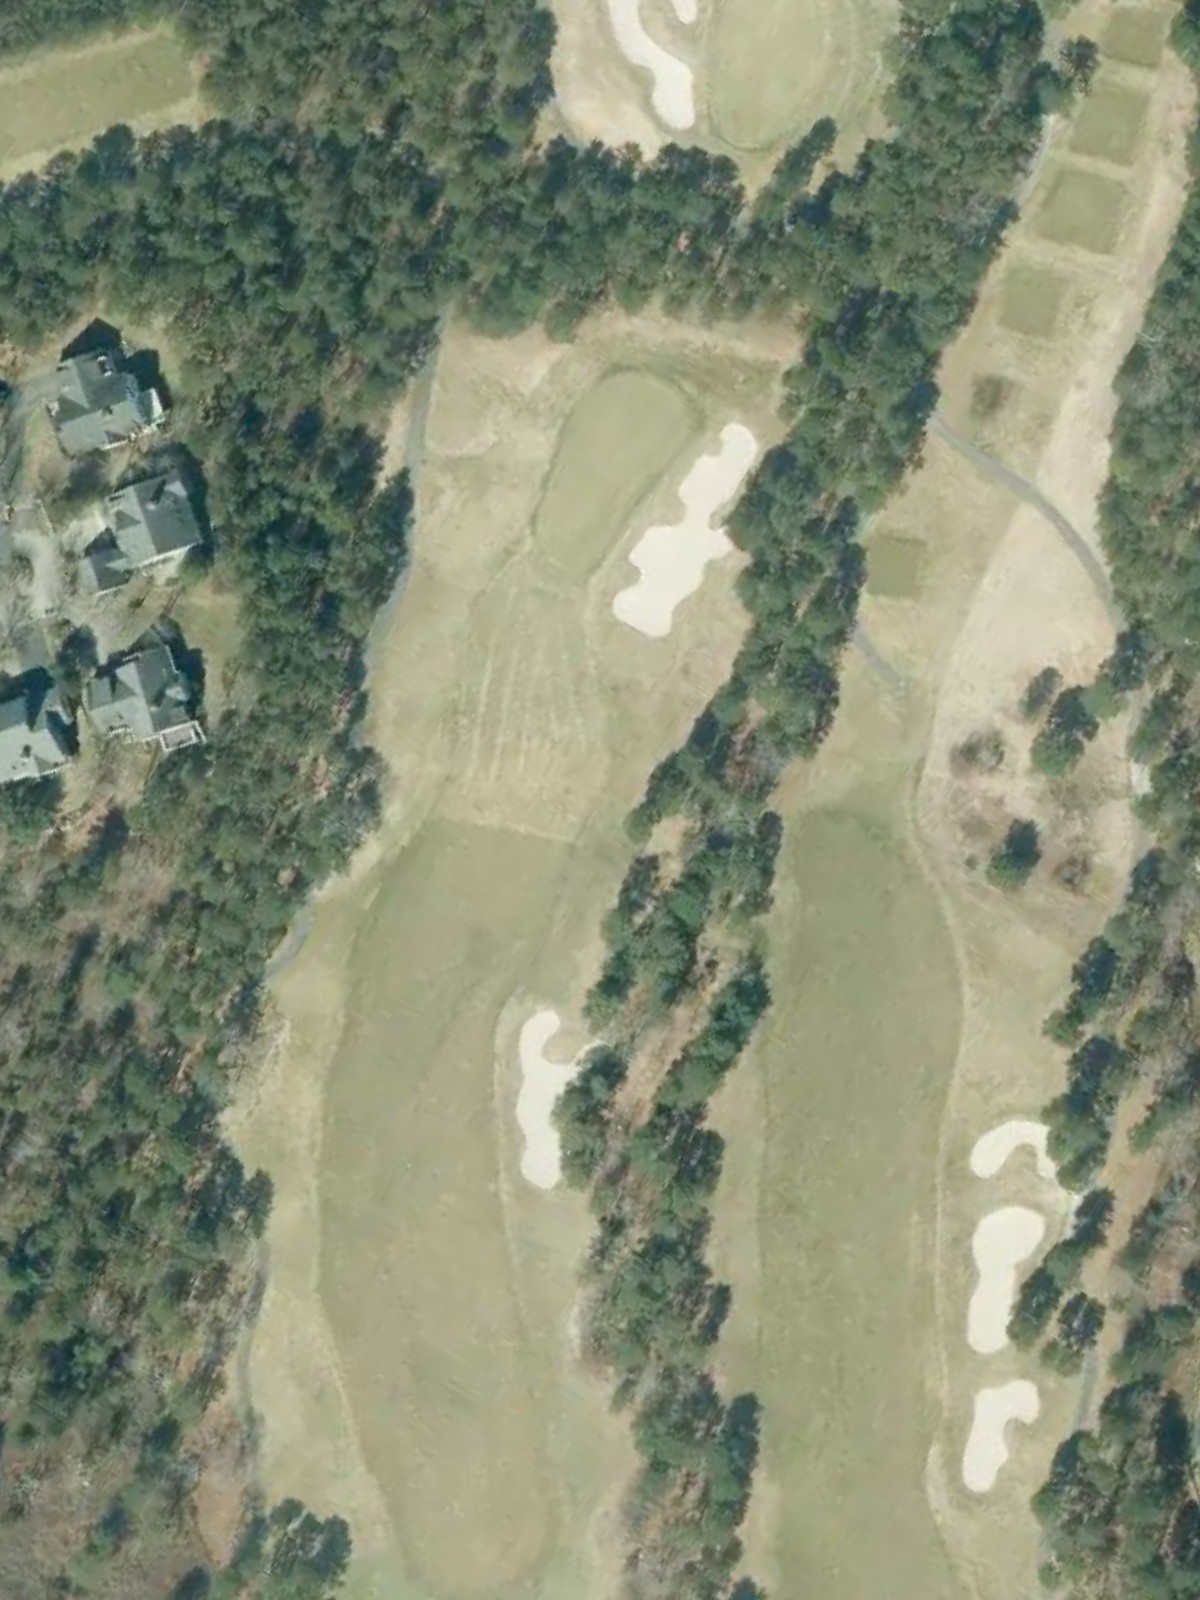
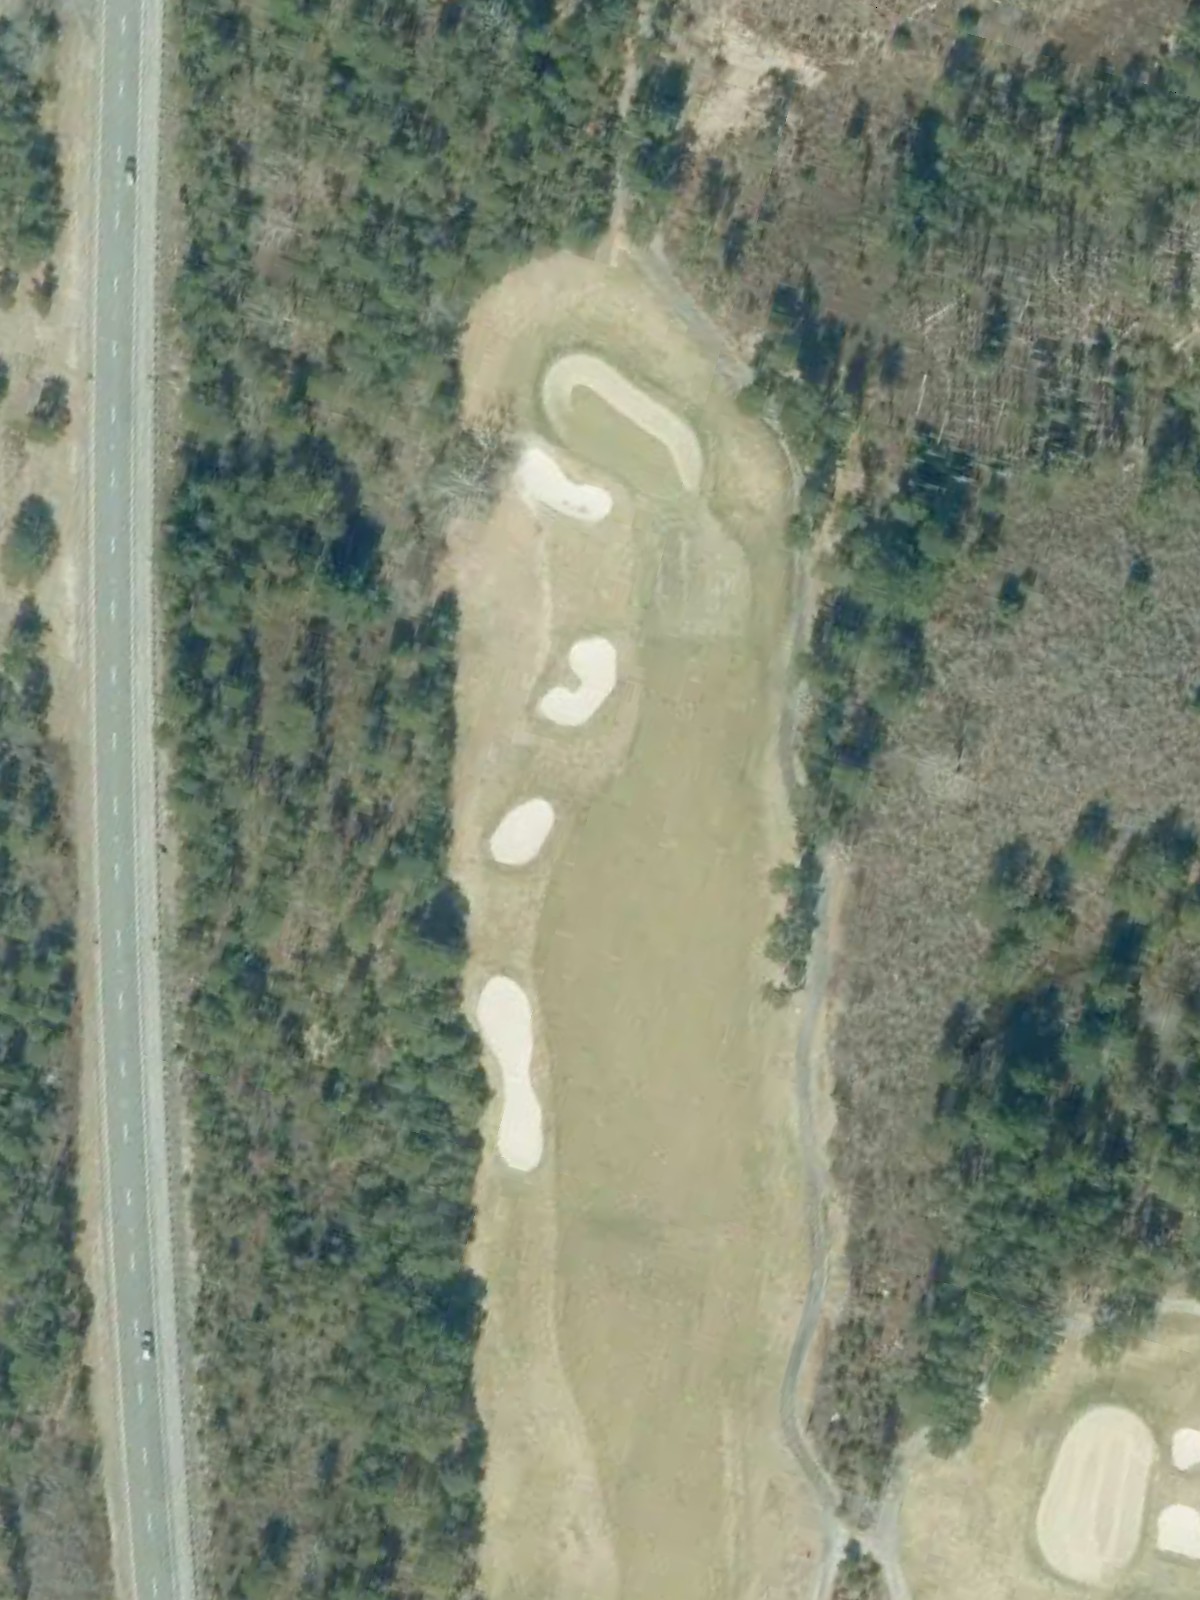
The course's longest par 5, featuring a long fairway with strategic bunkering that defines the optimal landing areas. Water guards the left side of the hole, and the well-defended green requires a precise third shot.
A short but demanding par 3 with a small, well-bunkered green that resists scoring. The surrounding bunkers and limited bail-out areas make this one of the course's most challenging one-shot holes.
A dominant par 5 that plays as the course's hardest hole, featuring a generous fairway that bends left with water guarding the inside of the dogleg. Bunkers frame the final approach, demanding strategic positioning on the second shot.
A strong par 4 with a fairway that narrows approaching the landing zone, with bunkers positioned along both sides. The elevated green is well-defended by sand, placing emphasis on finding the correct side of the fairway.
A compact par 4 with a relatively open fairway that funnels toward the green. Bunkers guard the right side of the approach, while the left side offers more margin but requires distance control.
A mid-length par 4 with a fairway that doglegs slightly right around a series of strategic bunkers. Water threatens the left side of the fairway, and the green is protected by additional sand, making this a test of shot placement.
An exceptionally short par 3 that can be dramatically different depending on conditions and pin placement. Despite its brevity, the small, well-bunkered green and tight surroundings demand precision over power.
A finishing par 4 with a fairway that narrows steadily toward the green, culminating in a tight approach corridor. Bunkers frame both sides of the green, providing a demanding final challenge to complete the round.
Scorecard
| Hole | 1 | 2 | 3 | 4 | 5 | 6 | 7 | 8 | 9 | Out | 10 | 11 | 12 | 13 | 14 | 15 | 16 | 17 | 18 | In | Tot |
|---|---|---|---|---|---|---|---|---|---|---|---|---|---|---|---|---|---|---|---|---|---|
| Par | 4 | 4 | 4 | 5 | 3 | 5 | 4 | 3 | 4 | 36 | 4 | 5 | 3 | 5 | 4 | 4 | 4 | 3 | 4 | 36 | 72 |
| HCP | 18 | 8 | 6 | 4 | 10 | 12 | 14 | 16 | 2 | 17 | 5 | 3 | 1 | 7 | 9 | 15 | 13 | 11 | |||
| blue | 306 | 380 | 337 | 463 | 166 | 479 | 468 | 148 | 376 | 3123 | 384 | 522 | 142 | 497 | 393 | 335 | 382 | 109 | 340 | 3104 | 6227 |
| white | 267 | 339 | 308 | 428 | 141 | 430 | 409 | 116 | 355 | 2793 | 356 | 499 | 119 | 447 | 368 | 320 | 323 | 106 | 300 | 2838 | 5631 |