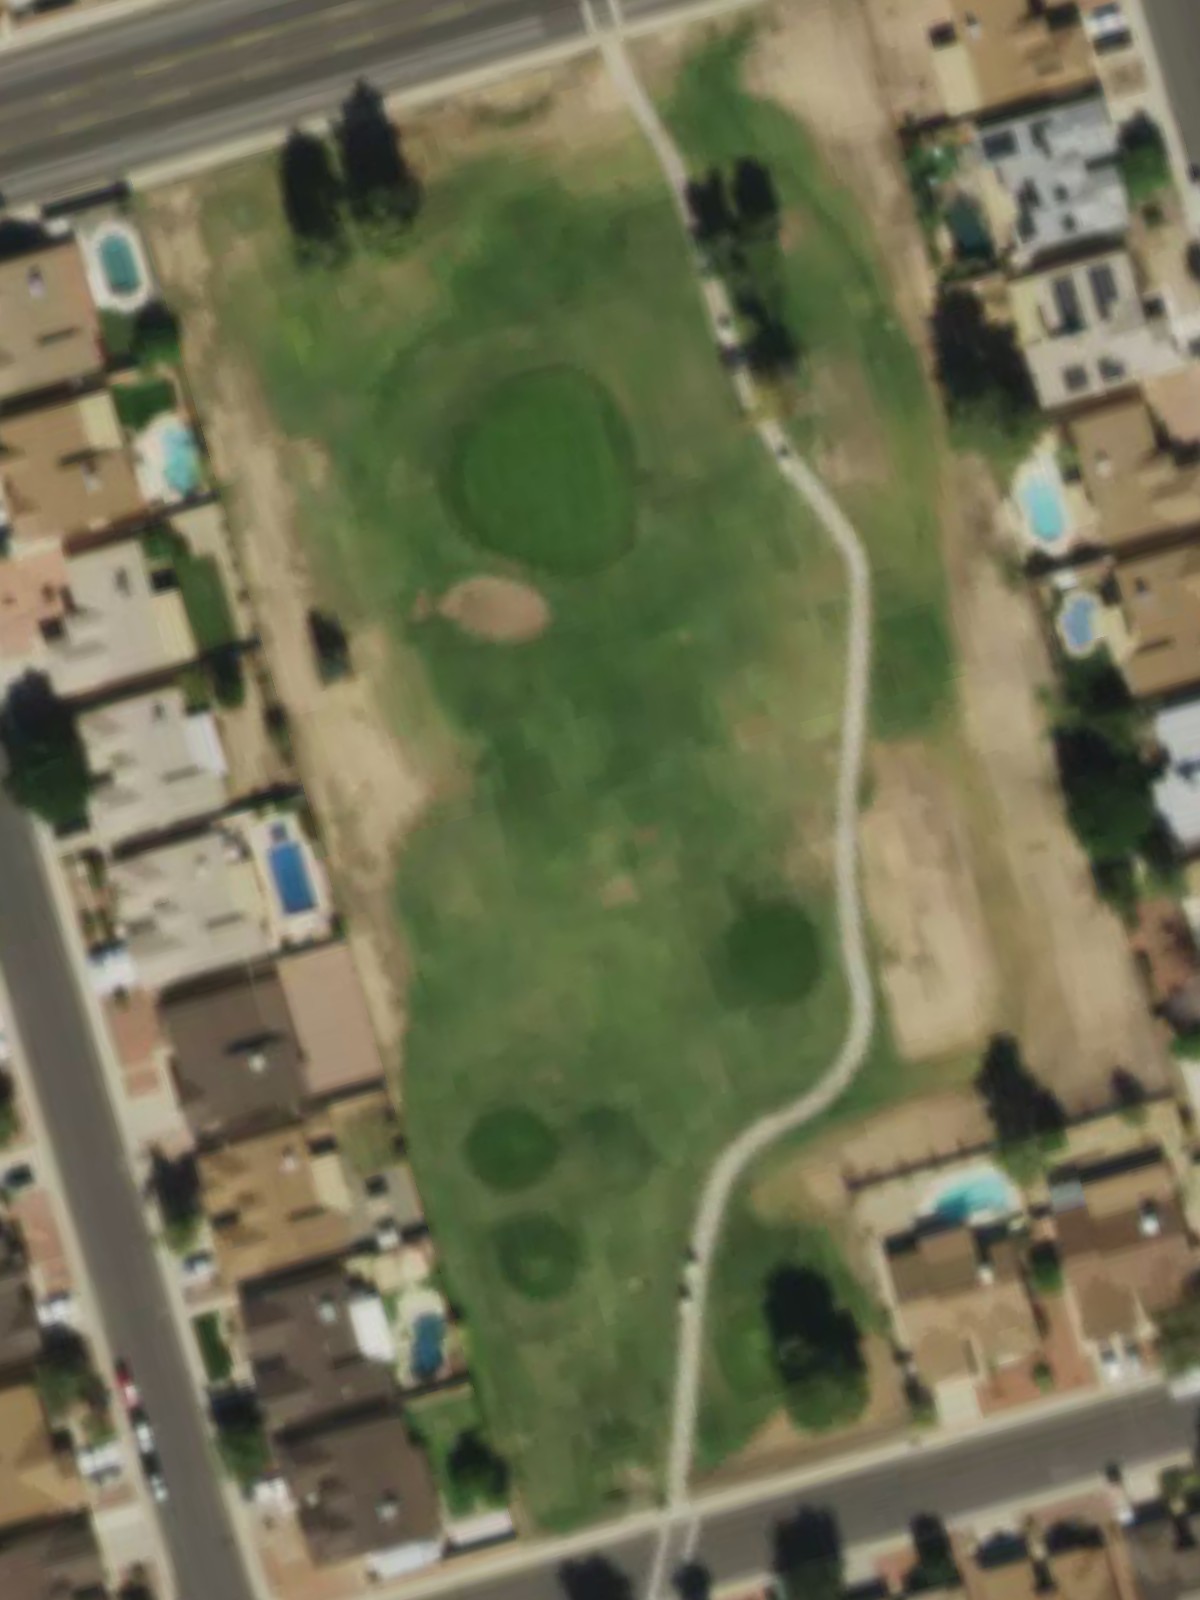
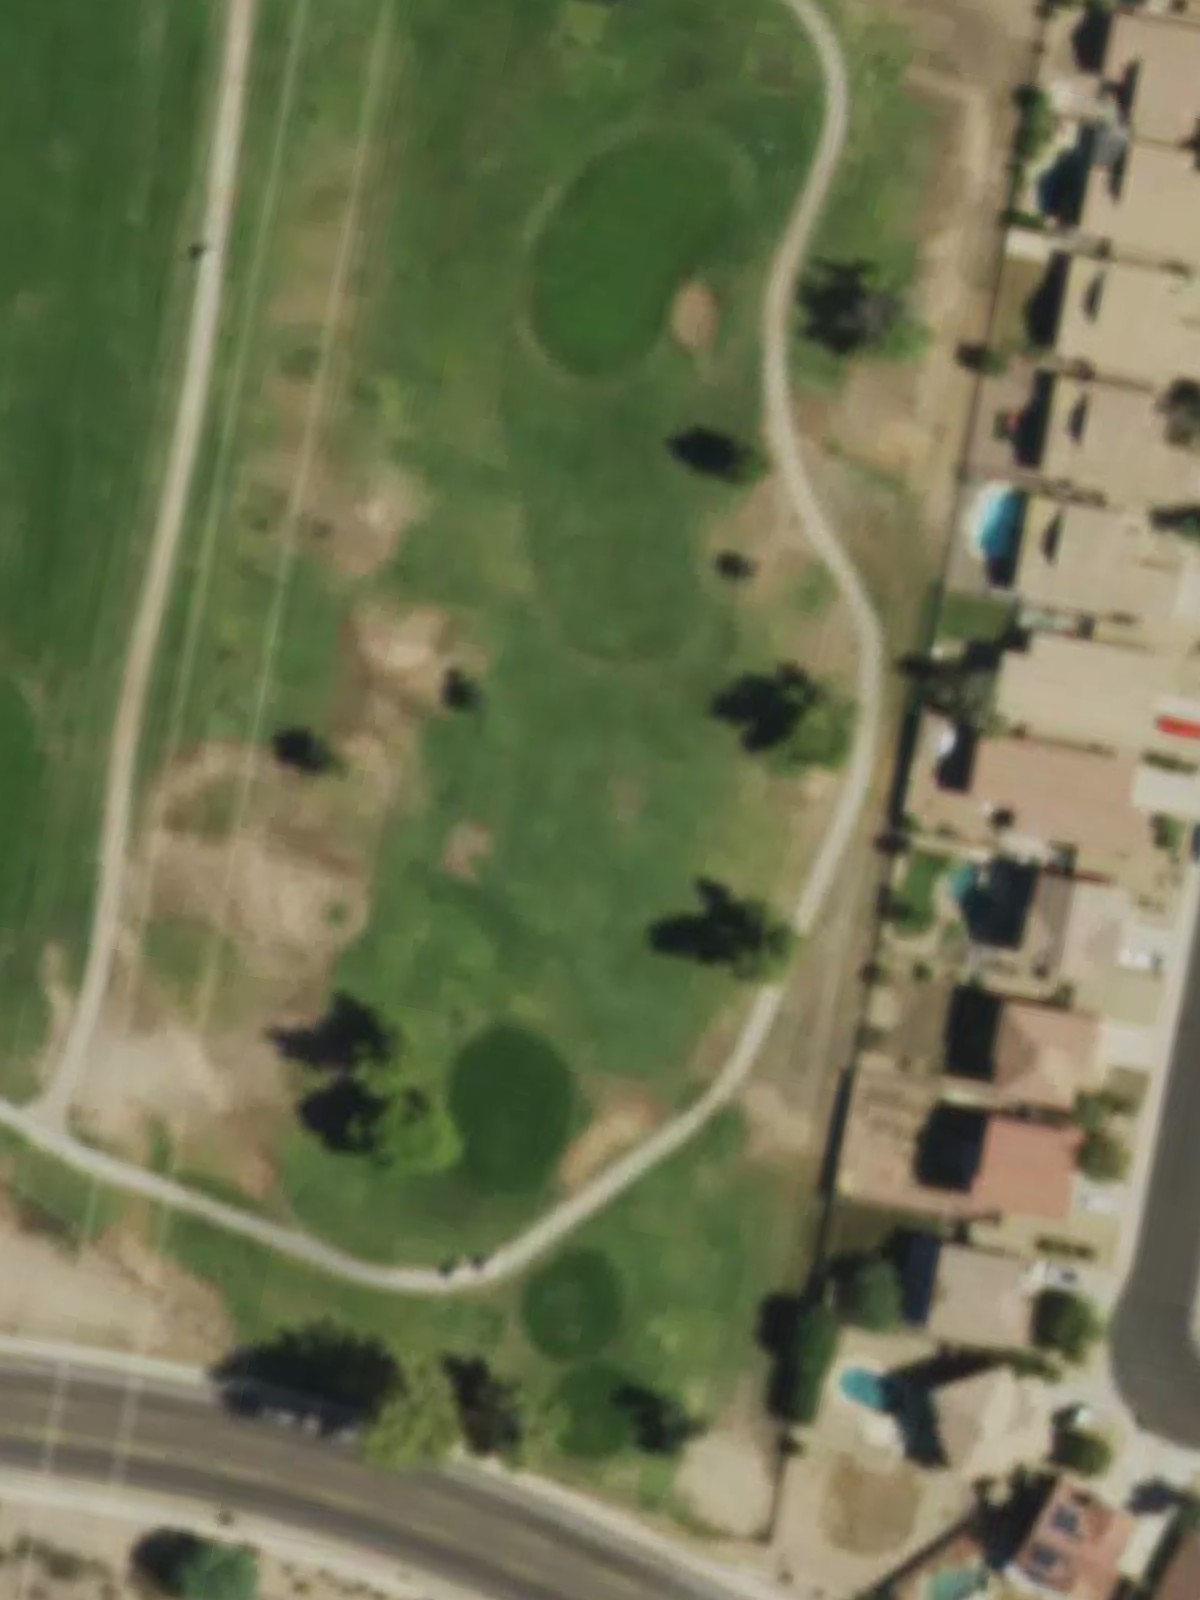
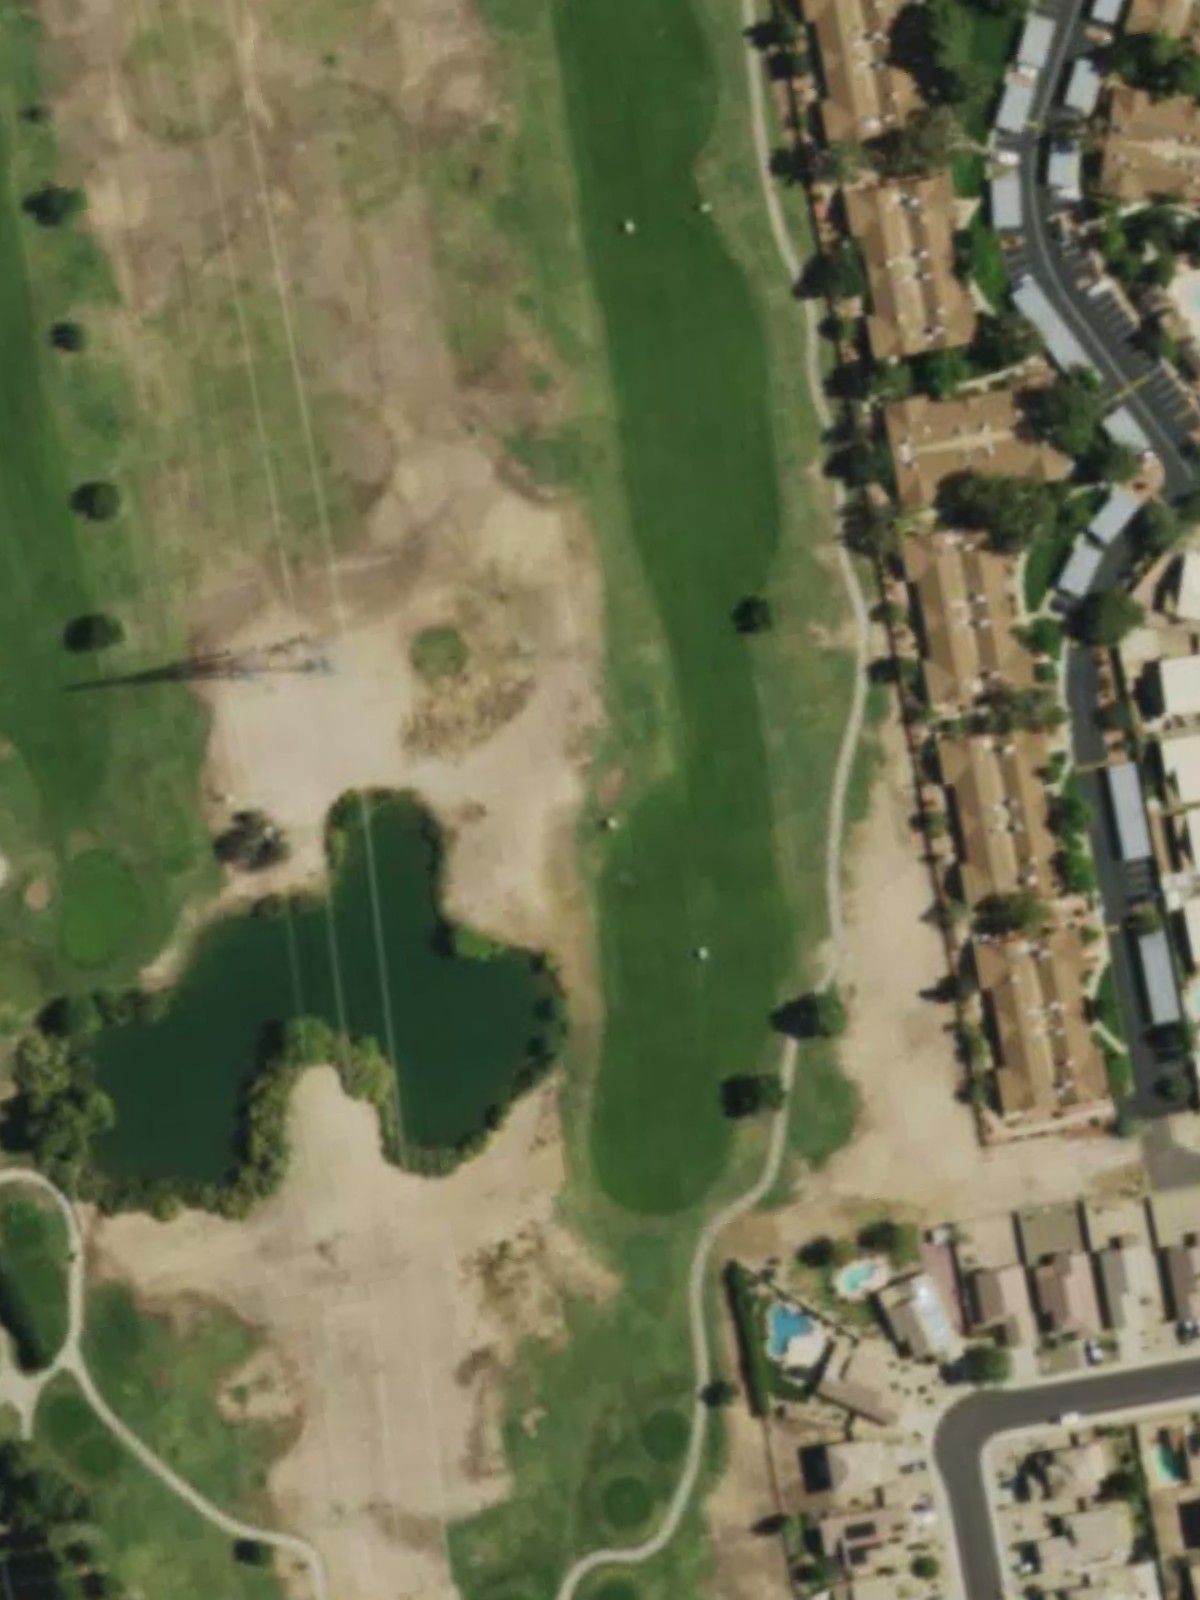
Peoria Pines Golf & Restaurant is an 18-hole golf course in Peoria, AZ with a par of 63. It offers 3 tee sets: blue (4,349 yards, slope 98, rating 60.8), white (3,846 yards, slope 92, rating 59.2), red (3,379 yards, slope 83, rating 57.4). The hardest hole is #4, a par 3 playing 168 yards from the first tee.
Peoria Pines Golf & Restaurant
Peoria, AZ
Get PDF Yardage Book
We'll email you the PDF link. No spam, ever.
Create Your Game Plan
Pick your tees, enter your bag, and get a personalized shot-by-shot strategy for every hole.
A short par 3 playing to a well-bunkered green. The hole's modest length belies its challenge, with strategic bunker placement demanding an accurate approach shot.
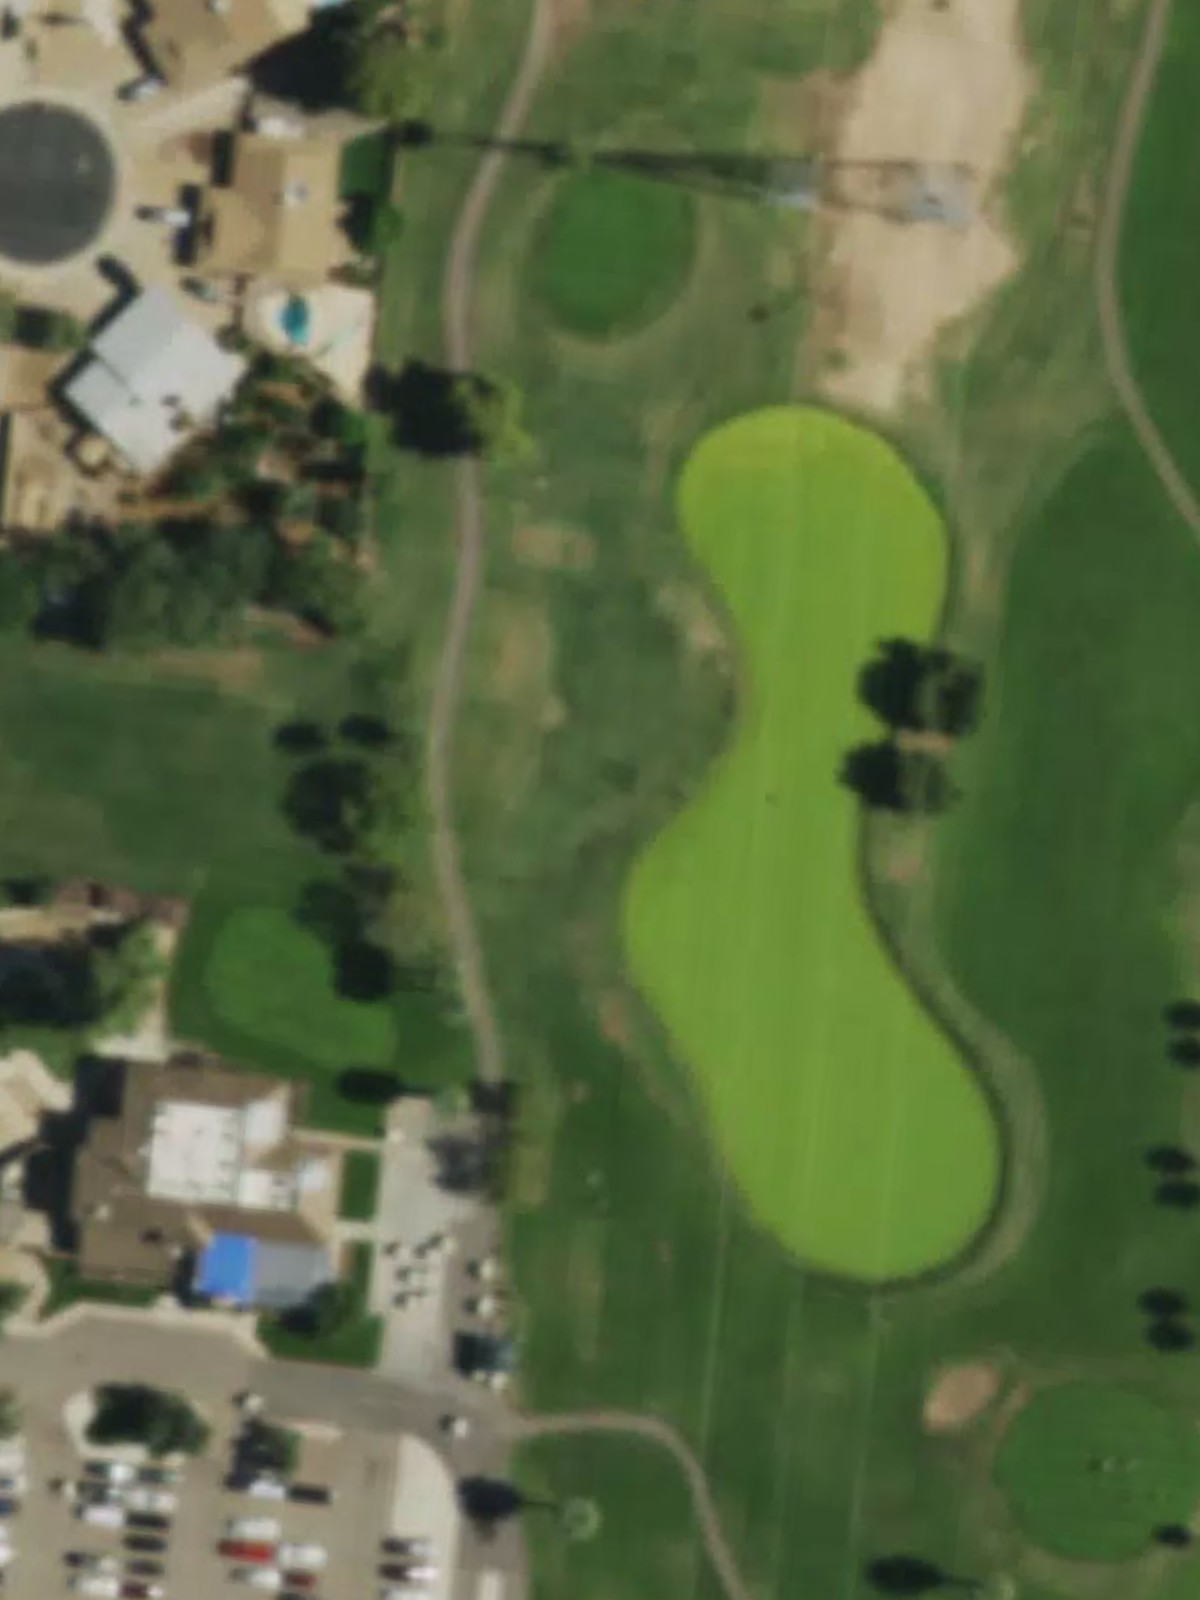
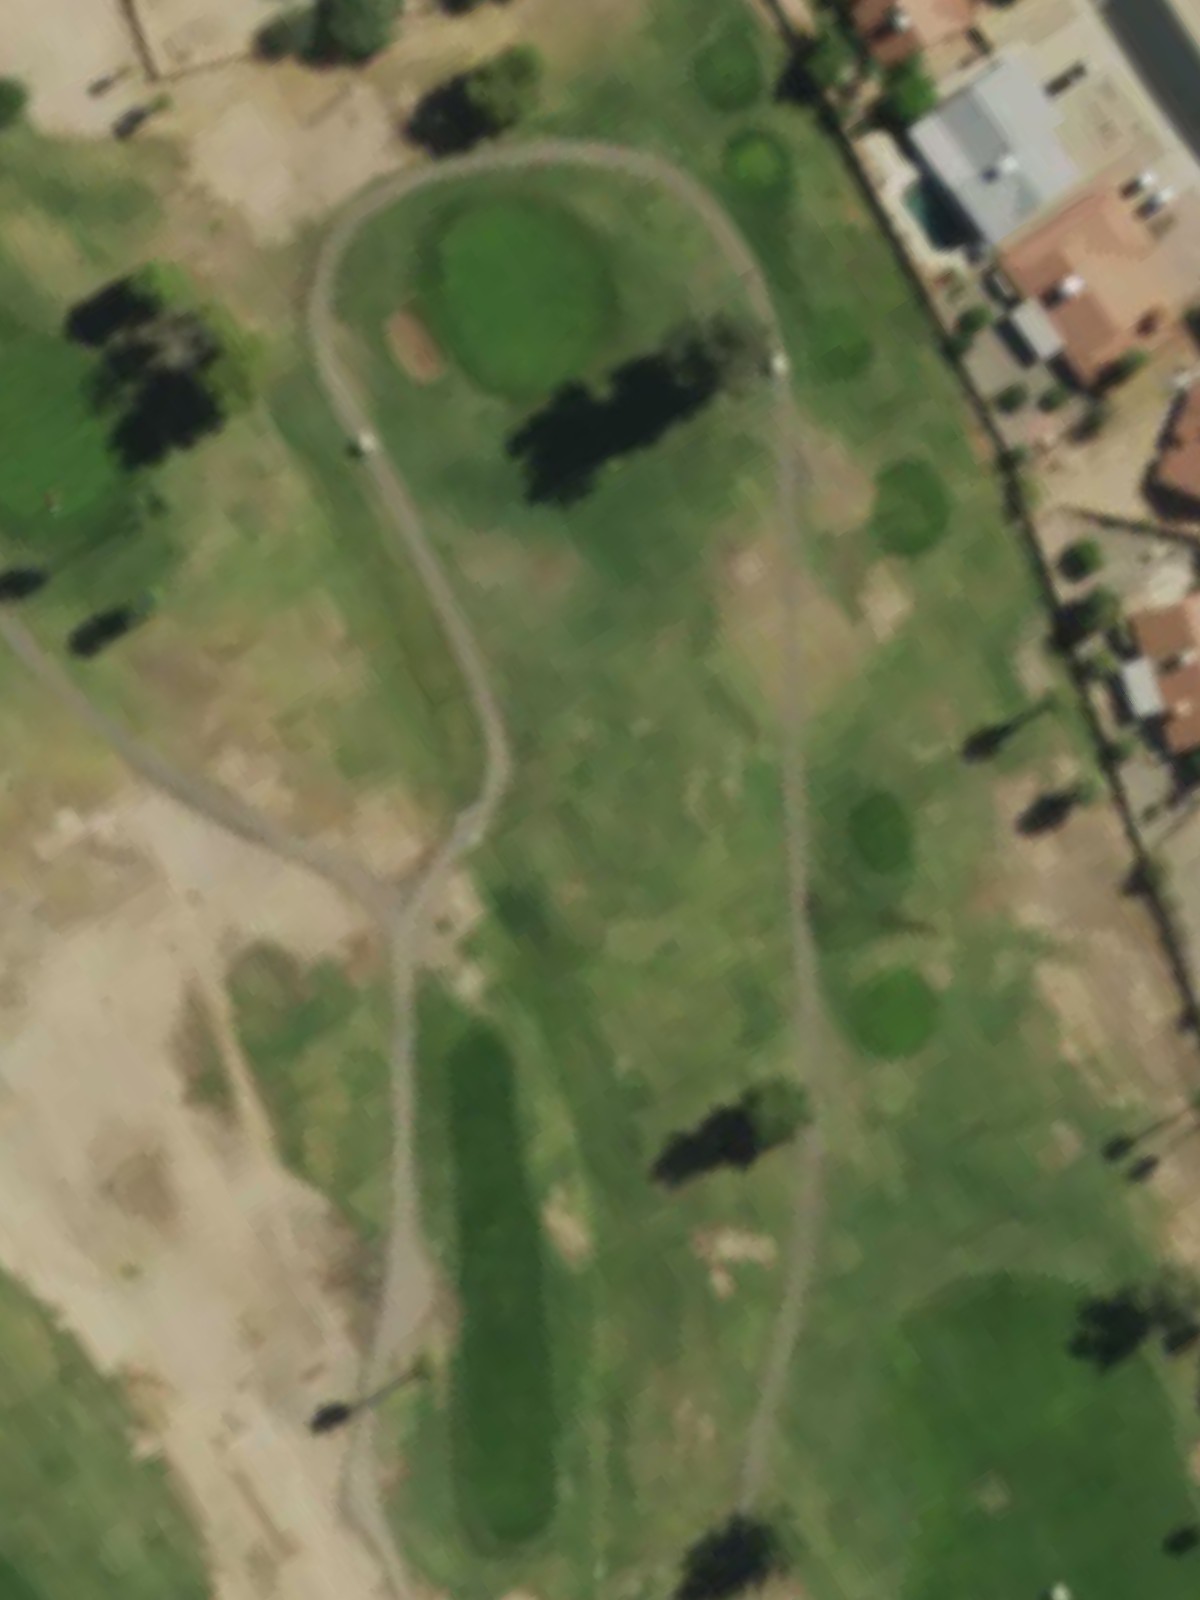
A straightforward par 4 with a relatively open fairway that provides a clear path to the green. The lack of major hazards makes this a good birdie opportunity early in the round.

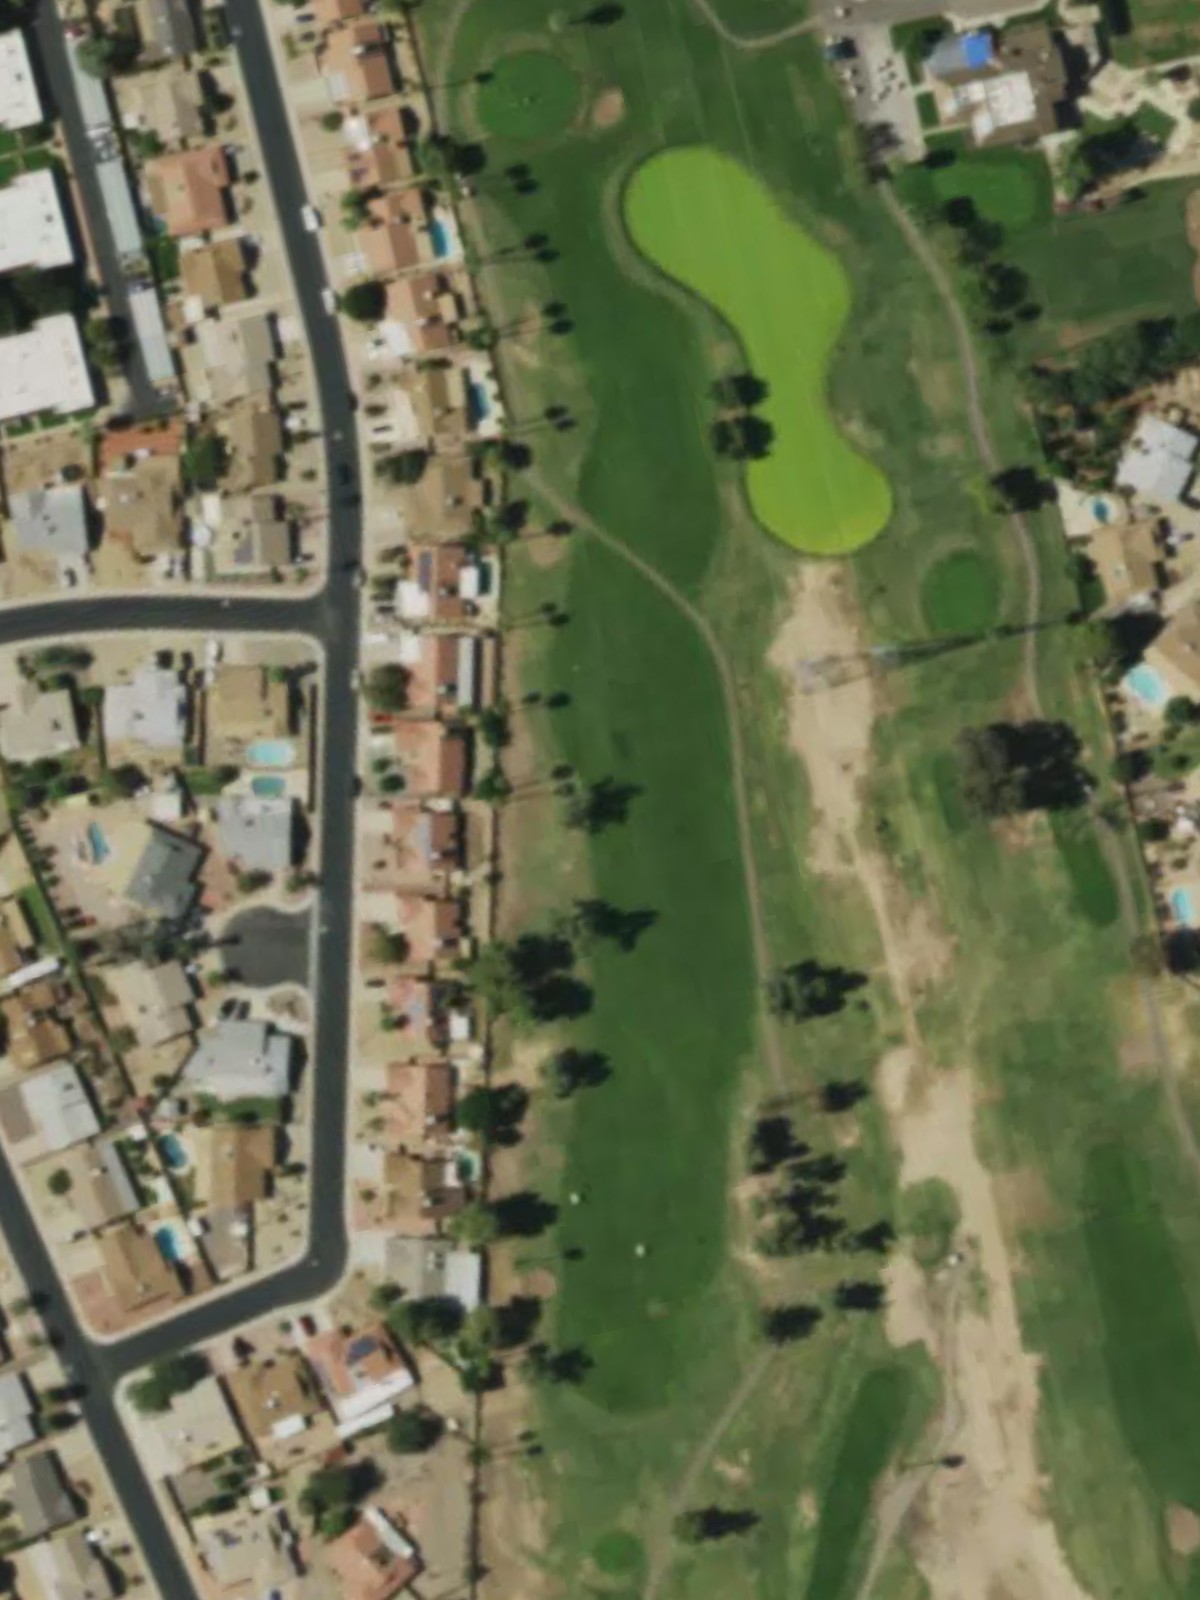
A short par 3 with a compact green surrounded by bunkers. The tight target area punishes wayward shots and requires precision over distance.

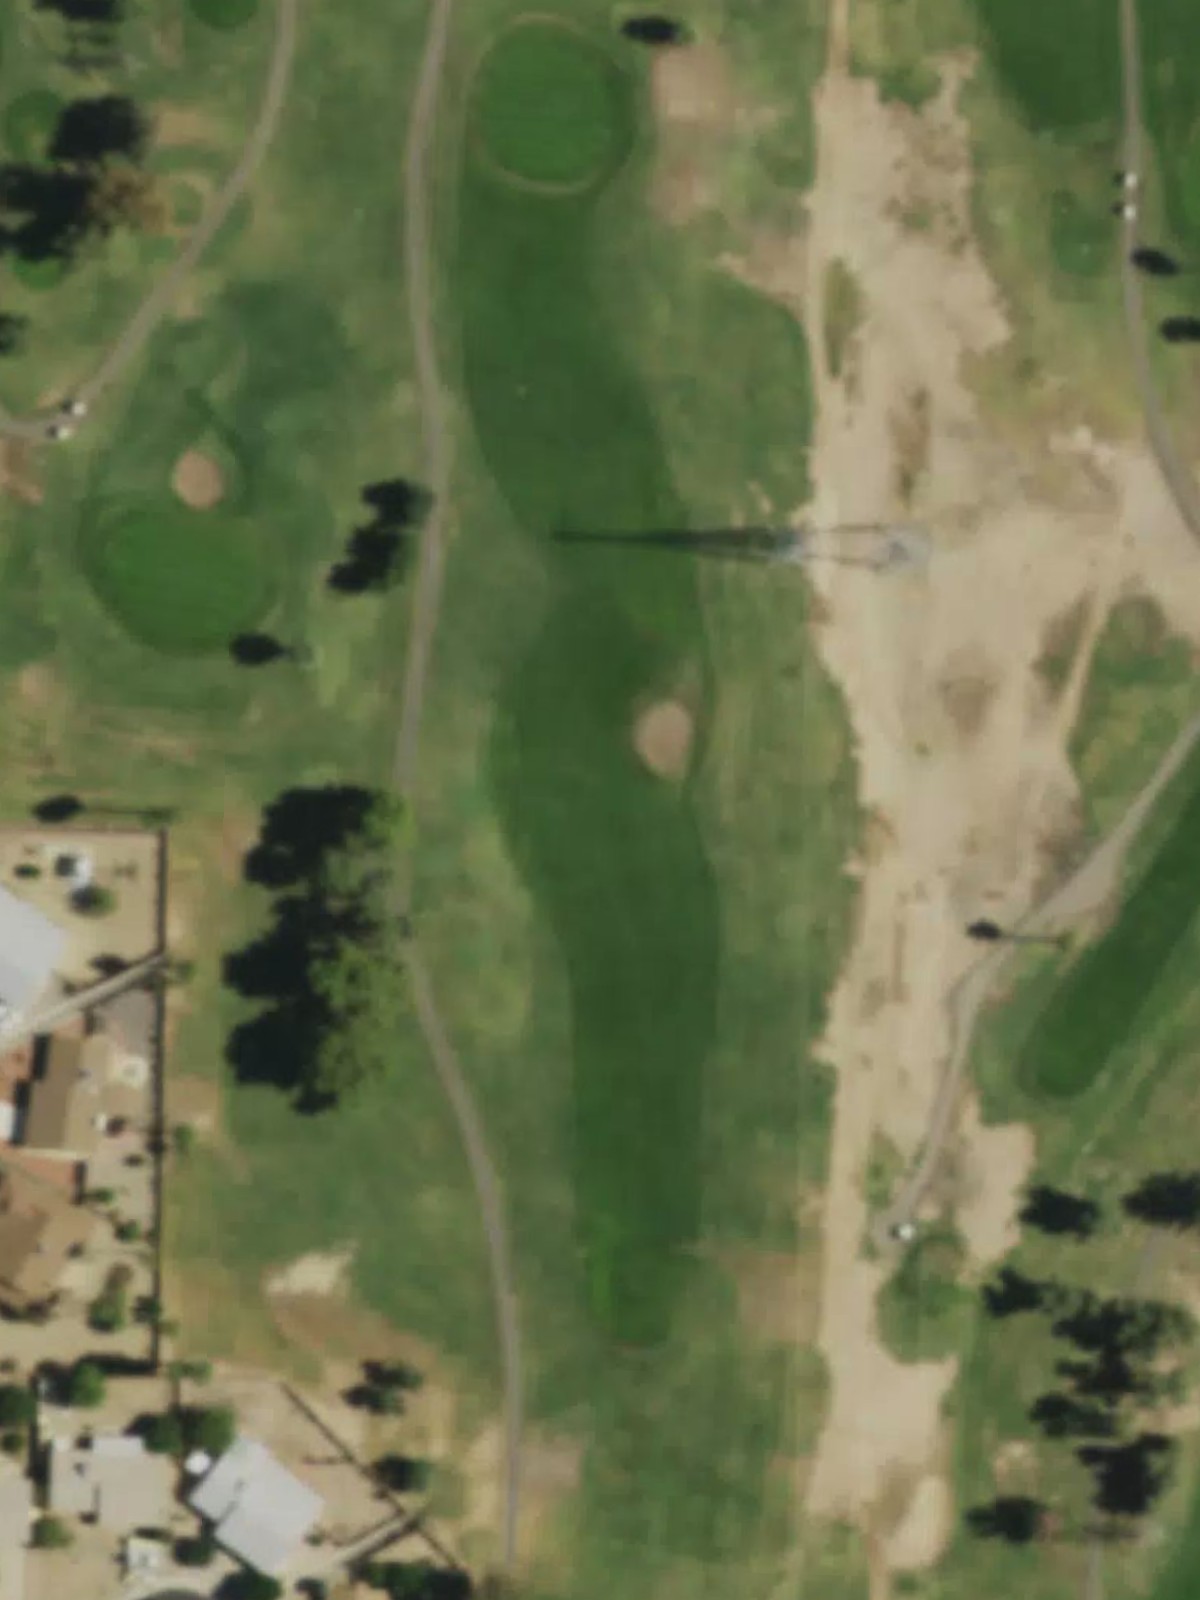
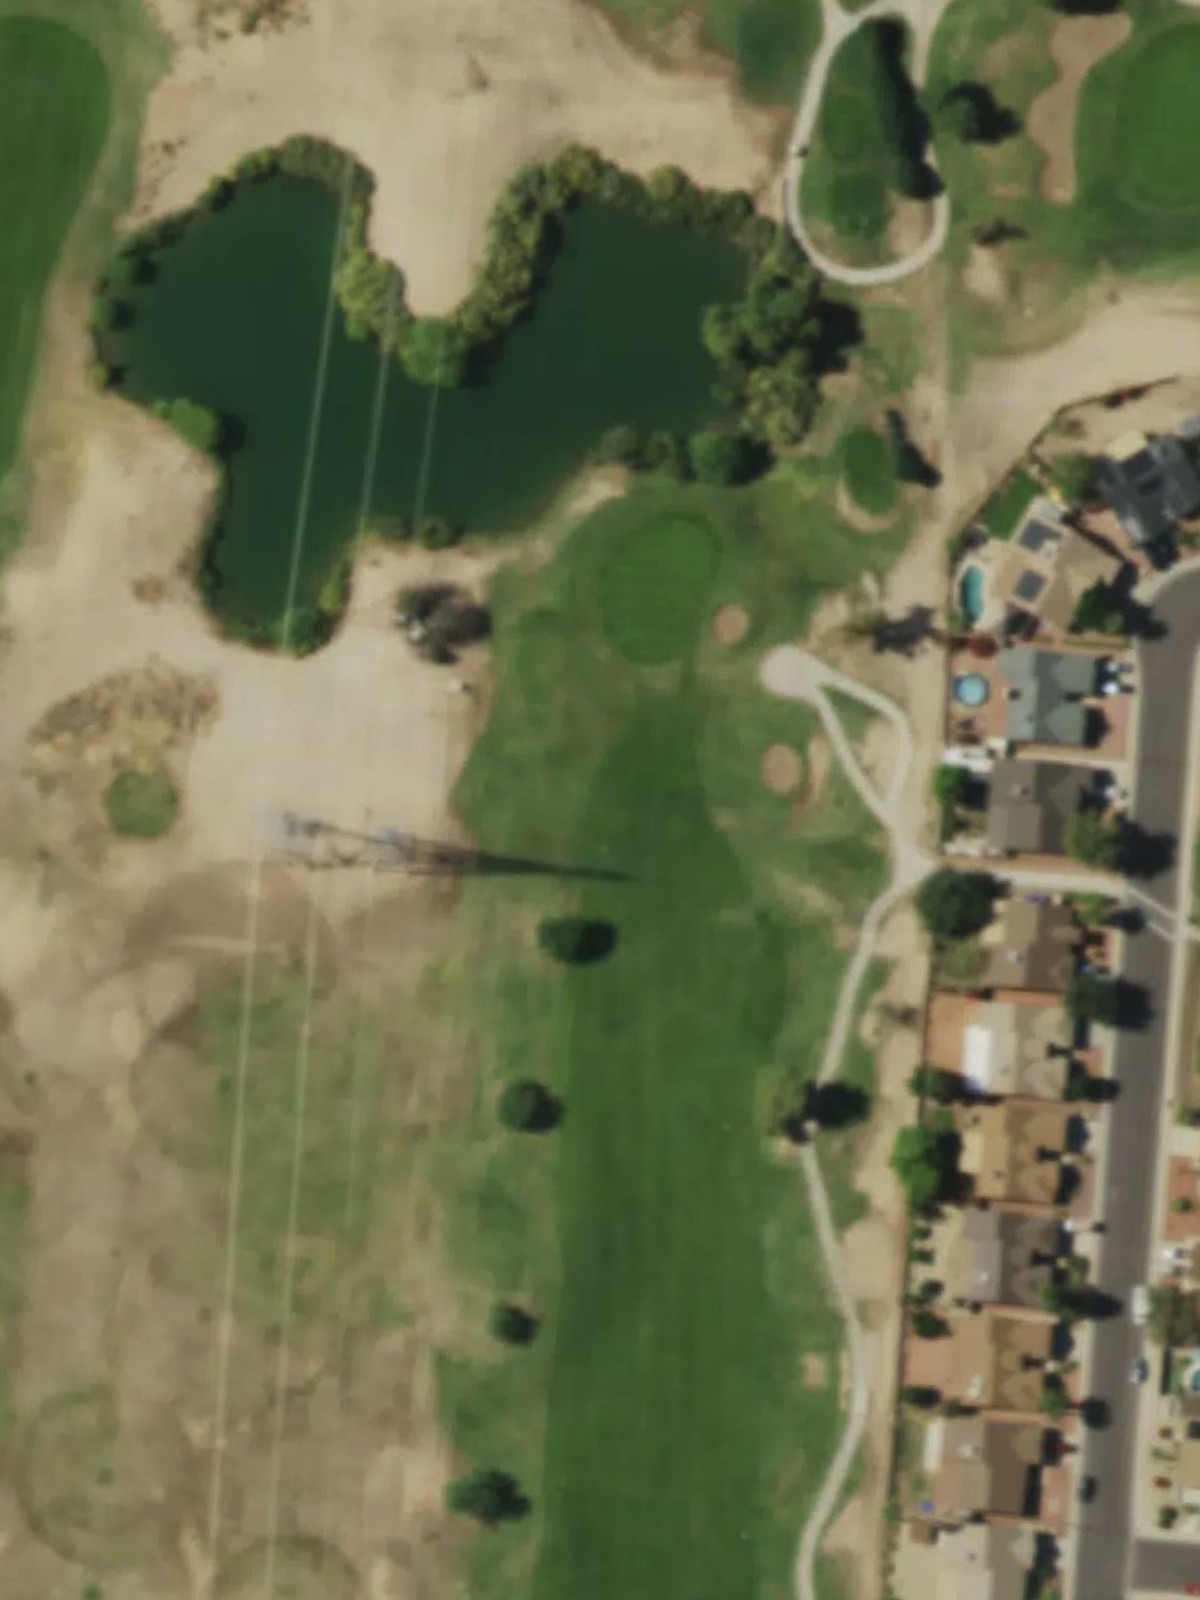
The most difficult hole on the front nine, this par 3 demands a long, accurate shot to a well-guarded green. Water or out-of-bounds left presents a significant penalty for aggressive lines.
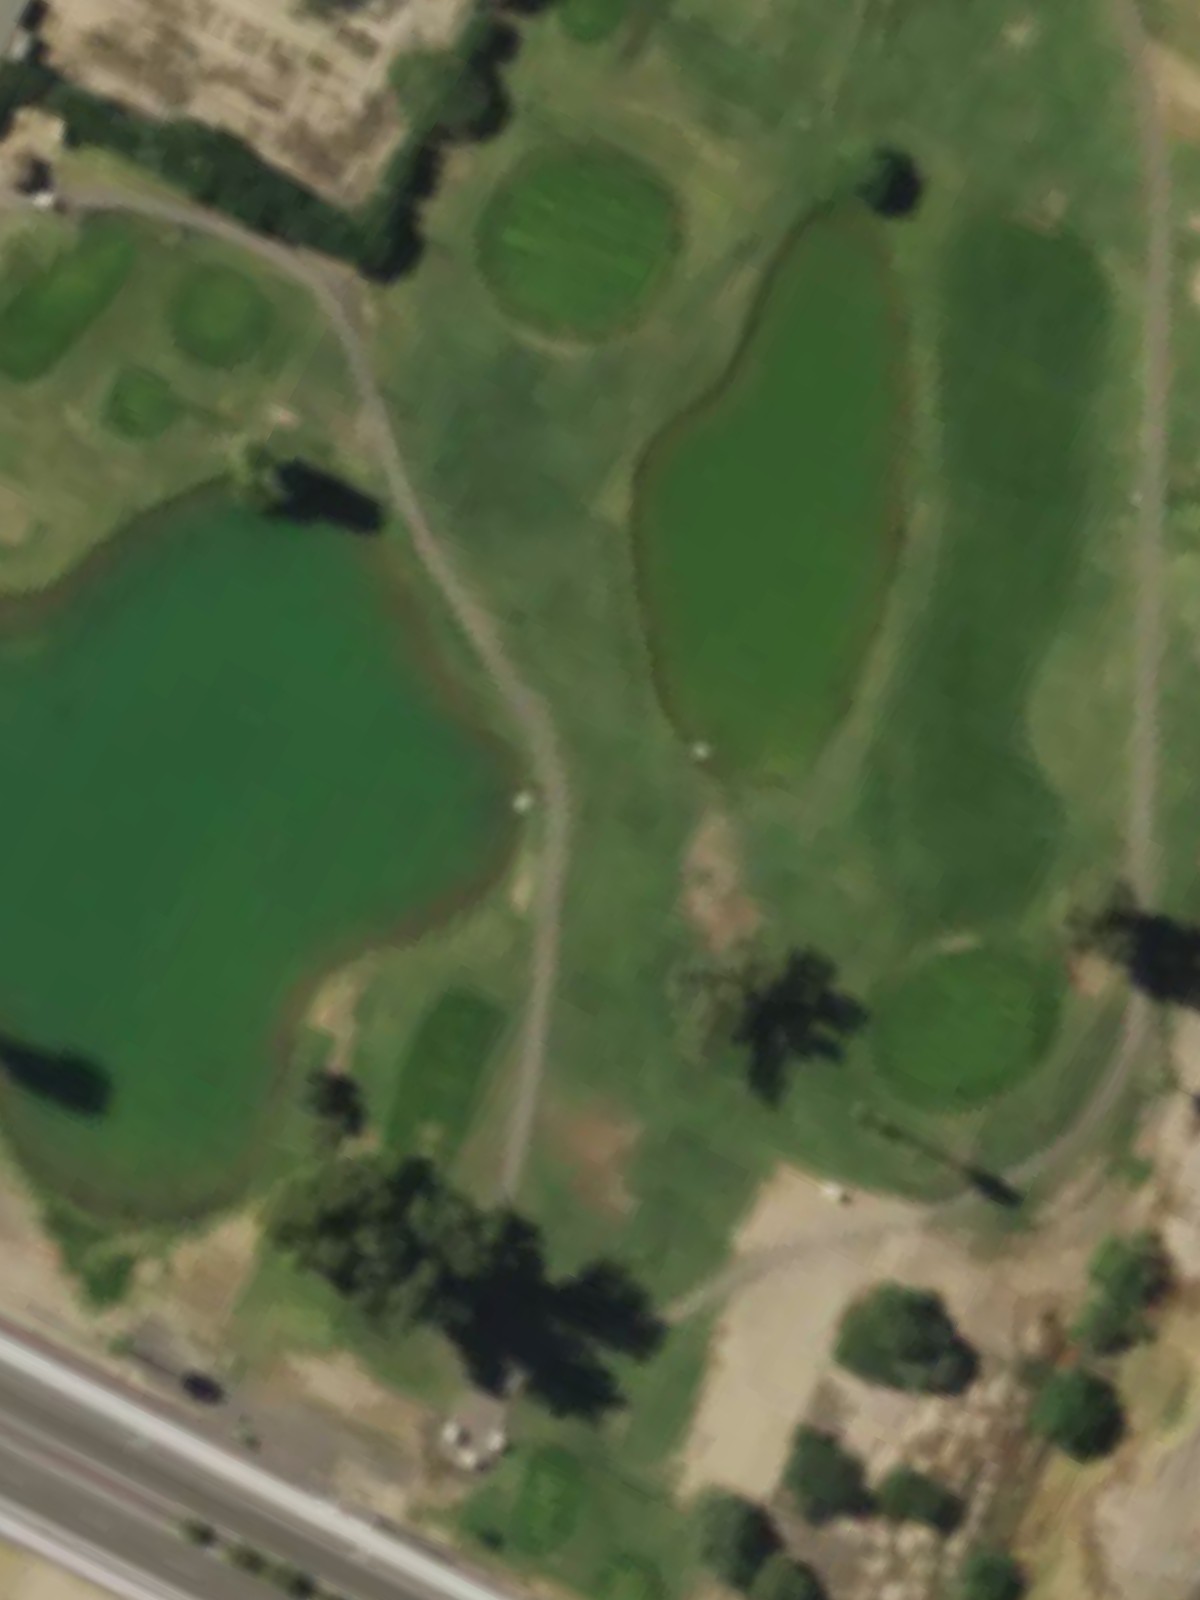
A short par 3 with significant length variation between tee boxes. Bunkers frame the green, and the water hazard left requires careful alignment.
A very short par 3 that plays as the easiest hole on the course. The straightforward design offers a scoring opportunity despite modest length.
A short par 4 that requires accuracy over distance off the tee. The narrow fairway and green-front bunkers make this a strategic test despite modest yardage.
A dramatic par 3 with significant length variation between tees and water hazards threatening the approach. The demanding nature of this hole is reflected in its low handicap rating.
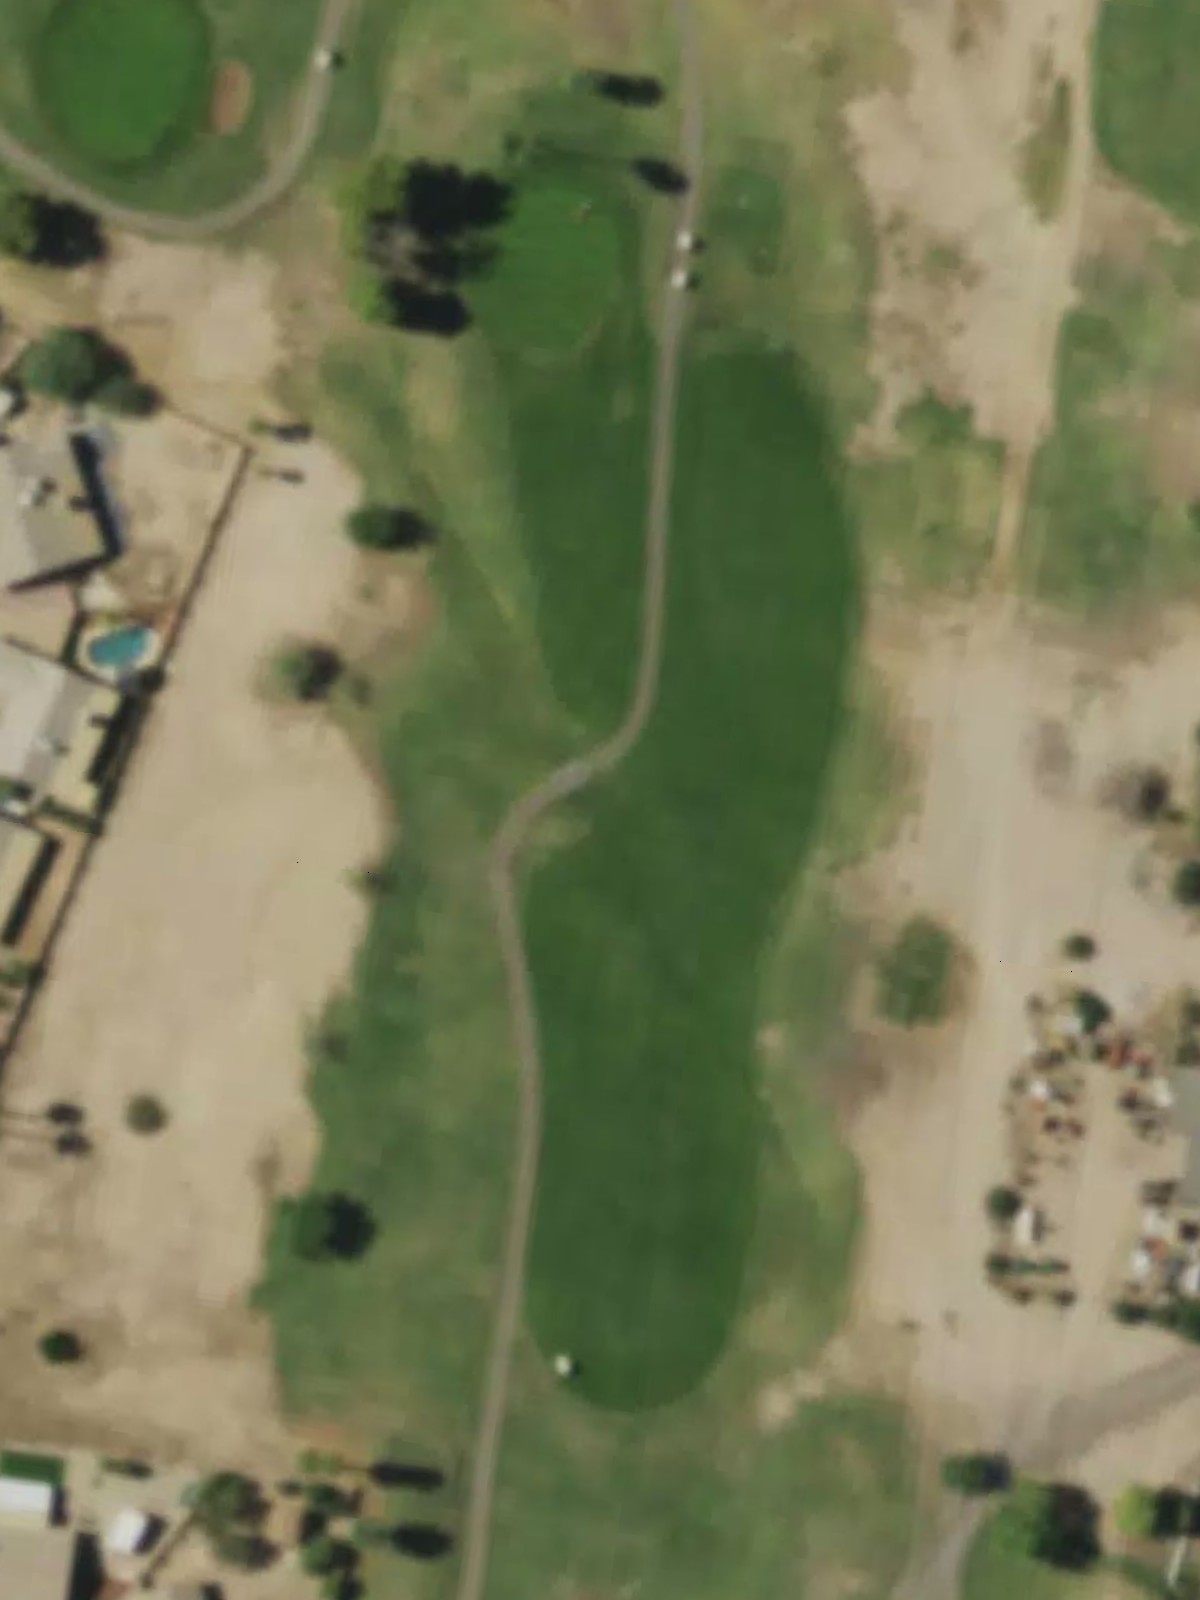
A reachable par 5 offering birdie potential for strong hitters. The hole opens with a generous driving corridor before narrowing toward the green, where bunkers protect the landing area.
A straightforward par 4 with a manageable length and relatively open layout. The moderate difficulty makes this a good scorecard-building opportunity on the back nine.
The shortest hole on the course, this par 3 plays as the easiest back-nine hole. Despite its brevity, accurate placement is essential for a stress-free putt.
A short par 3 with bunker protection around the green. The compact green and surrounding hazards demand precision from all tee positions.
A strong par 3 that ranks second in difficulty on the course, with considerable length from the blue tees. Water hazards and bunkers defend the green, making this a pivotal hole in the back-nine test.

The easiest par 4 on the course, this short hole provides an excellent birdie chance. The straightforward design and lack of major hazards offer a scoring opportunity.
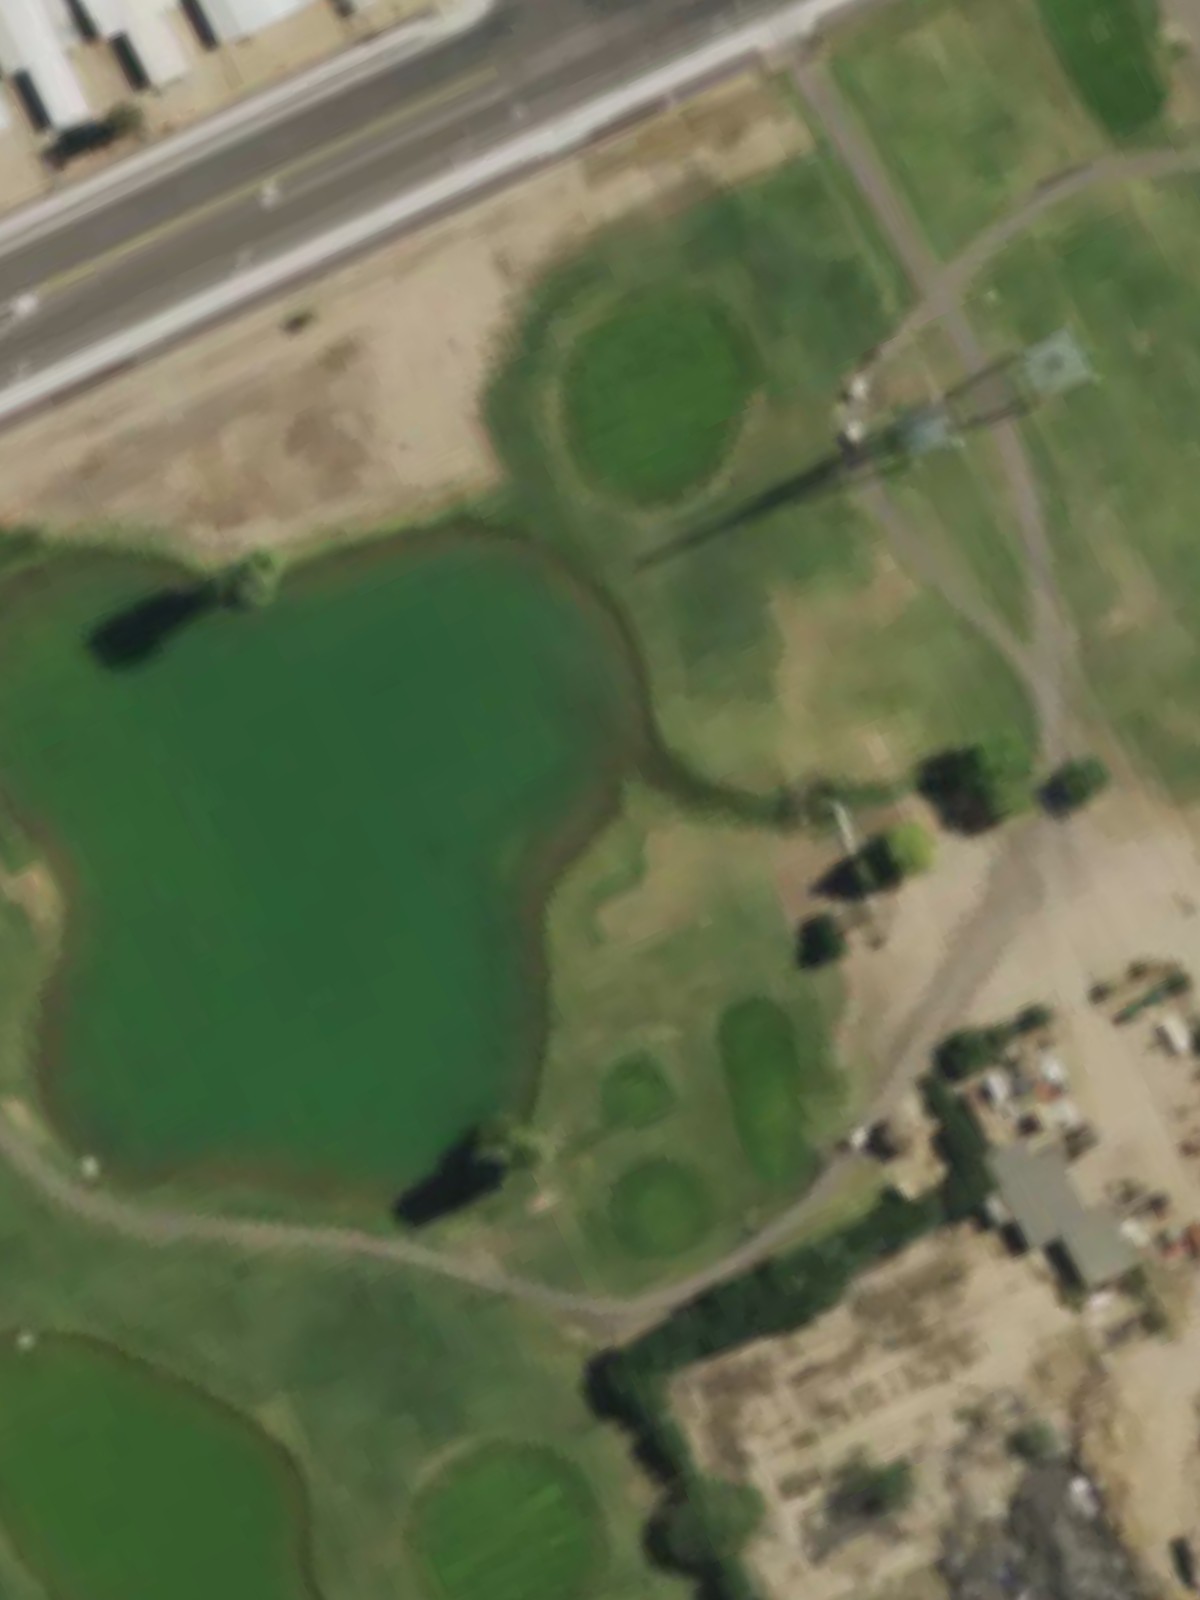
A mid-length par 3 with water hazard left and bunker protection right. The balanced threat pattern requires a well-executed tee shot to secure par.

A dramatic par 4 with significant length variation between tees. Bunkers and water hazards guarding both fairway and green create a stern test of shot-making.
A short par 3 with straightforward design and modest length. Bunker placement around the green provides the primary challenge to this back-nine scoring hole.
A closing par 5 that offers birdie potential and provides a fitting finish to the round. The length and green-front bunkers create a strong final test of the player's abilities.
Scorecard
| Hole | 1 | 2 | 3 | 4 | 5 | 6 | 7 | 8 | 9 | Out | 10 | 11 | 12 | 13 | 14 | 15 | 16 | 17 | 18 | In | Tot |
|---|---|---|---|---|---|---|---|---|---|---|---|---|---|---|---|---|---|---|---|---|---|
| Par | 3 | 4 | 3 | 3 | 3 | 3 | 4 | 3 | 5 | 31 | 4 | 3 | 3 | 3 | 4 | 3 | 4 | 3 | 5 | 32 | 63 |
| HCP | 9 | 13 | 11 | 1 | 5 | 17 | 15 | 3 | 7 | 8 | 16 | 14 | 2 | 18 | 4 | 6 | 12 | 10 | |||
| blue | 146 | 319 | 149 | 194 | 183 | 113 | 265 | 207 | 524 | 2100 | 289 | 118 | 148 | 228 | 283 | 177 | 350 | 151 | 505 | 2249 | 4349 |
| white | 137 | 300 | 125 | 181 | 144 | 107 | 258 | 133 | 500 | 1885 | 261 | 99 | 131 | 198 | 234 | 151 | 286 | 128 | 473 | 1961 | 3846 |
| red | 128 | 278 | 109 | 168 | 109 | 94 | 251 | 109 | 428 | 1674 | 236 | 73 | 114 | 153 | 225 | 128 | 243 | 114 | 419 | 1705 | 3379 |