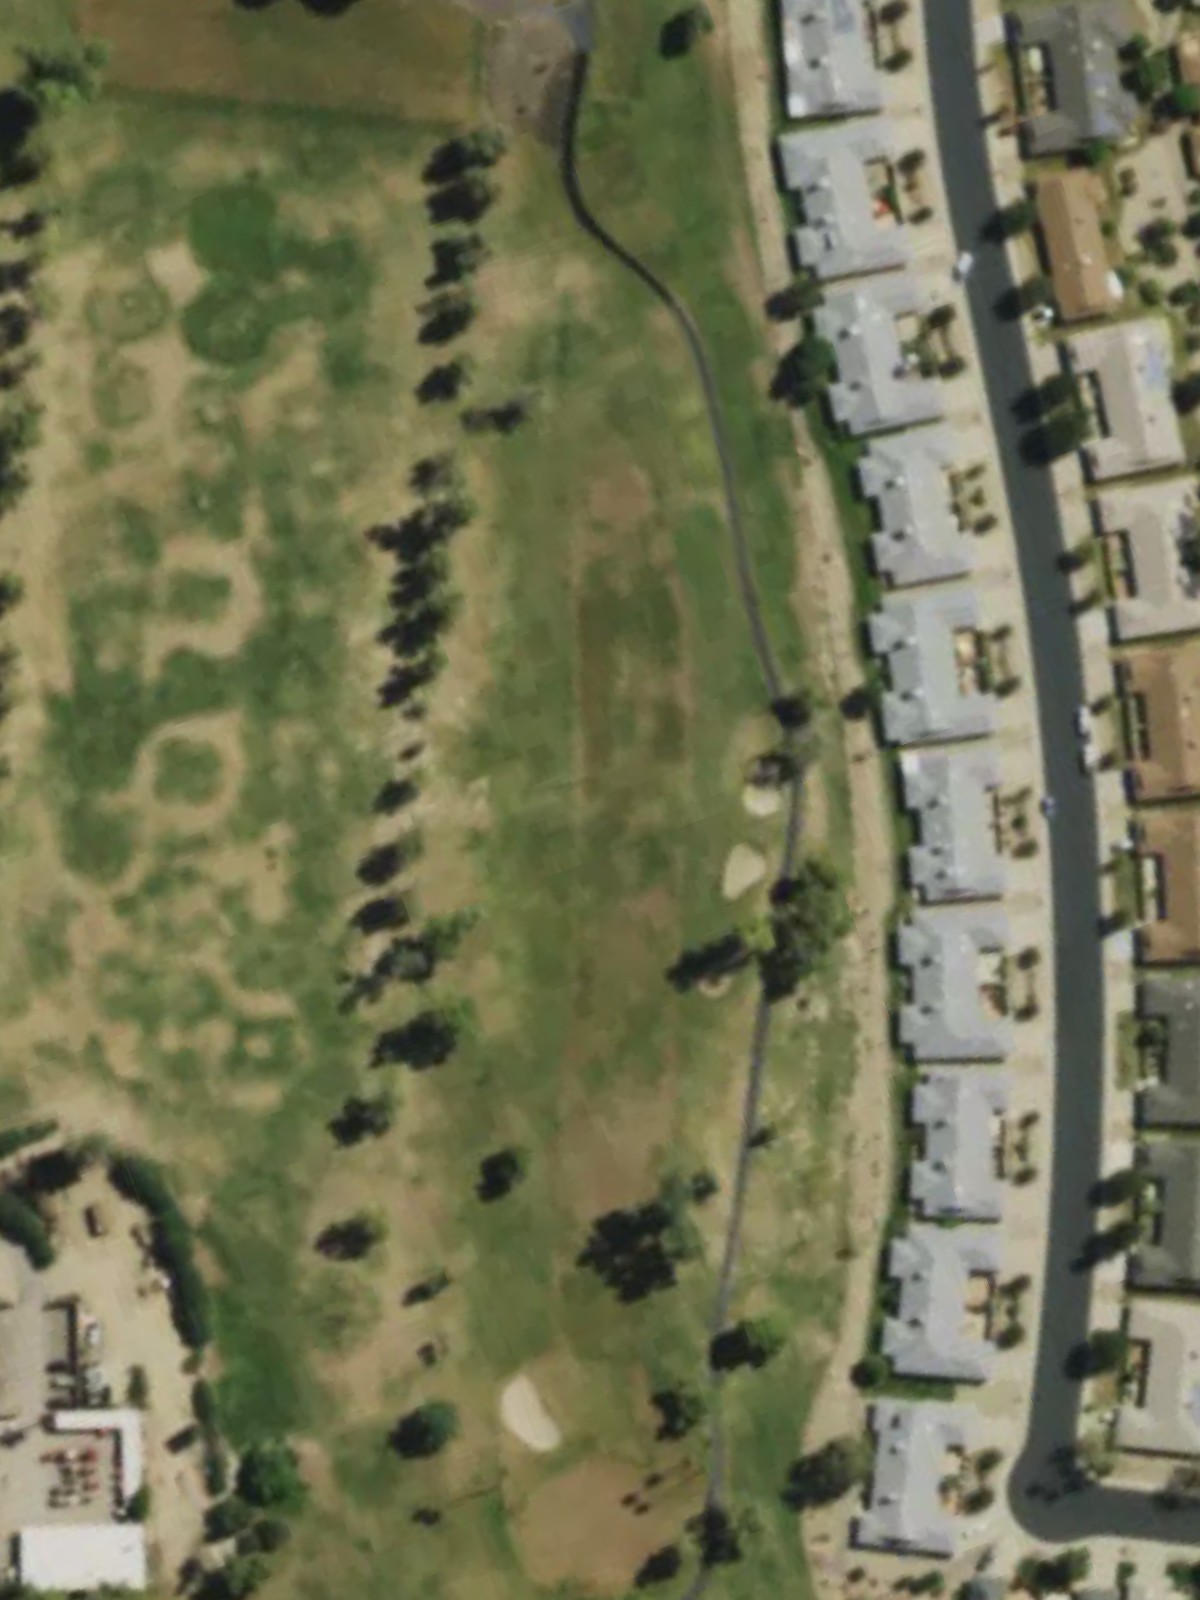
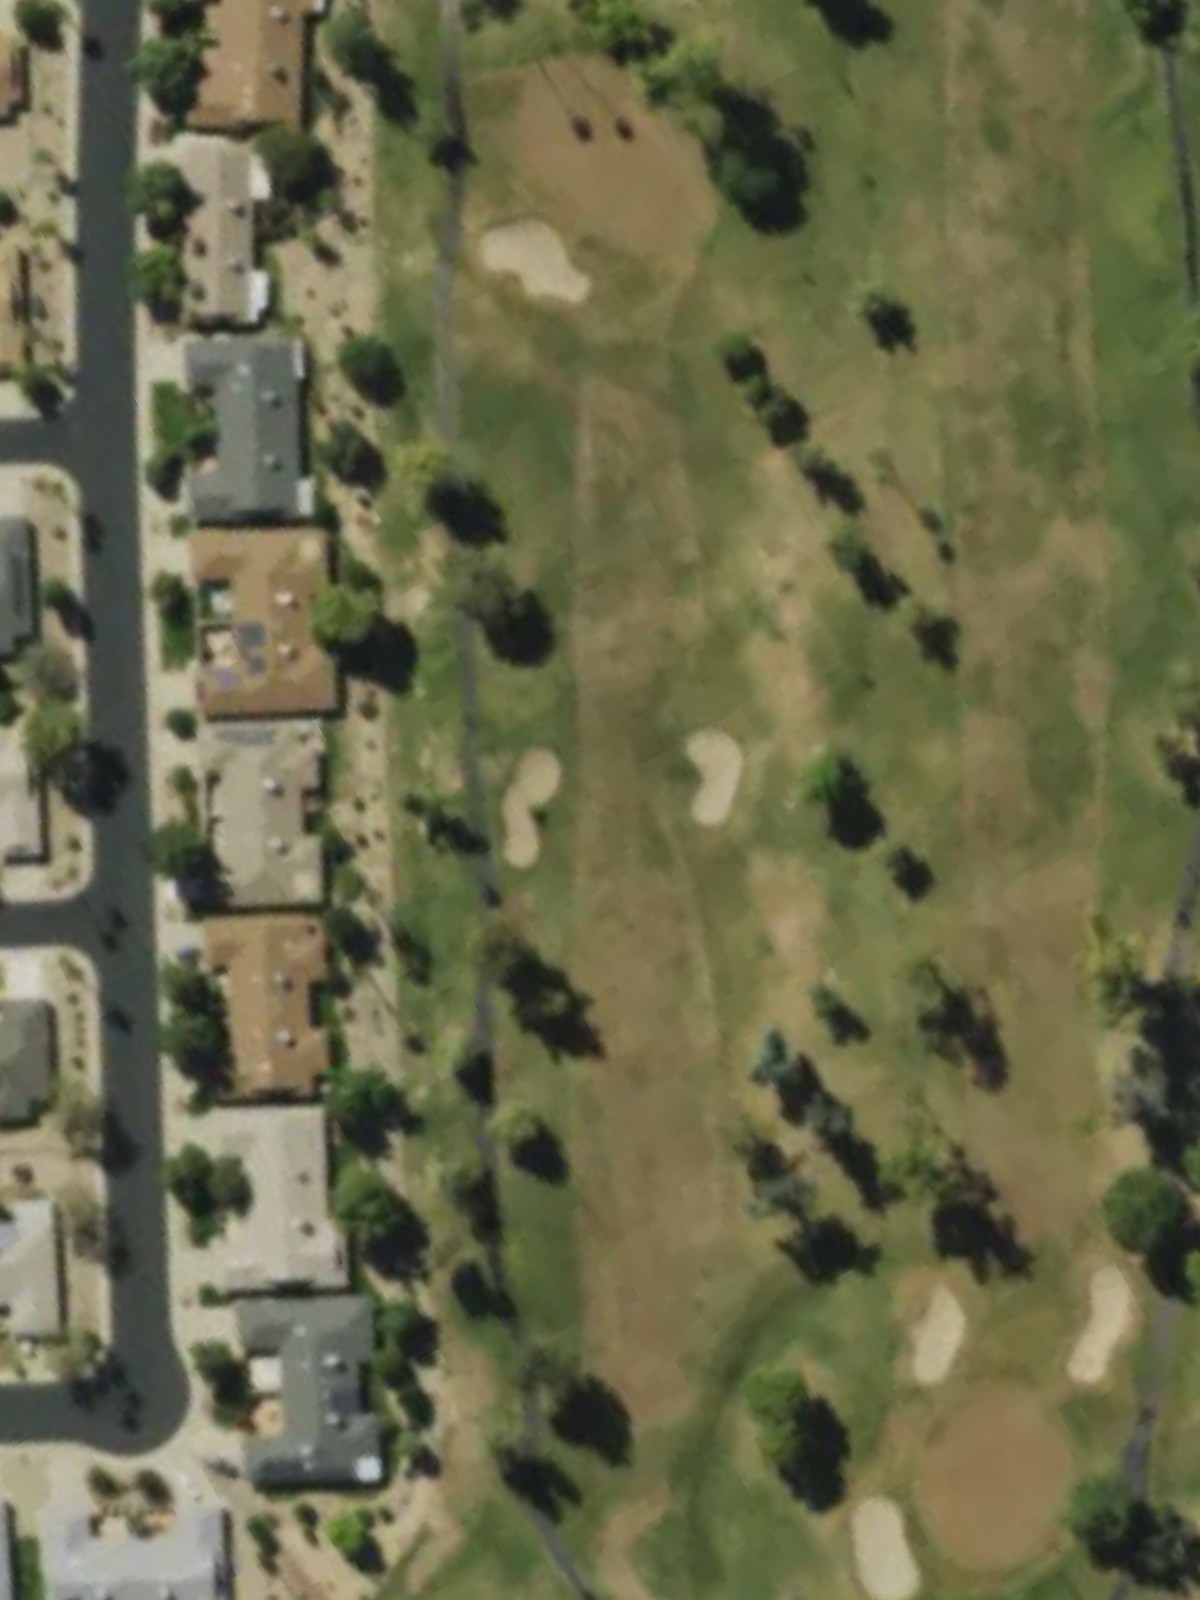
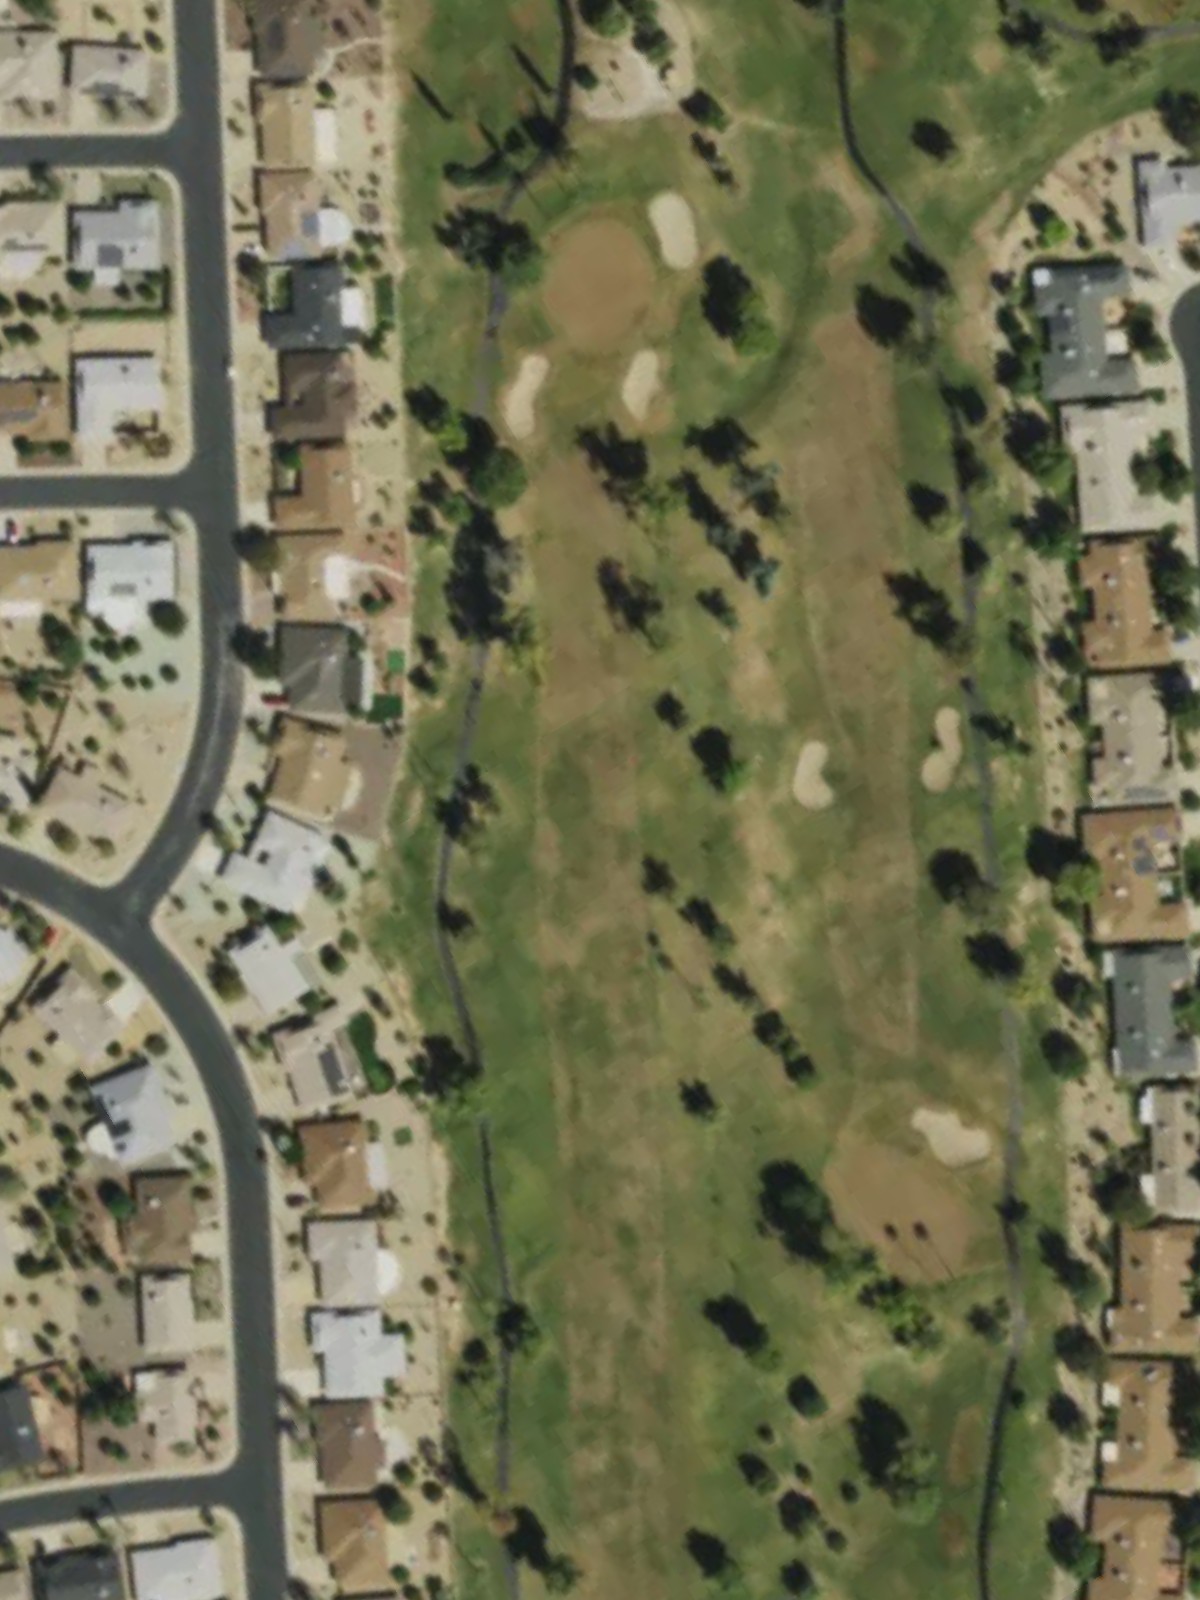
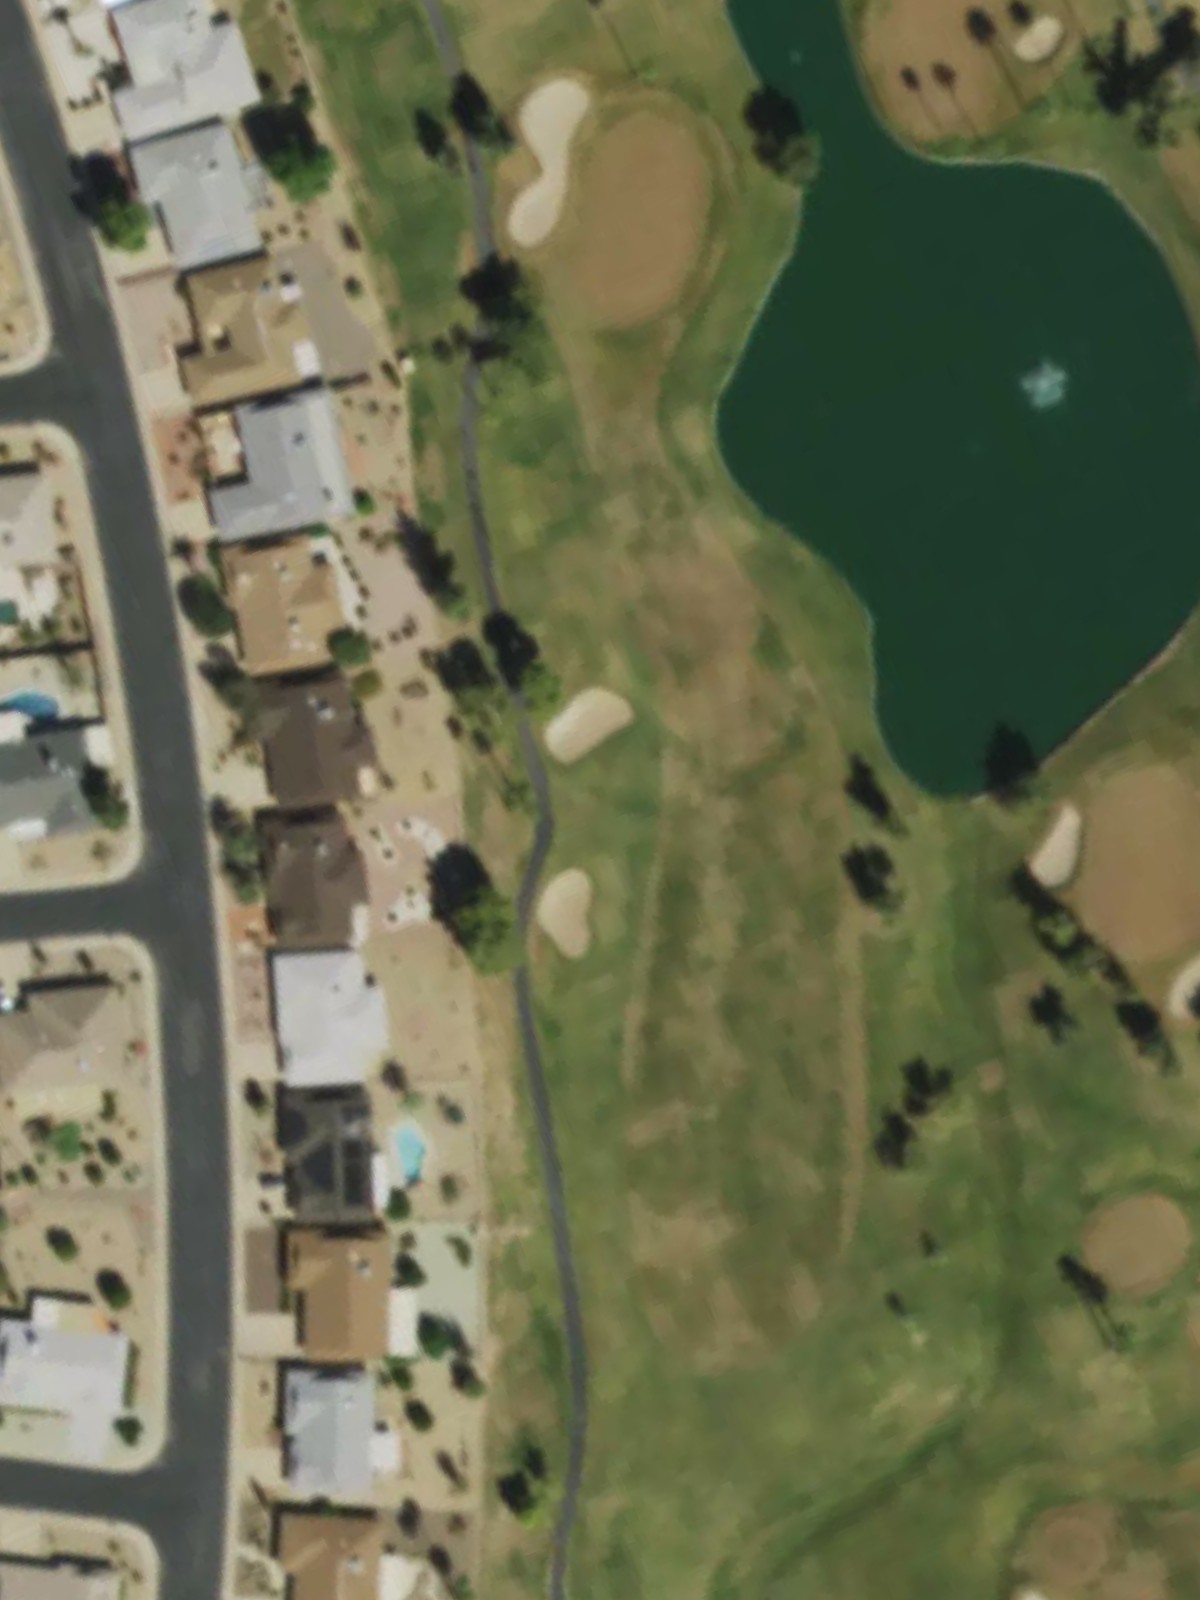
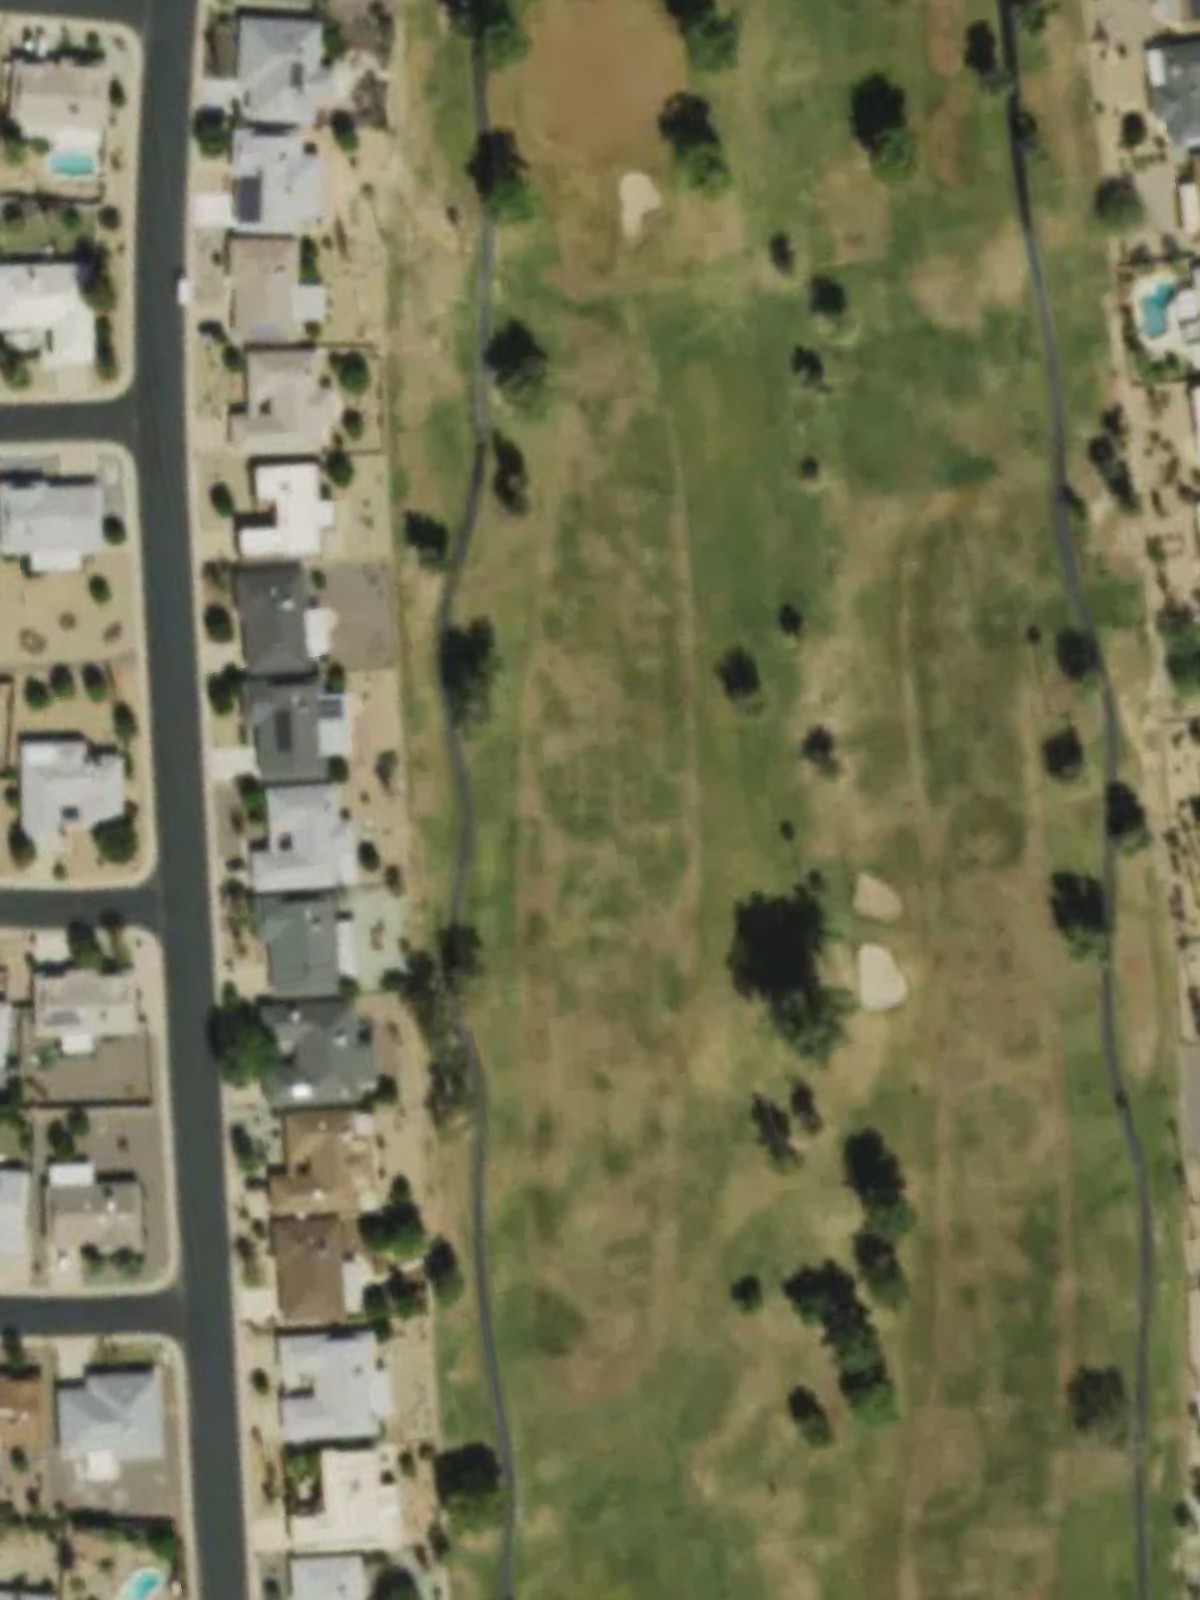
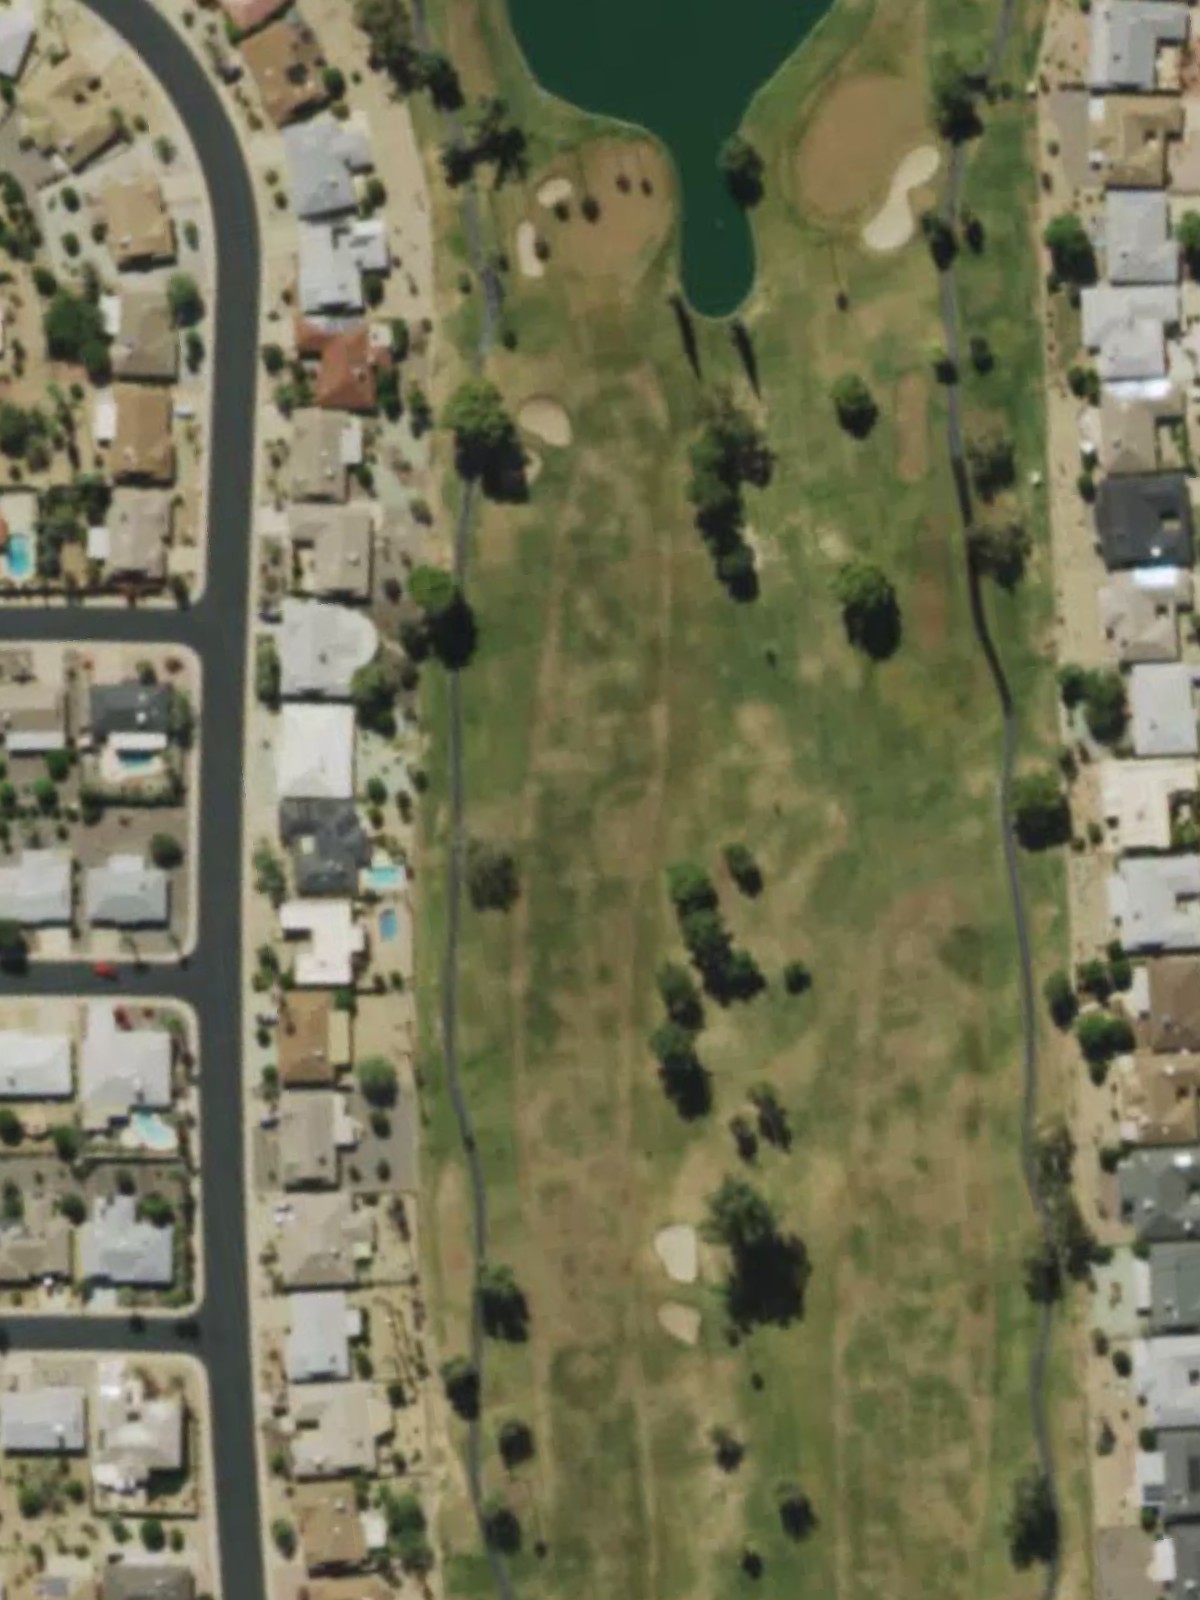
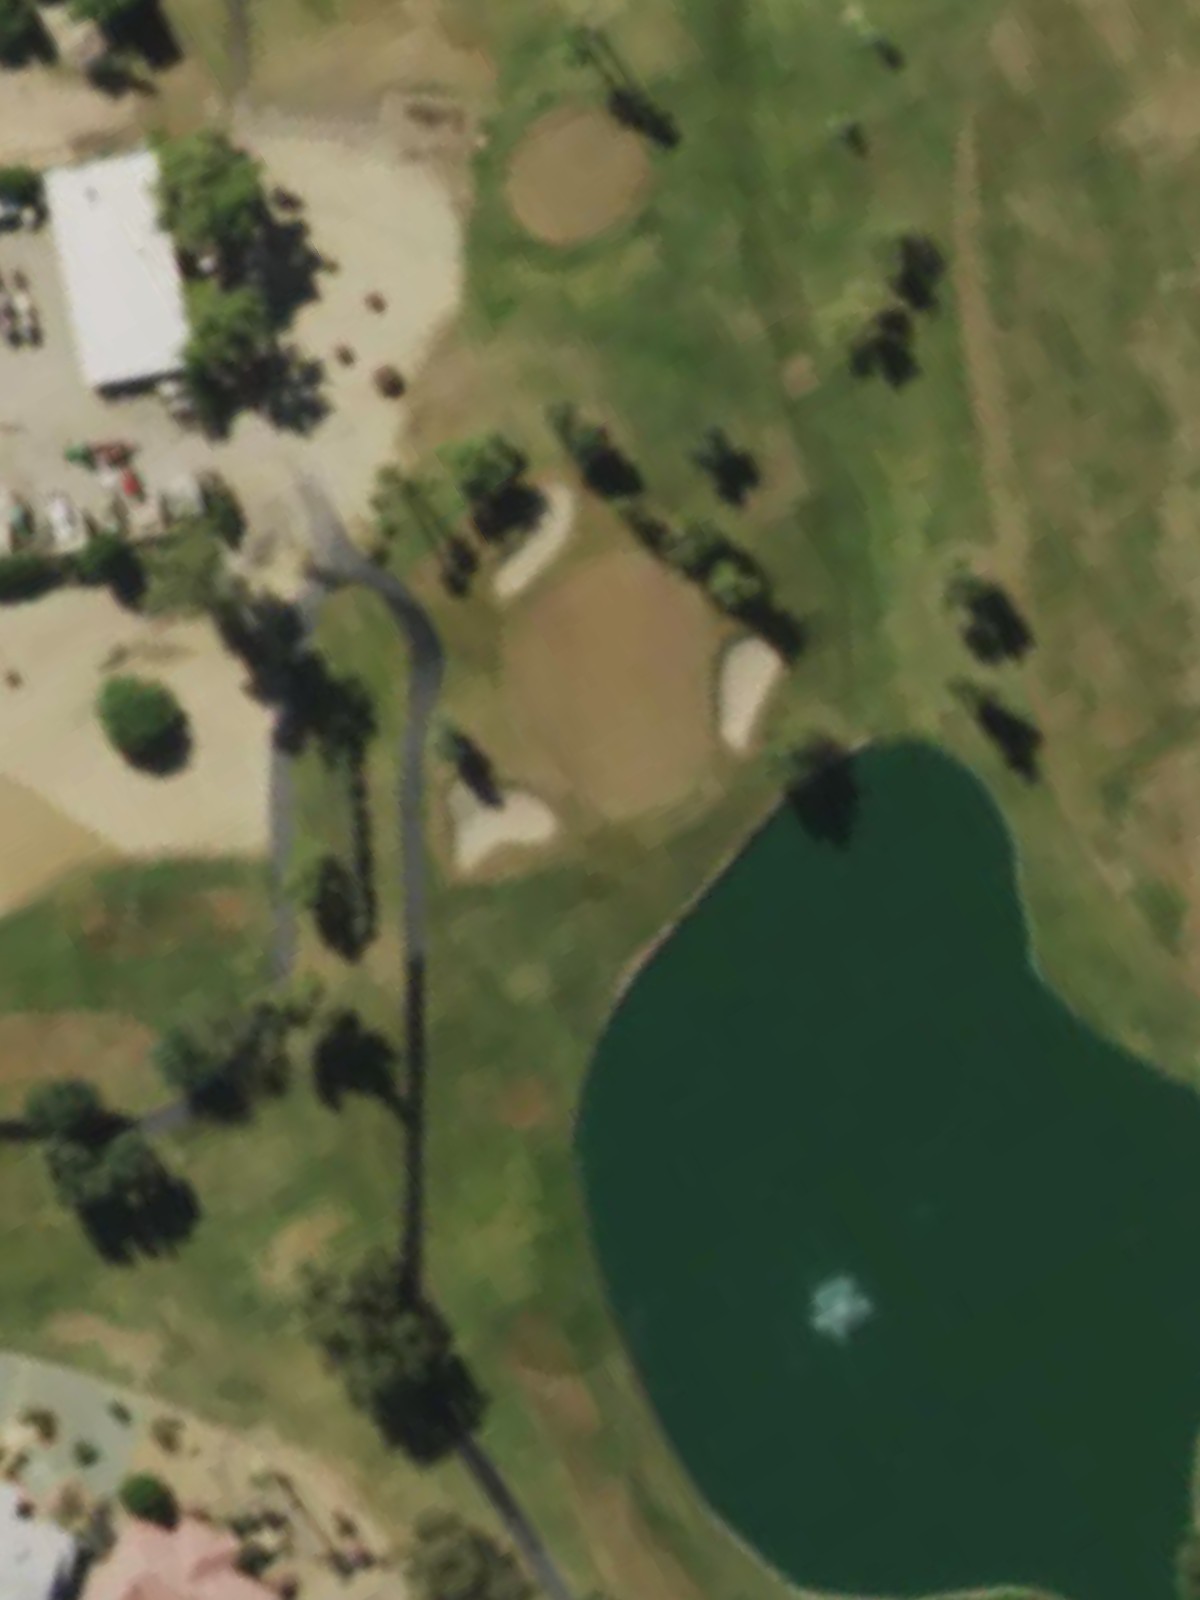
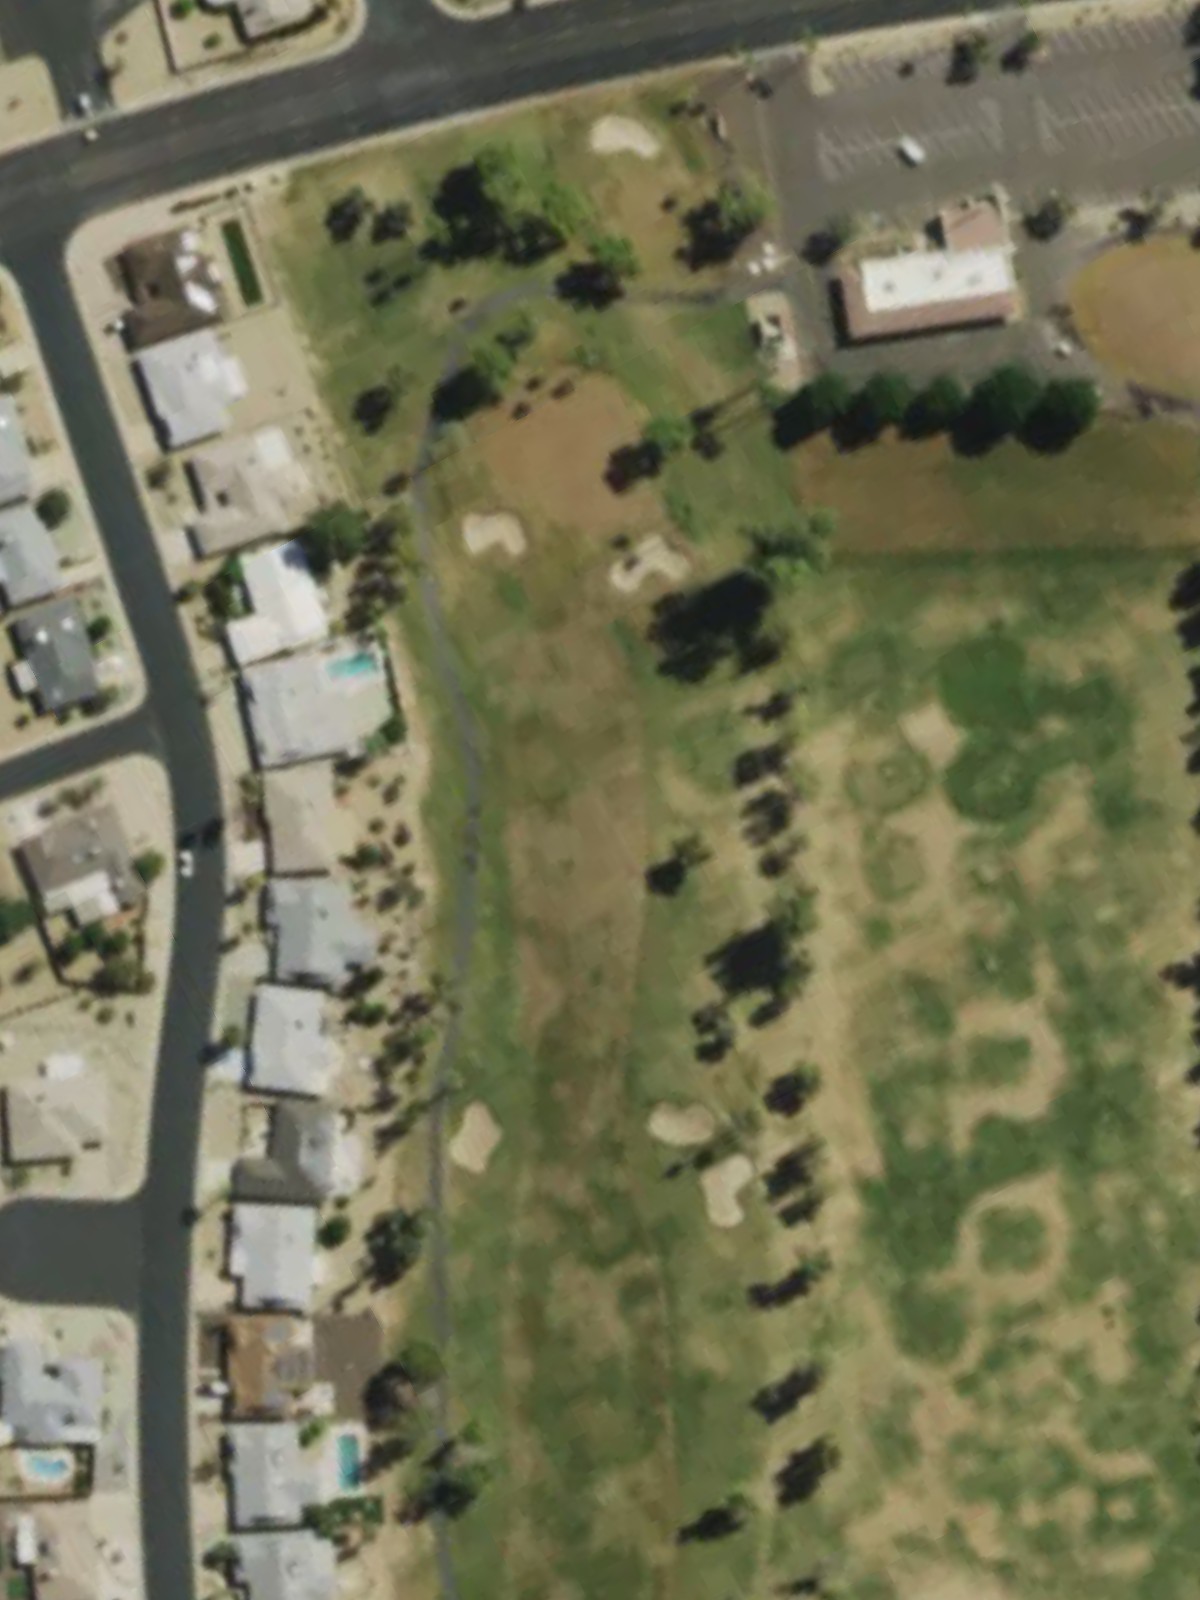
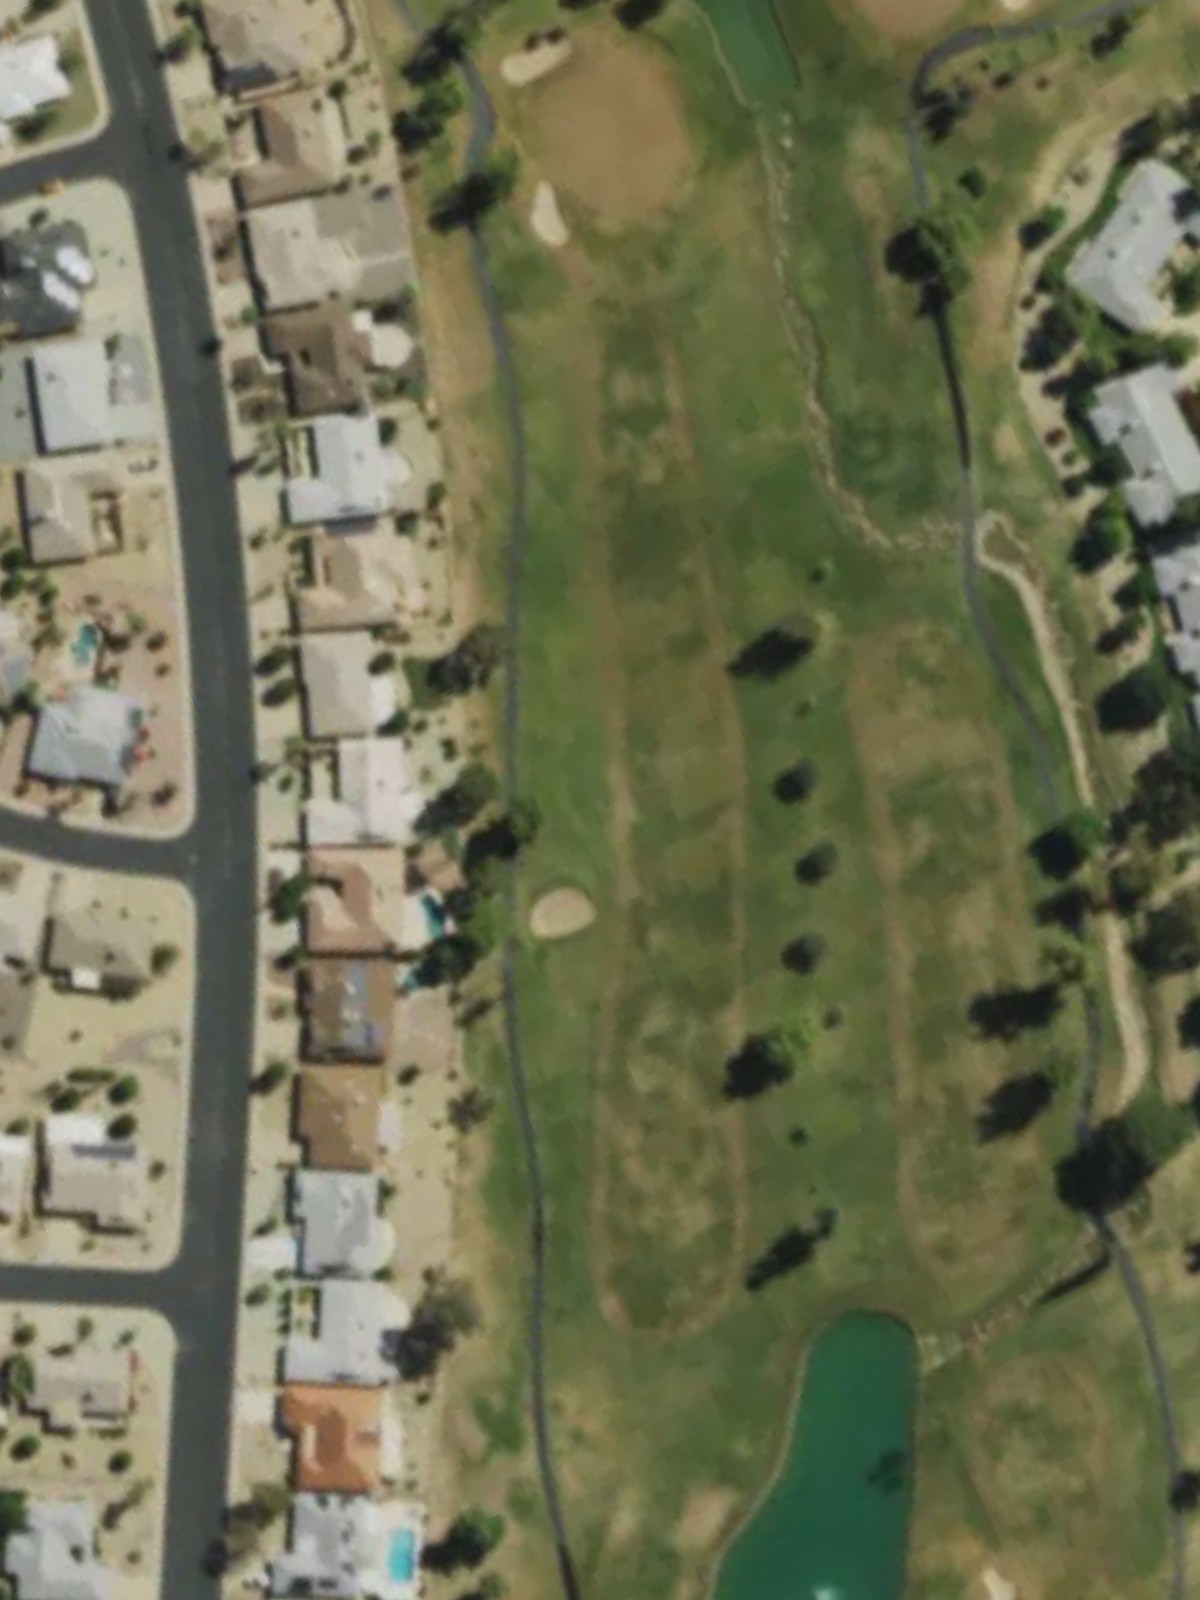
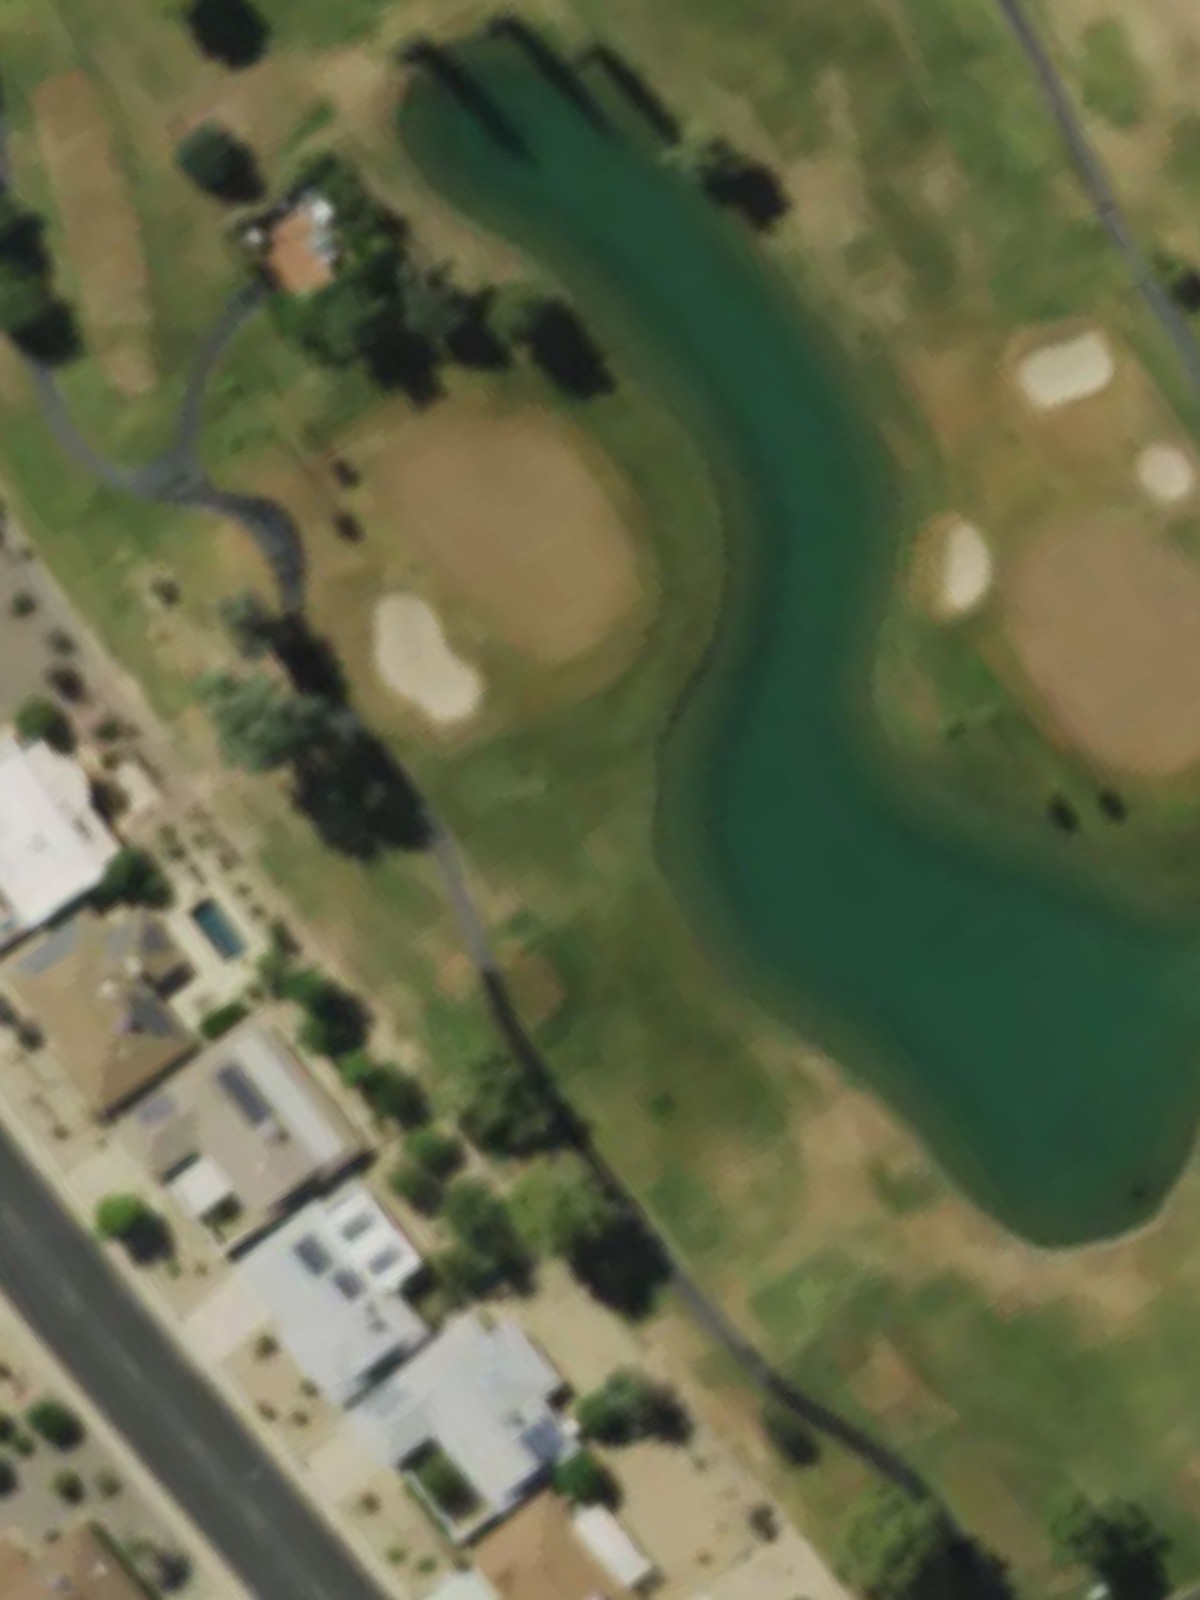
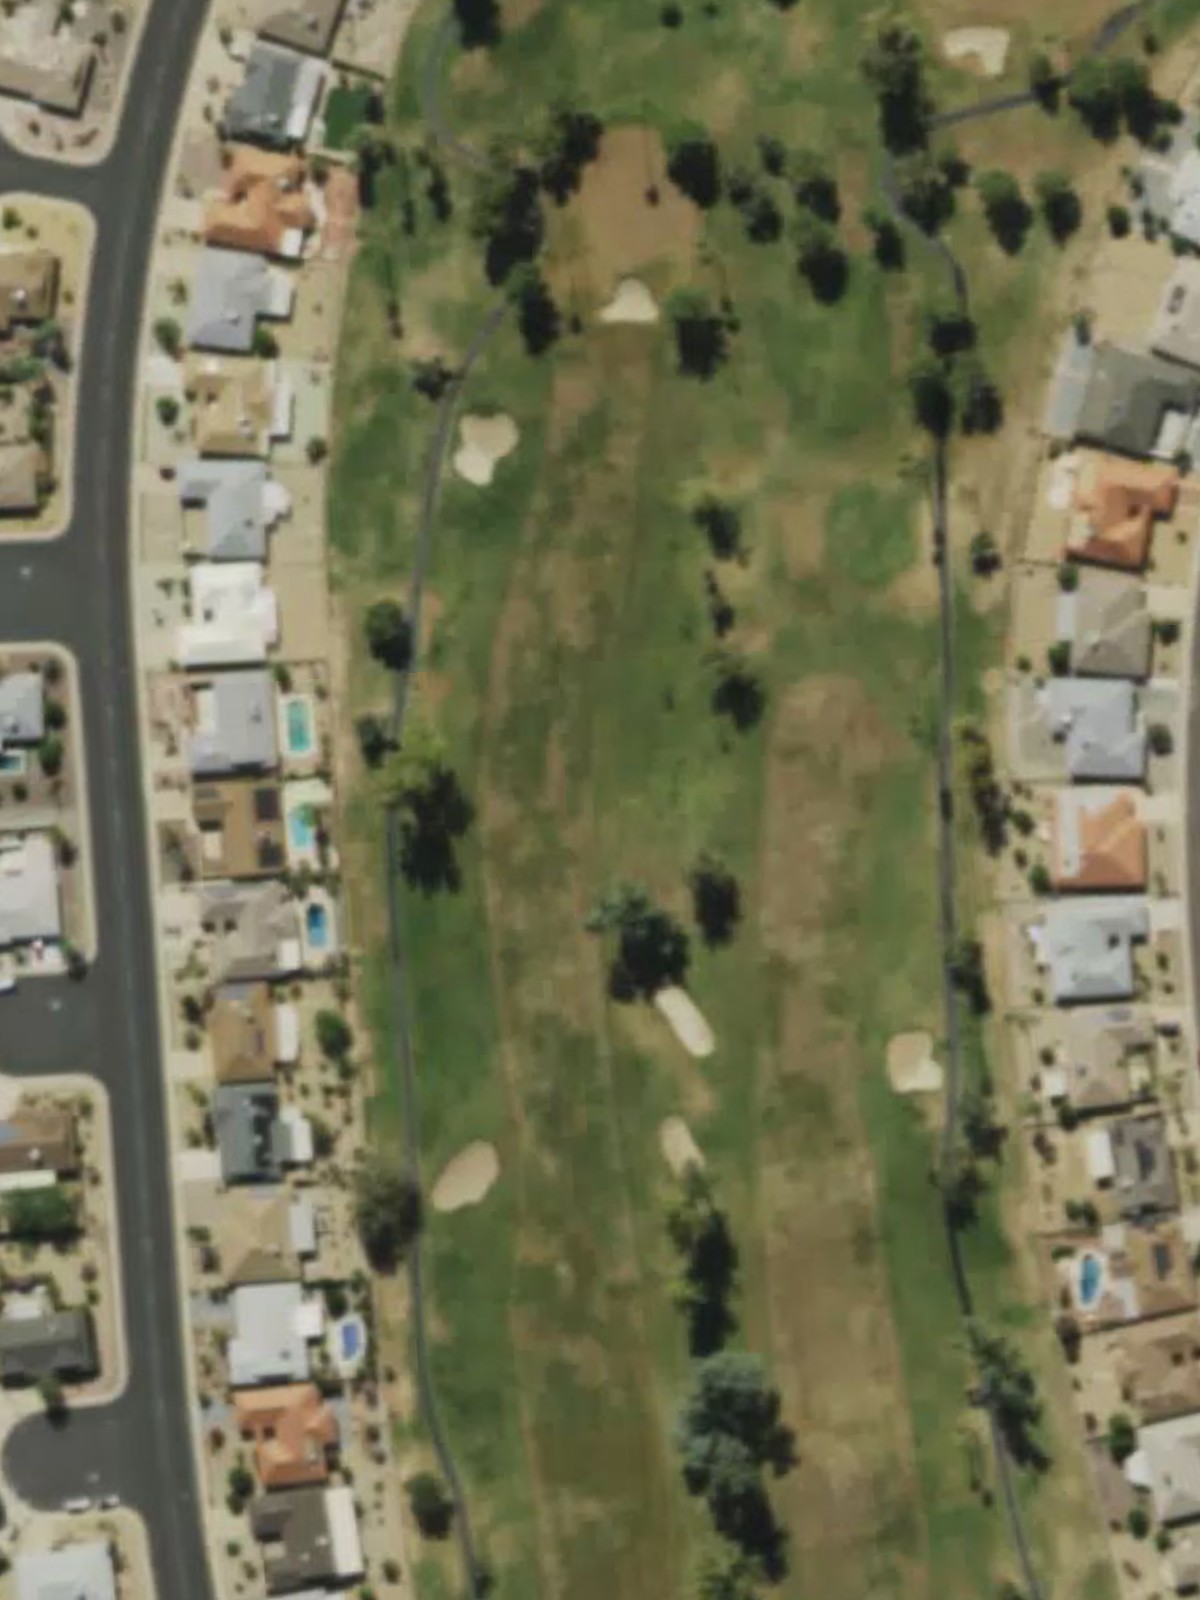
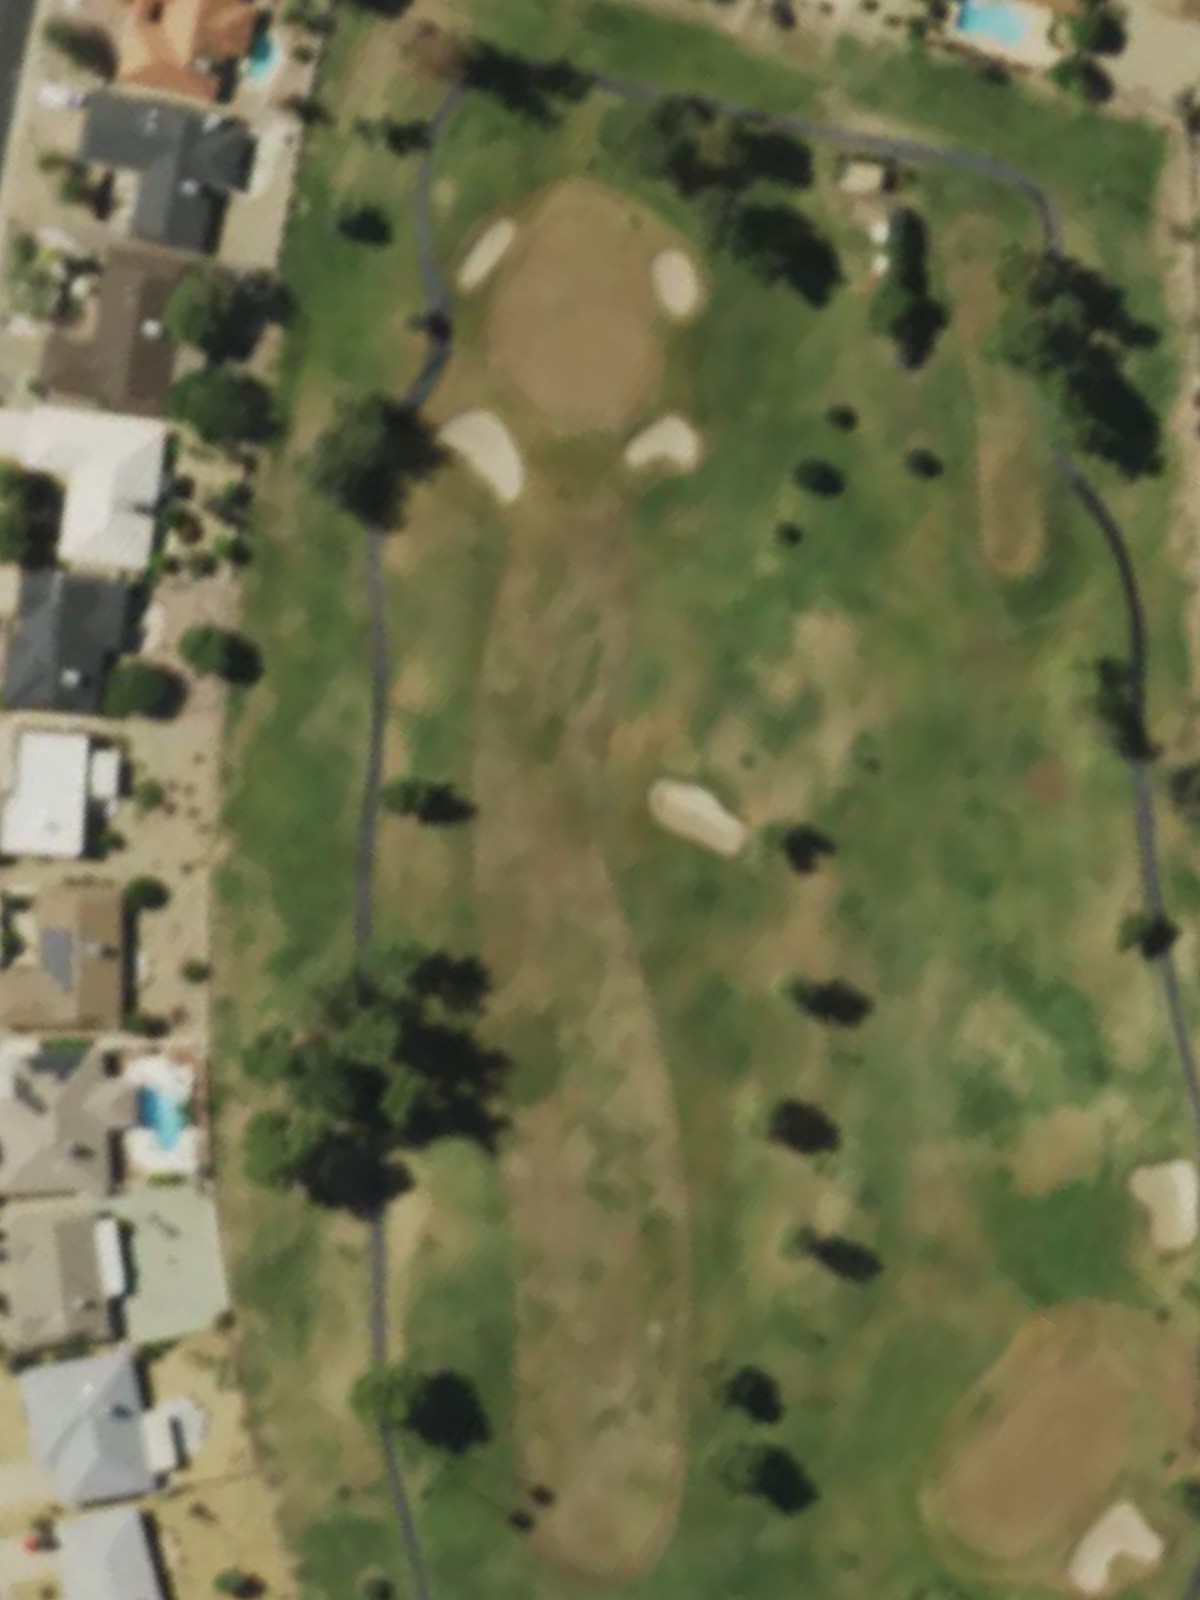
Pebblebrook Gc - Sun City West is an 18-hole golf course in Sun City West, AZ with a par of 72. It offers 5 tee sets: blue (6,410 yards, slope 120, rating 70), white (6,116 yards, slope 116, rating 68.6), gold (5,883 yards, slope 111, rating 67.4), red (5,709 yards, slope 109, rating 66.5), green (4,411 yards, slope 97, rating 61). The hardest hole is #6, a par 4 playing 380 yards from the first tee.
Pebblebrook Gc - Sun City West
Sun City West, AZ
Get PDF Yardage Book
We'll email you the PDF link. No spam, ever.
Create Your Game Plan
Pick your tees, enter your bag, and get a personalized shot-by-shot strategy for every hole.
A straightforward par 4 that plays shorter than it measures, with a fairway that narrows as it approaches the green. Bunkers guard both sides of the putting surface, requiring accuracy on the approach shot.
A moderate par 4 with a relatively open fairway that demands consistent striking. The approach to the green tightens considerably, with bunkers positioned to catch wayward shots around the putting surface.
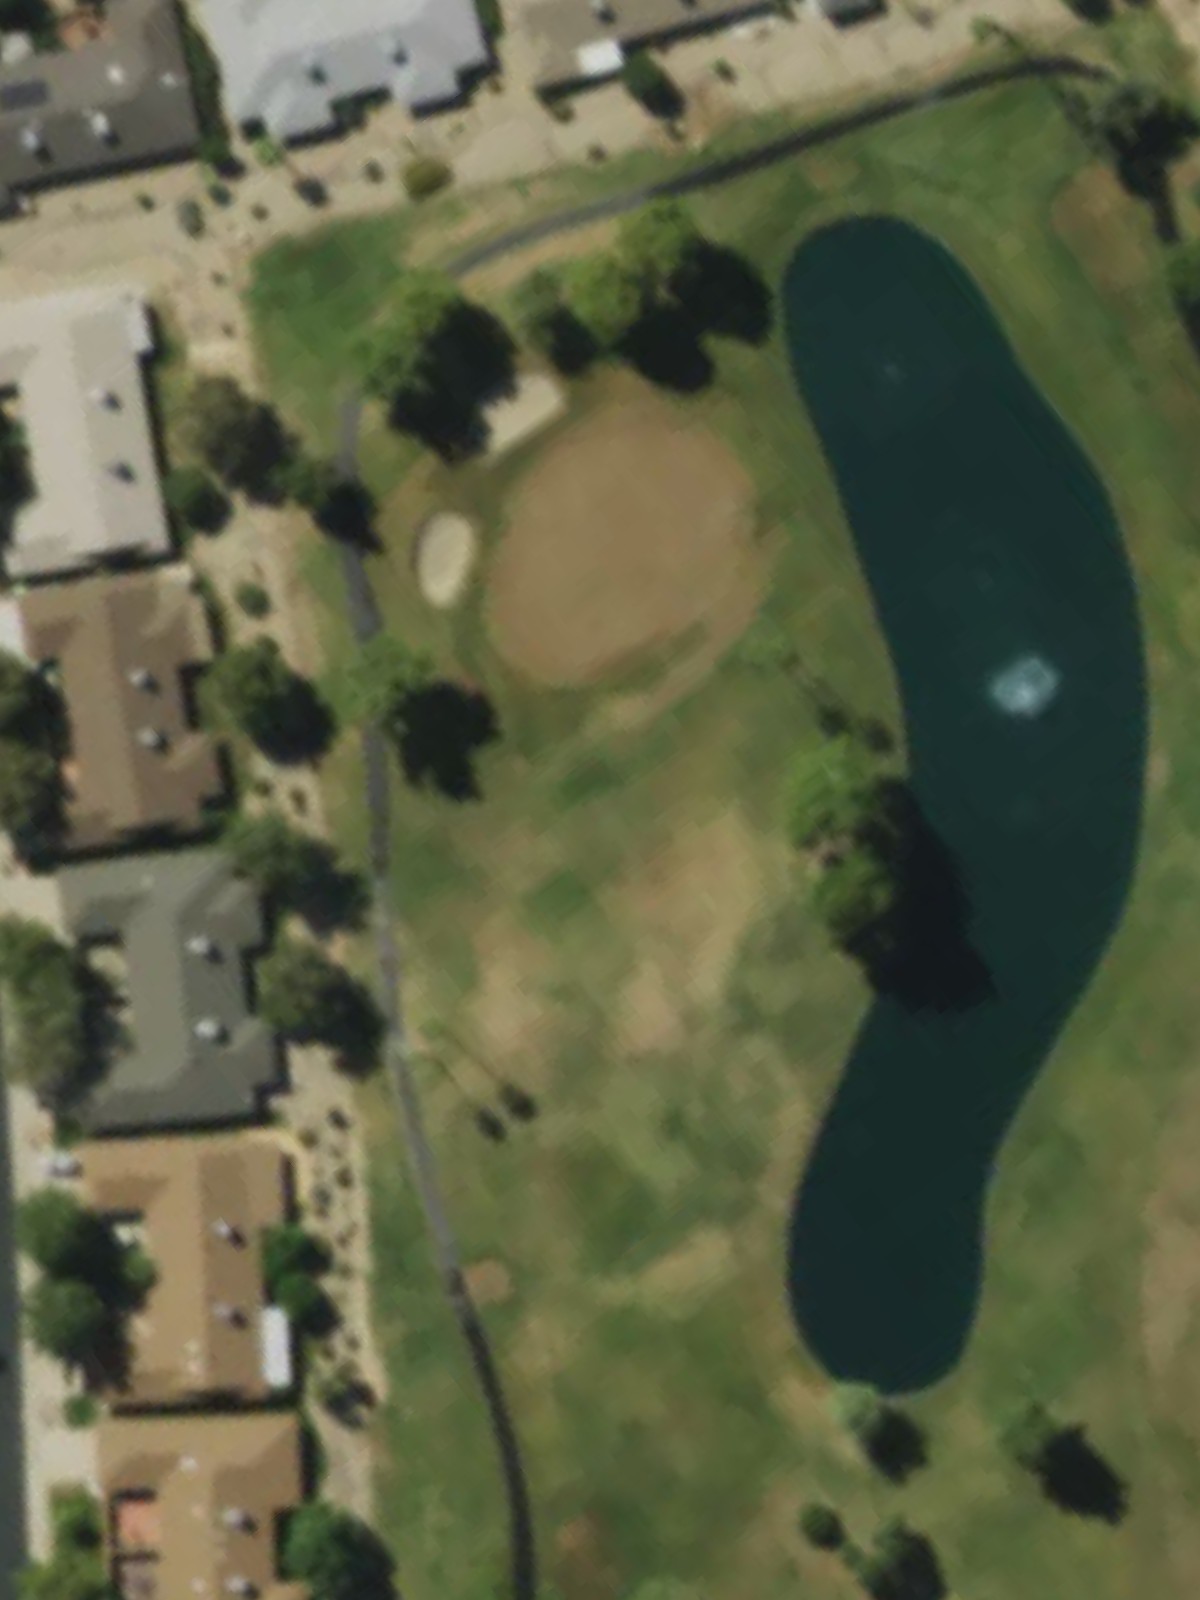
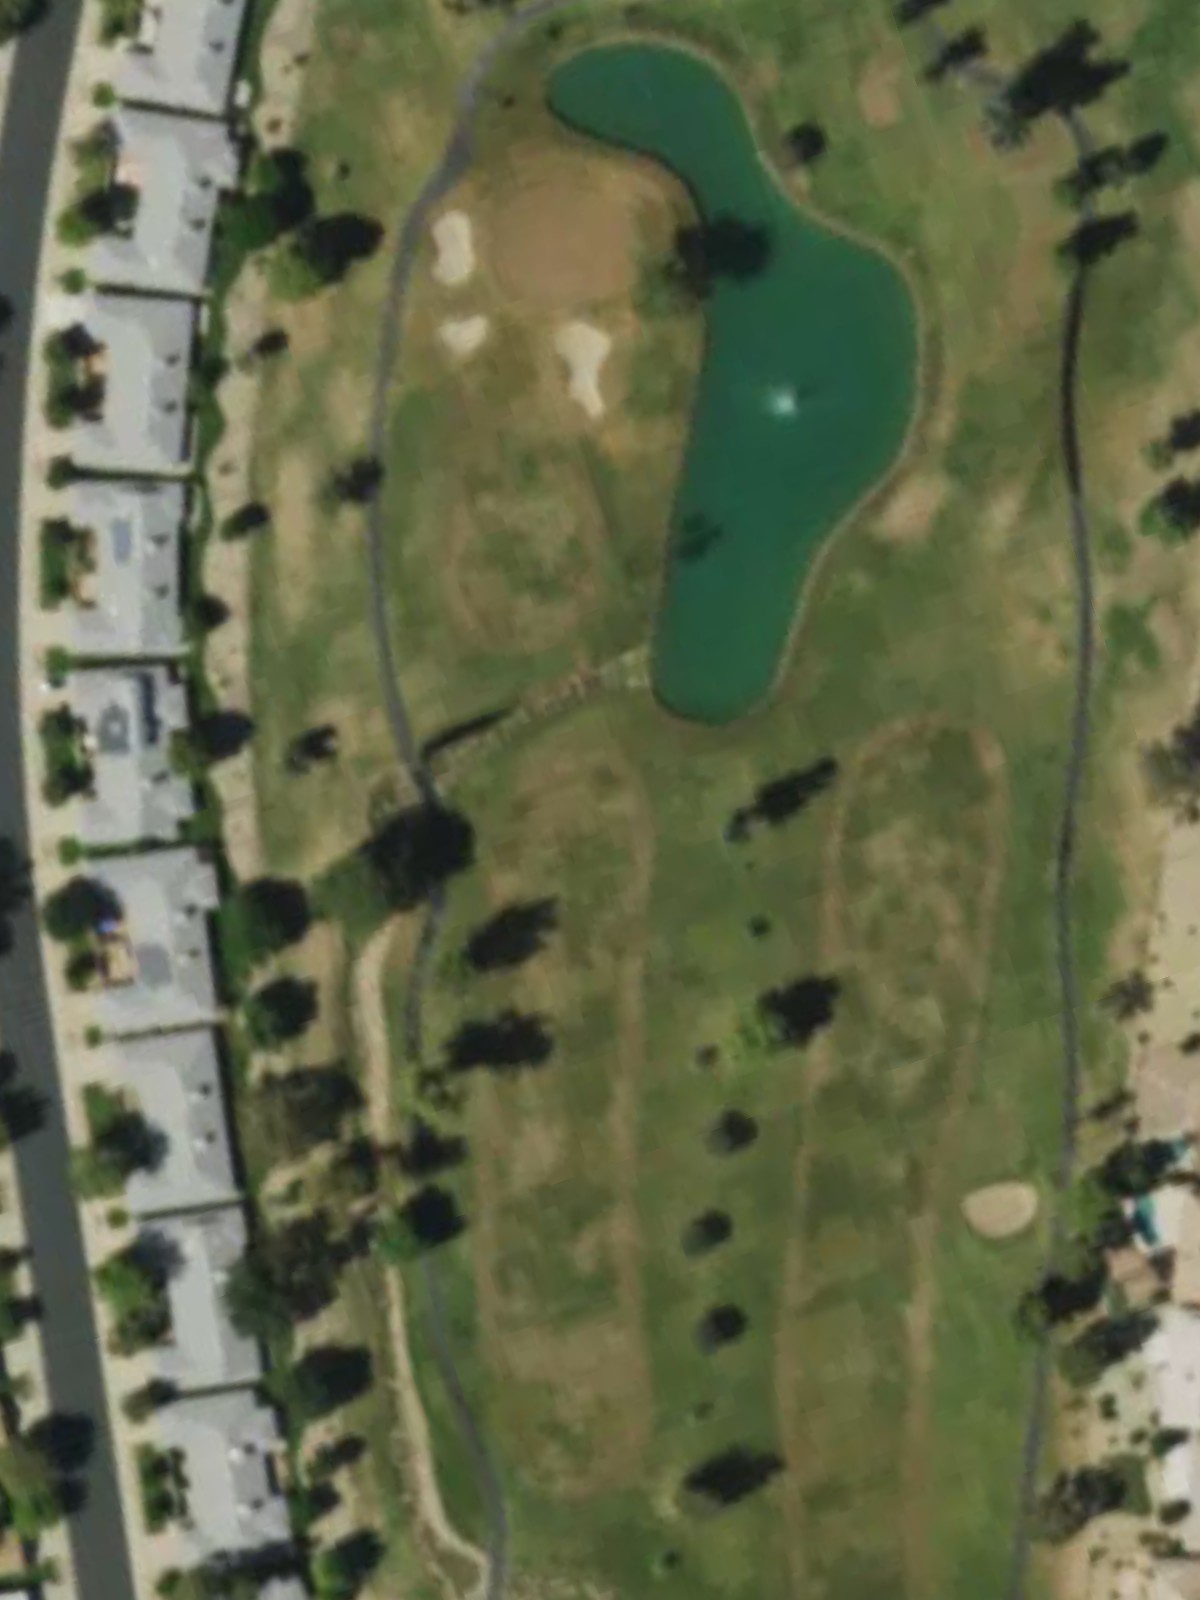
A short par 3 with a modest green complex that plays considerably shorter than the scorecard yardage suggests. Water or hazards frame at least one side of the green, making precision essential despite the hole's brevity.
A lengthy par 5 that rewards aggressive play but punishes errant shots with hazards flanking both sides of the fairway. The hole's length and strategic positioning of water or rough demands careful route management throughout.
A deceptively short par 4 that plays easier than its handicap ranking suggests, with a relatively open fairway leading to a modest green. The hole's simplicity offers a respite before more demanding tests ahead.
The course's most difficult hole, a formidable par 4 with a narrow corridor and multiple hazards that demand precision from tee to green. Water or out-of-bounds threatens the entire length, making this a pivotal test of skill.
A well-balanced par 5 with a fairway that opens in sections, allowing strategic positioning for the approach. Hazards are positioned to penalize poor execution on both the second and third shots.
A tiny par 3 with minimal margin for error despite its short length, as the green is severely bunkered or surrounded by water. The small target area makes club selection deceptively important.
A dramatic par 4 ranking among the course's toughest, with significant hazards framing the fairway and complex bunkering around the green. The hole's configuration demands both power and placement to reach a well-defended putting surface.
A strong par 4 with strategic hazard placement that separates the fairway into distinct zones. Water or bunkers guard the green approach, rewarding those who navigate the proper line from the tee.
A modest par 3 with a straightforward approach to a relatively accessible green. The hole's simplicity and shorter yardage provide a welcome breather in the back nine.

A short, manageable par 4 that plays easier than most others on the course, with an open fairway and modest hazards. The hole offers an opportunity to score well against its favorable handicap.
A mid-length par 5 with a fairway that offers options for aggressive or conservative play. Strategic bunkering around the green requires thoughtful positioning for the approach shot.
The easiest hole on the course, a brief par 4 with a wide fairway and minimal hazards to contest. Its short length and benign layout present a genuine scoring opportunity.
A picturesque par 3 of moderate length with an island-style or well-bunkered green that demands accuracy. Water or hazards completely encircle the putting surface, leaving no margin for error.
A severe par 4 and second-most difficult hole, with hazards strategically placed to punish both the tee shot and approach. The fairway narrows considerably, and the green is tightly guarded, making this a formidable back-nine challenge.
A lengthy par 5 with a two-tiered strategy opportunity, though hazards penalize poor decisions throughout. The fairway's width and green access reward intelligent route selection over pure distance.
A finishing par 4 that balances playability with subtle challenge, featuring a straightforward fairway that tightens near the green. Bunkers frame the putting surface, demanding a composed final approach to close the round.
Scorecard
| Hole | 1 | 2 | 3 | 4 | 5 | 6 | 7 | 8 | 9 | Out | 10 | 11 | 12 | 13 | 14 | 15 | 16 | 17 | 18 | In | Tot |
|---|---|---|---|---|---|---|---|---|---|---|---|---|---|---|---|---|---|---|---|---|---|
| Par | 4 | 4 | 3 | 5 | 4 | 4 | 5 | 3 | 4 | 36 | 4 | 3 | 4 | 5 | 4 | 3 | 4 | 5 | 4 | 36 | 72 |
| HCP | 9 | 11 | 13 | 5 | 17 | 1 | 7 | 15 | 3 | 4 | 14 | 16 | 12 | 18 | 8 | 2 | 10 | 6 | |||
| blue | 363 | 367 | 170 | 533 | 339 | 429 | 504 | 139 | 386 | 3230 | 409 | 168 | 350 | 473 | 308 | 193 | 412 | 510 | 357 | 3180 | 6410 |
| white | 344 | 338 | 157 | 513 | 323 | 417 | 488 | 117 | 380 | 3077 | 380 | 150 | 338 | 466 | 290 | 178 | 397 | 498 | 342 | 3039 | 6116 |
| gold | 328 | 325 | 140 | 505 | 319 | 398 | 478 | 108 | 370 | 2971 | 375 | 142 | 319 | 462 | 275 | 162 | 376 | 474 | 327 | 2912 | 5883 |
| red | 325 | 322 | 136 | 481 | 311 | 380 | 466 | 94 | 356 | 2871 | 368 | 122 | 318 | 455 | 270 | 155 | 368 | 461 | 321 | 2838 | 5709 |
| green | 240 | 243 | 99 | 391 | 199 | 300 | 375 | 88 | 286 | 2221 | 280 | 120 | 241 | 355 | 200 | 112 | 280 | 360 | 242 | 2190 | 4411 |