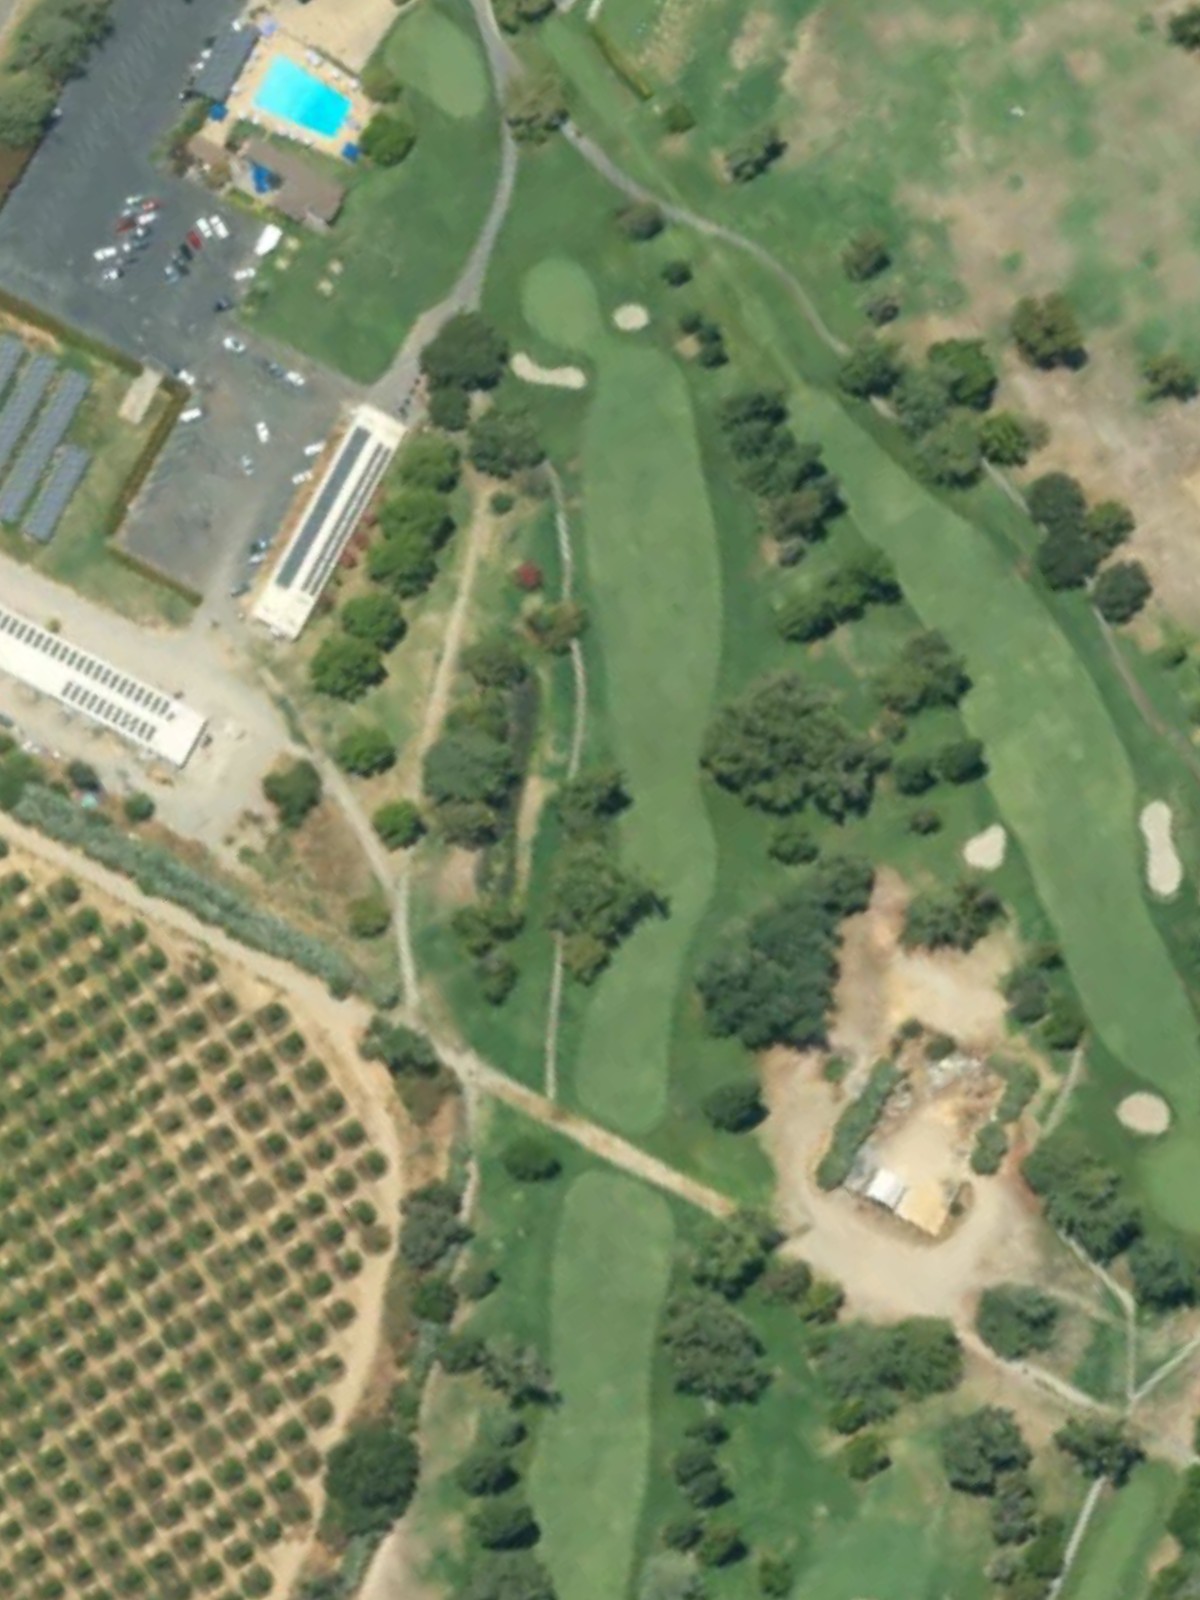
Peach Tree Gcc is an 18-hole golf course in Marysville, CA with a par of 72. It offers 7 tee sets: black (6,898 yards, slope 128, rating 73.2), blue (6,784 yards, slope 127, rating 72.6), white (6,478 yards, slope 125, rating 71.5), white/green combo (6,146 yards, slope 122, rating 69.6), green (5,989 yards, slope 121, rating 69), green/gold combo (5,487 yards, slope 117, rating 66.5), gold (4,968 yards, slope 111, rating 63.9). The hardest hole is #4, a par 4 playing 433 yards from the first tee.
Peach Tree Gcc
Marysville, CA
Get PDF Yardage Book
We'll email you the PDF link. No spam, ever.
Create Your Game Plan
Pick your tees, enter your bag, and get a personalized shot-by-shot strategy for every hole.
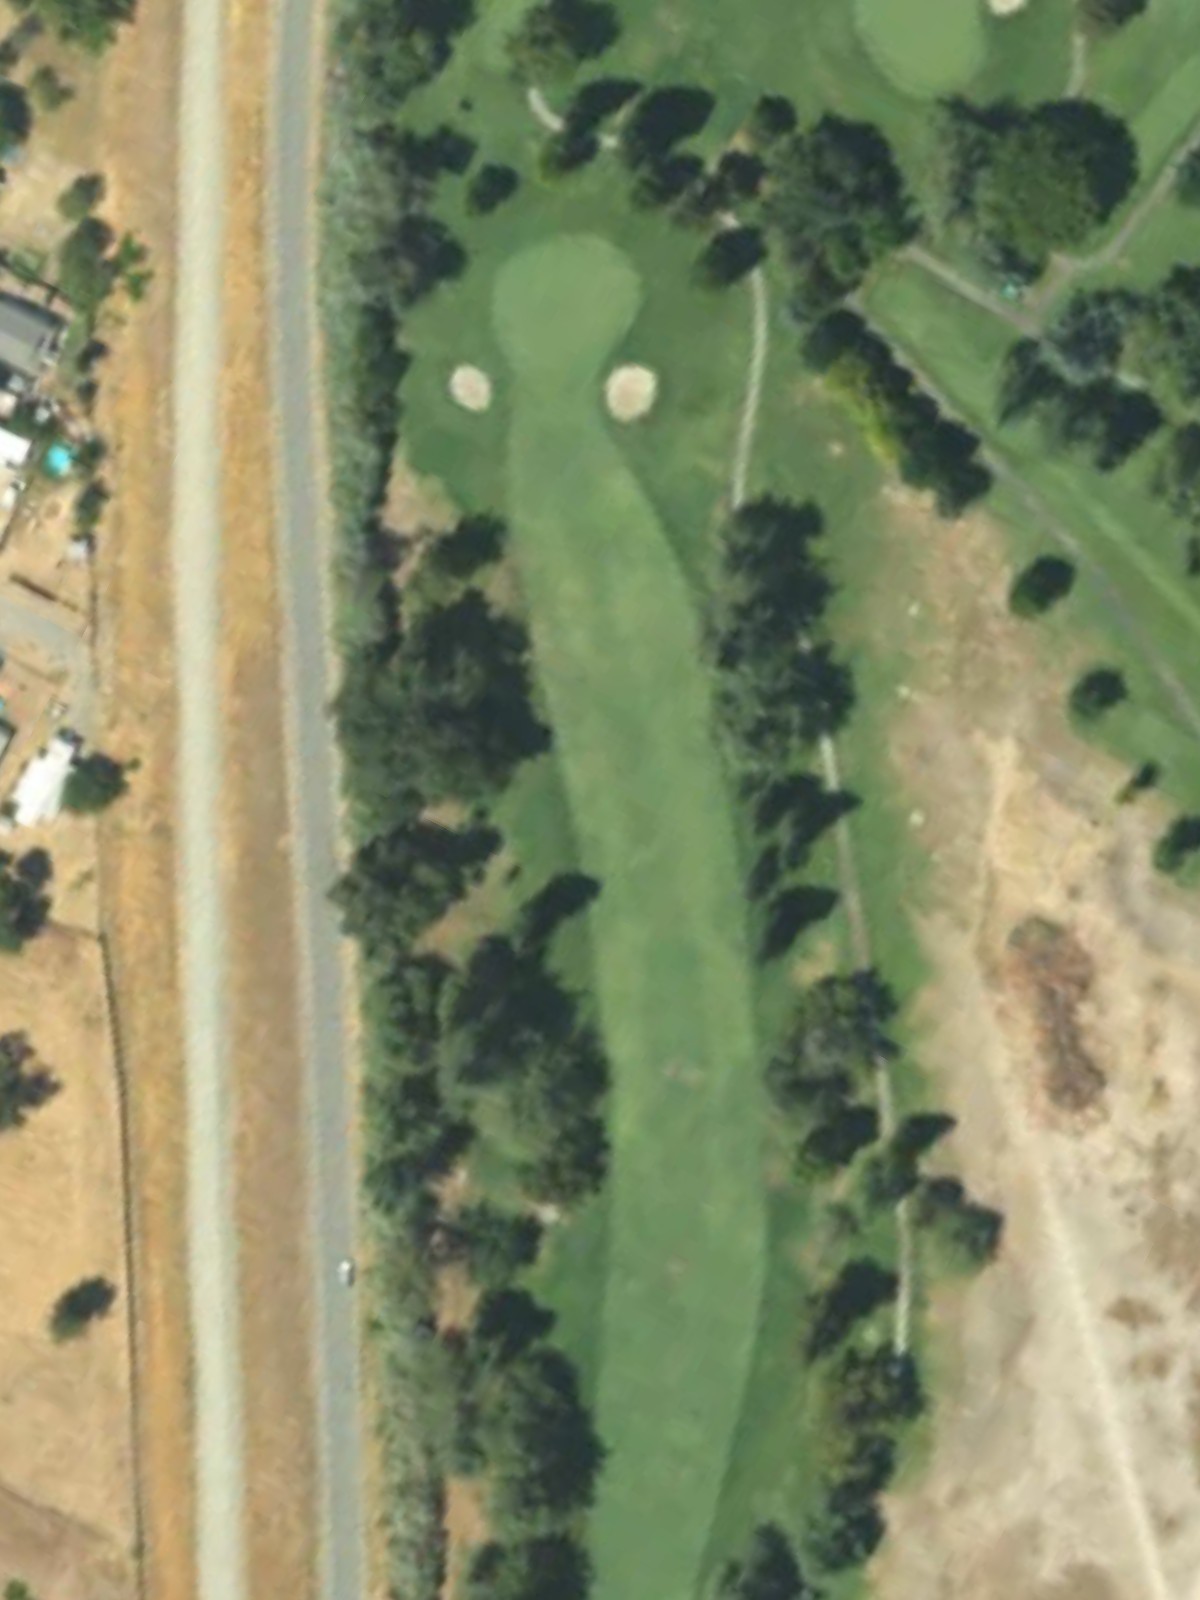
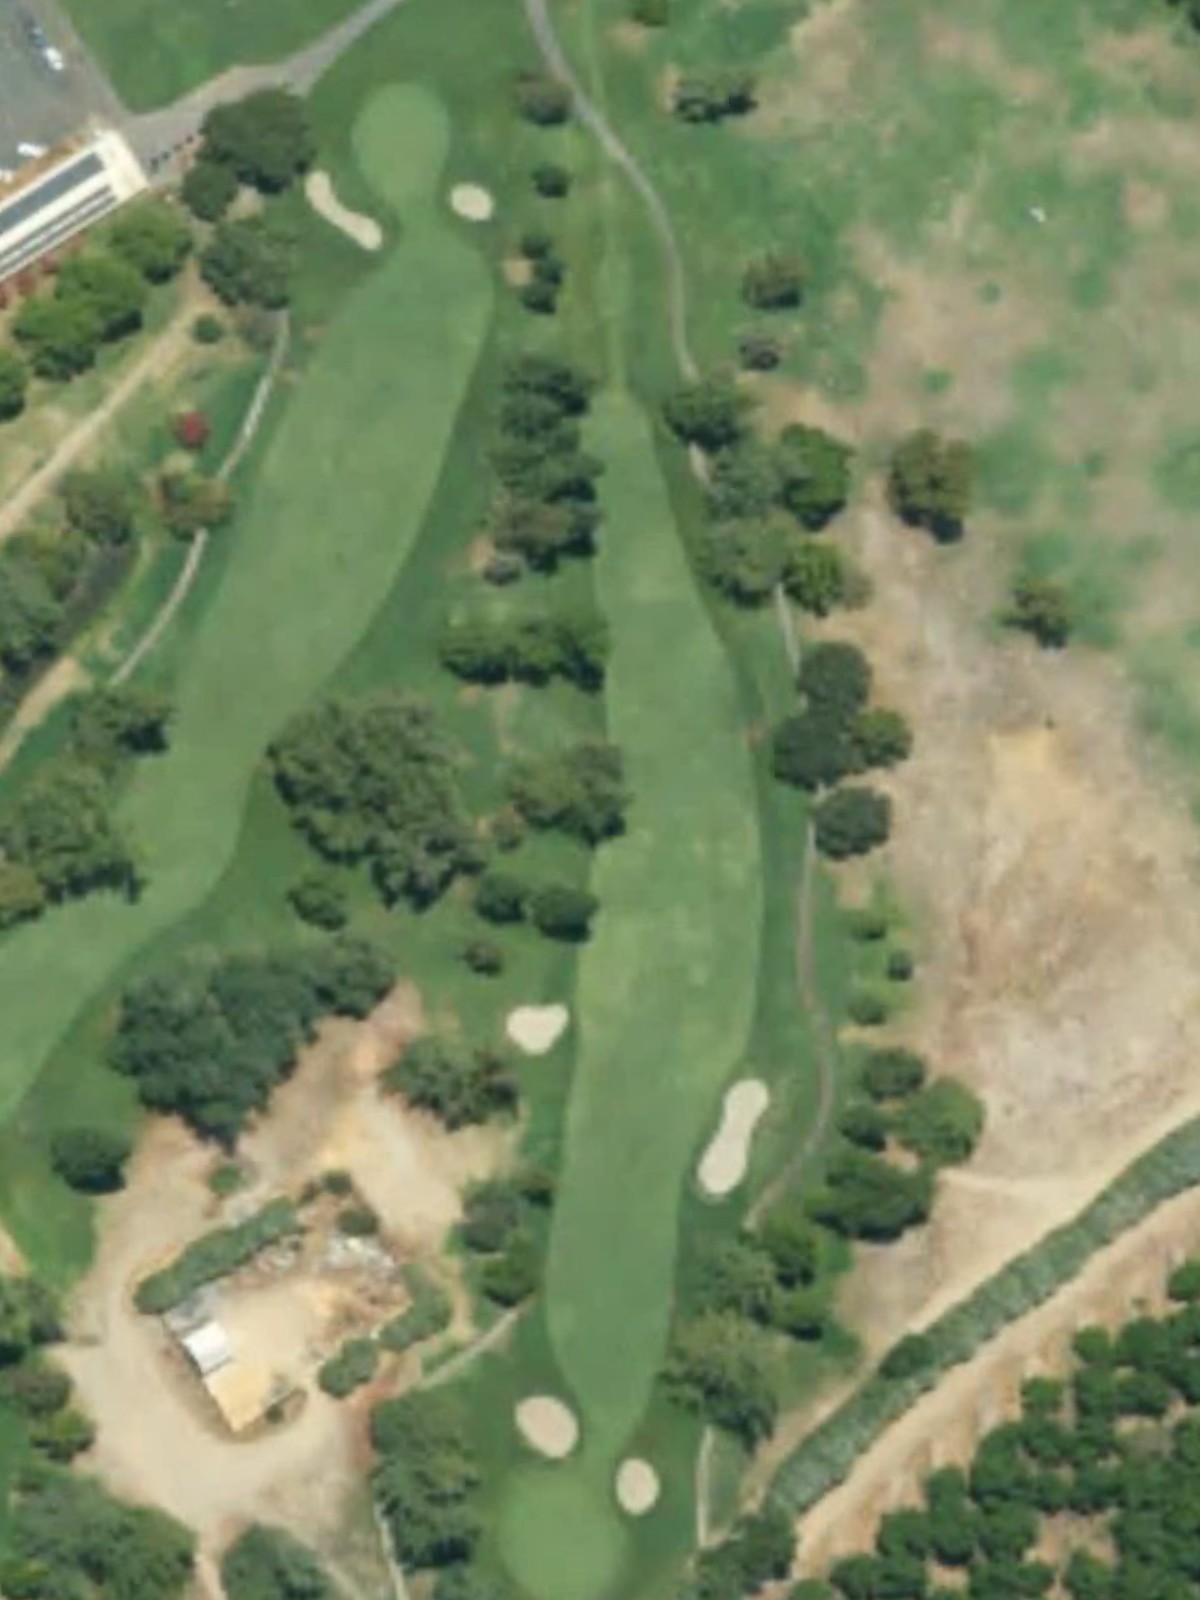
A straightforward par 4 opening hole with a fairway that gradually narrows as it approaches the green. Bunkers protect the right side of the green, requiring accuracy on the approach shot to avoid a difficult recovery.

A long par 5 that invites aggressive play for those looking to reach in two. The hole's length and the positioning of hazards around the green create a strategic puzzle for all skill levels.
A short par 3 with minimal hazard trouble, making it one of the more forgiving short holes on the course. The relatively open green complex allows for various approach angles and recovery options.
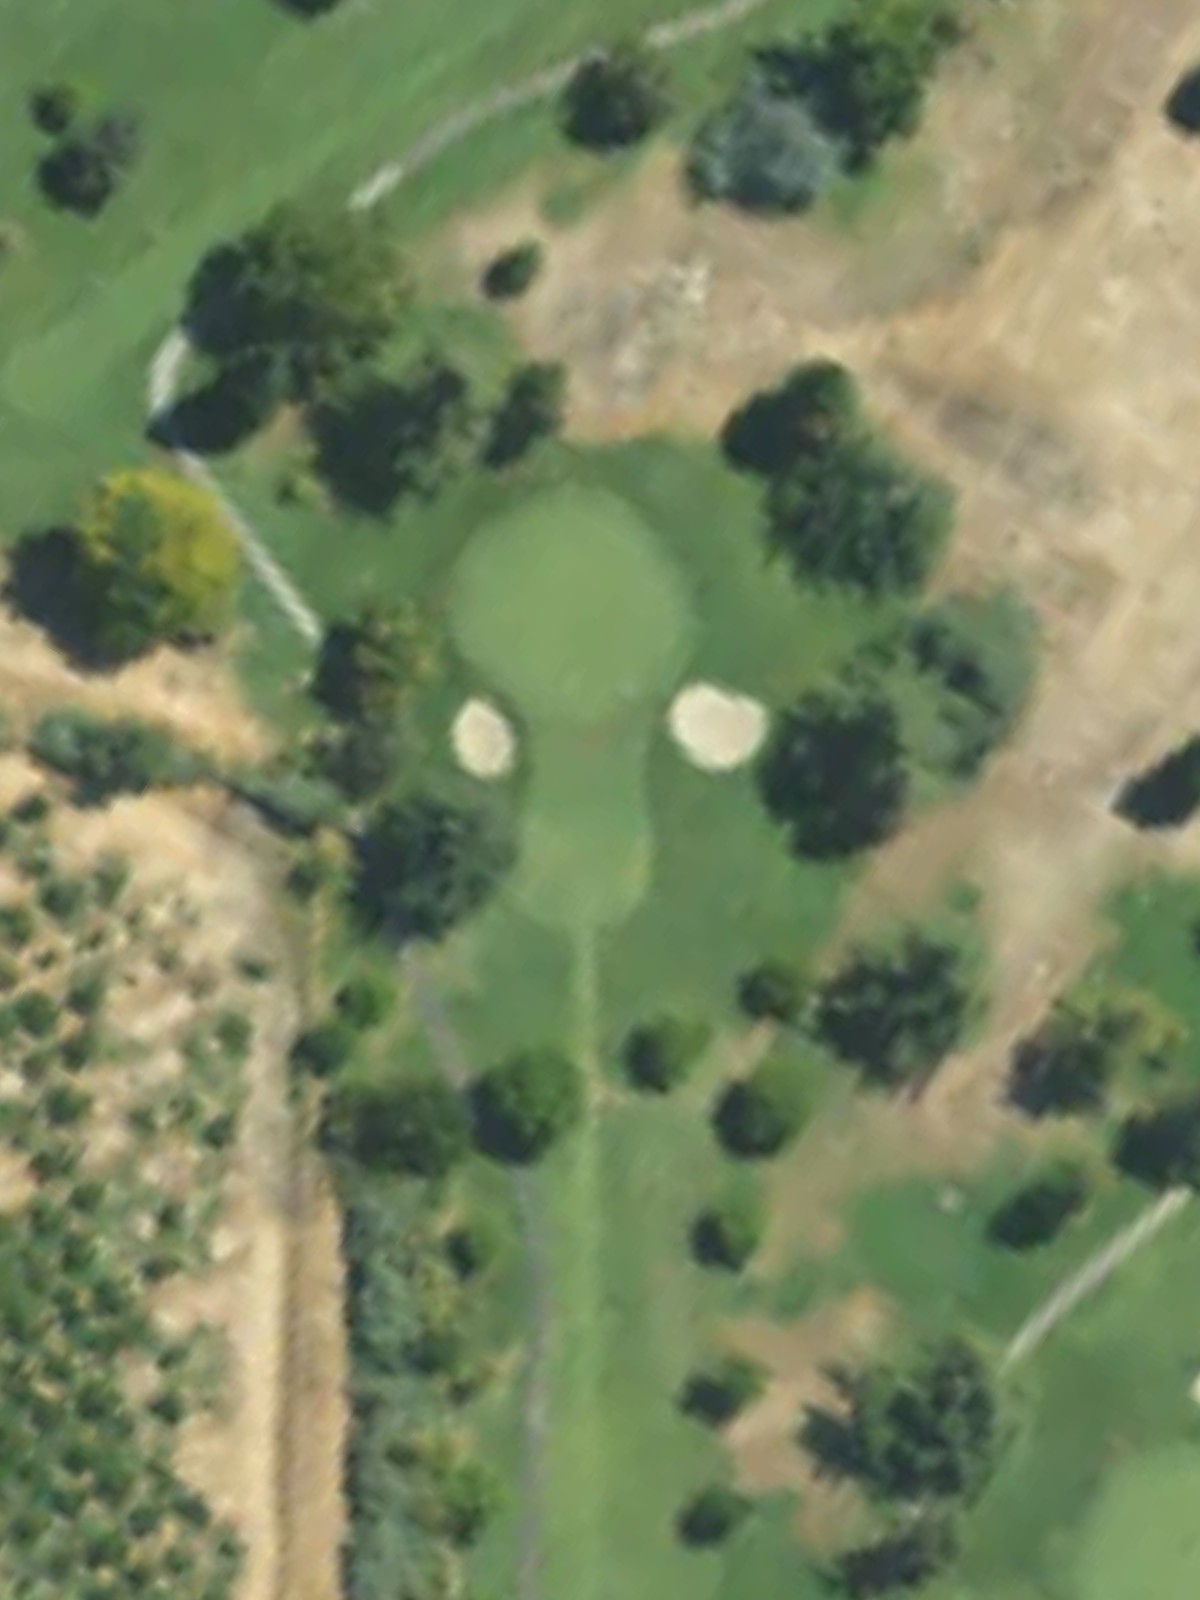
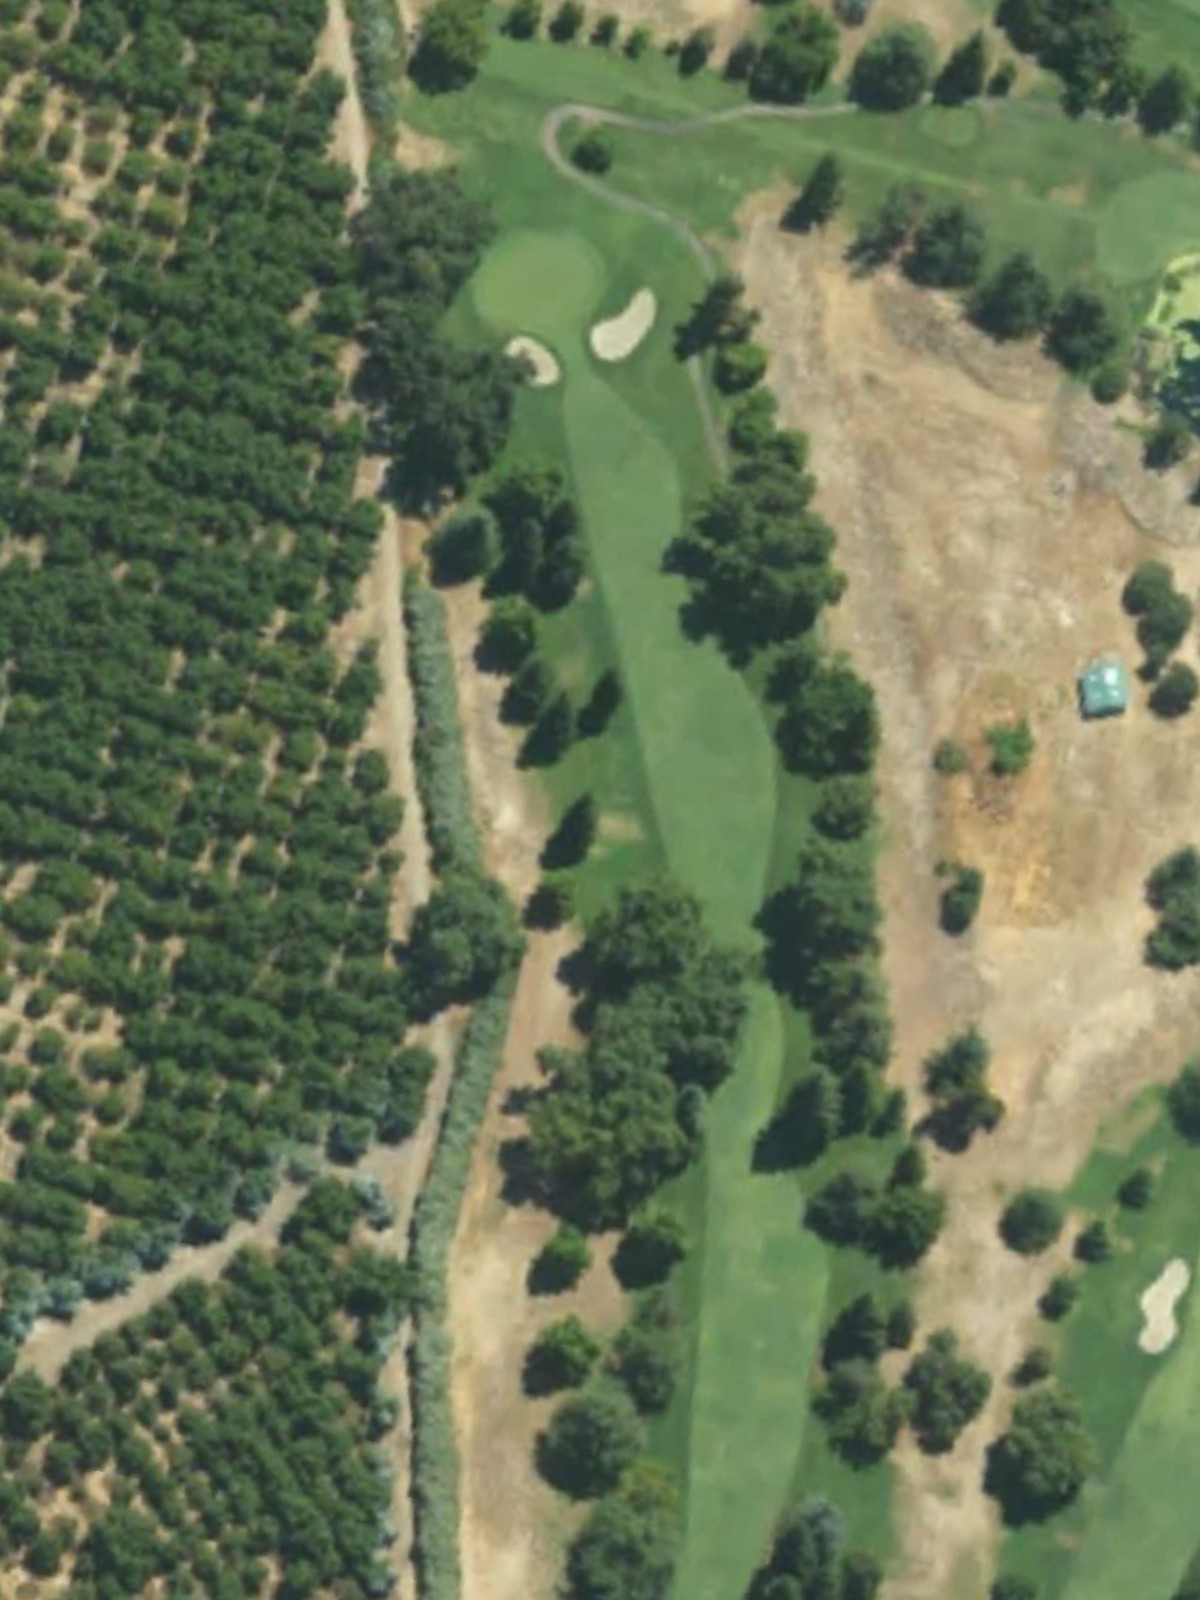
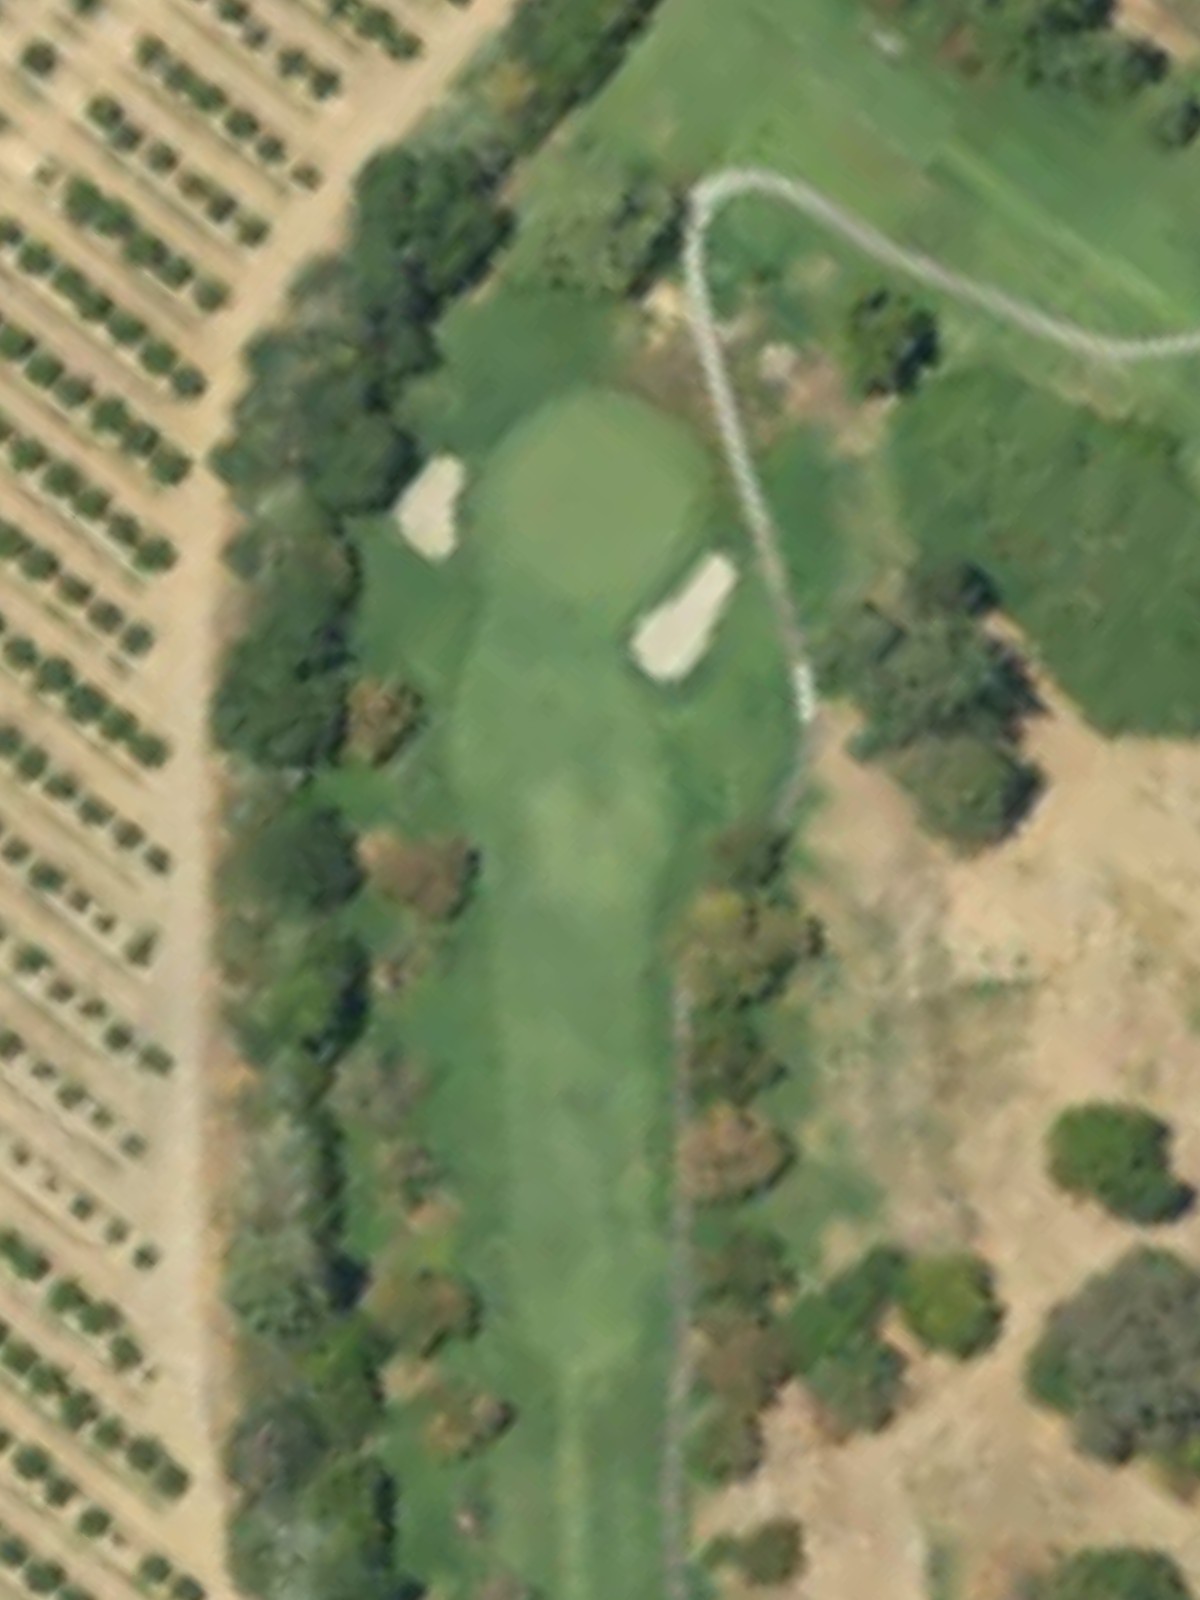
The course's most difficult hole, this par 4 plays long and demands precision throughout. Strategic hazards frame the fairway and guard the green, punishing any wayward shots.
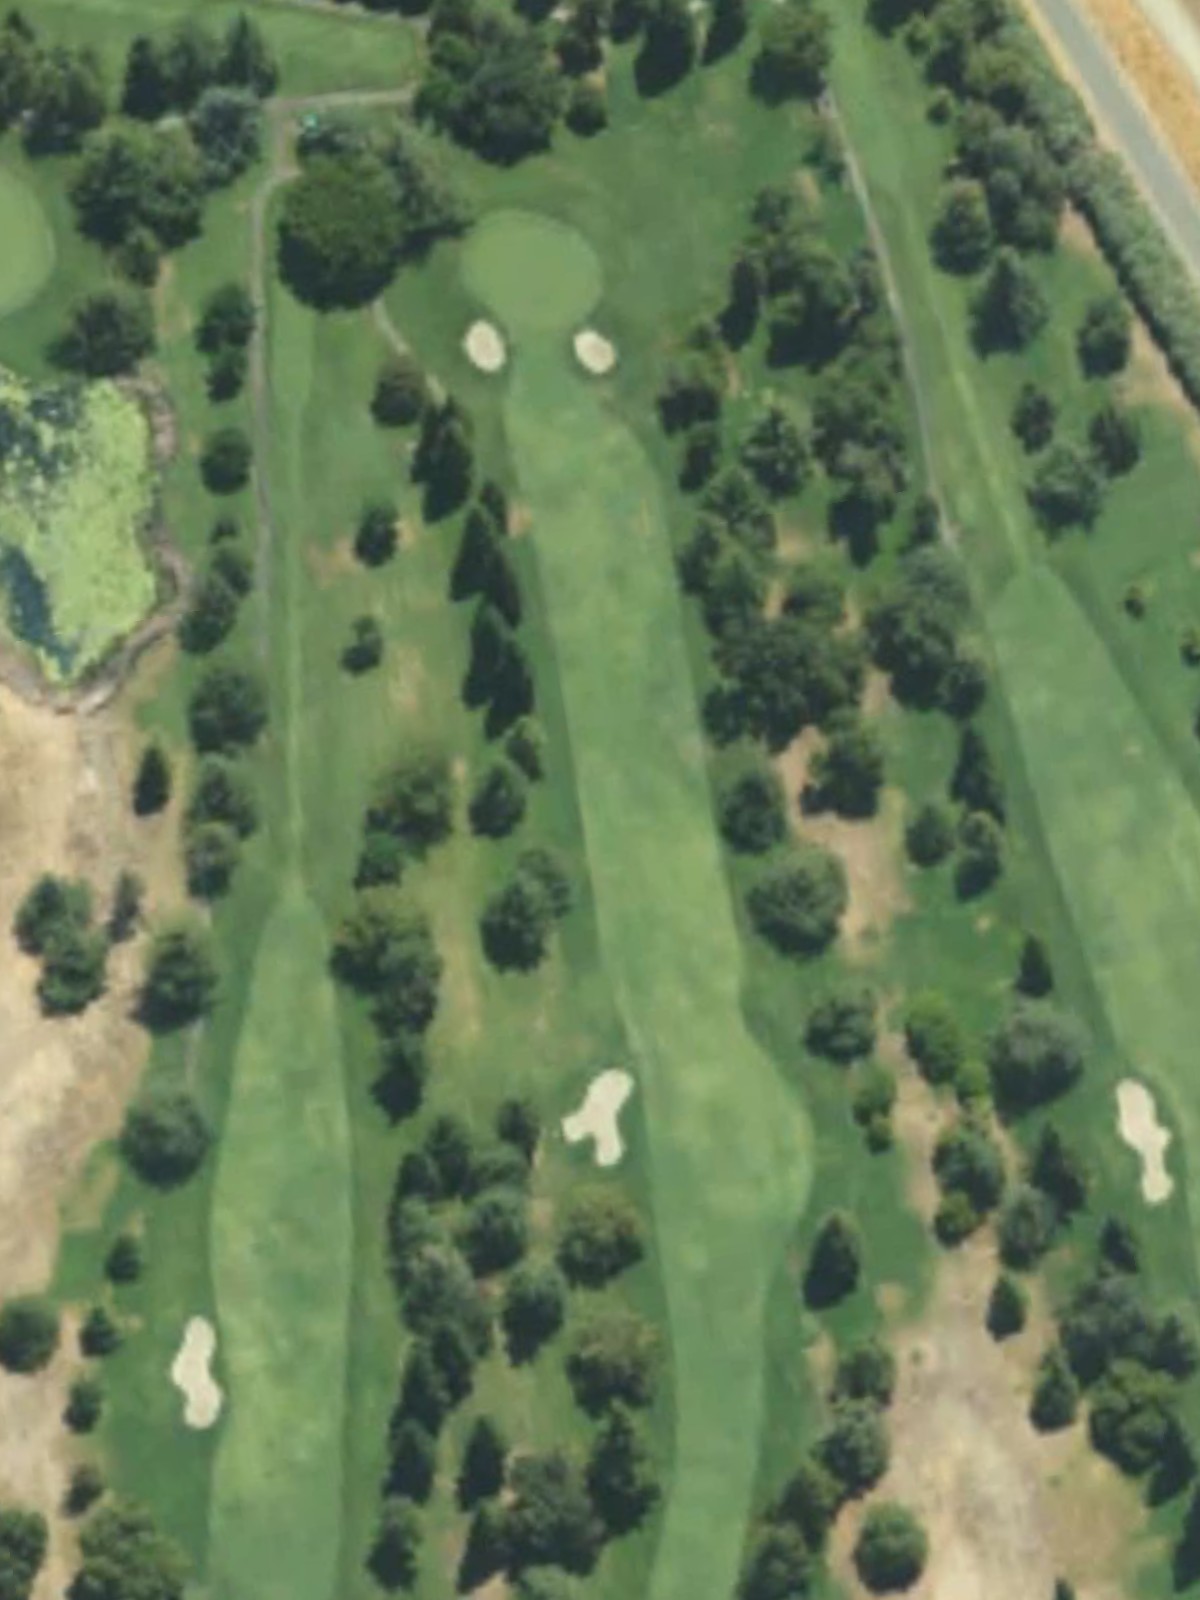
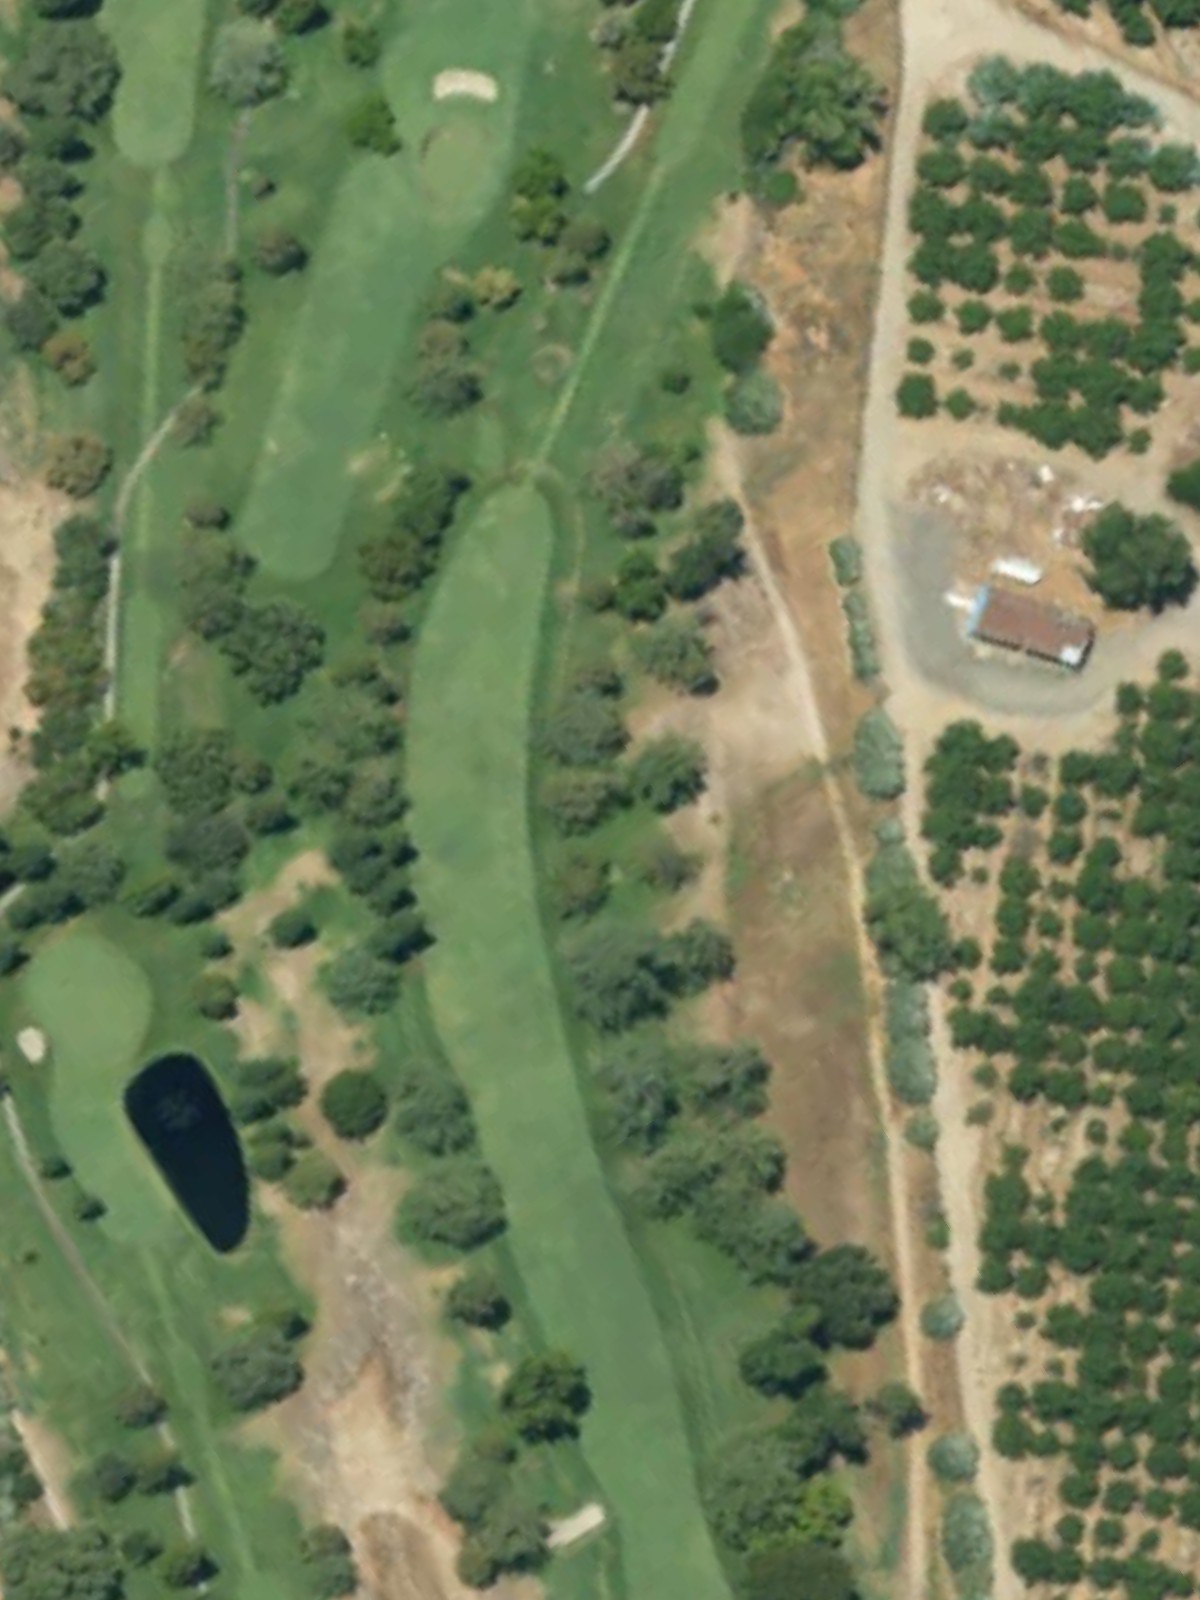
A challenging par 4 that requires two solid shots to reach the green in regulation. Hazards are positioned to penalize both accuracy and distance, making club selection critical on the approach.
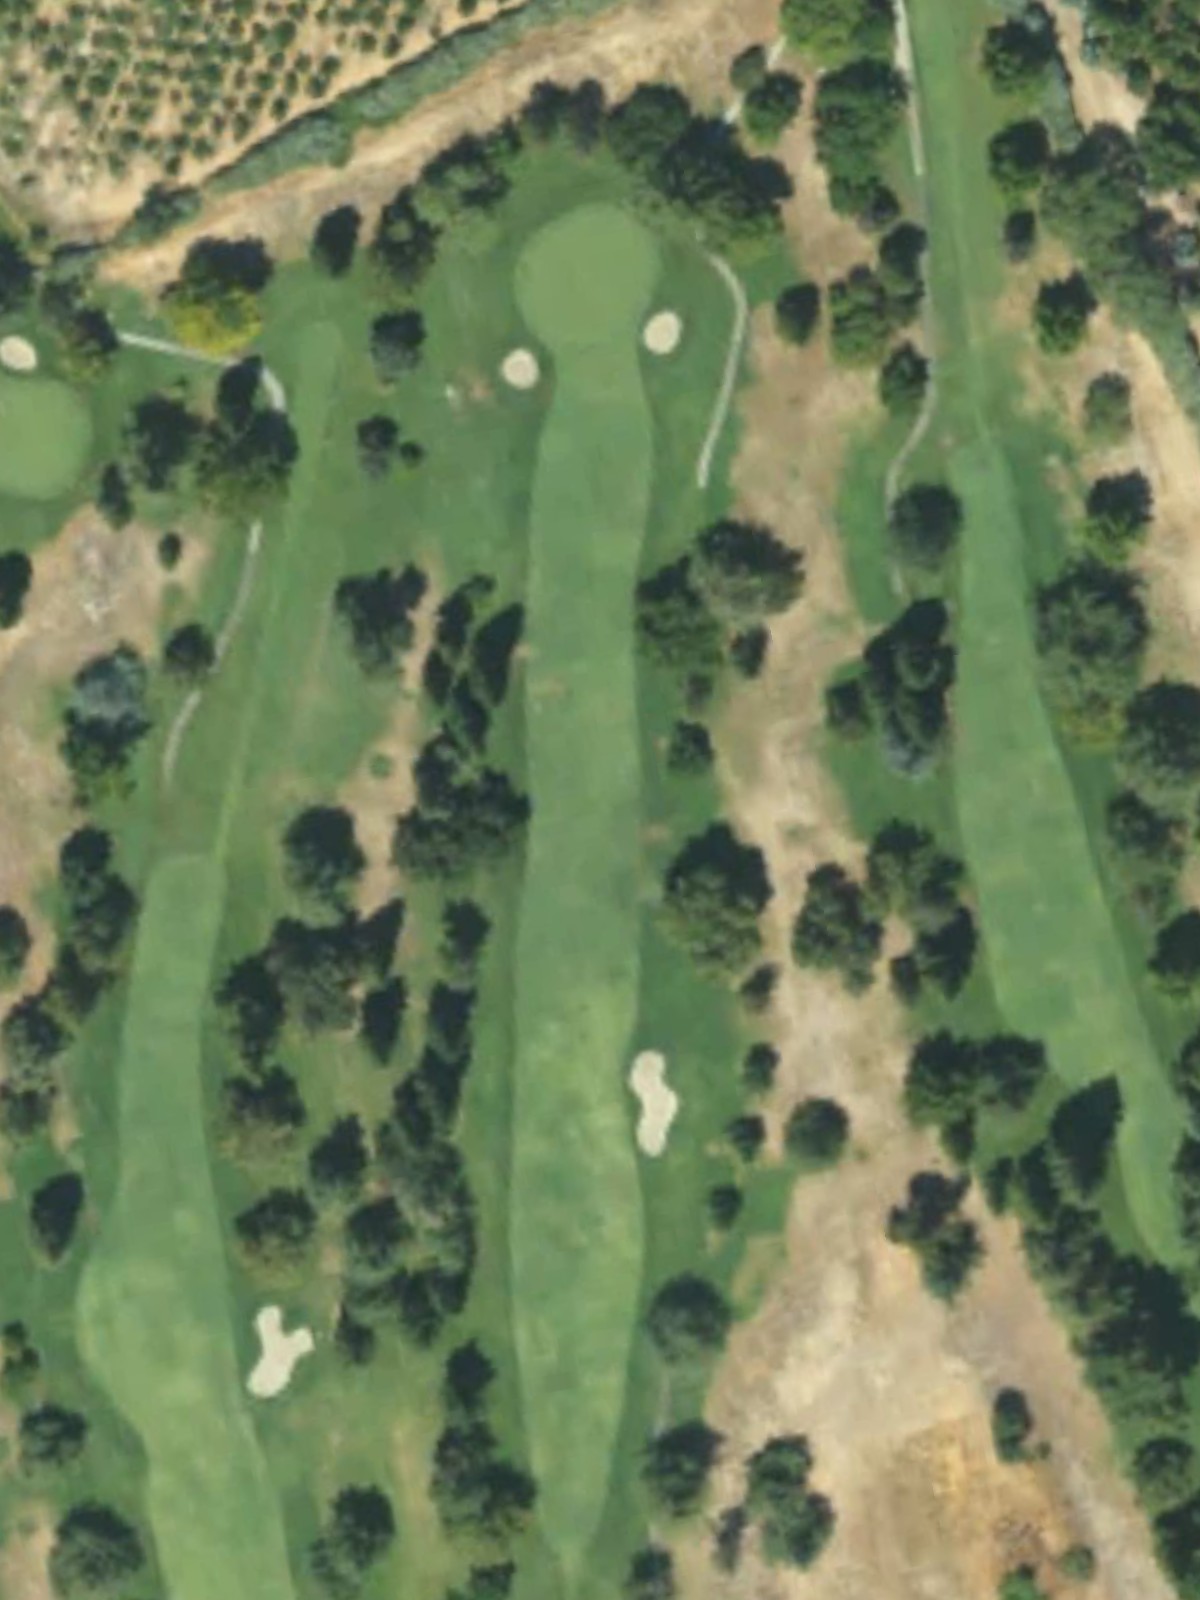
A strong par 5 with considerable length and strategic complexity over three shots. Hazards are distributed throughout the hole, rewarding careful positioning and disciplined play.
A mid-length par 3 where distance control is essential to avoid trouble surrounding the green. The hole's character changes significantly based on tee selection, creating different challenges across the membership.
A moderately difficult par 4 with a relatively straightforward routing. Strategic positioning of hazards creates decision points that affect how the hole should be played.
A short par 4 that offers an opportunity to score well despite its placement on the course. The hole's brevity does not diminish its challenge, as bunkers and other hazards tightly frame the playing area.
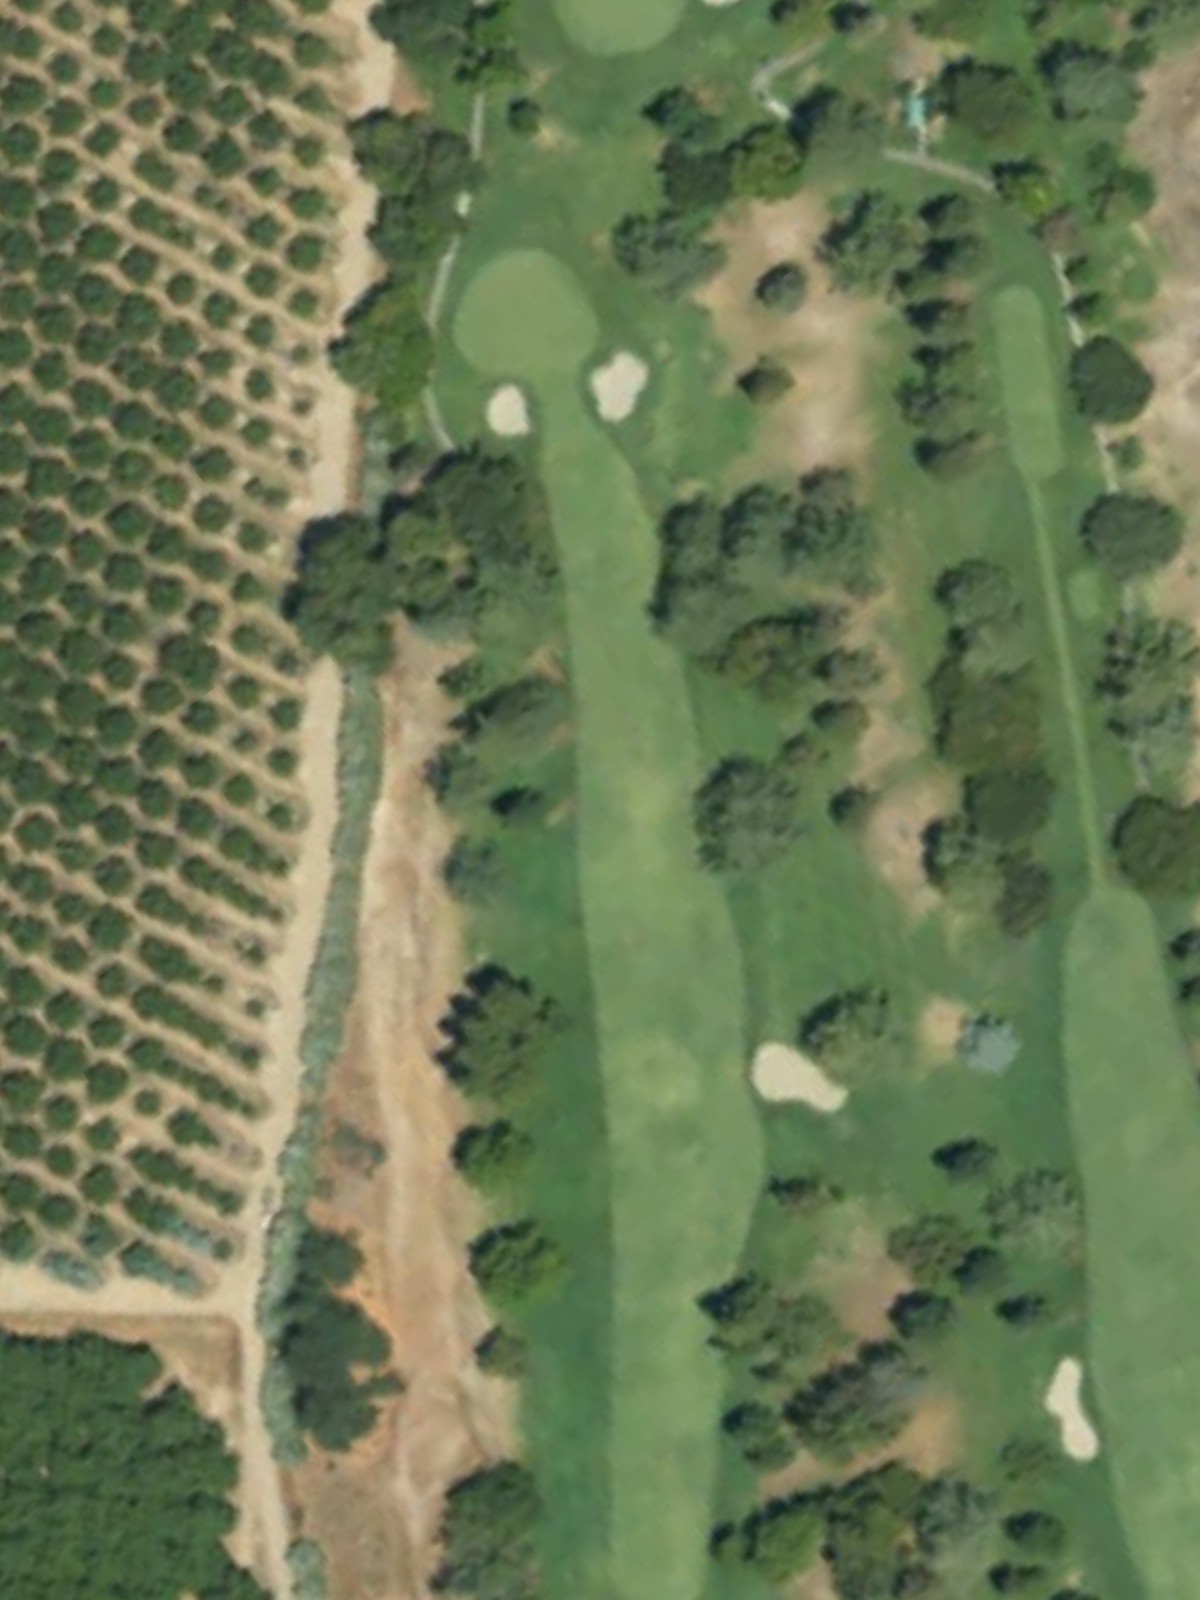
A well-balanced par 4 that plays shorter than its yardage suggests due to favorable conditions. Hazards are positioned to catch errant shots but do not overwhelm the hole's fundamental design.
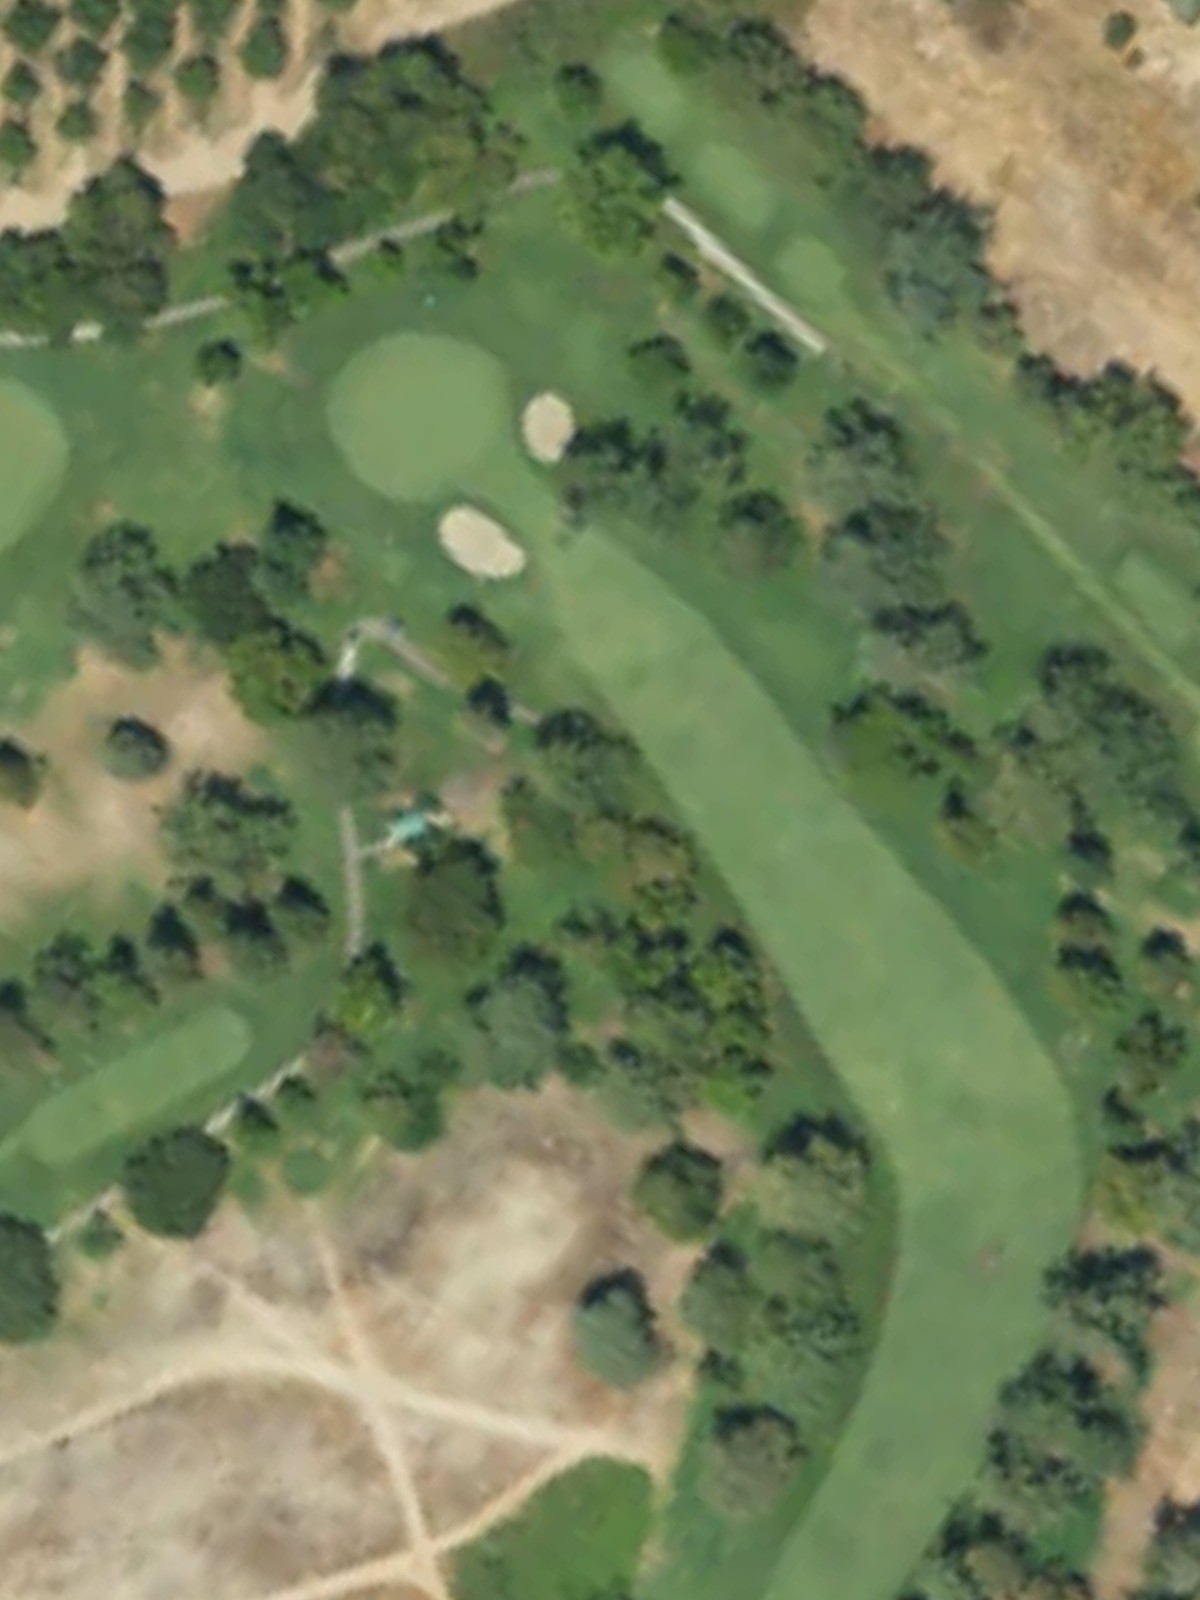
A formidable par 5 ranked among the course's most difficult holes, requiring three quality shots for most players. The length and strategic hazard placement create a hole that tests both power and precision.
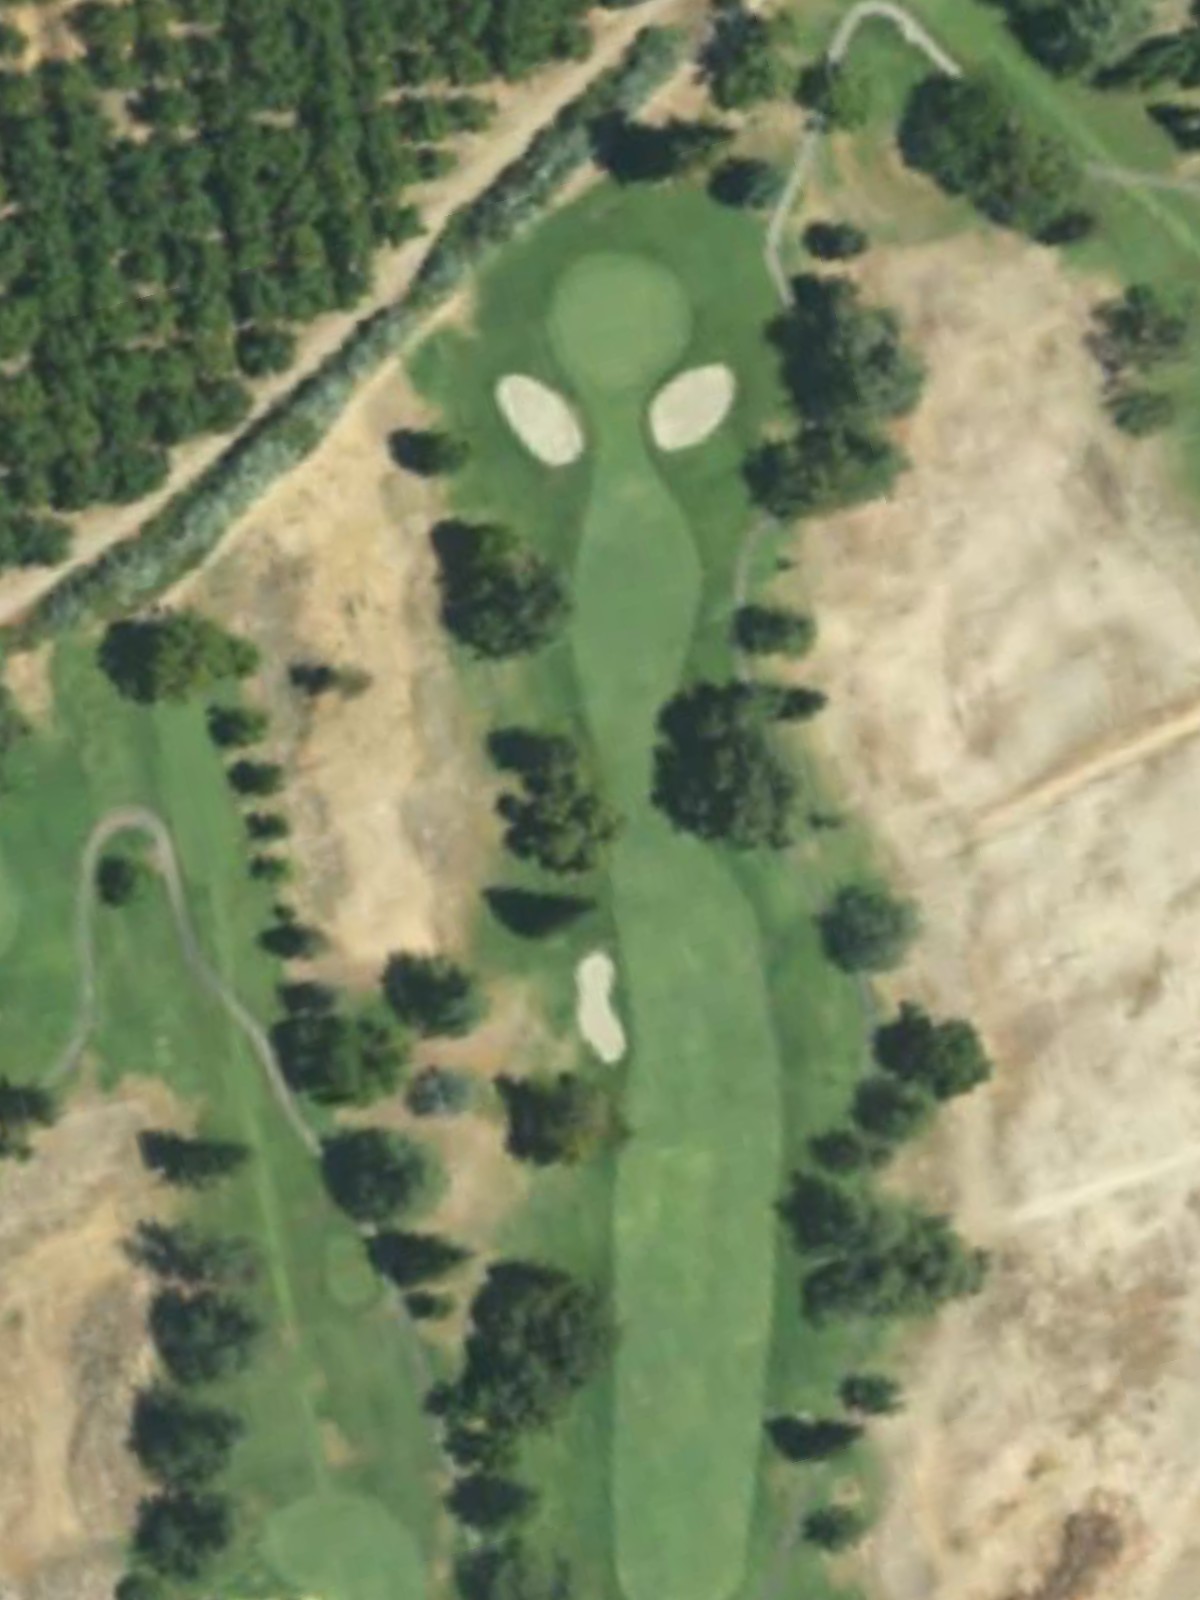
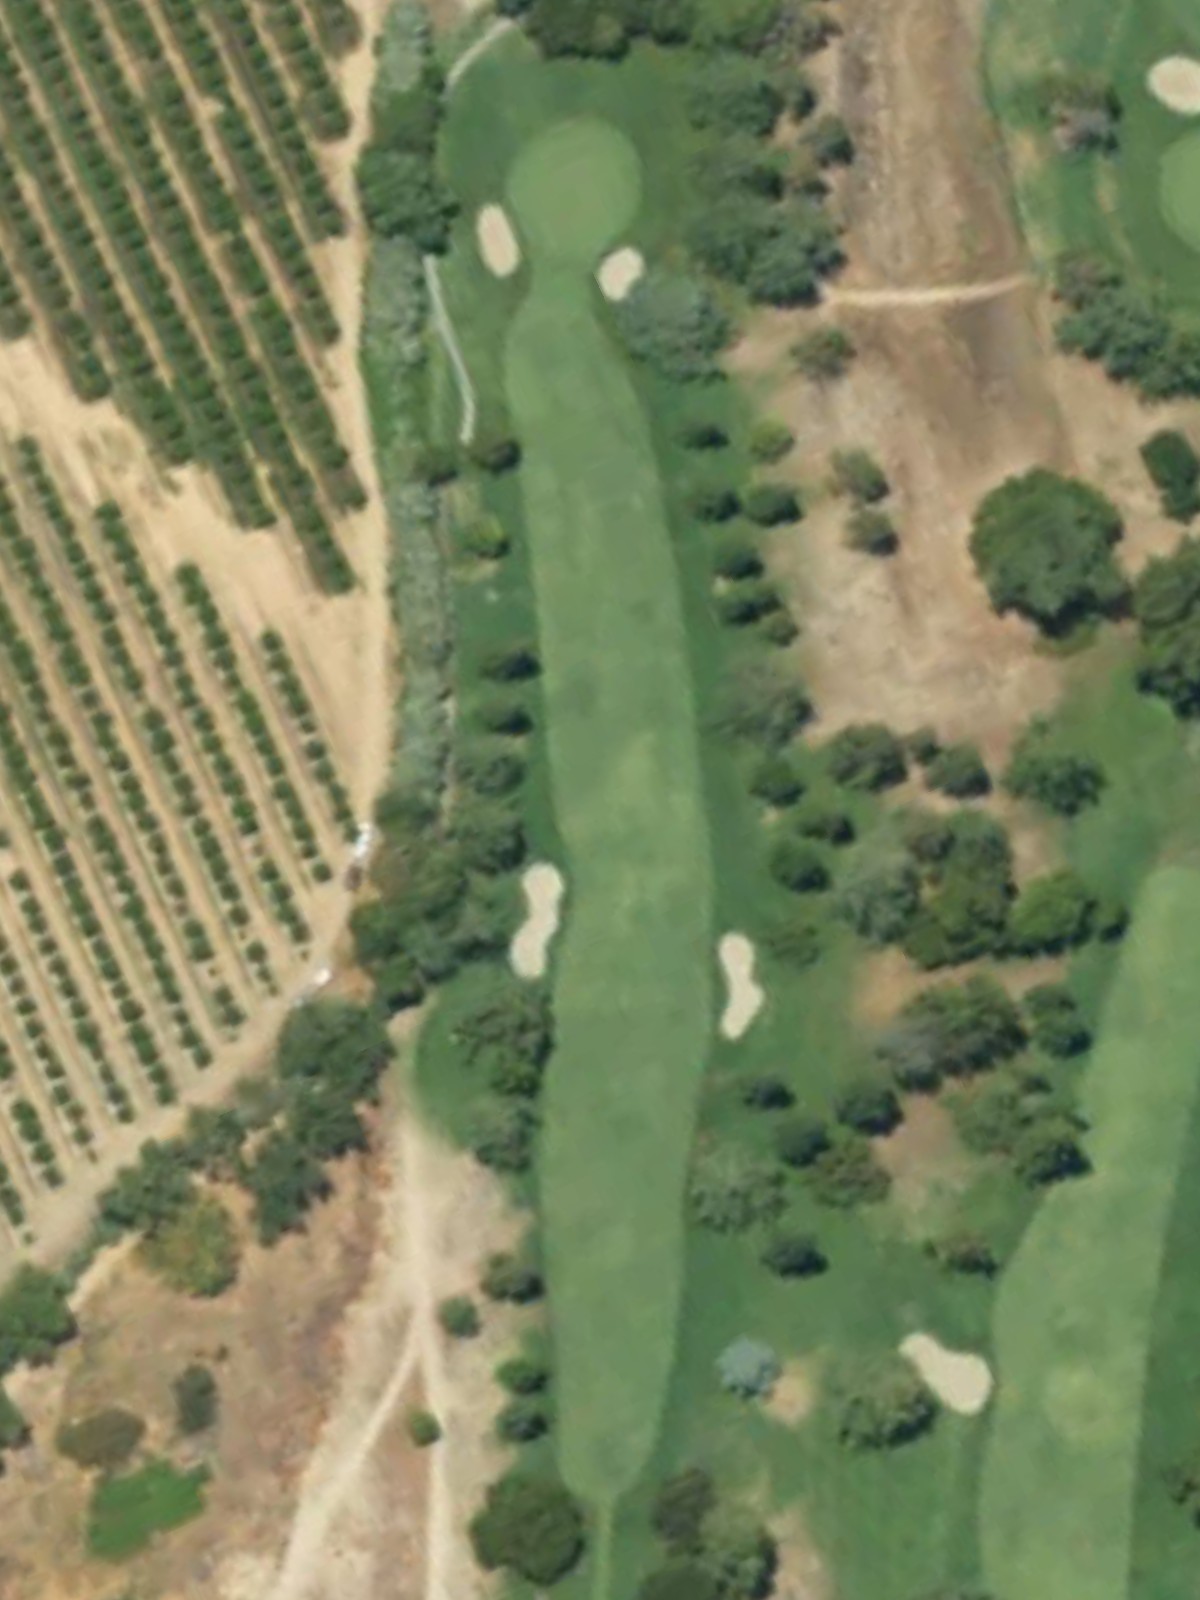
The second-most difficult hole on the course, this par 4 is a stern test of shotmaking. Hazards are placed to reward accuracy and penalize poor execution on both the drive and approach.
A mid-length par 4 that presents a more manageable challenge than some of its neighbors. Strategic hazards still require thoughtful course management to avoid trouble.
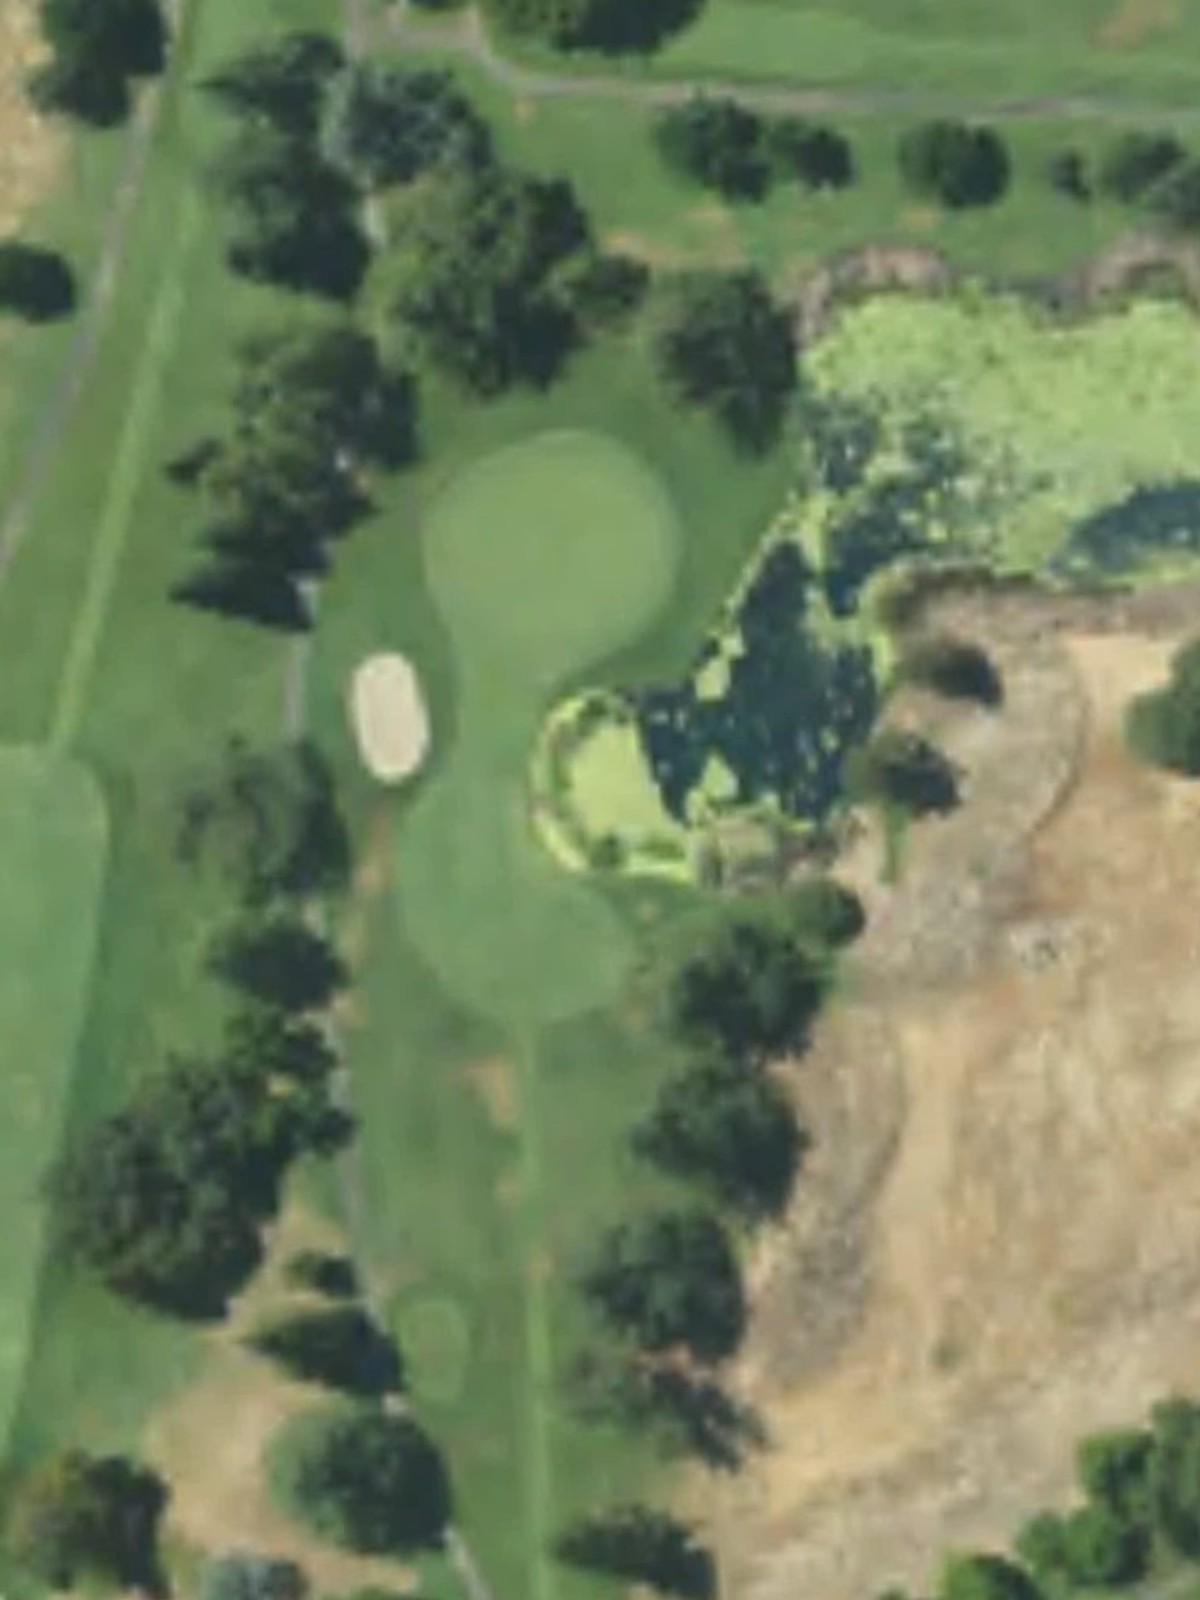
The easiest par 3 on the course, offering a welcome scoring opportunity. The open green complex and minimal hazards make this a favorable spot to post a good score.
A solid par 4 of moderate difficulty with a relatively balanced risk-reward profile. Hazards are present but not overly penal, allowing for aggressive play when conditions and confidence permit.
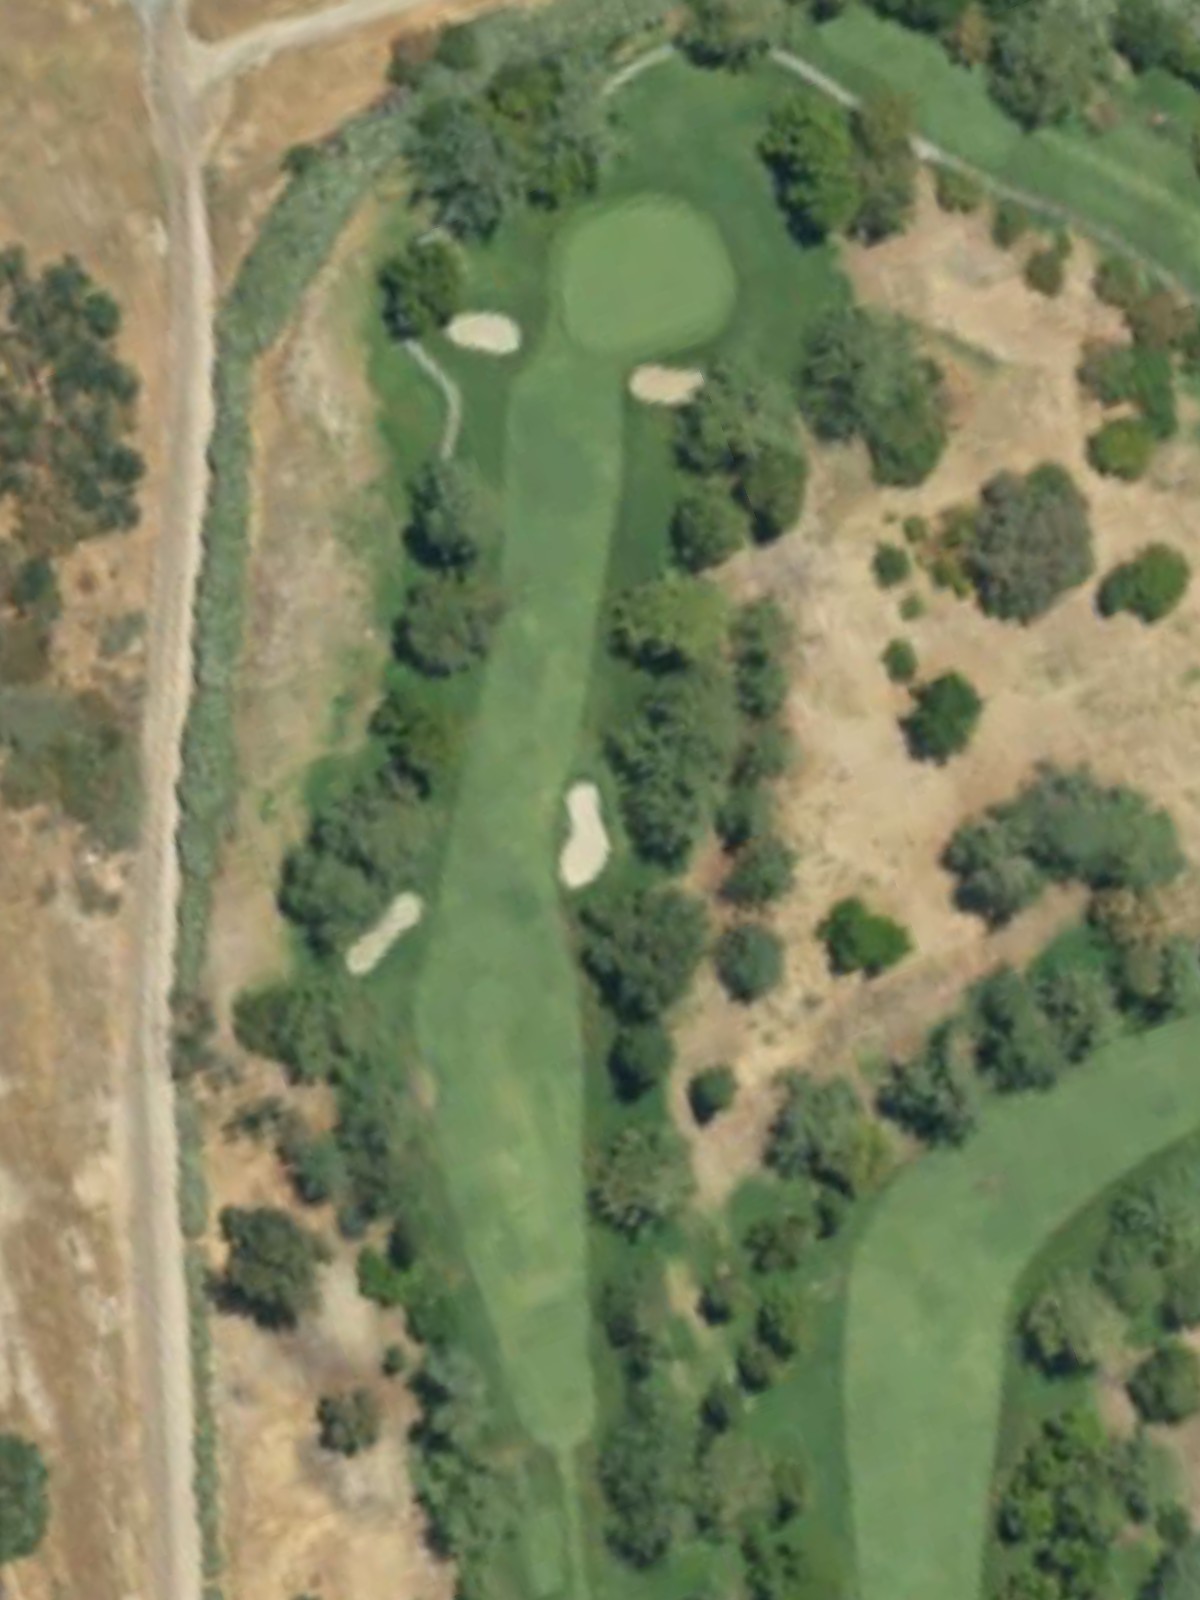
A par 4 that requires steady play and good decision-making throughout. Hazards are strategically positioned to challenge specific shots rather than dominating the entire hole.
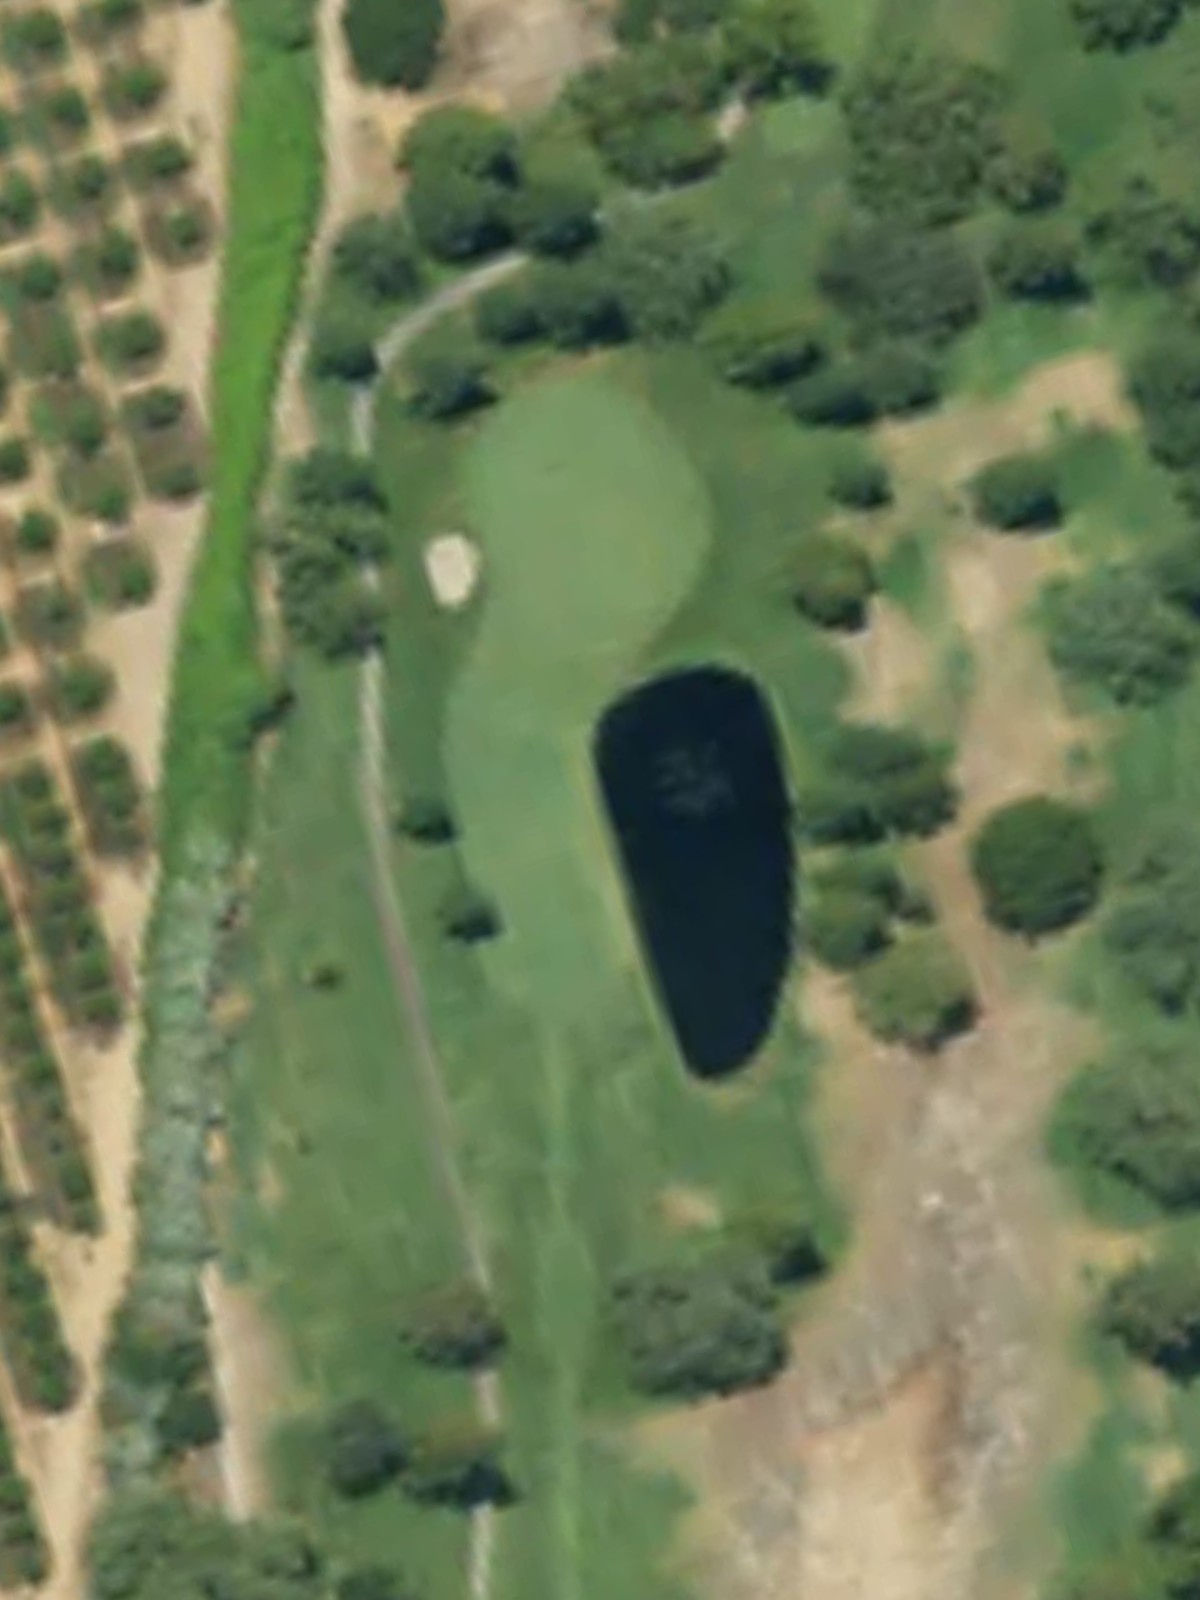
A short par 3 with a compact green surrounded by trouble, demanding accurate aim and proper distance control. The tee shot is the critical moment on this hole.
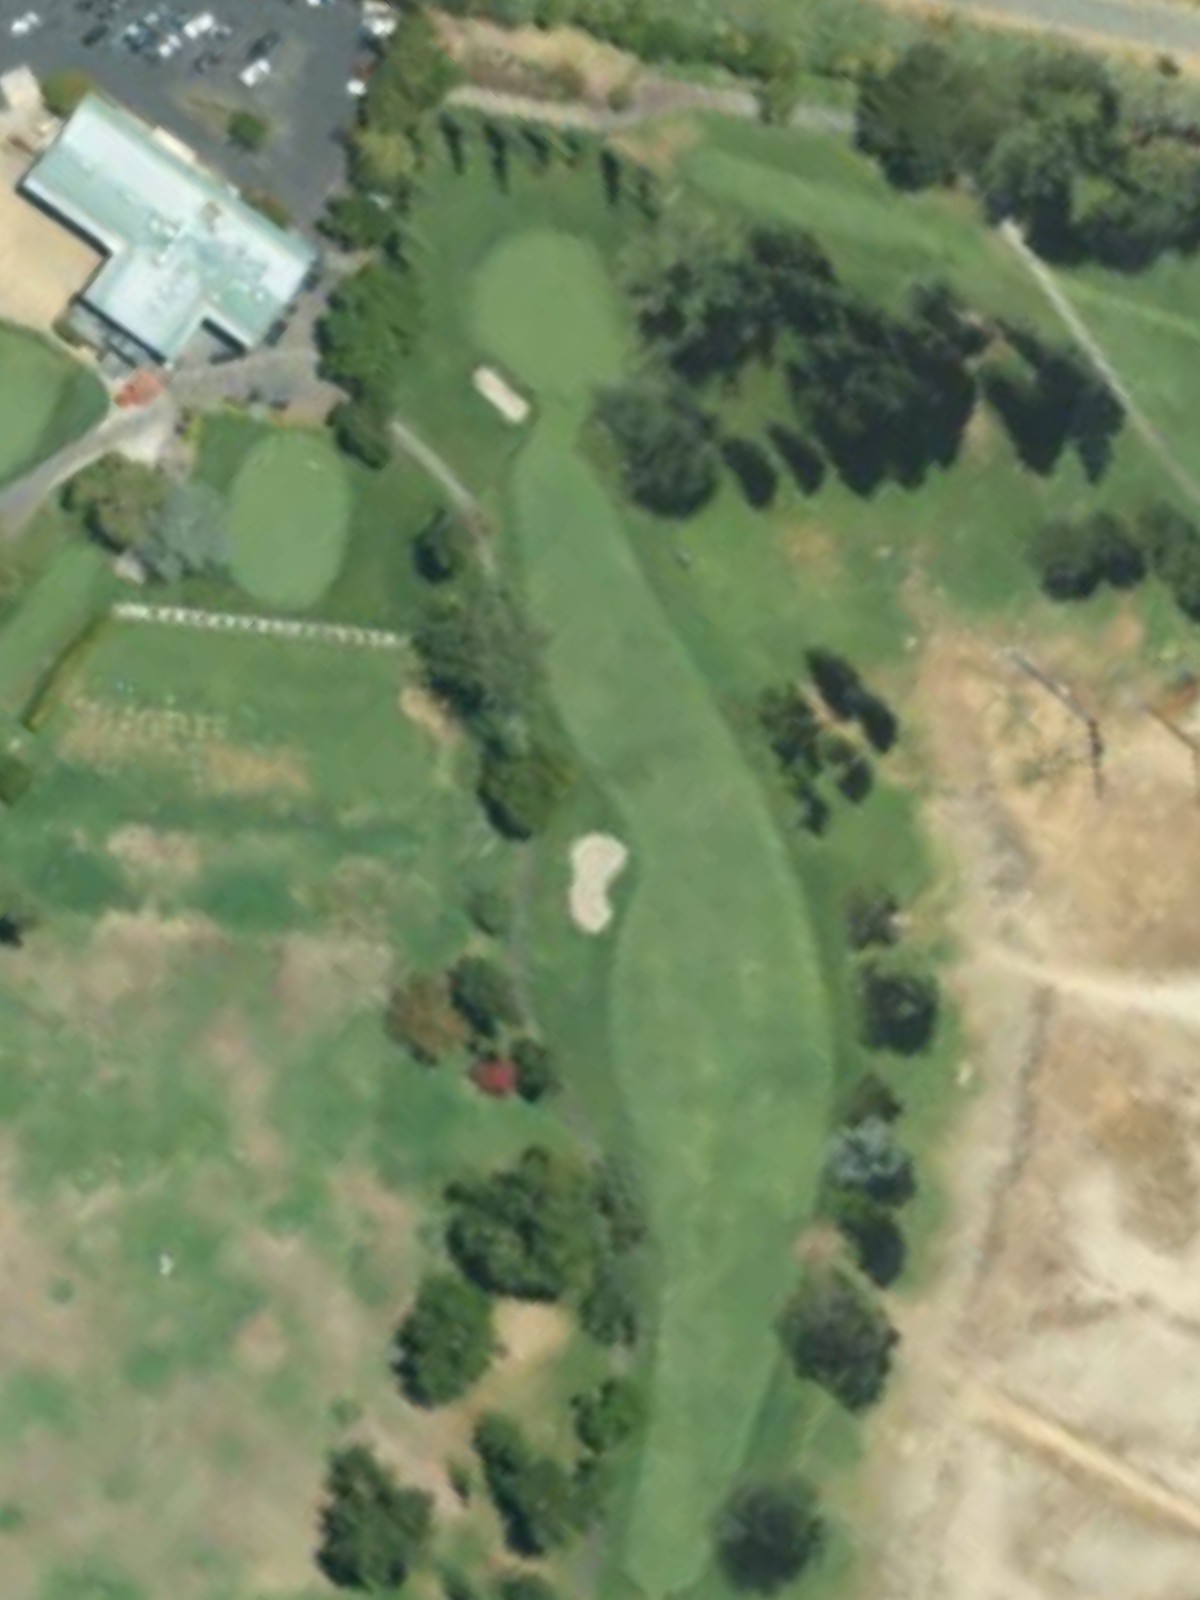
A fitting finishing par 5 that combines length with strategic complexity to test the closing stretch. The hole's design and hazard placement create multiple ways to play it, depending on skill level and course position.
Scorecard
| Hole | 1 | 2 | 3 | 4 | 5 | 6 | 7 | 8 | 9 | Out | 10 | 11 | 12 | 13 | 14 | 15 | 16 | 17 | 18 | In | Tot |
|---|---|---|---|---|---|---|---|---|---|---|---|---|---|---|---|---|---|---|---|---|---|
| Par | 4 | 5 | 3 | 4 | 4 | 5 | 3 | 4 | 4 | 36 | 4 | 5 | 4 | 4 | 3 | 4 | 4 | 3 | 5 | 36 | 72 |
| HCP | 11 | 7 | 17 | 1 | 5 | 3 | 9 | 13 | 15 | 8 | 4 | 2 | 14 | 18 | 10 | 12 | 16 | 6 | |||
| black | 407 | 530 | 173 | 440 | 458 | 503 | 225 | 386 | 358 | 3480 | 371 | 505 | 426 | 390 | 193 | 383 | 412 | 189 | 549 | 3418 | 6898 |
| blue | 401 | 524 | 164 | 433 | 452 | 497 | 219 | 379 | 353 | 3422 | 366 | 497 | 420 | 383 | 188 | 378 | 406 | 184 | 540 | 3362 | 6784 |
| white | 386 | 507 | 155 | 412 | 434 | 479 | 200 | 362 | 338 | 3273 | 351 | 475 | 402 | 363 | 176 | 362 | 387 | 169 | 520 | 3205 | 6478 |
| white/green combo | 370 | 507 | 140 | 338 | 417 | 479 | 144 | 362 | 338 | 3095 | 351 | 475 | 322 | 363 | 176 | 347 | 343 | 154 | 520 | 3051 | 6146 |
| green | 370 | 491 | 140 | 338 | 417 | 462 | 144 | 344 | 324 | 3030 | 337 | 453 | 322 | 343 | 158 | 347 | 343 | 154 | 502 | 2959 | 5989 |
| green/gold combo | 370 | 412 | 133 | 338 | 316 | 462 | 105 | 279 | 324 | 2739 | 337 | 453 | 322 | 343 | 158 | 287 | 343 | 97 | 408 | 2748 | 5487 |
| gold | 257 | 412 | 133 | 338 | 316 | 357 | 105 | 279 | 258 | 2455 | 271 | 366 | 322 | 261 | 158 | 287 | 343 | 97 | 408 | 2513 | 4968 |