Paradise Golf Resort is an 18-hole golf course in Fillmore, UT with a par of 72. It offers 5 tee sets: black (6,304 yards, slope 117, rating 69.4), blue/black (6,030 yards, slope 115, rating 68.1), blue (5,756 yards, slope 112, rating 66.8), white/blue (5,475 yards, slope 110, rating 65.3), white (5,194 yards, slope 107, rating 63.8). The hardest hole is #5, a par 5 playing 515 yards from the first tee.
Paradise Golf Resort
Fillmore, UT
Get PDF Yardage Book
We'll email you the PDF link. No spam, ever.
Create Your Game Plan
Pick your tees, enter your bag, and get a personalized shot-by-shot strategy for every hole.
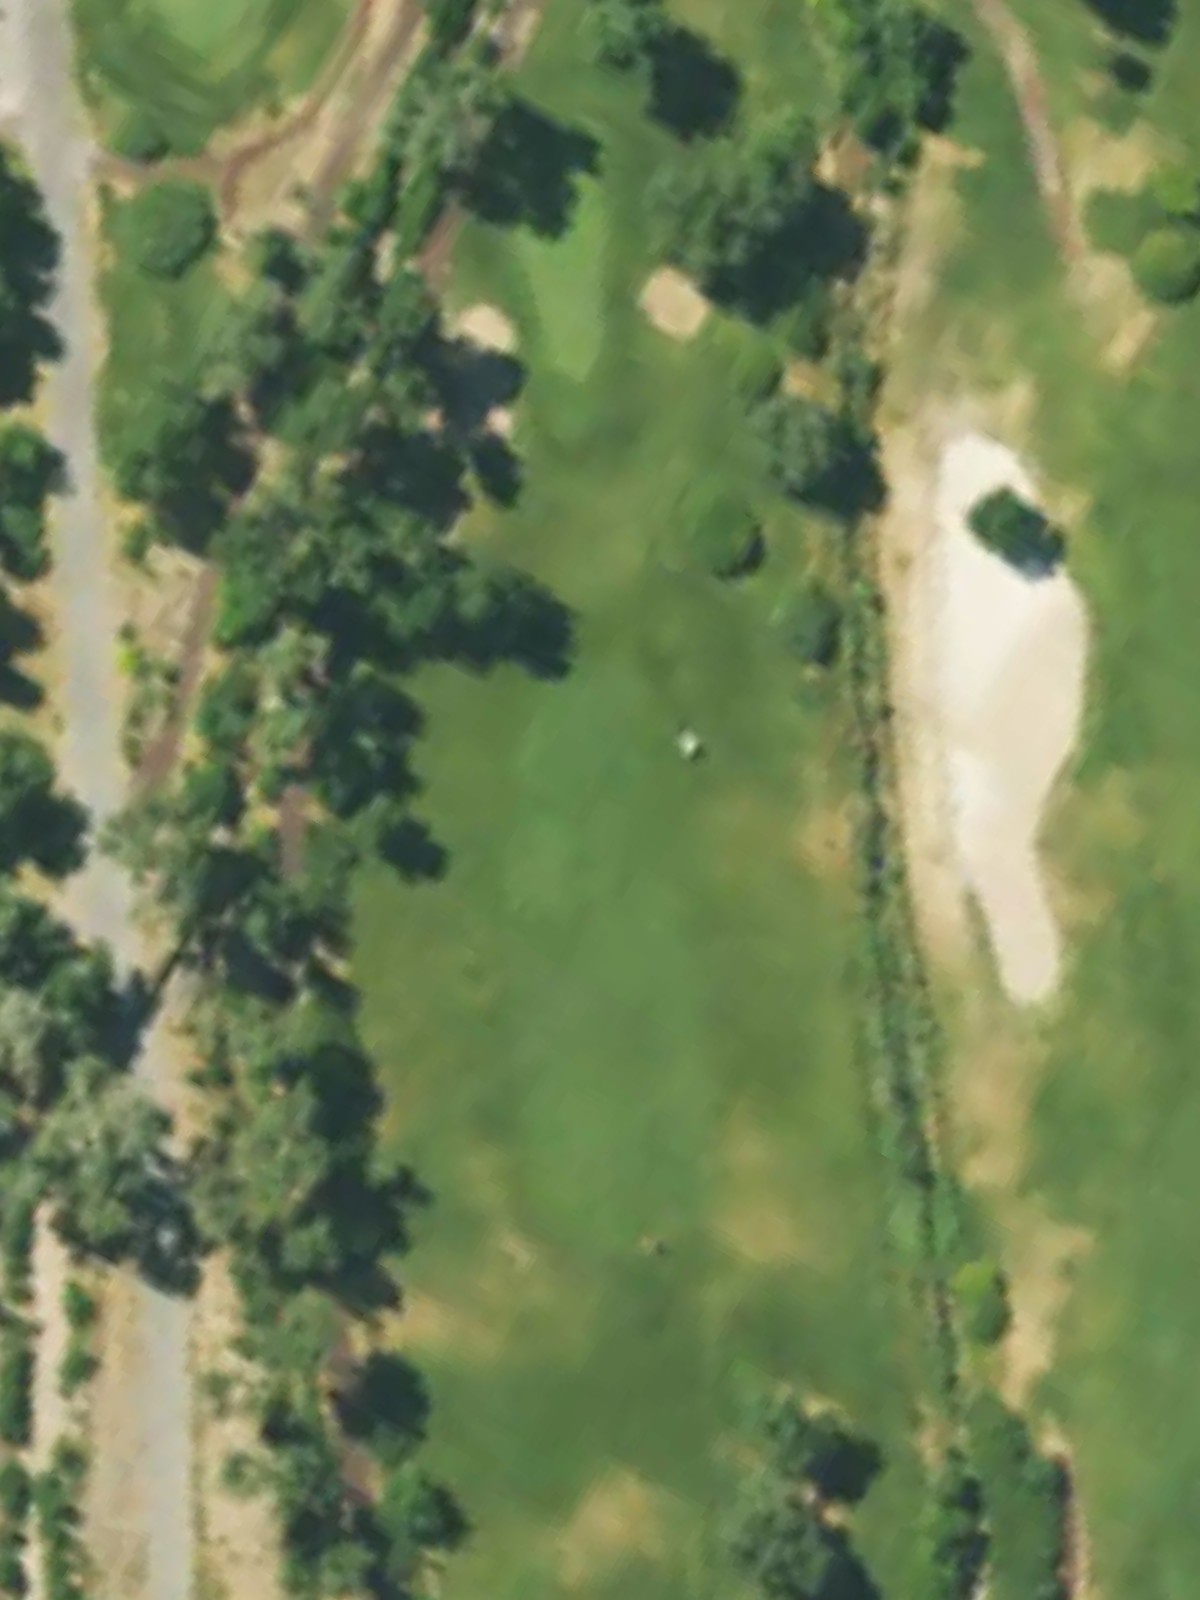
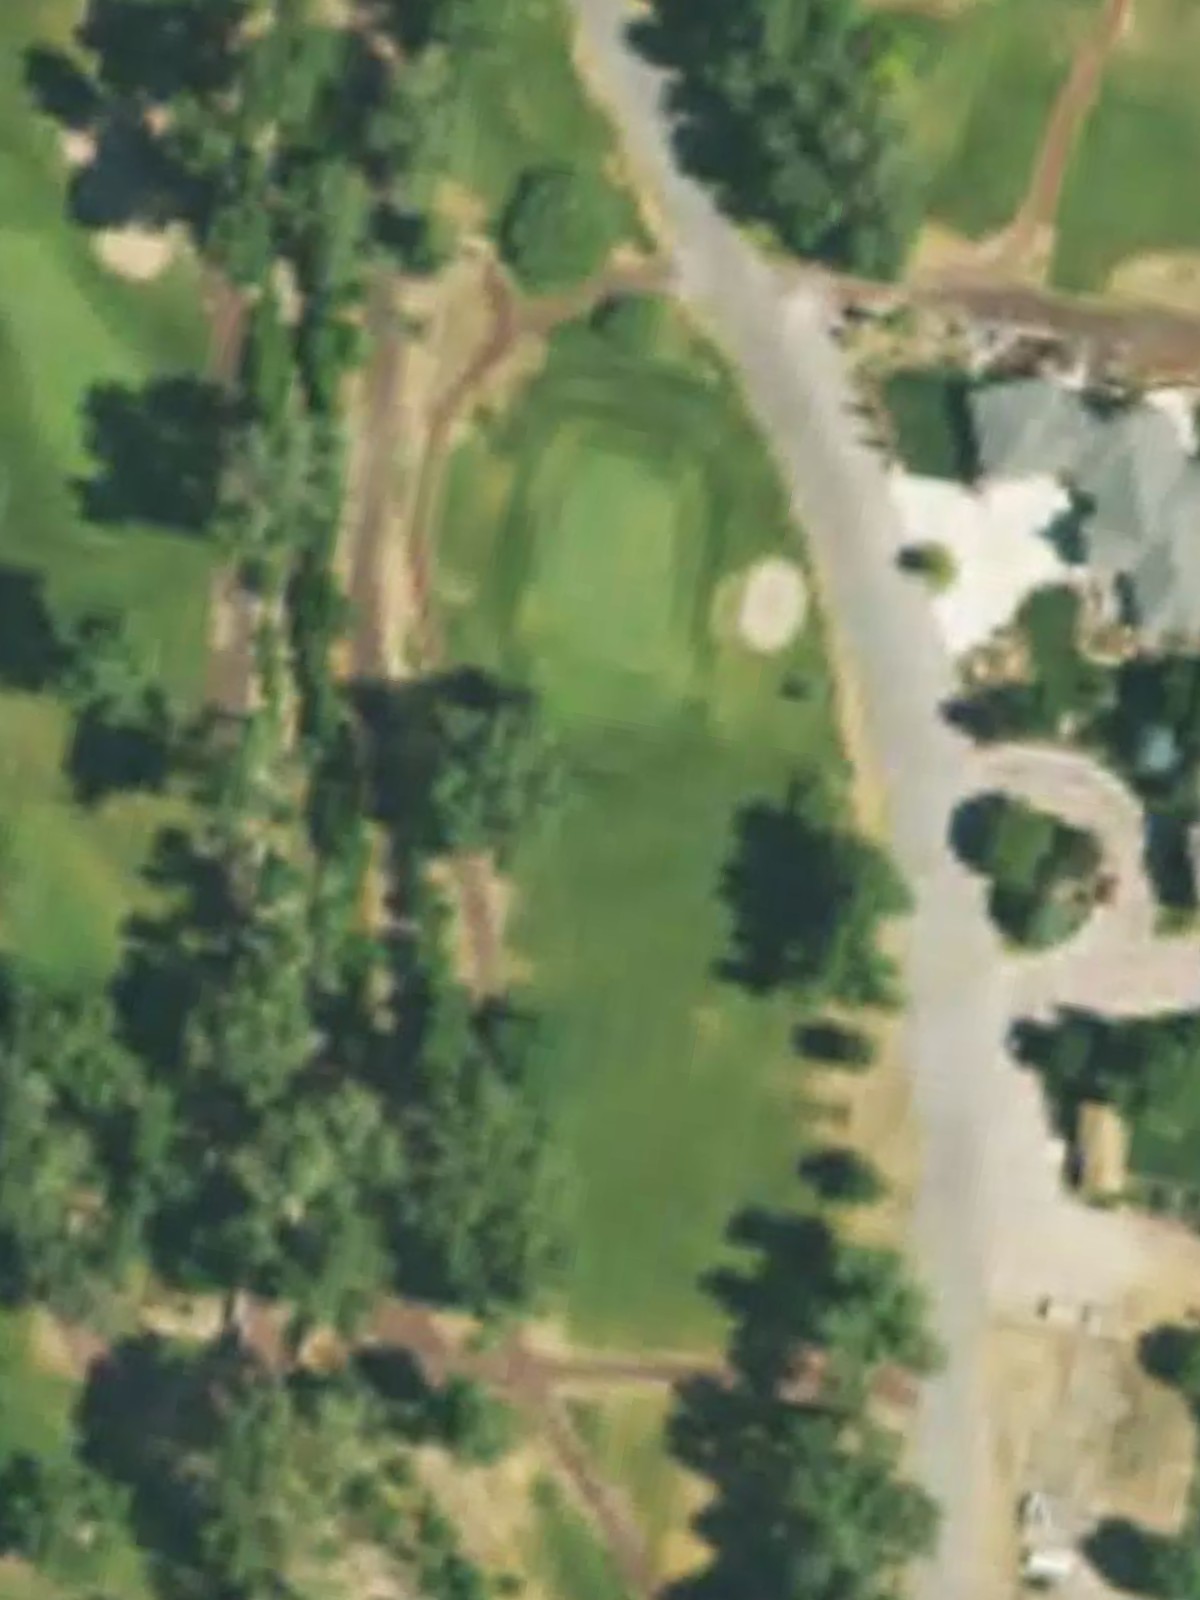
A straightforward par 4 that opens with a wide fairway before narrowing as it approaches the green. Bunkers guard the right side of the green, demanding accuracy on the approach shot to avoid the sand.
A short par 4 with a tight, compact design that rewards position off the tee. The narrow fairway and close hazards make this hole play shorter than its yardage suggests.
A dramatic par 4 and the course's third-hardest hole, featuring a straightforward layout that demands precision throughout. Strategic hazards frame the fairway and green, creating a demanding mid-length test.
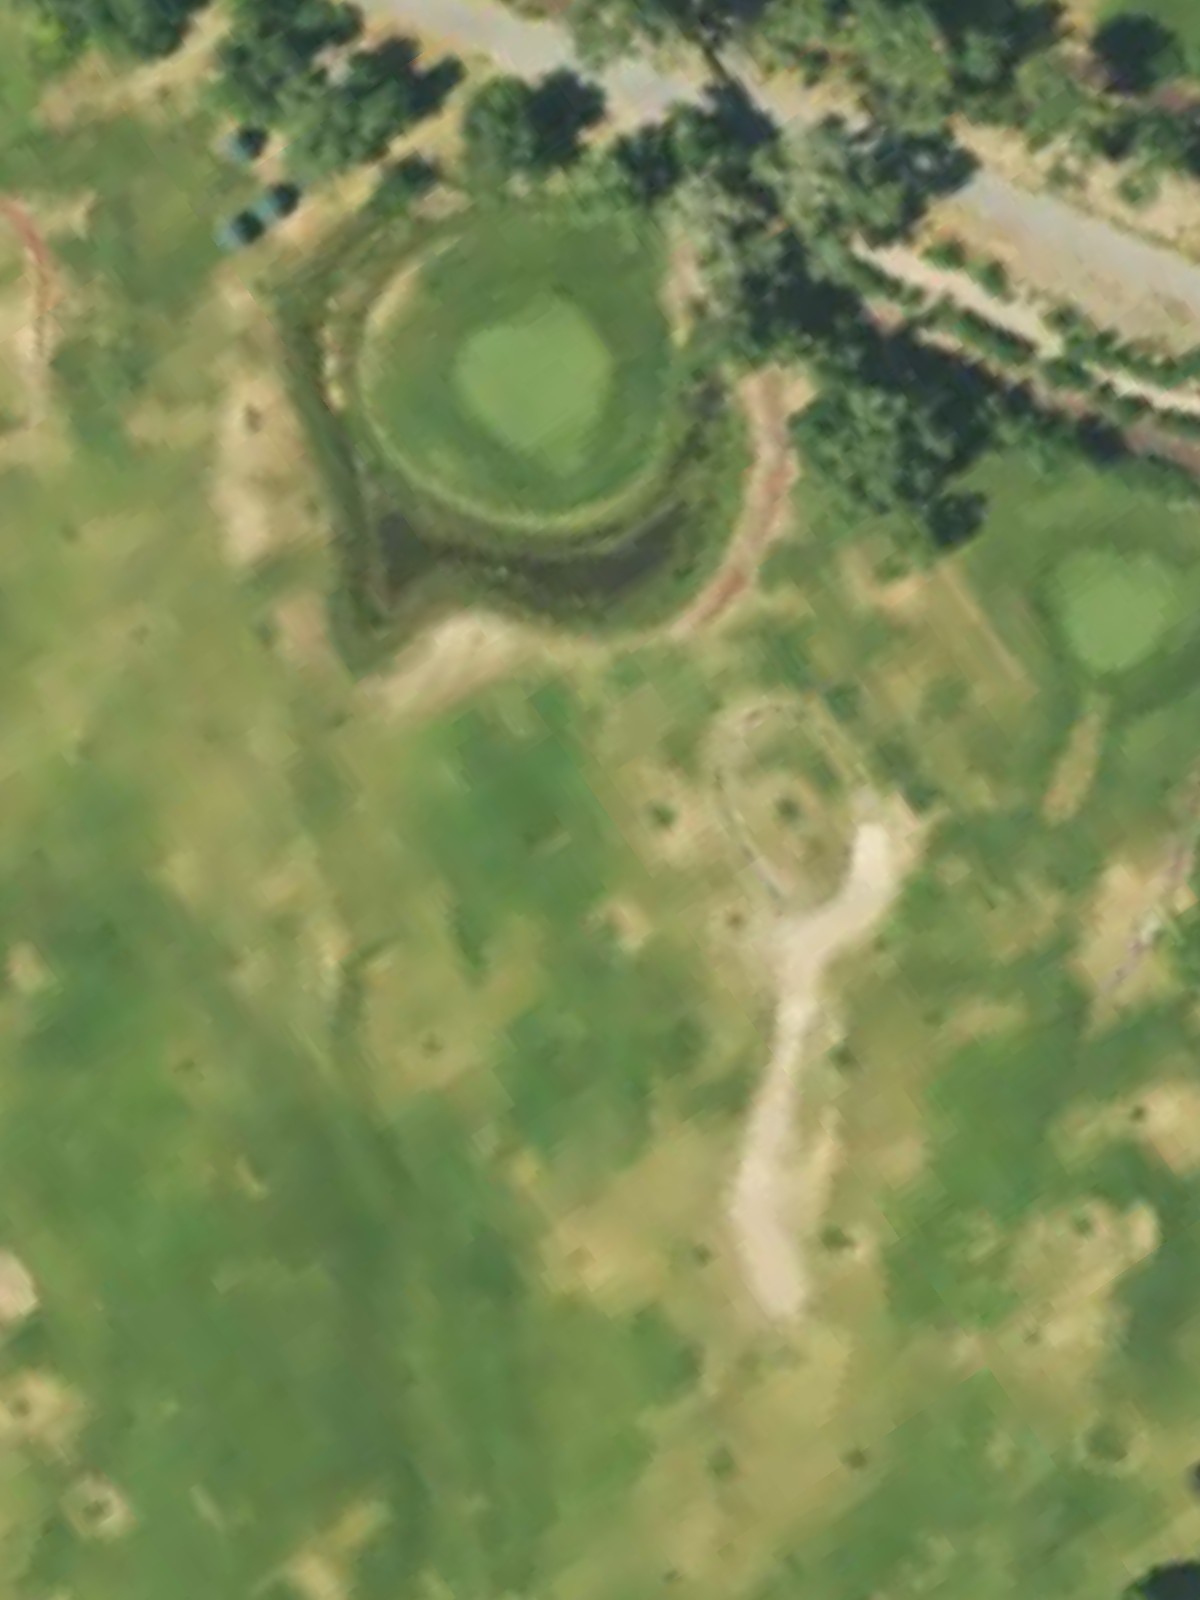
A short par 3 that plays to a receptive green with minimal hazard trouble. This is an inviting opening one-shot hole that allows for an aggressive approach.
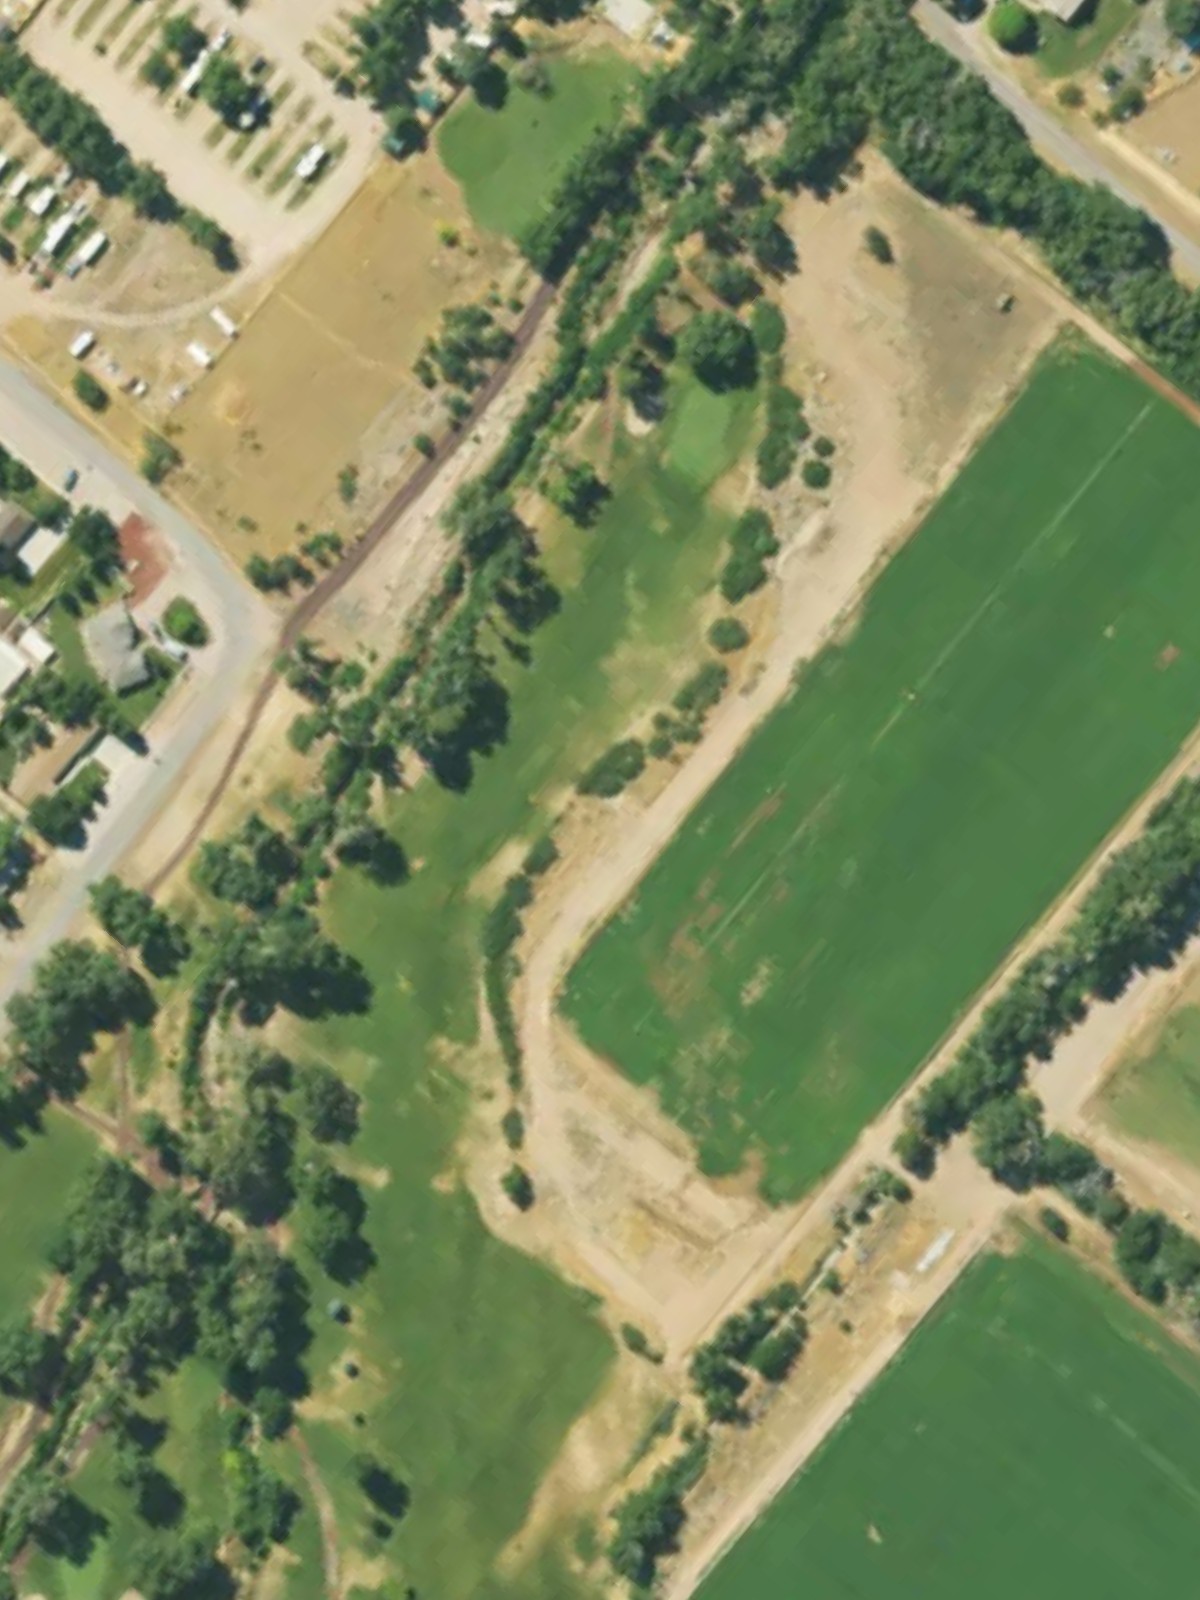
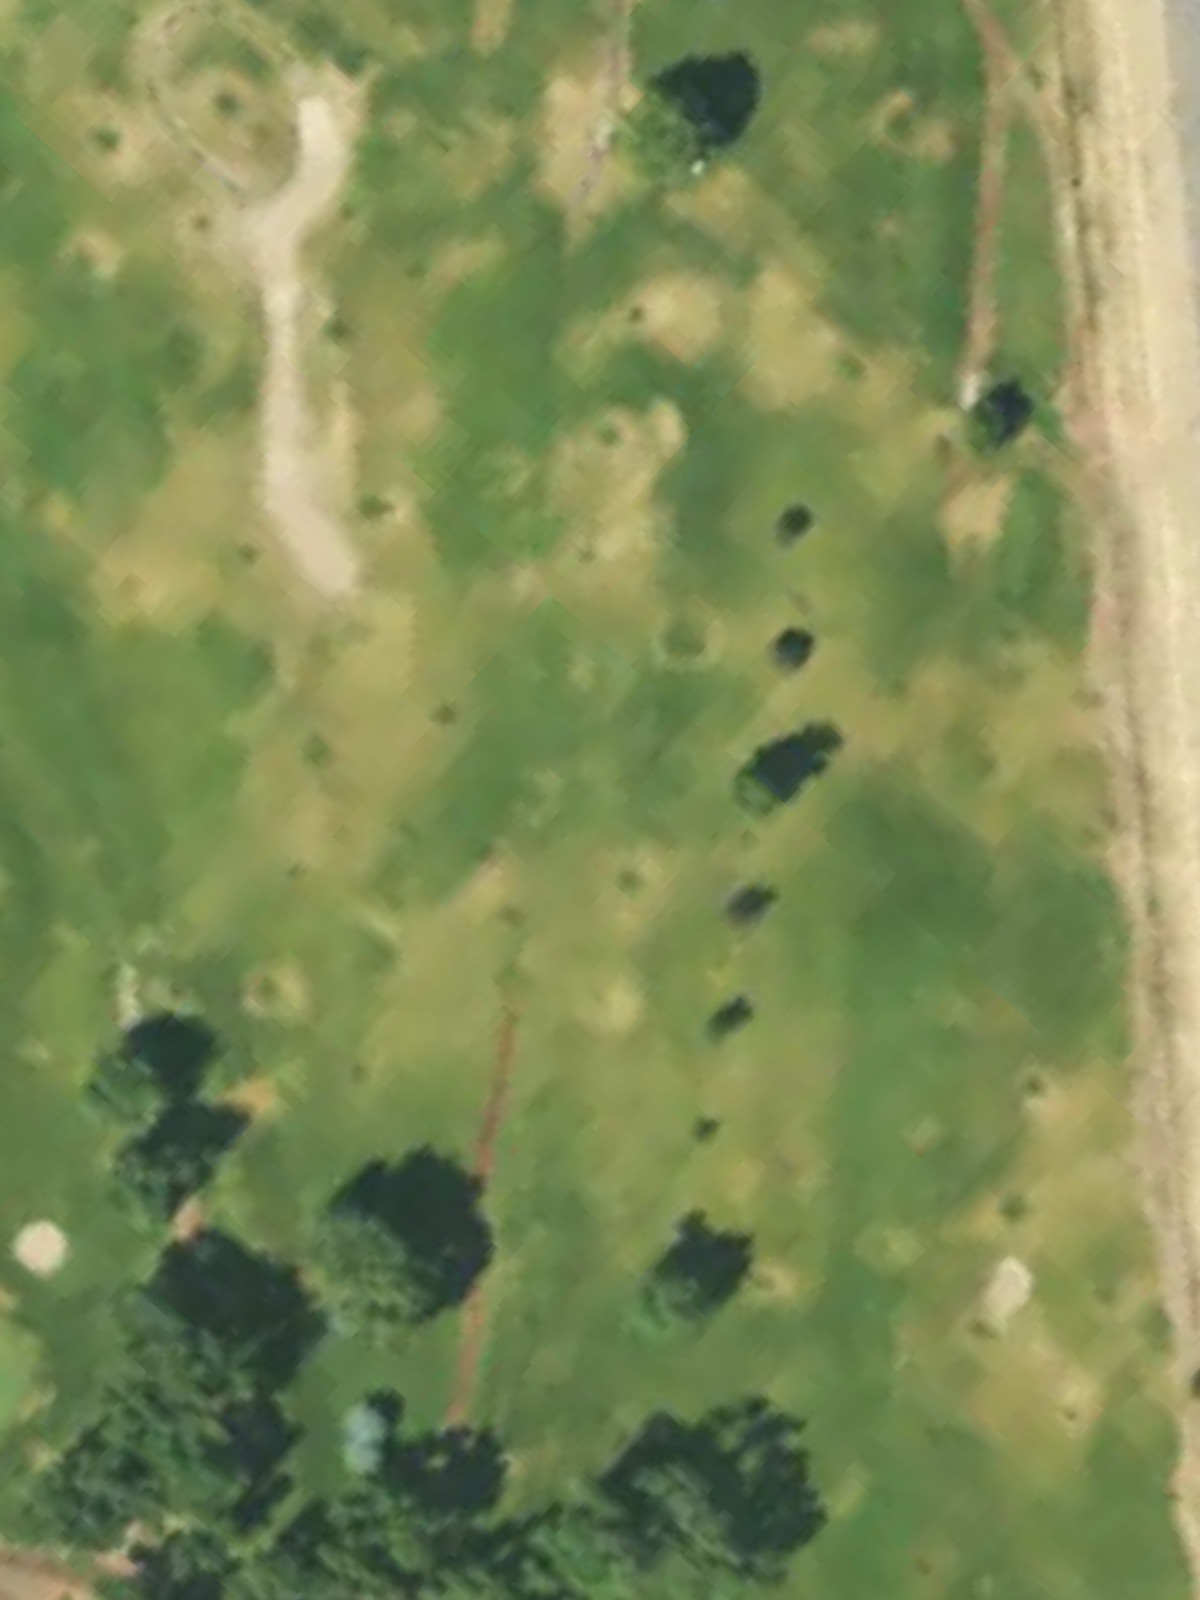
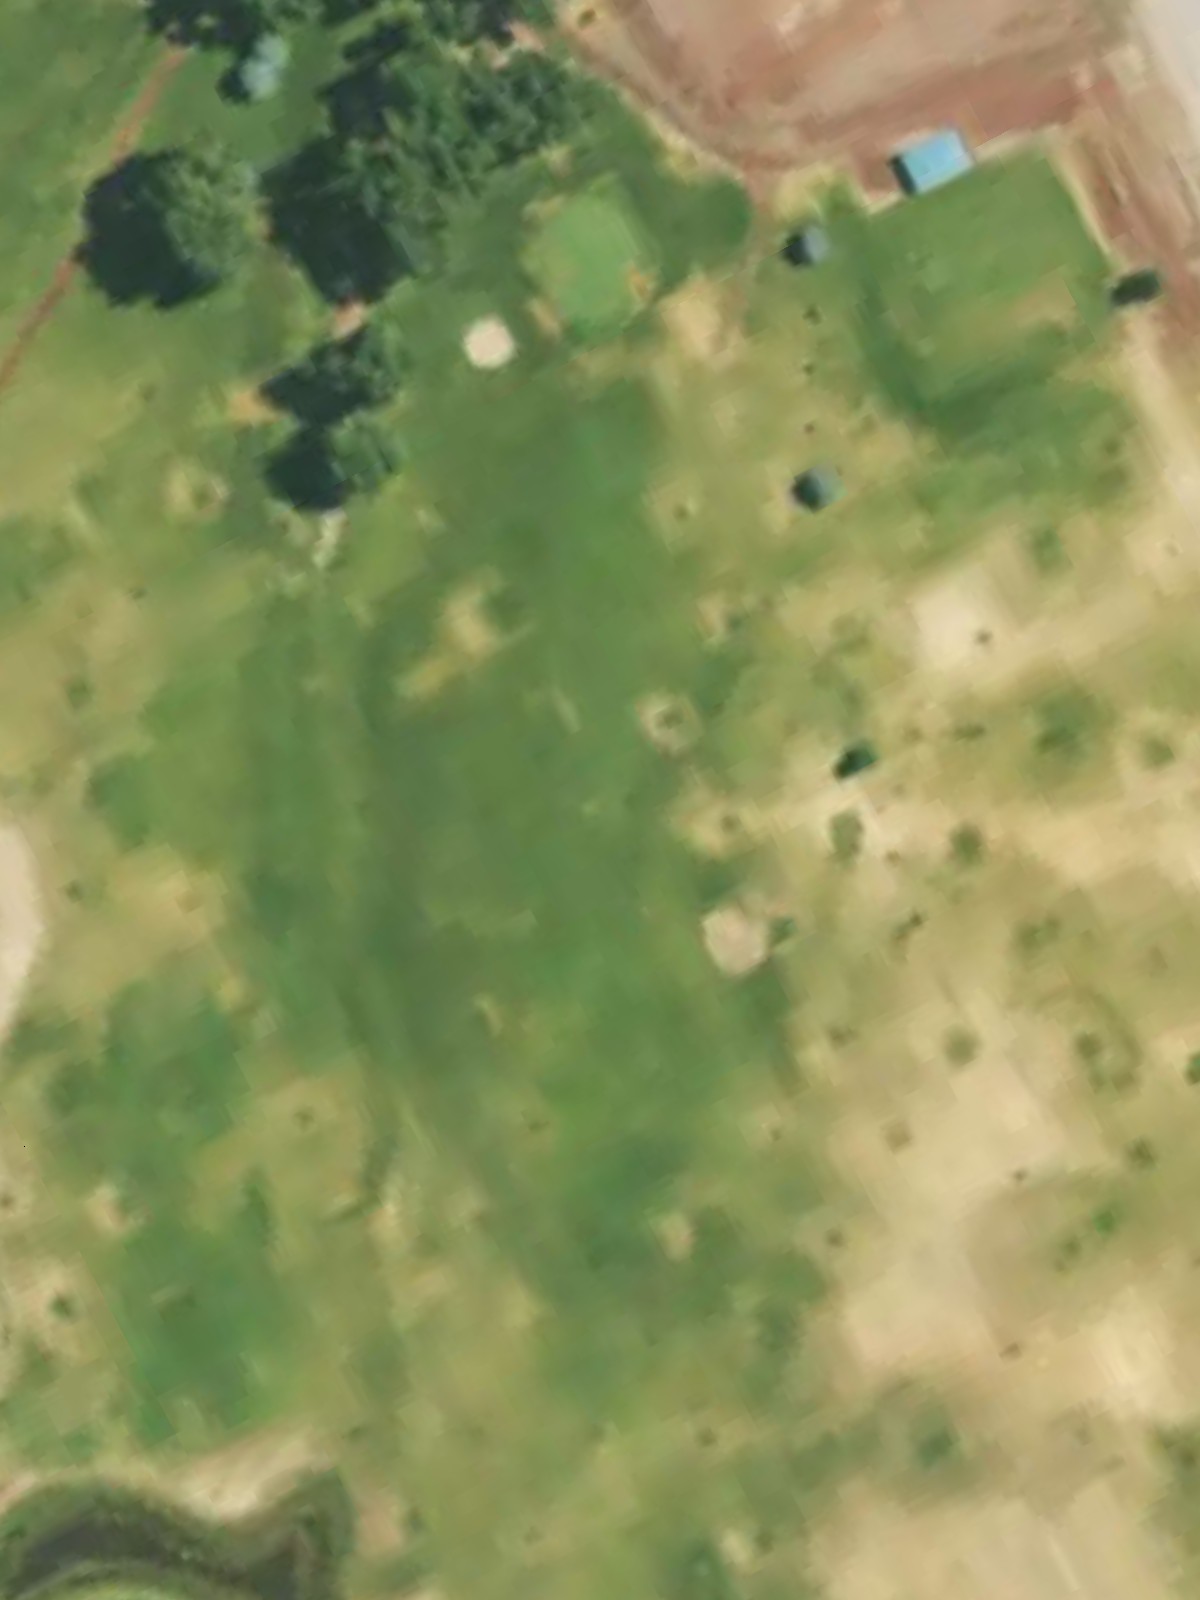
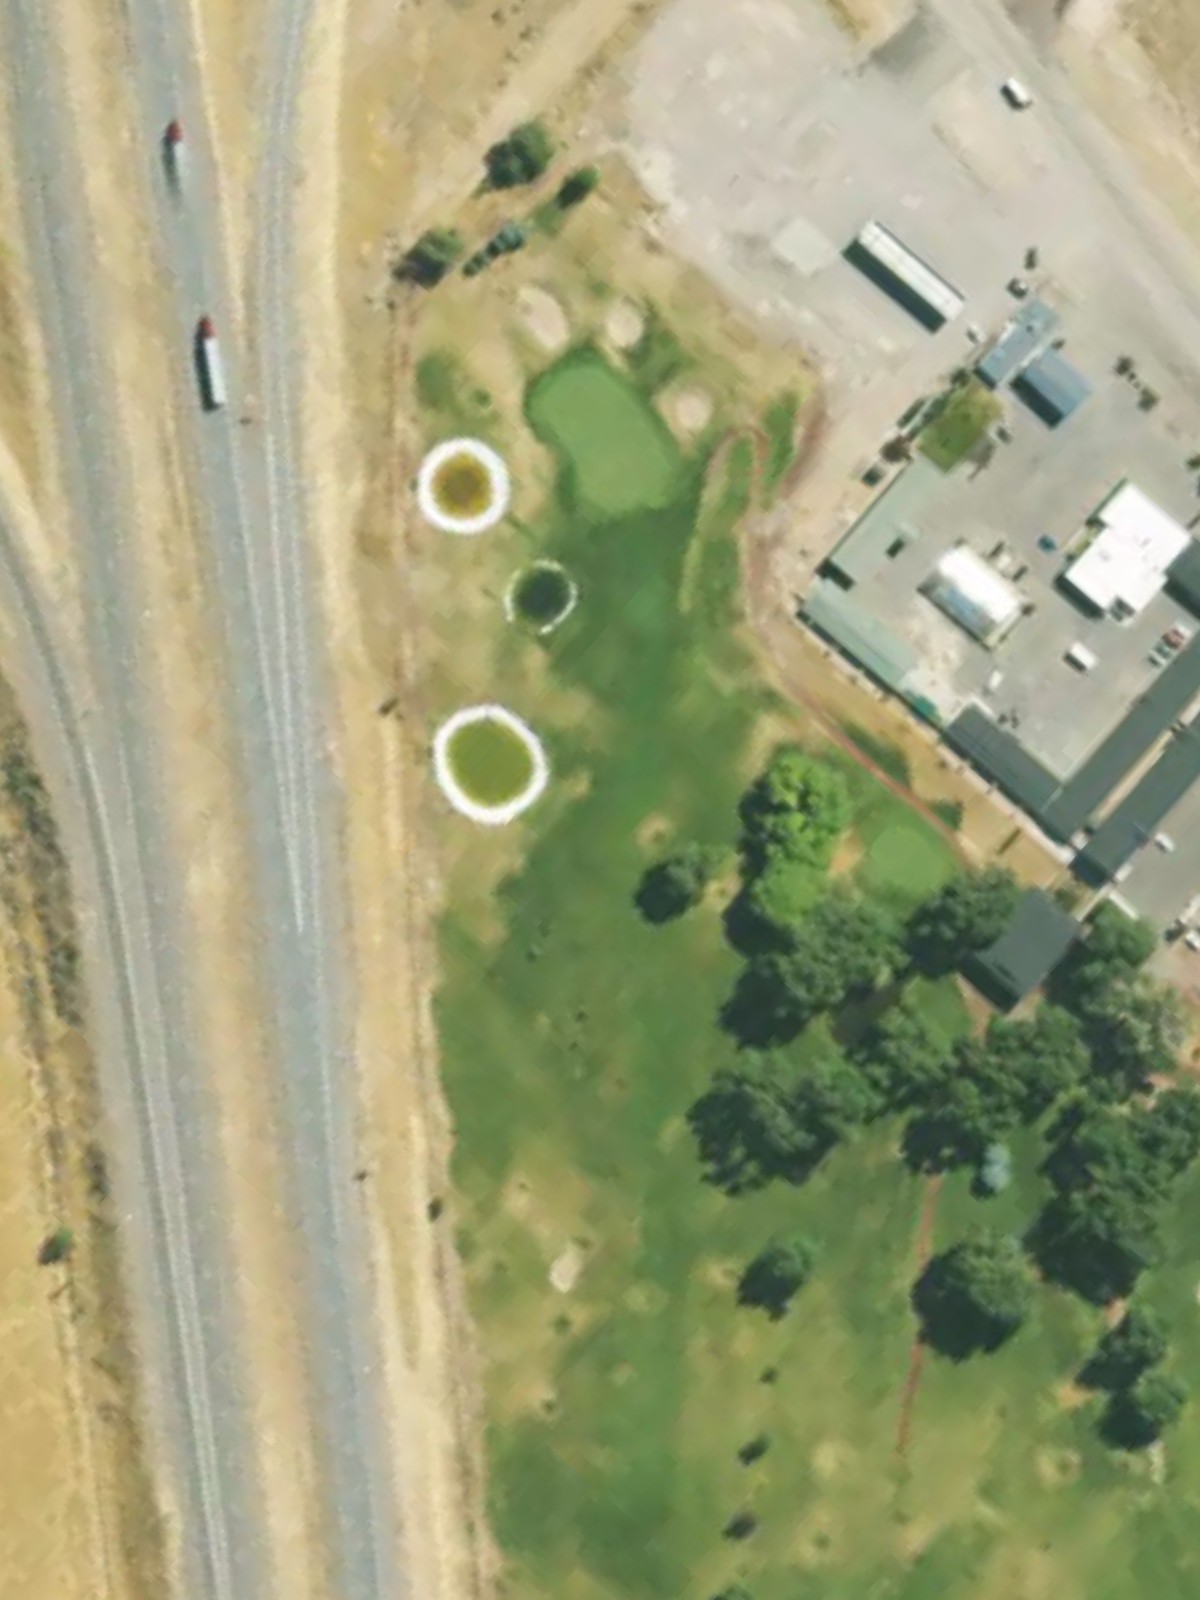
The course's signature par 5 and handicap 1 hole, stretching over 500 yards and presenting a genuine three-shot challenge for most players. Water and bunkering create strategic decision points throughout the hole's length.
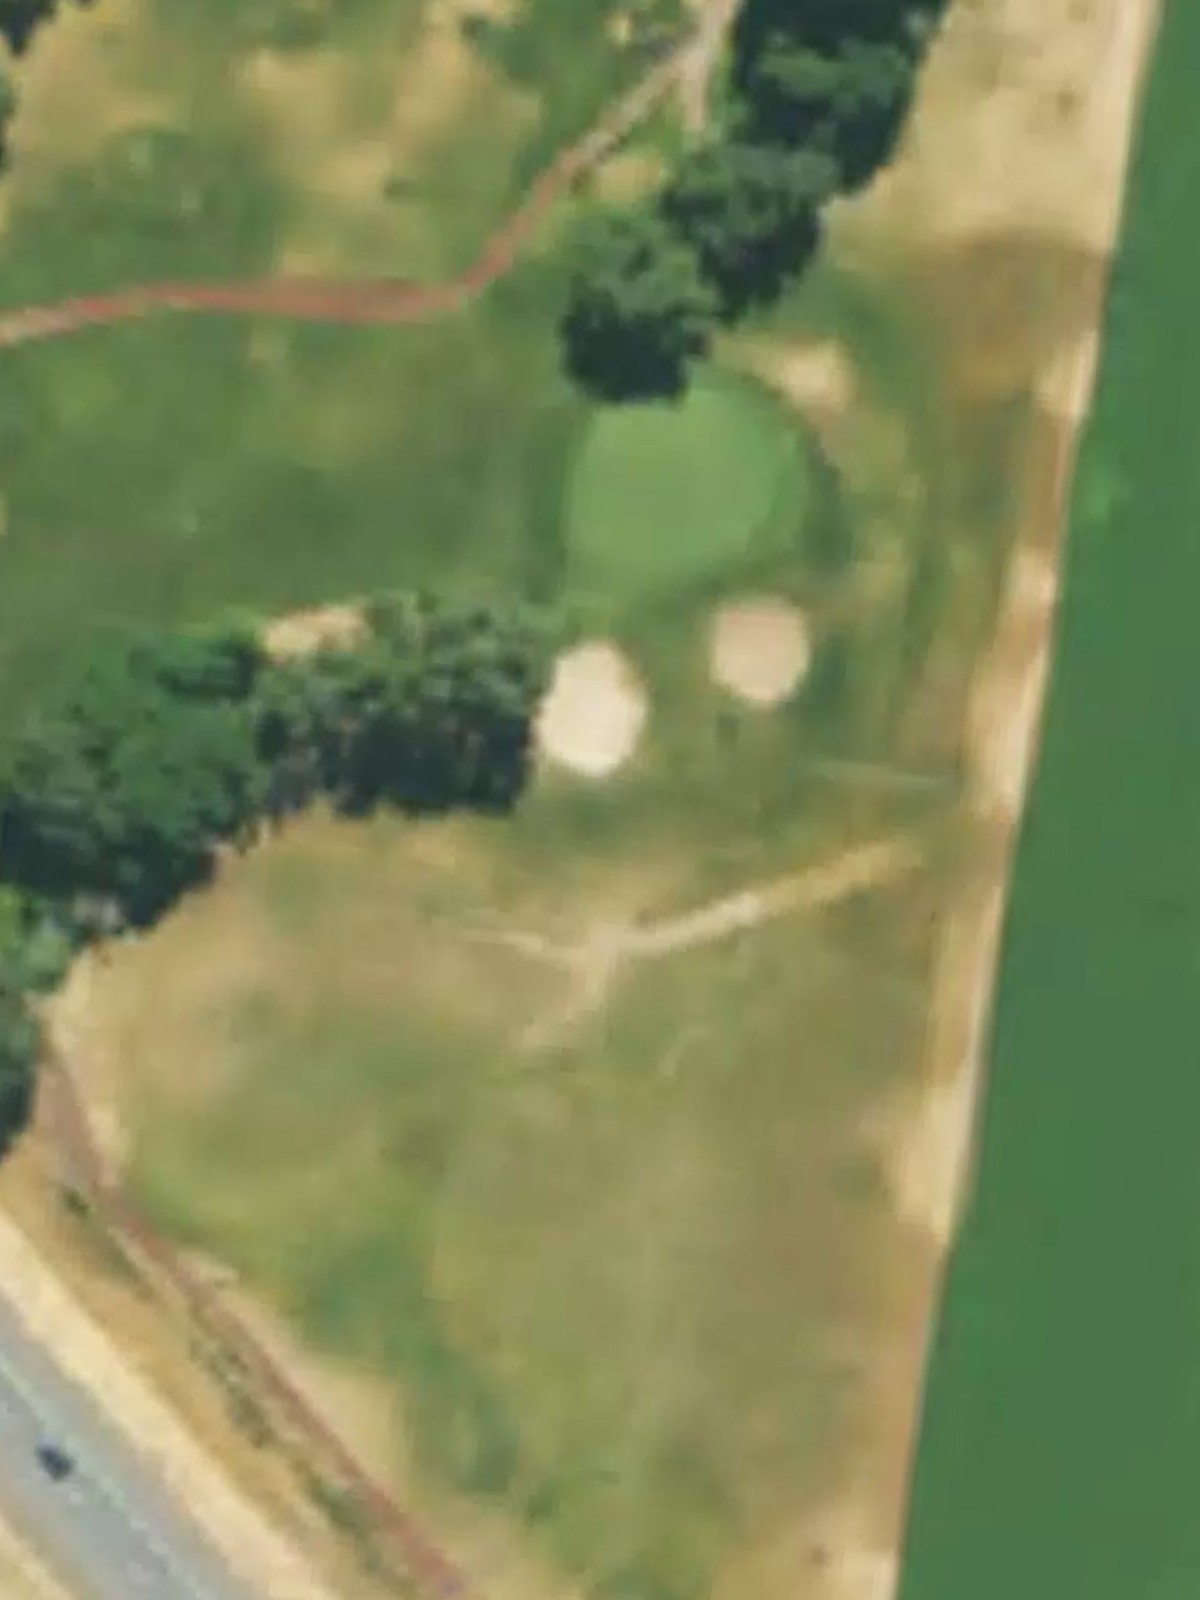
A mid-length par 3 with a well-bunkered green that demands a confident tee shot to reach a narrow target. The surrounding hazards penalize both short and offline approaches.
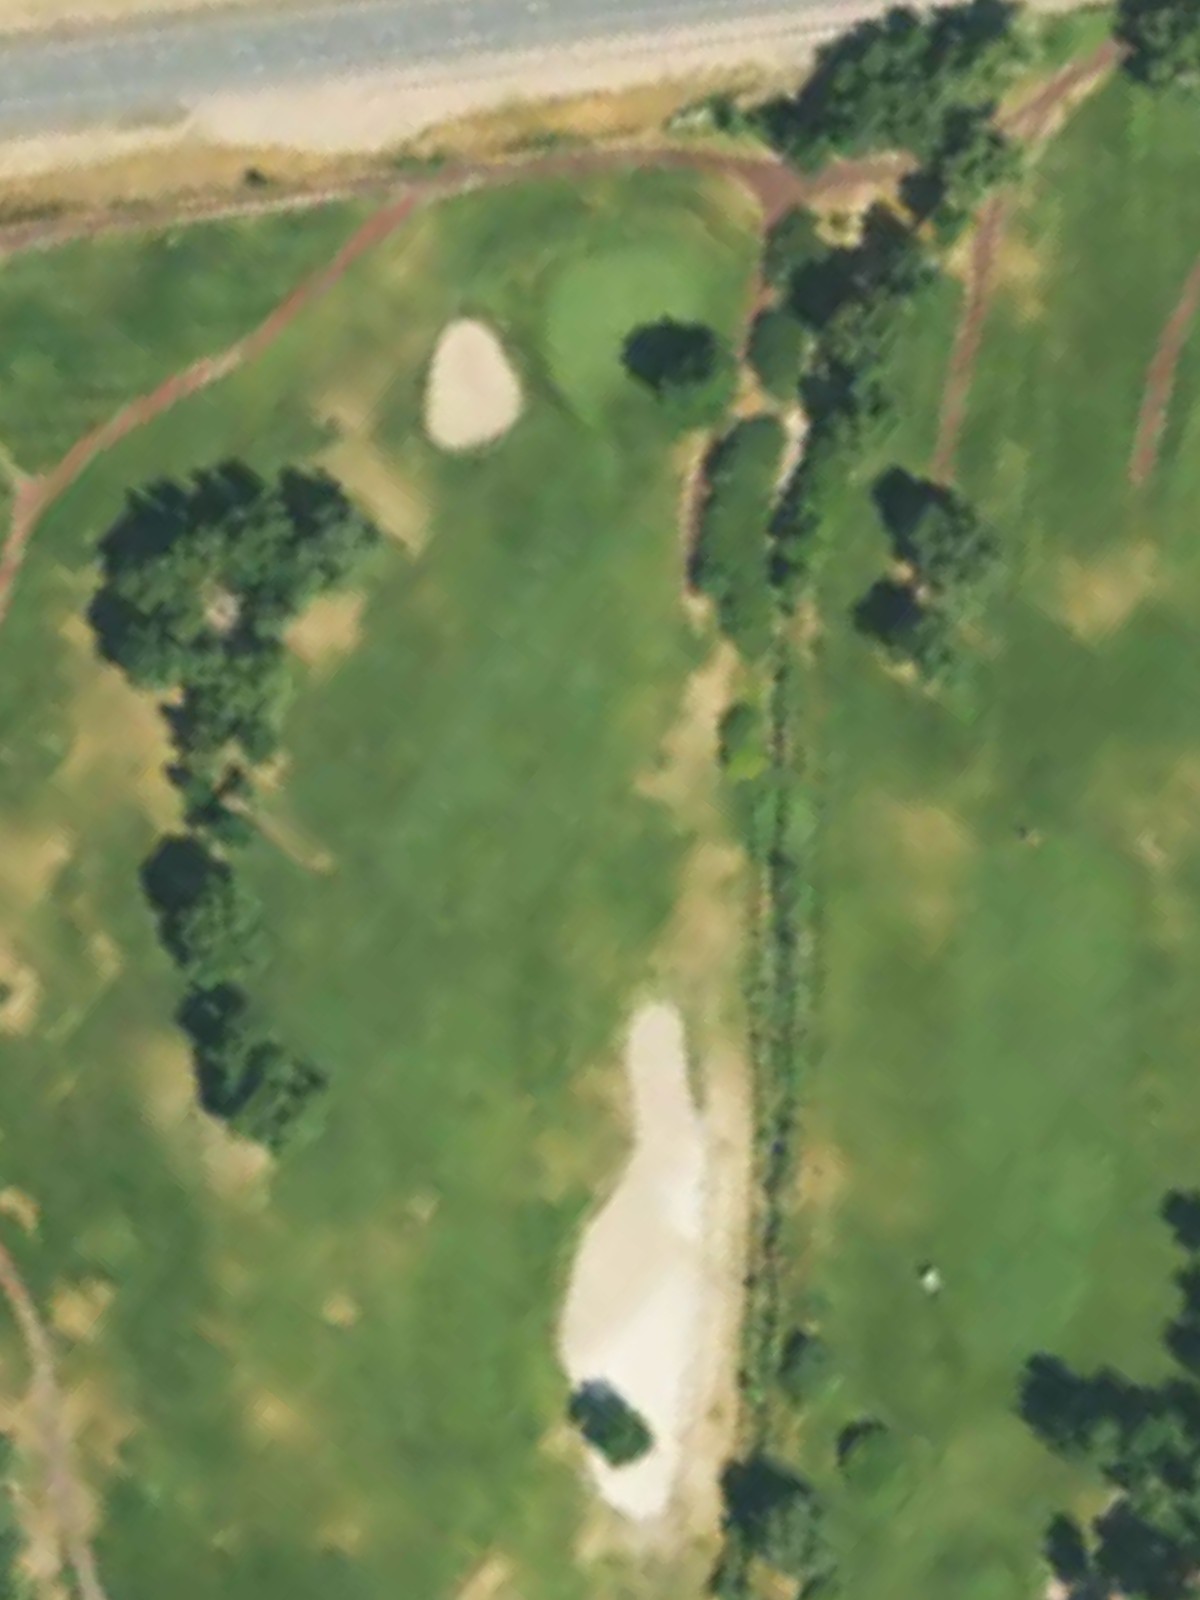
A challenging par 4 that doglegs through a corridor of hazards, requiring both distance and directional control. The green is well-defended, making this a test of complete ball-striking.
A compact par 4 that emphasizes placement over distance, with tight fairways and strategic bunkering. The shorter yardage rewards precision rather than power.
A strong par 5 finishing the front nine, featuring routing that demands intelligent course management and accurate positioning. Hazards are positioned to penalize aggressive lines, making this a pivotal scoring hole.
A solid par 4 returning to the back nine with a fairway that opens before narrowing near the green. Bunkers frame the approach zone, creating a testing mid-length hole.
A short par 4 with a tight footprint similar to hole 2, where positional play and accuracy trump distance. The confined layout creates opportunities for both birdies and quick bogeys.
A severe par 4 and one of the course's most difficult holes, playing as a genuine two-shot test that requires flawless execution. Strategic hazards penalize any wayward play.
A straightforward par 3 with a receptive green and minimal hazard coverage, offering a friendly respite and scoring opportunity within the back nine.
The course's second-hardest par 5 and a formidable finishing sequence test, stretching beyond 500 yards with significant hazards controlling the routing. This is a demanding three-shot hole that defines the closing stretch.
A mid-length par 3 with notable length variation between tees and substantial bunkering around the green. The hazard placement demands a well-struck tee shot to a protected target.
A dynamic par 4 with significant length and routing complexity, featuring strategic hazards that demand both power and precision. The hole's difficulty escalates dramatically from the back tees.
A compact par 4 that emphasizes placement and control over pure distance, with tight fairways and close-quarters green defense. The shorter yardage makes this a birdie opportunity despite its hazards.
A strong par 5 closer that balances length with strategic hazard placement, creating a fitting final test that rewards both aggressive and conservative play depending on position. The finishing hole demands complete control over three shots.
Scorecard
| Hole | 1 | 2 | 3 | 4 | 5 | 6 | 7 | 8 | 9 | Out | 10 | 11 | 12 | 13 | 14 | 15 | 16 | 17 | 18 | In | Tot |
|---|---|---|---|---|---|---|---|---|---|---|---|---|---|---|---|---|---|---|---|---|---|
| Par | 4 | 4 | 4 | 3 | 5 | 3 | 4 | 4 | 5 | 36 | 4 | 4 | 4 | 3 | 5 | 3 | 4 | 4 | 5 | 36 | 72 |
| HCP | 11 | 13 | 3 | 17 | 1 | 15 | 7 | 9 | 5 | 12 | 14 | 4 | 18 | 2 | 16 | 8 | 10 | 6 | |||
| black | 366 | 288 | 344 | 162 | 542 | 204 | 407 | 325 | 514 | 3152 | 366 | 288 | 344 | 162 | 542 | 204 | 407 | 325 | 514 | 3152 | 6304 |
| blue/black | 339 | 265 | 324 | 145 | 515 | 157 | 360 | 295 | 478 | 2878 | 366 | 288 | 344 | 162 | 542 | 204 | 407 | 325 | 514 | 3152 | 6030 |
| blue | 339 | 265 | 324 | 145 | 515 | 157 | 360 | 295 | 478 | 2878 | 339 | 265 | 324 | 145 | 515 | 157 | 360 | 295 | 478 | 2878 | 5756 |
| white/blue | 308 | 230 | 289 | 126 | 487 | 145 | 310 | 265 | 437 | 2597 | 339 | 265 | 324 | 145 | 515 | 157 | 360 | 295 | 478 | 2878 | 5475 |
| white | 308 | 230 | 289 | 126 | 487 | 145 | 310 | 265 | 437 | 2597 | 308 | 230 | 289 | 126 | 487 | 145 | 310 | 265 | 437 | 2597 | 5194 |