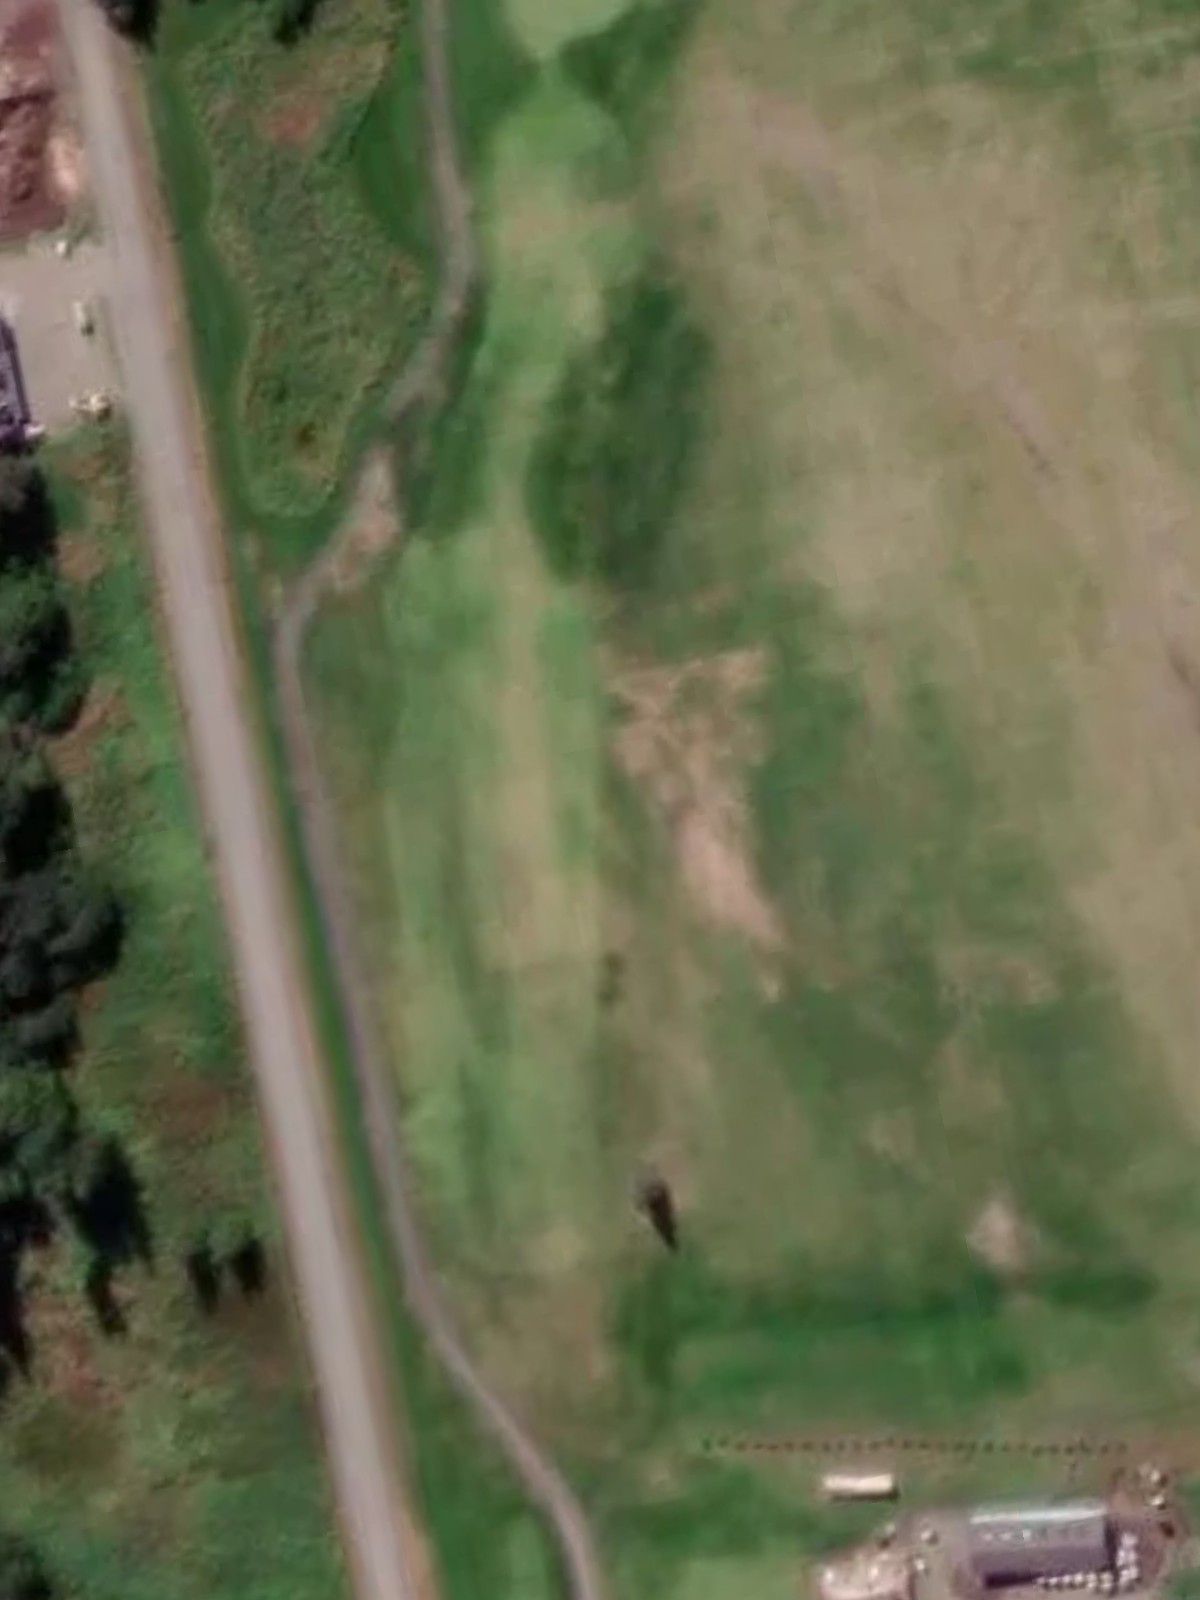
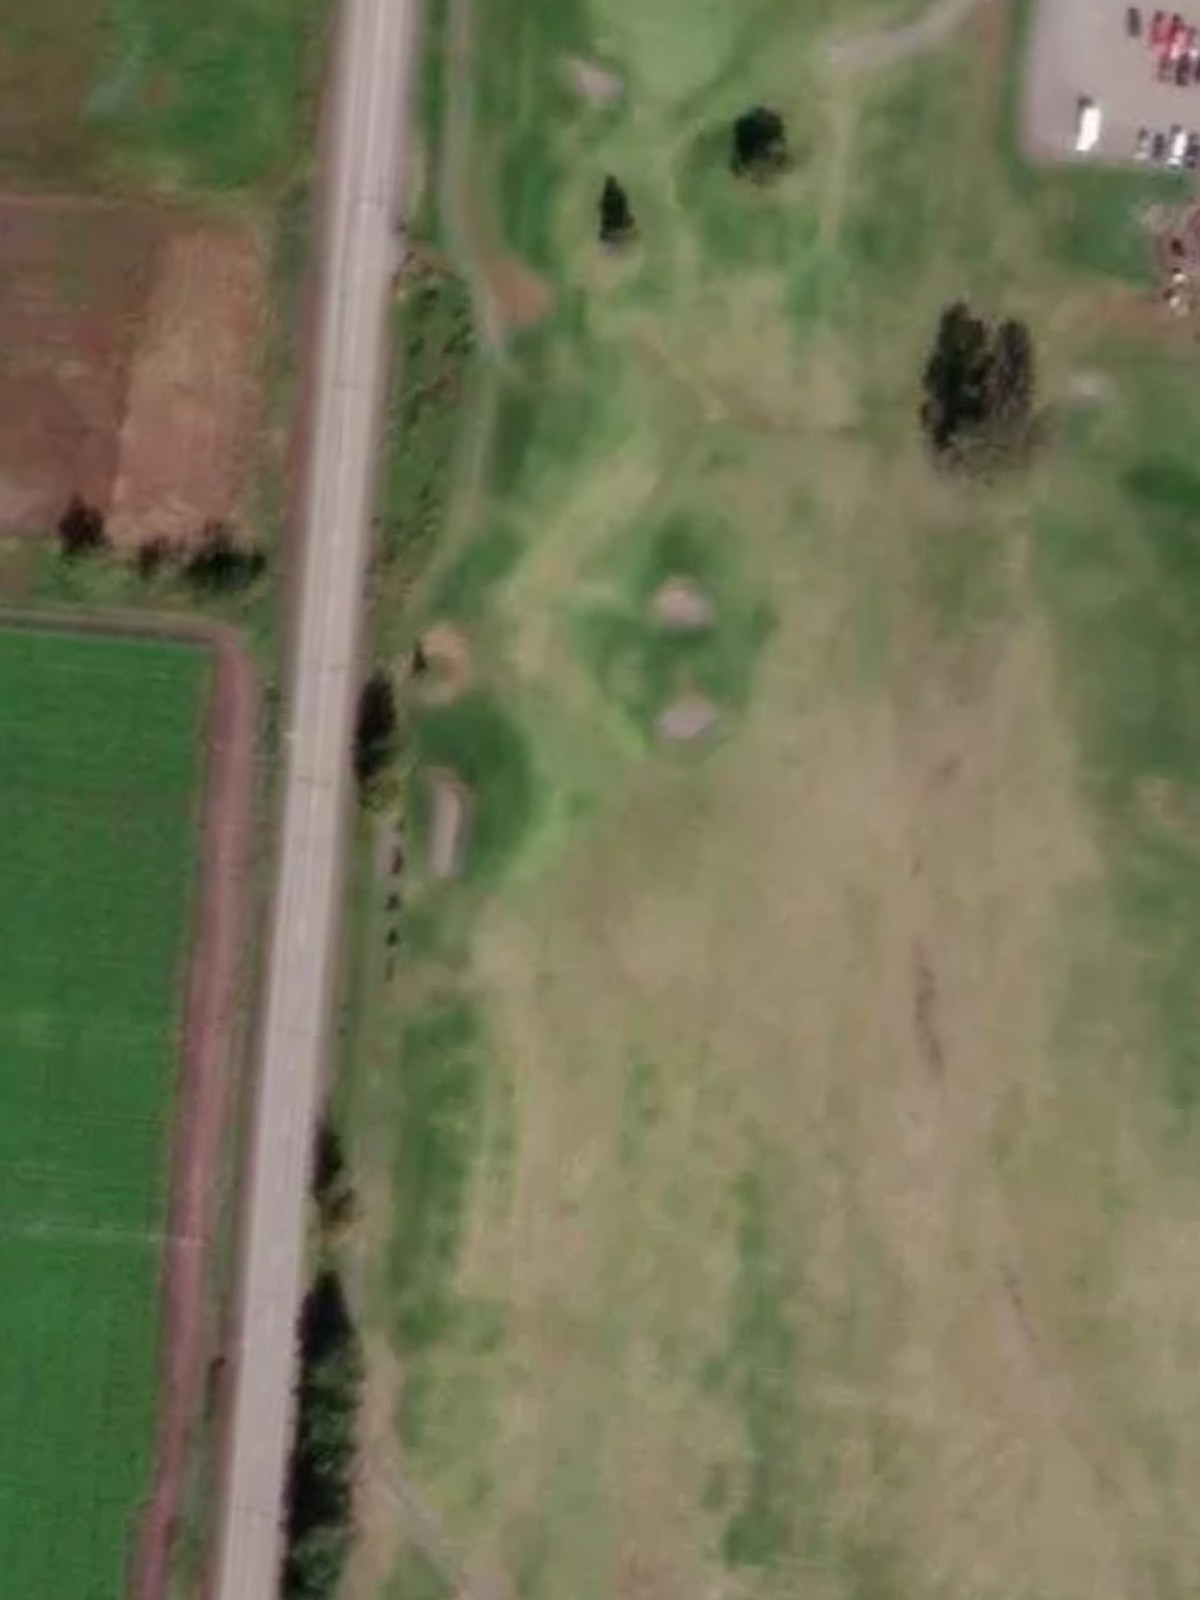
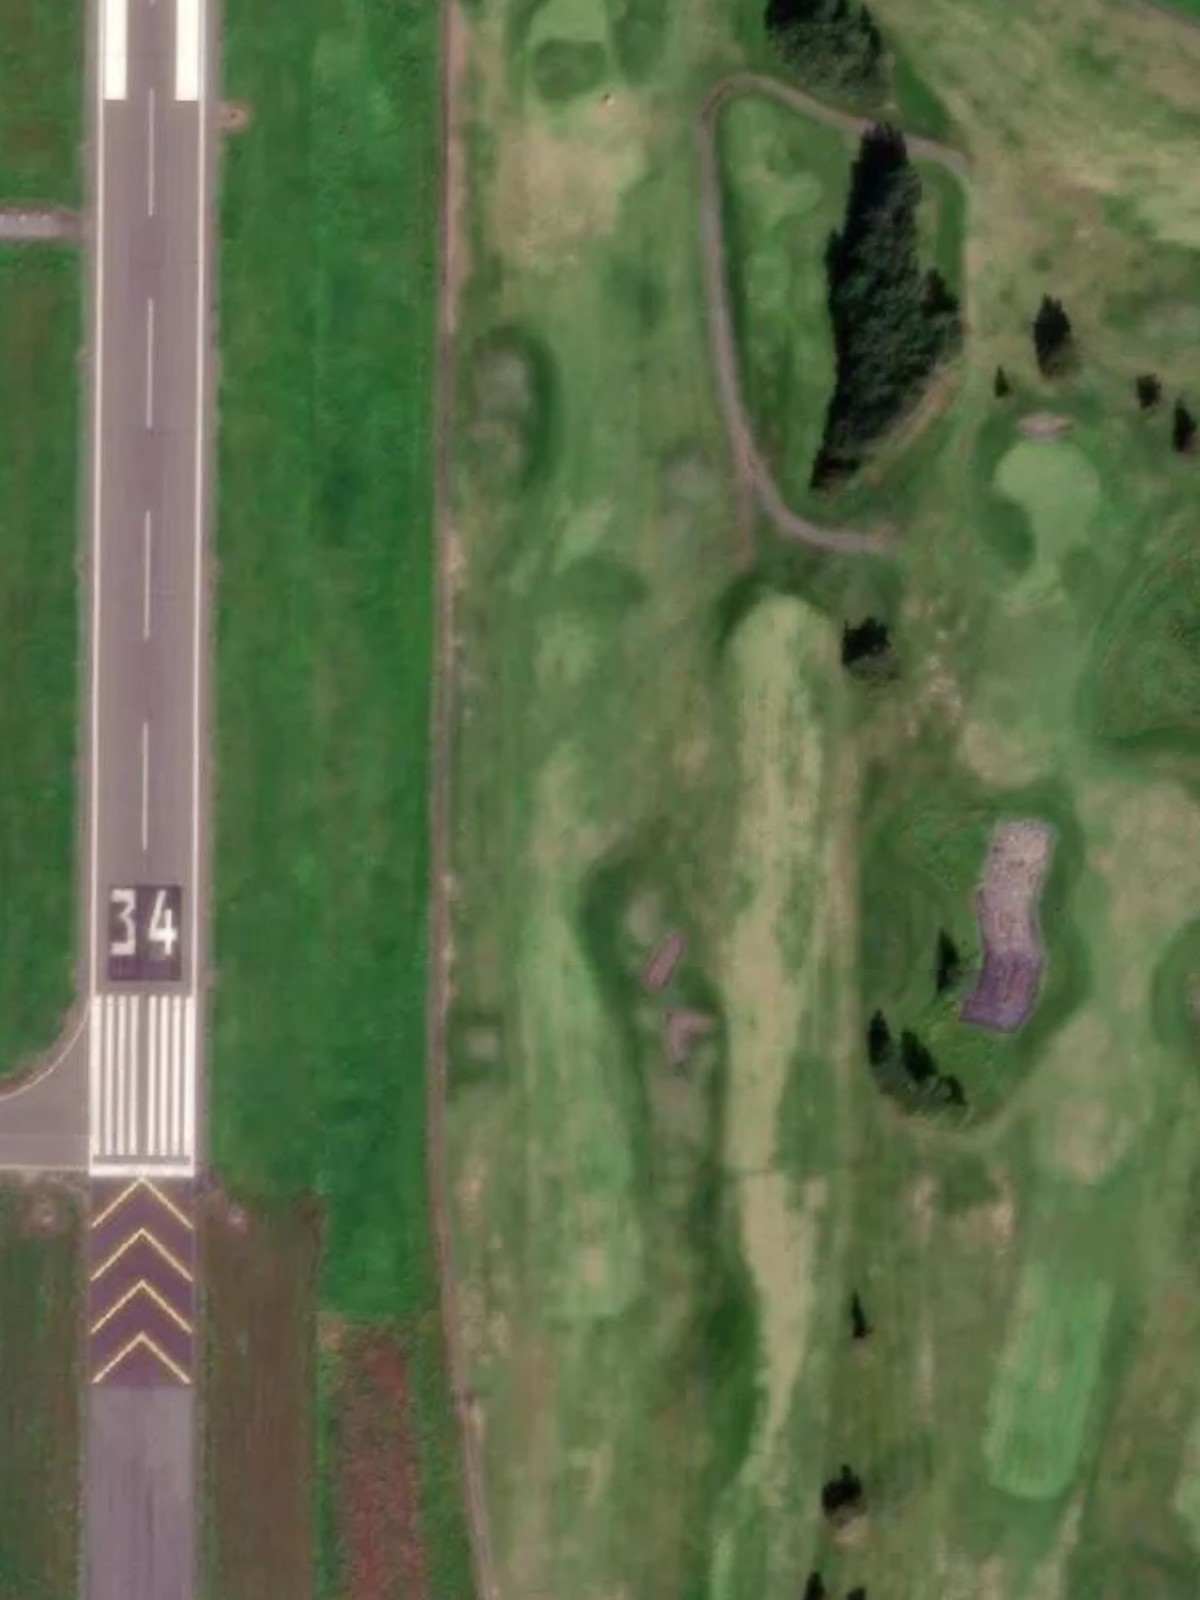
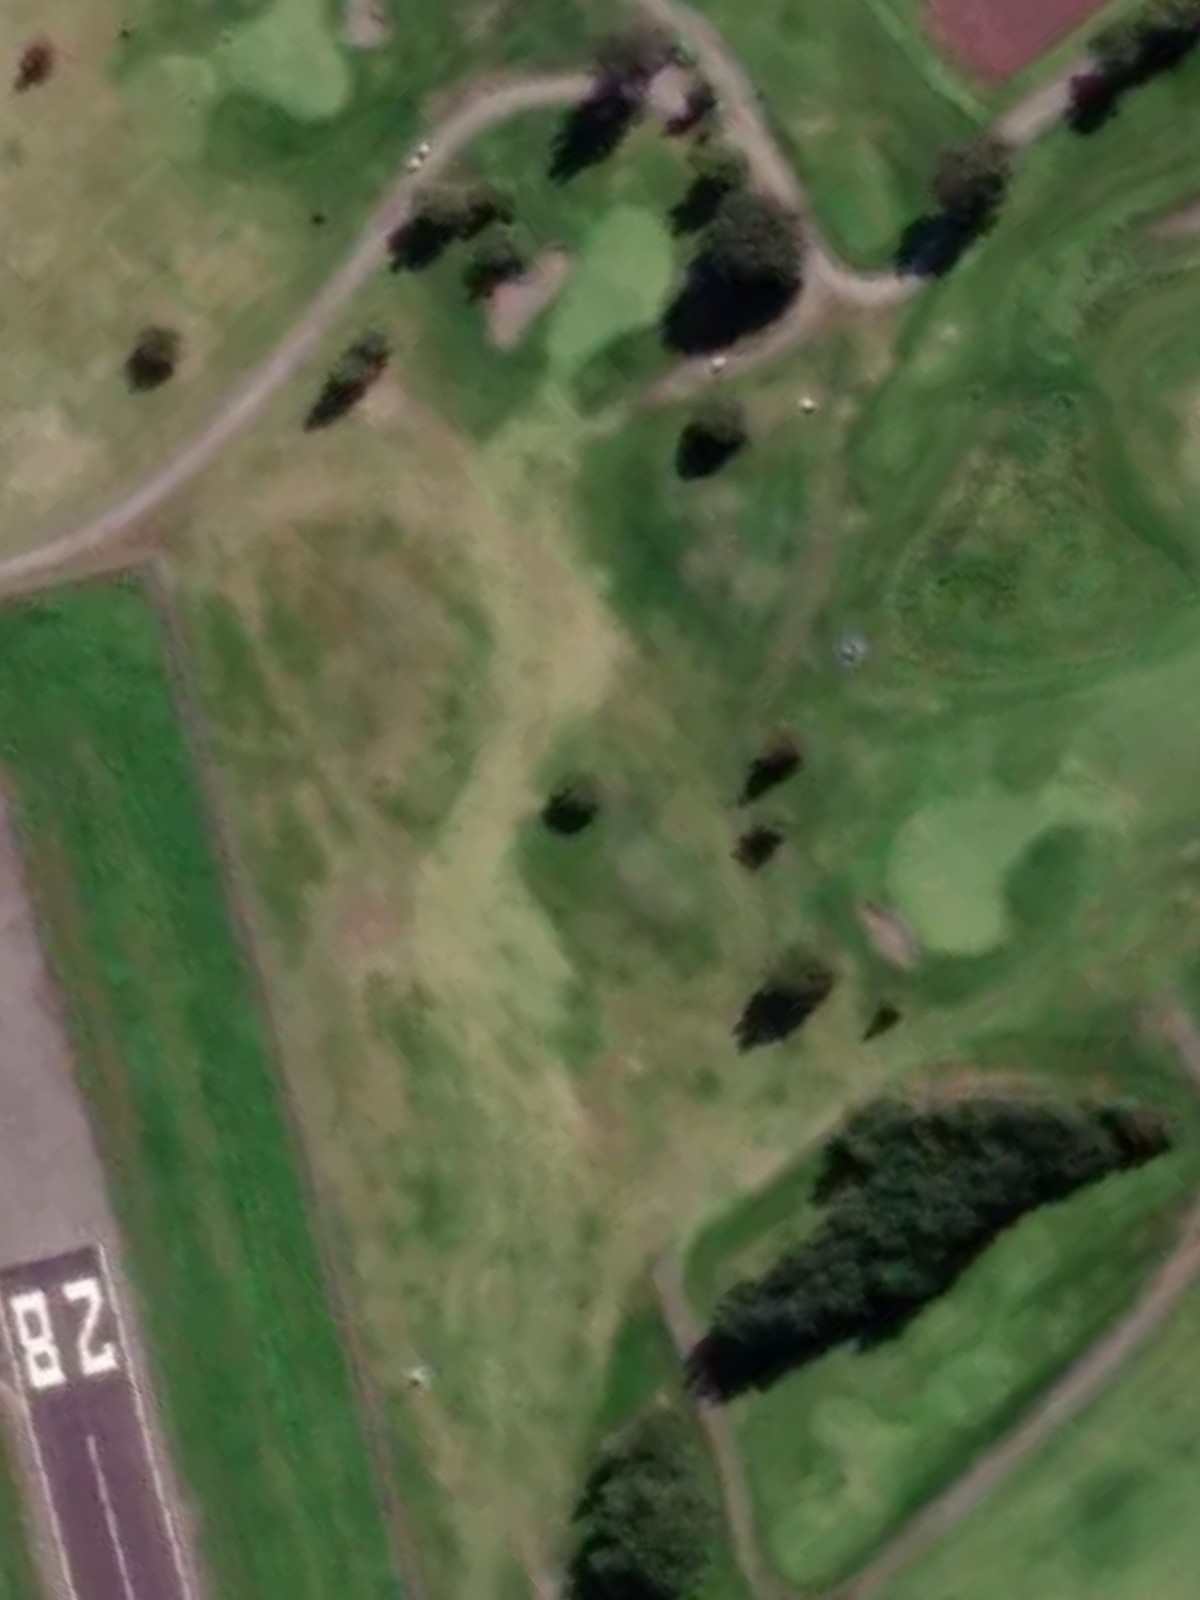
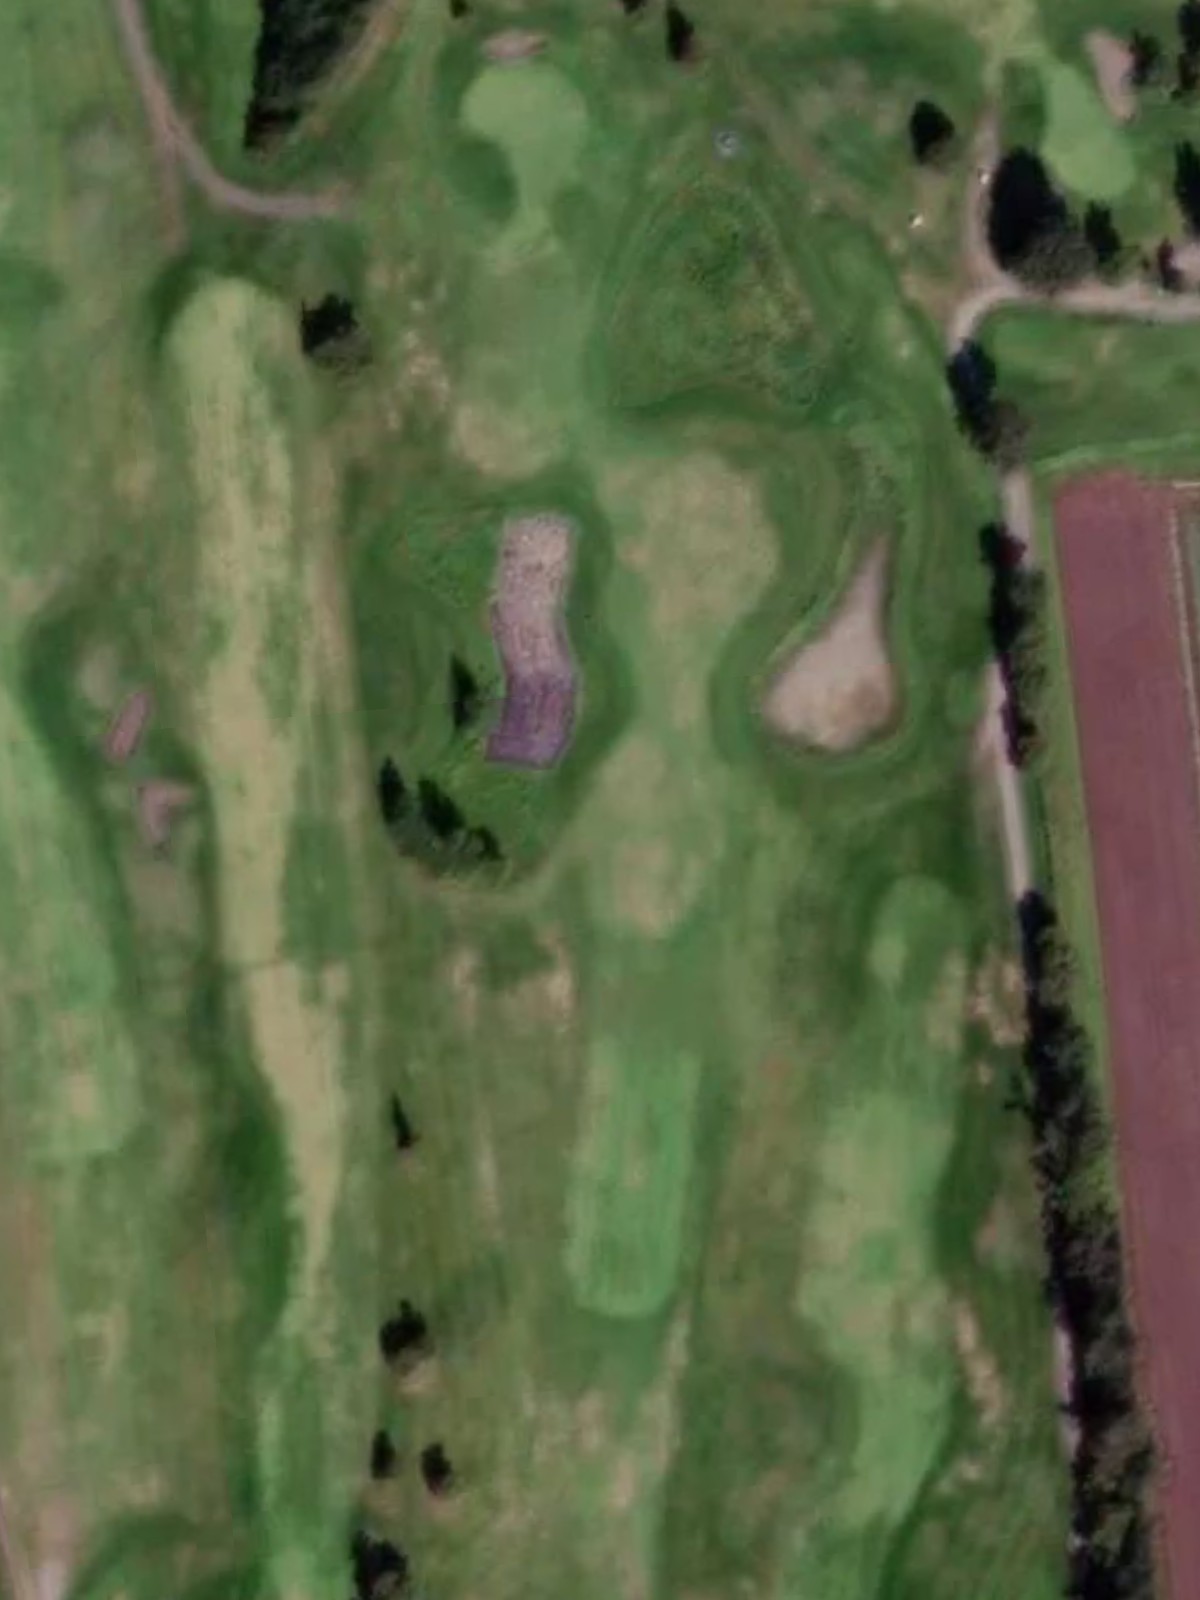
Palmer Gc is an 18-hole golf course in Palmer, AK with a par of 72. It offers 4 tee sets: blue (7,125 yards, slope 126, rating 72.5), white (6,580 yards, slope 116, rating 70.3), gold (6,245 yards, slope 108, rating 69.7), red (men) (5,753 yards, slope 105, rating 67.4). The hardest hole is #4, a par 4 playing 420 yards from the first tee.
Palmer Gc
Palmer, AK
Get PDF Yardage Book
We'll email you the PDF link. No spam, ever.
Create Your Game Plan
Pick your tees, enter your bag, and get a personalized shot-by-shot strategy for every hole.
A welcoming opening par 4 with a wide fairway that gradually narrows as it approaches the green. Water hazards lurk left, while bunkers protect the right side of the putting surface, demanding accuracy on the approach shot.
A tight par 4 ranked among the course's most challenging holes, with bunkers strategically placed to narrow the landing area. The green is well-guarded, rewarding precise shot-making from tee to finish.
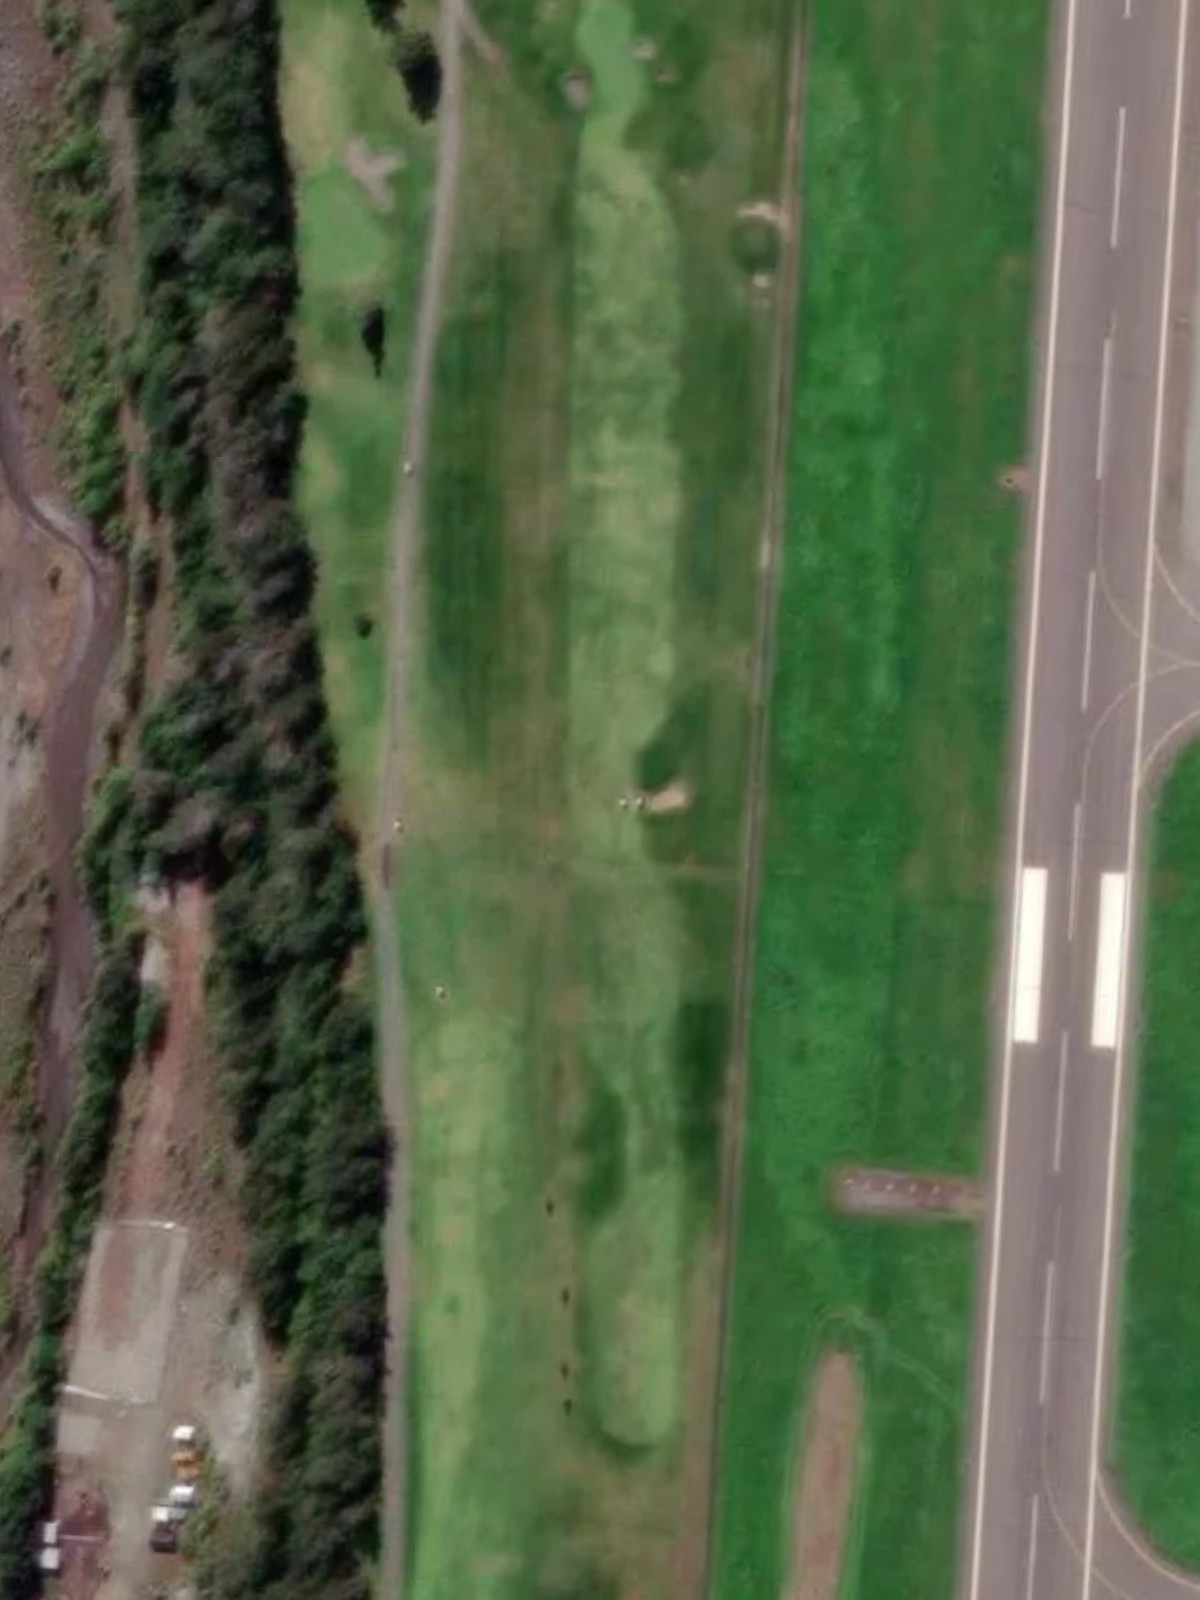
A long par 5 that provides opportunities for aggressive play while bunkers positioned throughout the hole demand respect. The fairway offers multiple angles of attack, but poor positioning can make reaching the green in regulation difficult.
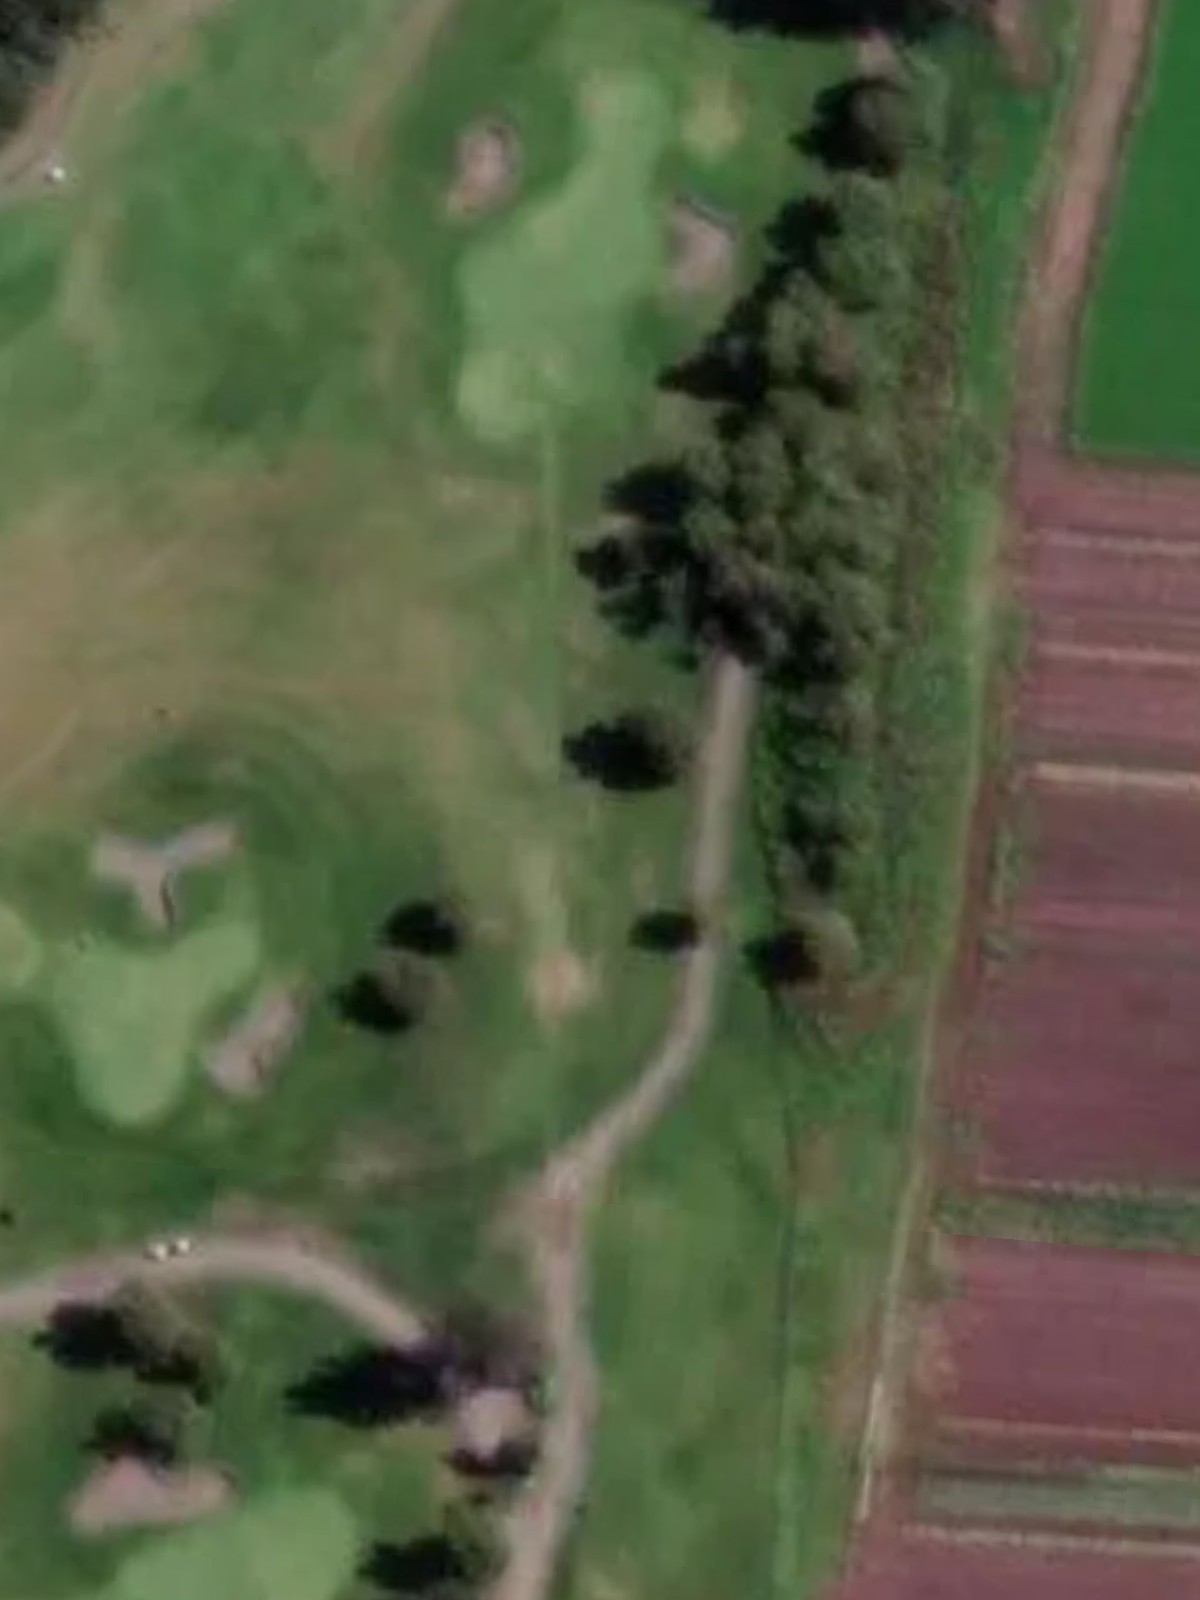
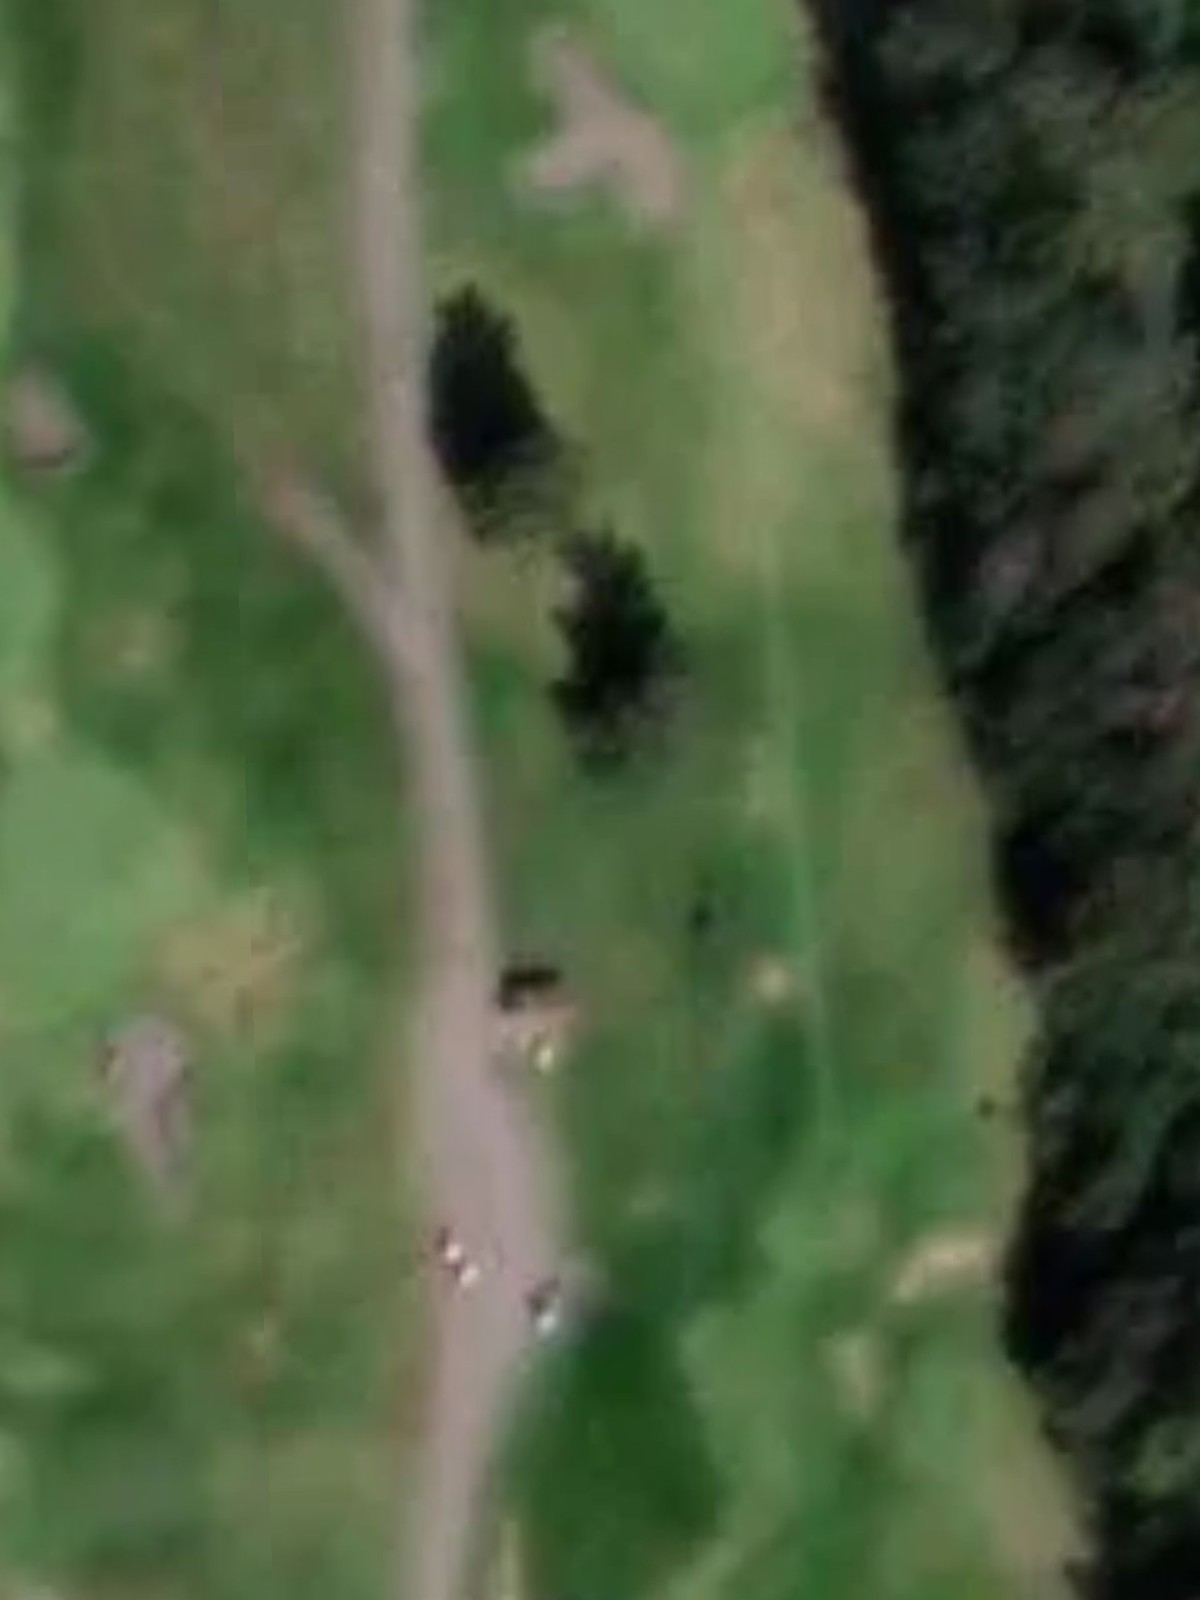
Palmer's signature test—a formidable par 4 and the course's hardest hole, with bunkers flanking the fairway and guarding the green. The rough surrounding the hole punishes errant shots and tests every aspect of precision golf.
A short but demanding par 3 where bunkers surround the green and demand a well-struck tee shot. The compact putting surface rewards accuracy and penalizes misses.
An inviting par 4 that ranks among the course's most generous, with a straightforward fairway and modest bunkering. This is a scoring opportunity despite the water hazard in play.
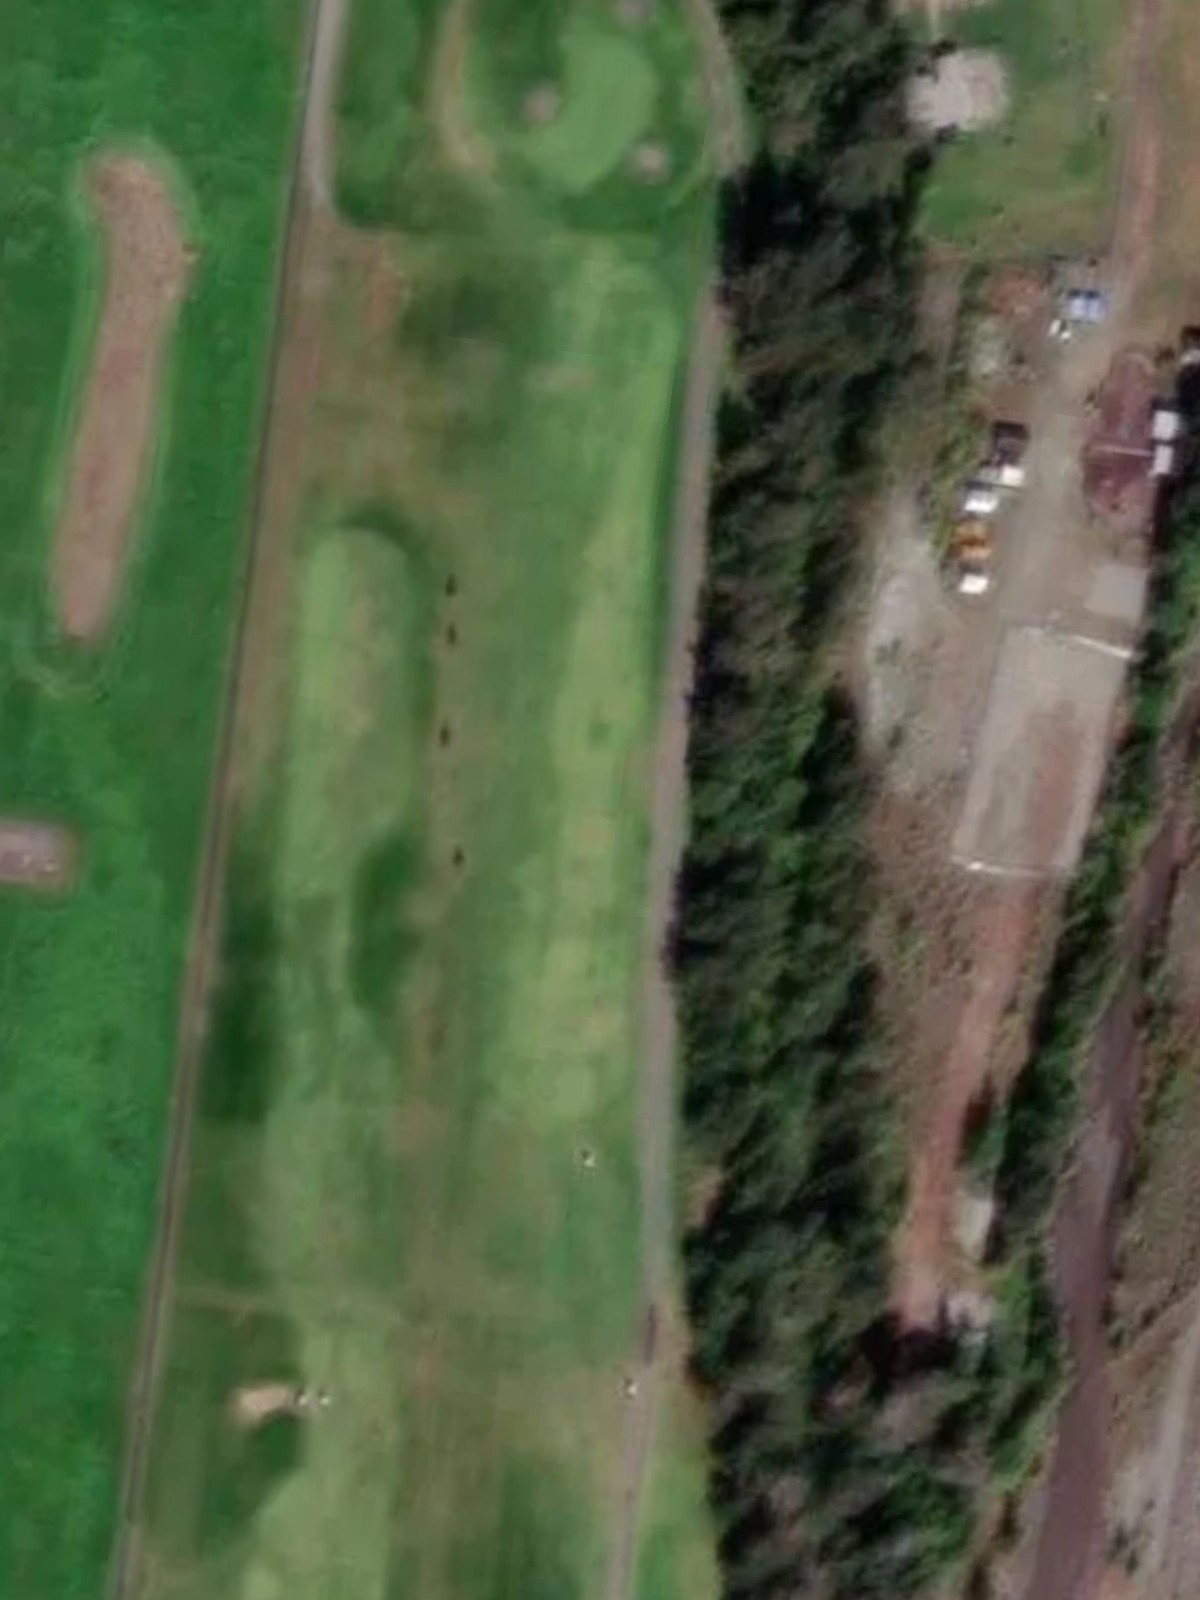
A long, exacting par 4 and the third-hardest hole on the course, with bunkers positioned to challenge both the drive and approach. Length combined with strategic bunkering creates a formidable test of sustained power and control.
A reachable par 5 with bunkers scattered through the hole to protect the fairway and green. The layout rewards aggressive play by those who can position their shots carefully.
A short par 3 with bunkers guarding the green and minimal margin for error around the putting surface. Despite its modest yardage, precision is essential to avoid the sand.
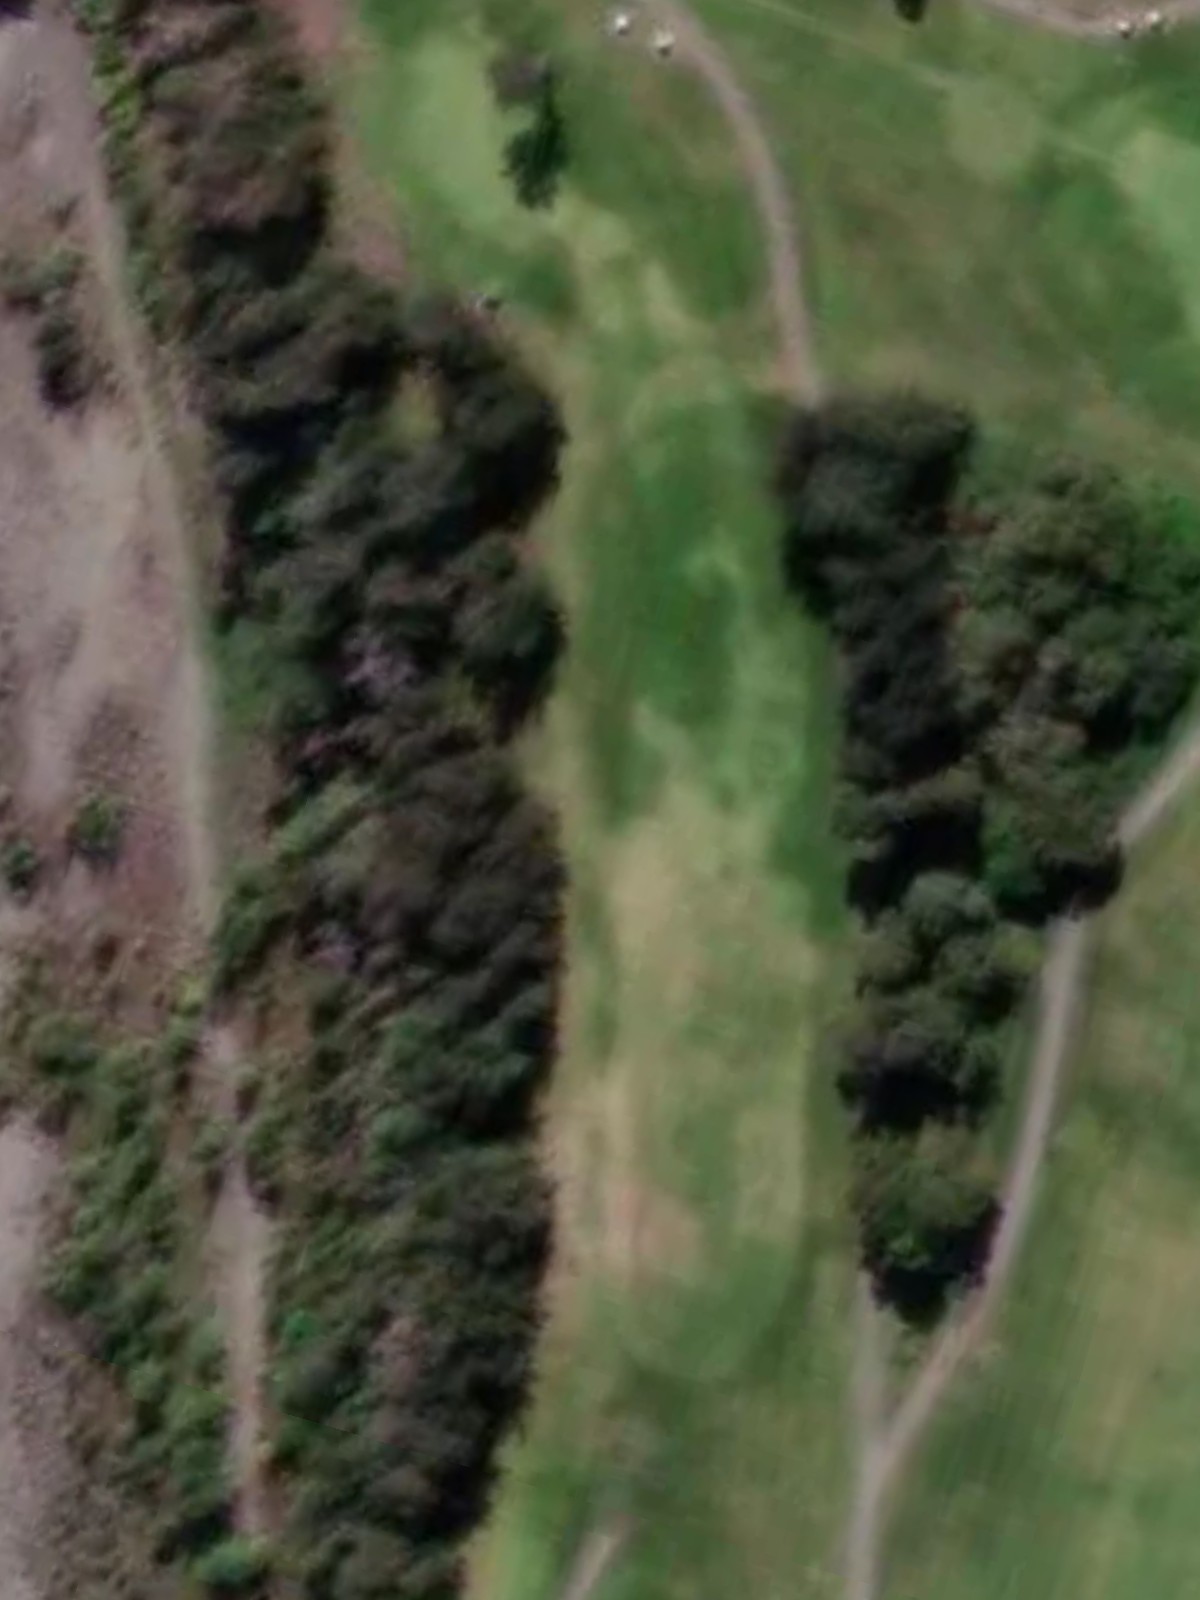
A straightforward par 4 with bunkers positioned to protect the landing area and green. The hole provides a fair test without excessive difficulty.
A challenging par 5 ranked fourth on the difficulty scale, with bunkers threatening both the fairway and green throughout. The length and strategic bunkering demand careful course management and solid execution.
A mid-length par 4 with a clear fairway and minimal bunkering, offering a relatively straightforward path to the green. This hole provides a brief respite on the back nine.
A short par 3 with bunkers nearby the green and a modest landing area that rewards a well-placed tee shot. The hole's brevity belies its strategic challenge.
A solid par 4 with bunkers guarding both the fairway and green, creating a balanced test of tee shot positioning and approach accuracy. The hole plays moderately challenging without excessive difficulty.
A picturesque par 3 ranked sixth in difficulty, with bunkers and fairway hazards surrounding the green. The mid-length challenge requires a confident tee shot to a well-protected putting surface.
The course's second-hardest par 4, a long and demanding hole with water hazards and bunkers creating a severe test. The combination of length, water in play, and strategic bunkering makes this one of Palmer's most formidable holes.
A lengthy and treacherous par 4 with water hazards in play and bunkers protecting the fairway and green throughout. The hole's length and water hazards create a dramatic finishing stretch.
A closing par 5 that provides a birdie opportunity for those who navigate the bunkers strategically placed throughout the hole. The fairway allows aggressive play, rewarding bold execution on this fitting finishing hole.
Scorecard
| Hole | 1 | 2 | 3 | 4 | 5 | 6 | 7 | 8 | 9 | Out | 10 | 11 | 12 | 13 | 14 | 15 | 16 | 17 | 18 | In | Tot |
|---|---|---|---|---|---|---|---|---|---|---|---|---|---|---|---|---|---|---|---|---|---|
| Par | 4 | 4 | 5 | 4 | 3 | 4 | 4 | 5 | 3 | 36 | 4 | 5 | 4 | 3 | 4 | 3 | 4 | 4 | 5 | 36 | 72 |
| HCP | 11 | 5 | 7 | 1 | 9 | 17 | 3 | 15 | 13 | 12 | 4 | 10 | 16 | 14 | 6 | 2 | 8 | 18 | |||
| blue | 380 | 395 | 600 | 420 | 230 | 350 | 460 | 545 | 180 | 3560 | 385 | 560 | 380 | 185 | 390 | 220 | 440 | 470 | 535 | 3565 | 7125 |
| white | 350 | 370 | 570 | 390 | 195 | 320 | 430 | 515 | 150 | 3290 | 355 | 530 | 340 | 160 | 360 | 190 | 410 | 440 | 505 | 3290 | 6580 |
| gold | 330 | 355 | 550 | 375 | 165 | 305 | 410 | 490 | 130 | 3110 | 345 | 510 | 315 | 150 | 340 | 175 | 385 | 425 | 490 | 3135 | 6245 |
| red (men) | 320 | 340 | 480 | 350 | 160 | 290 | 370 | 458 | 115 | 2883 | 325 | 490 | 310 | 125 | 330 | 150 | 330 | 350 | 460 | 2870 | 5753 |