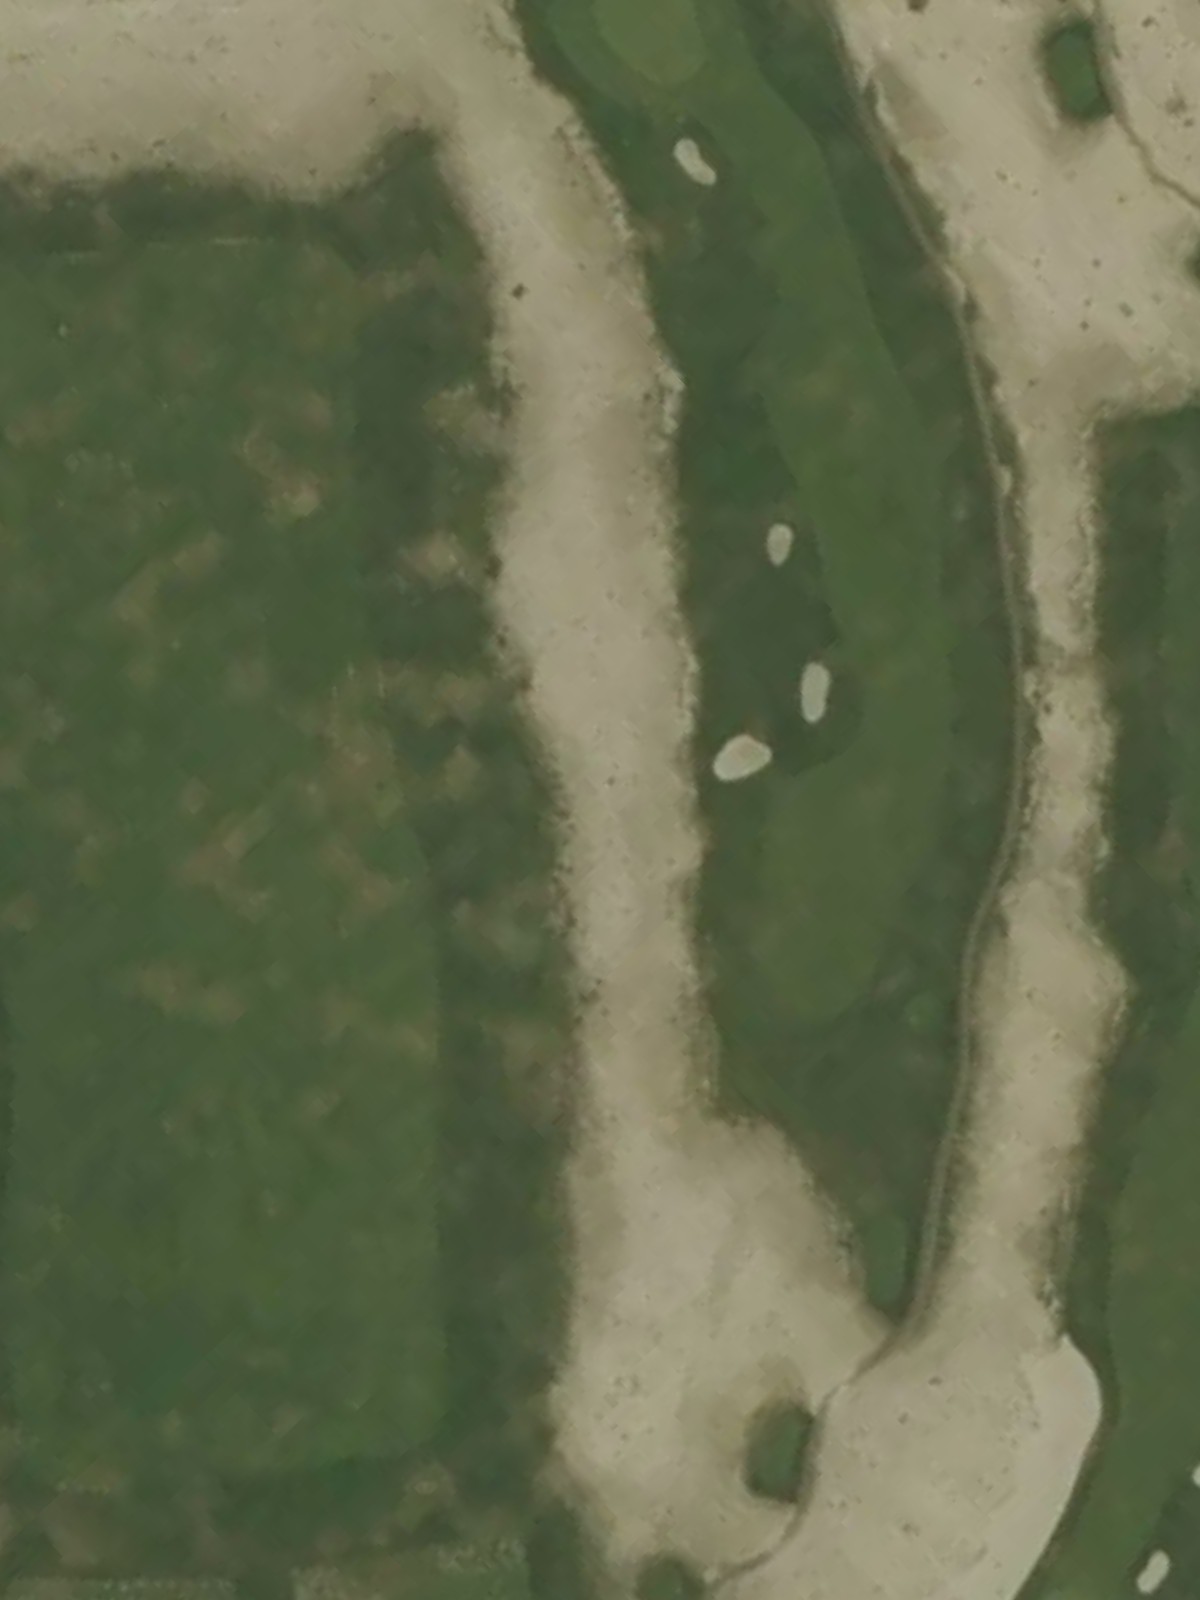
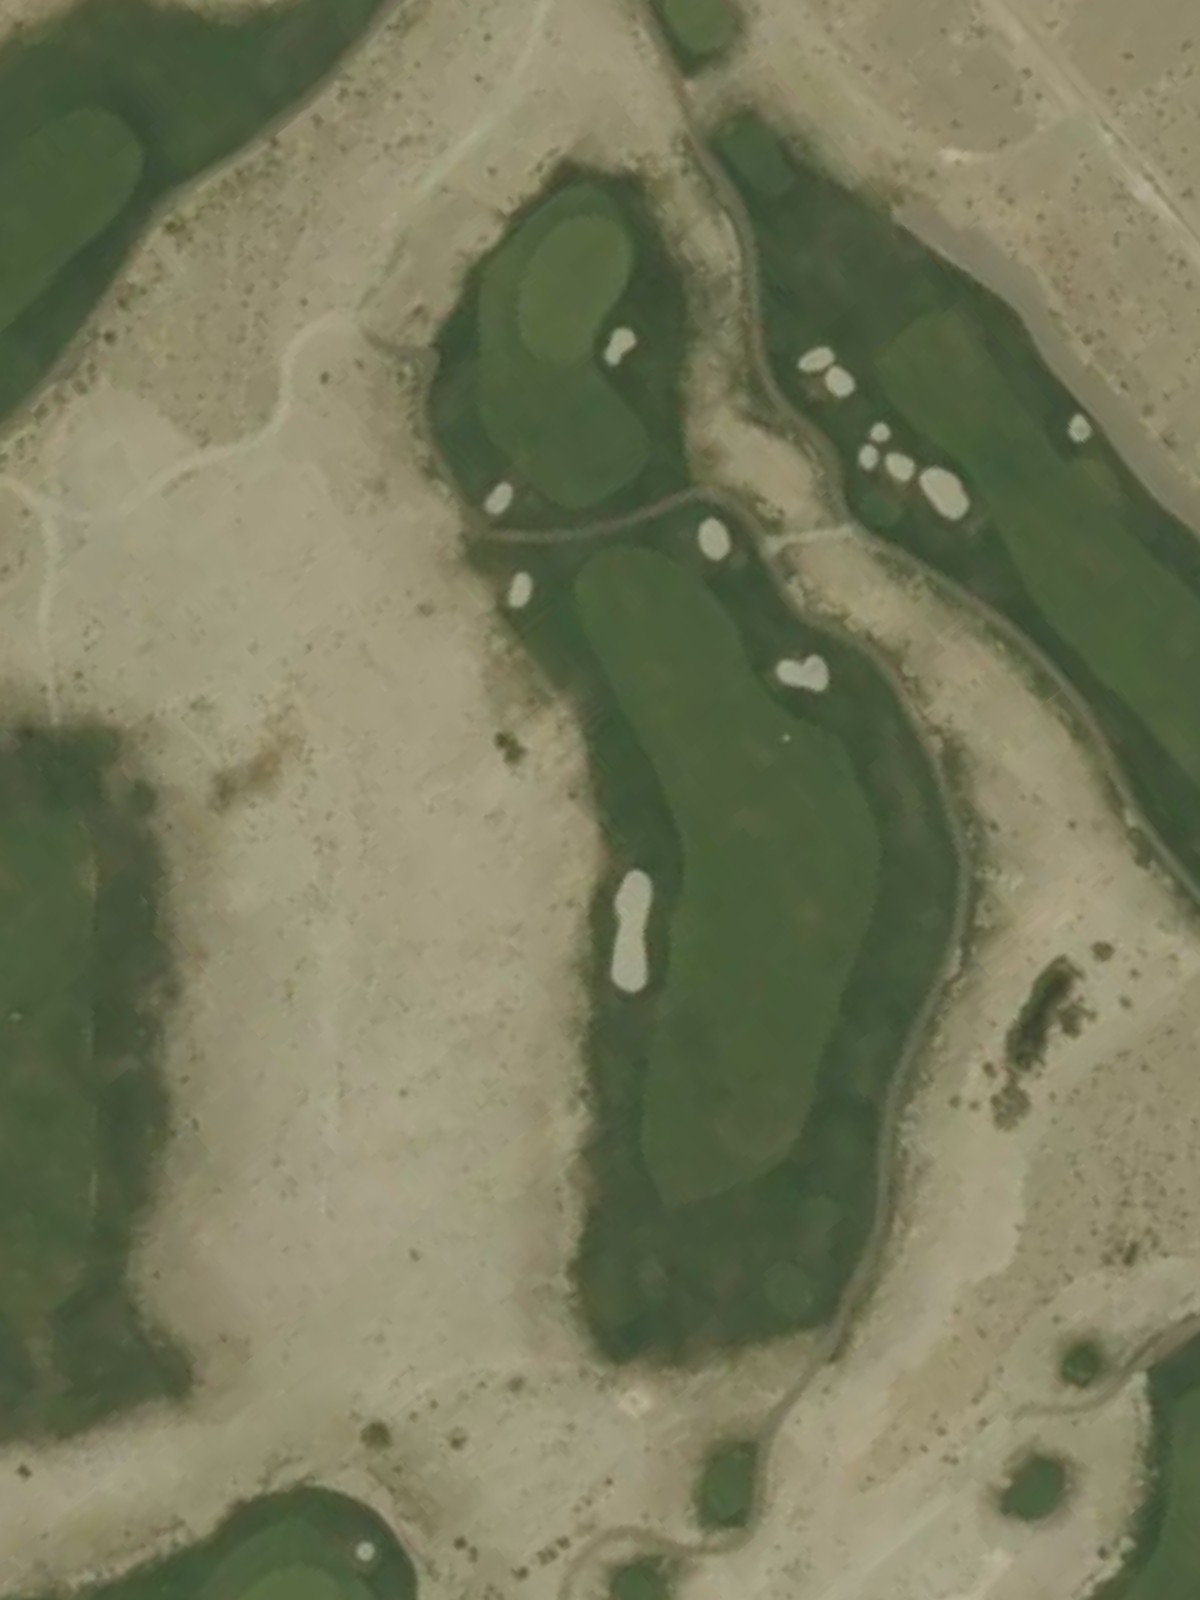
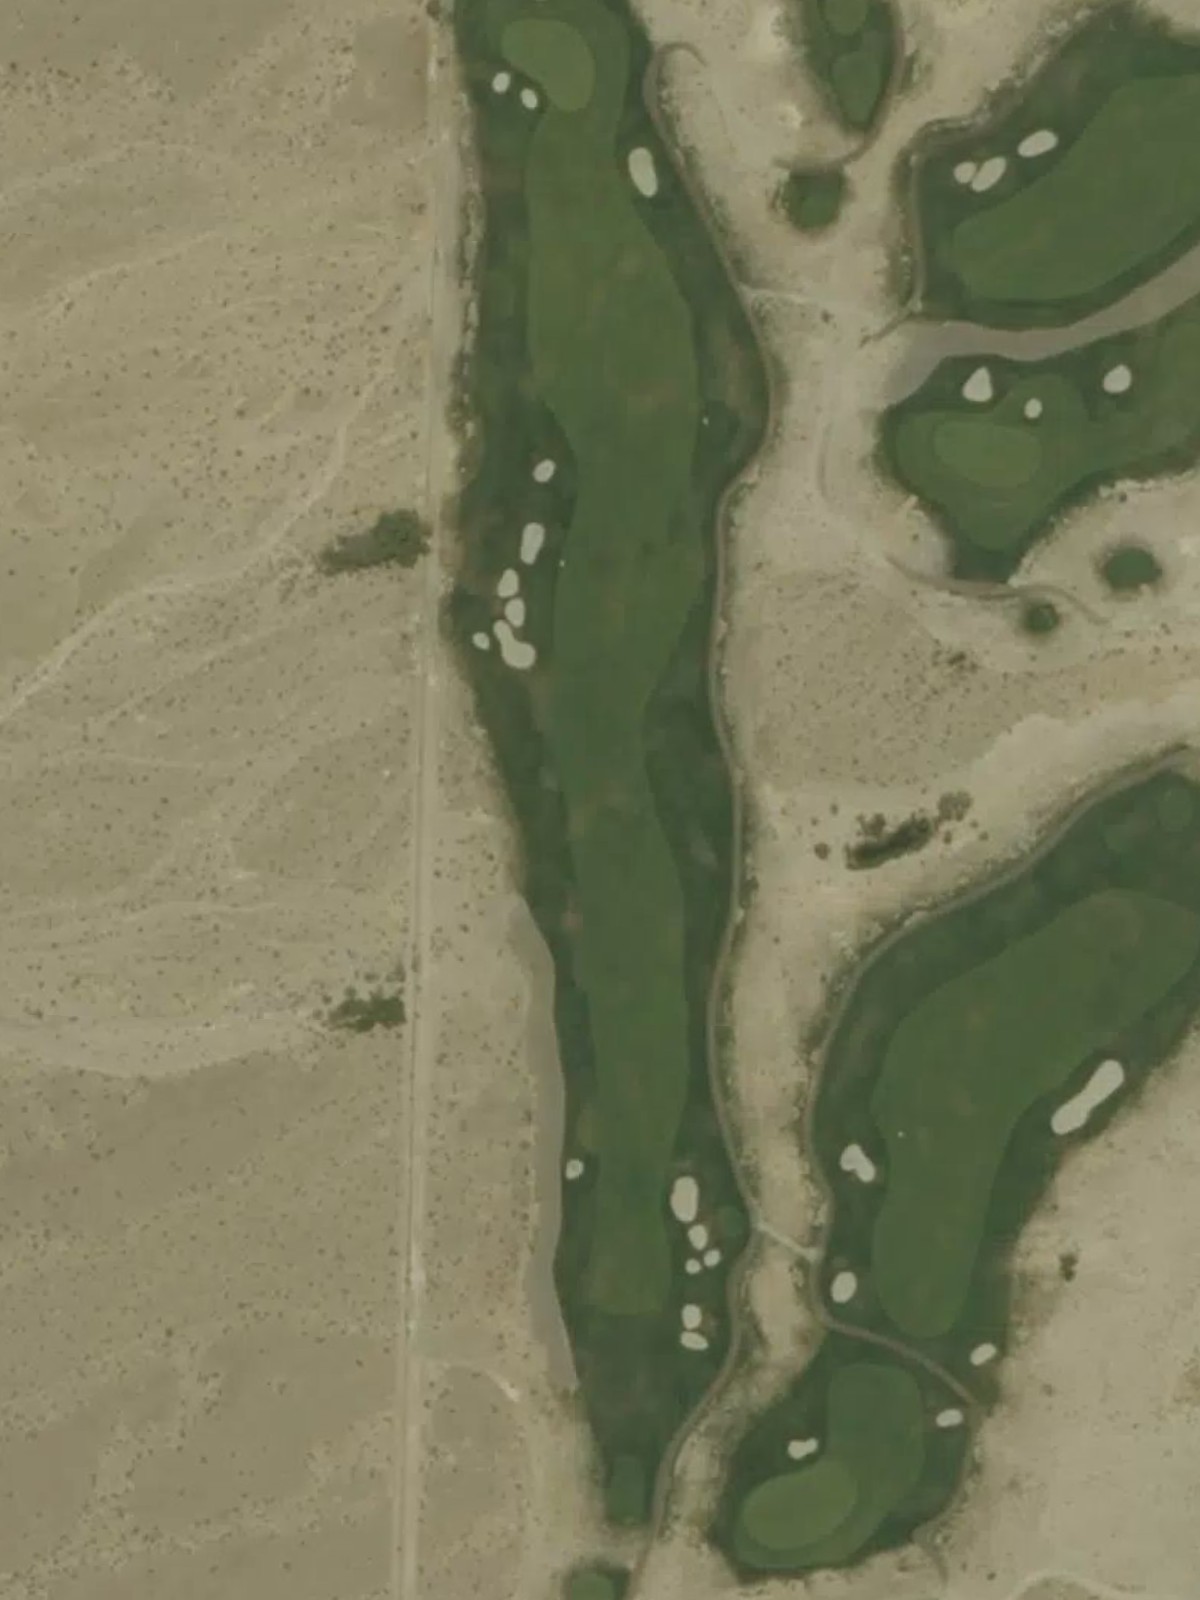
Paiute Resort Golf Club is an 18-hole golf course in Las Vegas, NV with a par of 72. It offers 4 tee sets: black (7,068 yards, slope 130, rating 73.1), yellow (6,559 yards, slope 122, rating 70.4), white (5,892 yards, slope 113, rating 67.3), red (5,201 yards, slope 102, rating 63.5). The hardest hole is #5, a par 4 playing 338 yards from the first tee.
Paiute Resort Golf Club
Las Vegas, NV
Get PDF Yardage Book
We'll email you the PDF link. No spam, ever.
Create Your Game Plan
Pick your tees, enter your bag, and get a personalized shot-by-shot strategy for every hole.
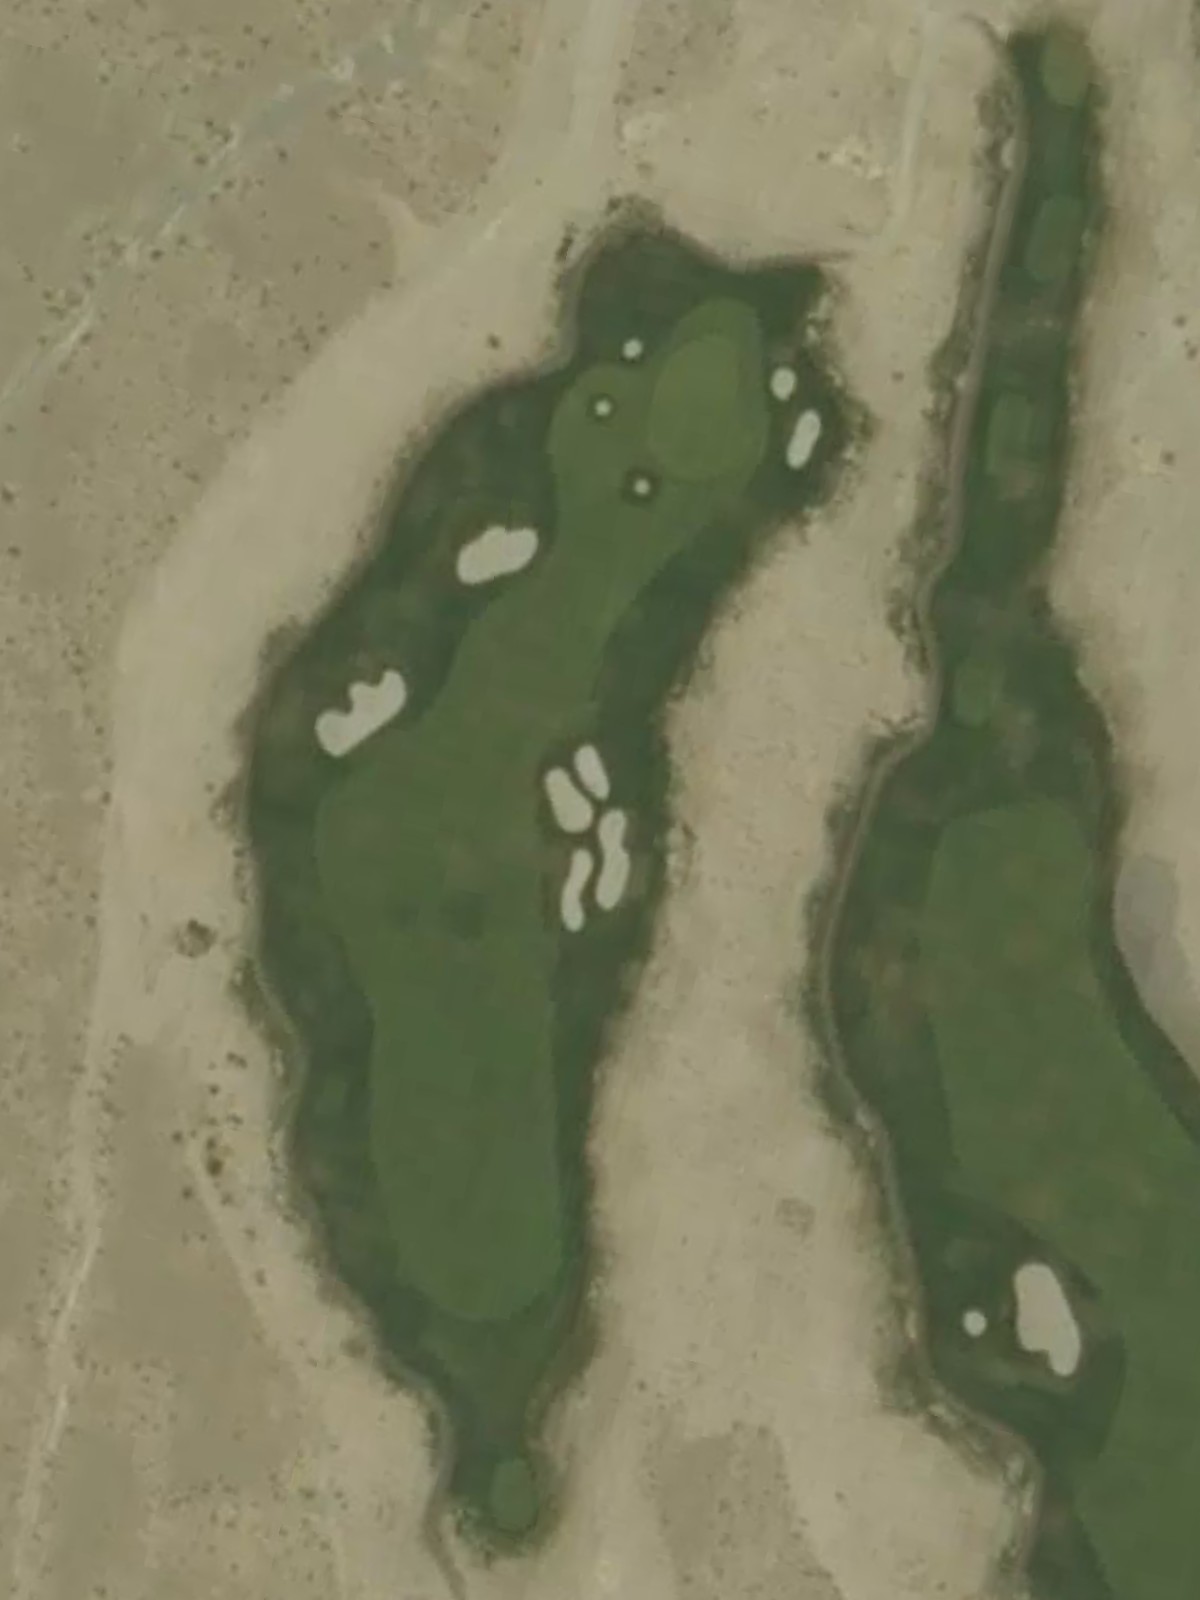
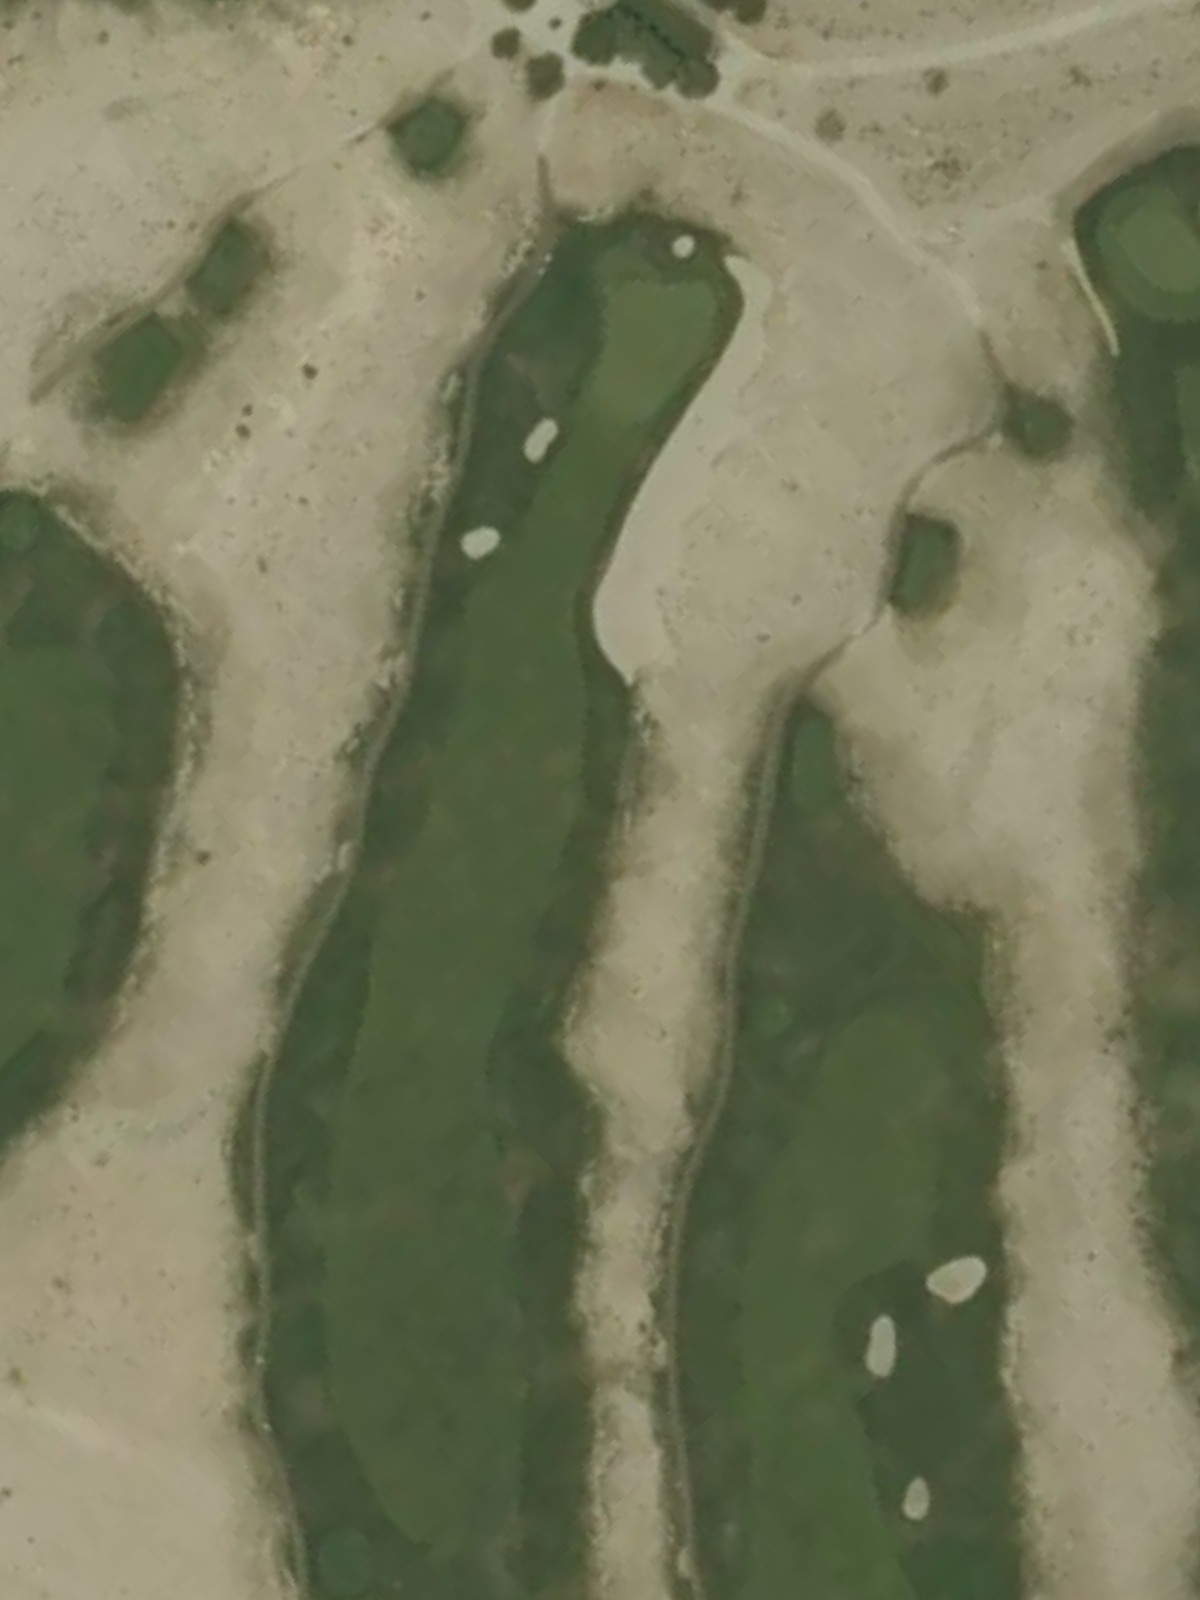
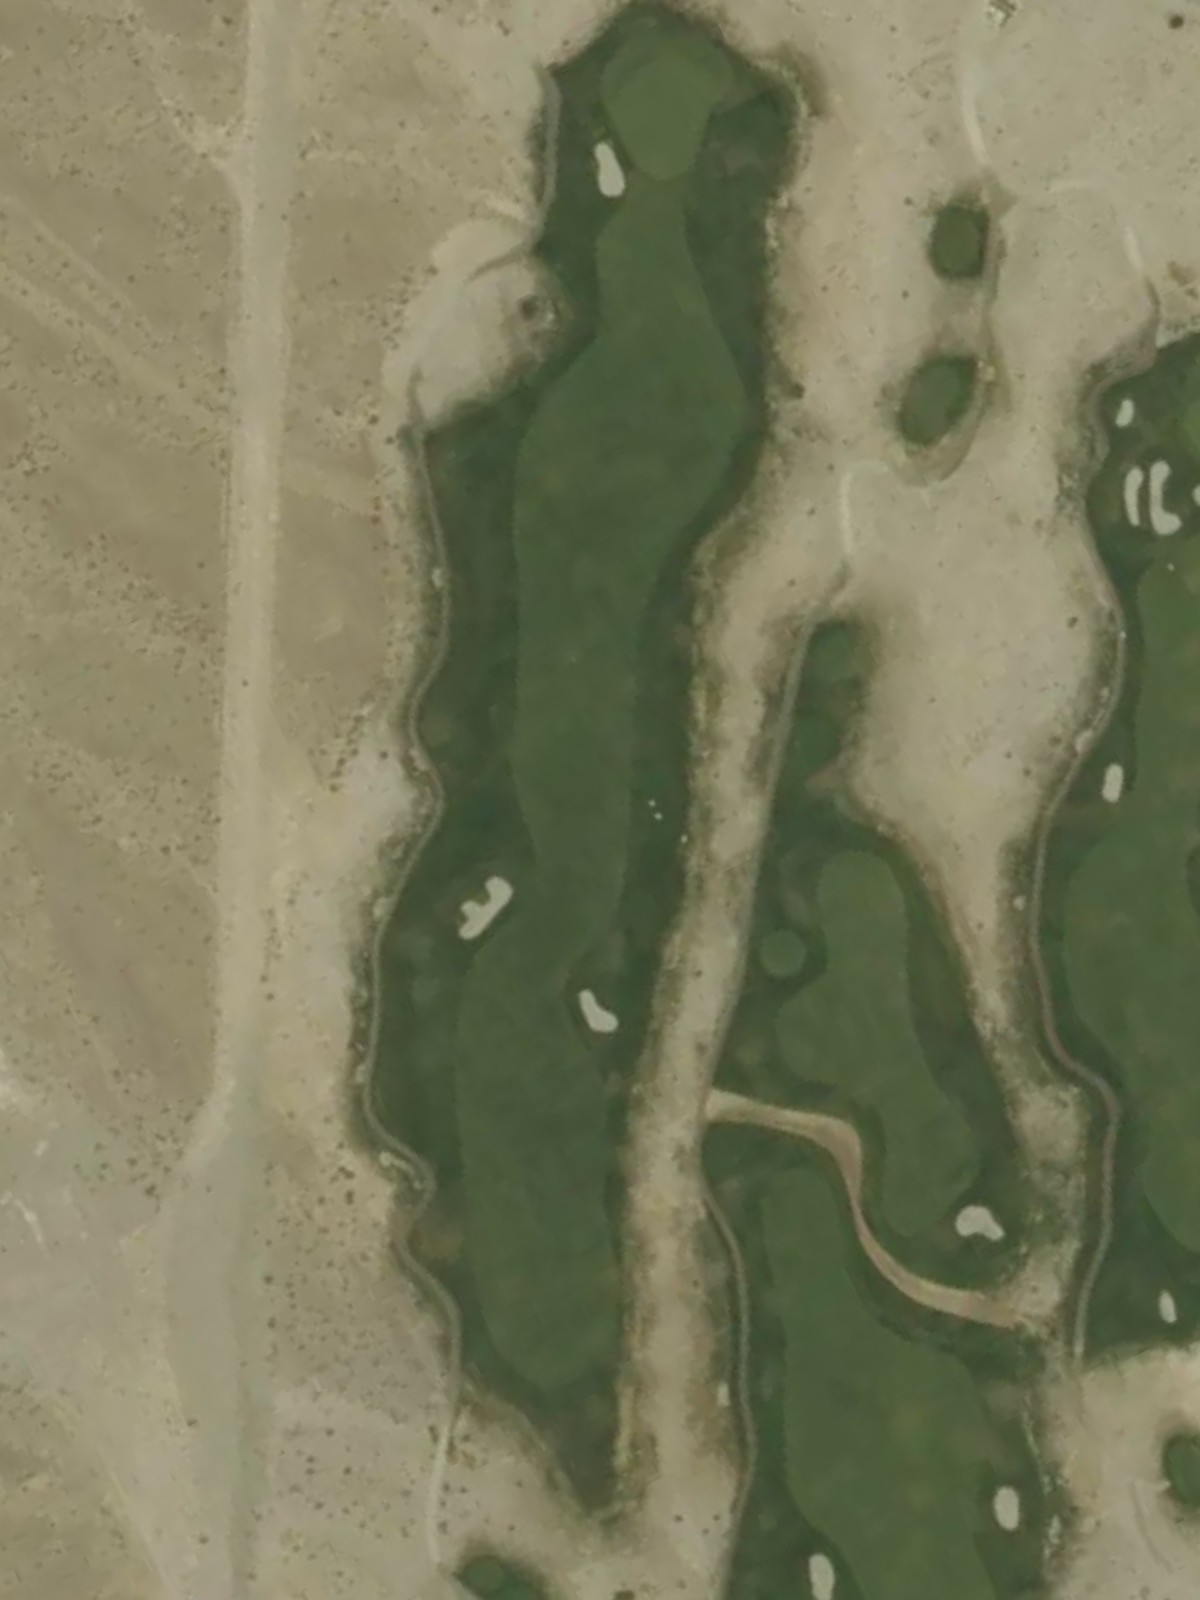
A straightforward par 4 that plays relatively short from most tees. The fairway is wide and inviting, though the approach narrows as it reaches a green flanked by bunkers on the right side.
A challenging par 4 that demands accuracy off the tee on this moderately long hole. The fairway tightens considerably on the approach, with trouble lurking left and right to frame the green.
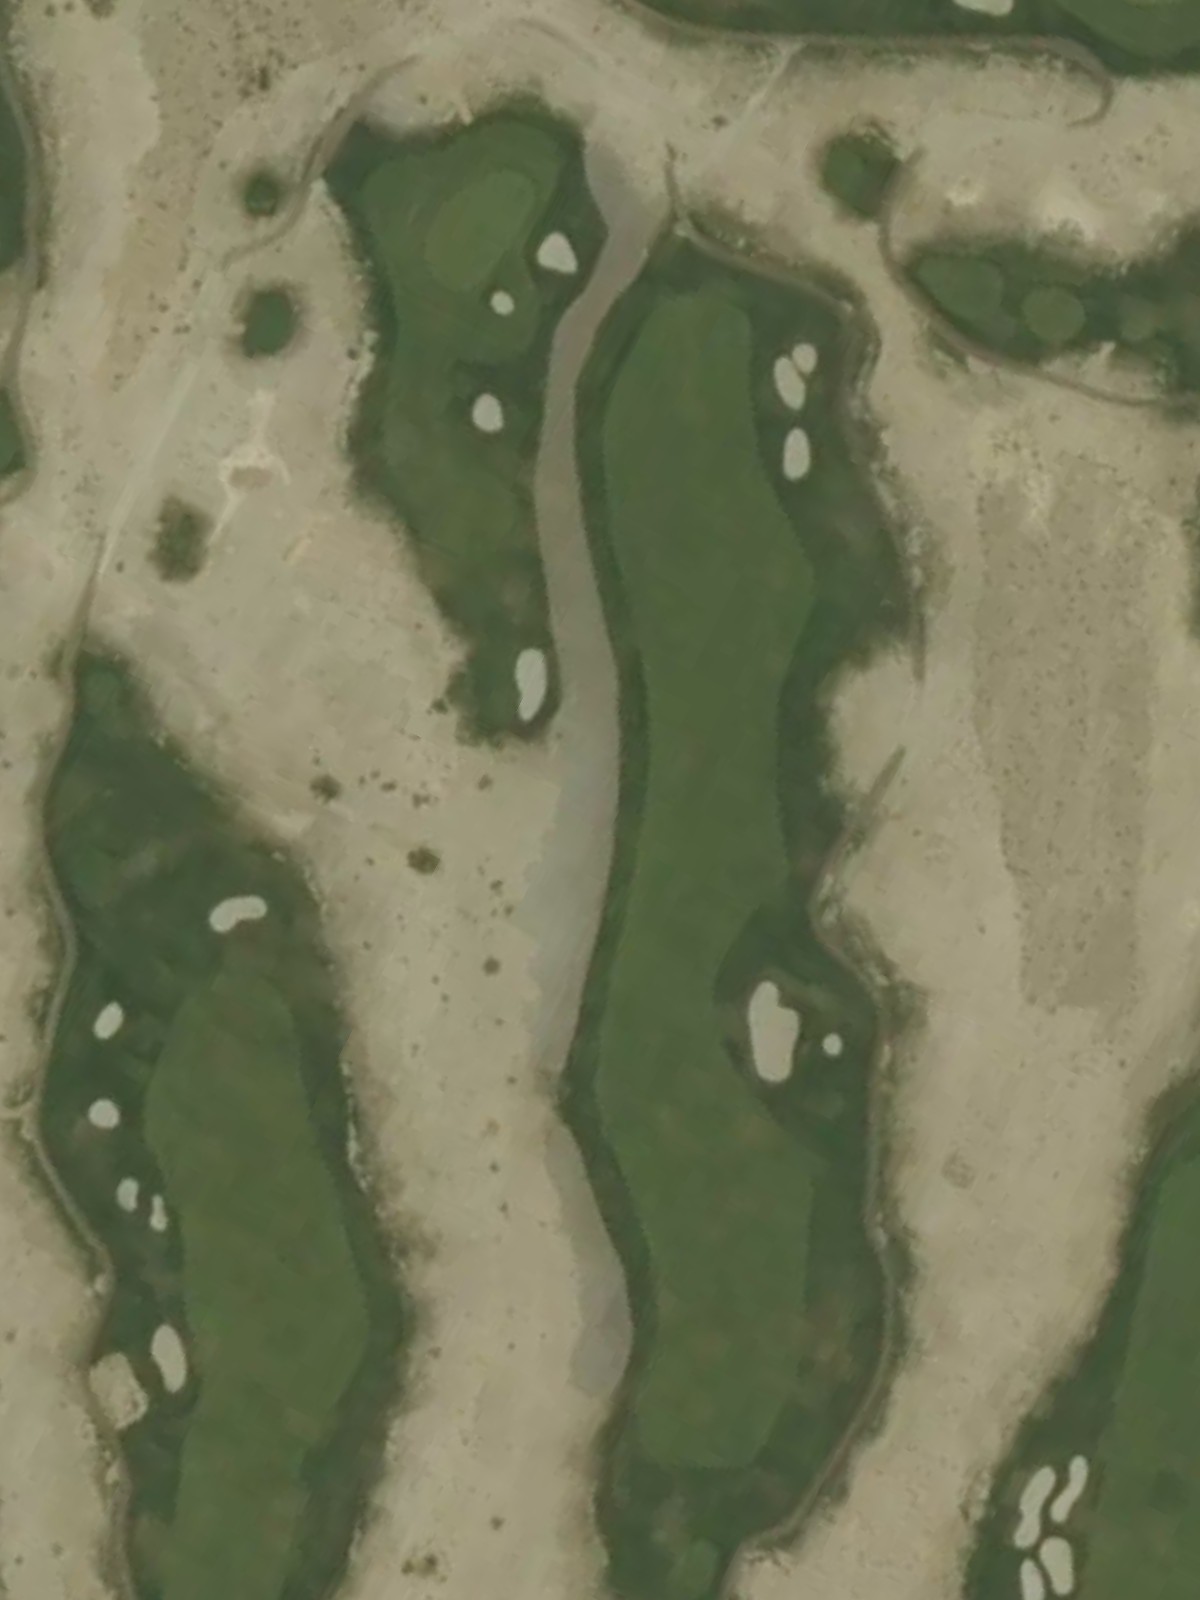
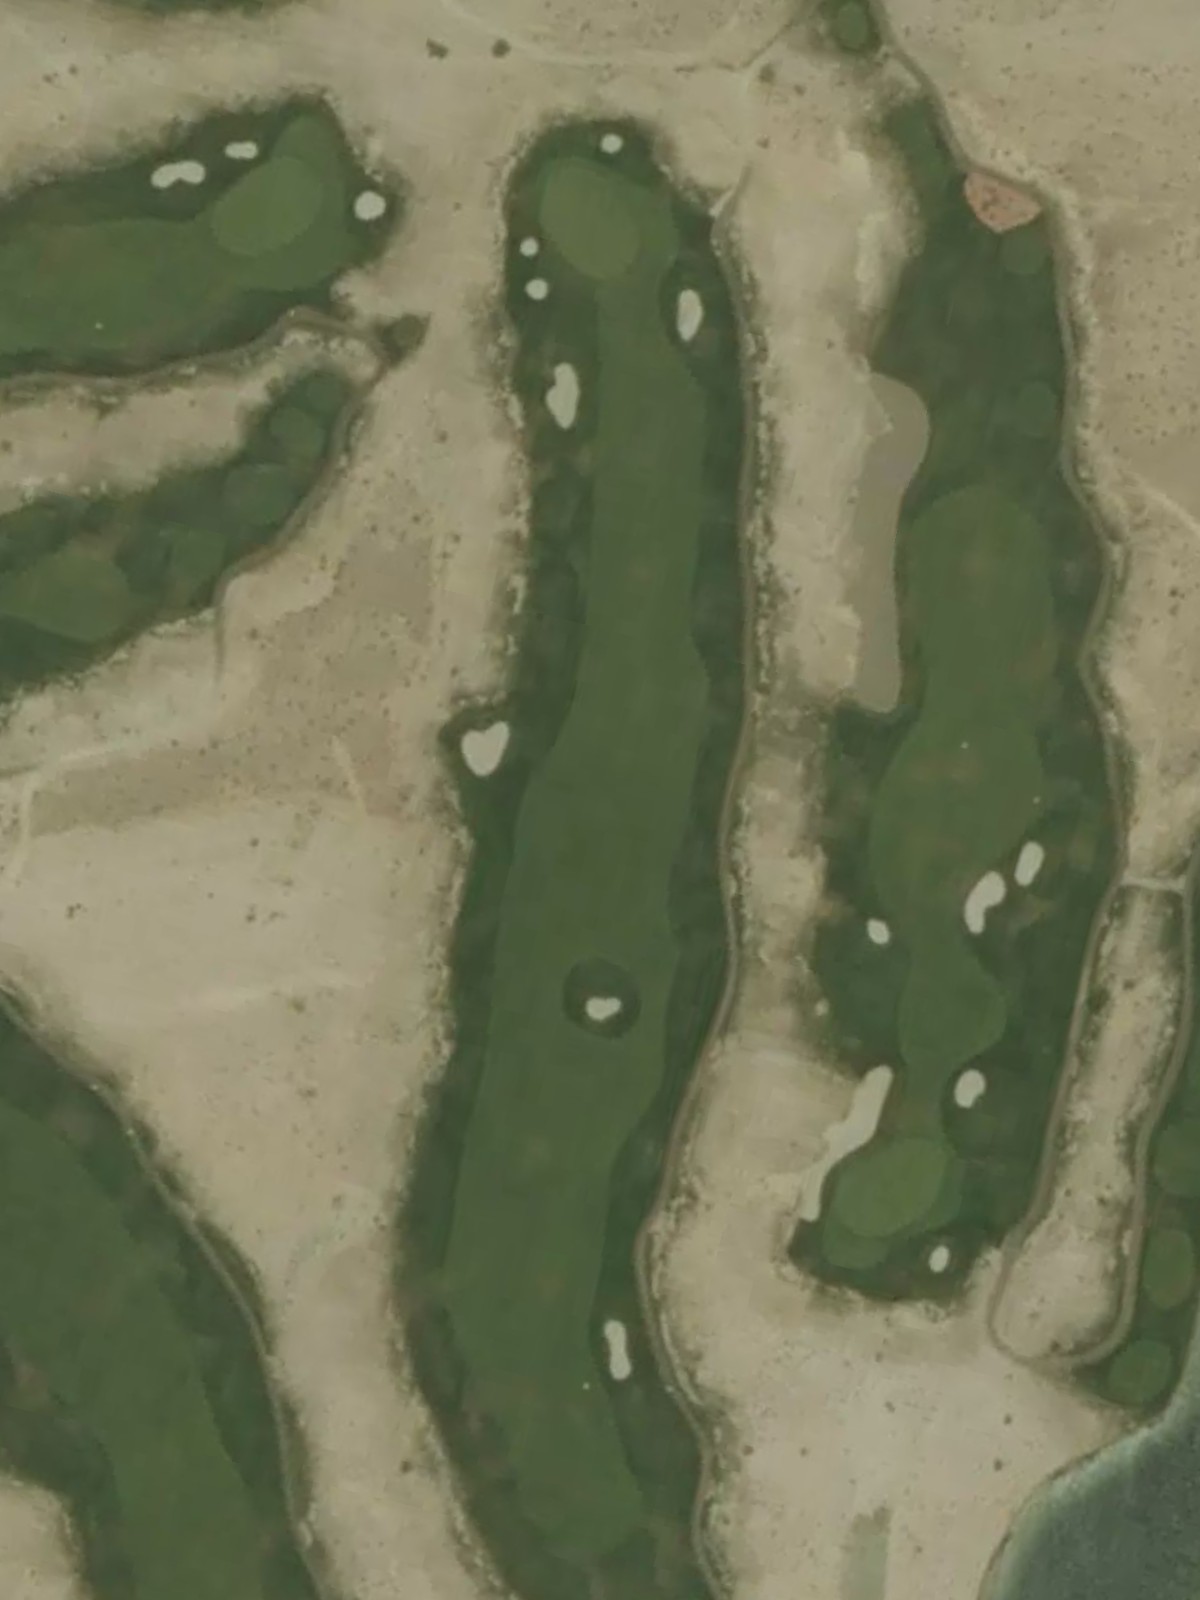
A strong par 5 that plays as the third-toughest hole on the course despite its length. The hole's layout and strategic hazards make it a three-shot test that rewards careful positioning.
A short par 3 that offers a welcome breather with its modest yardage and relatively straightforward green complex. Water hazards or bunkers provide the primary defense around the putting surface.
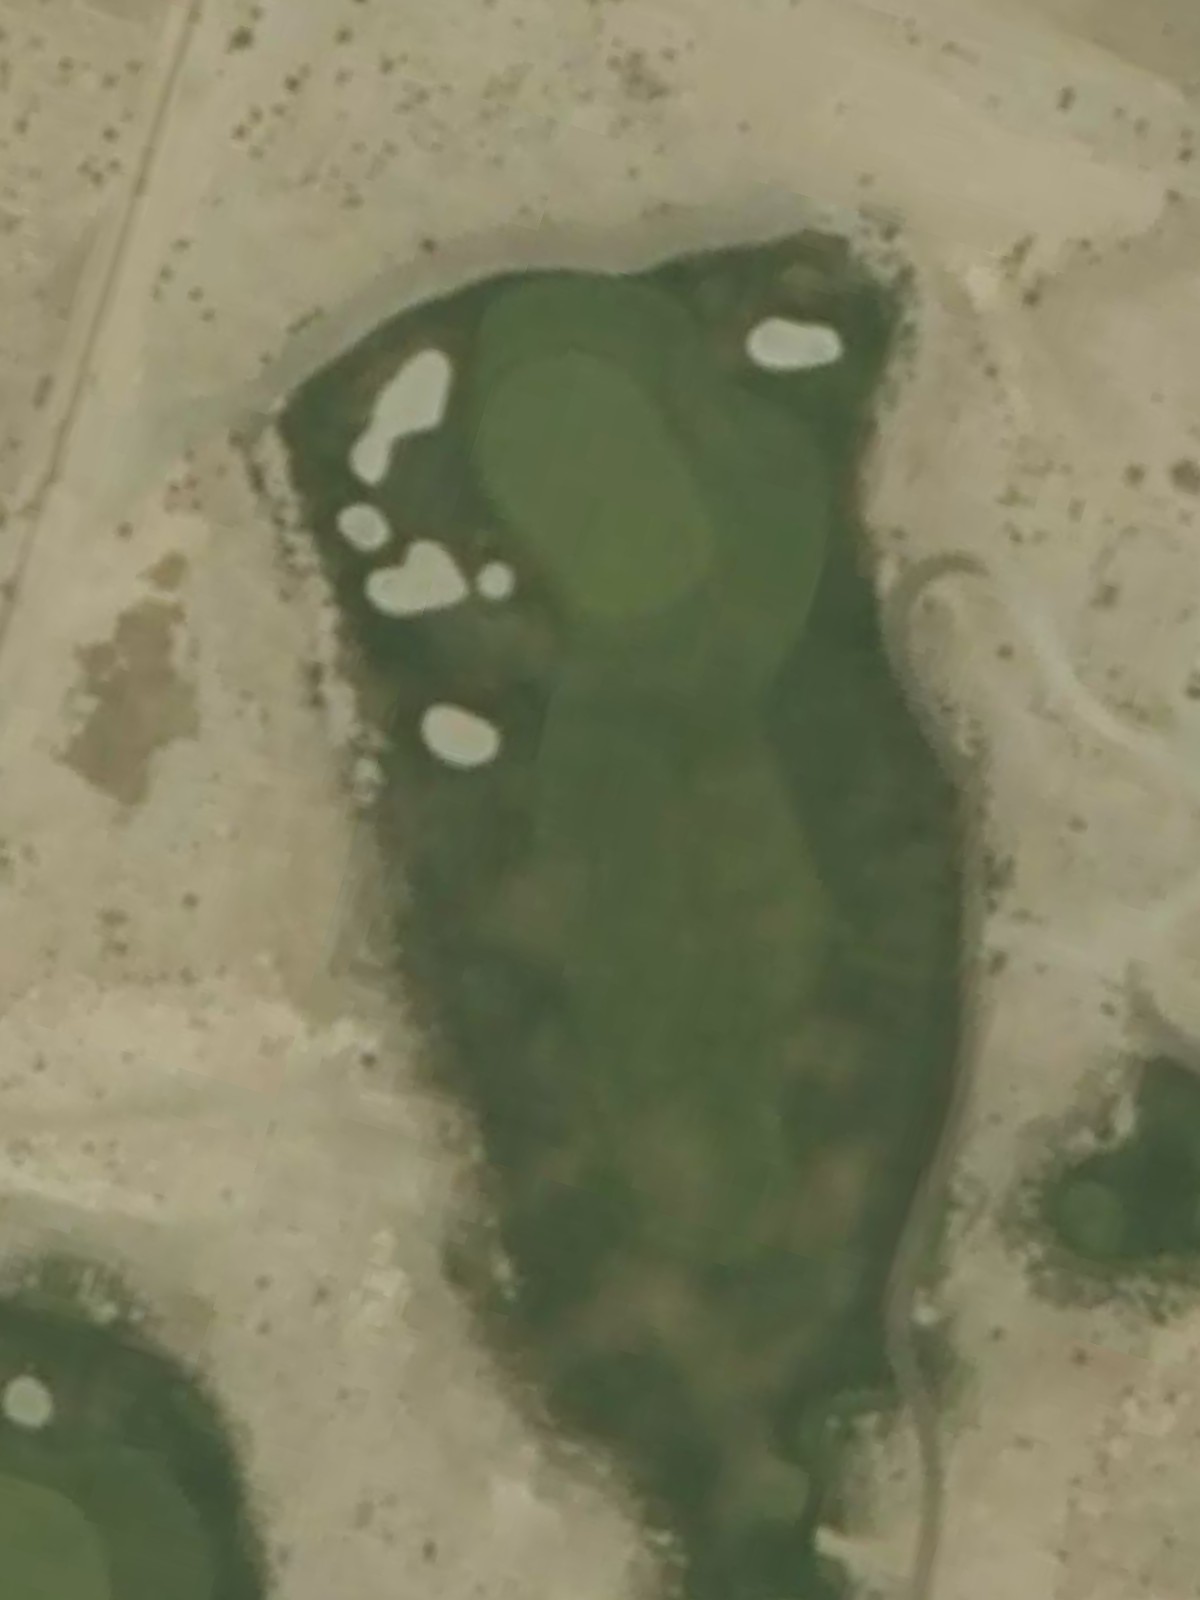
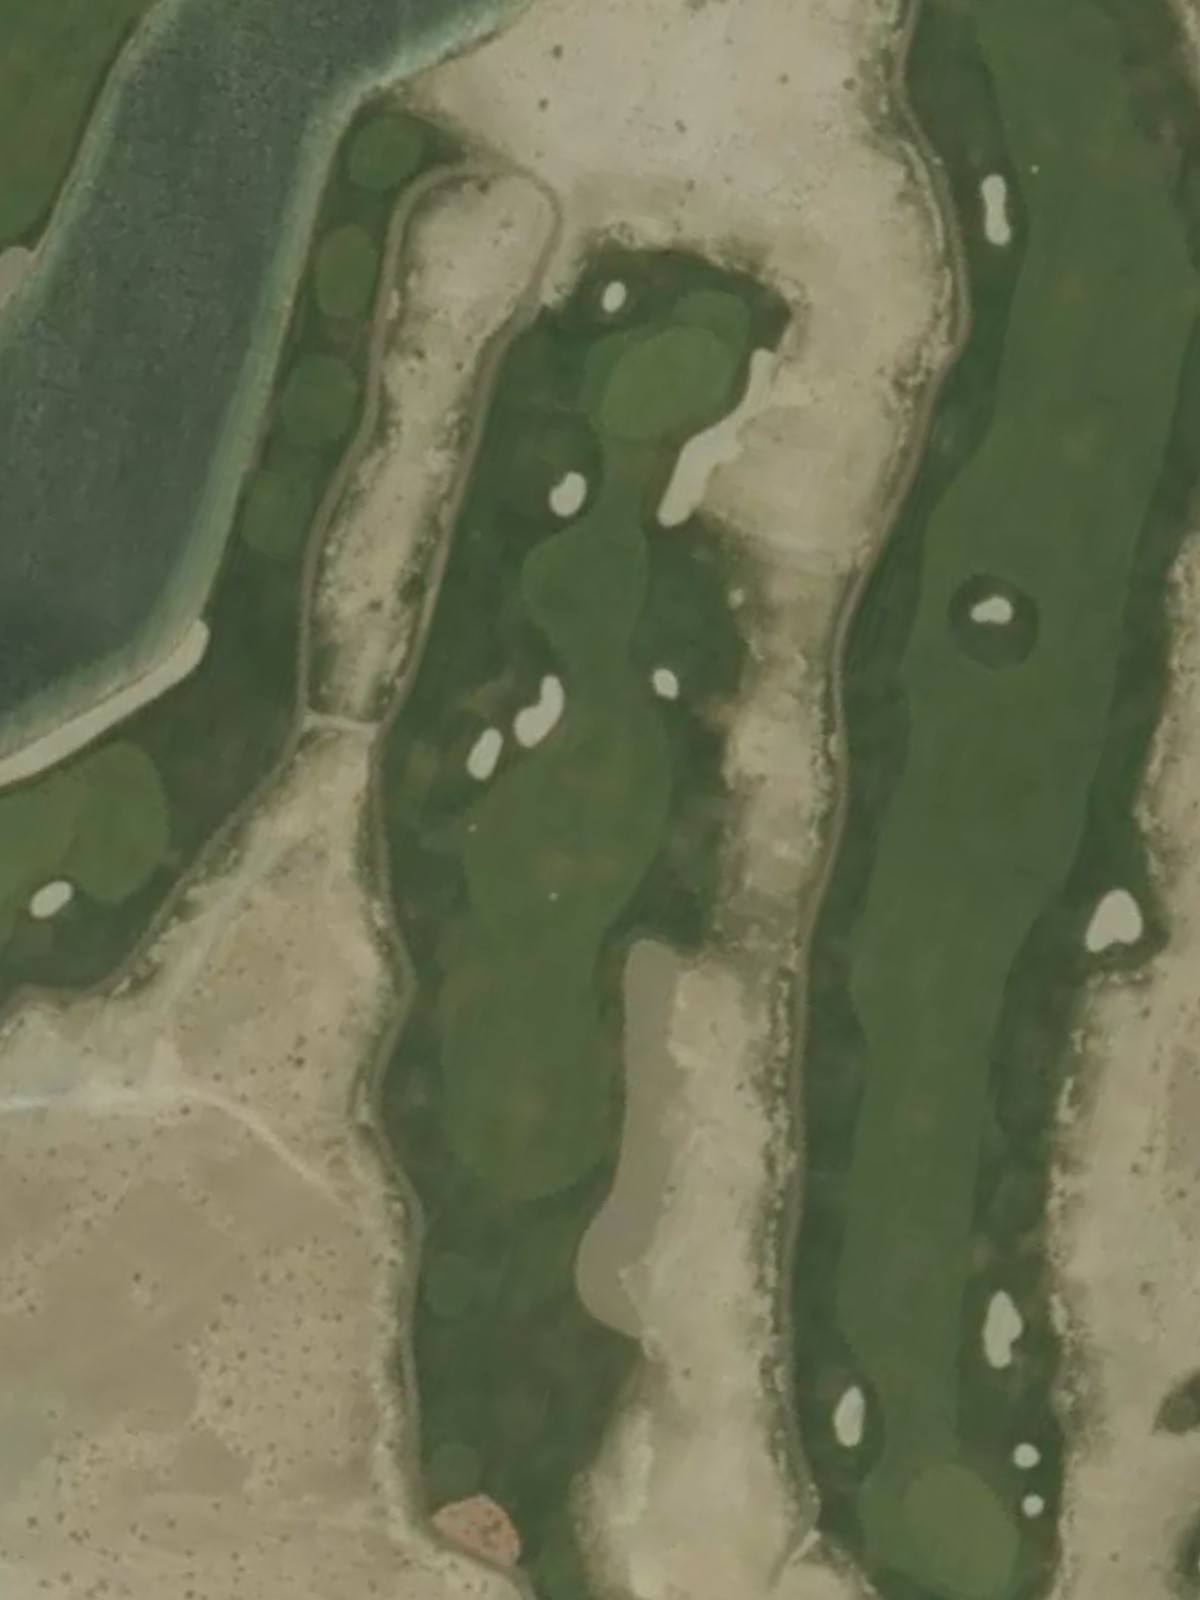
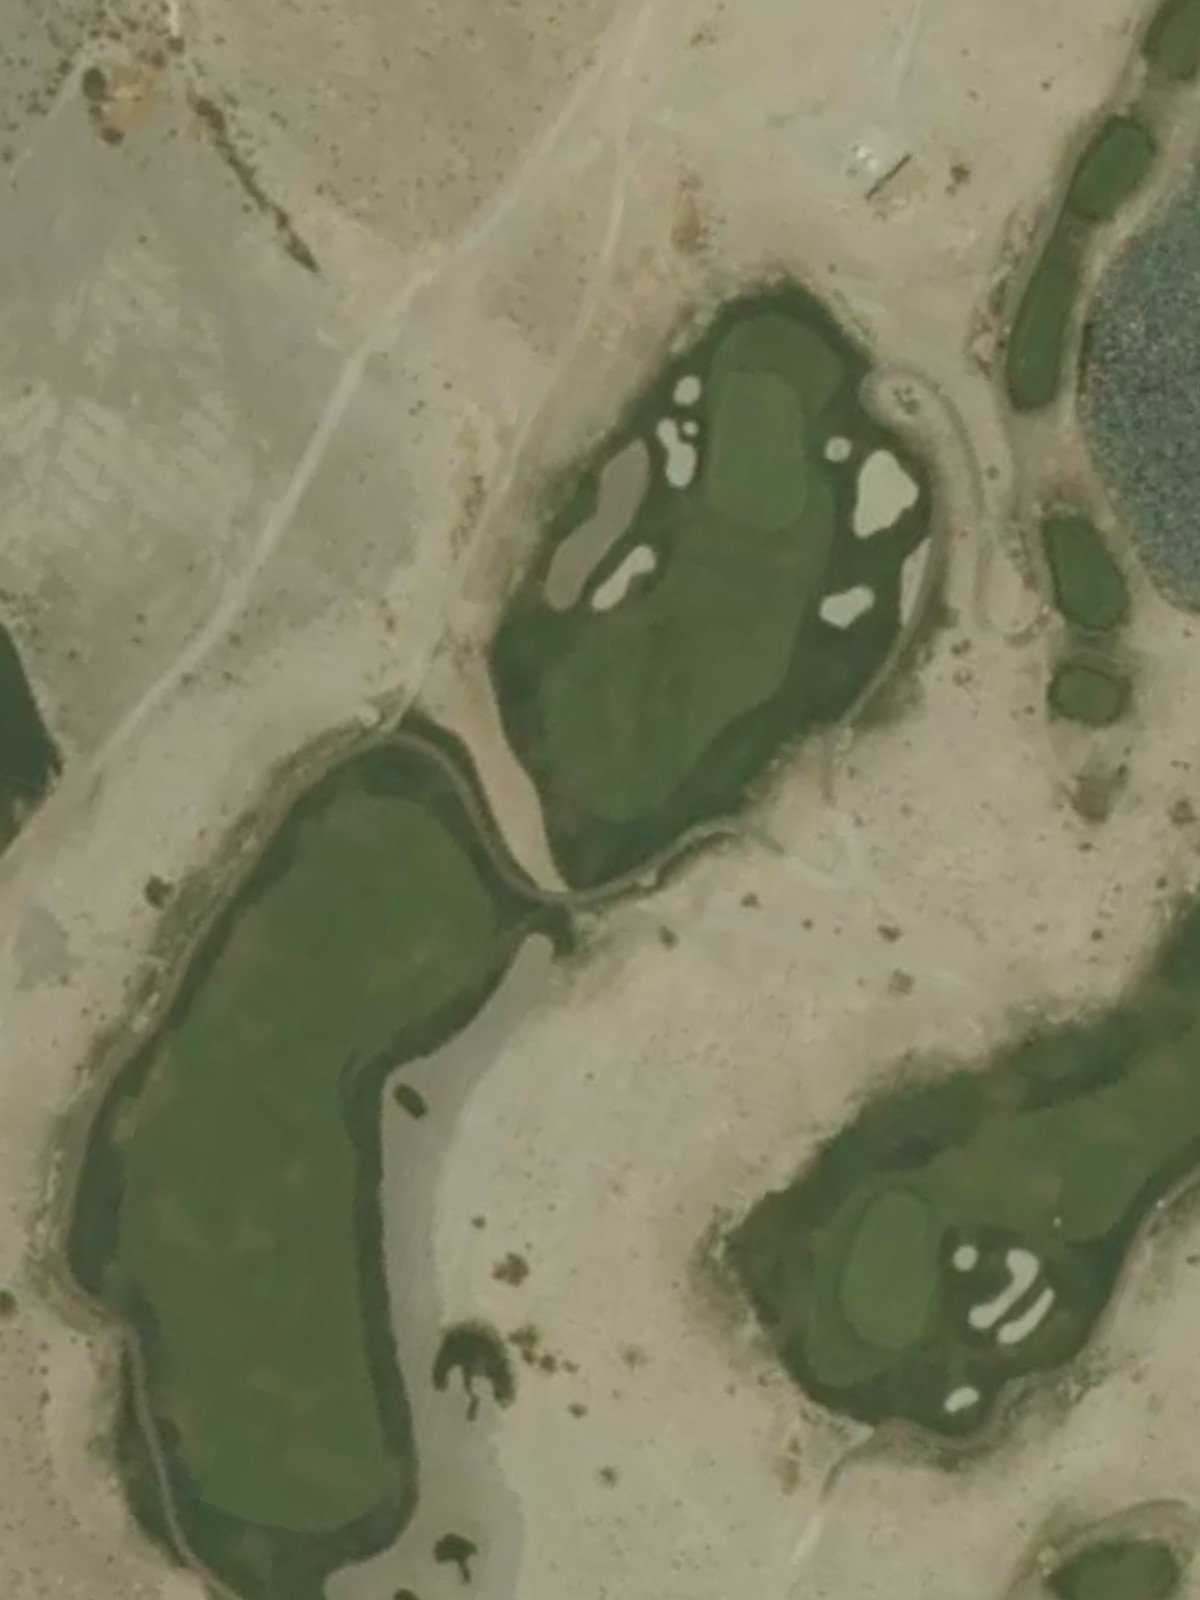
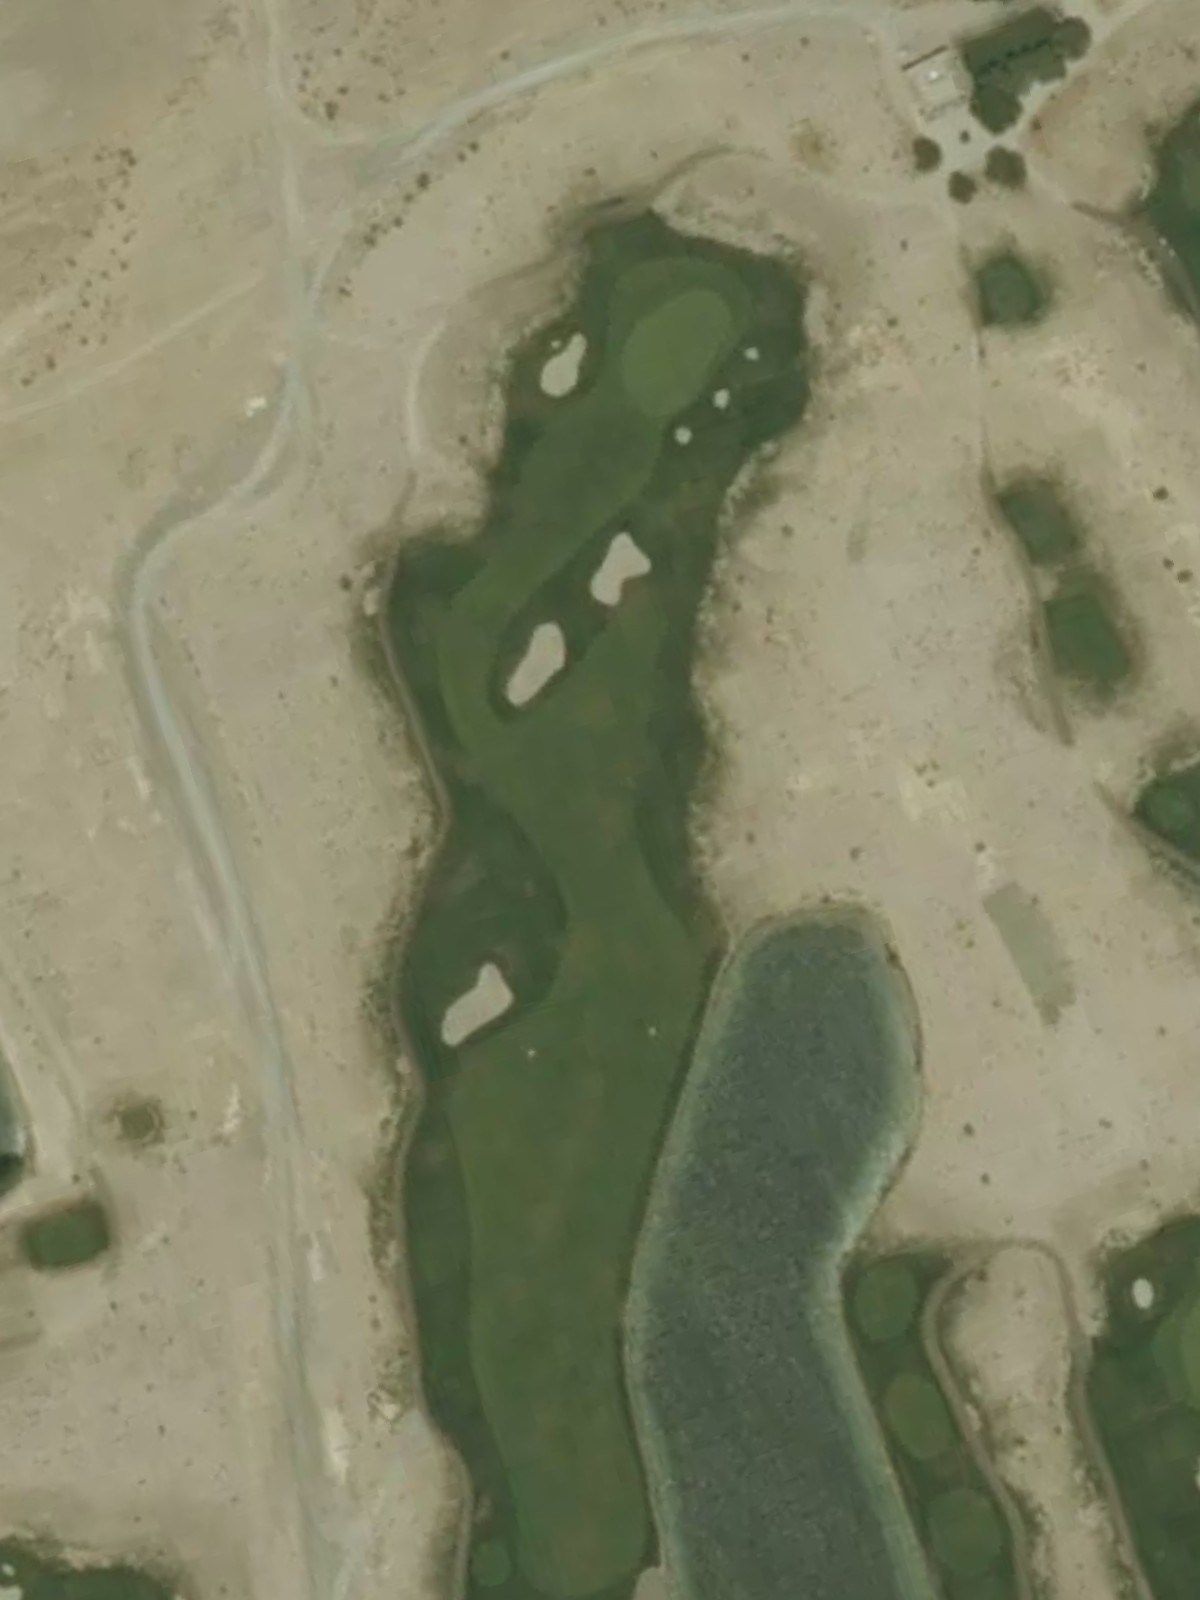
The most difficult hole on the front nine, this par 4 is both long and demanding with trouble defining play throughout. Strategic placement is critical as hazards protect the fairway and surround the green.
A reachable par 5 with a fairway that offers opportunities for aggressive play on the second shot. Water or out-of-bounds danger likely comes into play for those attempting to shorten the hole.
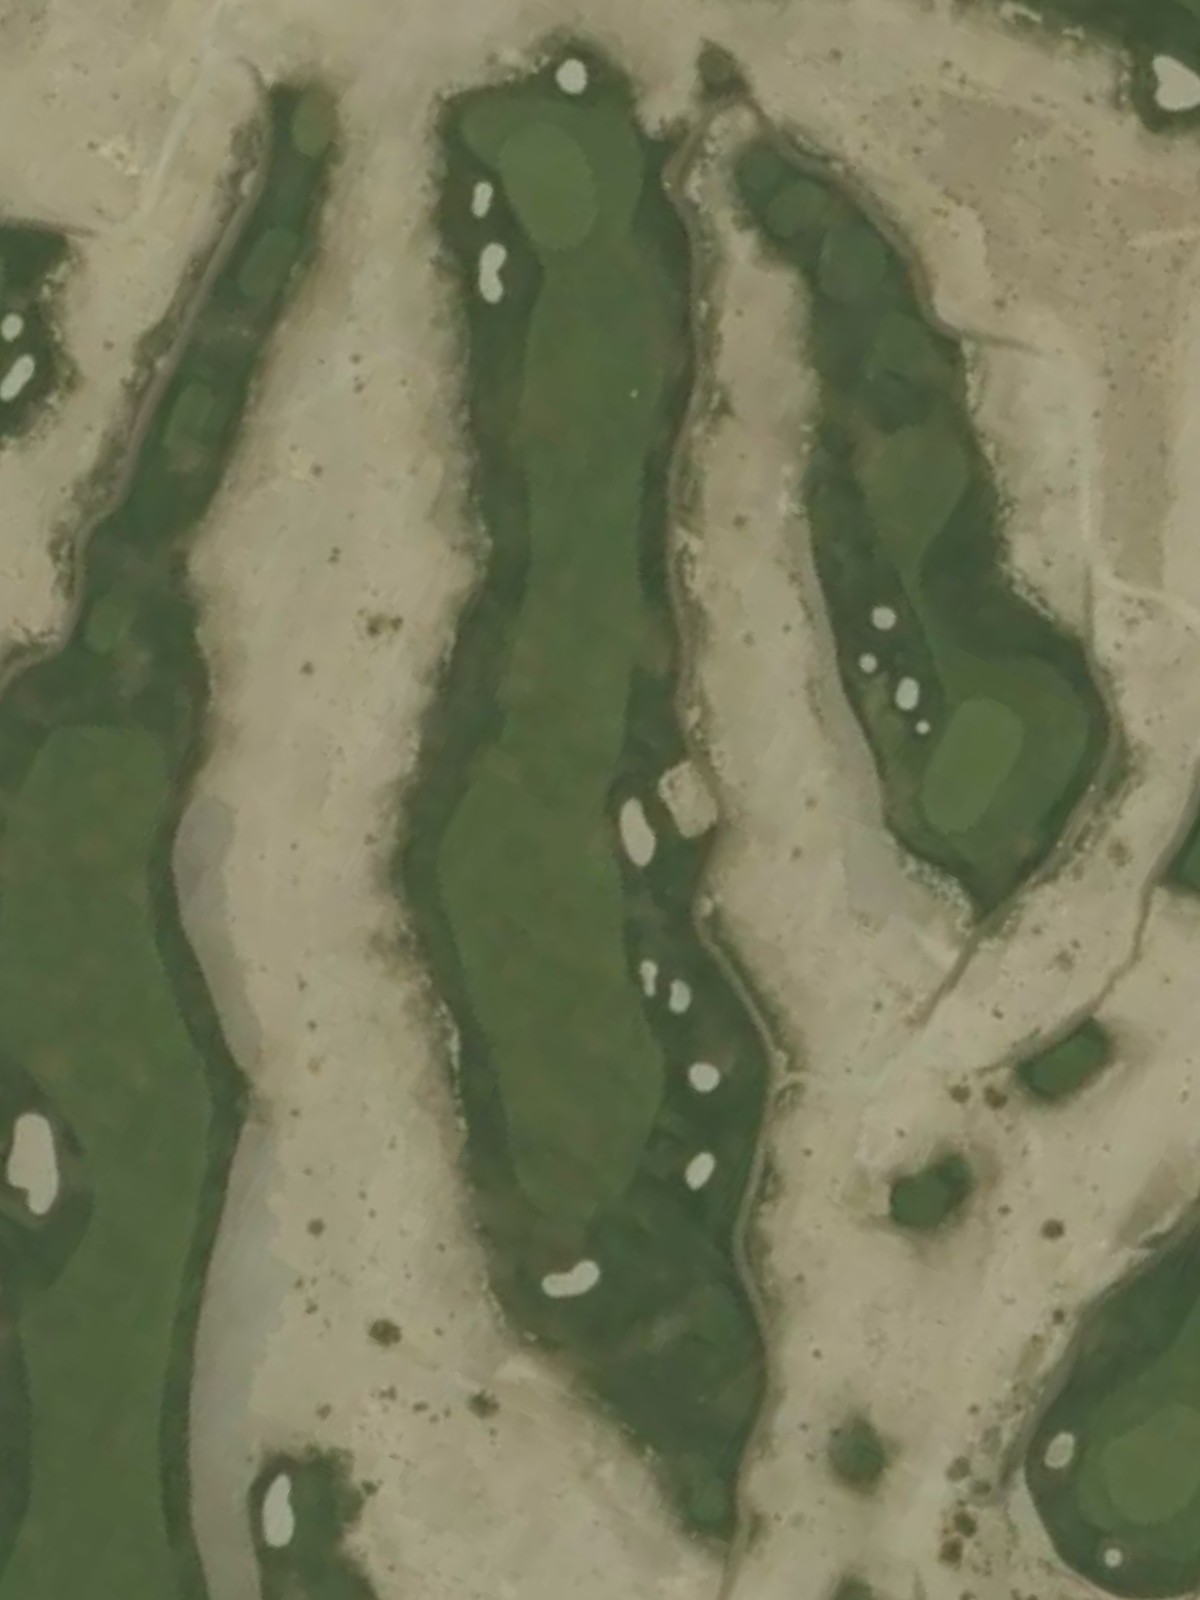
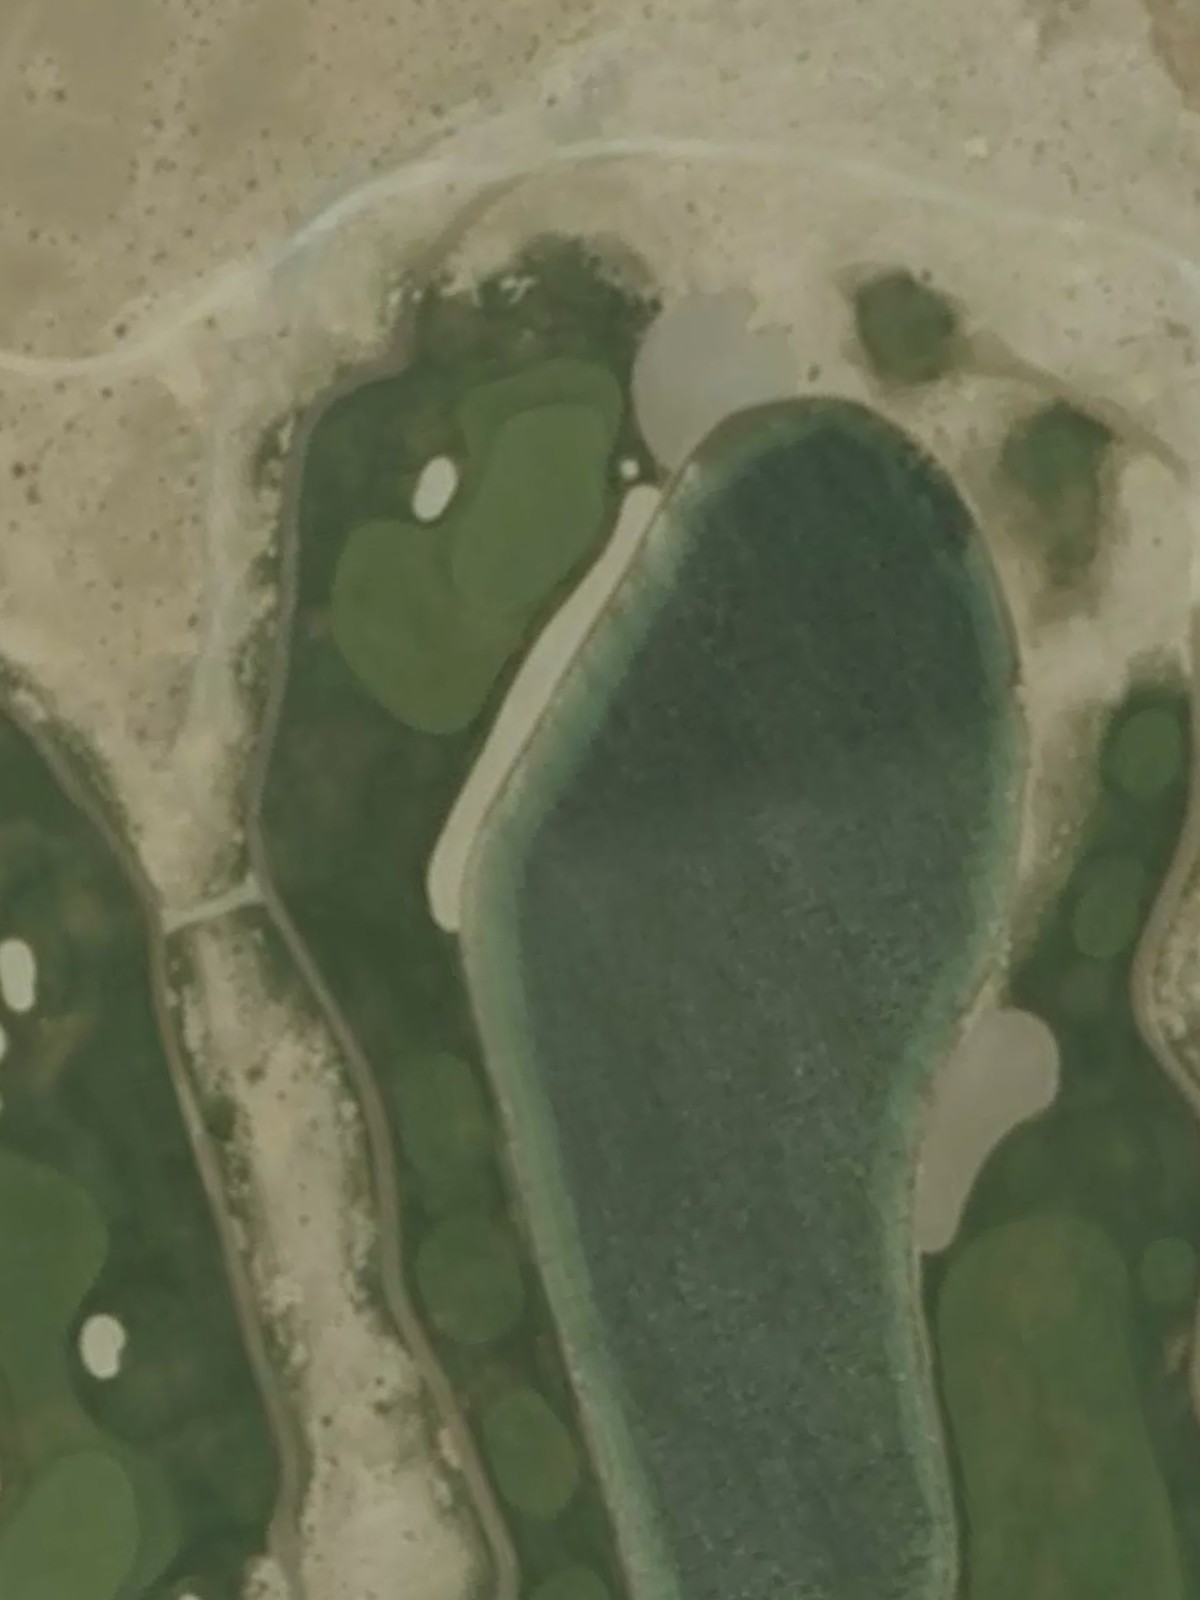
A generous short par 4 that plays to the back of the course and offers a manageable scoring opportunity. The wide fairway and relatively open approach give players room to work with.
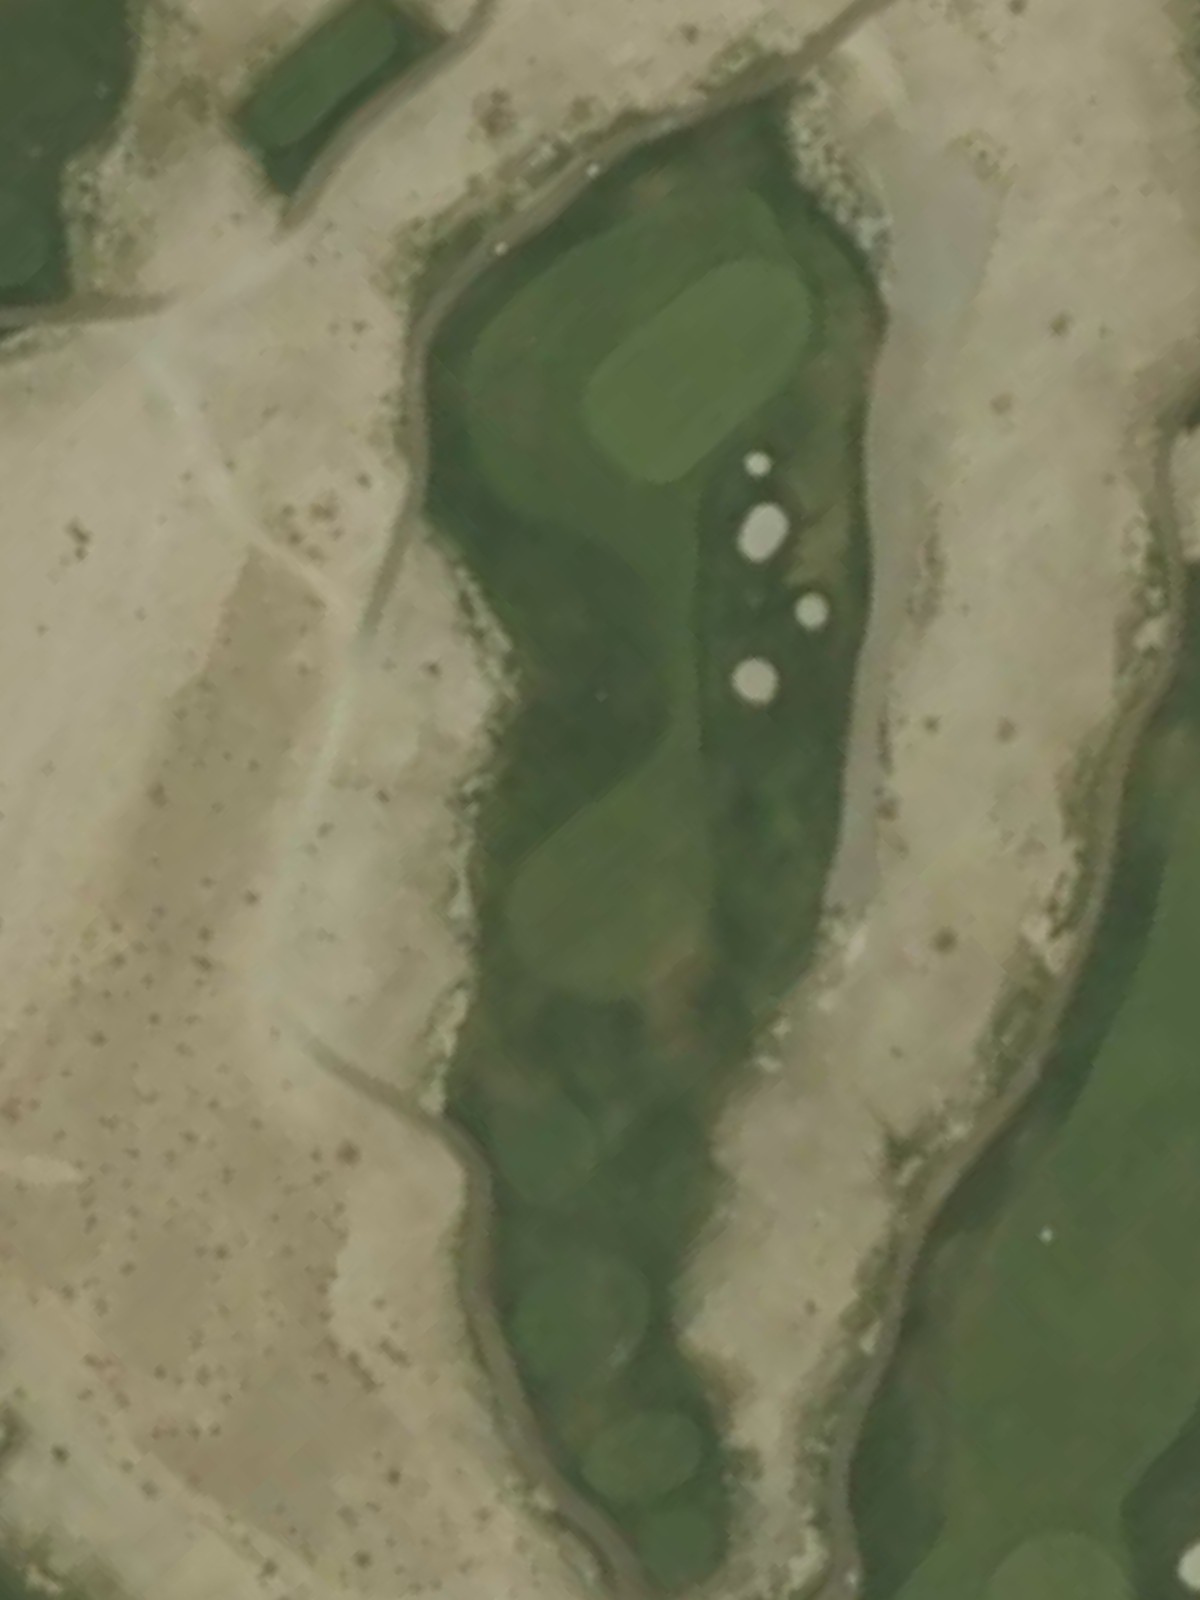
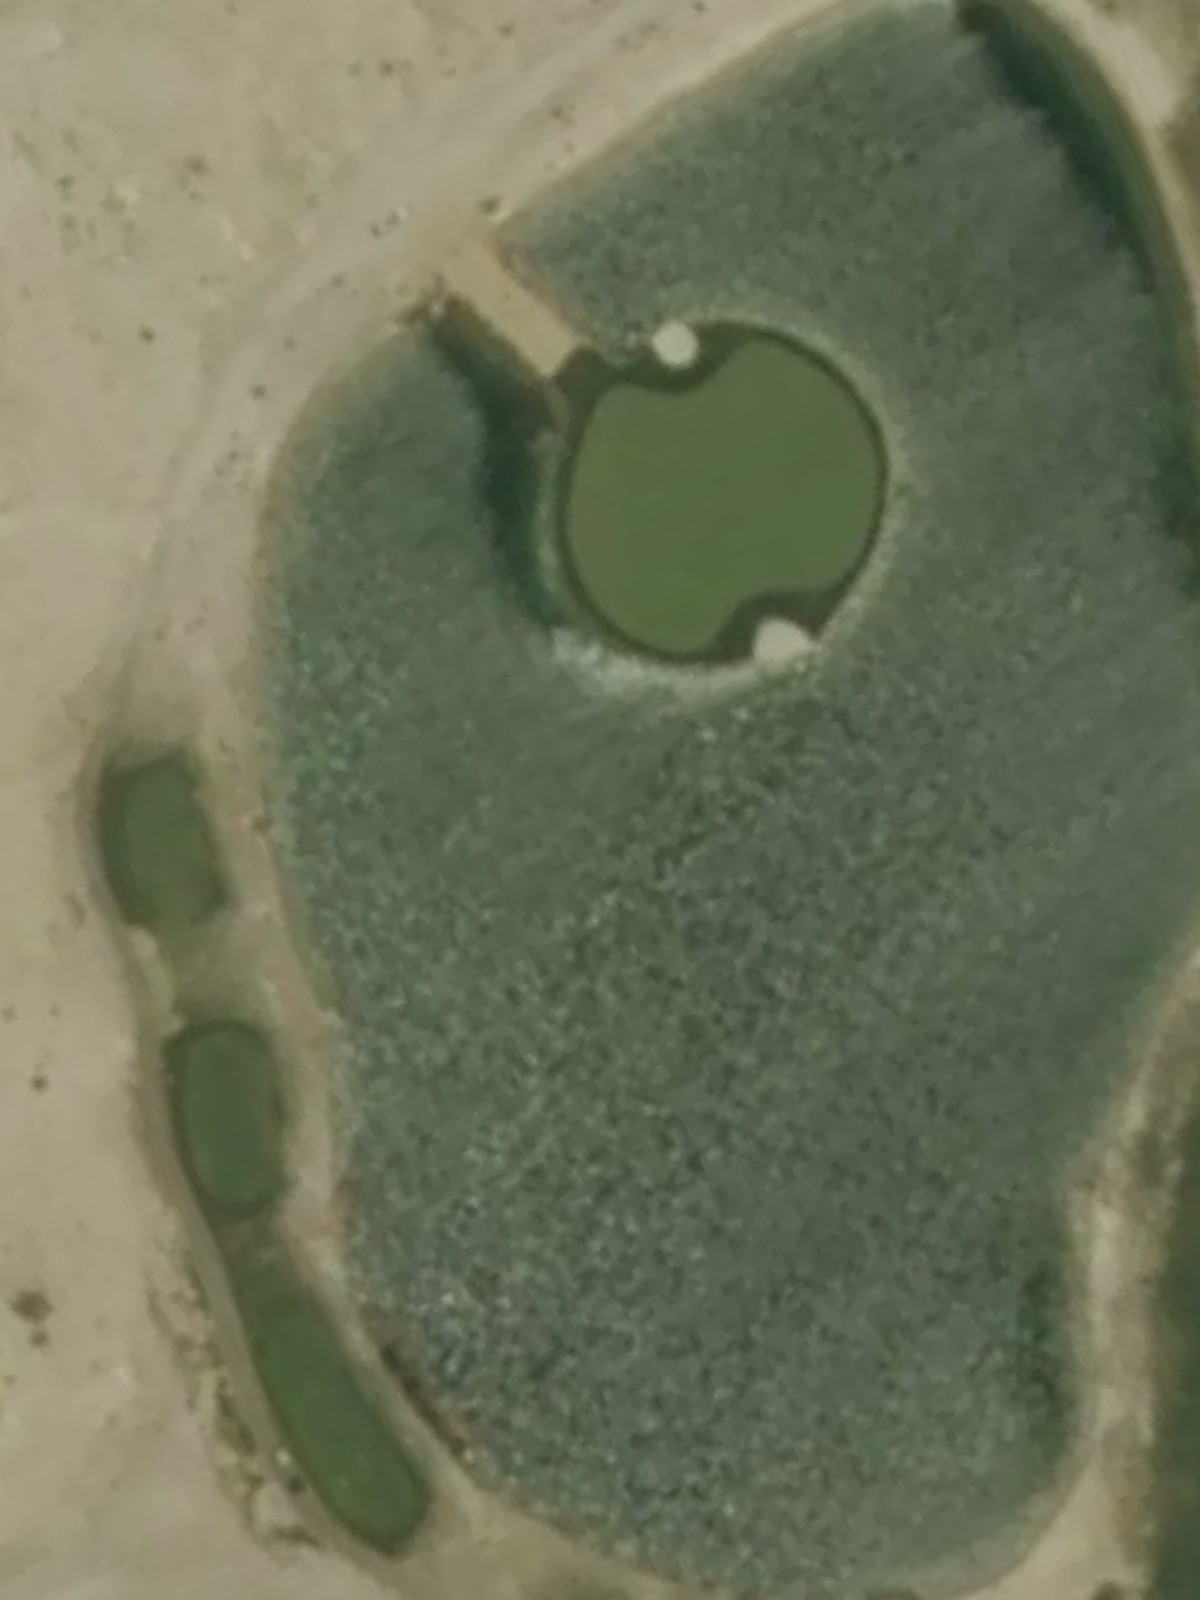
The easiest par 3 on the course, this short hole plays downwind or downhill depending on conditions. The modest green complex and minimal hazards make it the most forgiving three-shot hole.
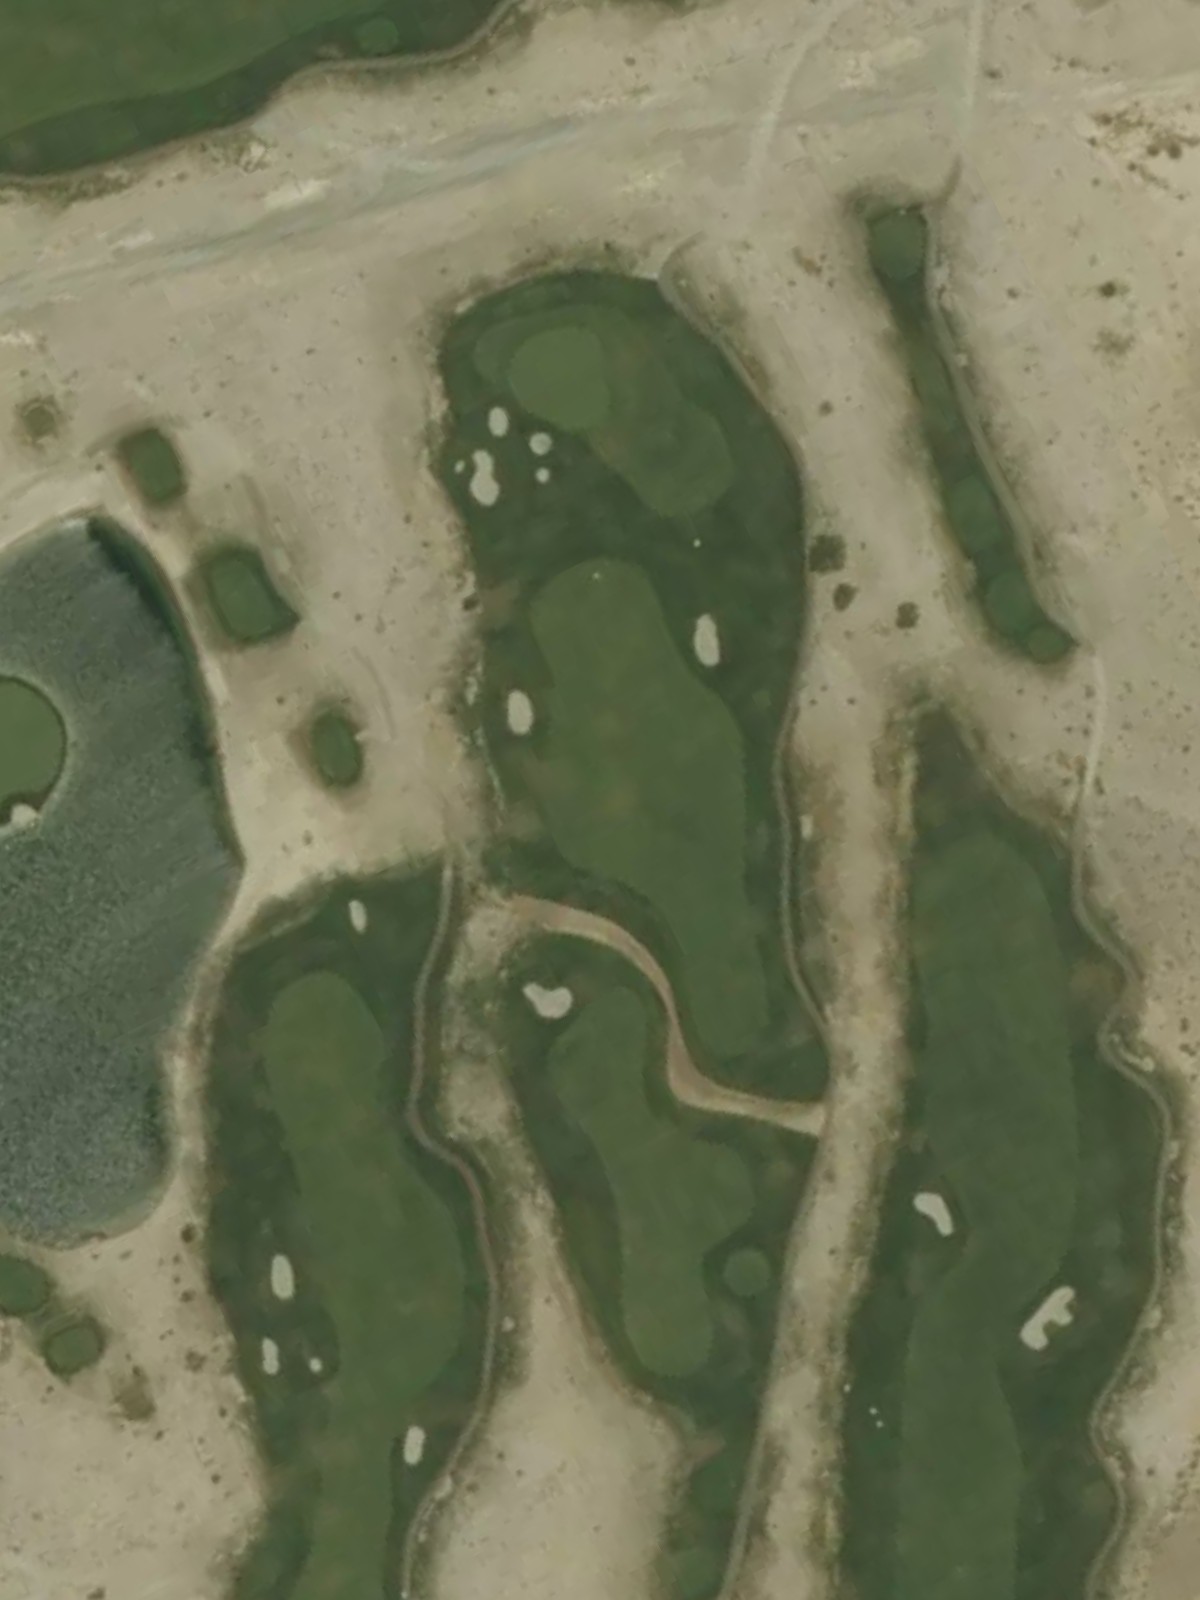
A solid par 4 with a straightforward layout that requires steady execution from tee to green. Bunkers and hazards frame the fairway and green to keep players honest throughout the hole.
An important par 4 on the back nine that plays shorter than its scorecard yardage might suggest. Strategic placement off the tee is essential to set up a manageable approach to the green.
The second-toughest hole on the course, this lengthy par 5 demands three quality shots to reach the green in regulation. Water, bunkers, or out-of-bounds trouble likely penalizes poor positioning on multiple shots.
A mid-length par 4 that presents a solid test without excessive difficulty. Hazards on one or both sides of the fairway and around the green require accurate striking.
A short par 4 that provides an excellent scoring opportunity with its modest yardage and straightforward design. The fairway is relatively open, though bunkers or water may guard the approach zone.
The easiest hole on the course, this ultra-short par 3 is the most birdie-friendly test on the layout. A small green with minimal surrounding hazards makes this an excellent scoring chance.
A tough mid-length par 4 that requires precision rather than distance to score well. Hazards strategically placed on the fairway and around the green demand careful club selection and shot placement.

A manageable par 3 with moderate yardage and a relatively forgiving green complex. Water or bunkers provide the primary challenge, but the hole does not demand a perfect shot to make par.
A strong finishing par 5 that plays long and demands three solid shots to reach the green safely. Strategic hazards on the fairway and around the green reward good positioning and penalize poor decisions.
The second-toughest hole on the course, this lengthy par 4 provides a demanding finishing test that requires both power and precision. Water, out-of-bounds, or bunkers define the challenge on both the fairway and approach.
Scorecard
| Hole | 1 | 2 | 3 | 4 | 5 | 6 | 7 | 8 | 9 | Out | 10 | 11 | 12 | 13 | 14 | 15 | 16 | 17 | 18 | In | Tot |
|---|---|---|---|---|---|---|---|---|---|---|---|---|---|---|---|---|---|---|---|---|---|
| Par | 4 | 4 | 5 | 3 | 4 | 5 | 4 | 3 | 4 | 36 | 4 | 5 | 4 | 4 | 3 | 4 | 3 | 5 | 4 | 36 | 72 |
| HCP | 11 | 9 | 3 | 13 | 1 | 5 | 15 | 17 | 7 | 8 | 4 | 12 | 16 | 18 | 6 | 14 | 10 | 2 | |||
| black | 384 | 427 | 564 | 181 | 452 | 561 | 332 | 194 | 407 | 3502 | 407 | 607 | 417 | 338 | 189 | 448 | 193 | 528 | 439 | 3566 | 7068 |
| yellow | 341 | 390 | 544 | 161 | 417 | 503 | 306 | 167 | 384 | 3213 | 368 | 577 | 398 | 309 | 171 | 421 | 177 | 507 | 418 | 3346 | 6559 |
| white | 306 | 348 | 493 | 133 | 377 | 473 | 281 | 146 | 366 | 2923 | 331 | 468 | 334 | 291 | 141 | 391 | 143 | 483 | 387 | 2969 | 5892 |
| red | 278 | 307 | 456 | 97 | 338 | 425 | 224 | 132 | 347 | 2604 | 276 | 409 | 283 | 252 | 112 | 356 | 110 | 451 | 348 | 2597 | 5201 |