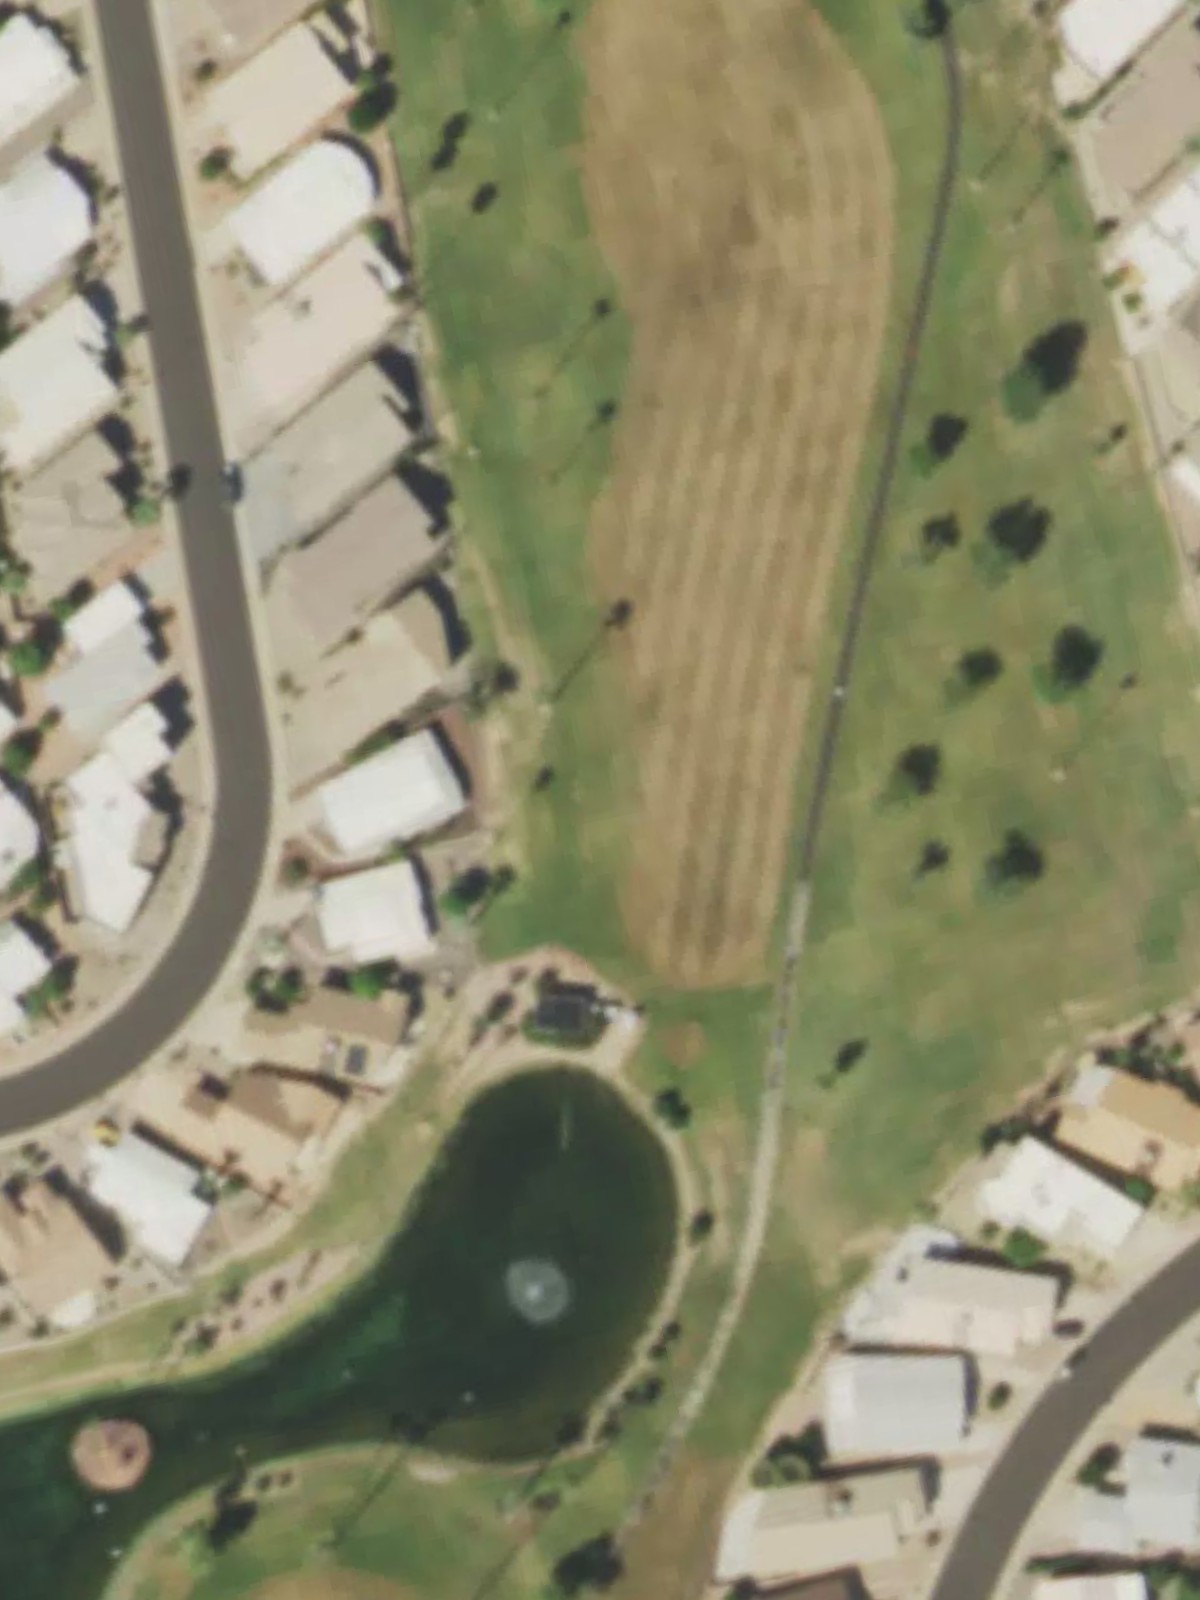
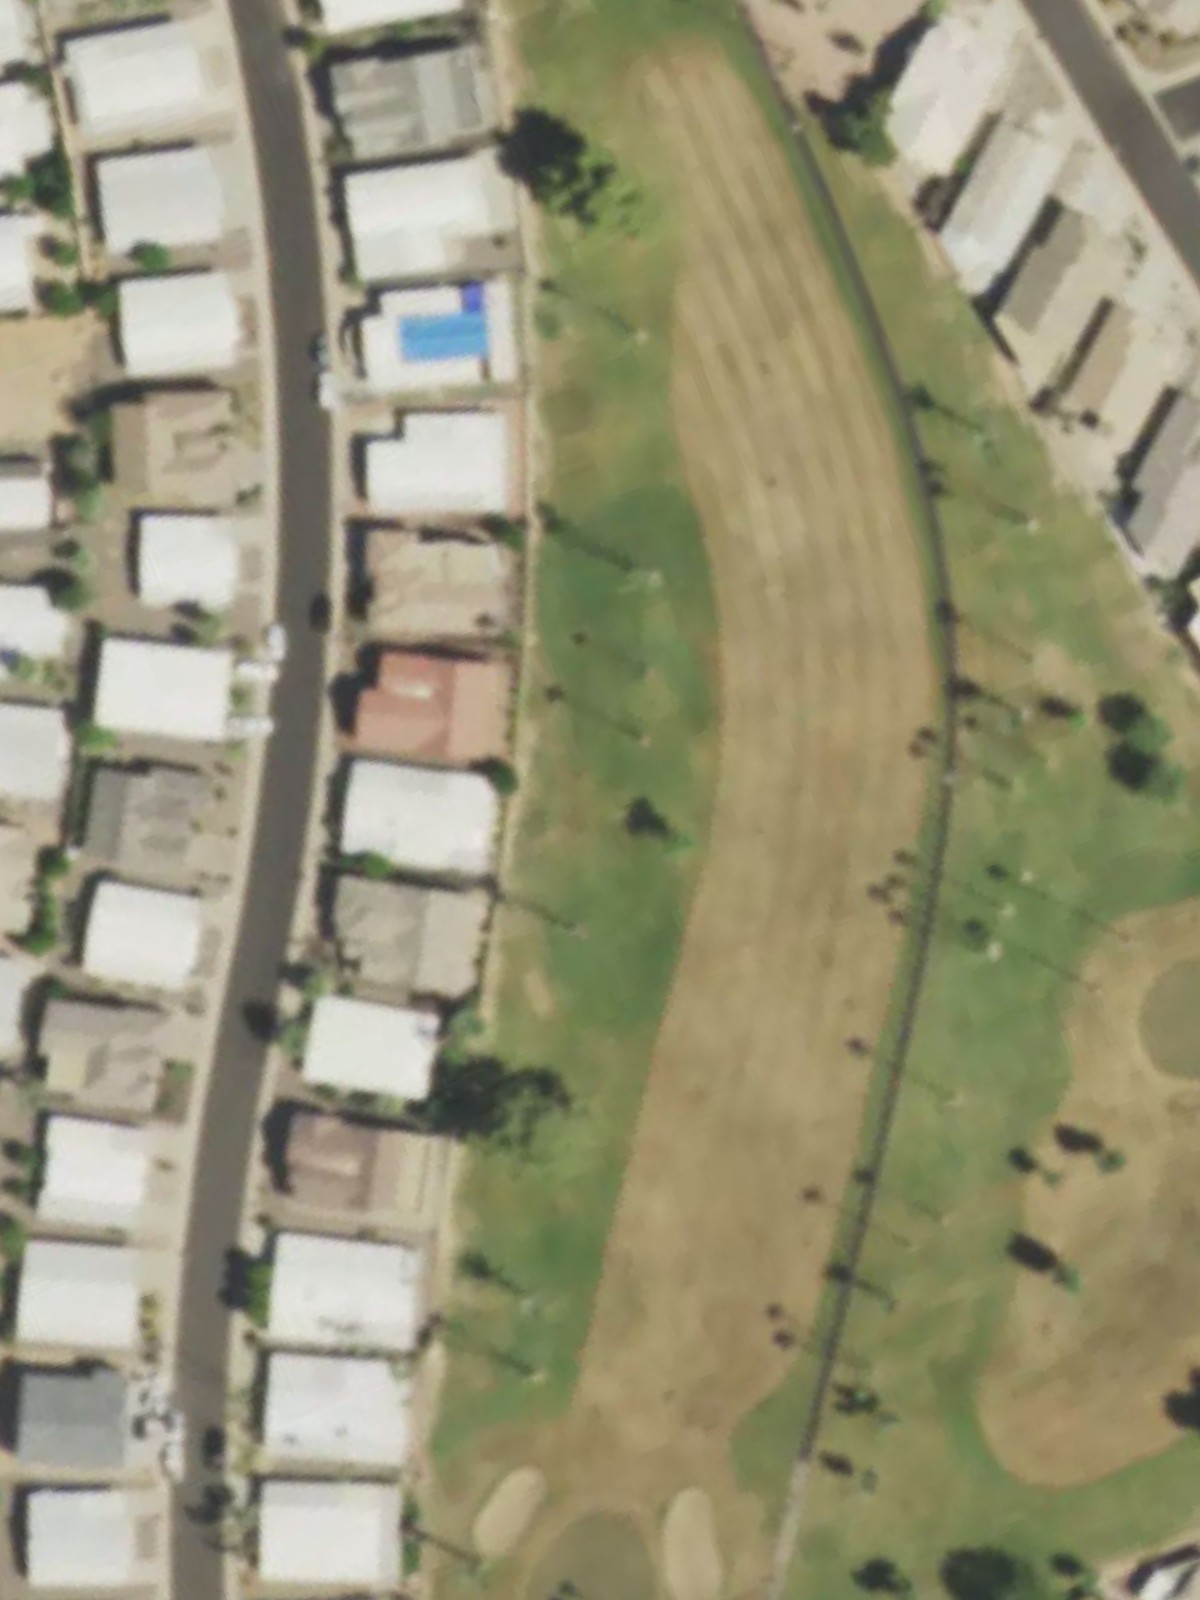
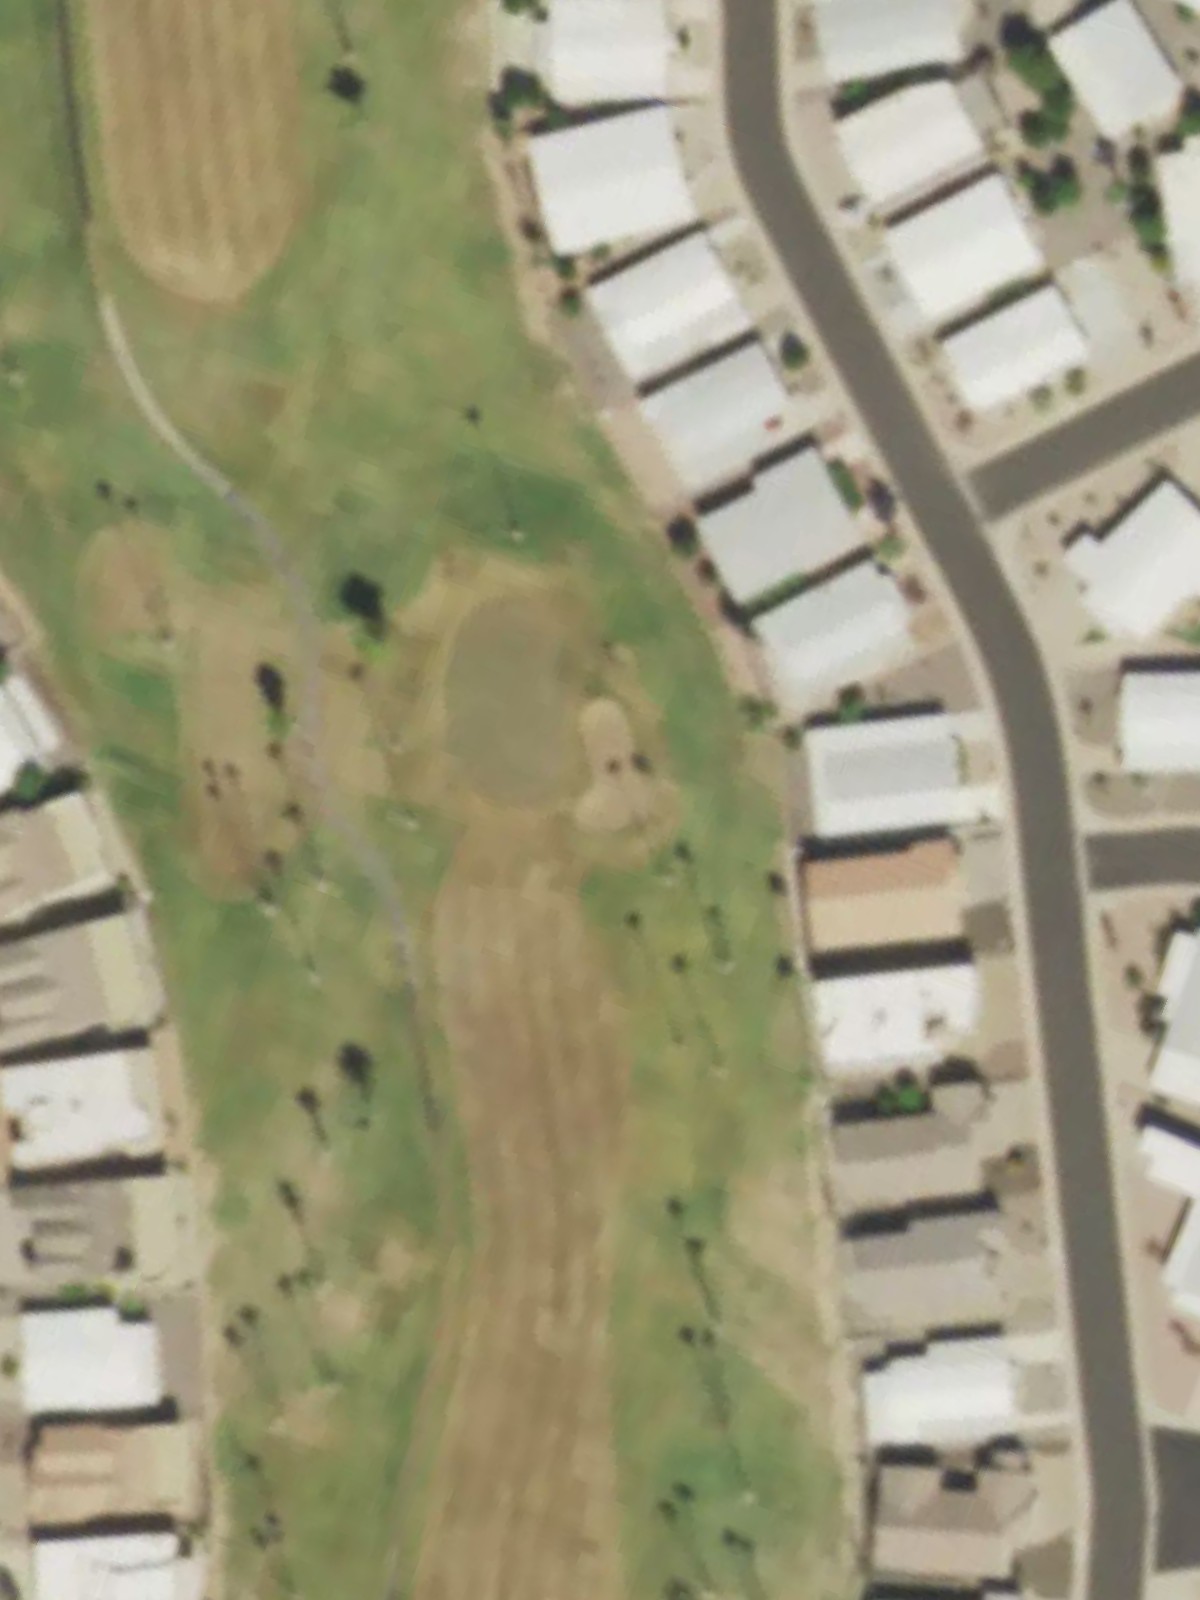
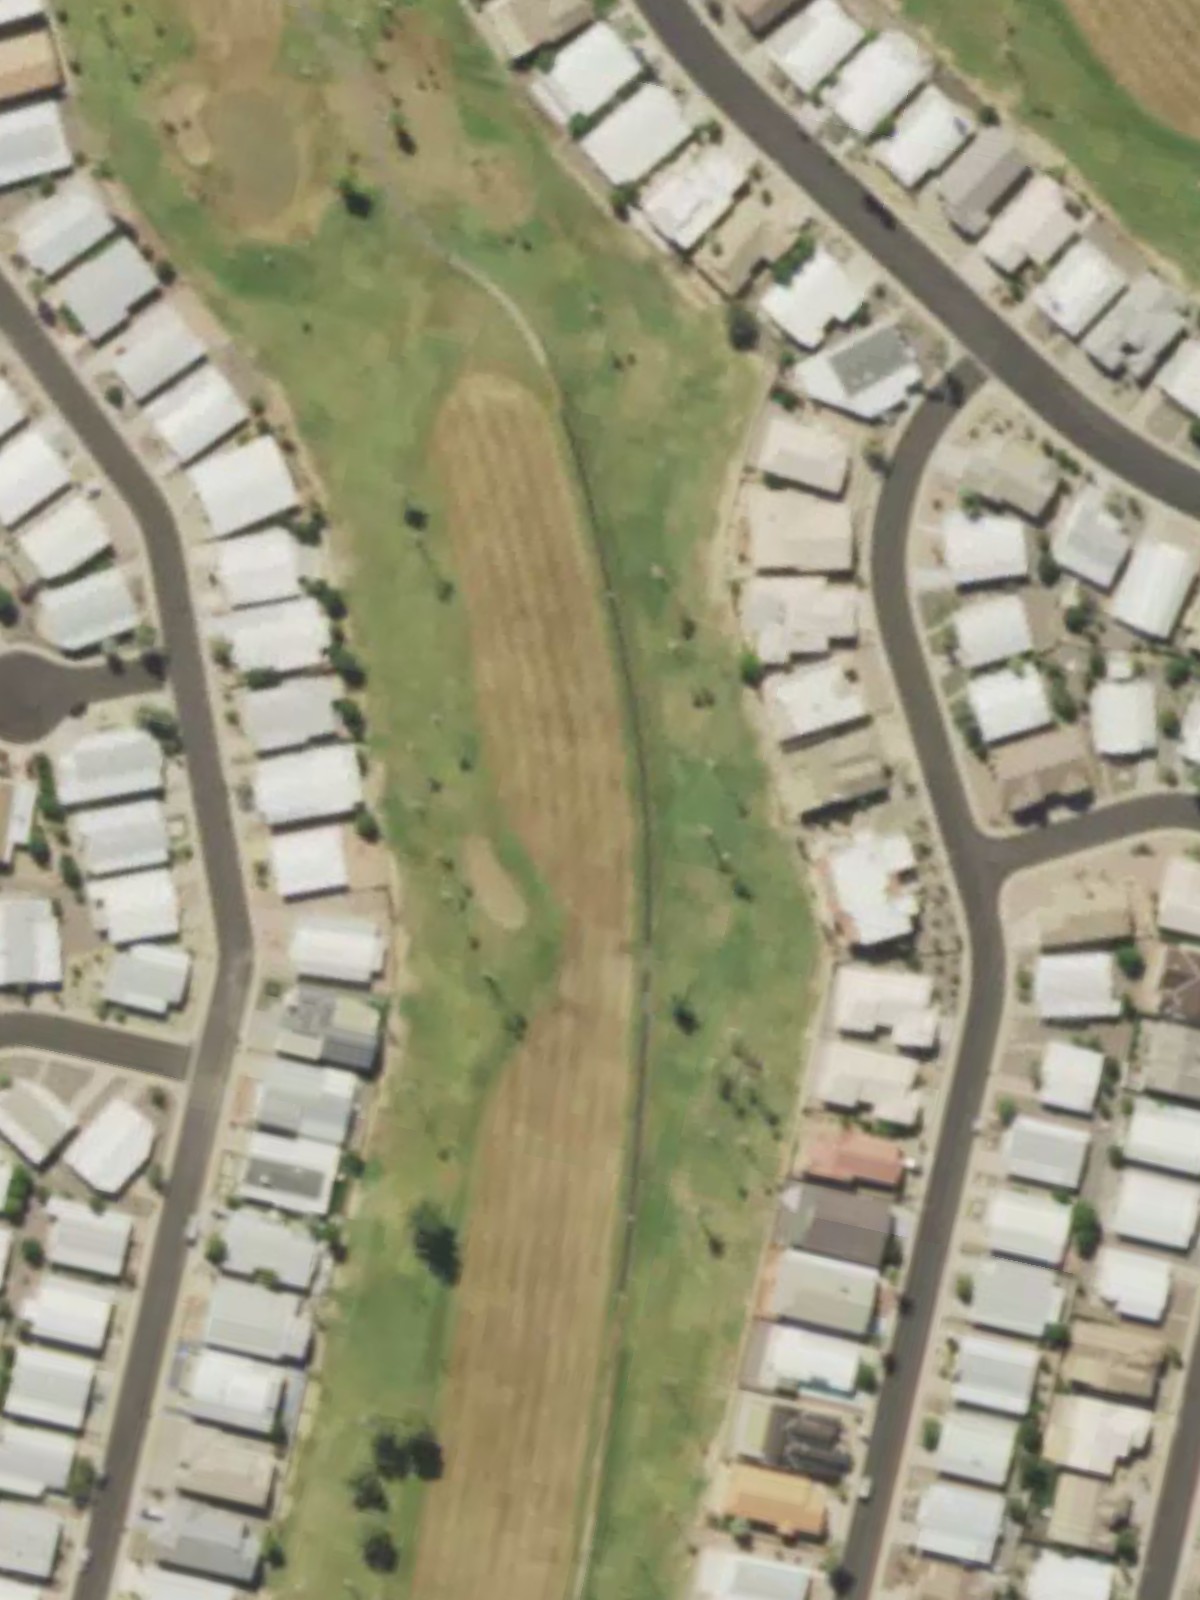
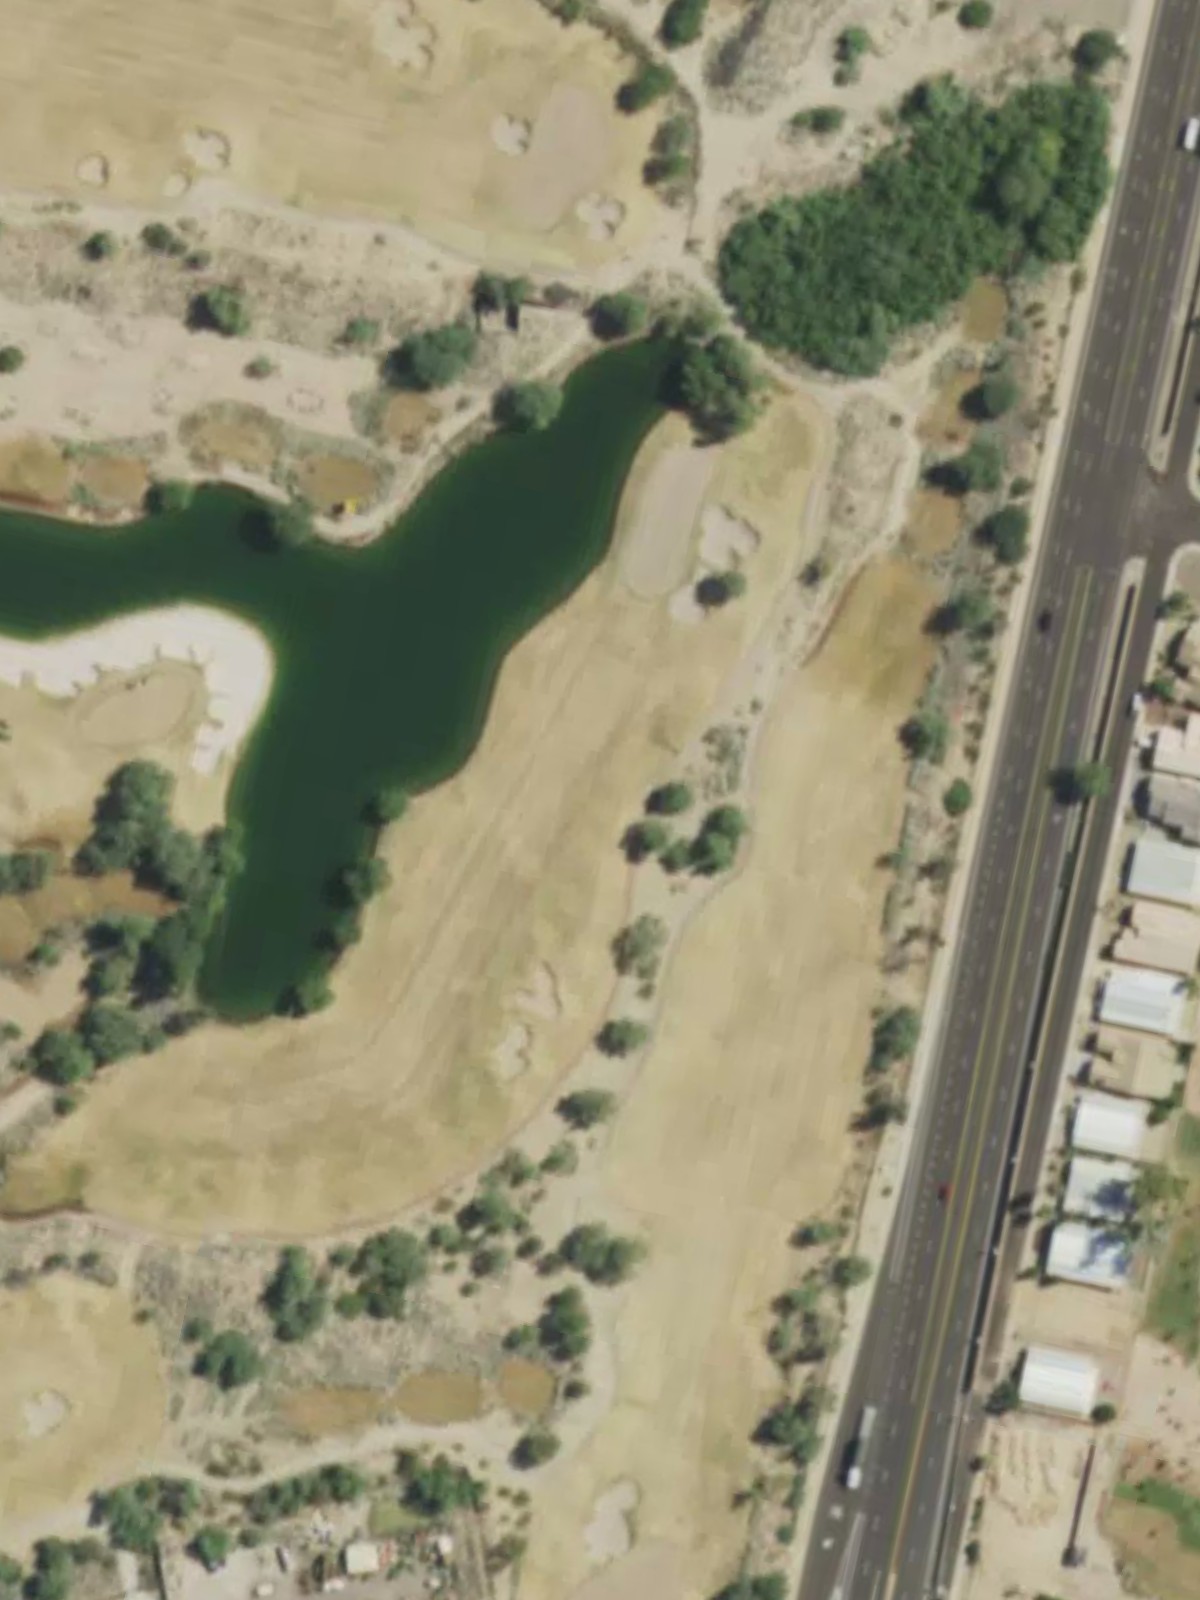
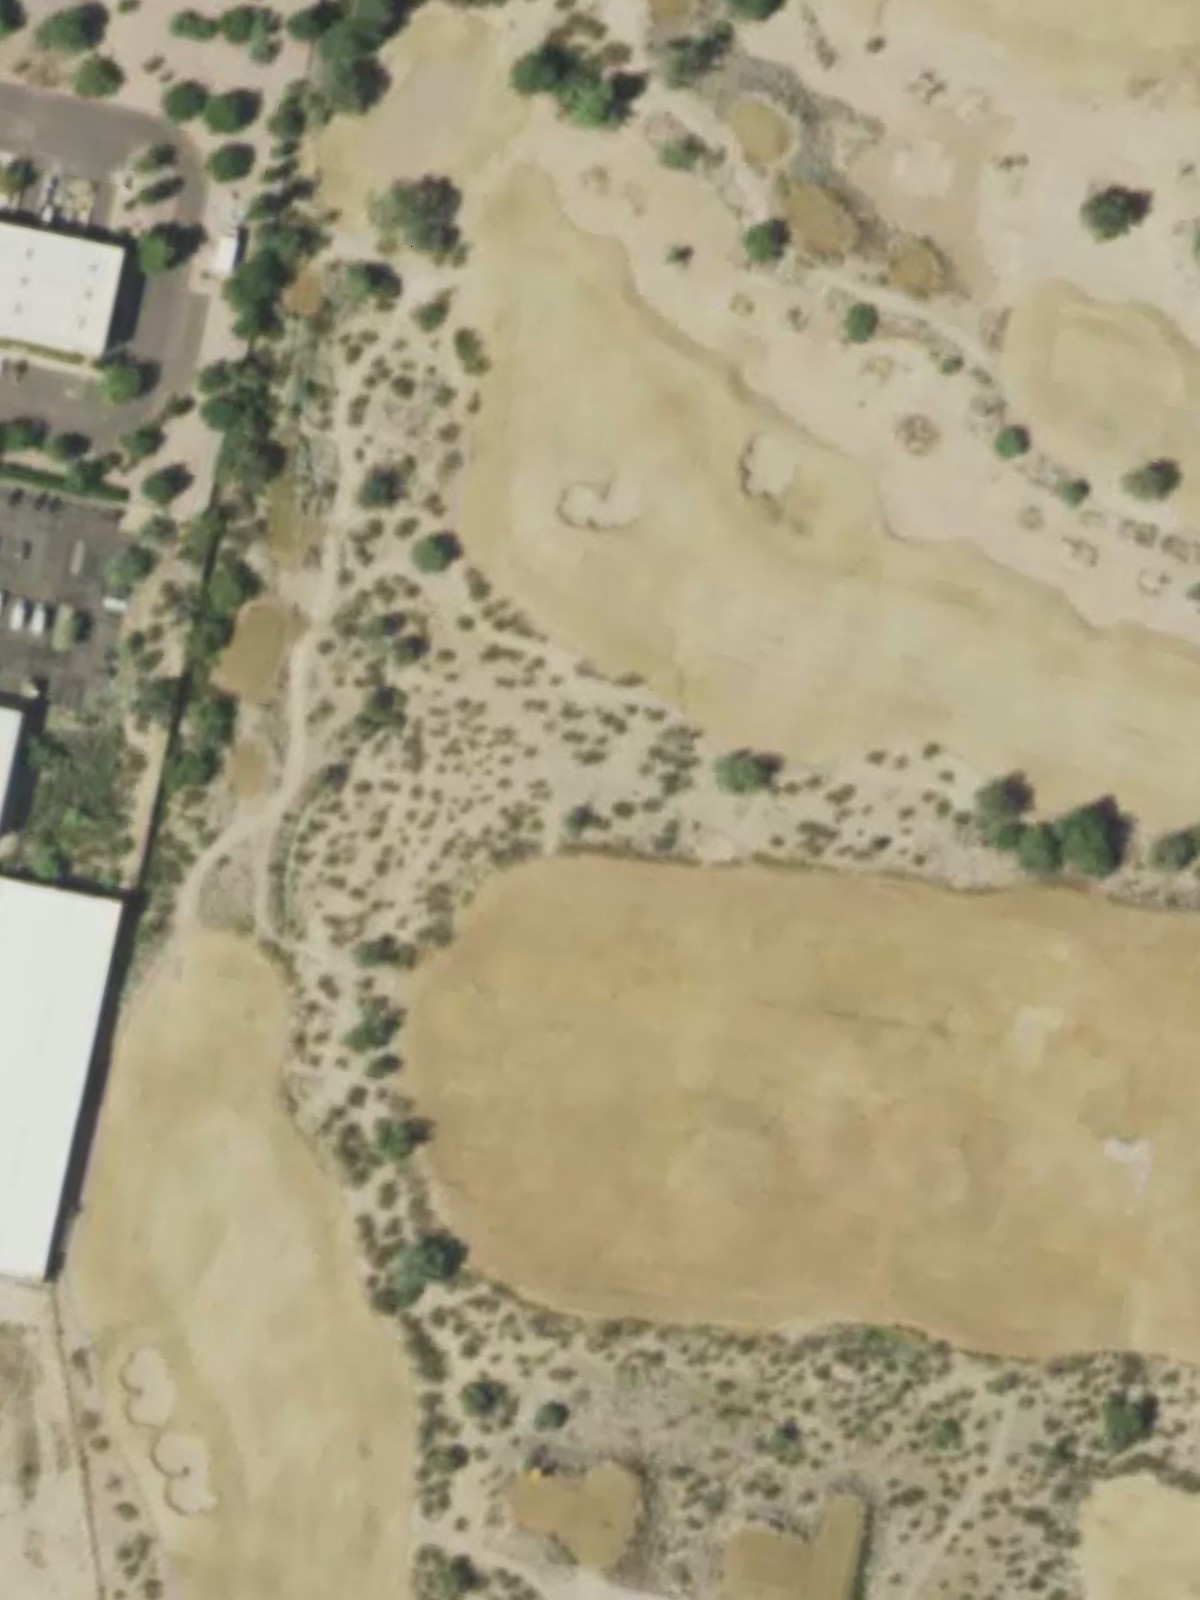
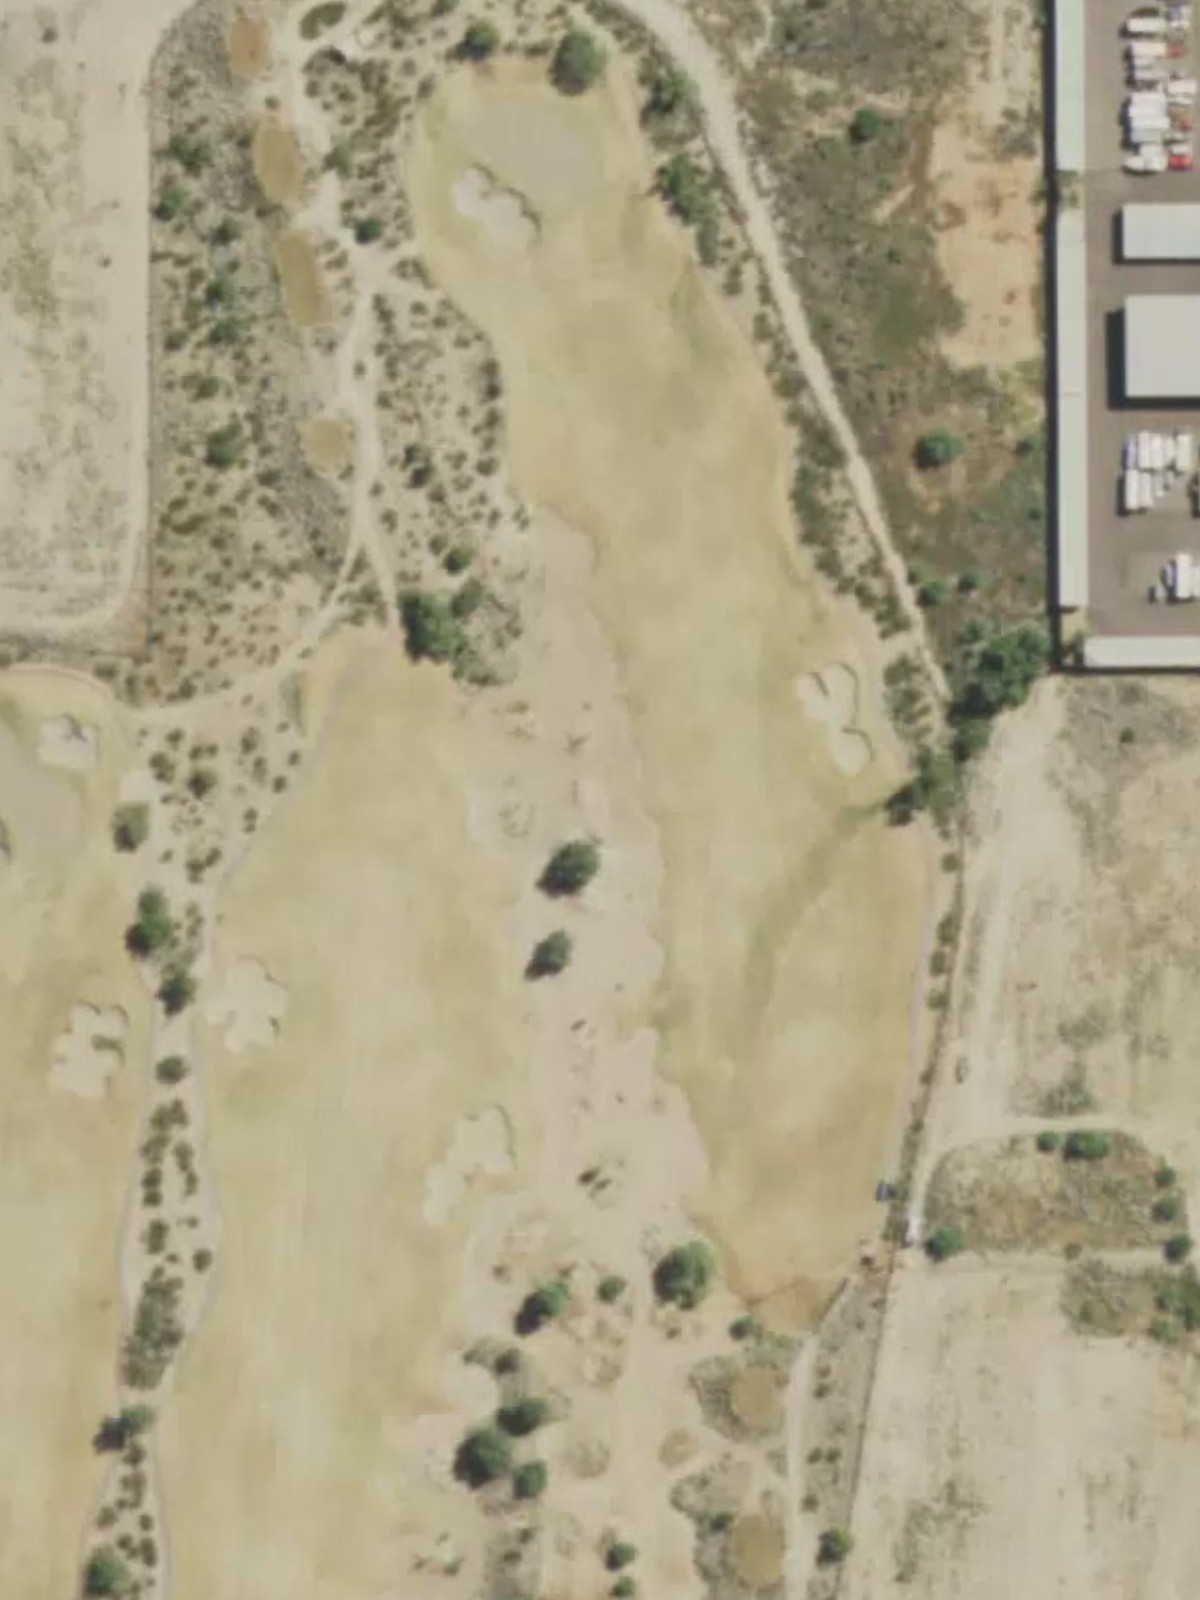
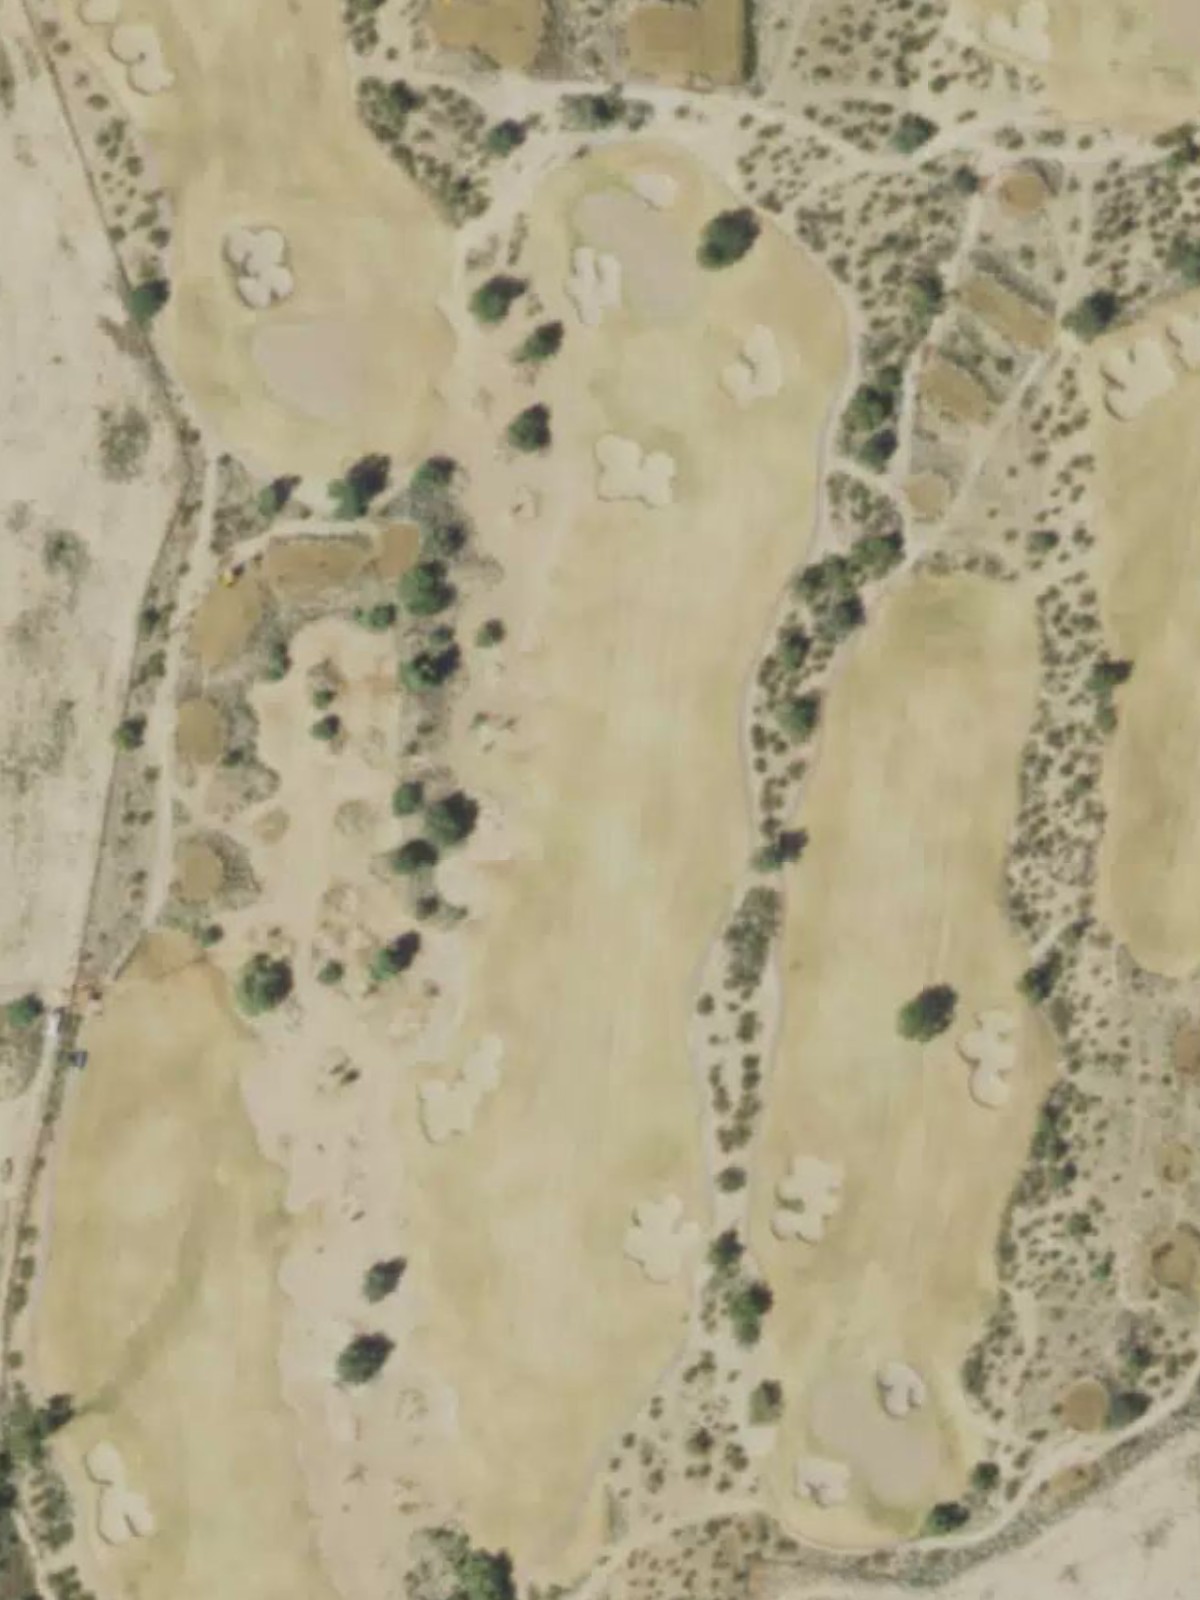
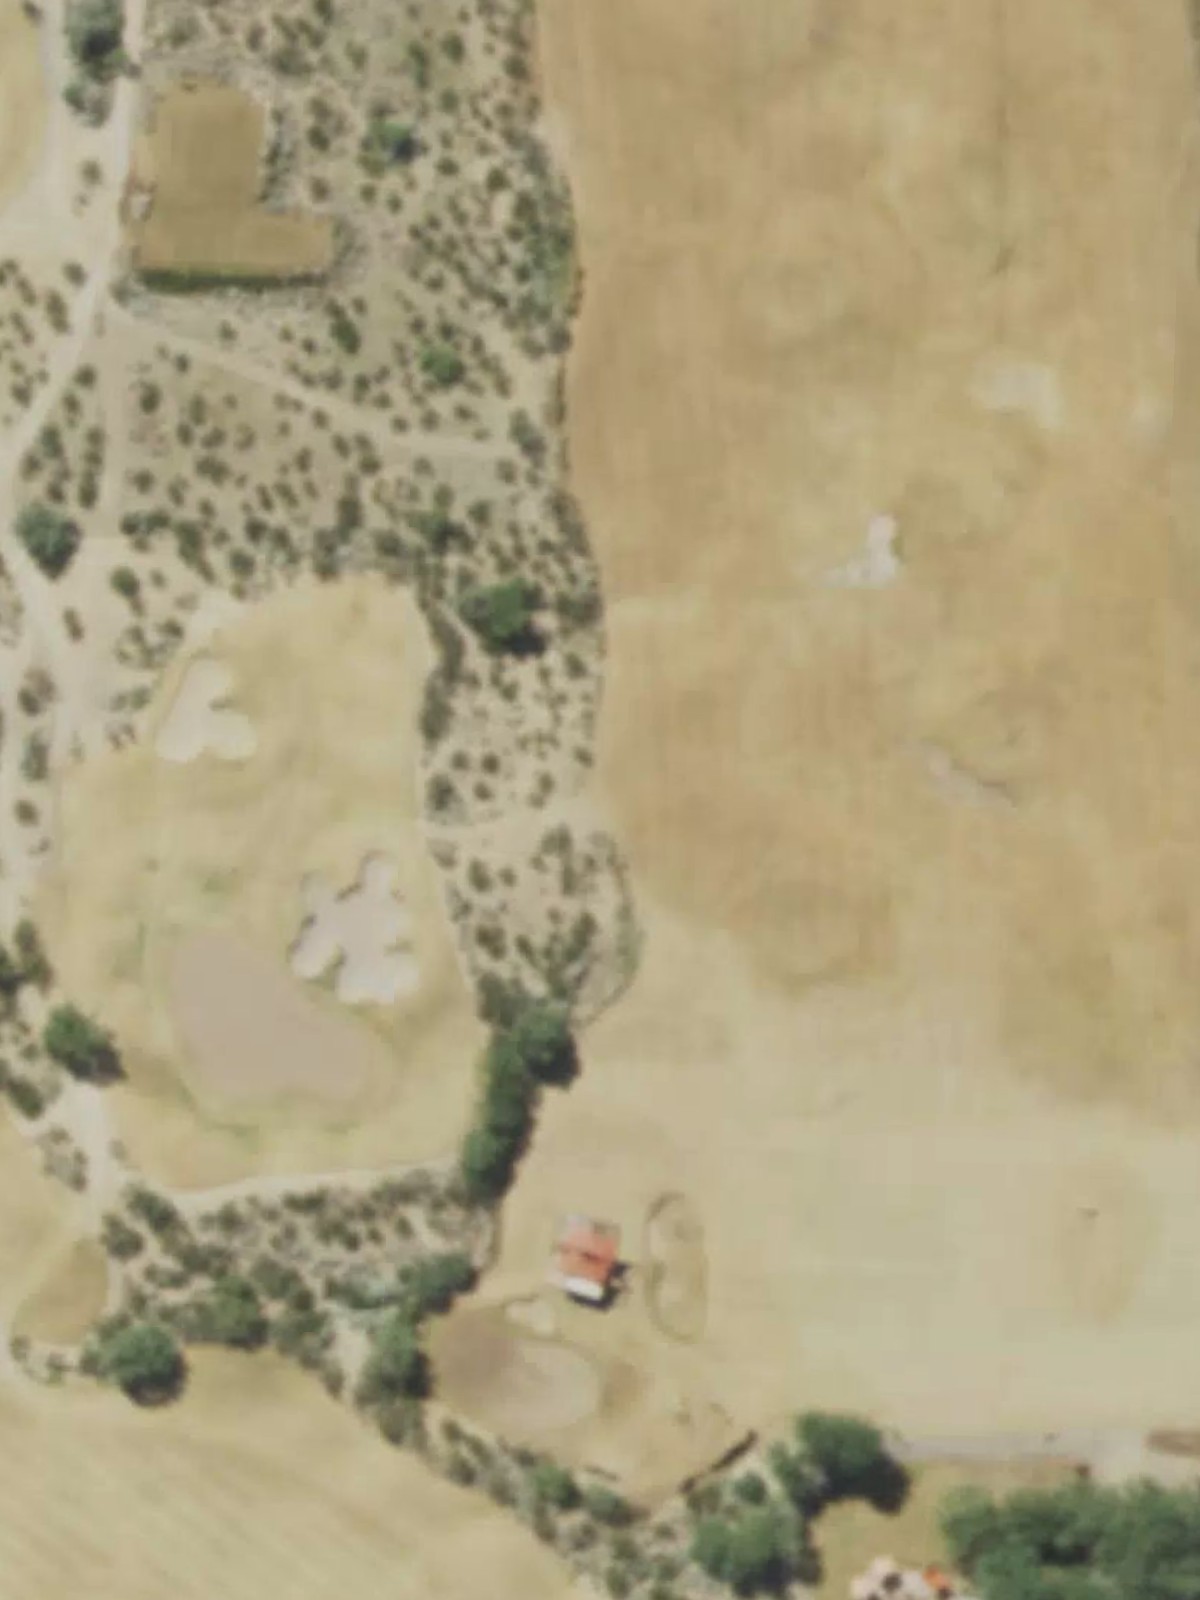
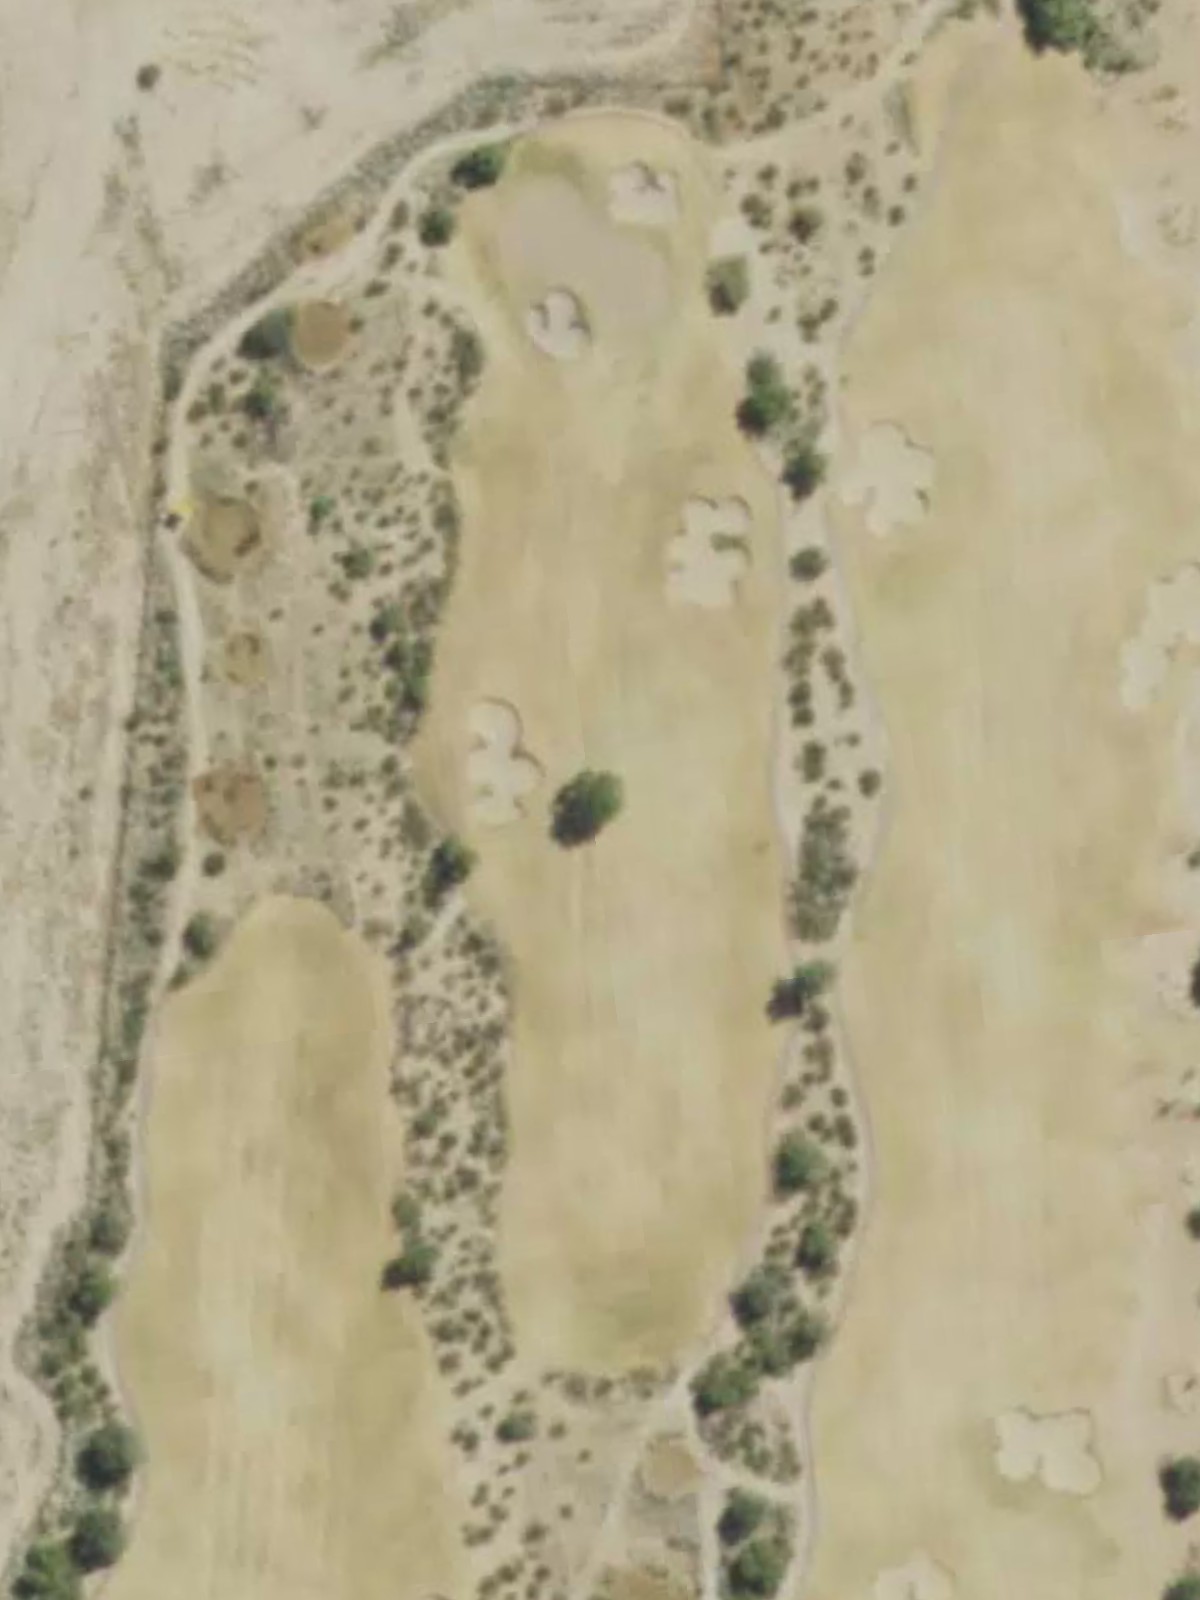
Painted Mountain Golf Resort is an 18-hole golf course in Mesa, AZ with a par of 70. It offers 5 tee sets: tip (5,755 yards, slope 111, rating 66.6), blue (5,678 yards, slope 110, rating 66.3), white (5,240 yards, slope 105, rating 64.5), gold (4,841 yards, slope 97, rating 62.9), red (4,607 yards, slope 91, rating 62). The hardest hole is #1, a par 5 playing 482 yards from the first tee.
Painted Mountain Golf Resort
Mesa, AZ
Get PDF Yardage Book
We'll email you the PDF link. No spam, ever.
Create Your Game Plan
Pick your tees, enter your bag, and get a personalized shot-by-shot strategy for every hole.
A long par 5 that demands accuracy off the tee, with the fairway testing length and control over nearly 600 yards from the tips. Strategic positioning is key as the hole shapes toward the green, where approach shots must navigate the final approach carefully.
A short par 3 playing under 225 yards that offers a straightforward test to a well-defined green. Despite its modest length, precision is required to find the putting surface and avoid missing on either side.
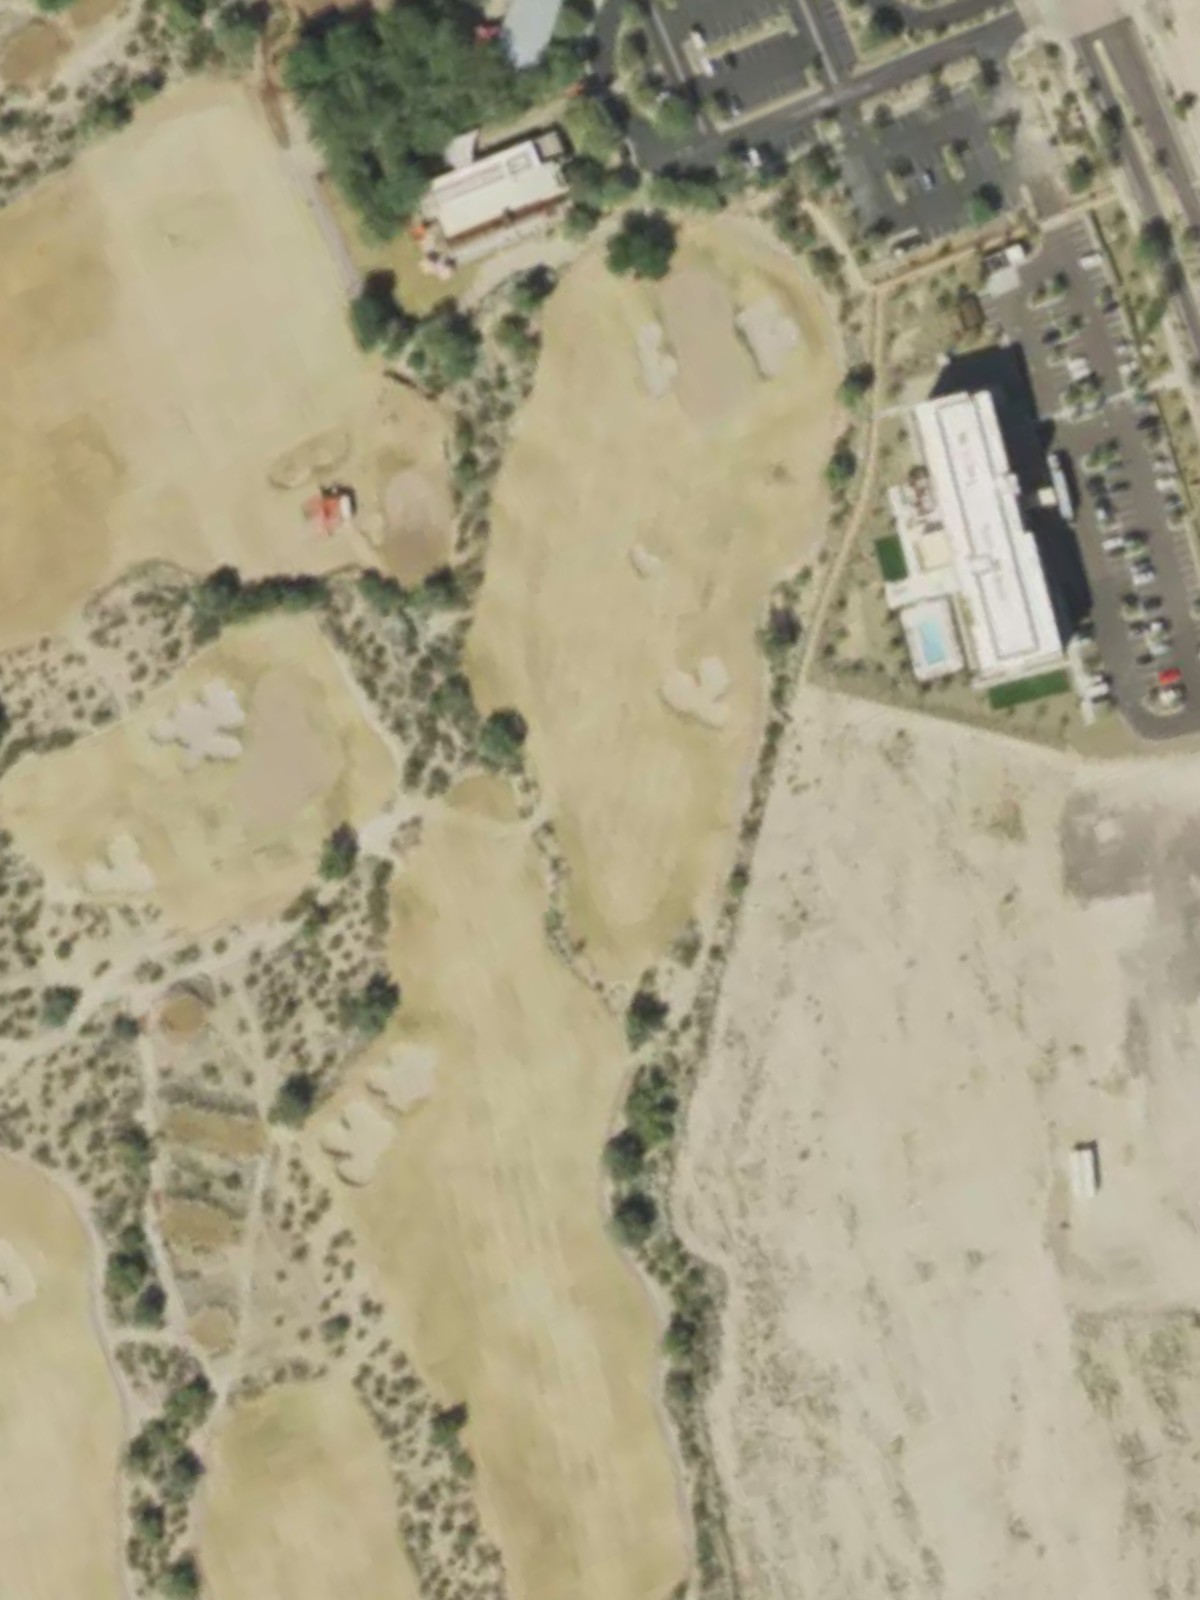
A par 4 with moderate length that requires two solid shots to reach the green in regulation. The hole's character is defined by its positioning and approach, where accuracy matters more than distance.
A strategic par 4 of under 350 yards that plays as one of the course's most significant tests despite its shorter yardage. The hole's design challenges players to position themselves carefully for a scoring opportunity.
A brief par 3 playing just over 150 yards that emphasizes accuracy over power. The short distance belies the precision needed to navigate this hole successfully.
A par 4 with dramatic yardage variation depending on tee selection, ranging from 220 to 329 yards. The hole's character shifts significantly based on the tee played, offering flexibility in difficulty.
A strong par 5 that ranks among the course's most challenging holes and demands three well-executed shots. Length and positioning combine to make this a defining test on the front nine.
A manageable par 4 under 270 yards that provides a brief respite within the round. The shorter length makes this an opportunity hole to post a good score.
A formidable par 5 playing nearly 510 yards from the tips and ranking as the third-hardest hole on the course. The length and complexity of this finisher to the front nine demand strategic play and strong execution.
A brief par 3 under 130 yards that opens the back nine with a straightforward but precise test. The short distance rewards solid striking and good course management.
The second-hardest hole on the course, this par 5 stretches over 530 yards from the tips and requires sustained excellence. Length and strategic complexity combine to make this a significant challenge on the back nine.
A short par 3 around 160 yards that offers a birdie opportunity in the heart of the back nine. The modest distance makes this a key scoring hole for the round.
A par 4 of moderate length that ranks among the course's most challenging four-par holes. Strategic design and positioning make this a pivotal scoring opportunity.
A par 4 under 310 yards that balances length with strategic elements for a solid mid-round test. Accurate shot-making is required to manage this hole effectively.
A short par 3 in the 175-yard range that offers a favorable scoring opportunity late in the round. Straightforward but demanding, this hole rewards solid fundamentals.
A par 3 of under 165 yards that provides another mid-length three-par test on the back nine. The modest distance makes accuracy and control the primary requirements.
A significant par 4 ranking fourth in course difficulty that plays over 350 yards from the tips. Strategic design and length combine to create one of the back nine's most demanding tests.
A strong closing par 4 that stretches toward 360 yards and ranks sixth in difficulty, finishing the round with an appropriate test. The hole's final positioning and length make it a fitting conclusion to play at Painted Mountain.
Scorecard
| Hole | 1 | 2 | 3 | 4 | 5 | 6 | 7 | 8 | 9 | Out | 10 | 11 | 12 | 13 | 14 | 15 | 16 | 17 | 18 | In | Tot |
|---|---|---|---|---|---|---|---|---|---|---|---|---|---|---|---|---|---|---|---|---|---|
| Par | 5 | 3 | 4 | 4 | 3 | 4 | 5 | 4 | 5 | 37 | 3 | 5 | 3 | 4 | 4 | 3 | 3 | 4 | 4 | 33 | 70 |
| HCP | 1 | 15 | 11 | 7 | 17 | 9 | 5 | 13 | 3 | 18 | 2 | 12 | 8 | 10 | 16 | 14 | 4 | 6 | |||
| tip | 590 | 223 | 343 | 351 | 153 | 329 | 480 | 268 | 508 | 3245 | 128 | 536 | 158 | 327 | 310 | 175 | 161 | 354 | 361 | 2510 | 5755 |
| blue | 584 | 221 | 340 | 347 | 145 | 324 | 476 | 264 | 489 | 3190 | 127 | 525 | 169 | 323 | 310 | 170 | 155 | 351 | 358 | 2488 | 5678 |
| white | 546 | 193 | 313 | 324 | 123 | 310 | 461 | 242 | 443 | 2955 | 120 | 469 | 158 | 304 | 292 | 153 | 145 | 324 | 320 | 2285 | 5240 |
| gold | 492 | 183 | 277 | 335 | 124 | 230 | 416 | 241 | 422 | 2720 | 113 | 412 | 148 | 287 | 254 | 145 | 140 | 312 | 310 | 2121 | 4841 |
| red | 482 | 173 | 257 | 315 | 109 | 220 | 406 | 231 | 407 | 2600 | 103 | 397 | 138 | 262 | 244 | 145 | 135 | 307 | 276 | 2007 | 4607 |