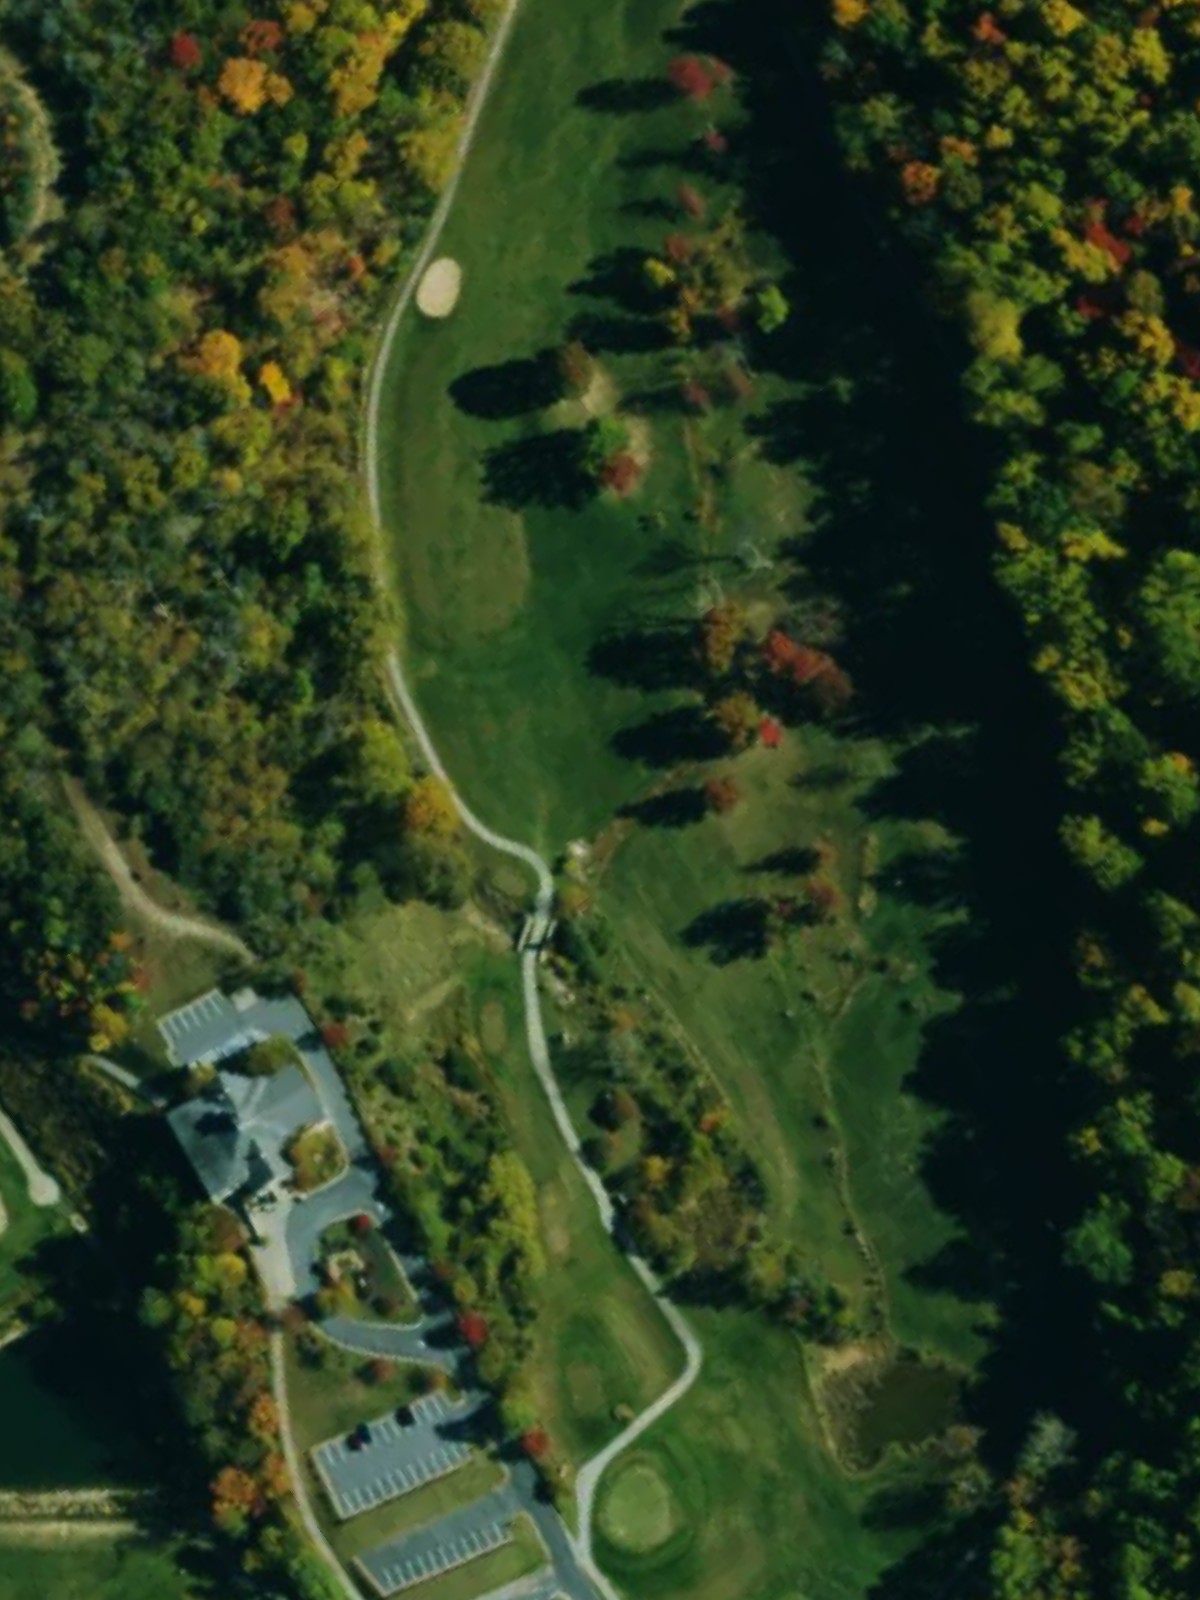
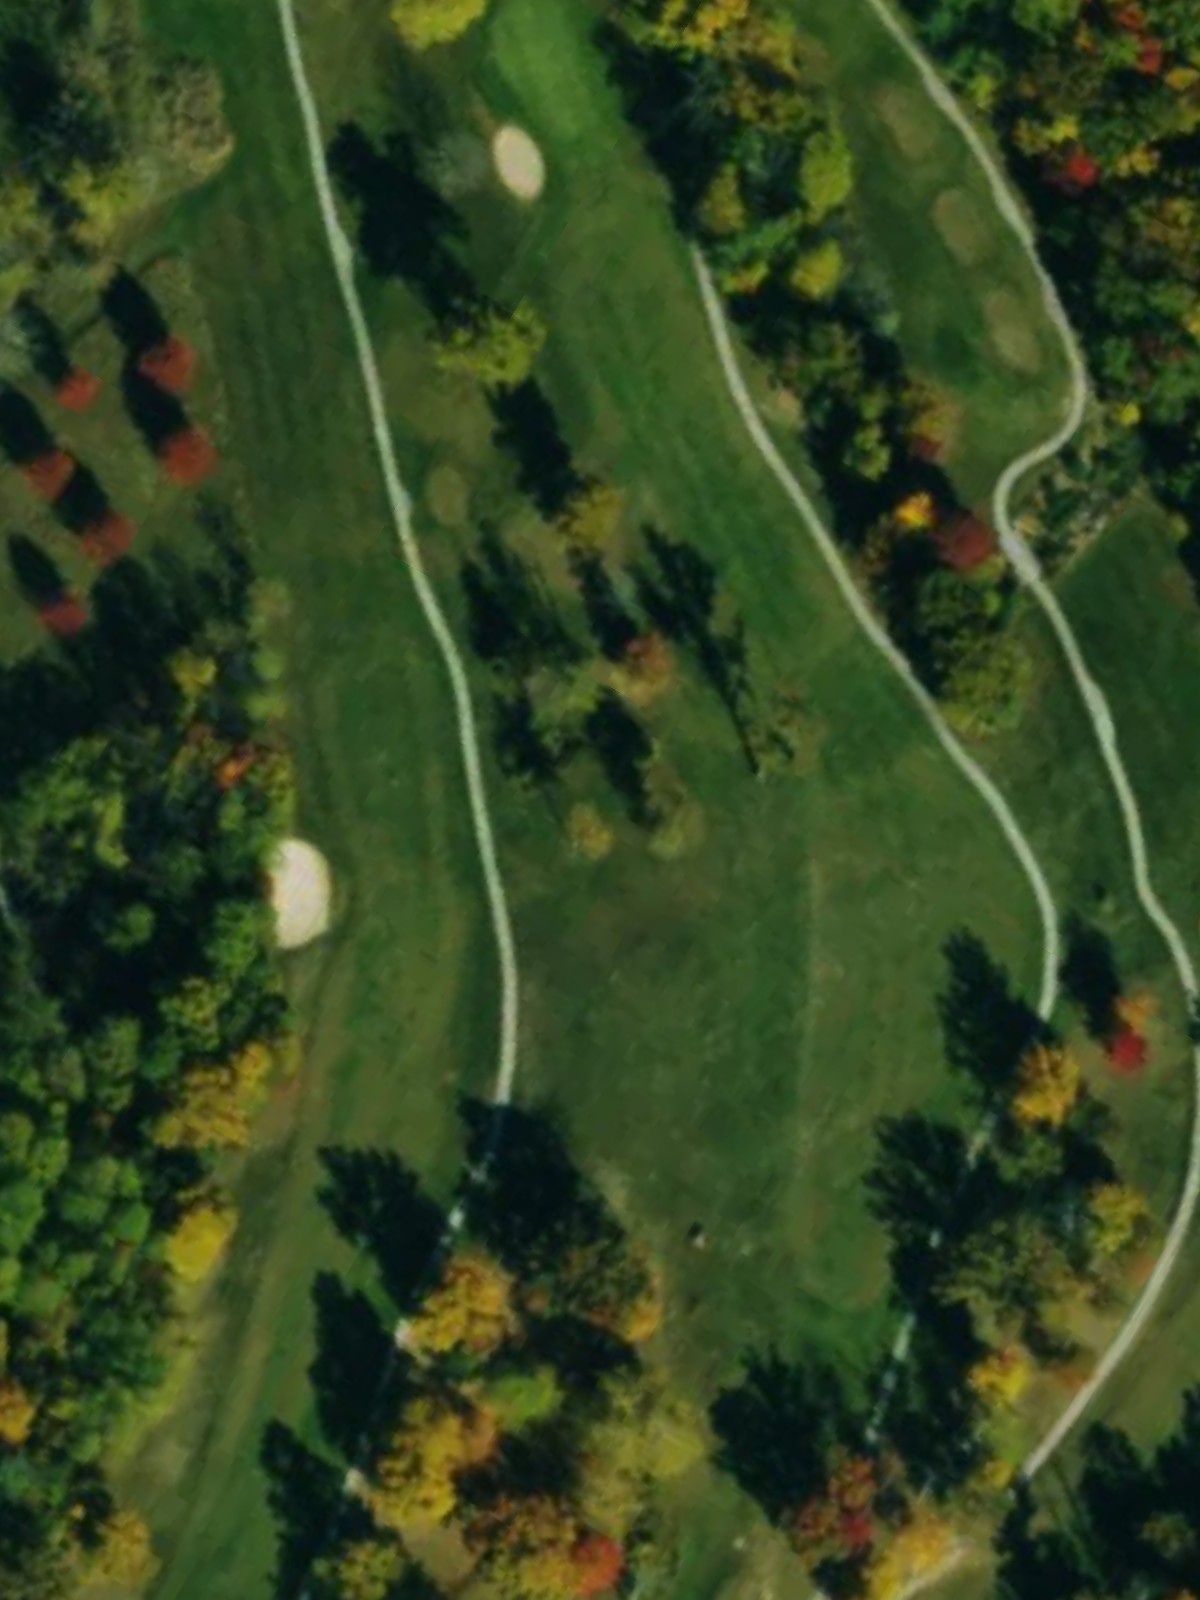
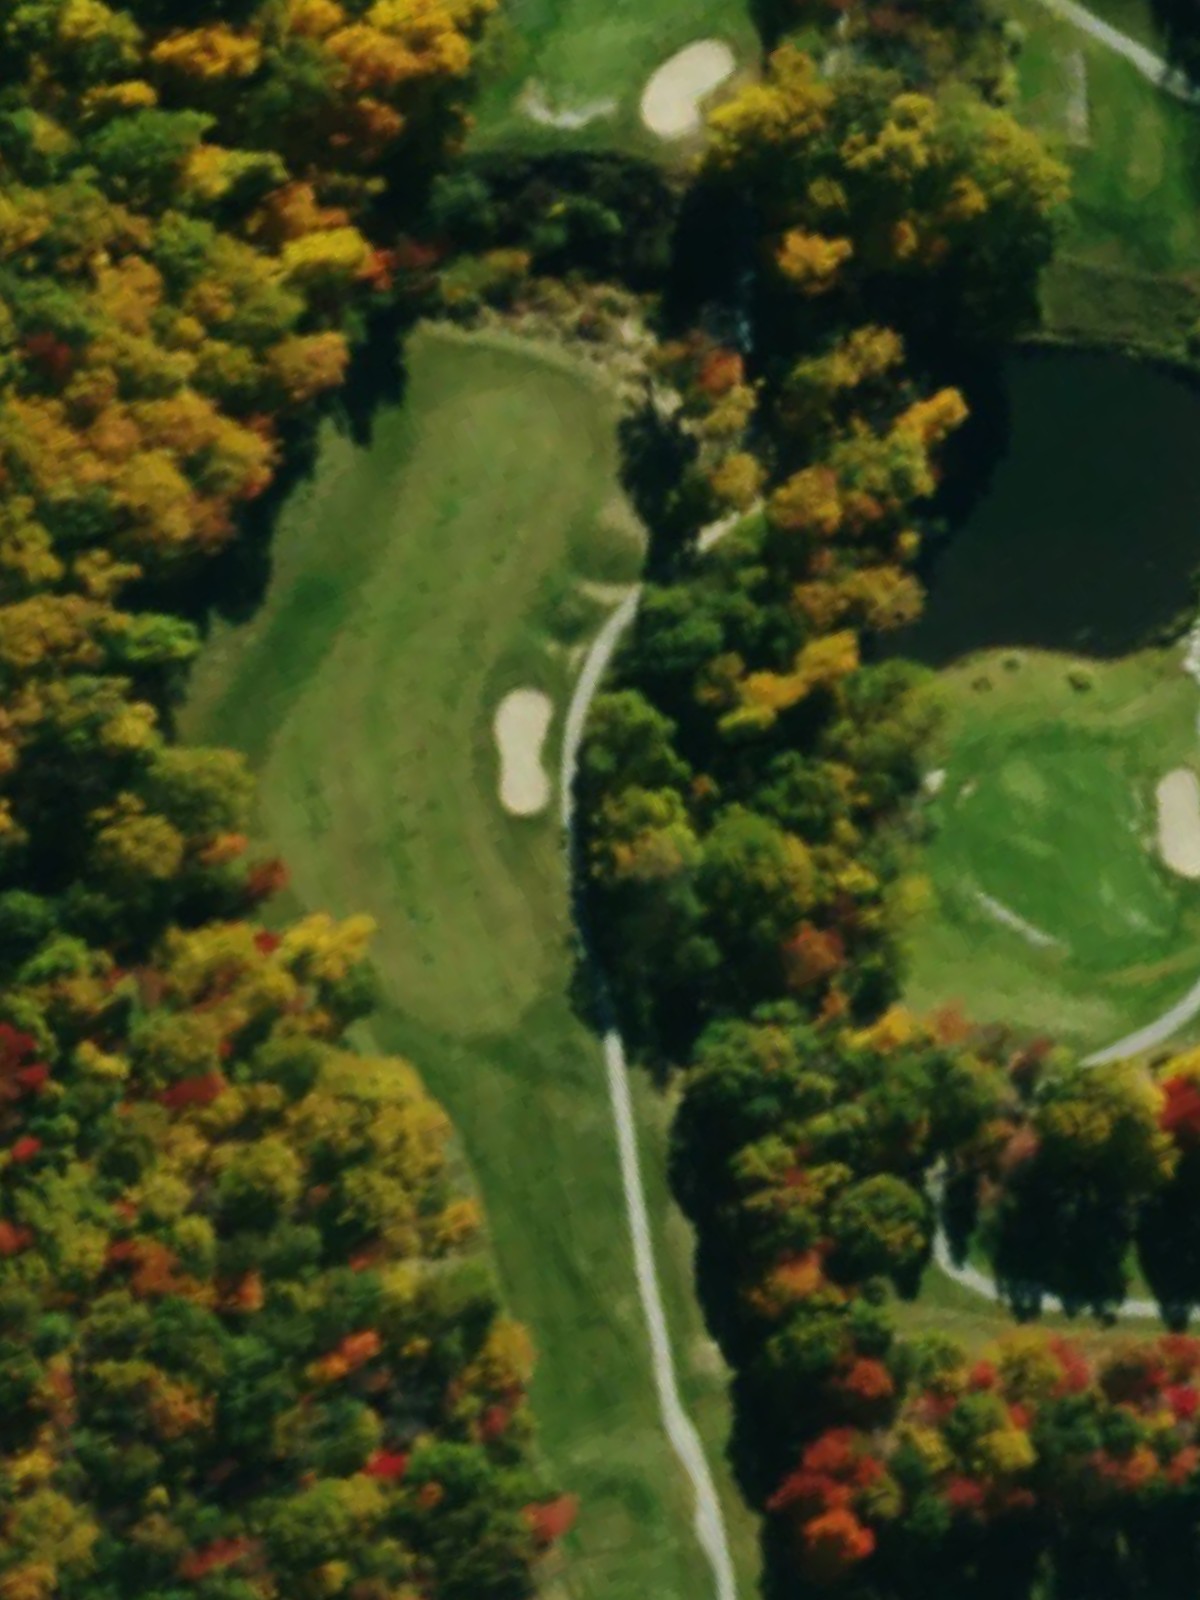
Packsaddle Ridge Golf Club is an 18-hole golf course in Keezletown, VA with a par of 72. It offers 4 tee sets: black (6,985 yards, slope 147, rating 75), blue (6,394 yards, slope 142, rating 72.2), white (5,946 yards, slope 136, rating 70.1), gold (5,472 yards, slope 132, rating 68). The hardest hole is #11, a par 5 playing 503 yards from the first tee.
Packsaddle Ridge Golf Club
Keezletown, VA
Get PDF Yardage Book
We'll email you the PDF link. No spam, ever.
Create Your Game Plan
Pick your tees, enter your bag, and get a personalized shot-by-shot strategy for every hole.
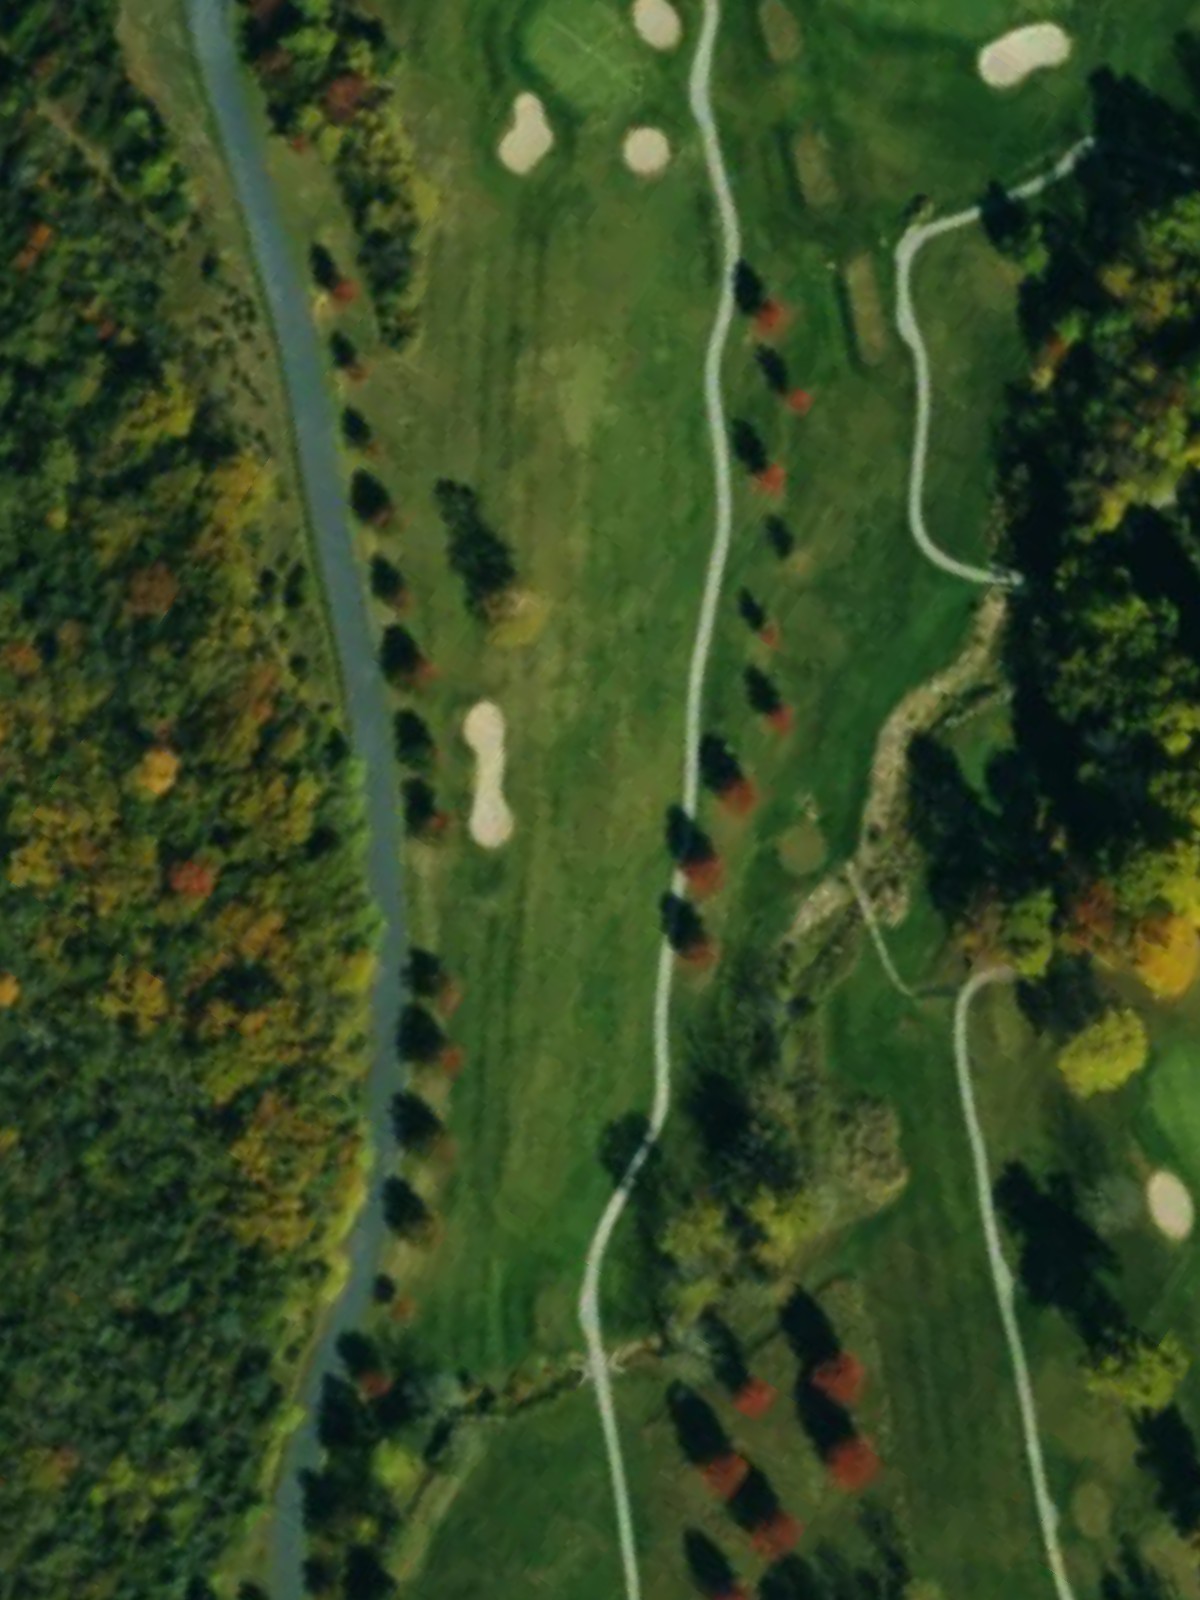
A straightforward par 4 where a lateral water hazard along the left side demands respect off the tee. Bunkers protect the right side of the green, making precision more important than distance on the approach.
A long par 5 with a lateral water hazard running down the left side throughout the hole. Strategic bunkering in the fairway and around the green rewards accurate positioning over aggressive play.
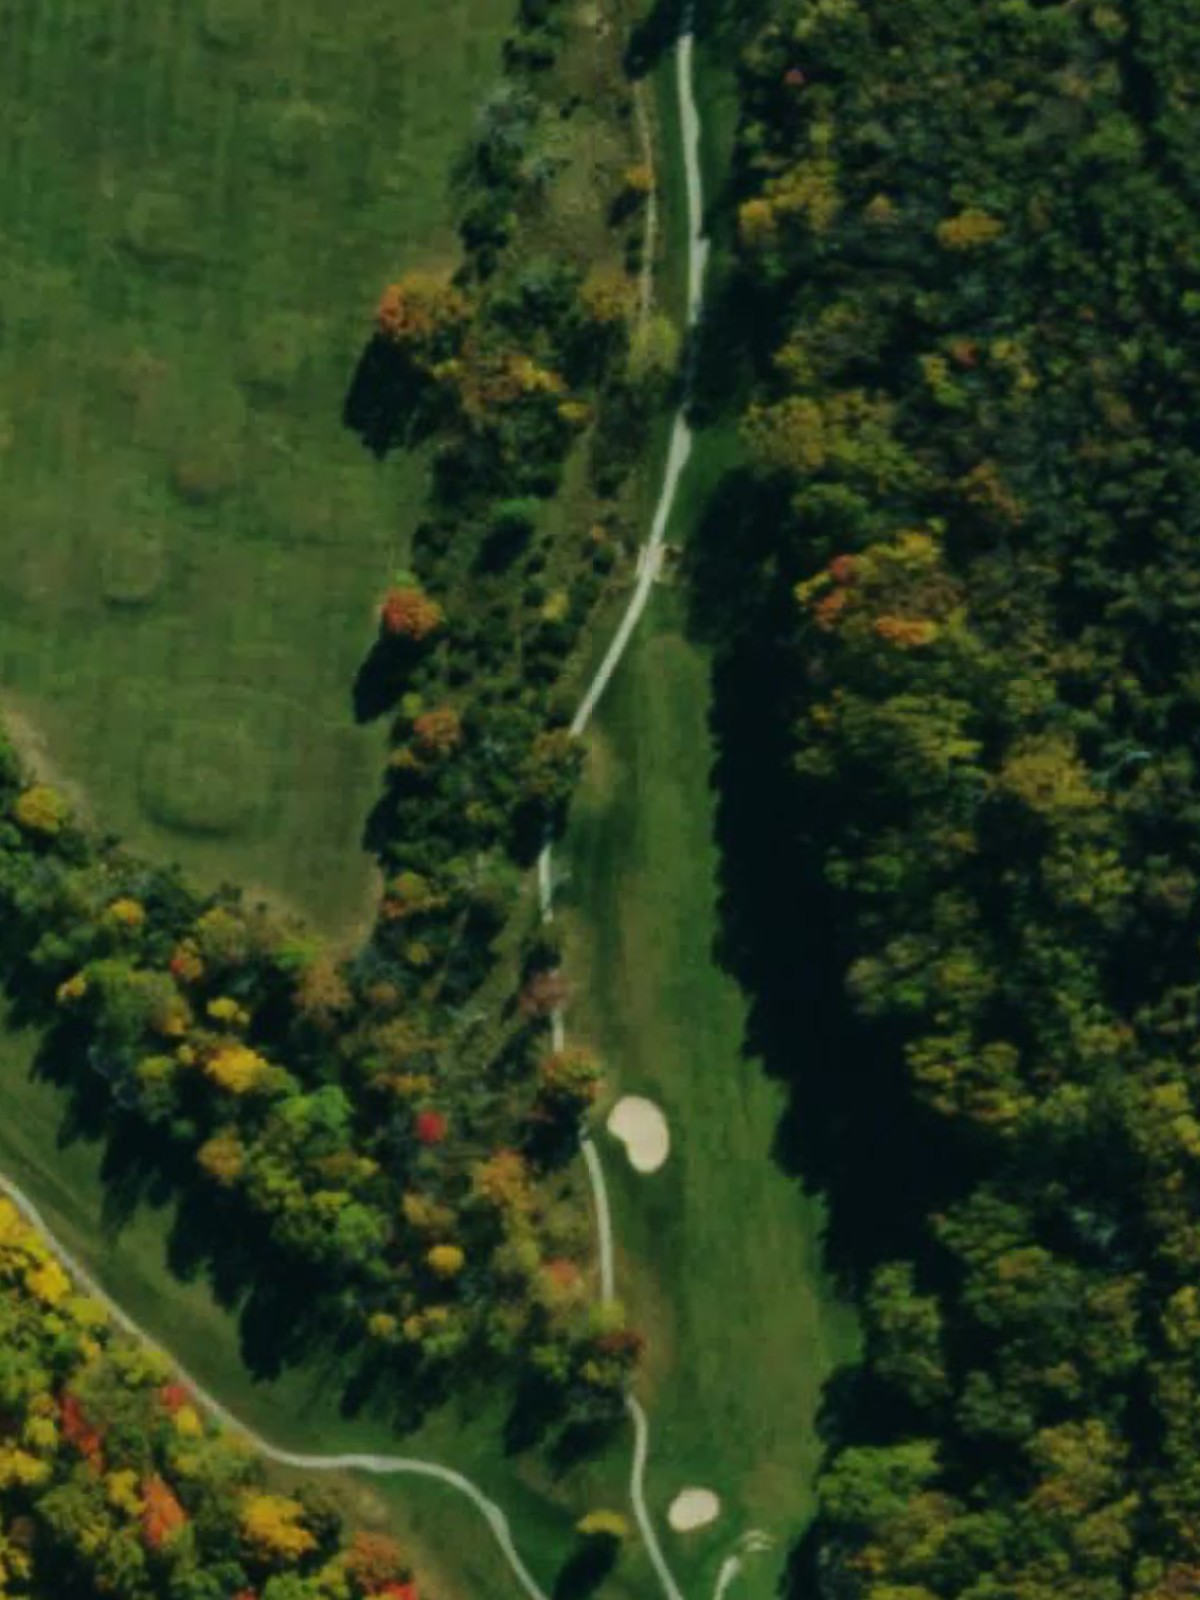
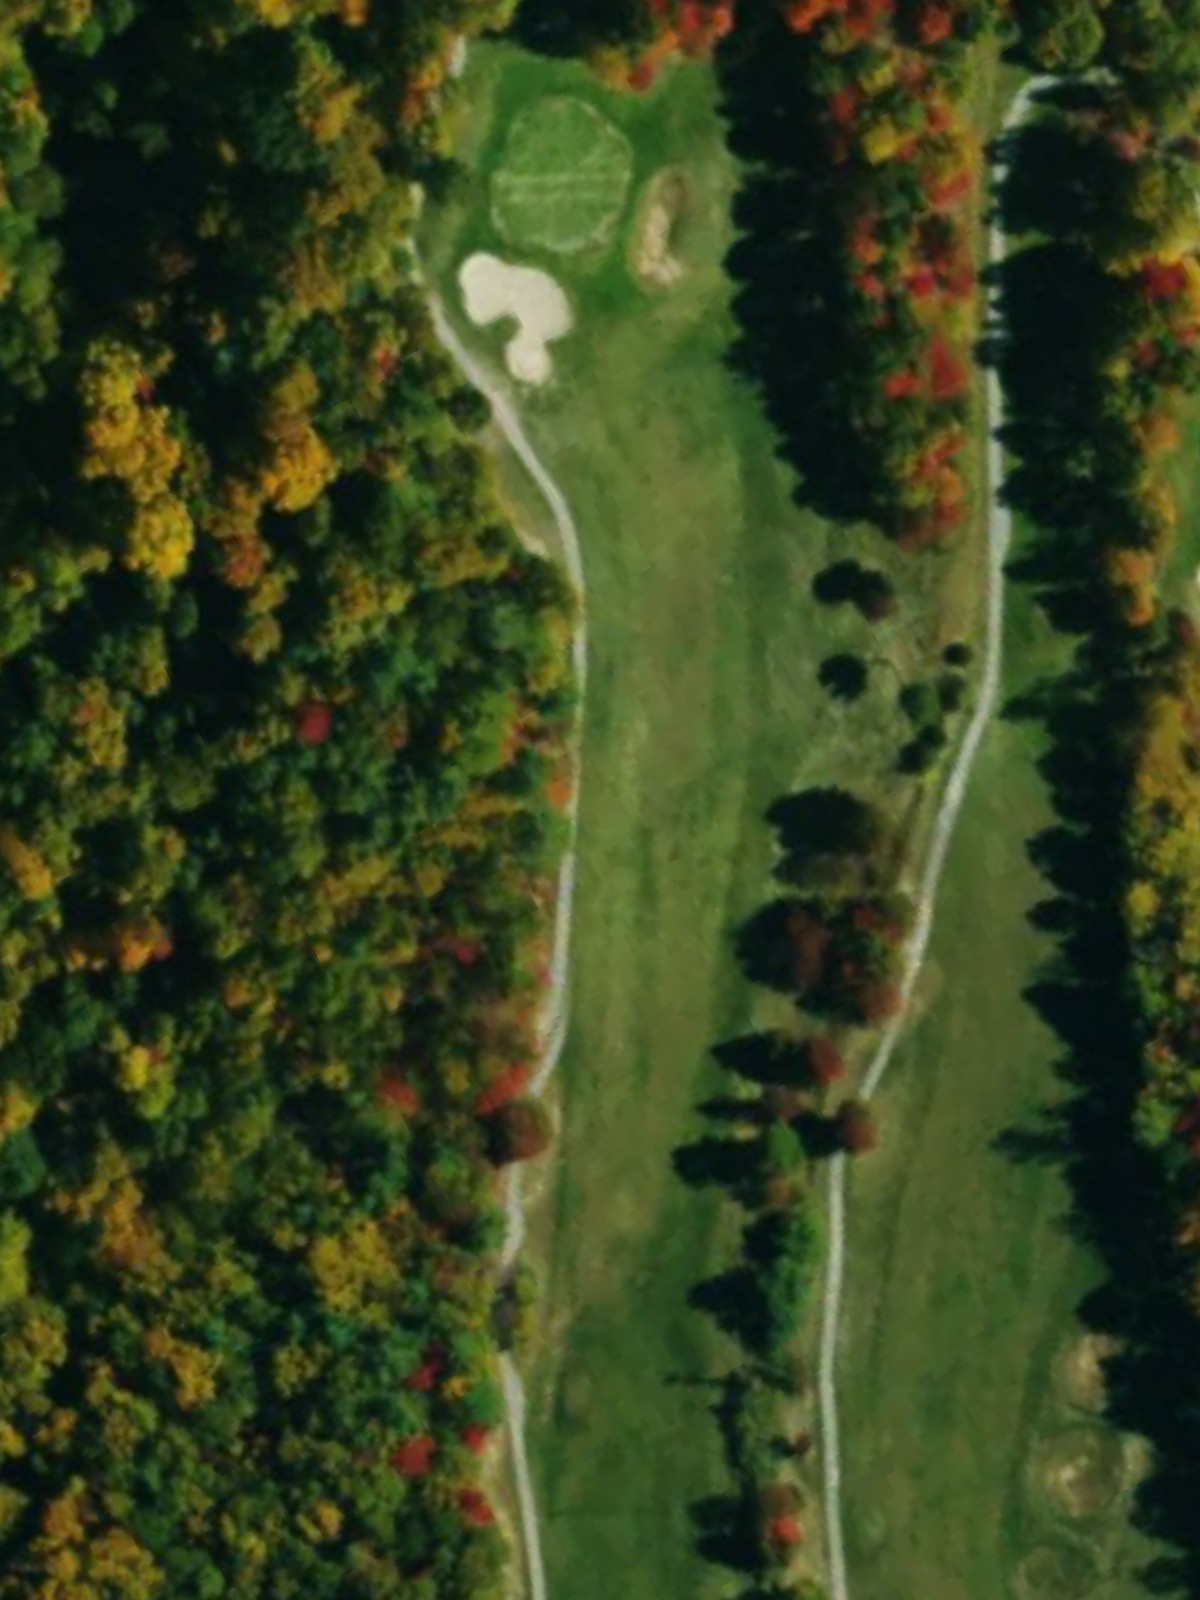
A short par 3 with minimal frills, playing to a green guarded by a single bunker. The compact design offers straightforward scoring opportunity for those who find the putting surface.
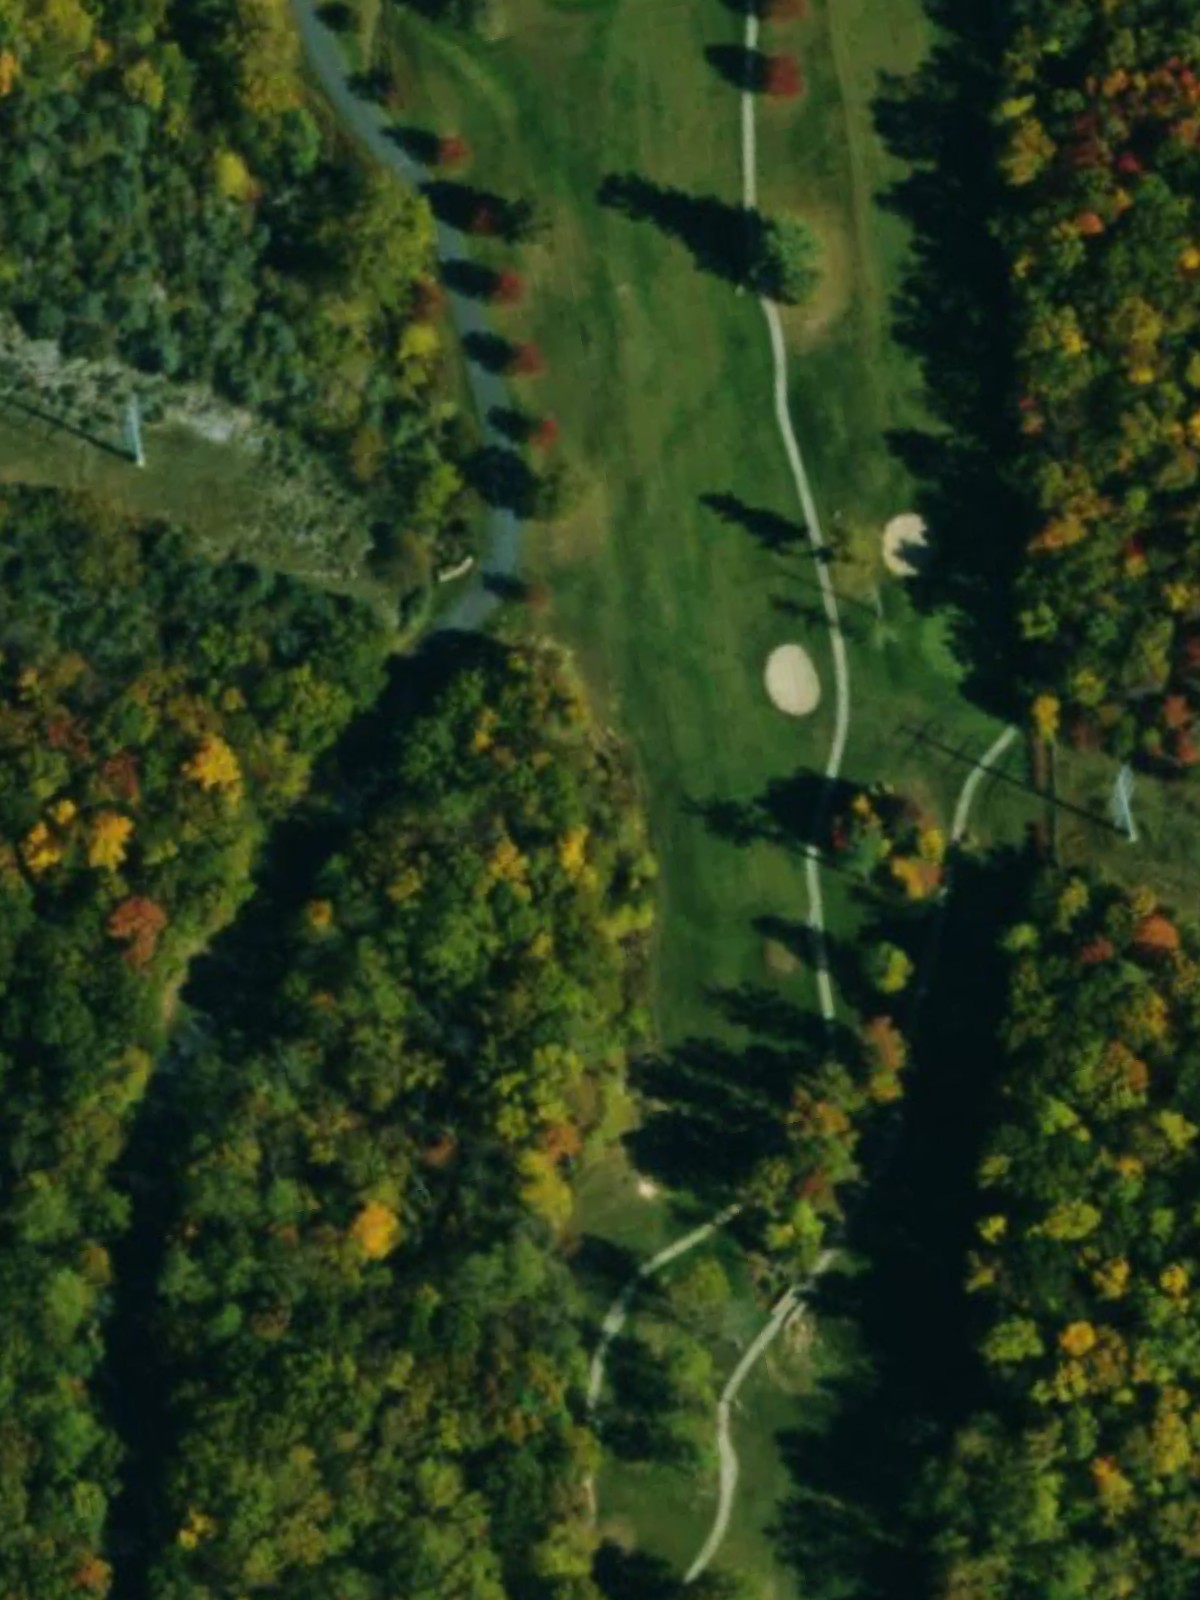
A demanding par 4 and one of the course's most difficult holes, with bunkers threatening the fairway and green. The narrow landing areas and strategic bunkering make this a true test of shot-making accuracy.
A mid-length par 4 with a lateral water hazard running along the left side of the fairway. Bunkers guard the approach to the green, adding complexity to what appears deceptively straightforward.
A strong par 5 with bunkers positioned to challenge the fairway and defend the green. The length and strategic bunkering place this hole among the course's most formidable scoring tests.
A substantial par 3 that plays longer than the yardage suggests, with a bunker sitting prominently near the green. The one-shot nature and strategic hazard placement demand solid execution.
The second-most difficult par 4 on the course, featuring bunkers that guard both the fairway and green. Precision is essential on a hole where positioning determines the quality of the scoring opportunity.
An accessible par 4 with straightforward design and bunkers protecting the green. This more forgiving hole offers a welcome reprieve before the back nine's stiffer challenges.
A shorter par 4 with bunkers positioned to influence strategy in the landing area and near the green. Compact design and strategic hazard placement create an interesting risk-reward dynamic.

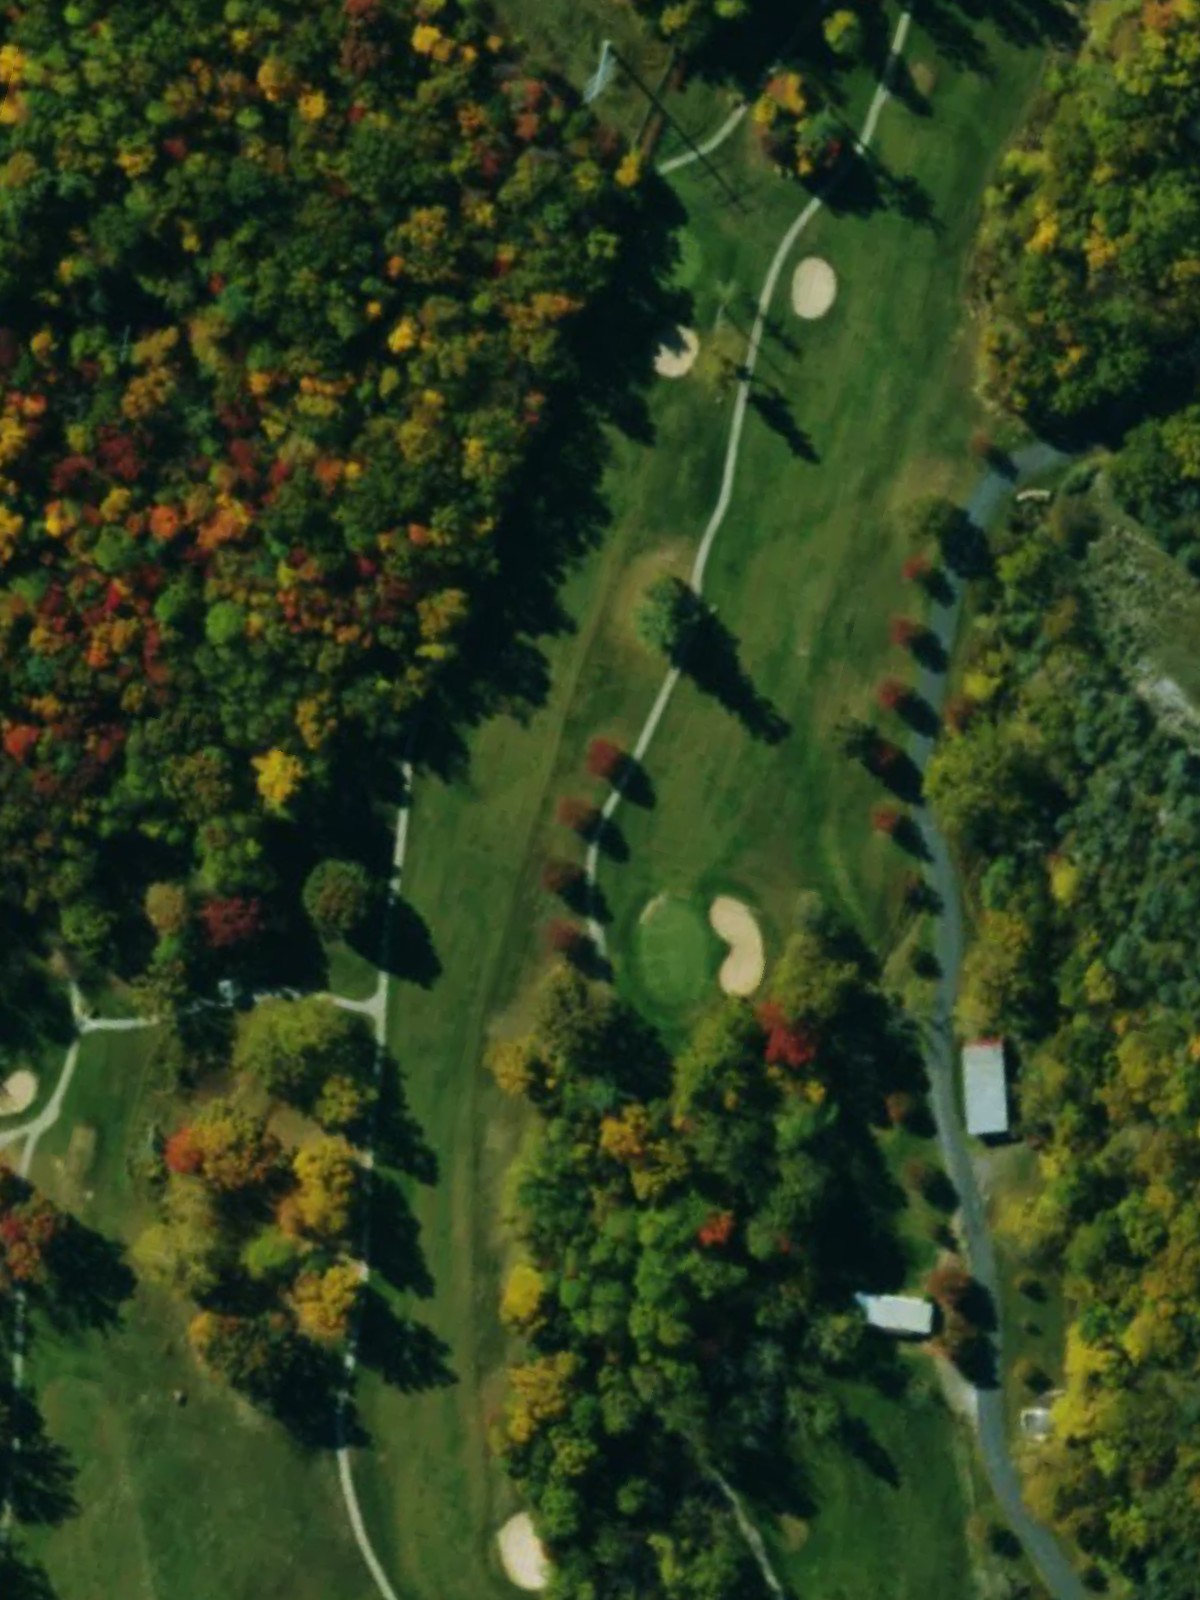
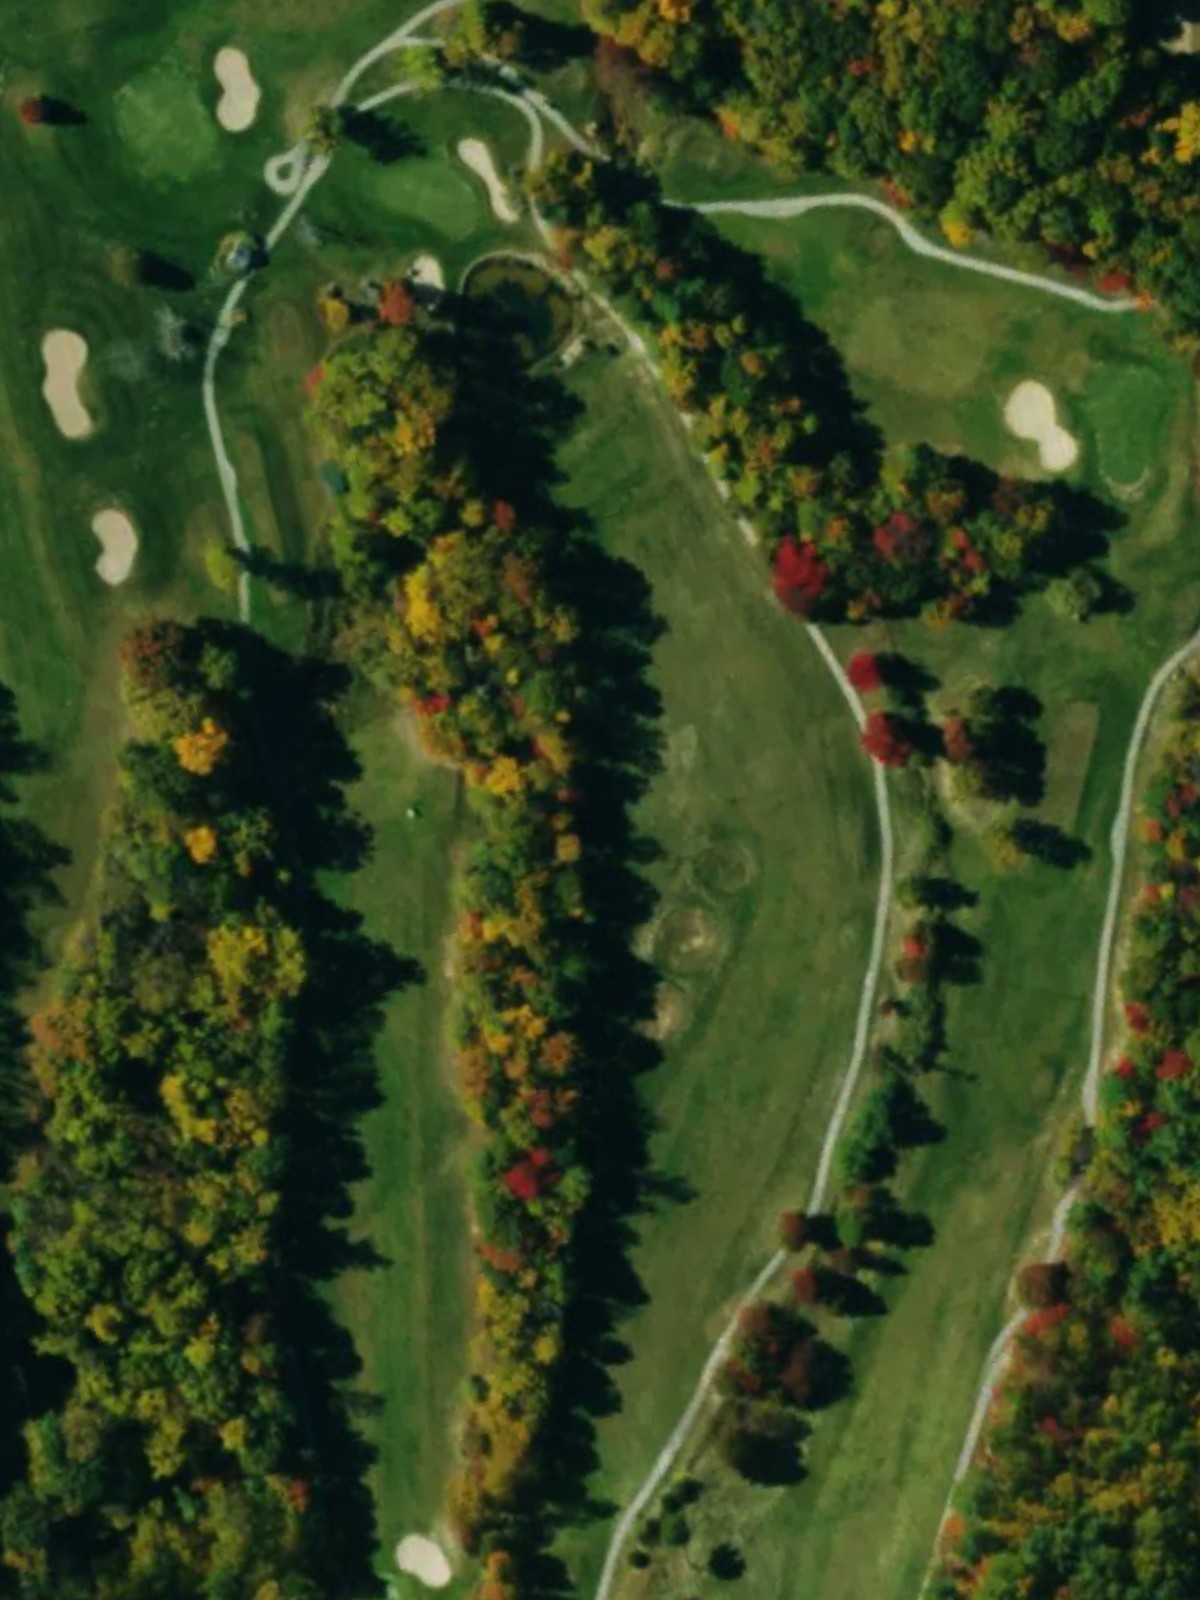
The most difficult hole on the course, this par 5 demands respect with its length and bunker placement throughout. Strategic positioning is critical for those seeking to manage this formidable test.
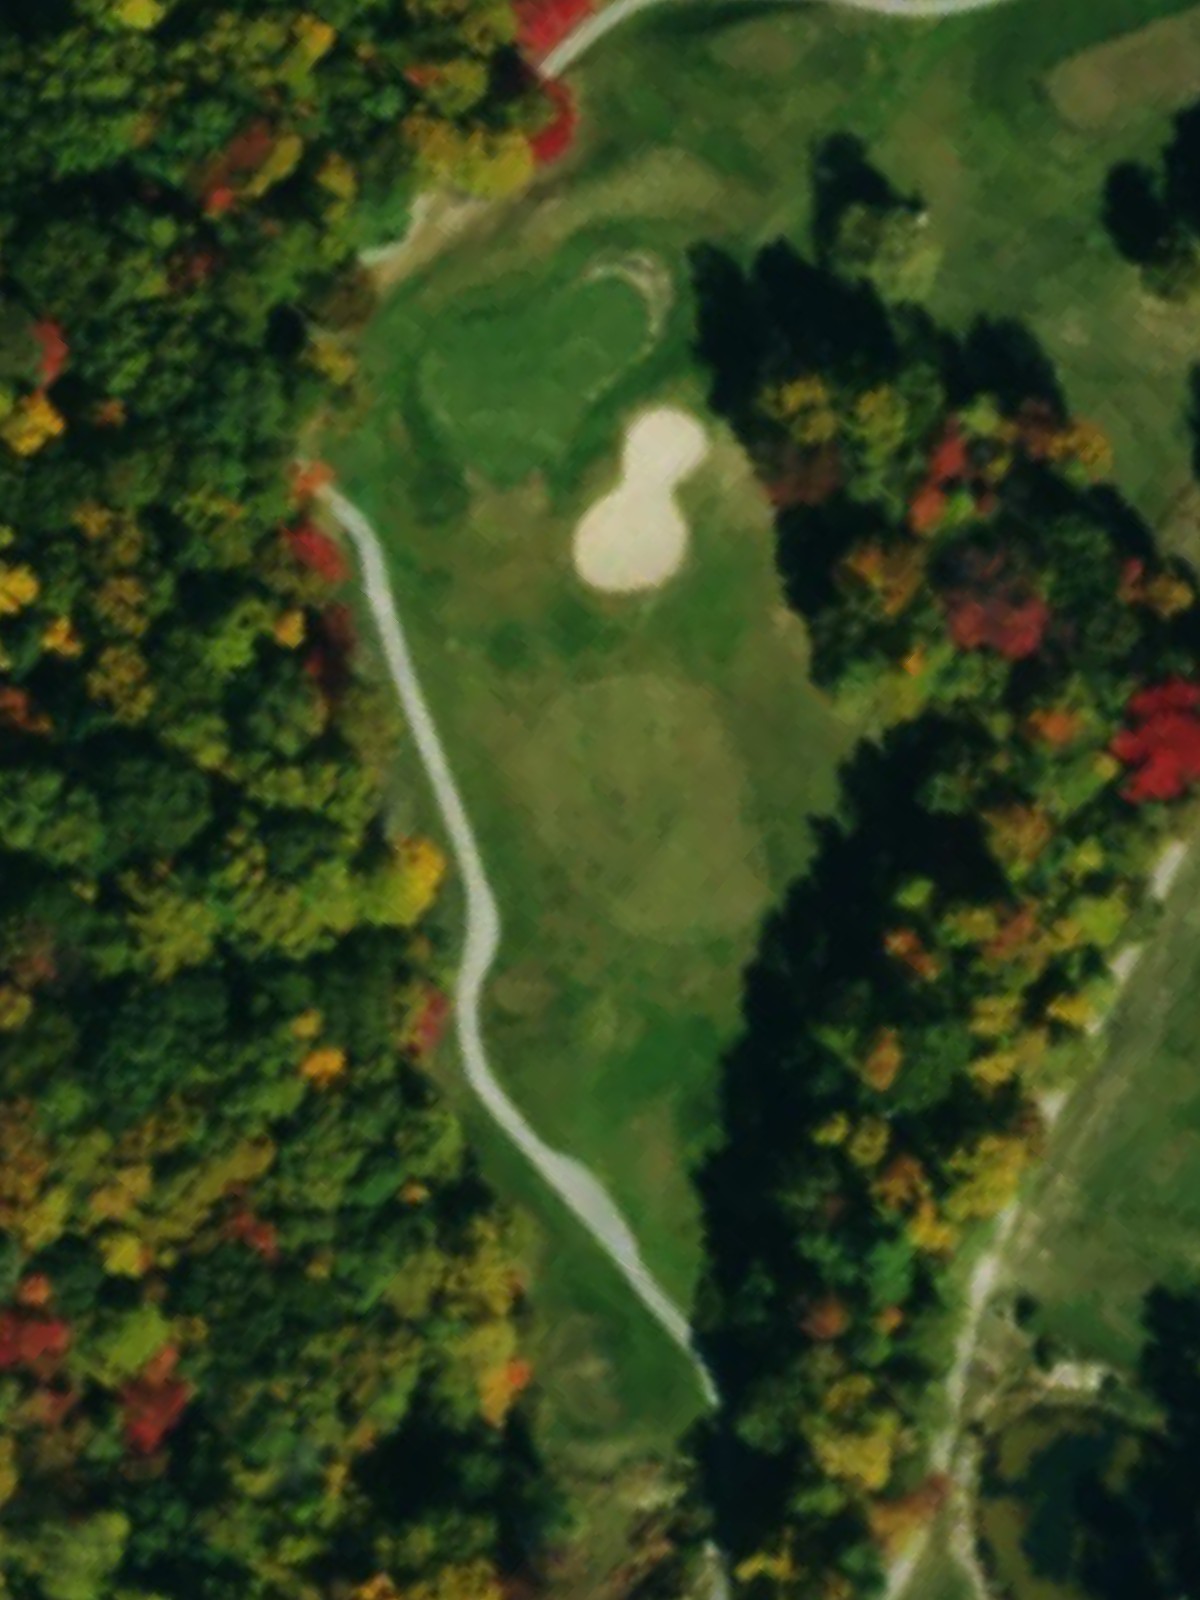
A mid-length par 3 with bunkers guarding the approach to the green and fairway features adding complexity. The variety in length and hazard placement makes club selection pivotal.
A compact par 4 with bunkers and fairway contouring that shape the ideal approach line. The shorter length invites aggressive play, but strategic hazards punish imprecision.
The shortest par 4 on the course, with a lateral water hazard and bunkers creating a tight challenge despite modest yardage. Strategic placement is rewarded on this deceptively difficult short hole.
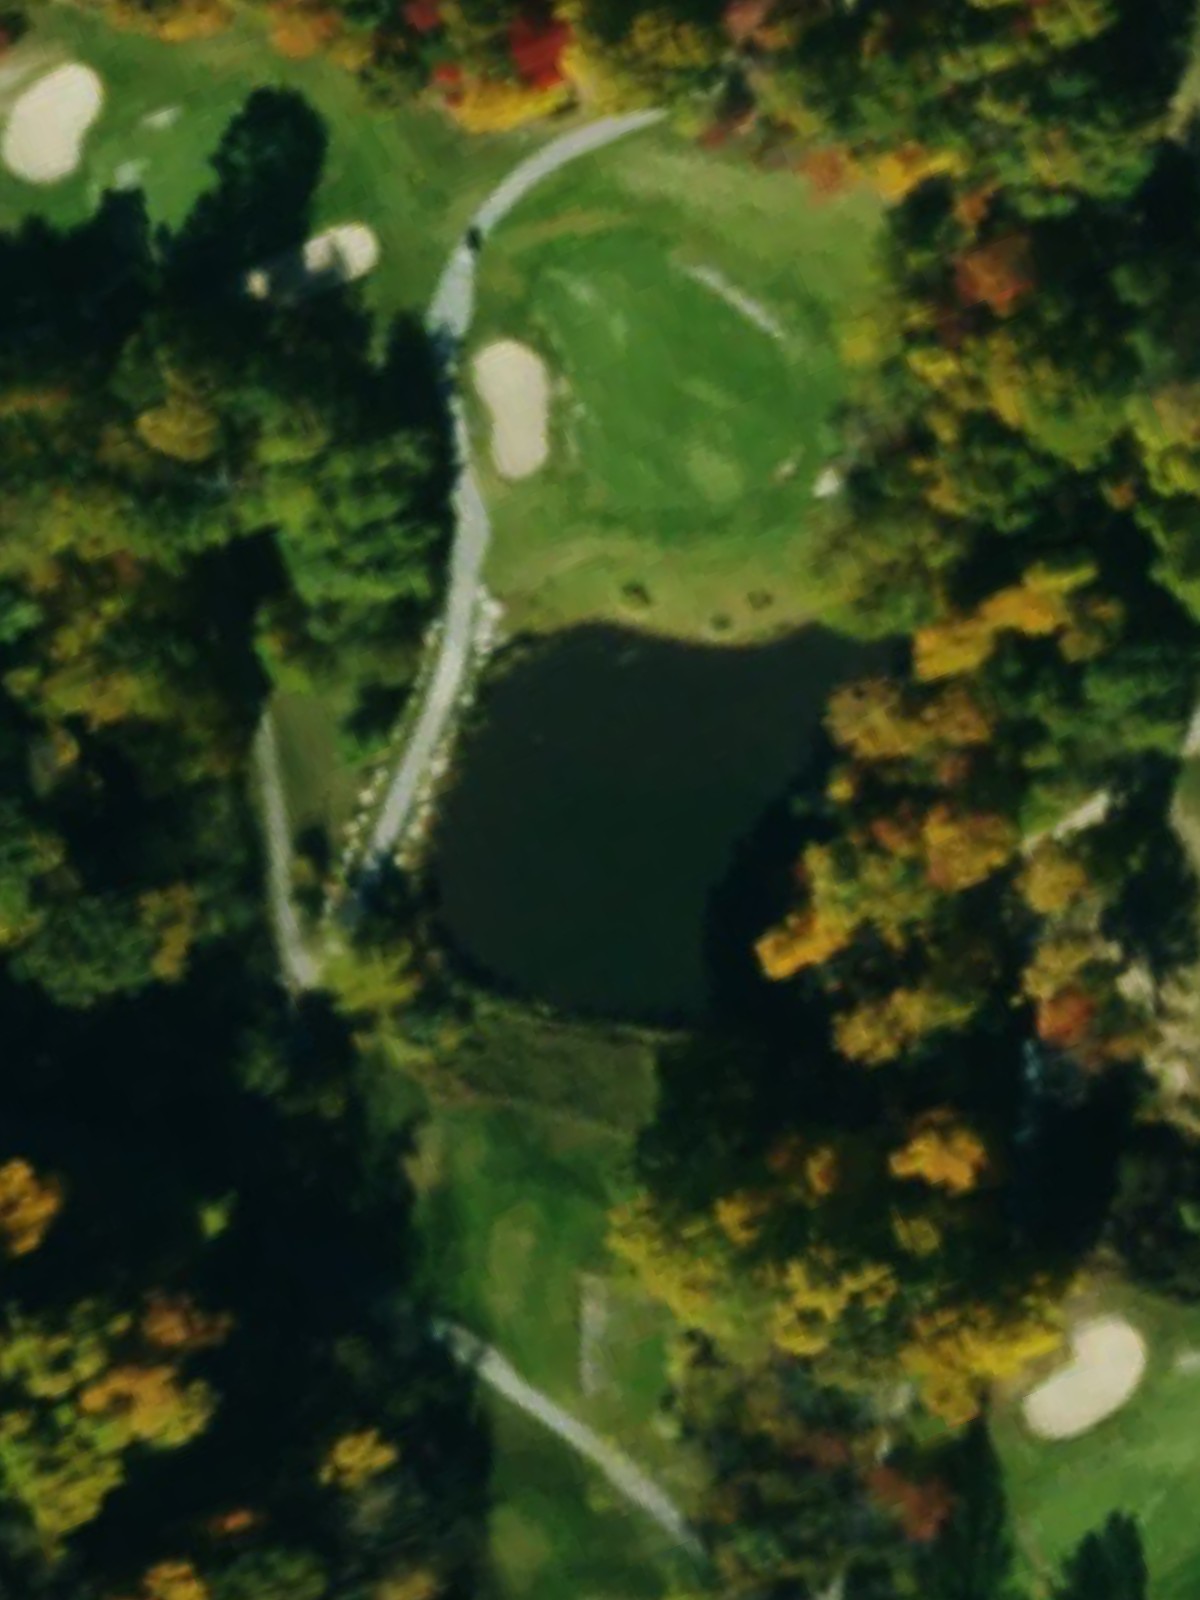
A strong par 3 with a lateral water hazard threatening the left side and a bunker guarding the green. The hazard placement creates a dramatic one-shot test that plays tougher than the scorecard suggests.
A challenging par 5 with a lateral water hazard and bunkers throughout, including strategic positioning in the fairway and around the green. Length, water, and sand combine to create one of the course's most complete holes.

A short par 4 with bunkers framing the approach to the green. The compact layout and hazard placement create scoring pressure on what should otherwise be a manageable hole.

A finishing par 4 with a lateral water hazard running along the left side and bunkers protecting the green. The presence of water adds drama to the final hole while fairway width offers some forgiveness off the tee.
Scorecard
| Hole | 1 | 2 | 3 | 4 | 5 | 6 | 7 | 8 | 9 | Out | 10 | 11 | 12 | 13 | 14 | 15 | 16 | 17 | 18 | In | Tot |
|---|---|---|---|---|---|---|---|---|---|---|---|---|---|---|---|---|---|---|---|---|---|
| Par | 4 | 5 | 3 | 4 | 4 | 5 | 3 | 4 | 4 | 36 | 4 | 5 | 3 | 4 | 4 | 3 | 5 | 4 | 4 | 36 | 72 |
| HCP | 10 | 12 | 16 | 4 | 14 | 6 | 8 | 2 | 18 | 7 | 1 | 13 | 11 | 17 | 5 | 3 | 15 | 9 | |||
| black | 417 | 554 | 175 | 456 | 406 | 590 | 224 | 452 | 394 | 3668 | 407 | 537 | 185 | 377 | 320 | 212 | 513 | 347 | 419 | 3317 | 6985 |
| blue | 373 | 533 | 146 | 423 | 395 | 546 | 199 | 391 | 373 | 3379 | 340 | 503 | 173 | 339 | 296 | 160 | 490 | 314 | 400 | 3015 | 6394 |
| white | 368 | 513 | 136 | 385 | 373 | 502 | 163 | 364 | 347 | 3151 | 310 | 484 | 129 | 323 | 276 | 151 | 456 | 293 | 373 | 2795 | 5946 |
| gold | 318 | 494 | 117 | 336 | 326 | 494 | 150 | 339 | 341 | 2915 | 289 | 455 | 102 | 306 | 253 | 111 | 421 | 274 | 346 | 2557 | 5472 |