Orange Tree Gr is an 18-hole golf course in Scottsdale, AZ with a par of 72. It offers 4 tee sets: championship (6,627 yards, slope 124, rating 71.1), middle (6,284 yards, slope 119, rating 69.3), combo (5,943 yards, slope 116, rating 67.7), forward (5,632 yards, slope 111, rating 66.2). The hardest hole is #2, a par 5 playing 477 yards from the first tee.
Orange Tree Gr
Scottsdale, AZ
Get PDF Yardage Book
We'll email you the PDF link. No spam, ever.
Create Your Game Plan
Pick your tees, enter your bag, and get a personalized shot-by-shot strategy for every hole.
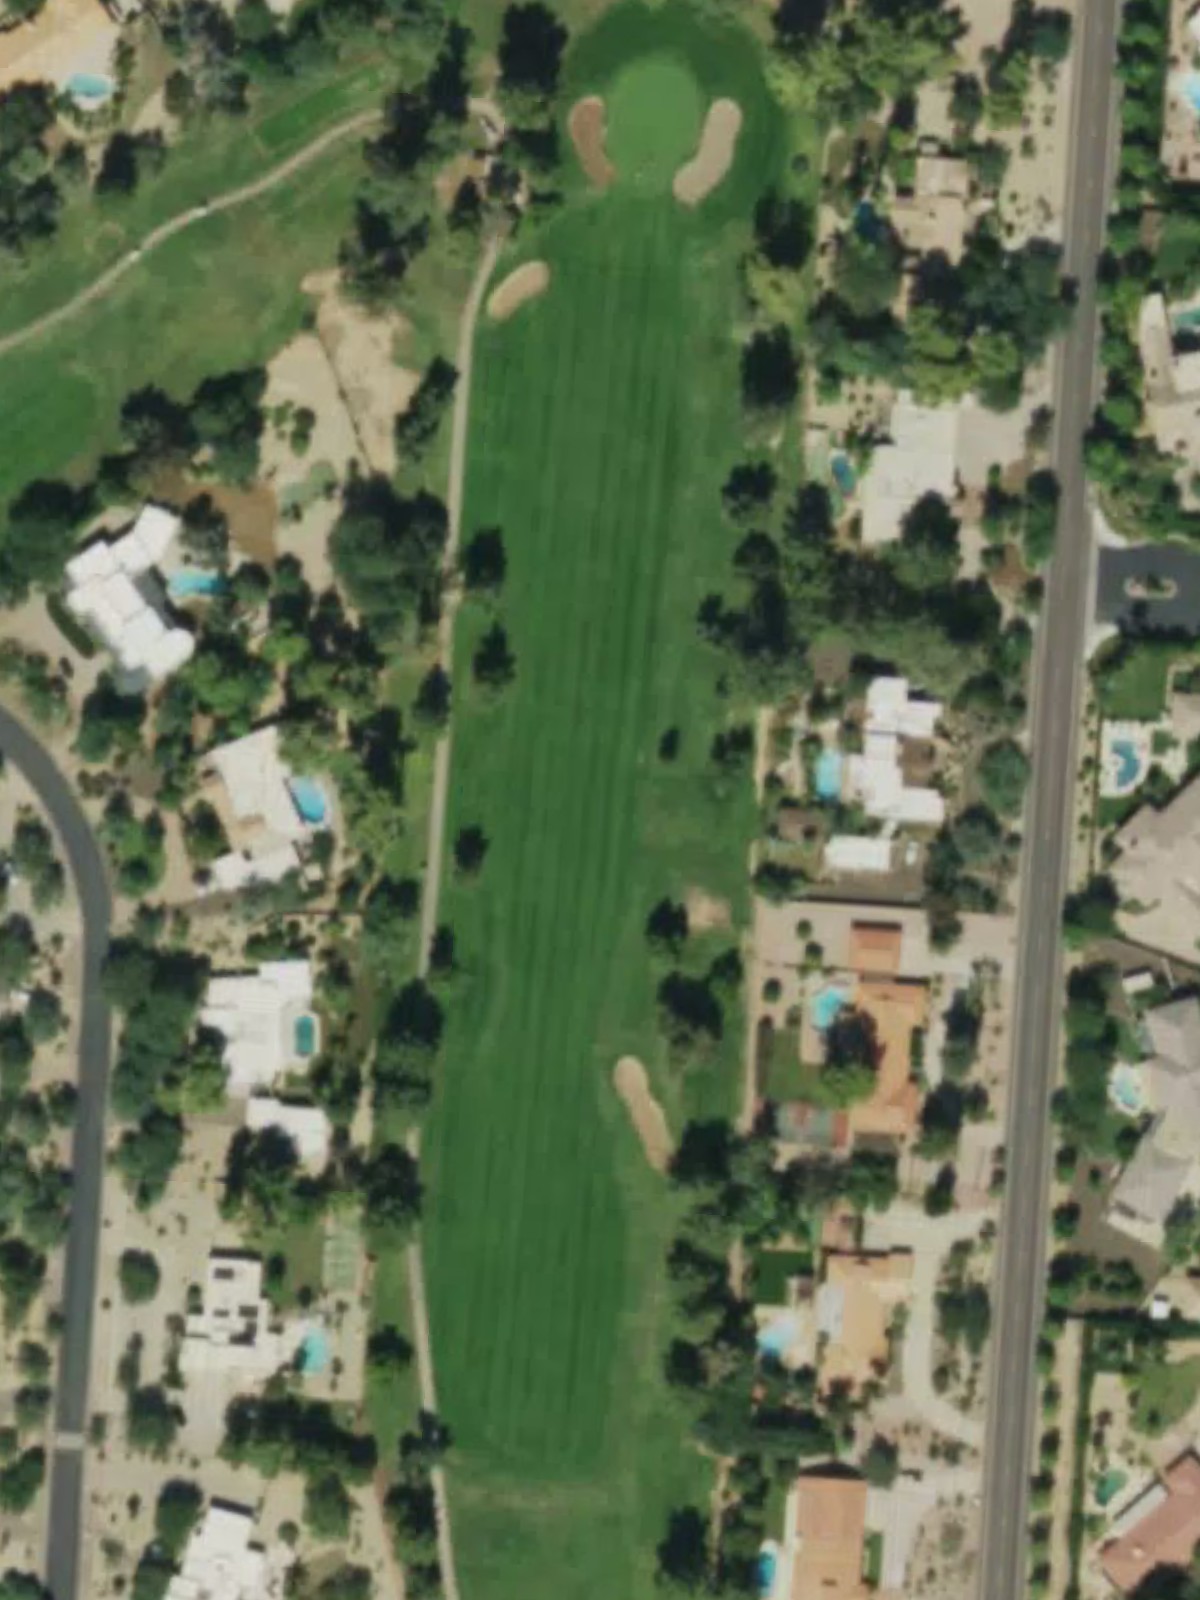
A short, straightforward par 4 that plays downhill with an open fairway inviting aggressive play. The approach to the green tightens considerably, with bunkers protecting the left side and rough framing both edges.

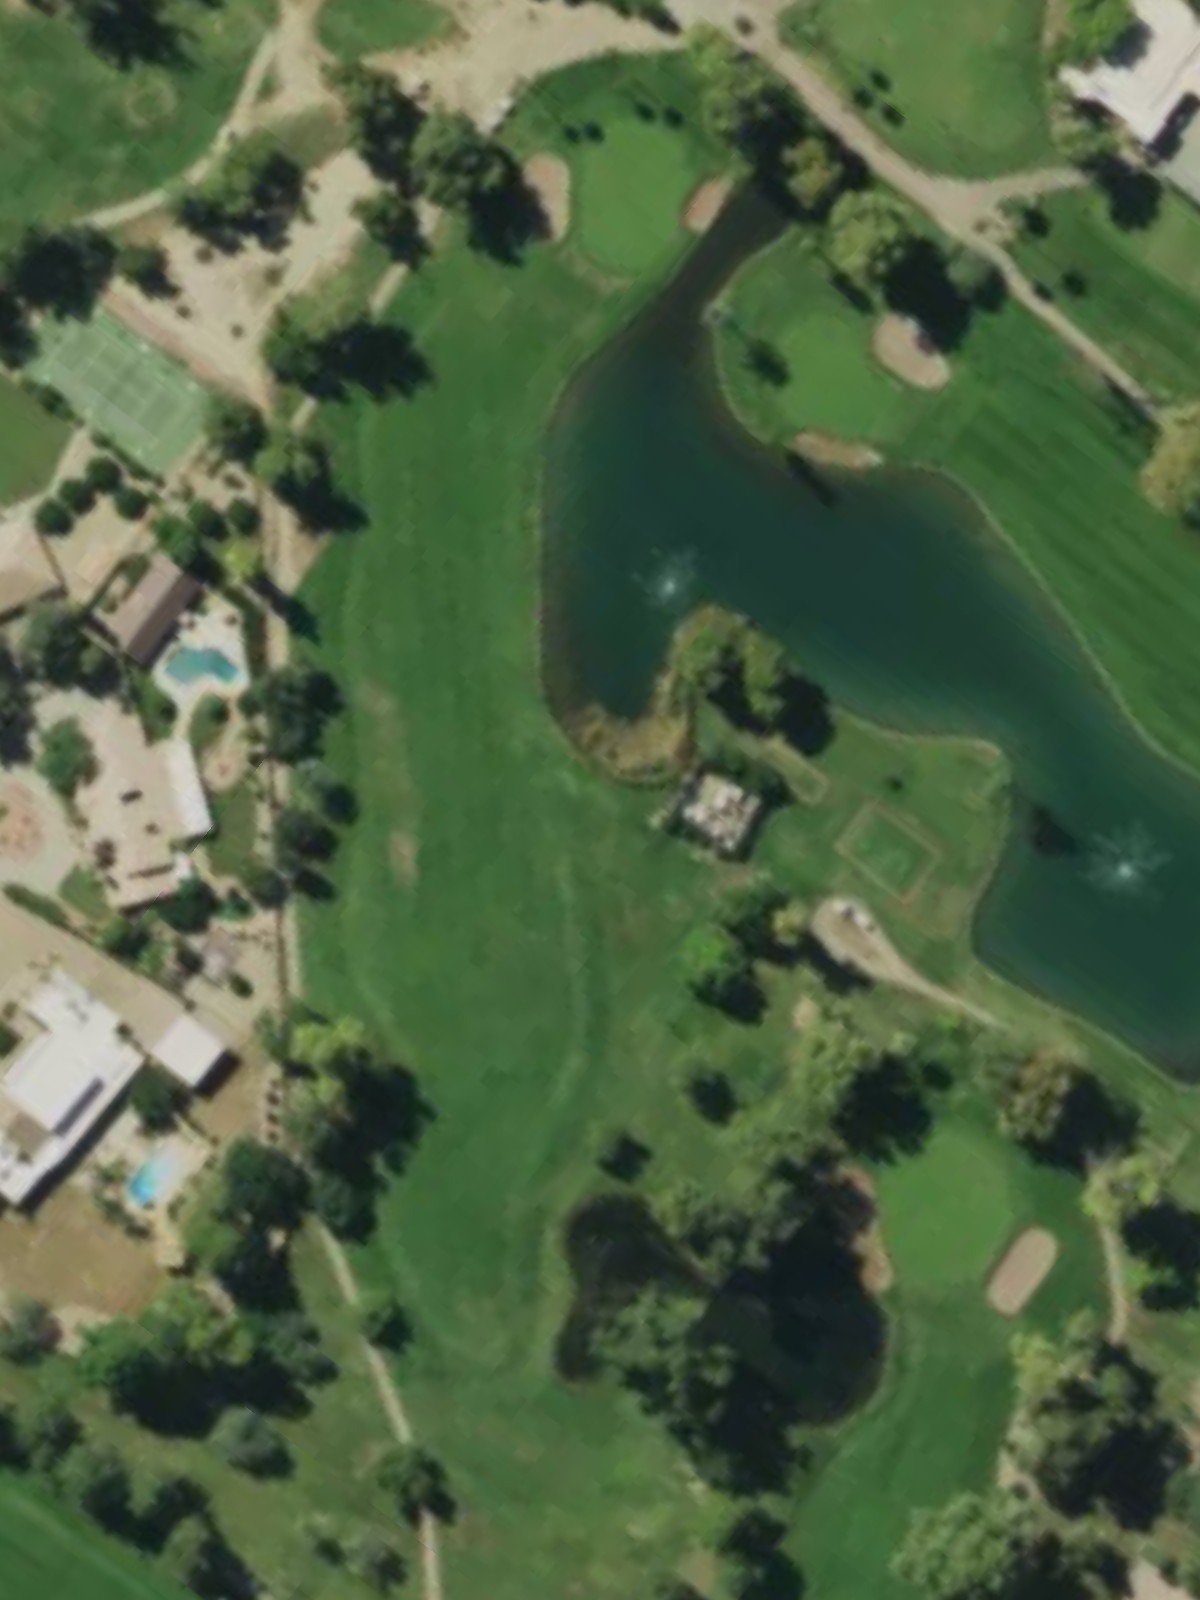
The course's signature hole, this long par 5 demands precision off the tee and strategic positioning for the second shot. Water hazards frame the left side throughout, making accuracy more valuable than distance.
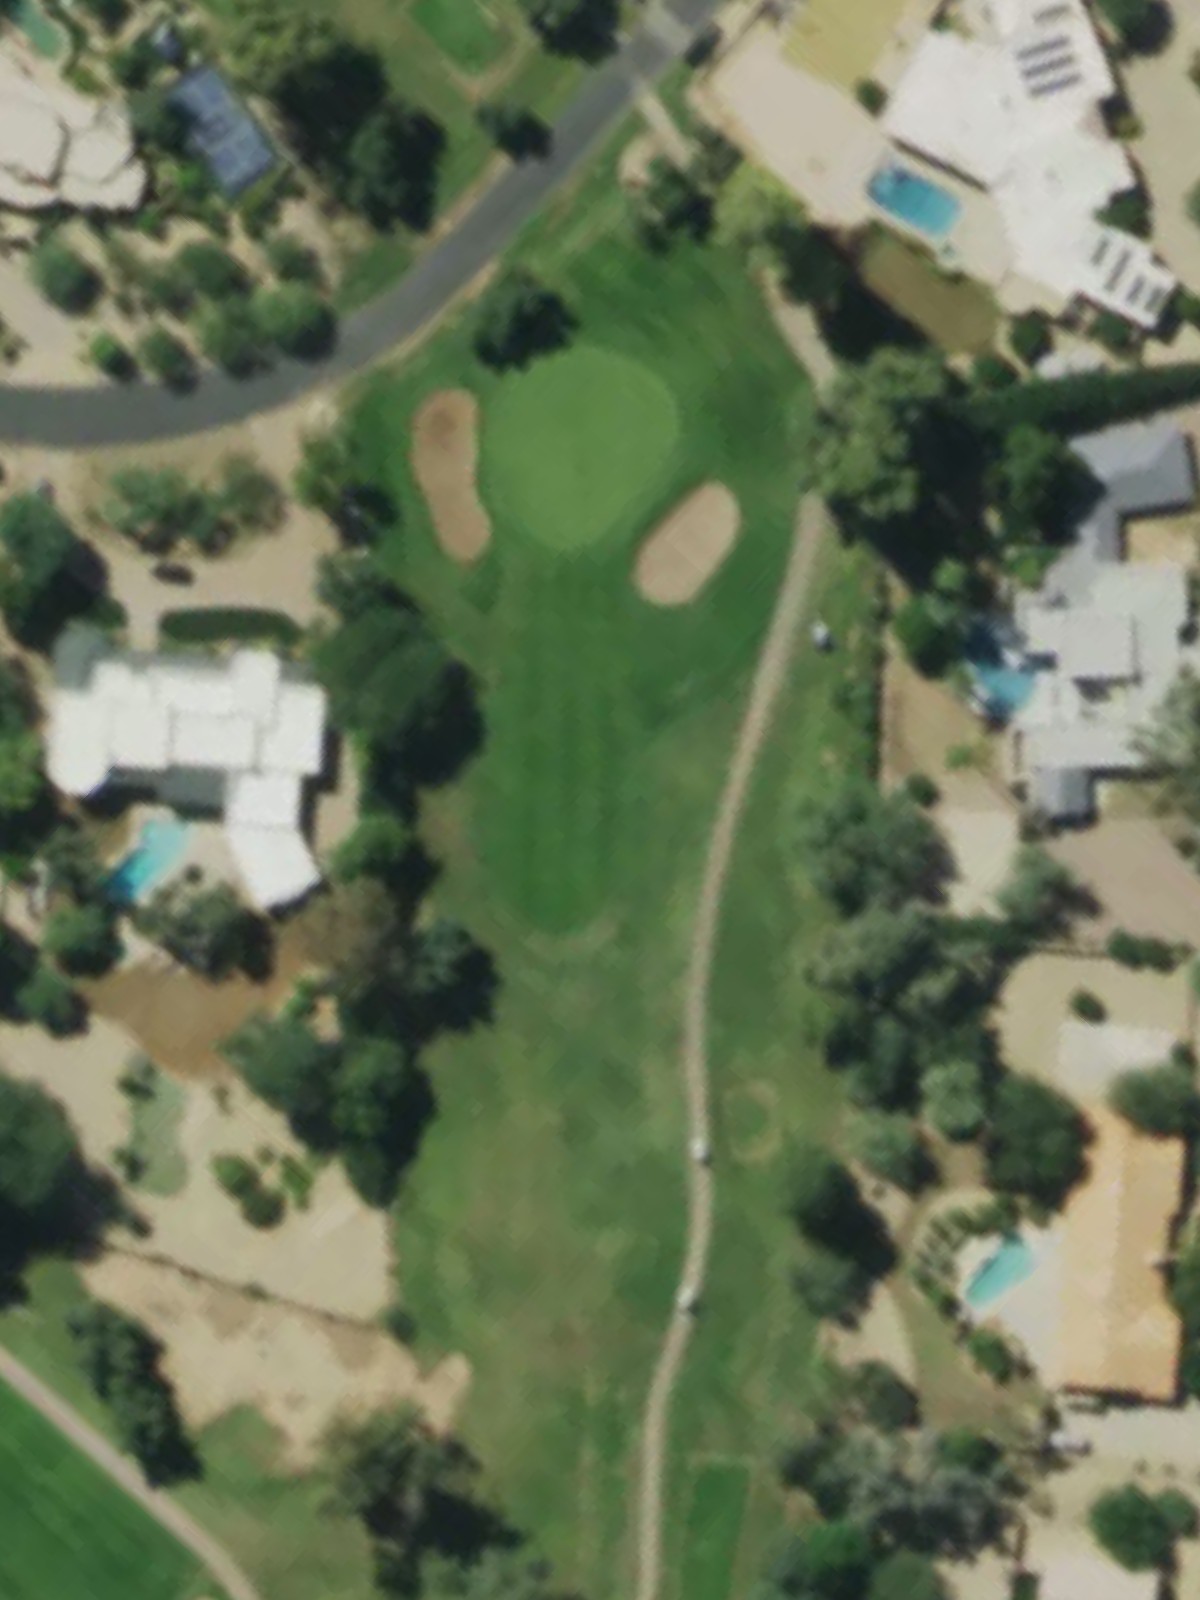
A compact par 4 with a narrow fairway that requires placement rather than power. Bunkers cluster around the green complex, particularly on the right, creating a precise approach into a tight landing area.
A short par 3 over a modest distance with a relatively forgiving green. The hazard layout is straightforward, making this an excellent opportunity to gain a stroke on the scorecard.
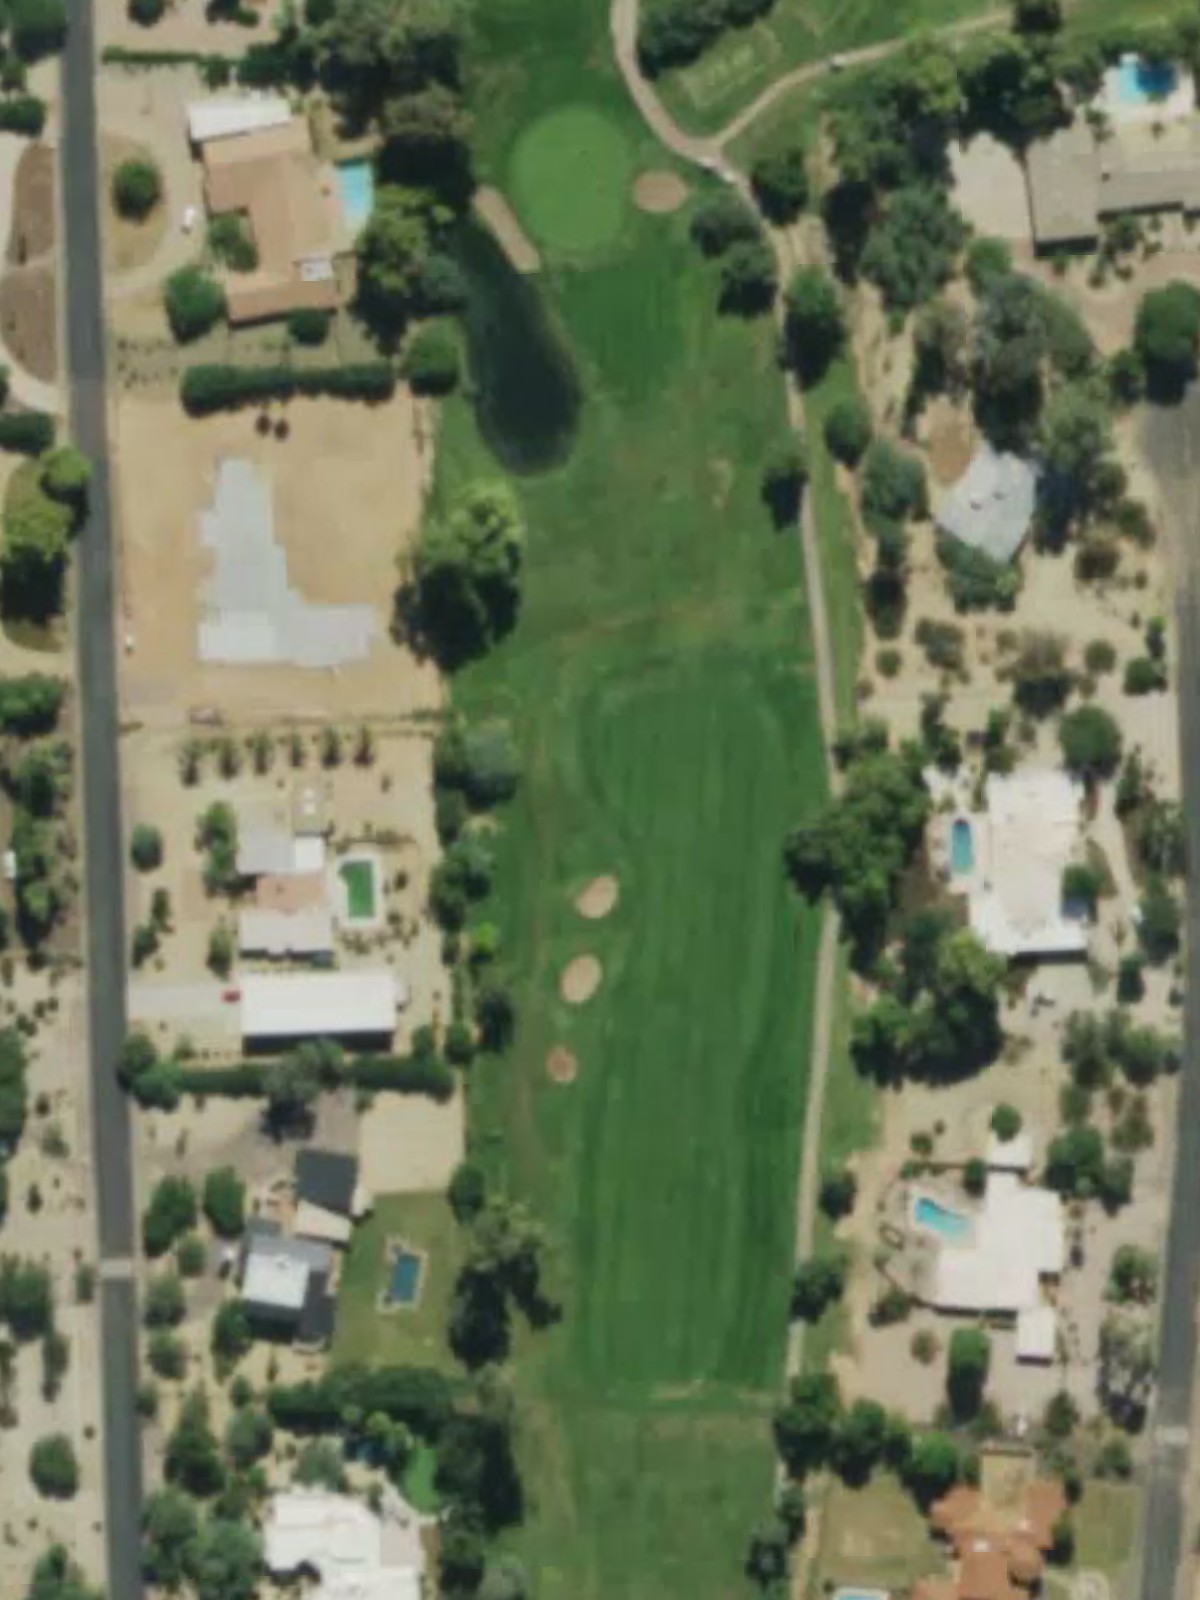
A well-bunkered par 4 that plays at a challenging length with a dogleg character that affects approach angles. Strategic bunker placement throughout the hole demands thoughtful shot sequencing.
A medium-length par 5 where the fairway opens up for driving but constricts on the approach to a narrow, well-defended green. The hole's length makes a quality second shot critical.
A mid-length par 3 that requires an accurate tee shot to a moderately-sized green. Bunker placement and surrounding rough make the target area smaller than yardage alone suggests.
One of the course's most challenging par 4s, playing longer from the back tees with potential doglegging that tightens the landing area. Hazards converge around the green to punish inaccurate approaches.
A shorter par 4 characterized by a tight fairway and strategic bunkering that affects both driving lines and approach angles. The compact nature of the hole demands precision over distance.
A solid par 4 with a fairway that narrows progressively toward the green, creating a funnel effect that rewards accurate drives. Greenside bunkers add complexity to the final approach.

A well-designed par 4 with moderate length and a fairway that requires patience in placement. Bunkers guard the approach zone, making position off the tee more important than absolute distance.
A short-to-mid par 3 with a straightforward shot to a receptive green. Modest hazards frame the target, making this a solid birdie opportunity if struck cleanly.
The longest hole on the course, this imposing par 5 tests distance and strategy with its extended yardage. Hazards positioned throughout require intelligent routing to reach the green in regulation.
A solid par 4 of moderate difficulty with a fairway that offers reasonable width off the tee. Bunkers protect the green complex, particularly on the approach side, creating a calculated finishing shot.
The shortest par 3 on the course, playing to a welcoming green with minimal complications. The reduced yardage makes this an ideal scoring opportunity.
One of the course's most demanding par 4s, requiring both distance and accuracy with limited margin for error. Hazards positioned strategically throughout create a test of ball control and course management.
A lengthy par 5 with a fairway that invites aggressive play off the tee, though hazards threaten those who overcommit. The hole opens up slightly for the second shot before tightening around a well-guarded green.
A fitting closing par 4 that combines moderate length with strategic bunkering around the green complex. The fairway accepts a range of shots, but precision into the home green determines the final score.
Scorecard
| Hole | 1 | 2 | 3 | 4 | 5 | 6 | 7 | 8 | 9 | Out | 10 | 11 | 12 | 13 | 14 | 15 | 16 | 17 | 18 | In | Tot |
|---|---|---|---|---|---|---|---|---|---|---|---|---|---|---|---|---|---|---|---|---|---|
| Par | 4 | 5 | 4 | 3 | 4 | 5 | 3 | 4 | 4 | 36 | 4 | 4 | 3 | 5 | 4 | 3 | 4 | 5 | 4 | 36 | 72 |
| HCP | 13 | 1 | 11 | 15 | 9 | 5 | 17 | 3 | 7 | 12 | 10 | 16 | 2 | 14 | 18 | 4 | 8 | 6 | |||
| championship | 361 | 489 | 375 | 154 | 392 | 465 | 206 | 407 | 369 | 3218 | 392 | 396 | 183 | 571 | 395 | 182 | 395 | 497 | 398 | 3409 | 6627 |
| middle | 351 | 477 | 366 | 146 | 371 | 440 | 169 | 382 | 356 | 3058 | 378 | 361 | 175 | 541 | 371 | 157 | 376 | 486 | 381 | 3226 | 6284 |
| combo | 324 | 477 | 332 | 146 | 350 | 440 | 169 | 331 | 317 | 2886 | 335 | 328 | 175 | 541 | 350 | 157 | 345 | 486 | 340 | 3057 | 5943 |
| forward | 324 | 449 | 332 | 119 | 350 | 432 | 138 | 331 | 317 | 2792 | 335 | 328 | 150 | 459 | 350 | 105 | 345 | 428 | 340 | 2840 | 5632 |