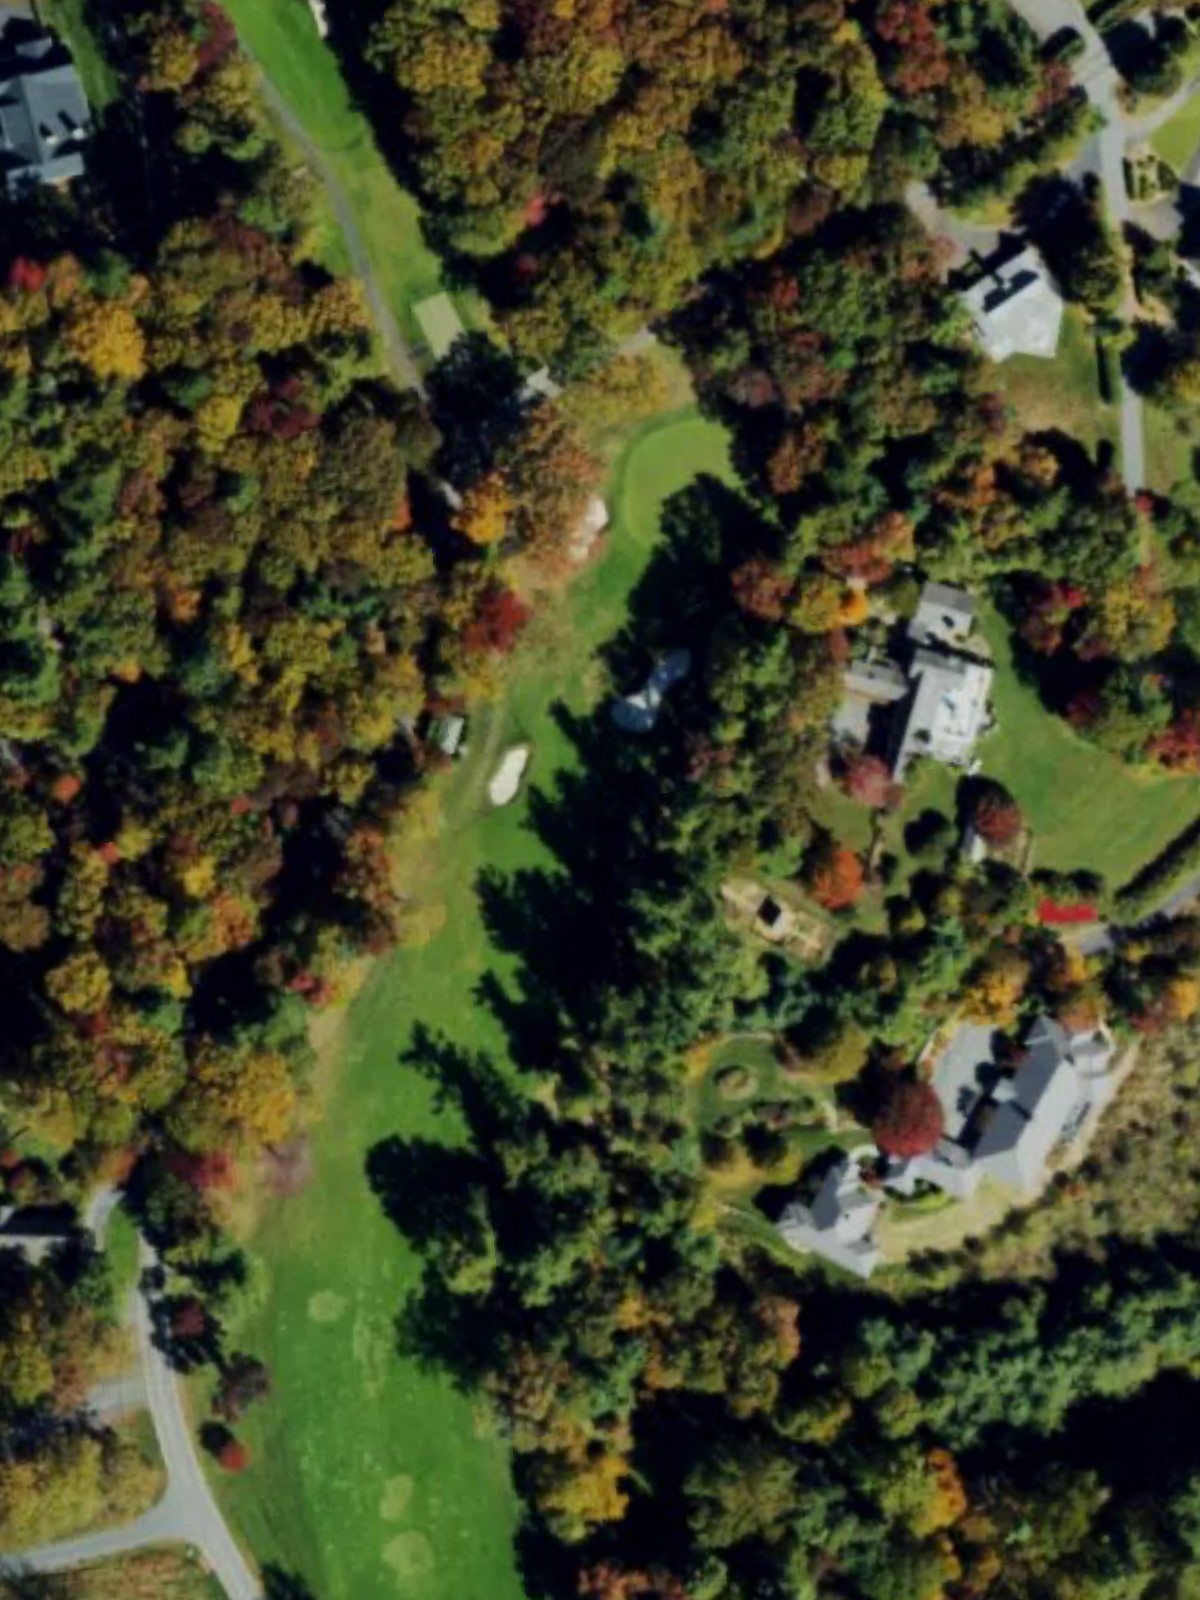
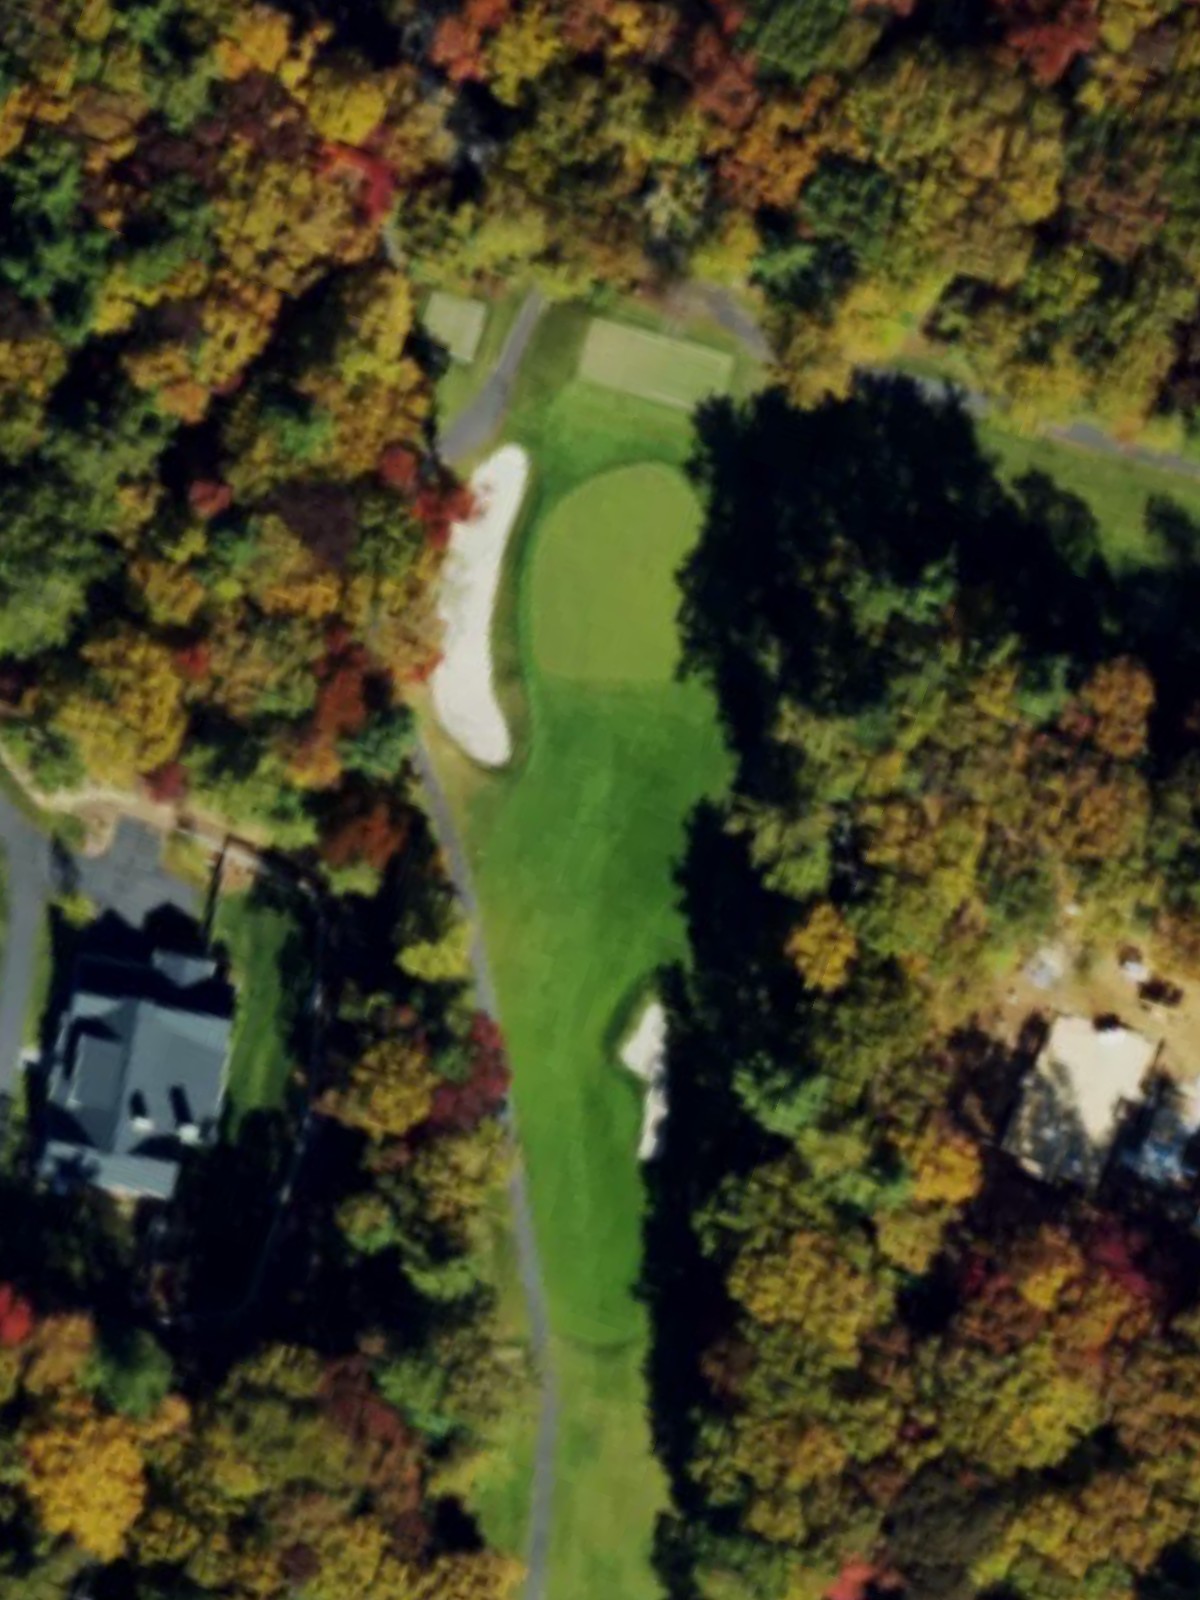
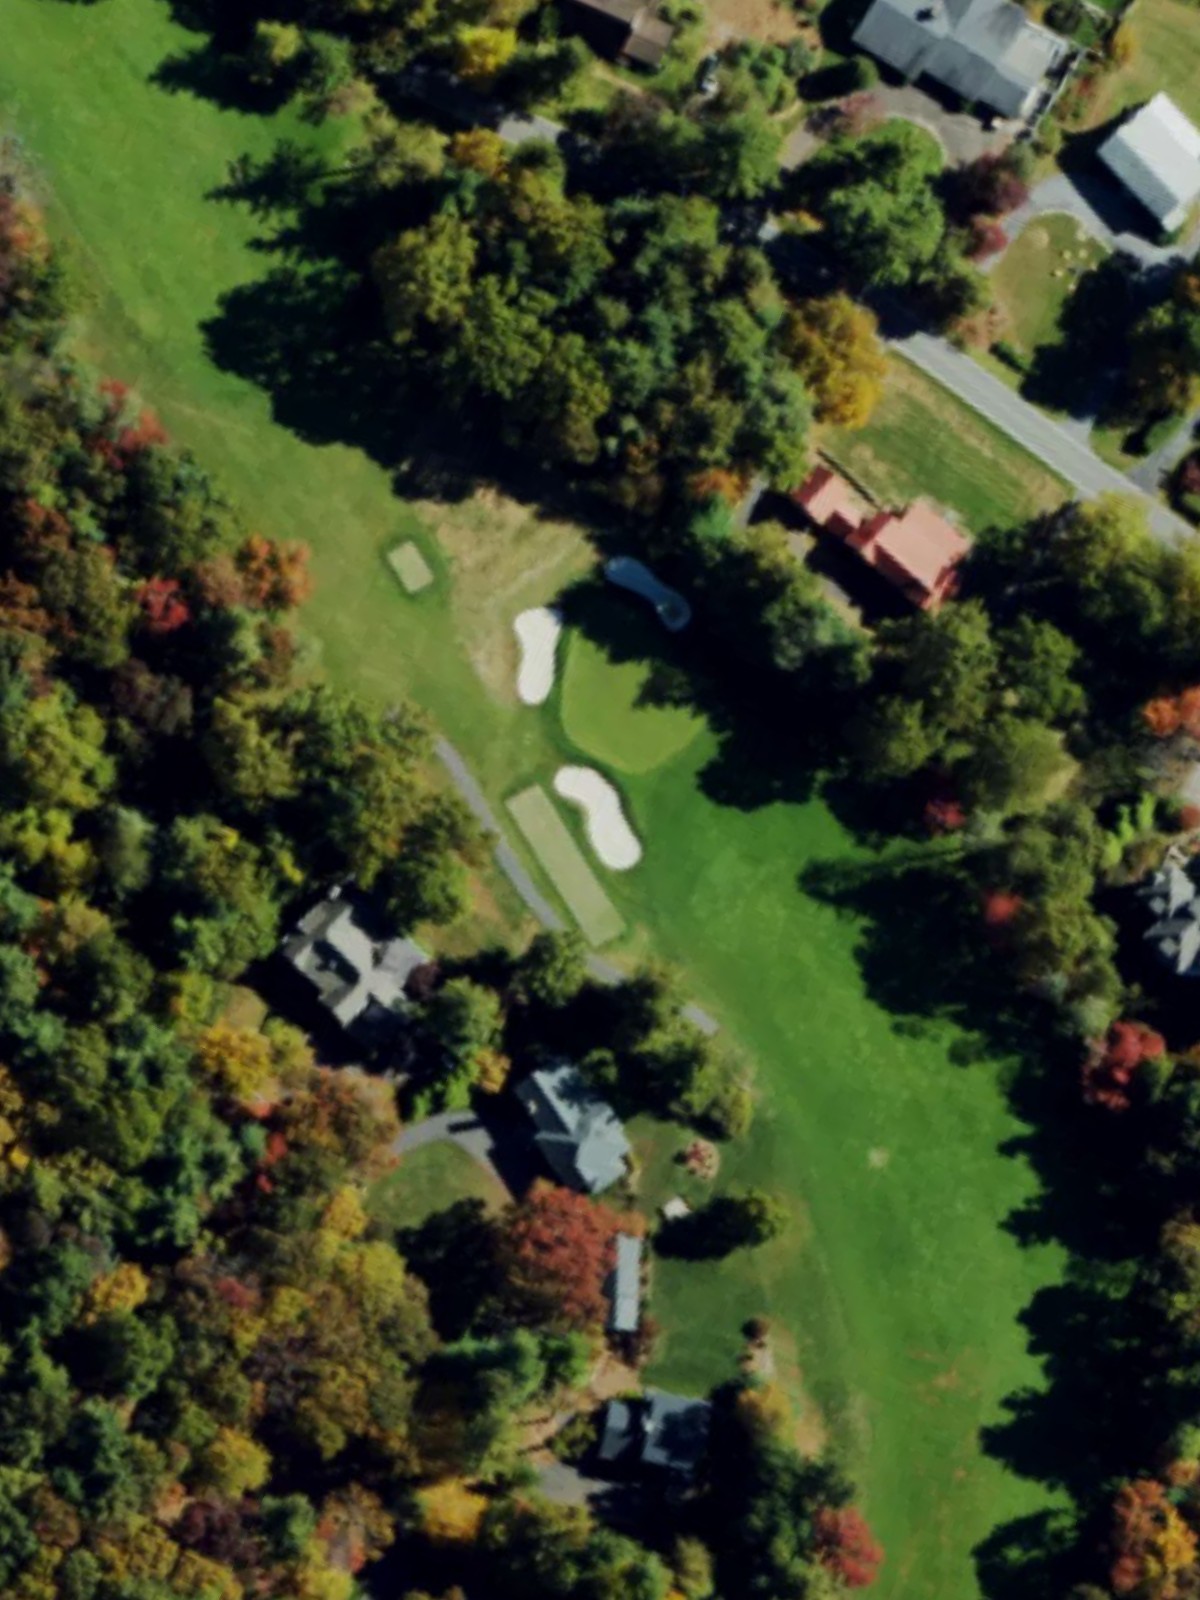
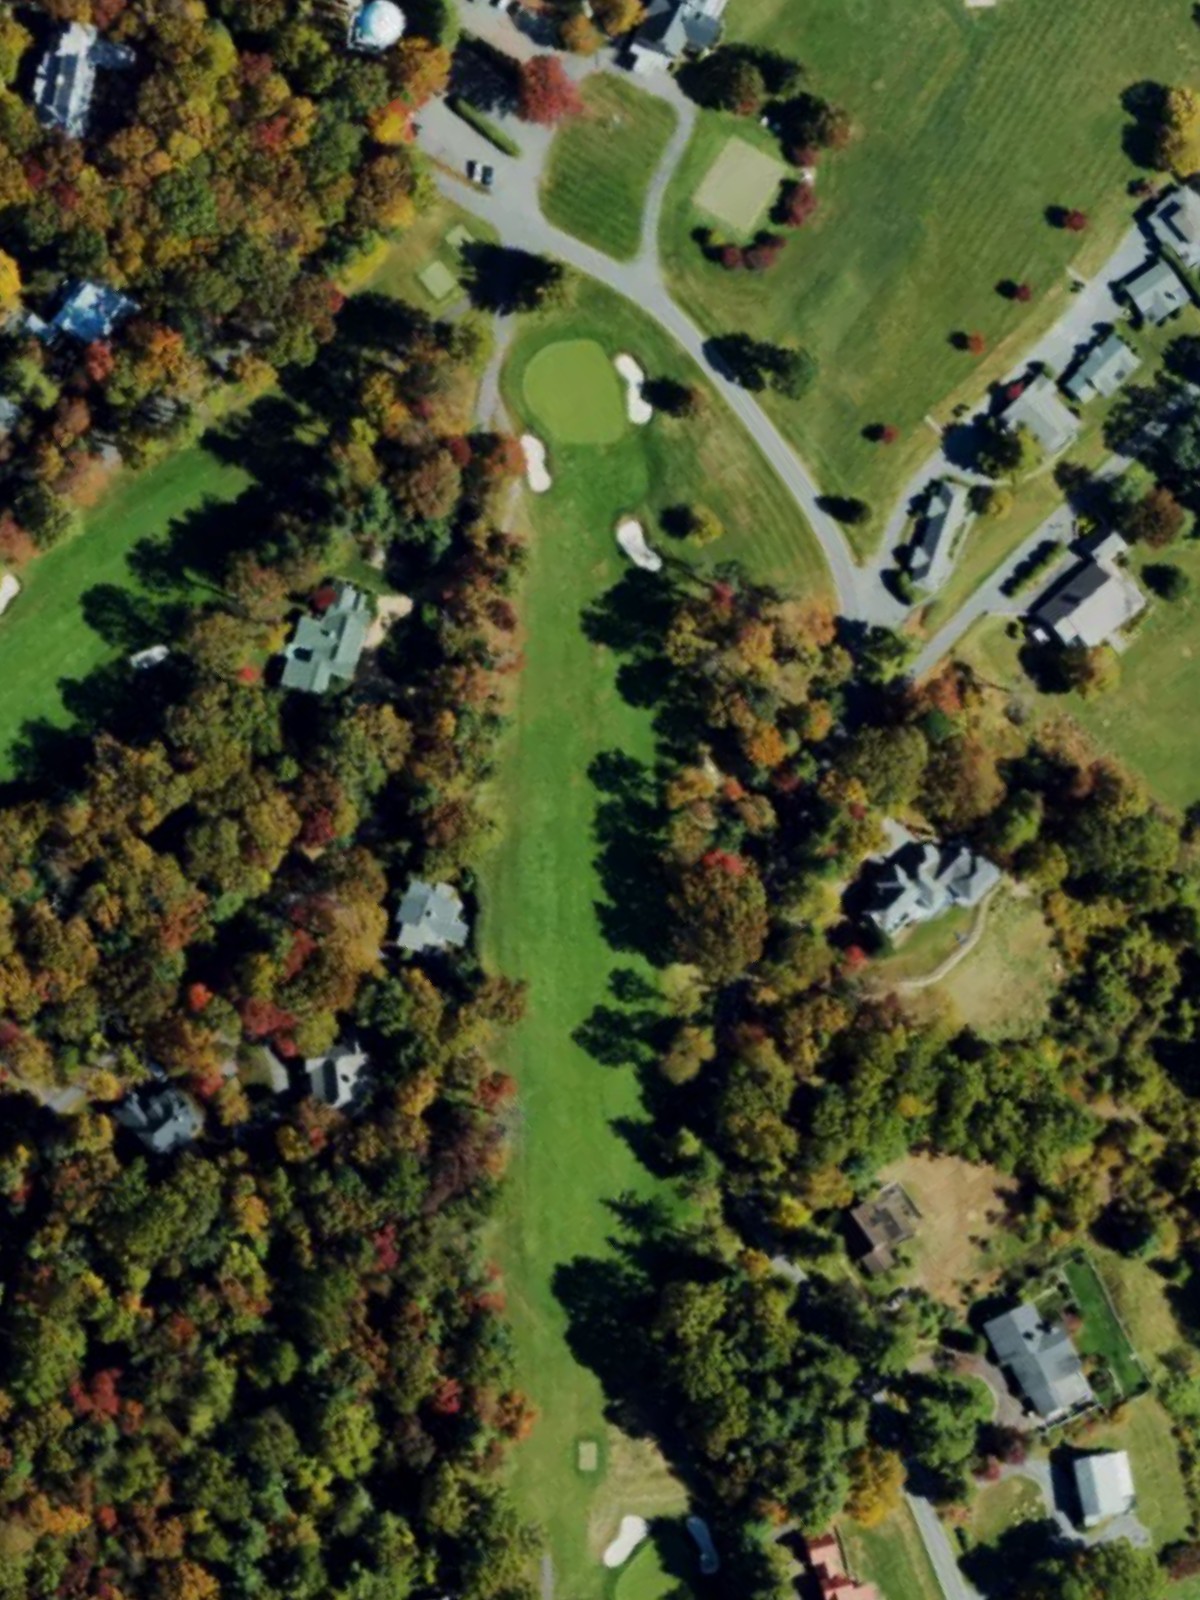
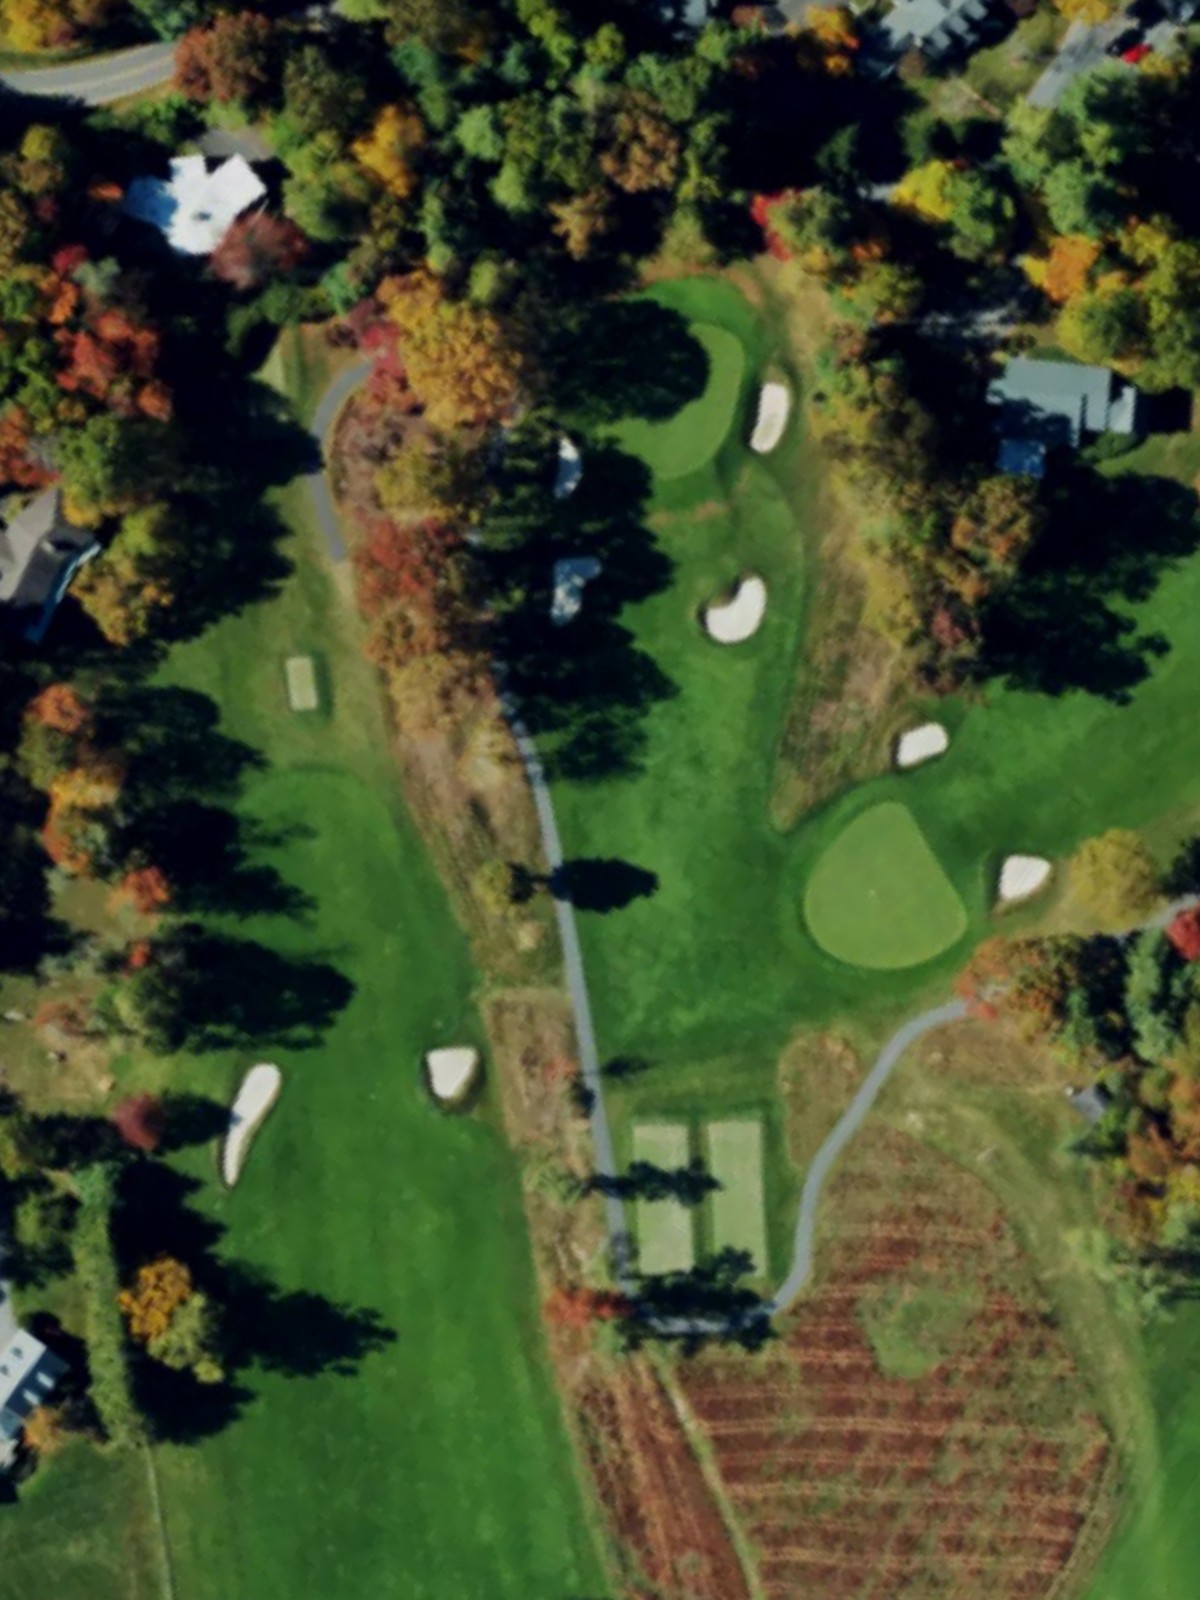
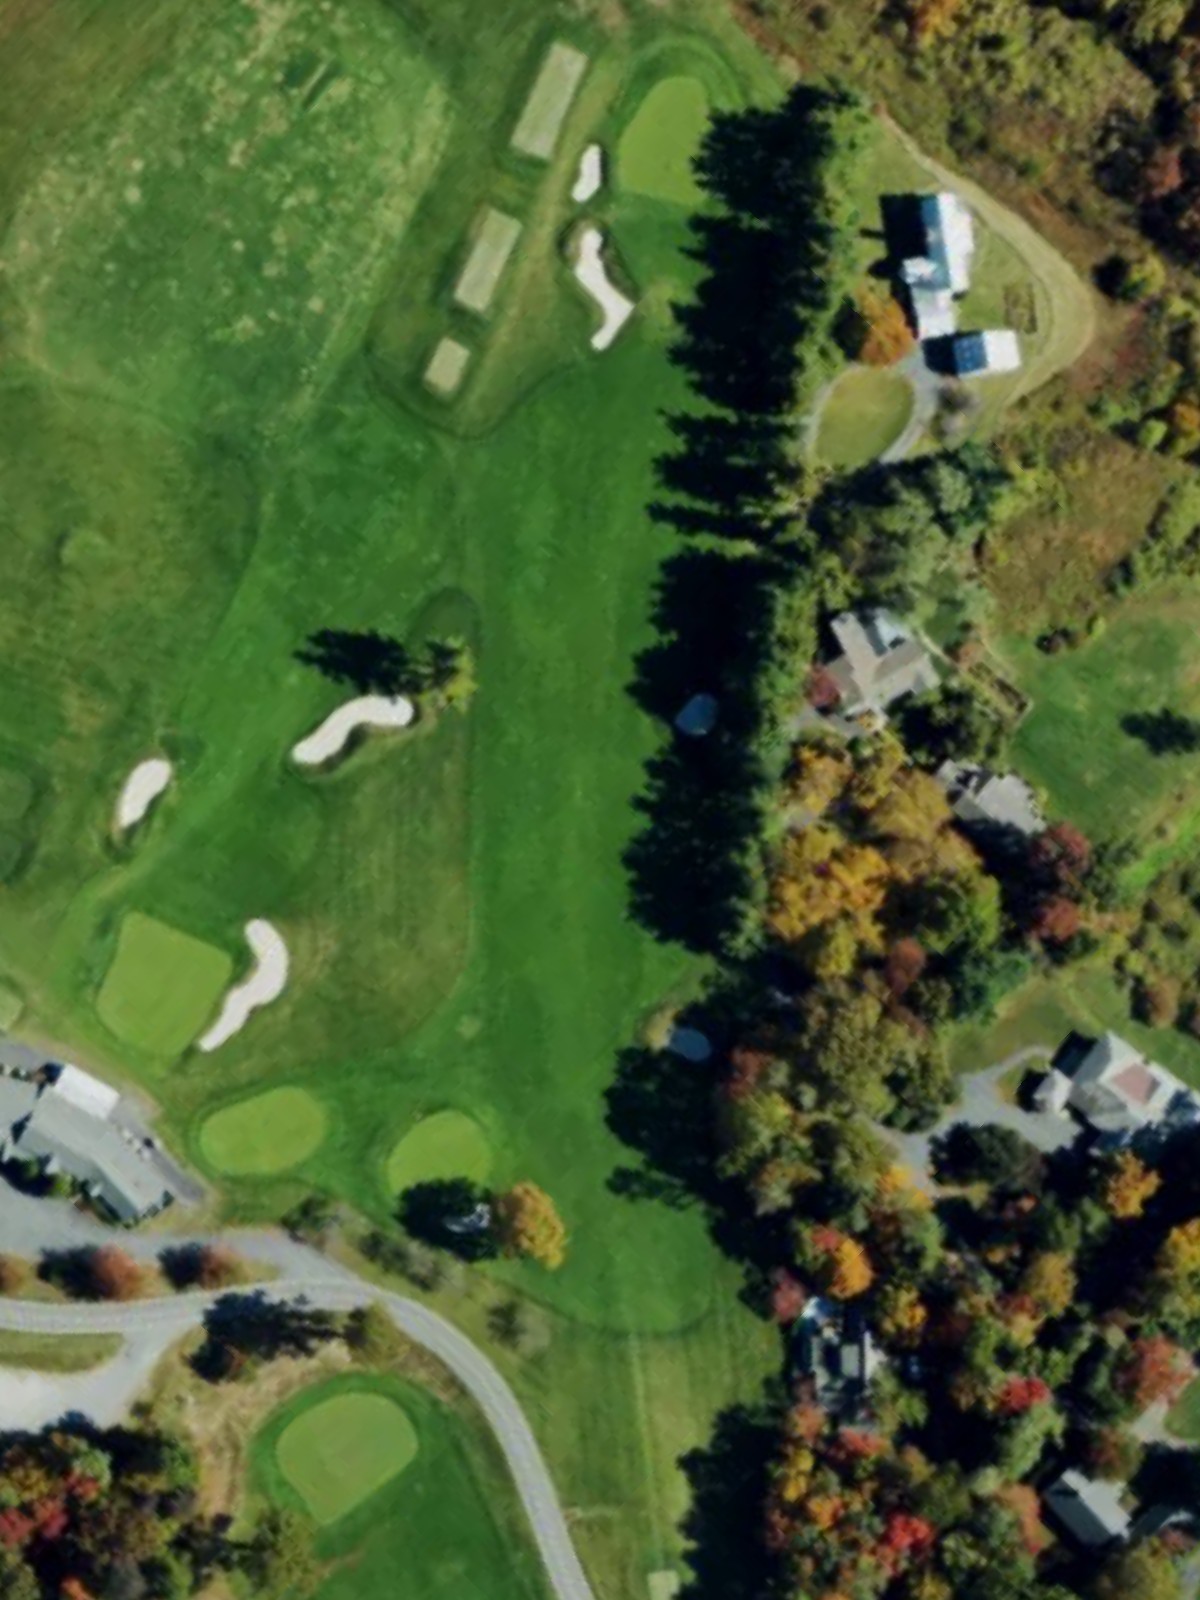
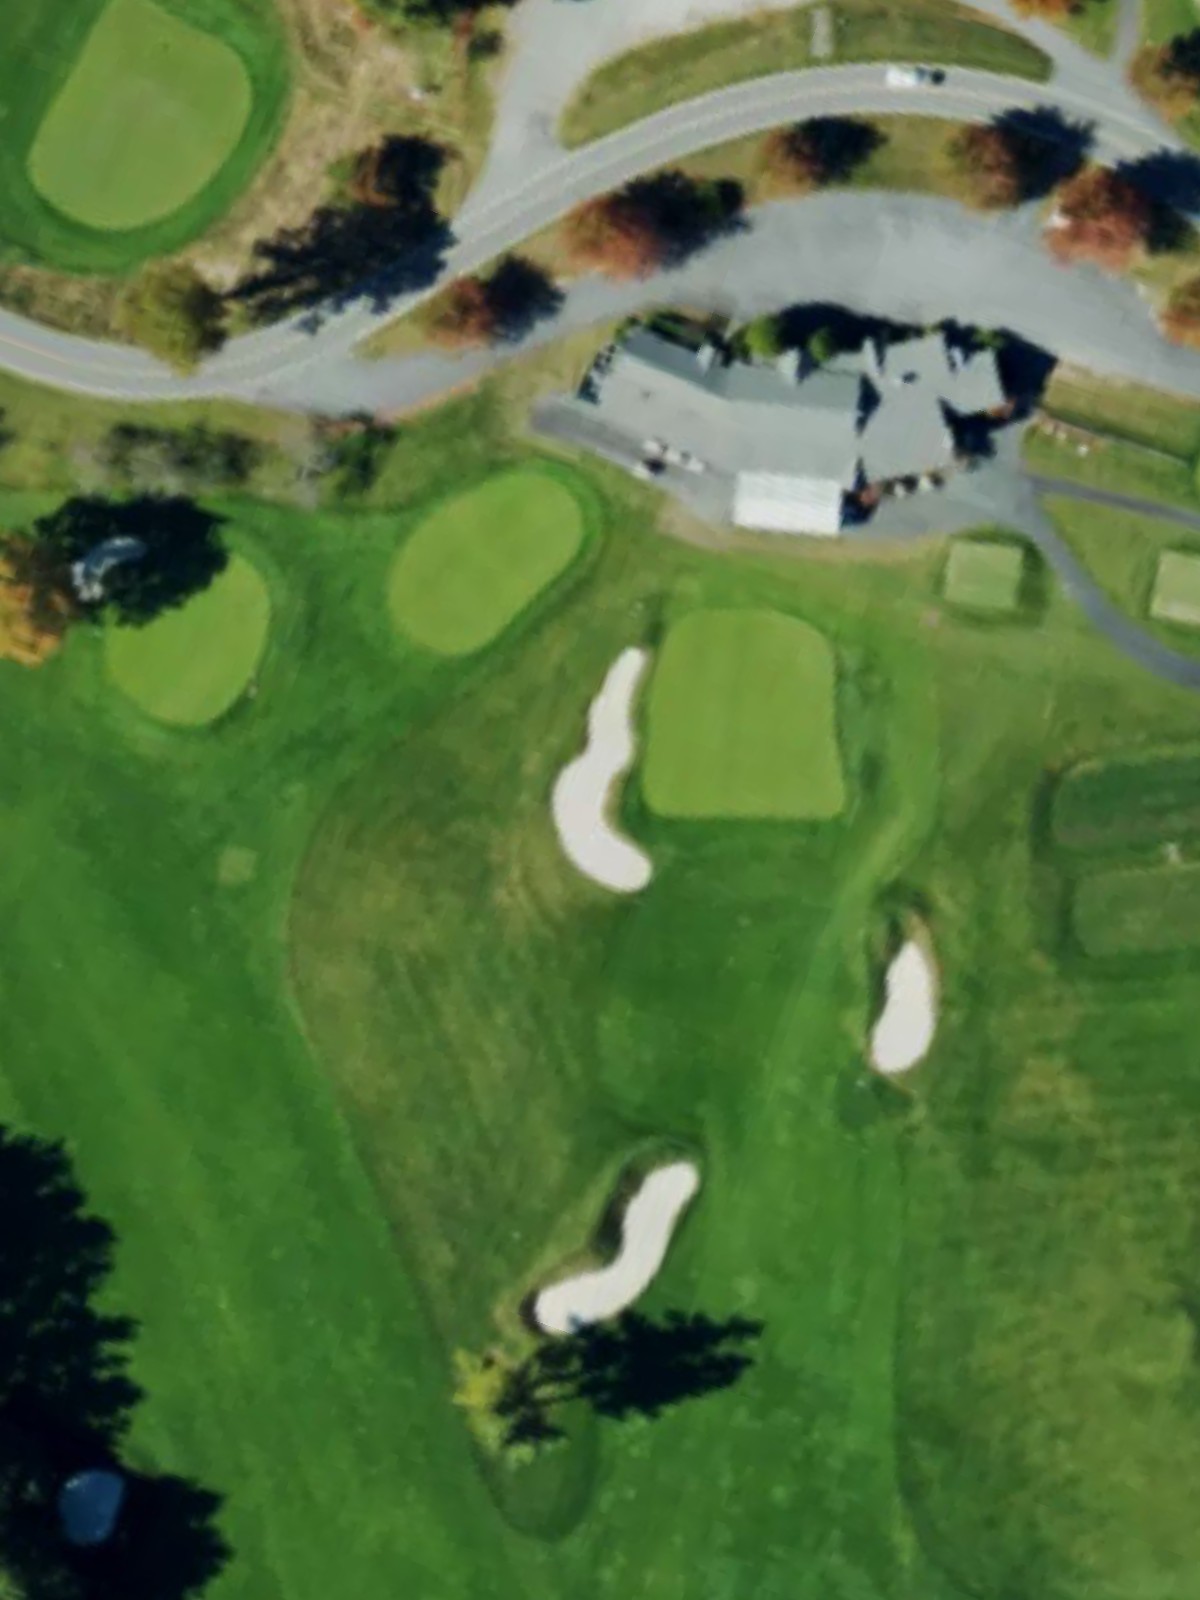
Olde Beau Gc is an 18-hole golf course in Roaring Gap, NC with a par of 72. It offers 5 tee sets: gold tees (6,532 yards, slope 136, rating 72.5), blue tees (6,062 yards, slope 134, rating 70.2), white tees (5,702 yards, slope 128, rating 68.7), white/green hybrid (5,410 yards, slope 124, rating 67.2), green tees (4,943 yards, slope 119, rating 64.9). The hardest hole is #5, a par 4 playing 399 yards from the first tee.
Olde Beau Gc
Roaring Gap, NC
Get PDF Yardage Book
We'll email you the PDF link. No spam, ever.
Create Your Game Plan
Pick your tees, enter your bag, and get a personalized shot-by-shot strategy for every hole.
A relatively short, straightforward par 4 that plays as a birdie opportunity from most tees. The fairway is open and forgiving, though the green is well-guarded by bunkers that demand an accurate approach shot.
A long par 5 that presents a three-shot hole for most players, with a spacious fairway encouraging position play off the tee. Water or strategic bunkering likely protects the approach to the green, making distance management critical.
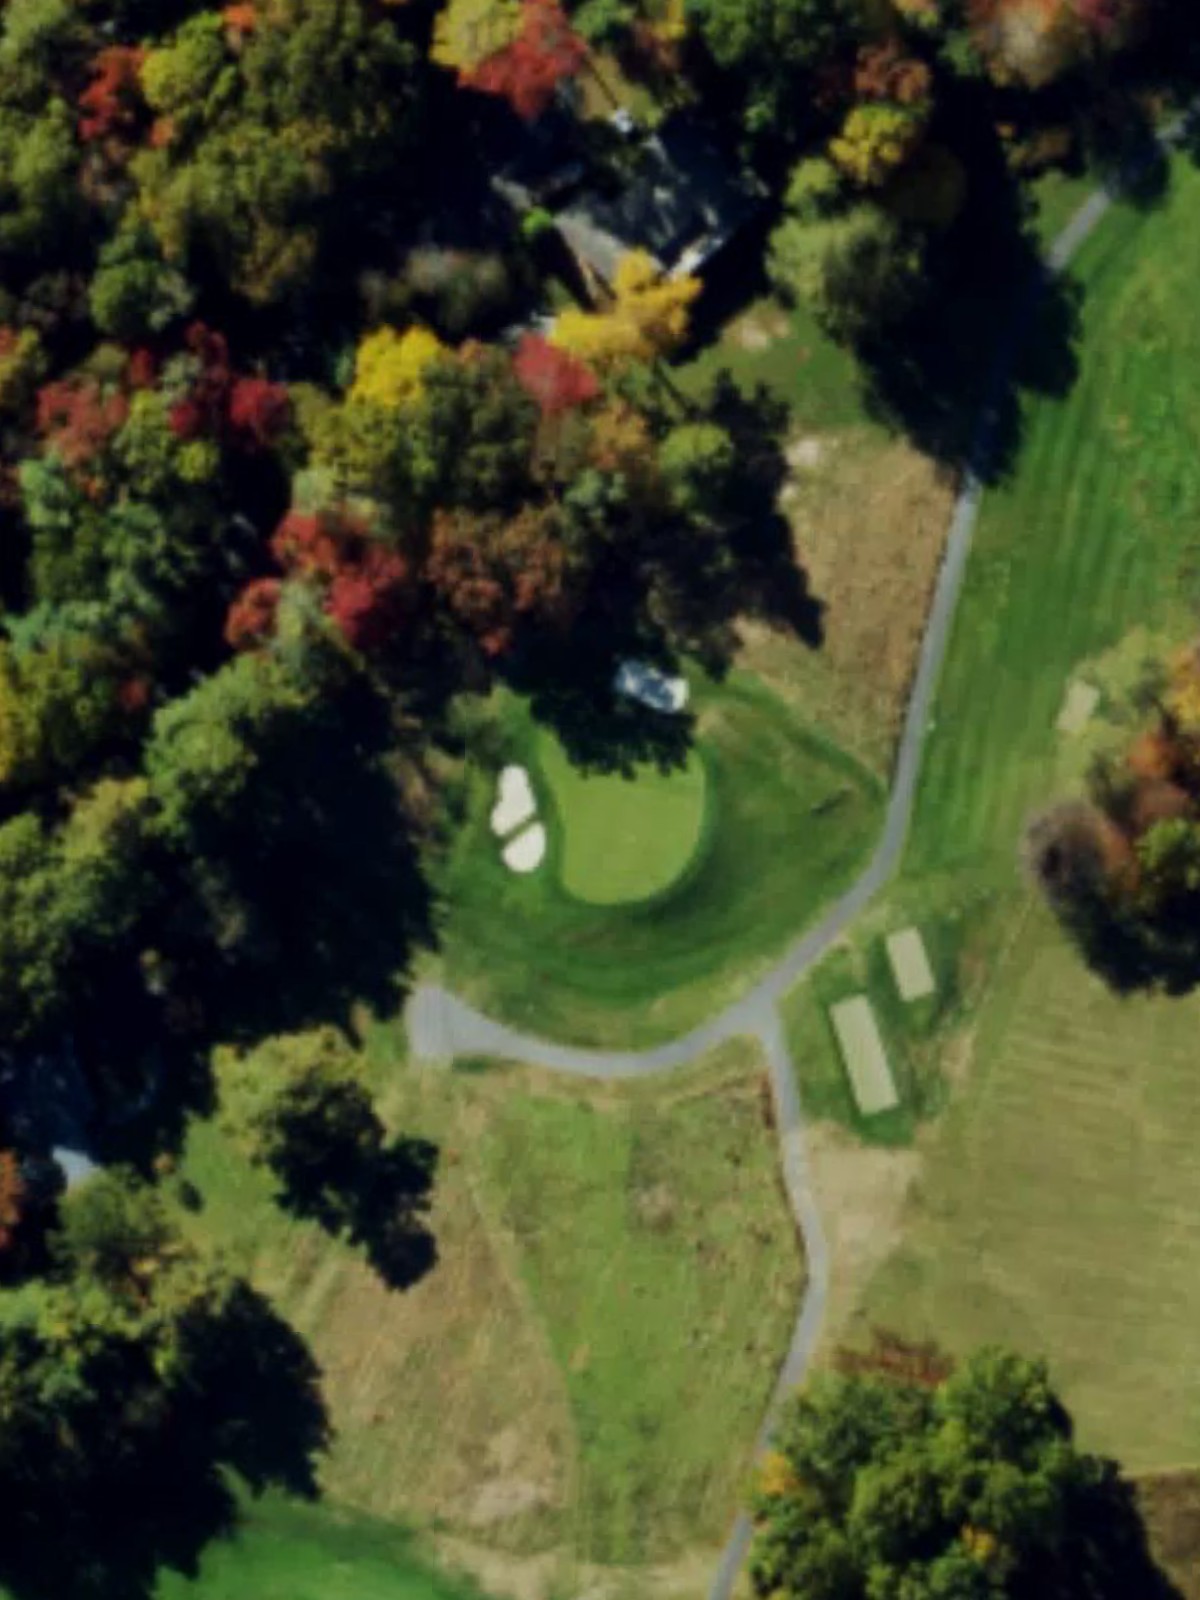
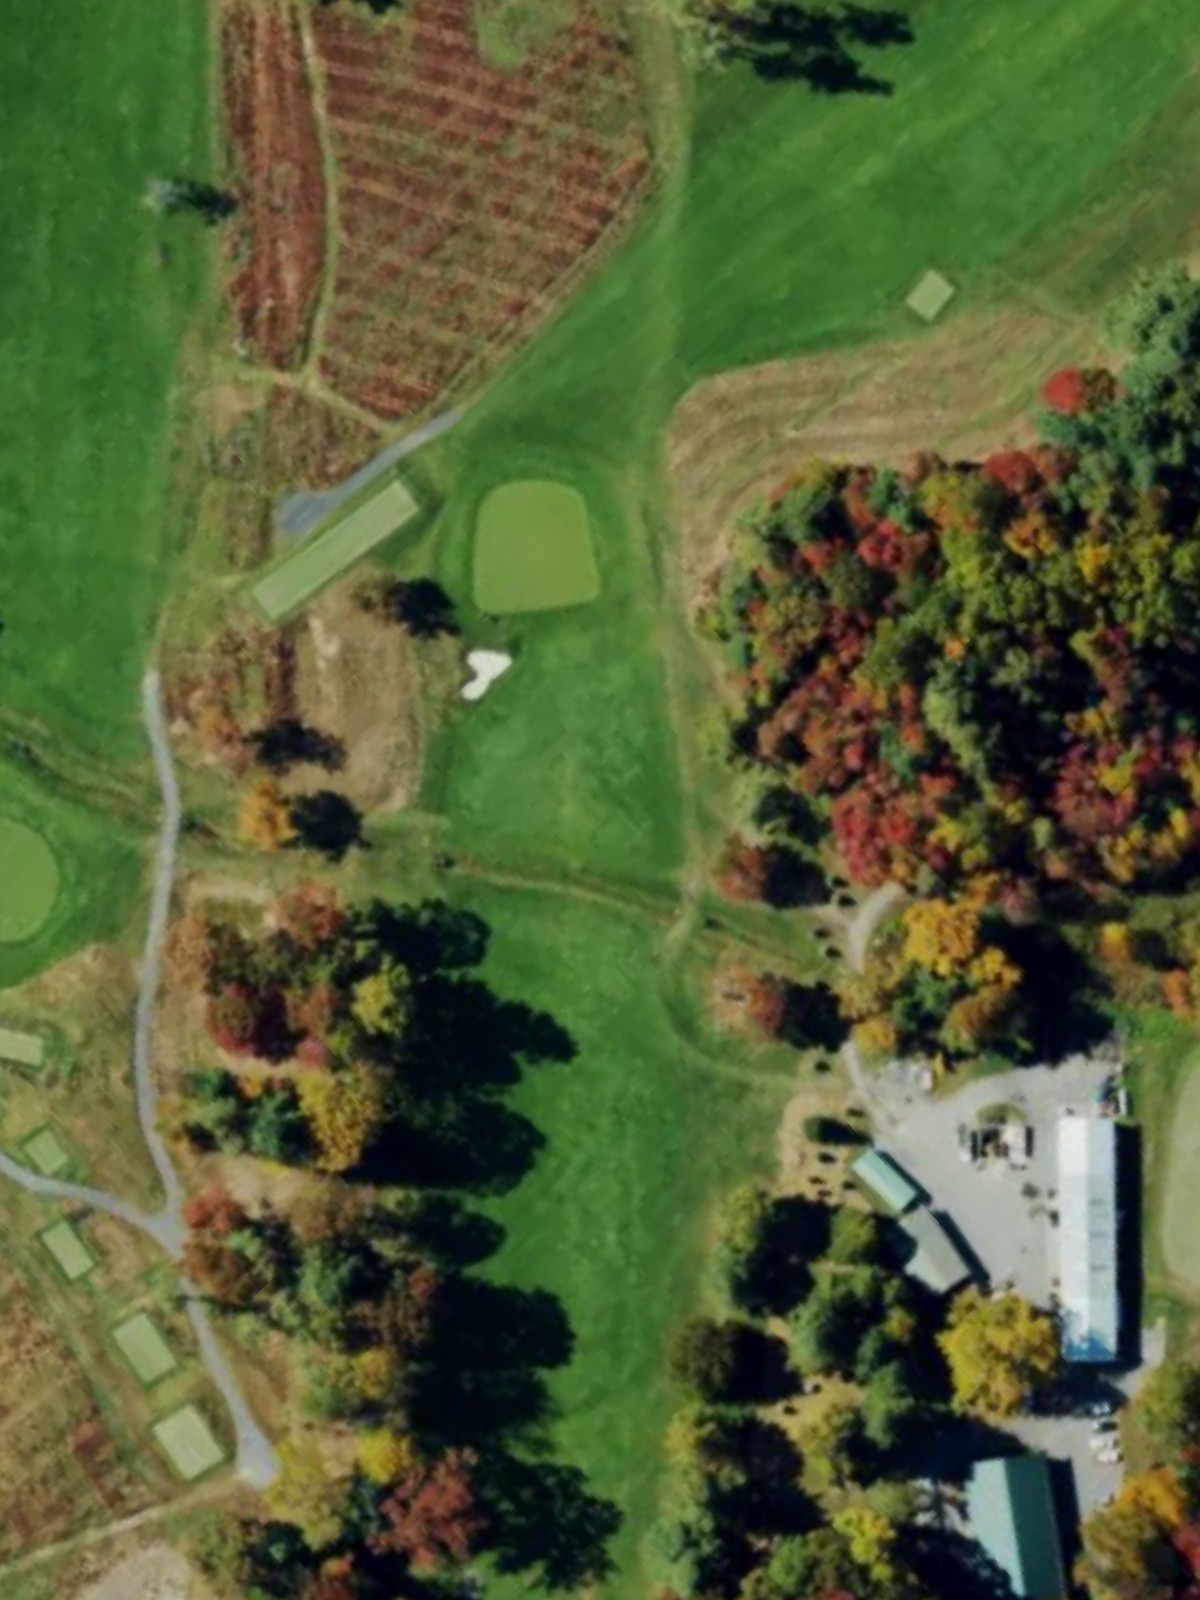
A short par 3 that plays as the easiest hole on the course, offering a straight shot to the green with minimal hazard interference. Its brevity makes it a good opportunity for a stress-free birdie.
A mid-length par 5 designed to reward aggressive play, with room off the tee to advance position. The hole's relatively modest length suggests it may be reachable in two shots for longer hitters, though hazards likely protect the approach.
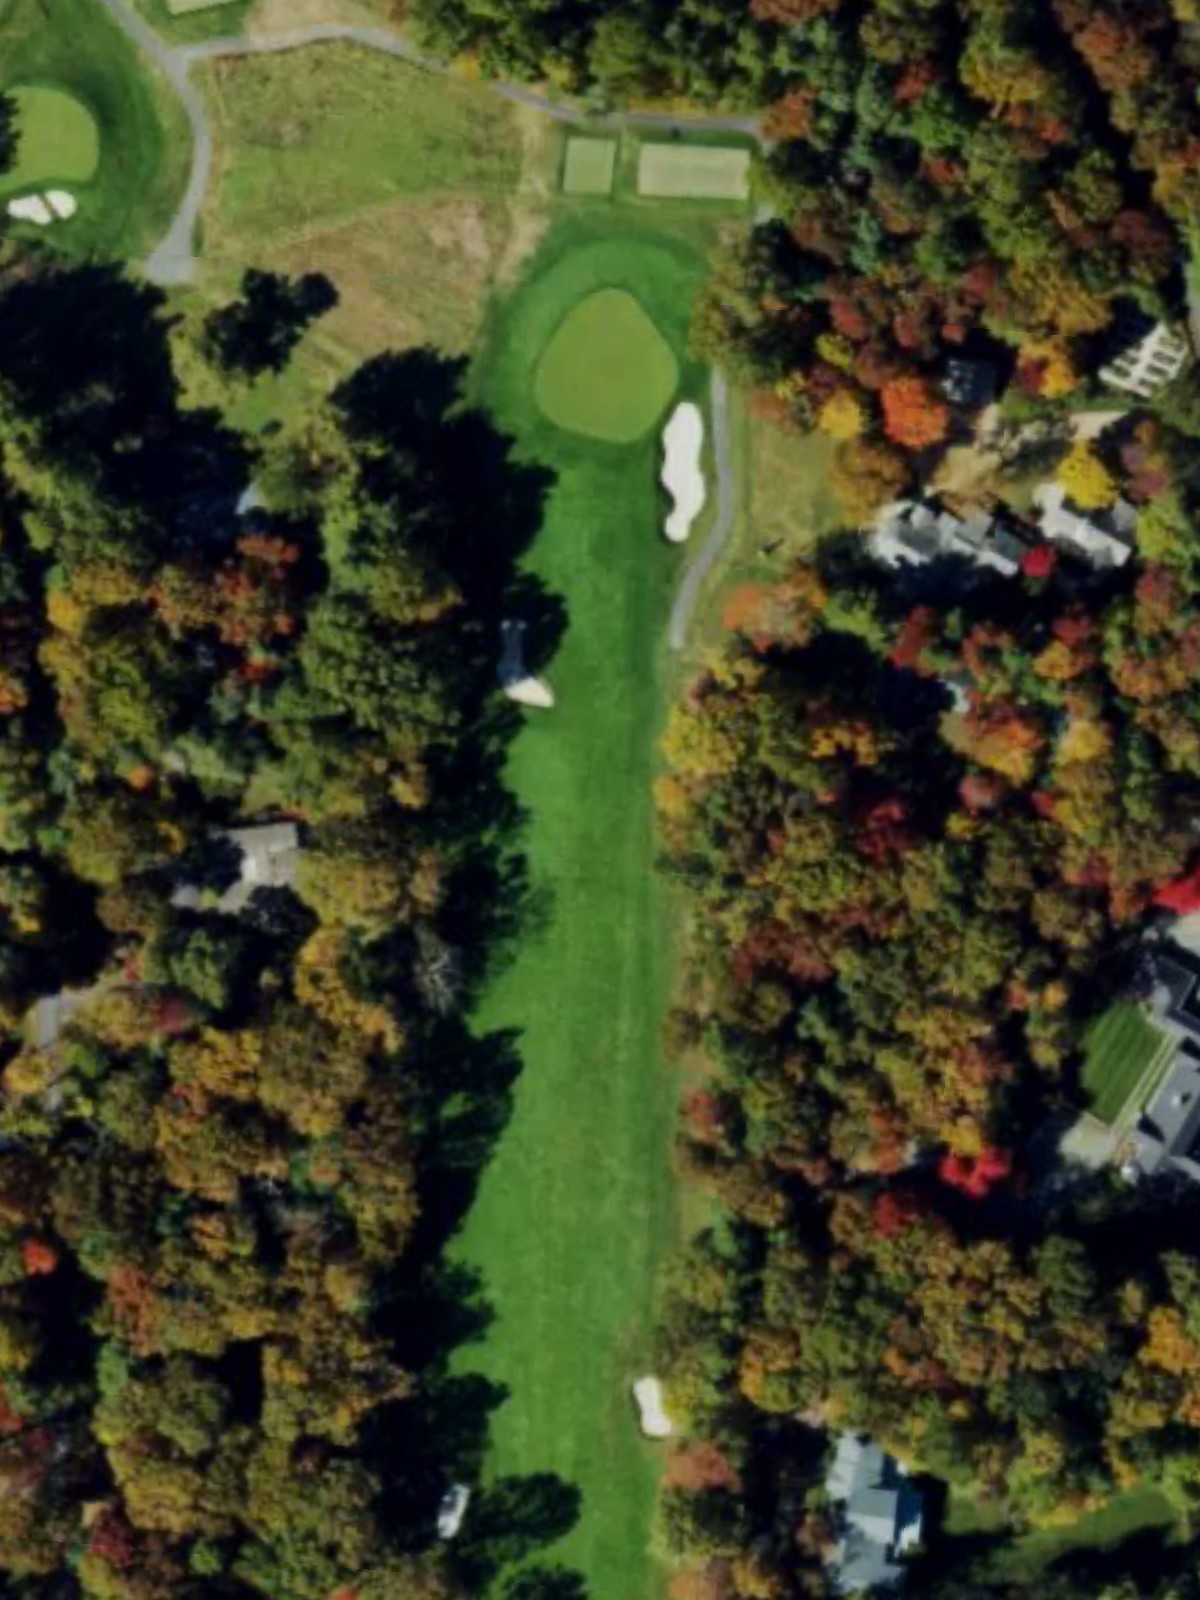
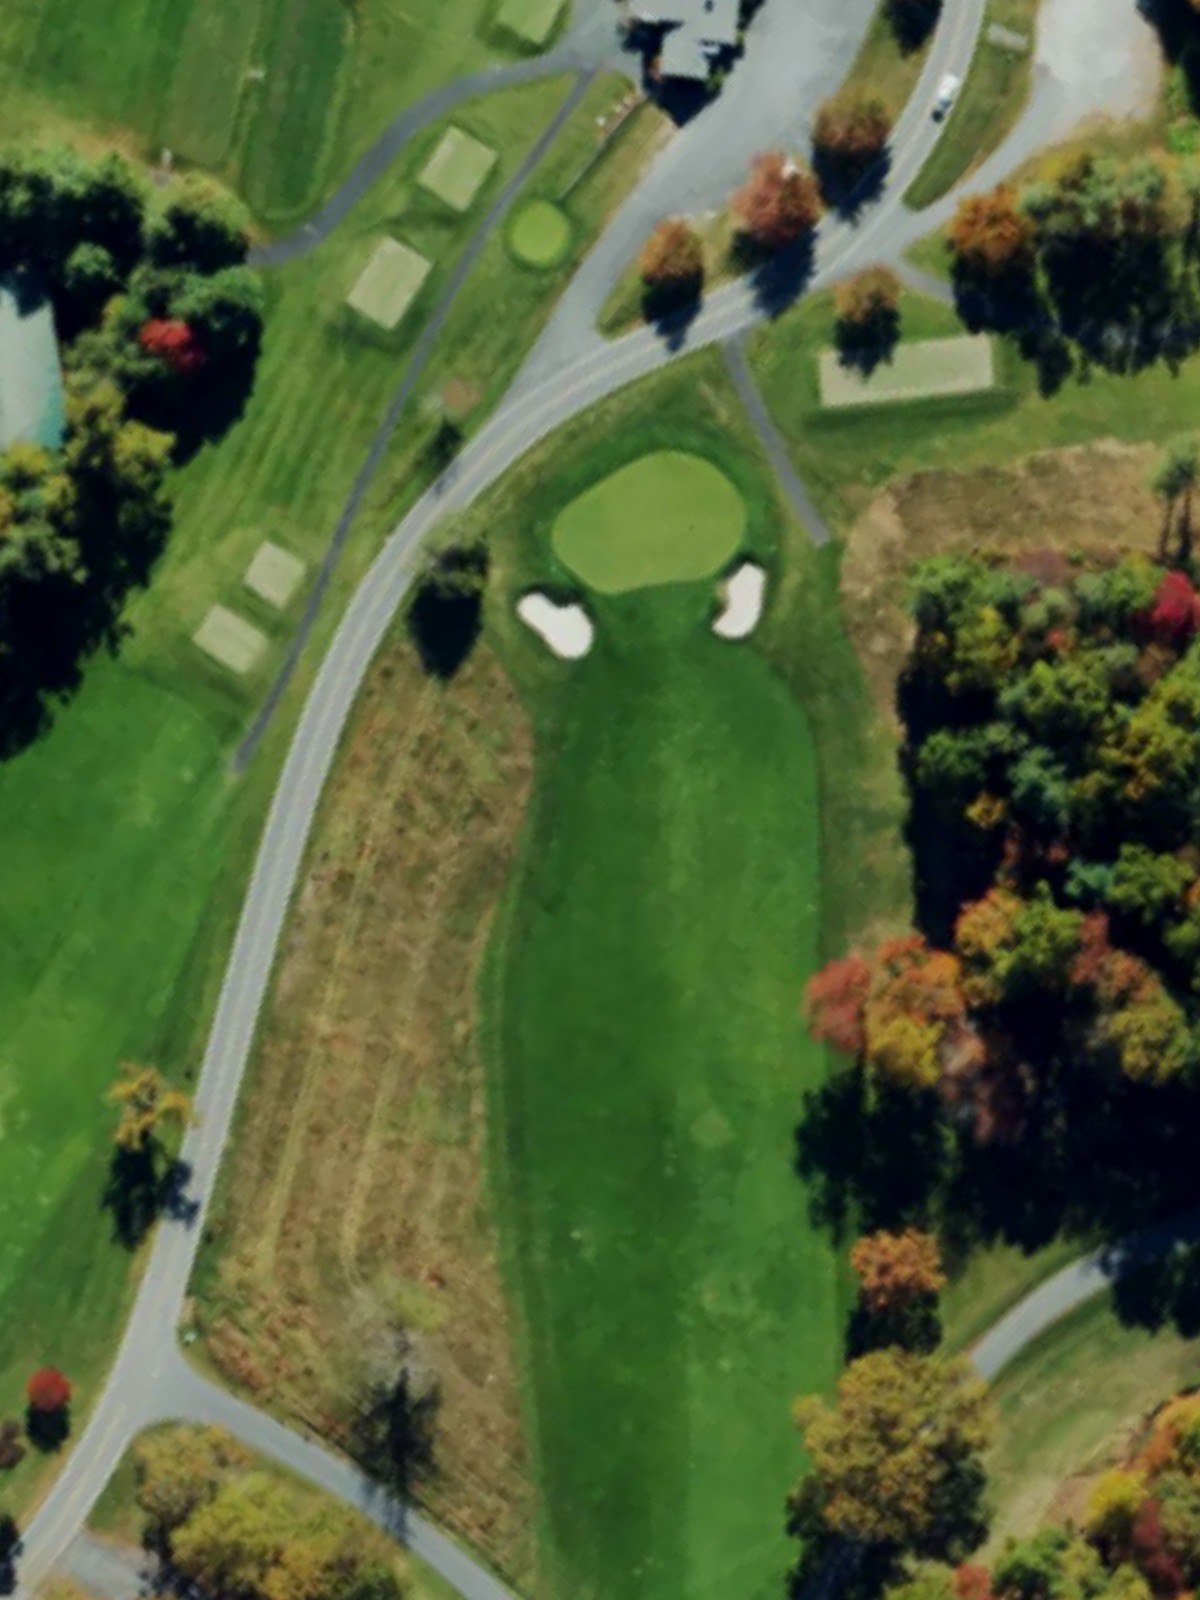
The most difficult hole on the course, this par 4 demands precision from tee to green with length and strategic hazard placement. The tight conditions and high handicap ranking indicate this is a formidable test requiring a well-executed two-shot sequence.
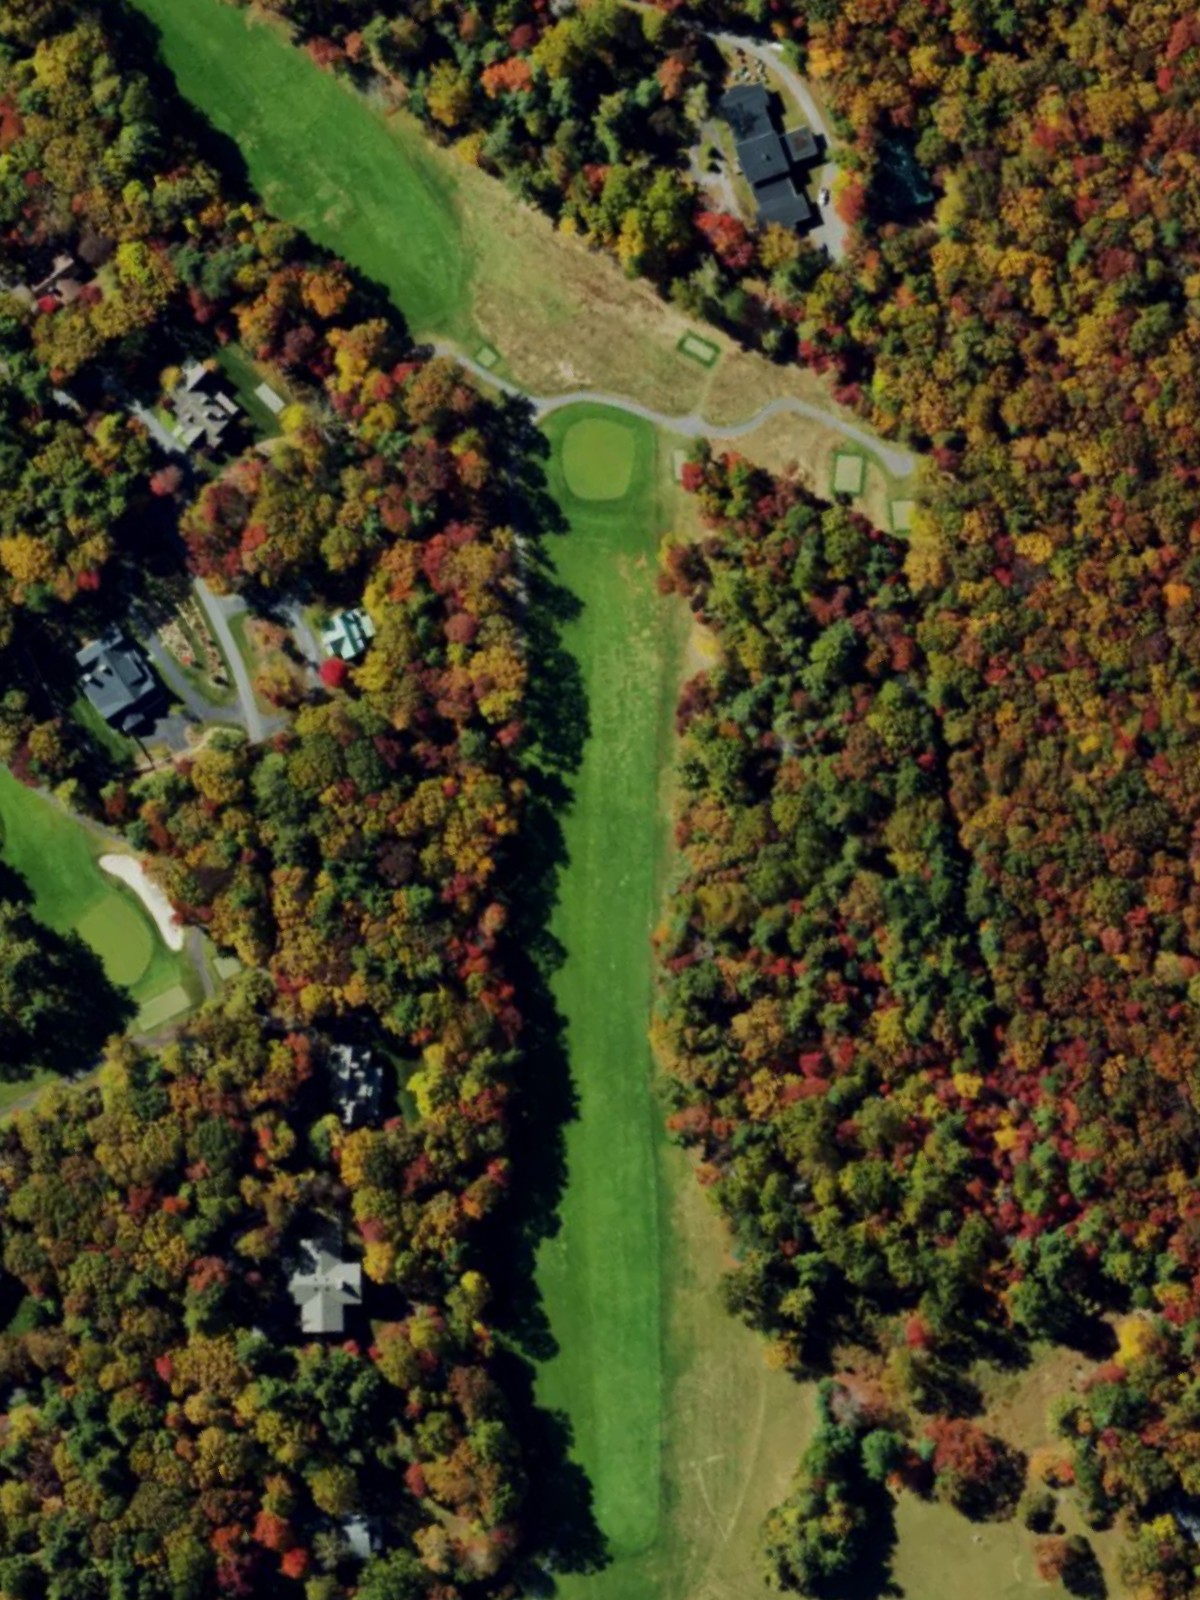
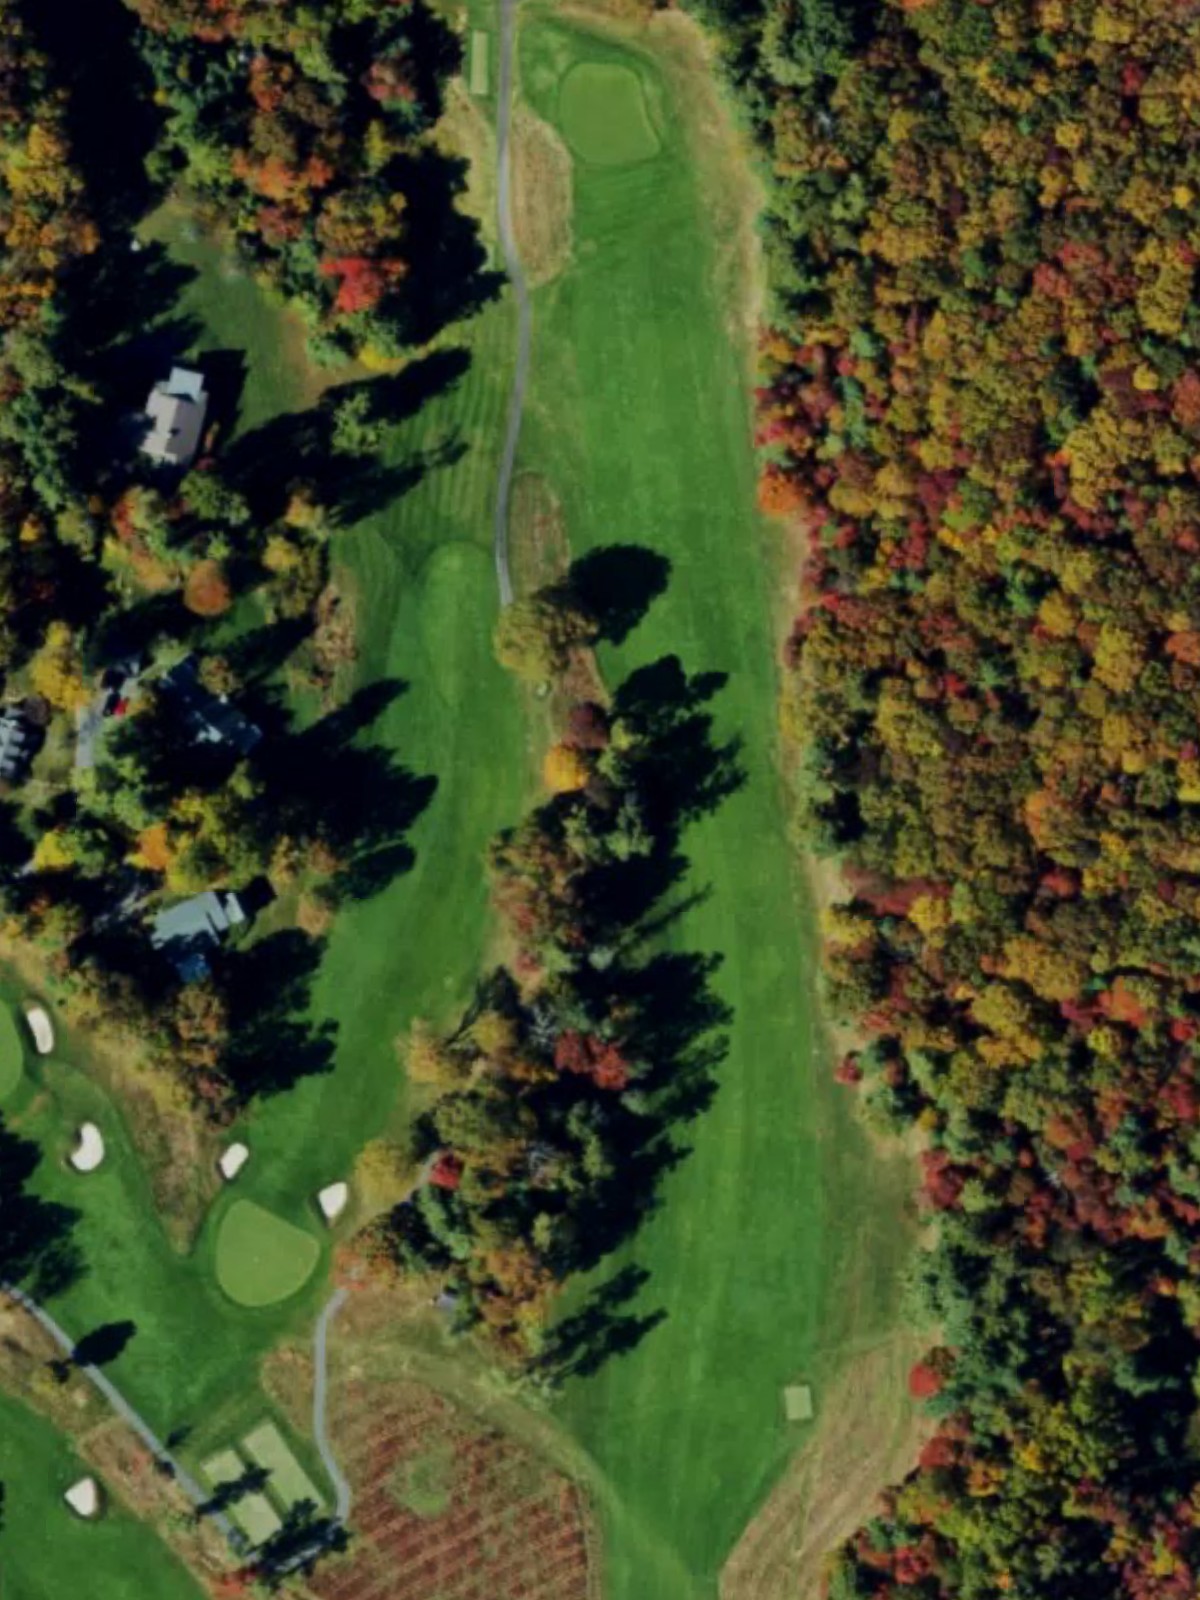
A strong par 4 that ranks among the course's toughest, with length and hazards combining to challenge golfers at all levels. The green-side design likely requires an accurate approach shot to avoid penalty.
A mid-length par 4 offering a moderate challenge with a relatively open design. The fairway provides reasonable landing area, though the approach to the green likely presents the primary difficulty.
A mid-range par 3 that plays as the second-easiest hole on the course, presenting a straightforward iron shot. While not overly difficult, the green's design and surrounding hazards still demand solid execution.
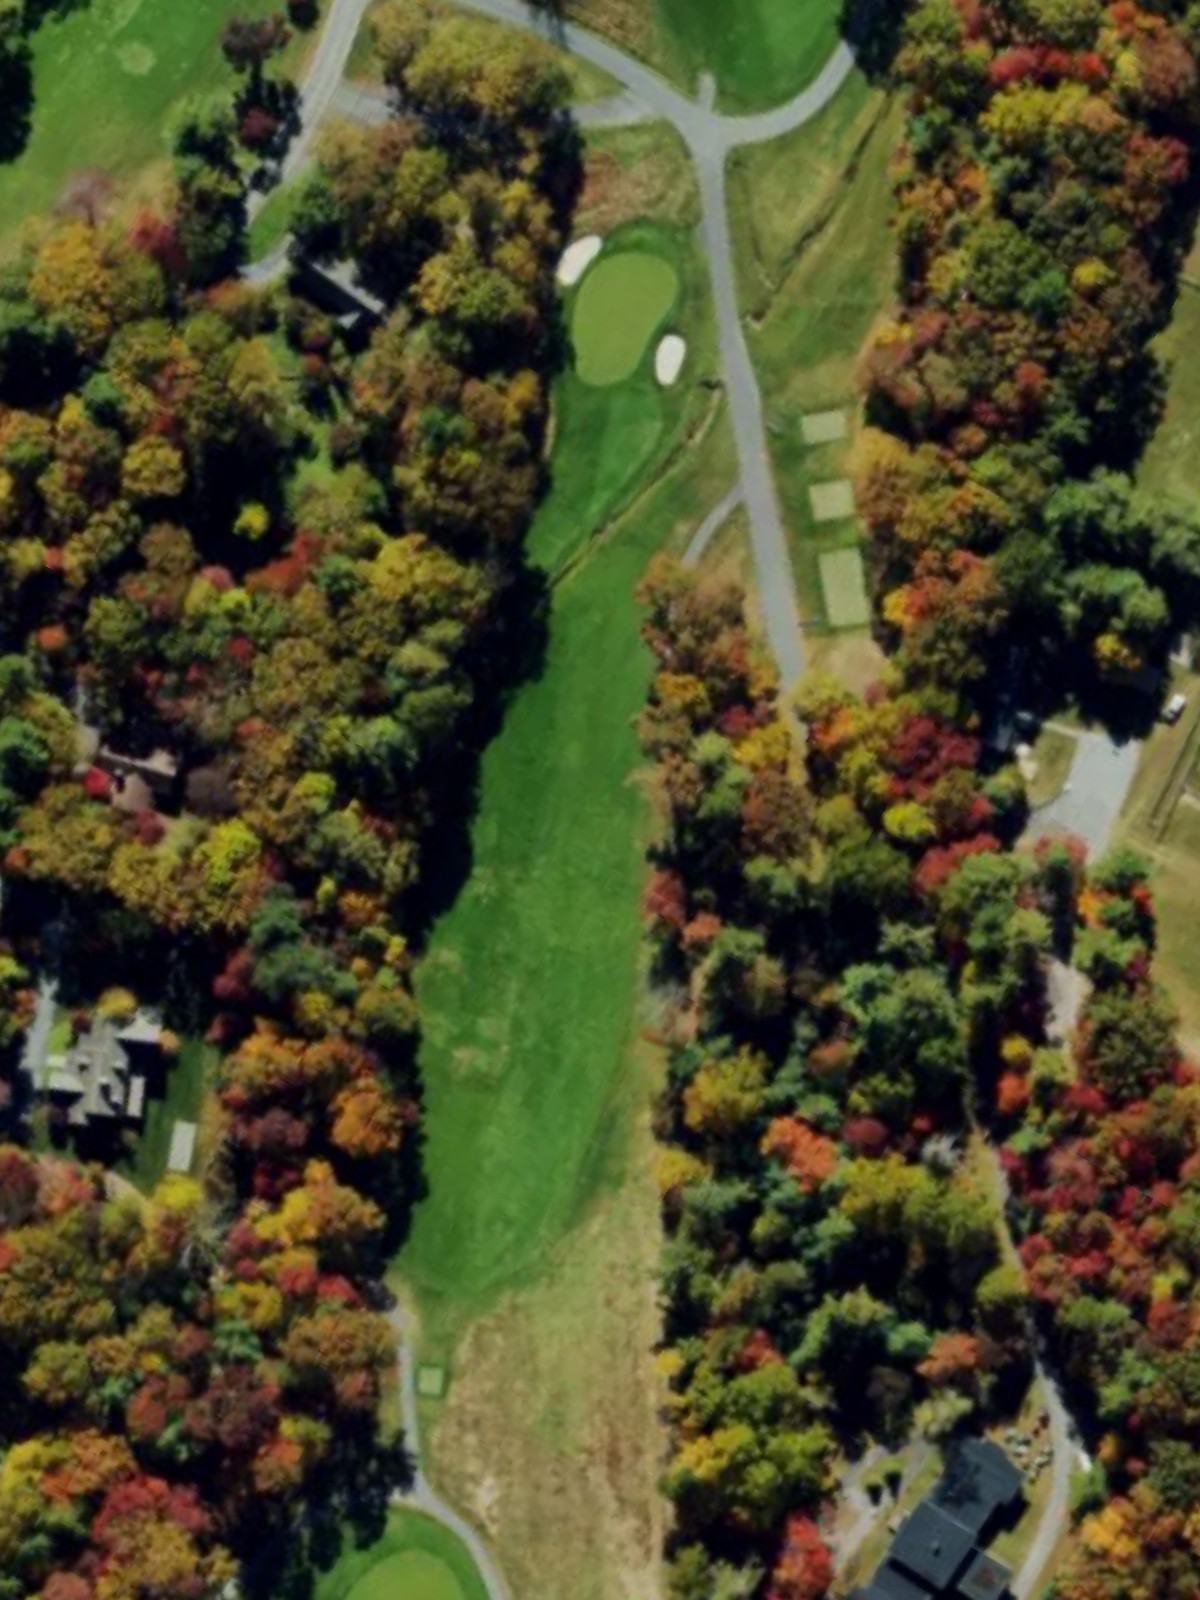
A short-to-moderate par 4 that ranks among the course's most challenging holes despite its moderate length. Tight fairway conditions and well-placed hazards create a demanding risk-reward scenario off the tee and into the green.
A challenging par 4 that plays as one of the course's toughest tests from the back tees, requiring length and accuracy. Strategic hazard placement—likely bunkering or water—guards both the approach and the green.
A mid-range par 3 that presents a moderate challenge with a straightforward shot to the green. The hole's positioning on the scorecard and handicap suggest it plays as a solid but not exceptional test.
A long par 5 that demands good positioning and likely requires three solid shots to reach the green safely. Water or bunkering probably guards the approach lanes, rewarding strategic play over pure distance.
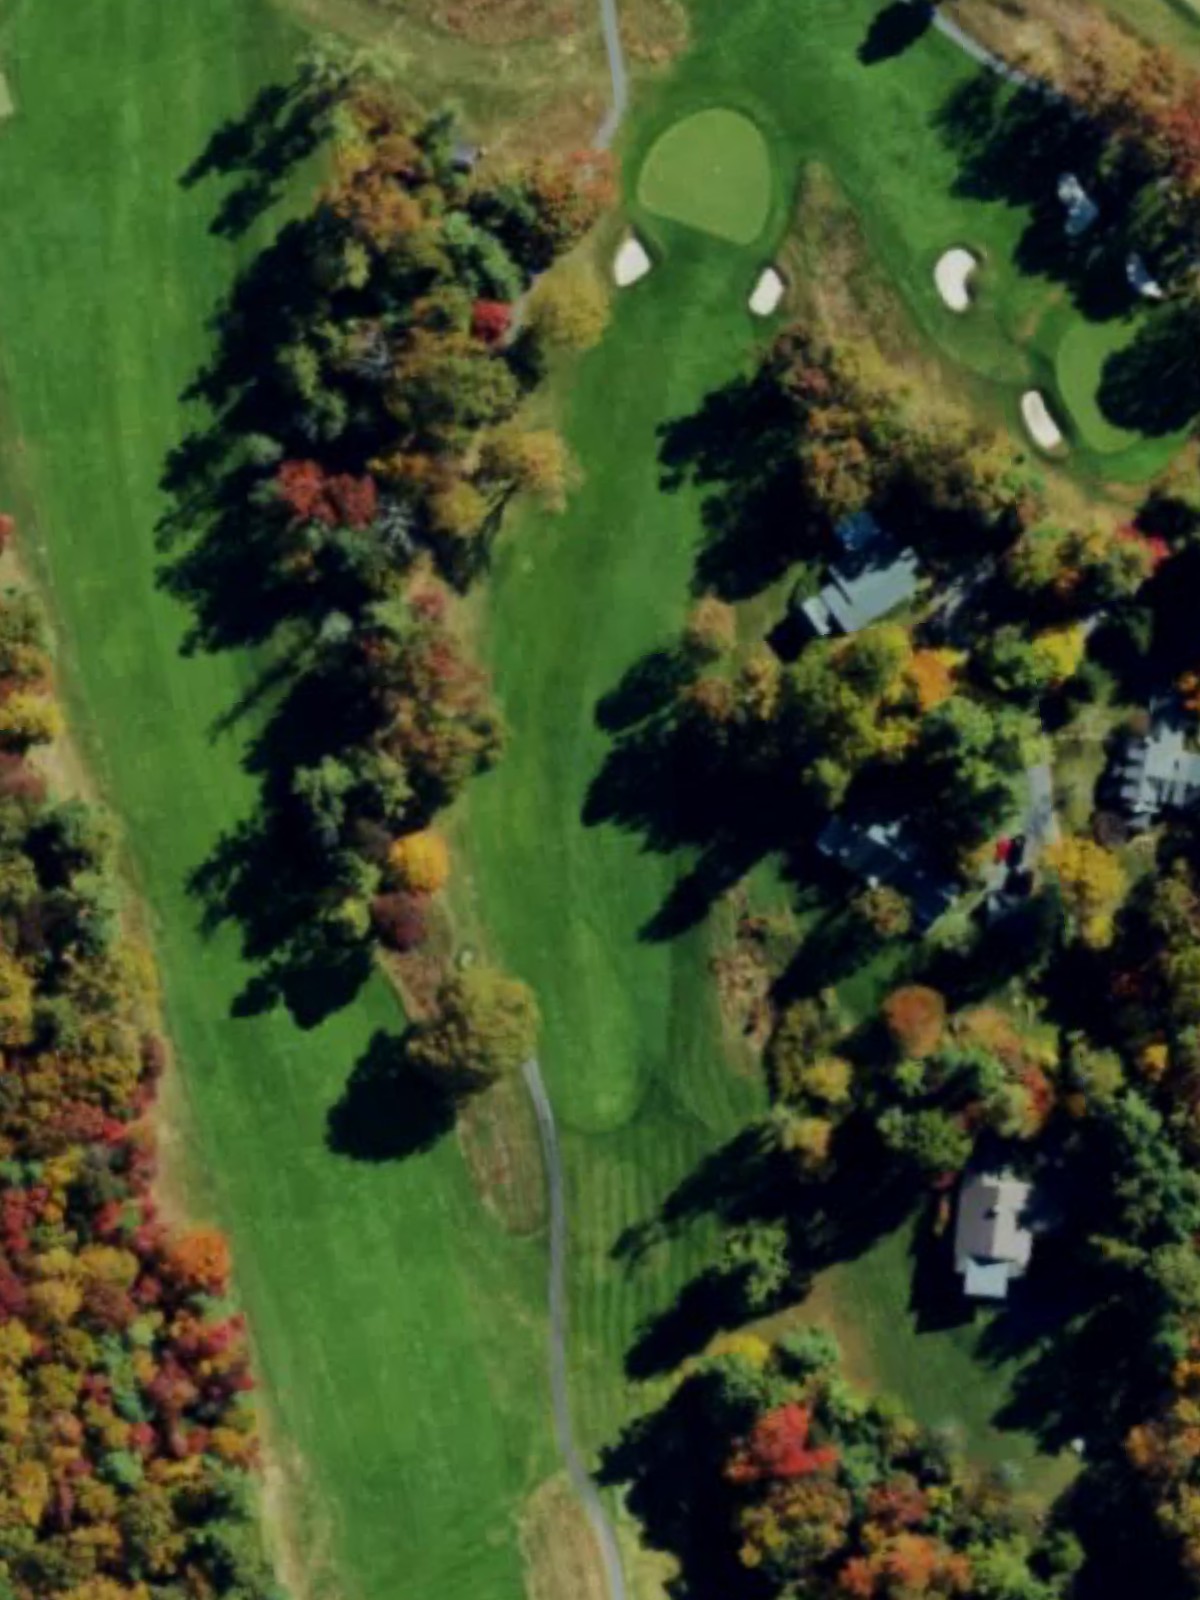
The second-most difficult hole on the course, this par 4 presents a stern test despite moderate yardage from the back tees. Strategic hazard placement and green complexity make this a defining moment in the round.
The easiest hole on the course, this short par 3 offers a gentle scoring opportunity with minimal hazard interference. Its simplicity provides welcome relief and a chance for a stress-free birdie.
A solid par 4 with moderate difficulty that rewards accurate tee shots and approach play. Fairway width and green accessibility suggest this is a reasonably manageable hole within the round's flow.
A short par 4 that plays as one of the course's easier holes, offering birdie opportunity with a generous fairway. The brevity and straightforward design make this a potential scoring hole.
A long par 5 that ranks among the course's most challenging, requiring power and precision to navigate effectively. Multiple hazards and green-guarding features likely demand strategic layup positions and careful approach execution.
A closing par 4 of moderate difficulty that provides an exciting finish to the round with a balanced test of power and accuracy. Hazard placement near the green likely creates drama and determines the final scorecard outcome.
Scorecard
| Hole | 1 | 2 | 3 | 4 | 5 | 6 | 7 | 8 | 9 | Out | 10 | 11 | 12 | 13 | 14 | 15 | 16 | 17 | 18 | In | Tot |
|---|---|---|---|---|---|---|---|---|---|---|---|---|---|---|---|---|---|---|---|---|---|
| Par | 4 | 5 | 3 | 5 | 4 | 4 | 4 | 3 | 4 | 36 | 4 | 3 | 5 | 4 | 3 | 4 | 4 | 5 | 4 | 36 | 72 |
| HCP | 15 | 7 | 17 | 9 | 1 | 3 | 11 | 13 | 5 | 4 | 14 | 12 | 2 | 18 | 8 | 16 | 10 | 6 | |||
| gold tees | 371 | 540 | 129 | 447 | 426 | 416 | 358 | 187 | 379 | 3253 | 449 | 185 | 501 | 390 | 174 | 346 | 373 | 490 | 371 | 3279 | 6532 |
| blue tees | 332 | 518 | 122 | 430 | 399 | 368 | 334 | 165 | 352 | 3020 | 425 | 169 | 477 | 374 | 169 | 341 | 269 | 464 | 354 | 3042 | 6062 |
| white tees | 306 | 480 | 116 | 416 | 367 | 324 | 310 | 141 | 335 | 2795 | 405 | 159 | 466 | 347 | 158 | 327 | 262 | 449 | 334 | 2907 | 5702 |
| white/green hybrid | 306 | 480 | 116 | 416 | 347 | 313 | 264 | 141 | 335 | 2718 | 341 | 159 | 466 | 241 | 158 | 327 | 254 | 449 | 297 | 2692 | 5410 |
| green tees | 265 | 474 | 100 | 336 | 347 | 313 | 264 | 115 | 288 | 2502 | 341 | 135 | 375 | 241 | 145 | 250 | 254 | 403 | 297 | 2441 | 4943 |