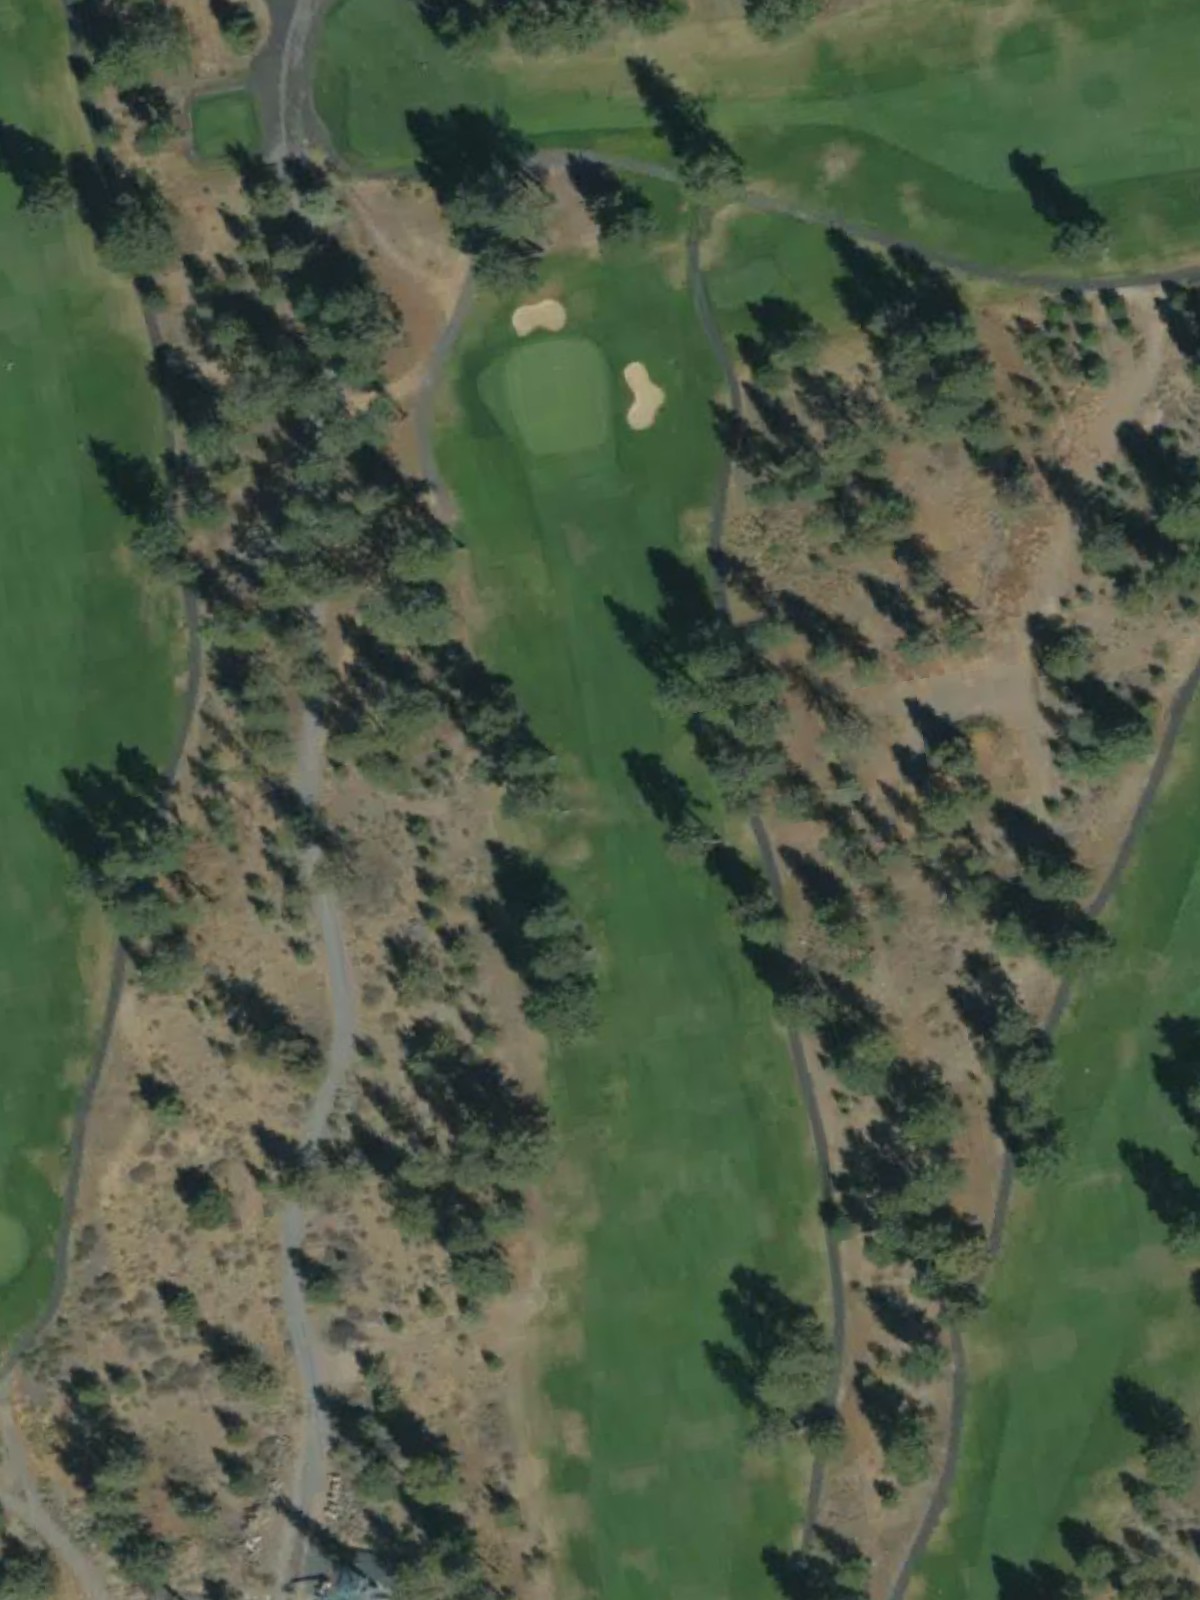
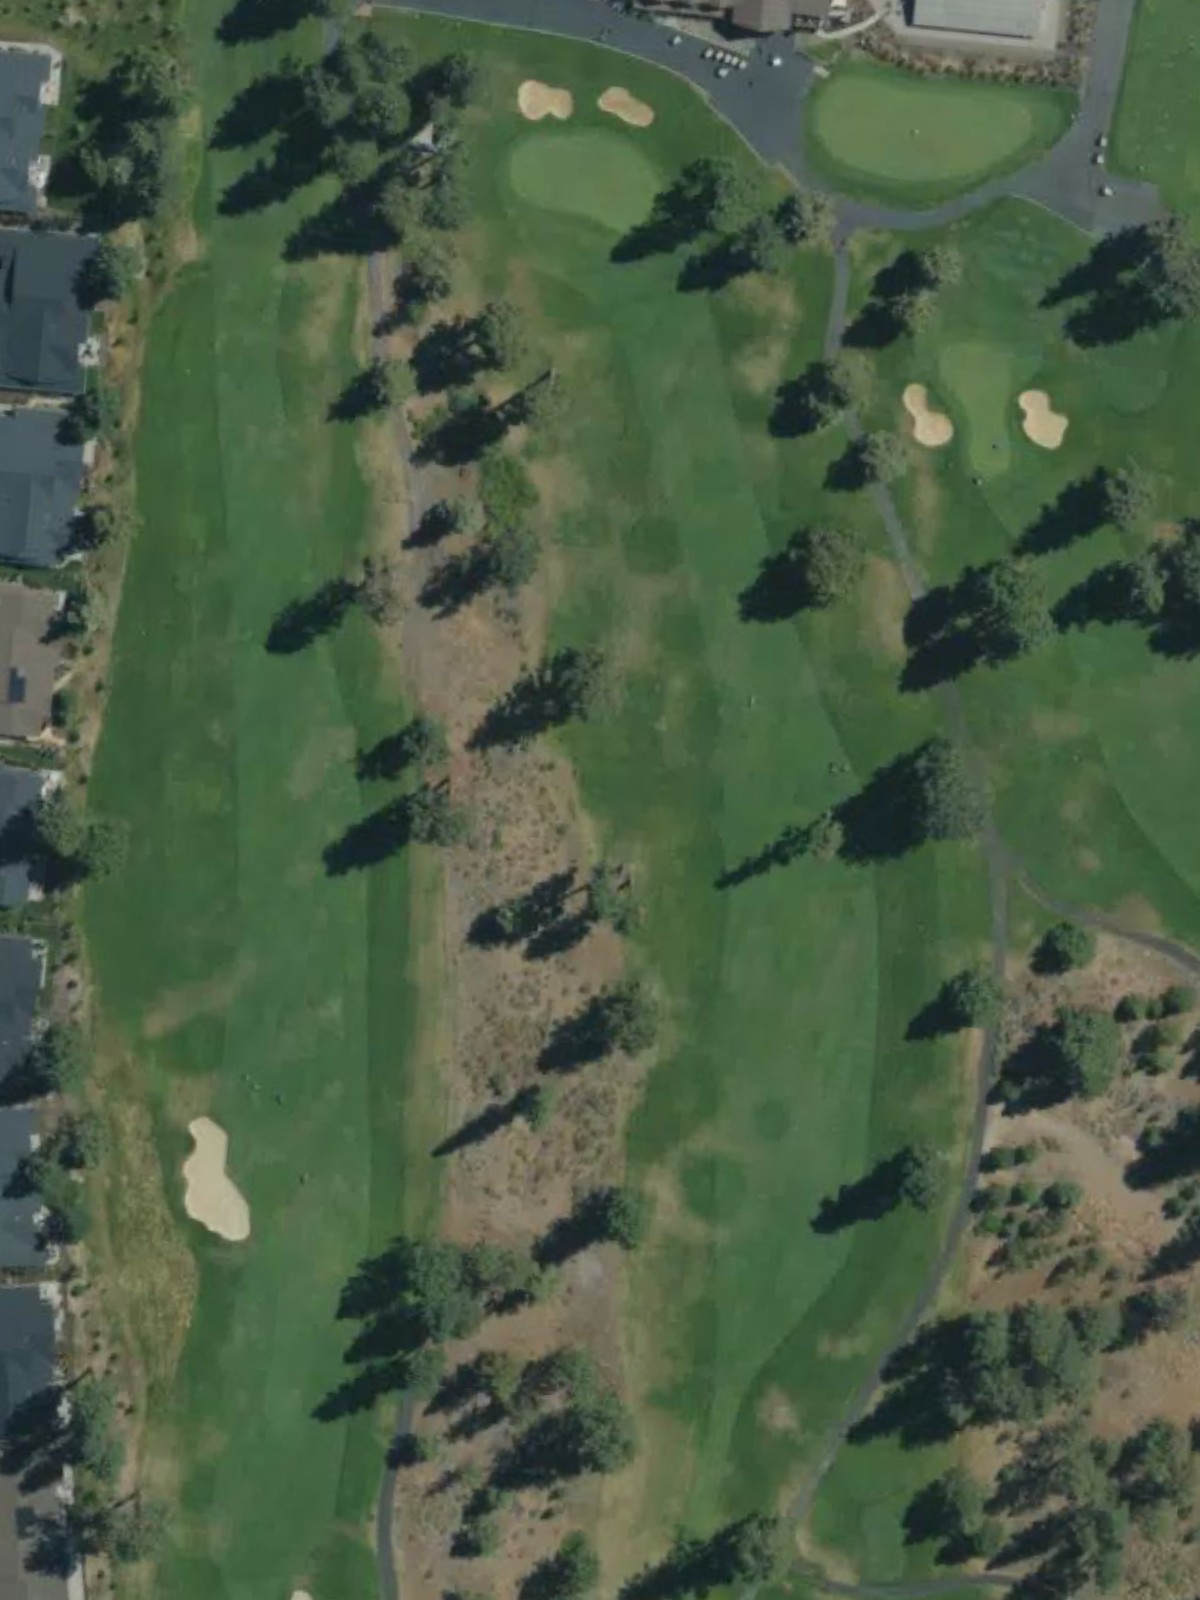
Old Back 9 is an 18-hole golf course in Bend, OR with a par of 72. It offers 4 tee sets: blue (5,904 yards, slope 118, rating 68.8), white (5,480 yards, slope 114, rating 66.6), red (4,722 yards, slope 105, rating 62.8), yellow (3,588 yards, slope 96, rating 59). The hardest hole is #4, a par 5 playing 435 yards from the first tee.
Old Back 9
Bend, OR
Get PDF Yardage Book
We'll email you the PDF link. No spam, ever.
Create Your Game Plan
Pick your tees, enter your bag, and get a personalized shot-by-shot strategy for every hole.
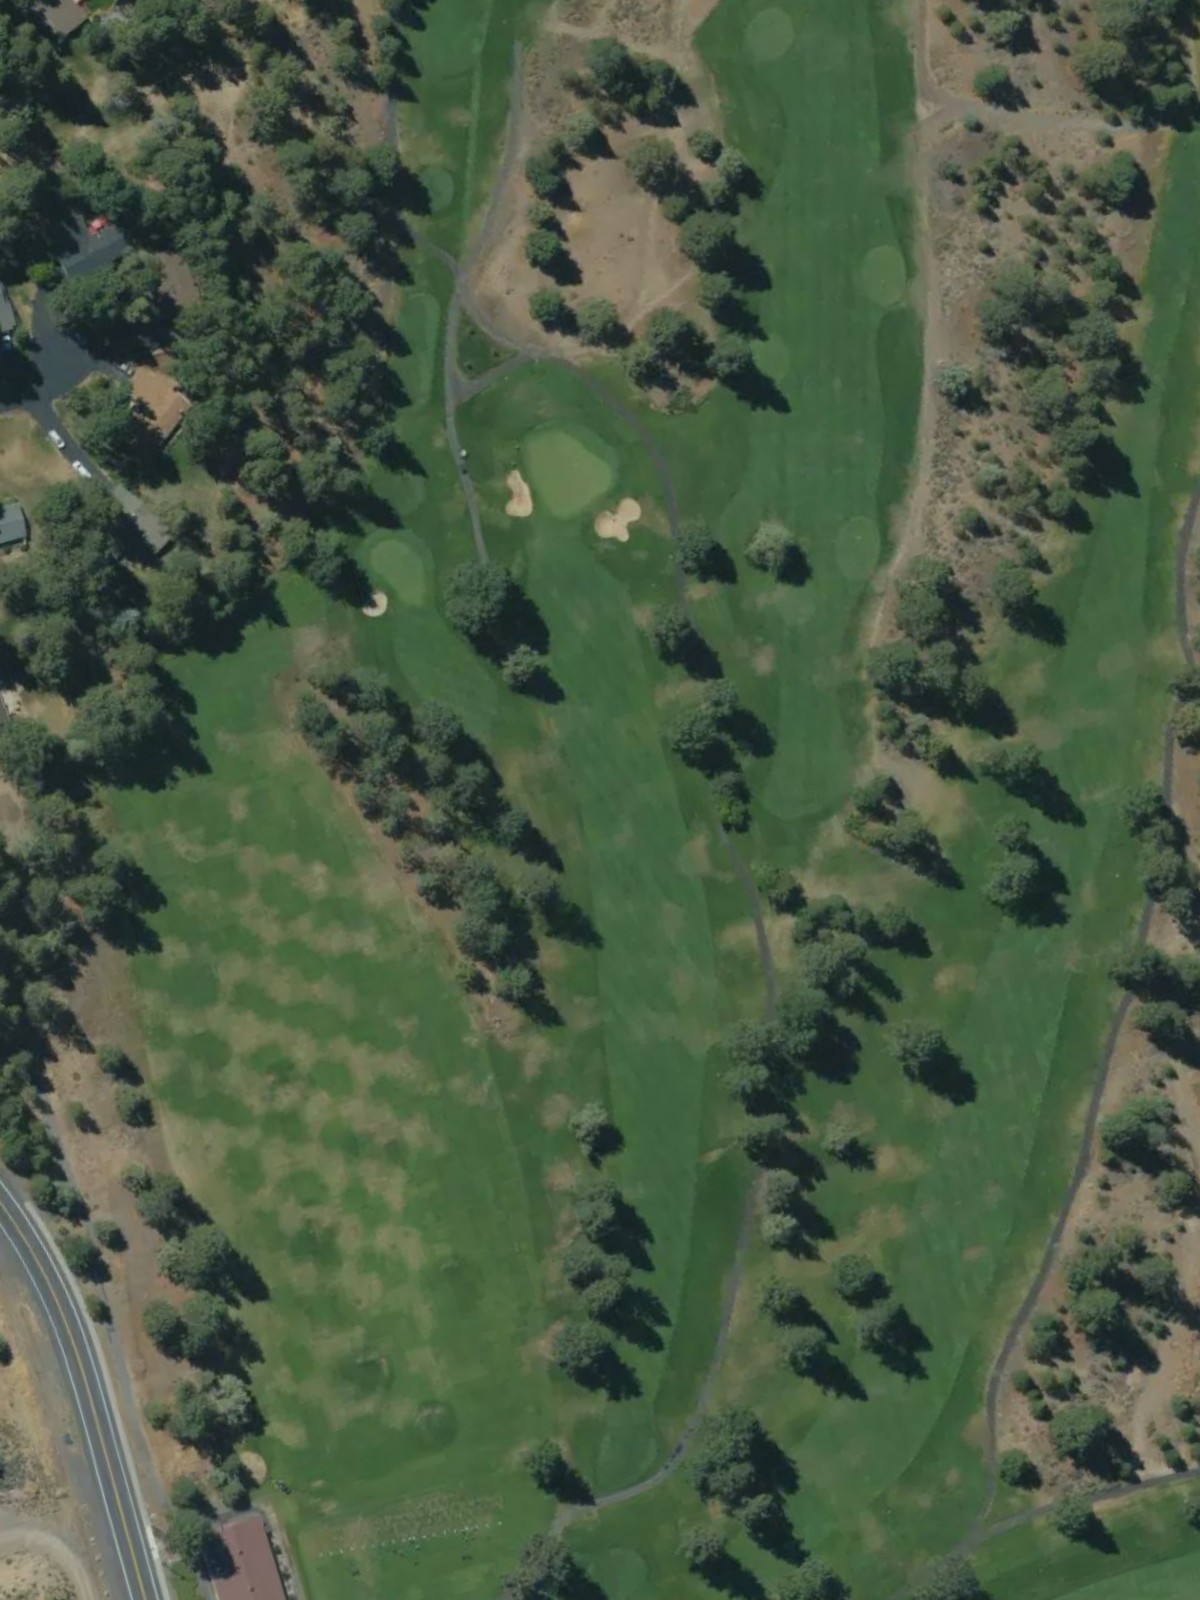
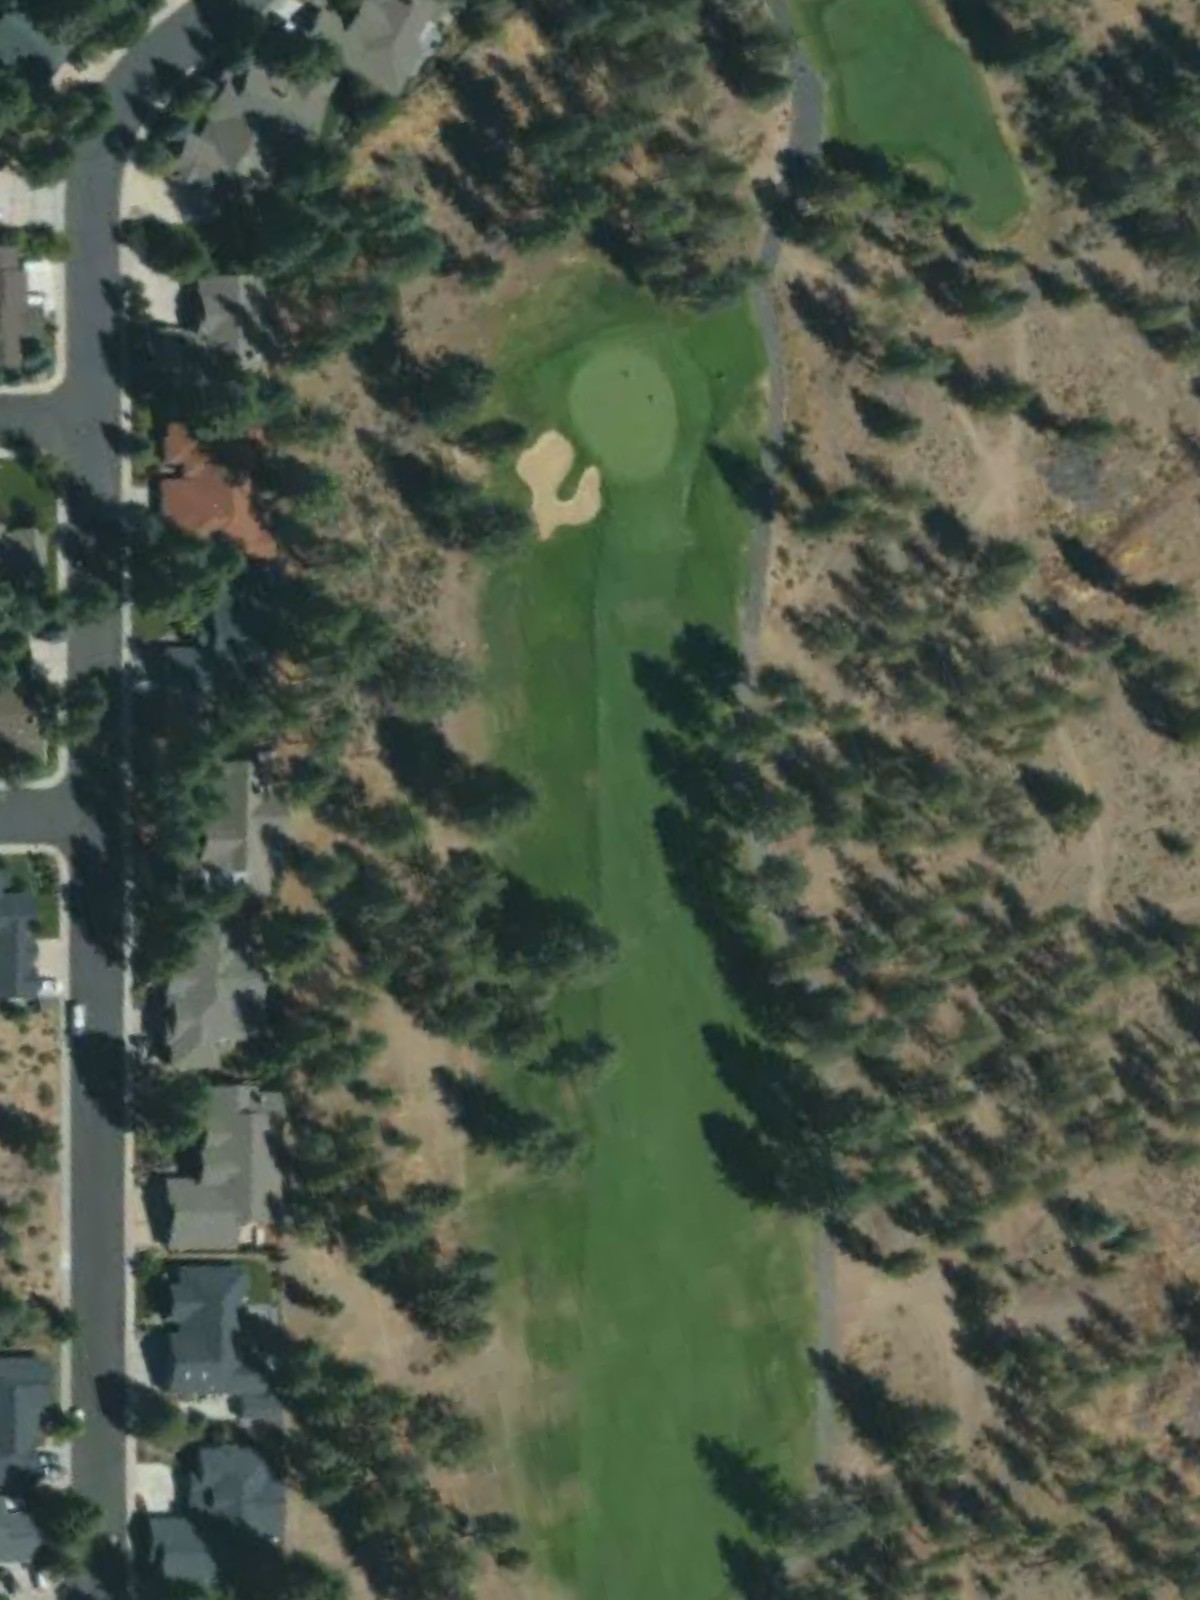
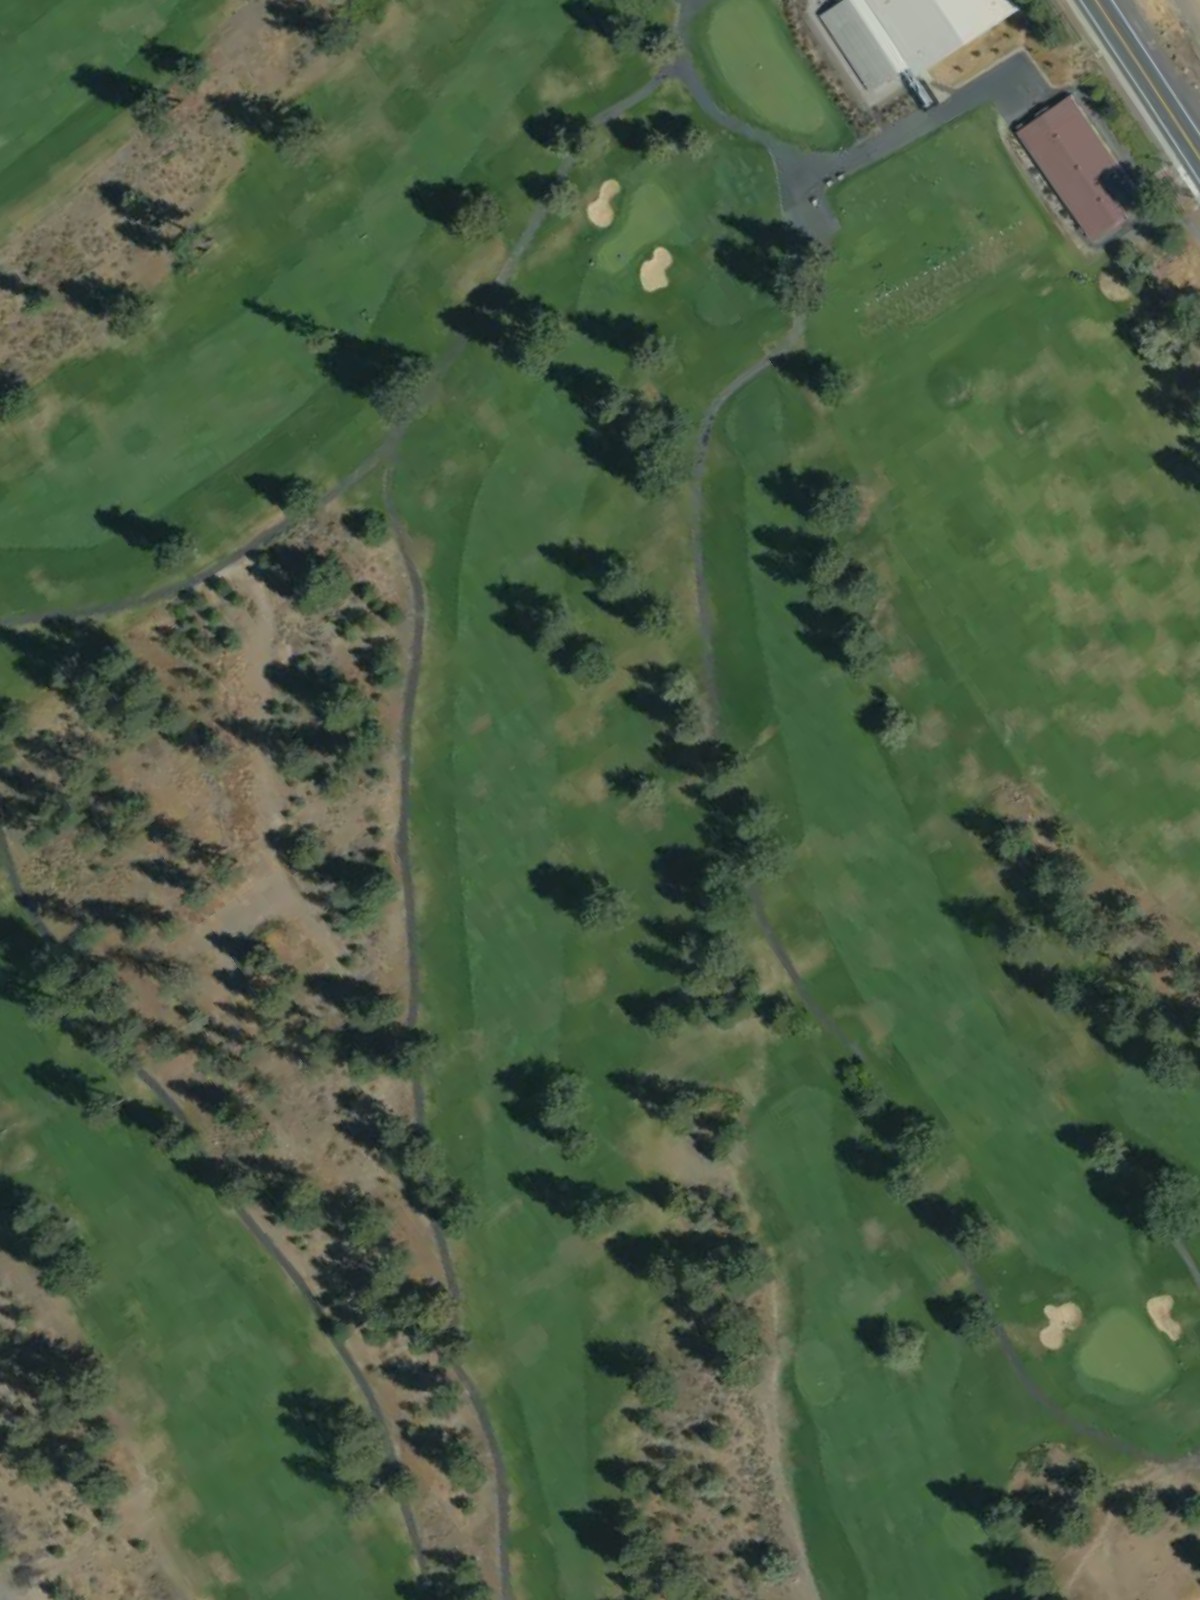
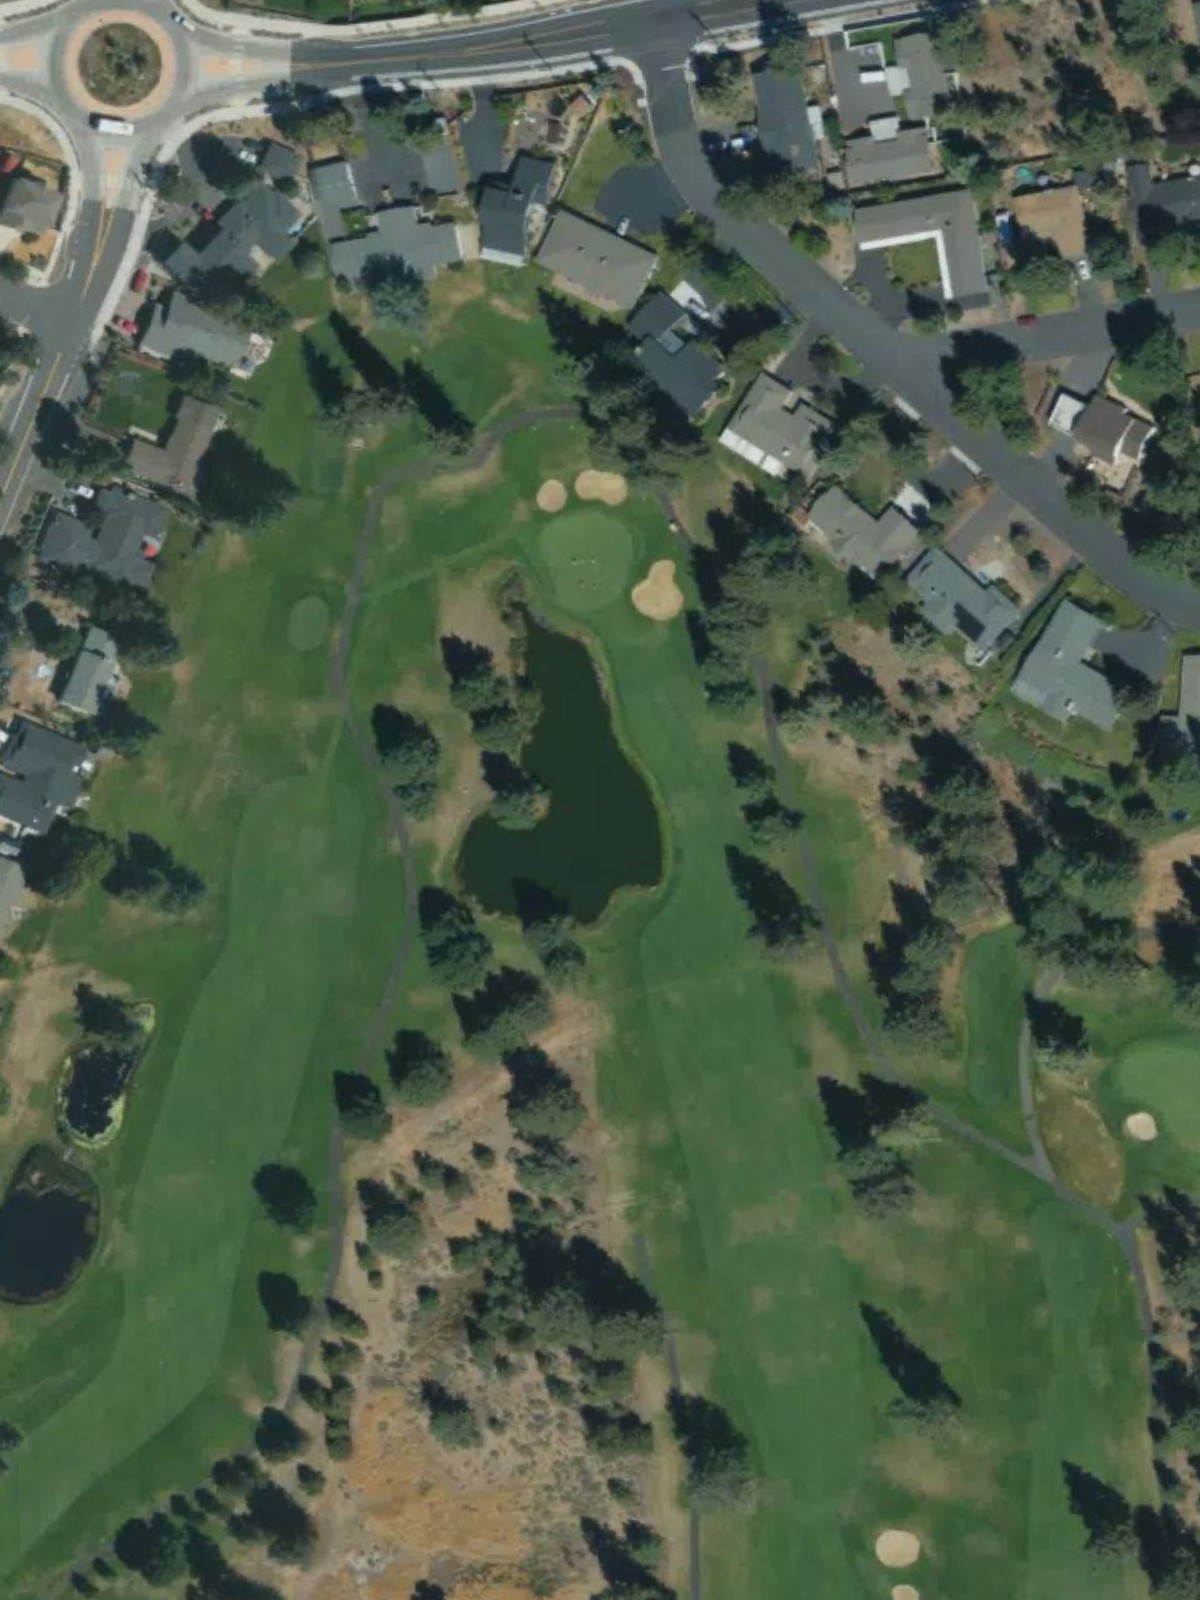
A straightforward par 4 with a welcoming fairway that gradually narrows as it approaches the green. Bunkers protect the right side of the green, requiring accuracy on the approach shot to avoid a difficult sand save.
A short par 3 playing to a well-defined green surrounded by light rough. The modest length and open approach make this a birdie opportunity, though any miss leaves an awkward short-game recovery.
A relatively short par 4 with a straightforward routing and accessible green. The simplicity of the hole's design makes it an excellent scoring opportunity off the back nine.
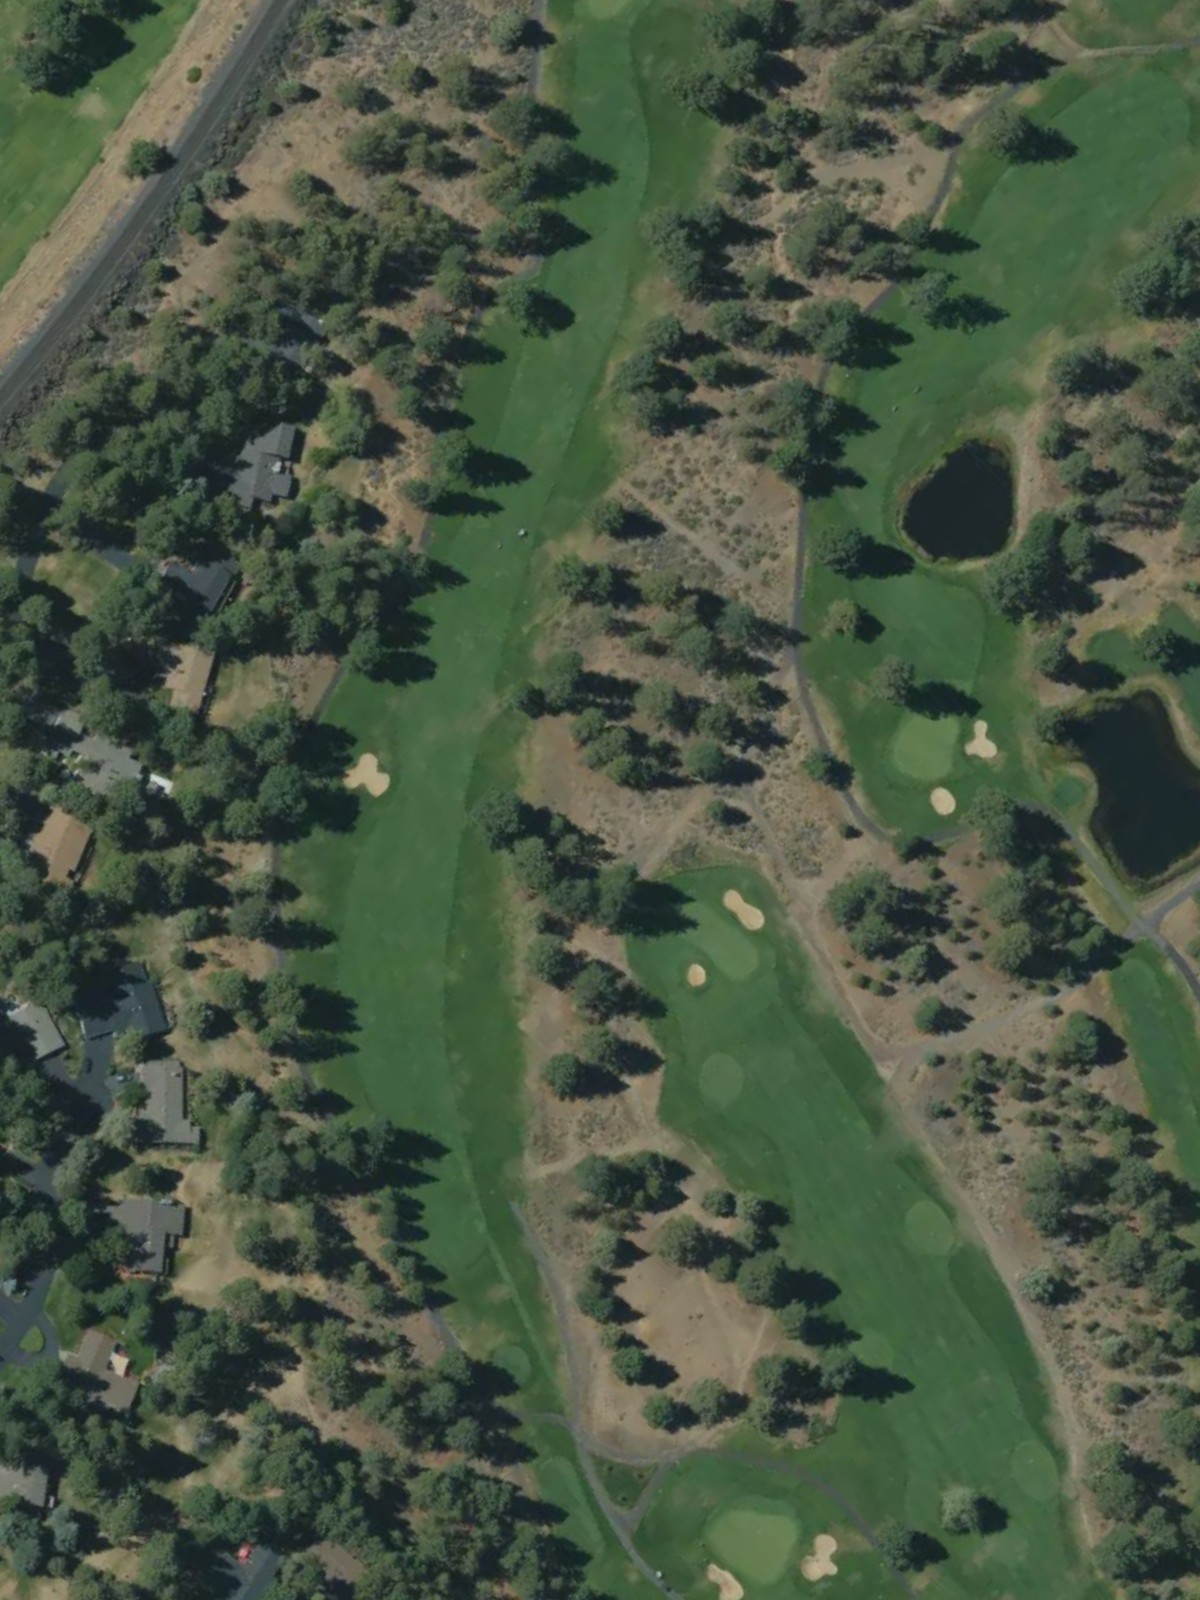
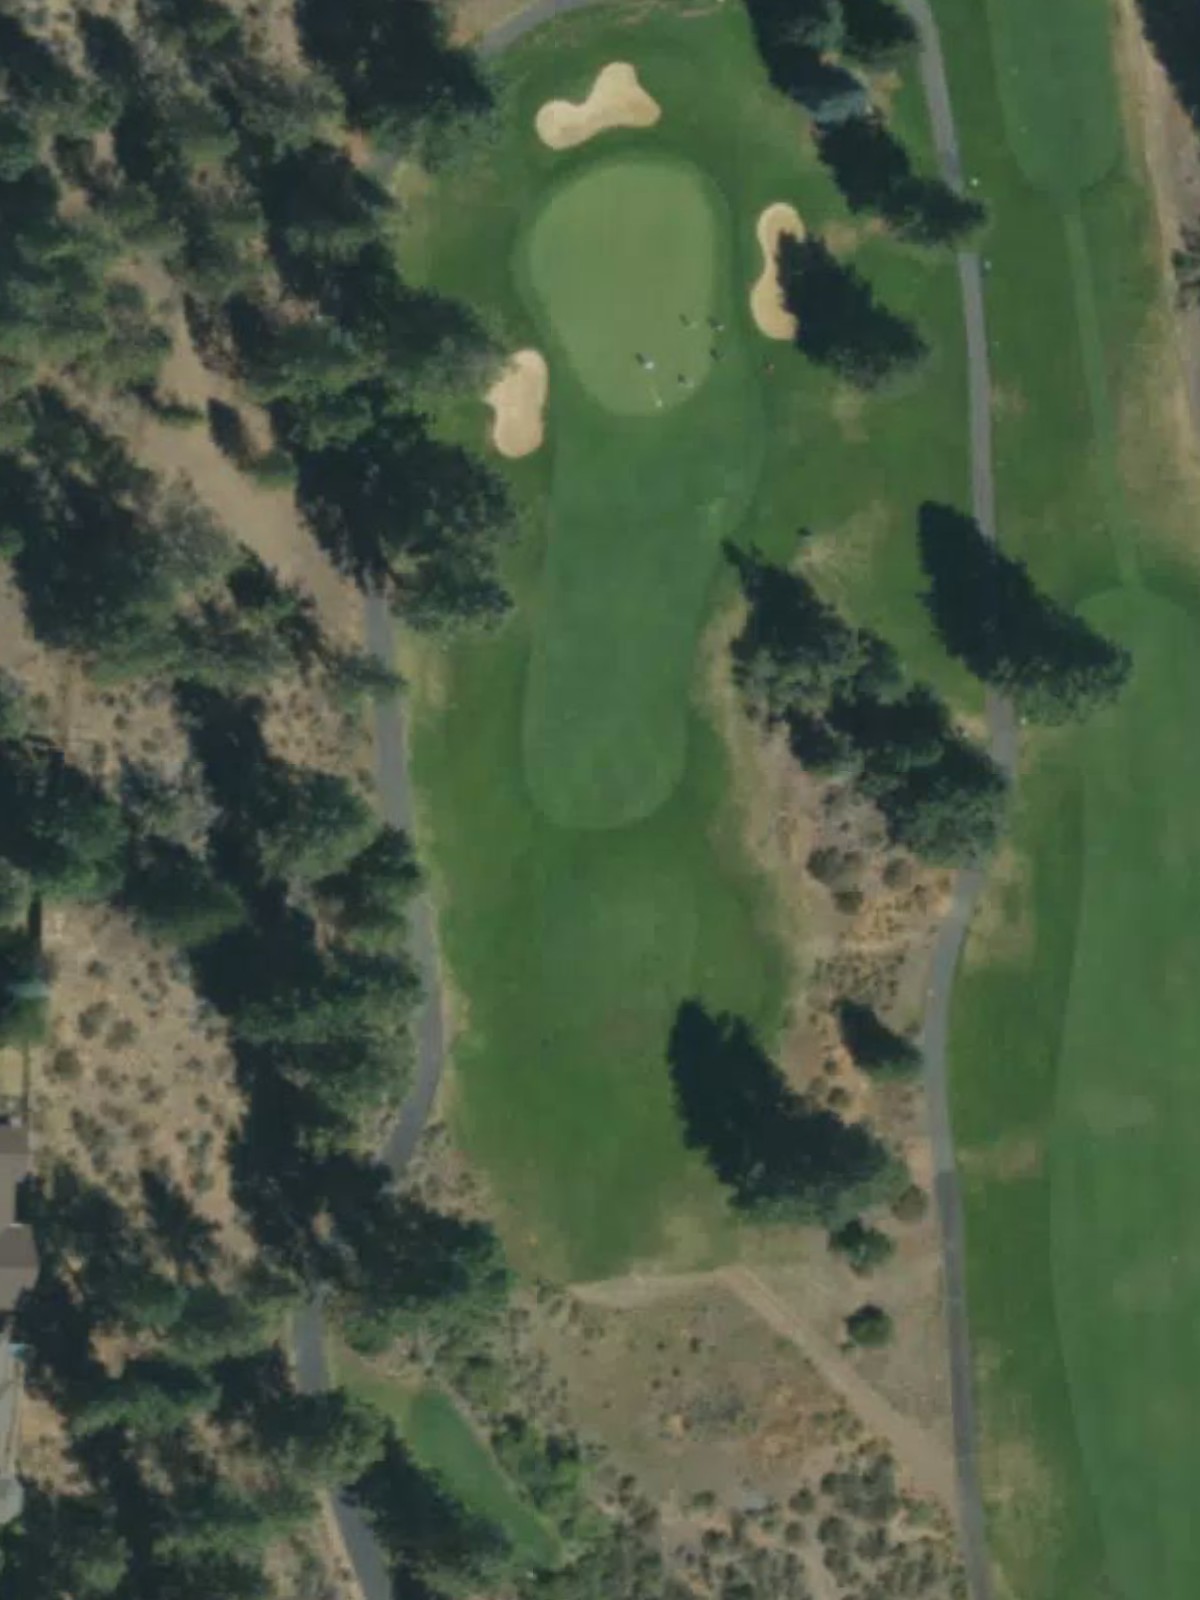
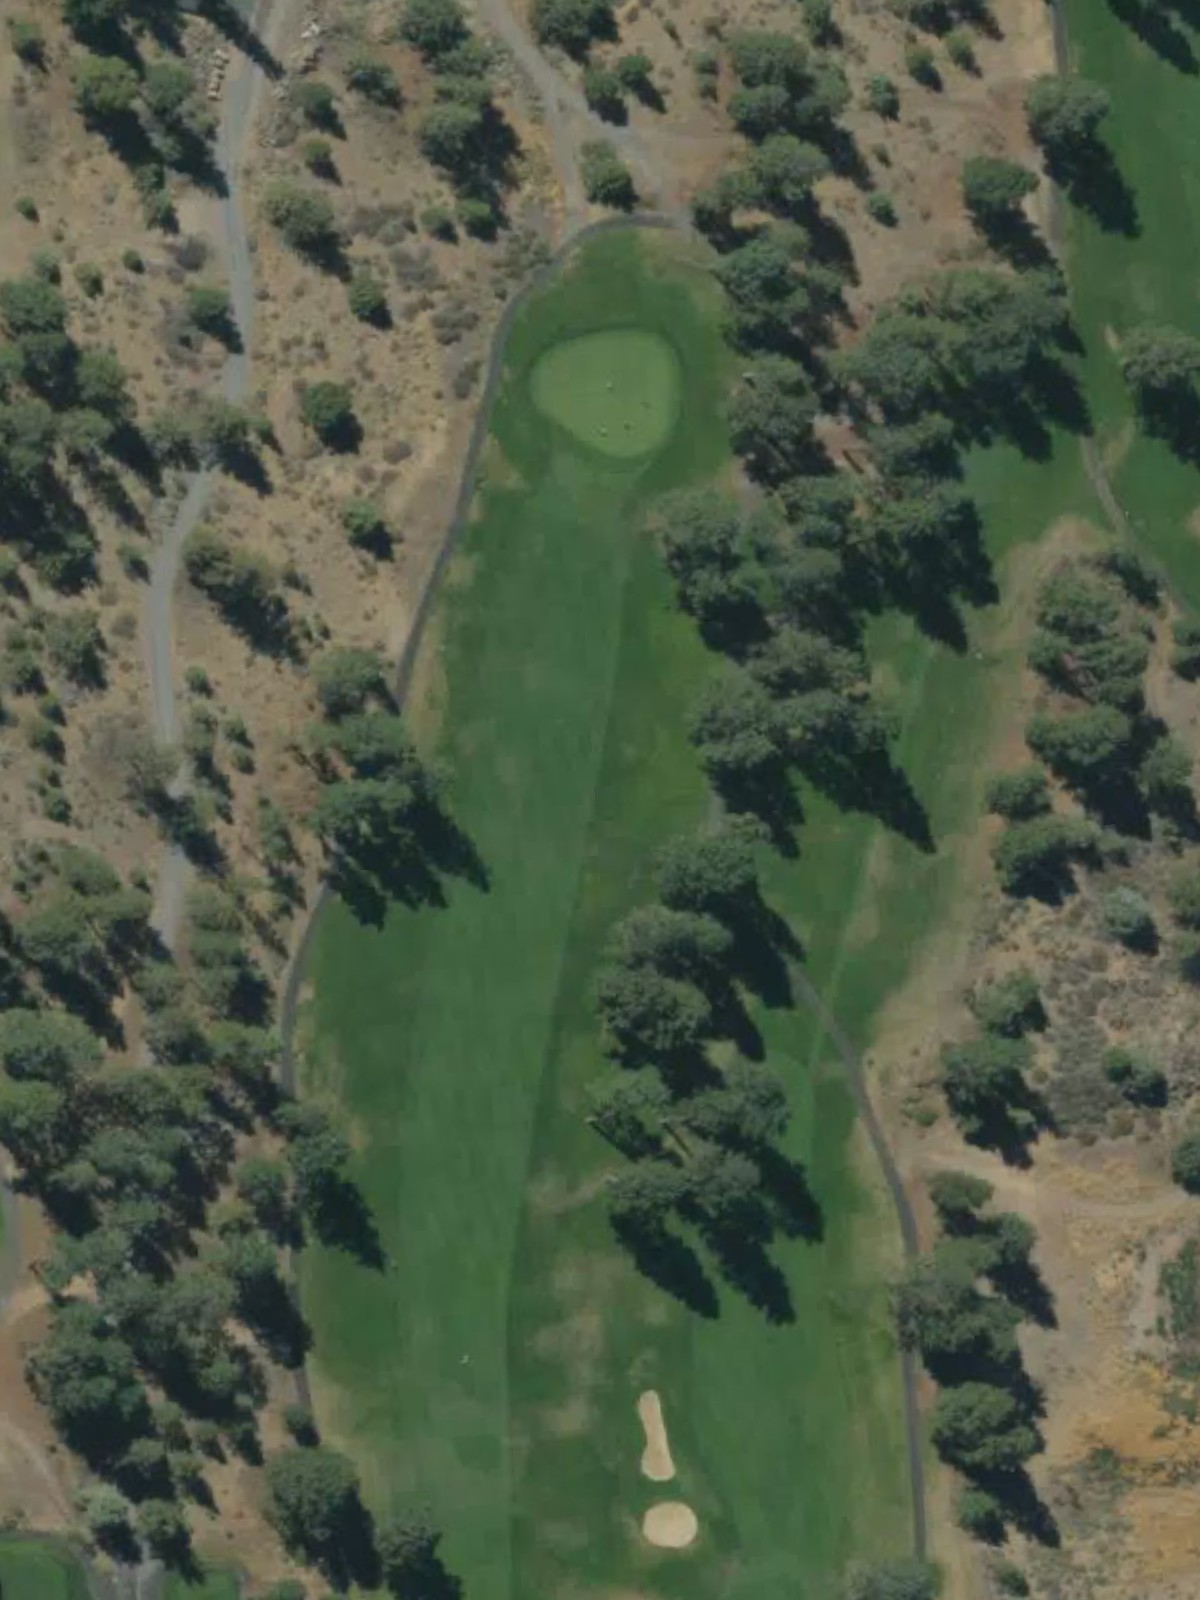
The course's most difficult hole—a long par 5 that demands two solid strikes to reach the green in regulation. Strategic bunkering and length combine to make this a true test of power and precision.
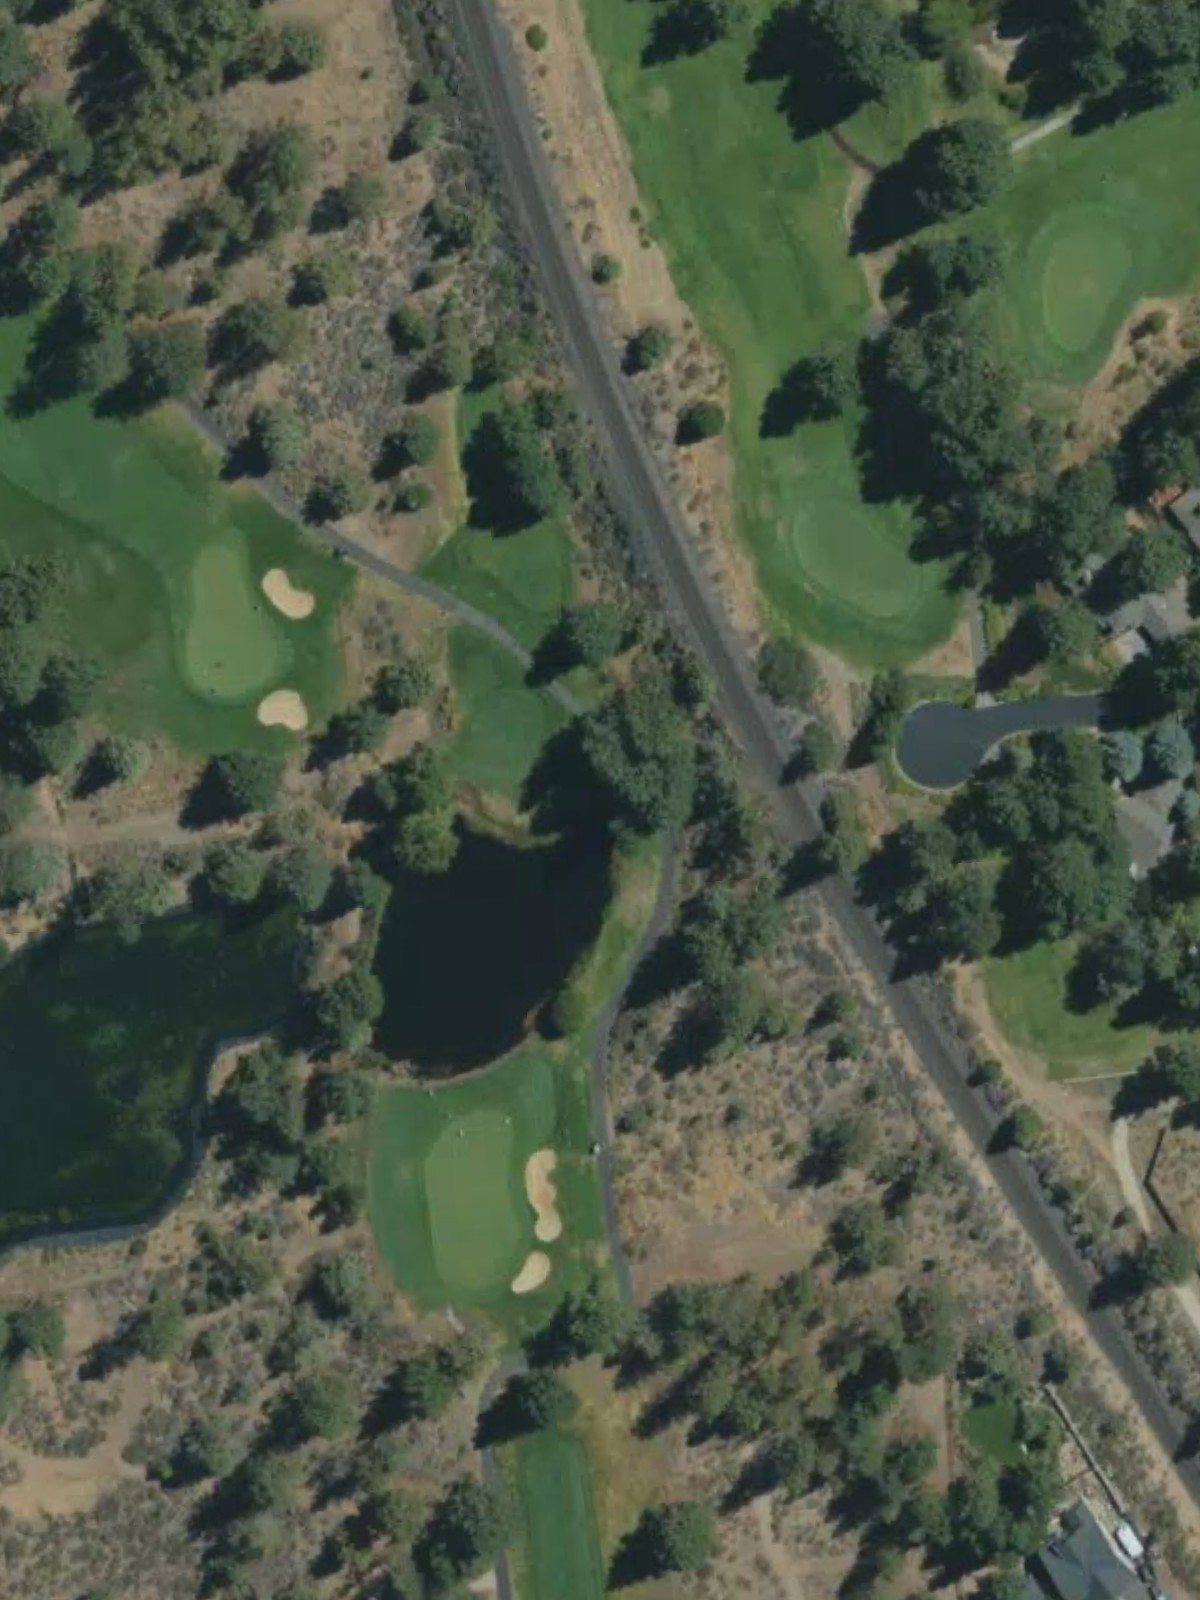
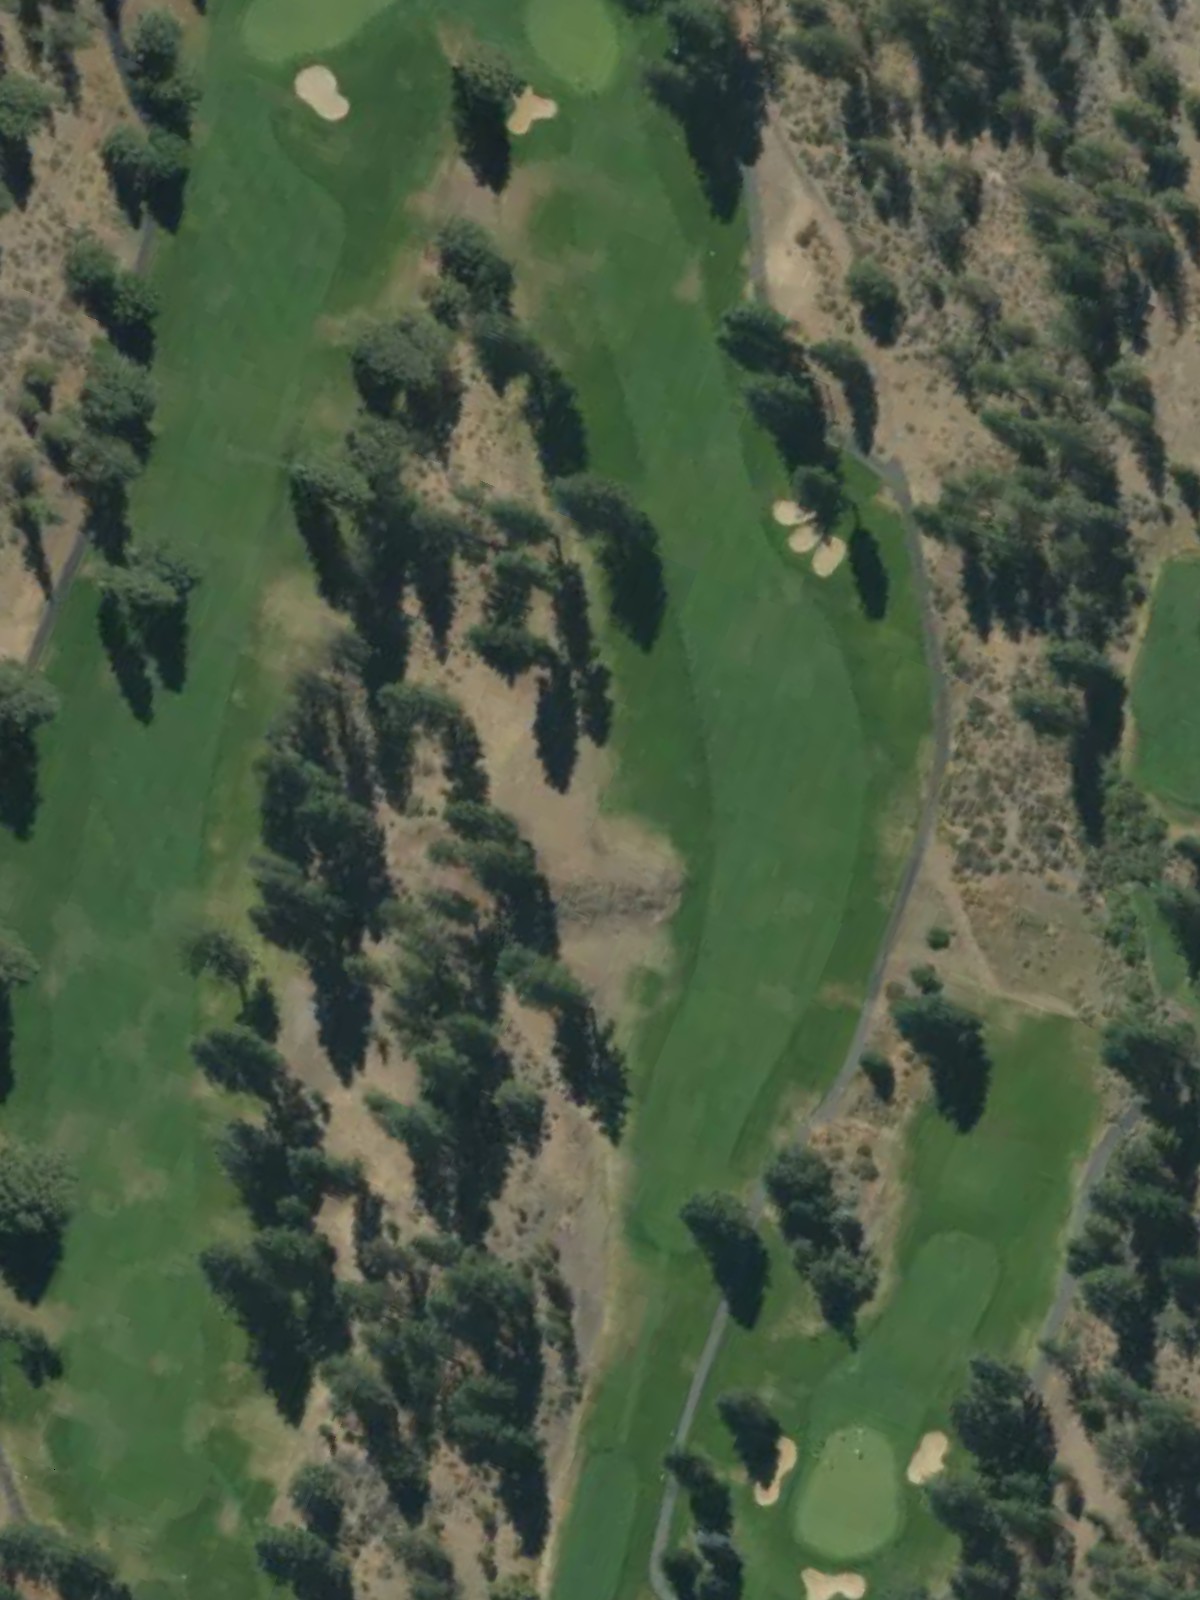
A mid-length par 4 with a fair fairway and moderate approach to the green. Bunkers and hazards frame the landing areas, rewarding straight driving and thoughtful club selection.
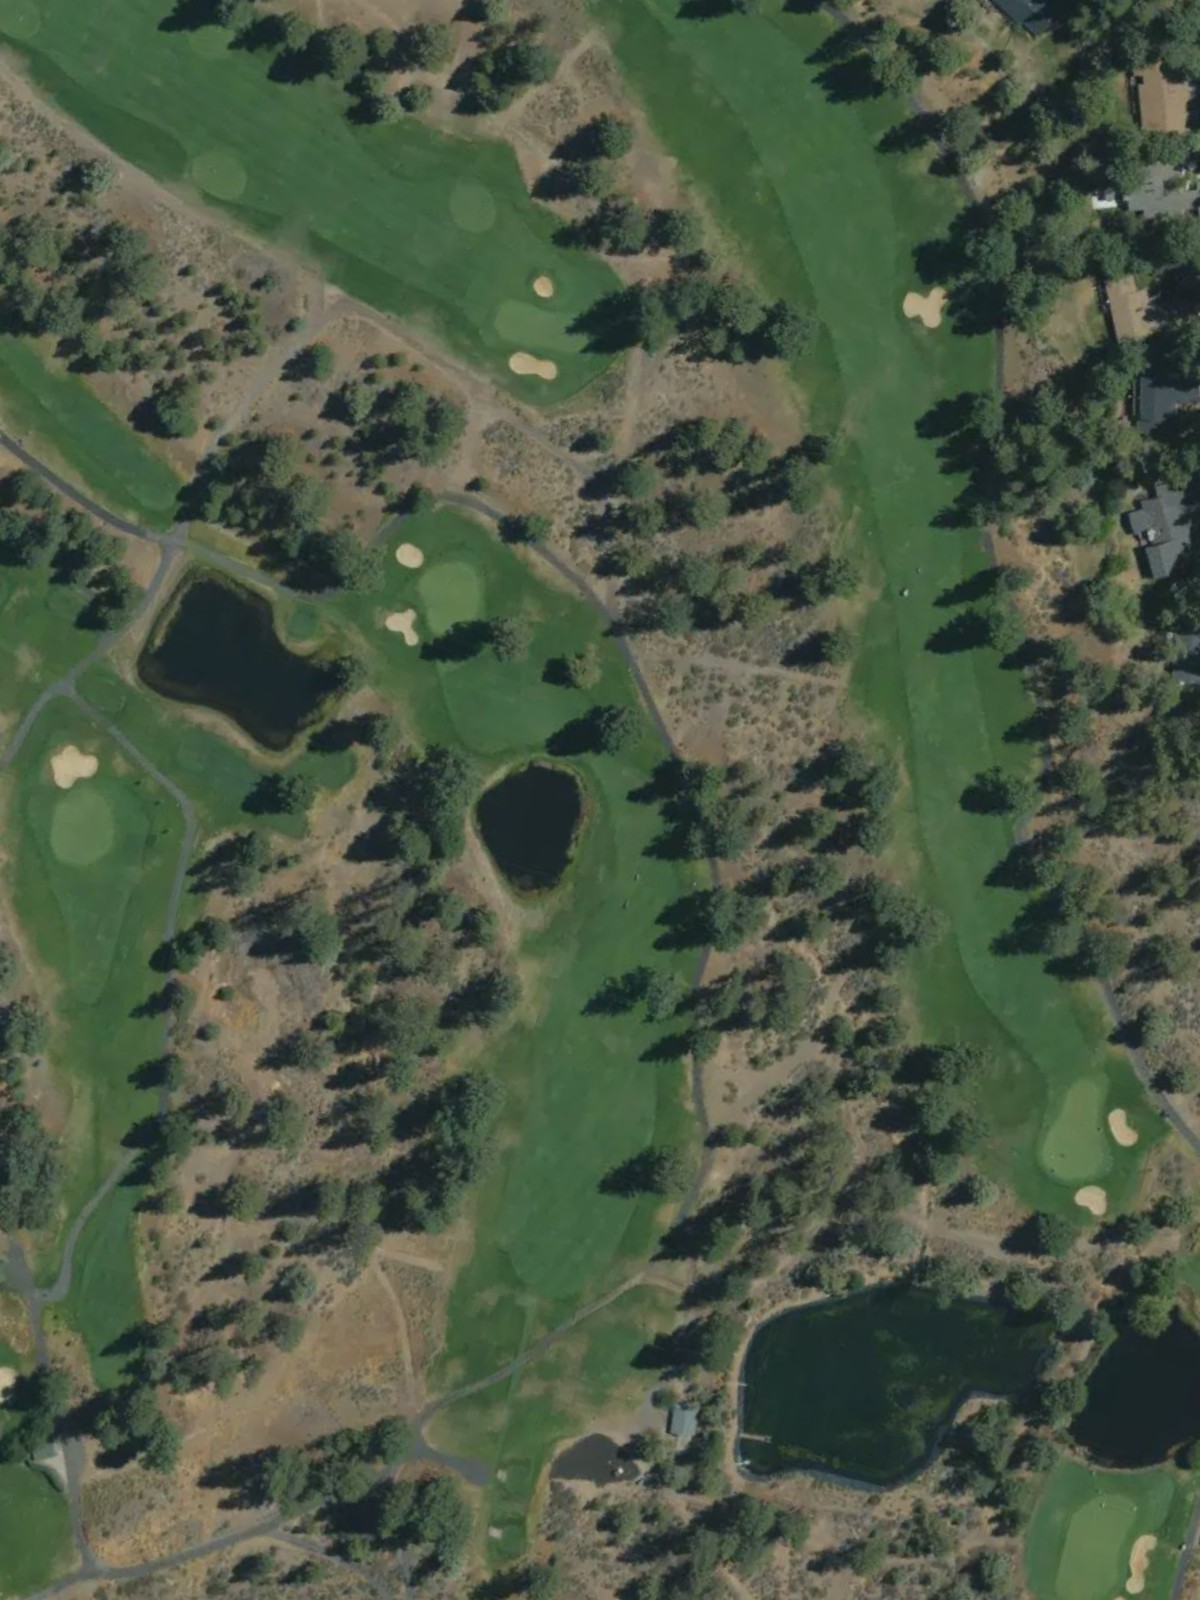
A reachable par 5 that presents multiple routing options depending on length and comfort level. The fairway opens generously, allowing aggressive players a chance to set up a scoring opportunity.
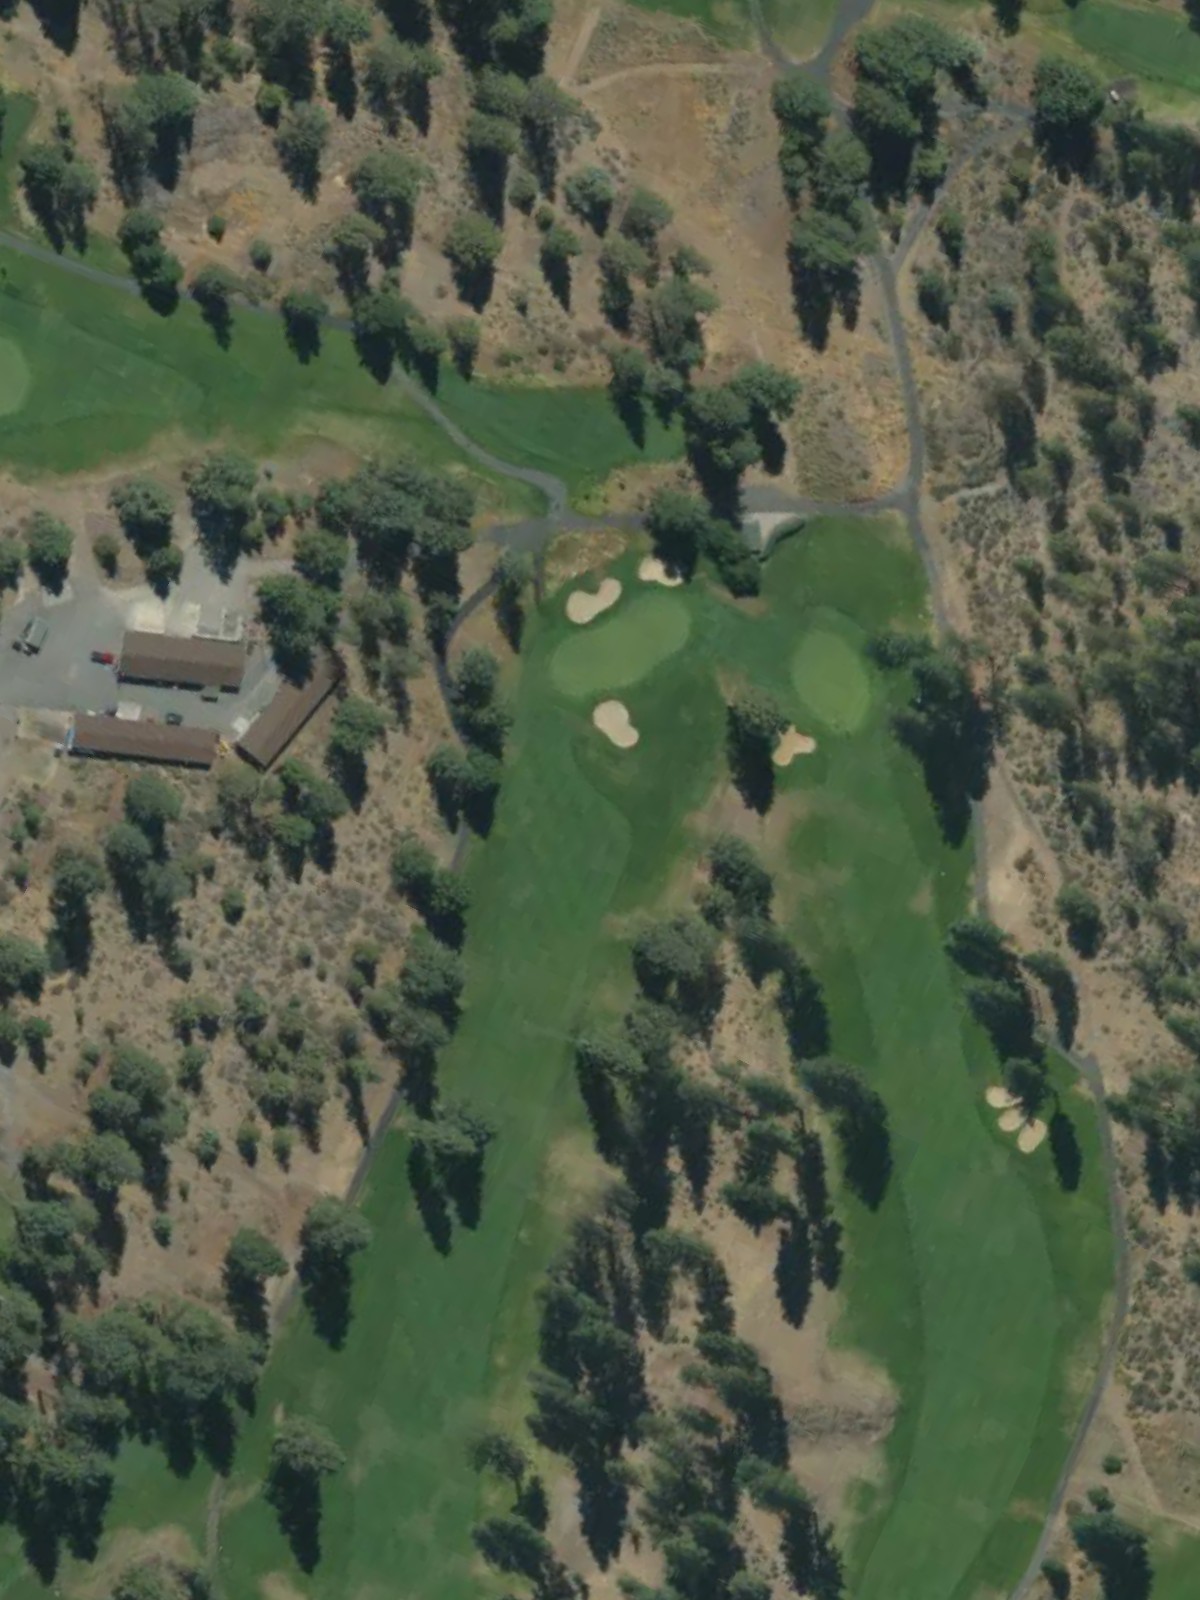
A demanding par 4 that ranks among the course's toughest tests. The hole's length and hazard placement require two well-executed shots to find the green safely.
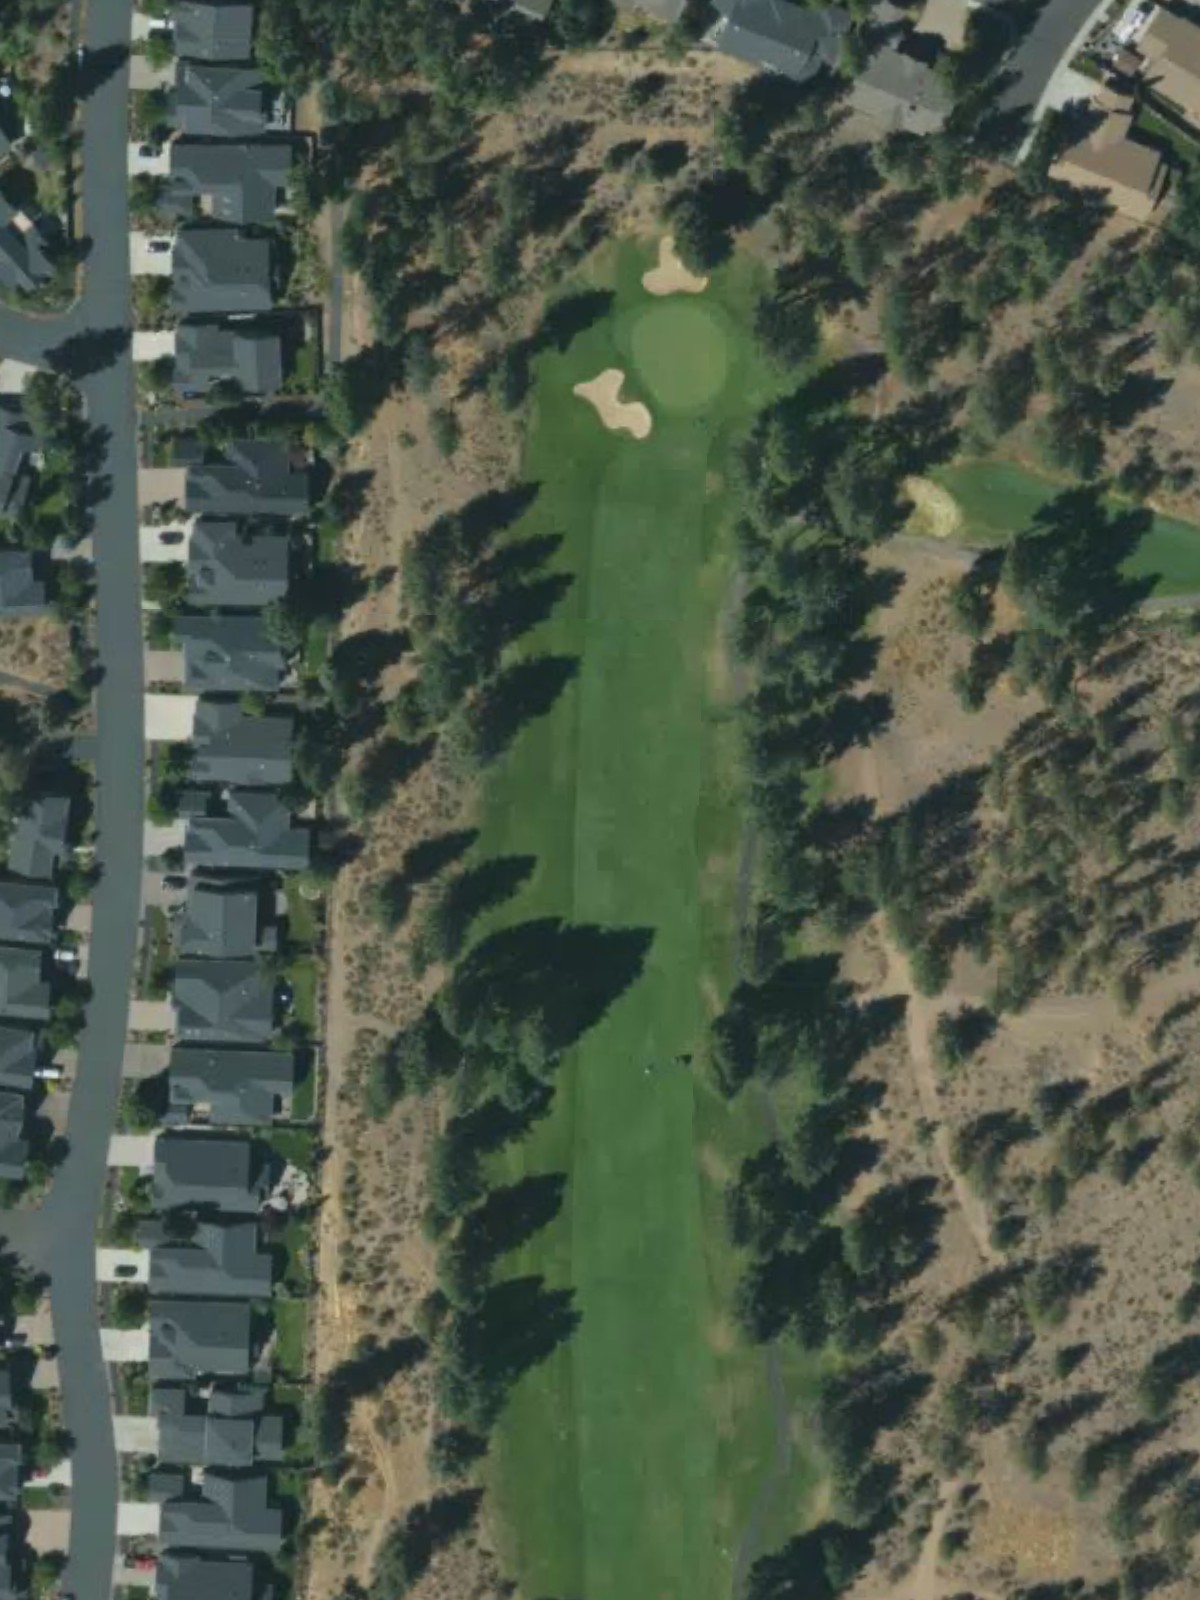
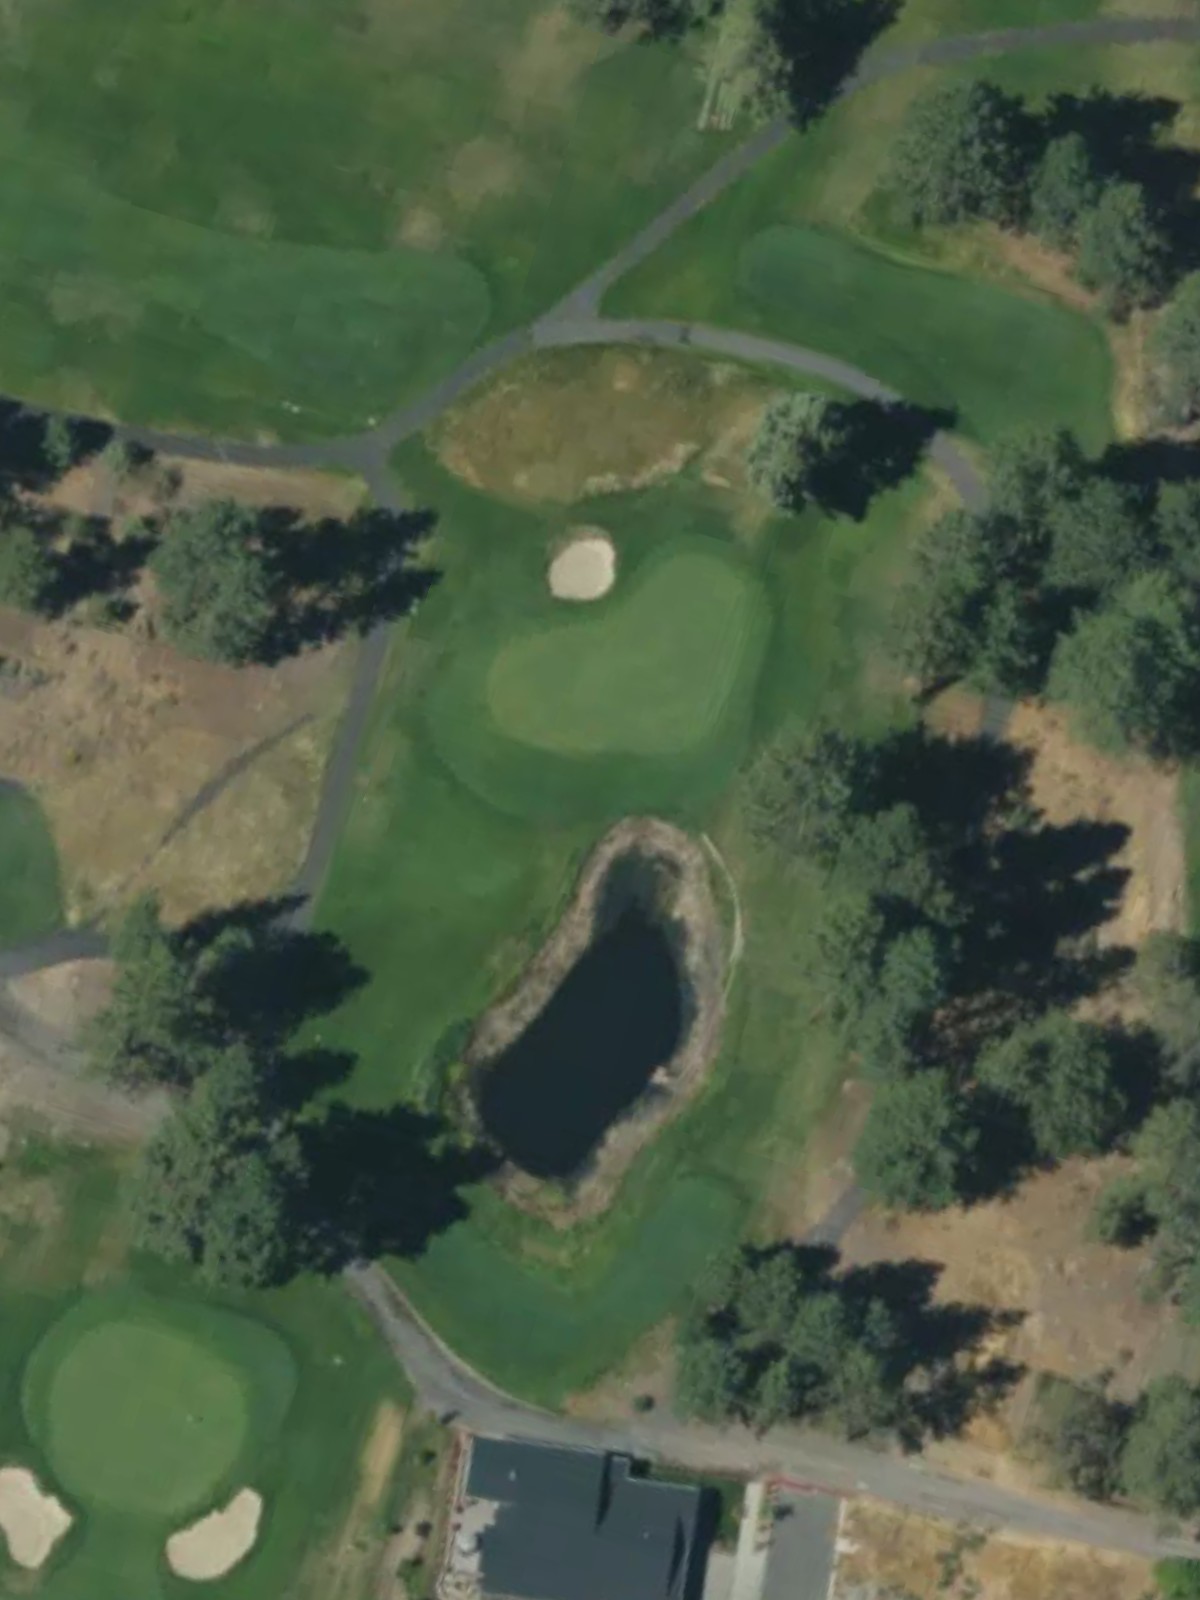
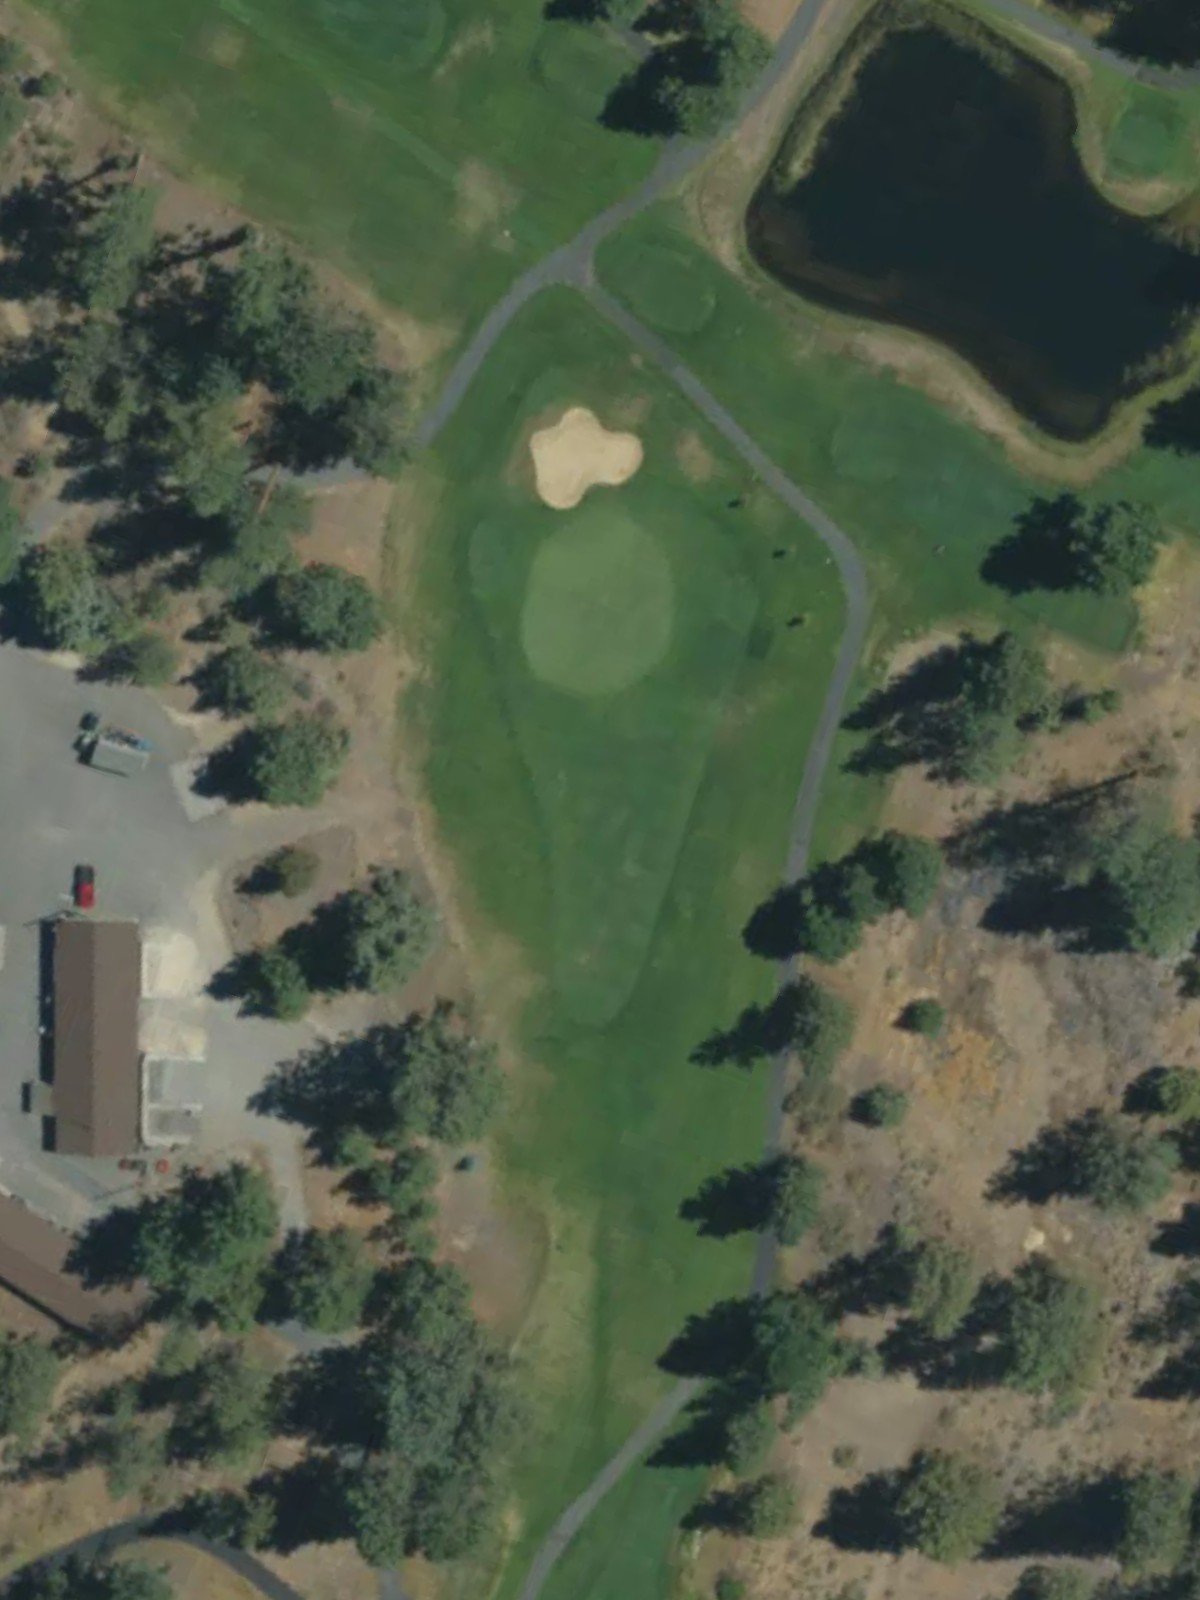
A mid-length par 3 with a straightforward green complex and minimal surrounding hazards. The hole offers a fair test of iron play without excessive penalty for misses.
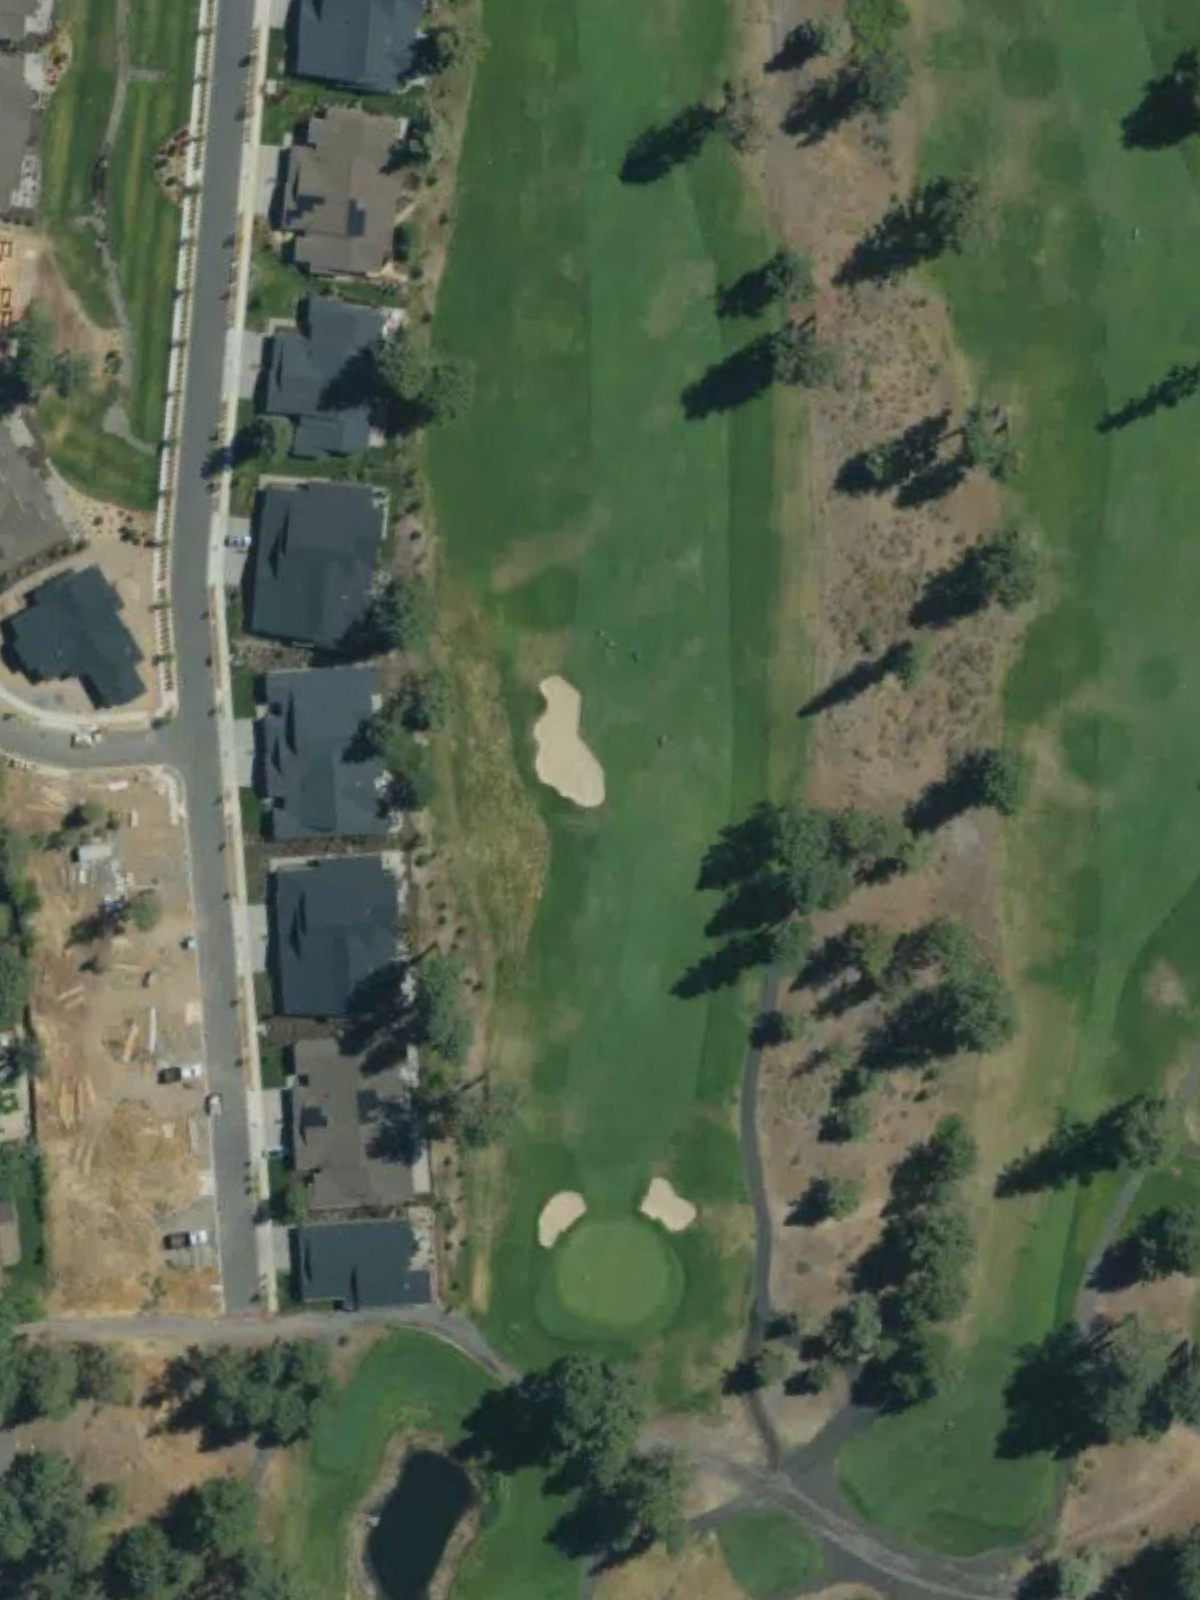
A short par 4 that serves as an excellent finishing hole for the front side. The accessible distance and friendly green setup create a birdie opportunity to close out the first nine.
A straightforward par 4 with a welcoming fairway that gradually narrows as it approaches the green. Bunkers protect the right side of the green, requiring accuracy on the approach shot to avoid a difficult sand save.
A short par 3 playing to a well-defined green surrounded by light rough. The modest length and open approach make this a birdie opportunity, though any miss leaves an awkward short-game recovery.
A relatively short par 4 with a straightforward routing and accessible green. The simplicity of the hole's design makes it an excellent scoring opportunity off the back nine.
The course's second-most difficult hole—a long par 5 that demands two solid strikes to reach the green in regulation. Strategic bunkering and length combine to make this a true test of power and precision.
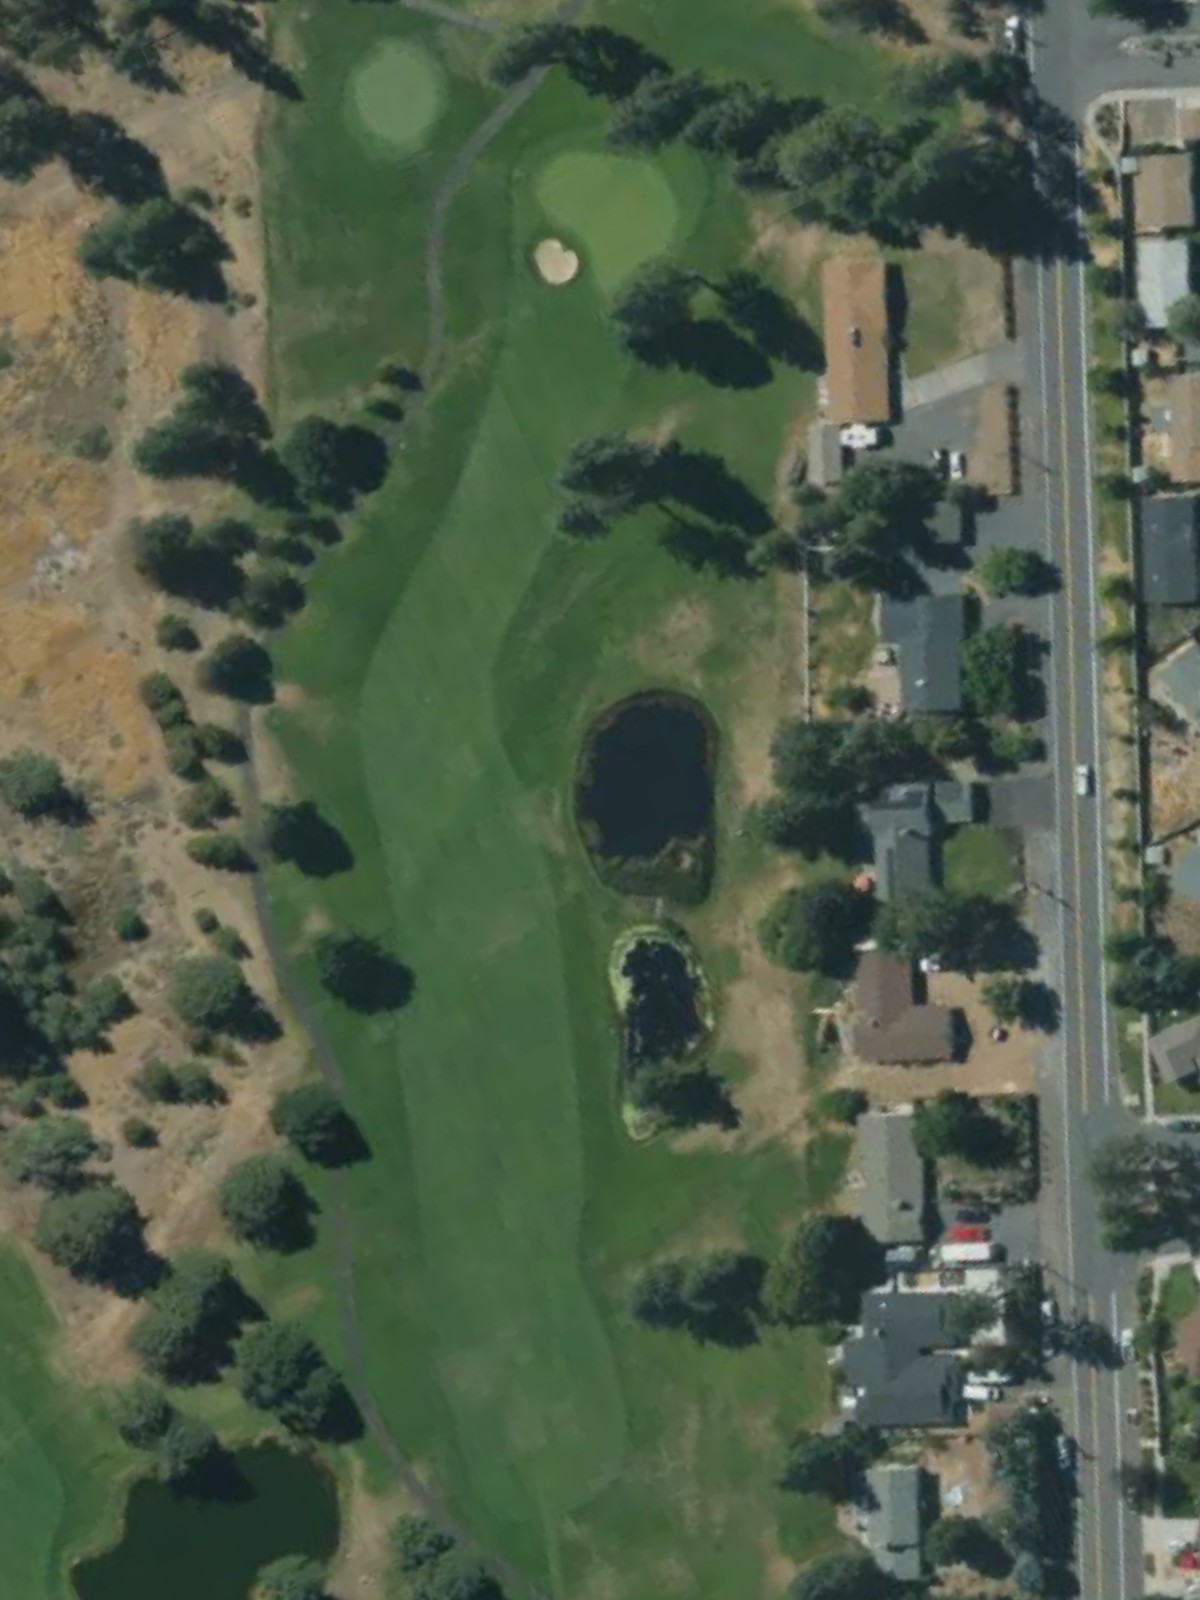
A mid-length par 4 with a fair fairway and moderate approach to the green. Bunkers and hazards frame the landing areas, rewarding straight driving and thoughtful club selection.
A reachable par 5 that presents multiple routing options depending on length and comfort level. The fairway opens generously, allowing aggressive players a chance to set up a scoring opportunity.
A demanding par 4 that ranks among the course's toughest tests. The hole's length and hazard placement require two well-executed shots to find the green safely.
A mid-length par 3 with a straightforward green complex and minimal surrounding hazards. The hole offers a fair test of iron play without excessive penalty for misses.
A short par 4 finishing hole that offers a final birdie opportunity to close out the round. The accessible distance and friendly green setup provide a rewarding conclusion to the back nine.
Scorecard
| Hole | 1 | 2 | 3 | 4 | 5 | 6 | 7 | 8 | 9 | Out | 10 | 11 | 12 | 13 | 14 | 15 | 16 | 17 | 18 | In | Tot |
|---|---|---|---|---|---|---|---|---|---|---|---|---|---|---|---|---|---|---|---|---|---|
| Par | 4 | 3 | 4 | 5 | 4 | 5 | 4 | 3 | 4 | 36 | 4 | 3 | 4 | 5 | 4 | 5 | 4 | 3 | 4 | 36 | 72 |
| HCP | 5 | 13 | 15 | 1 | 9 | 7 | 3 | 11 | 17 | 6 | 14 | 16 | 2 | 10 | 8 | 4 | 12 | 18 | |||
| blue | 335 | 132 | 319 | 474 | 340 | 463 | 446 | 175 | 268 | 2952 | 335 | 132 | 319 | 474 | 340 | 463 | 446 | 175 | 268 | 2952 | 5904 |
| white | 317 | 123 | 266 | 454 | 311 | 437 | 418 | 146 | 268 | 2740 | 317 | 123 | 266 | 454 | 311 | 437 | 418 | 146 | 268 | 2740 | 5480 |
| red | 298 | 97 | 223 | 435 | 267 | 302 | 398 | 124 | 217 | 2361 | 298 | 97 | 223 | 435 | 267 | 302 | 398 | 124 | 217 | 2361 | 4722 |
| yellow | 214 | 95 | 189 | 302 | 210 | 241 | 250 | 129 | 164 | 1794 | 214 | 95 | 189 | 302 | 210 | 241 | 250 | 129 | 164 | 1794 | 3588 |