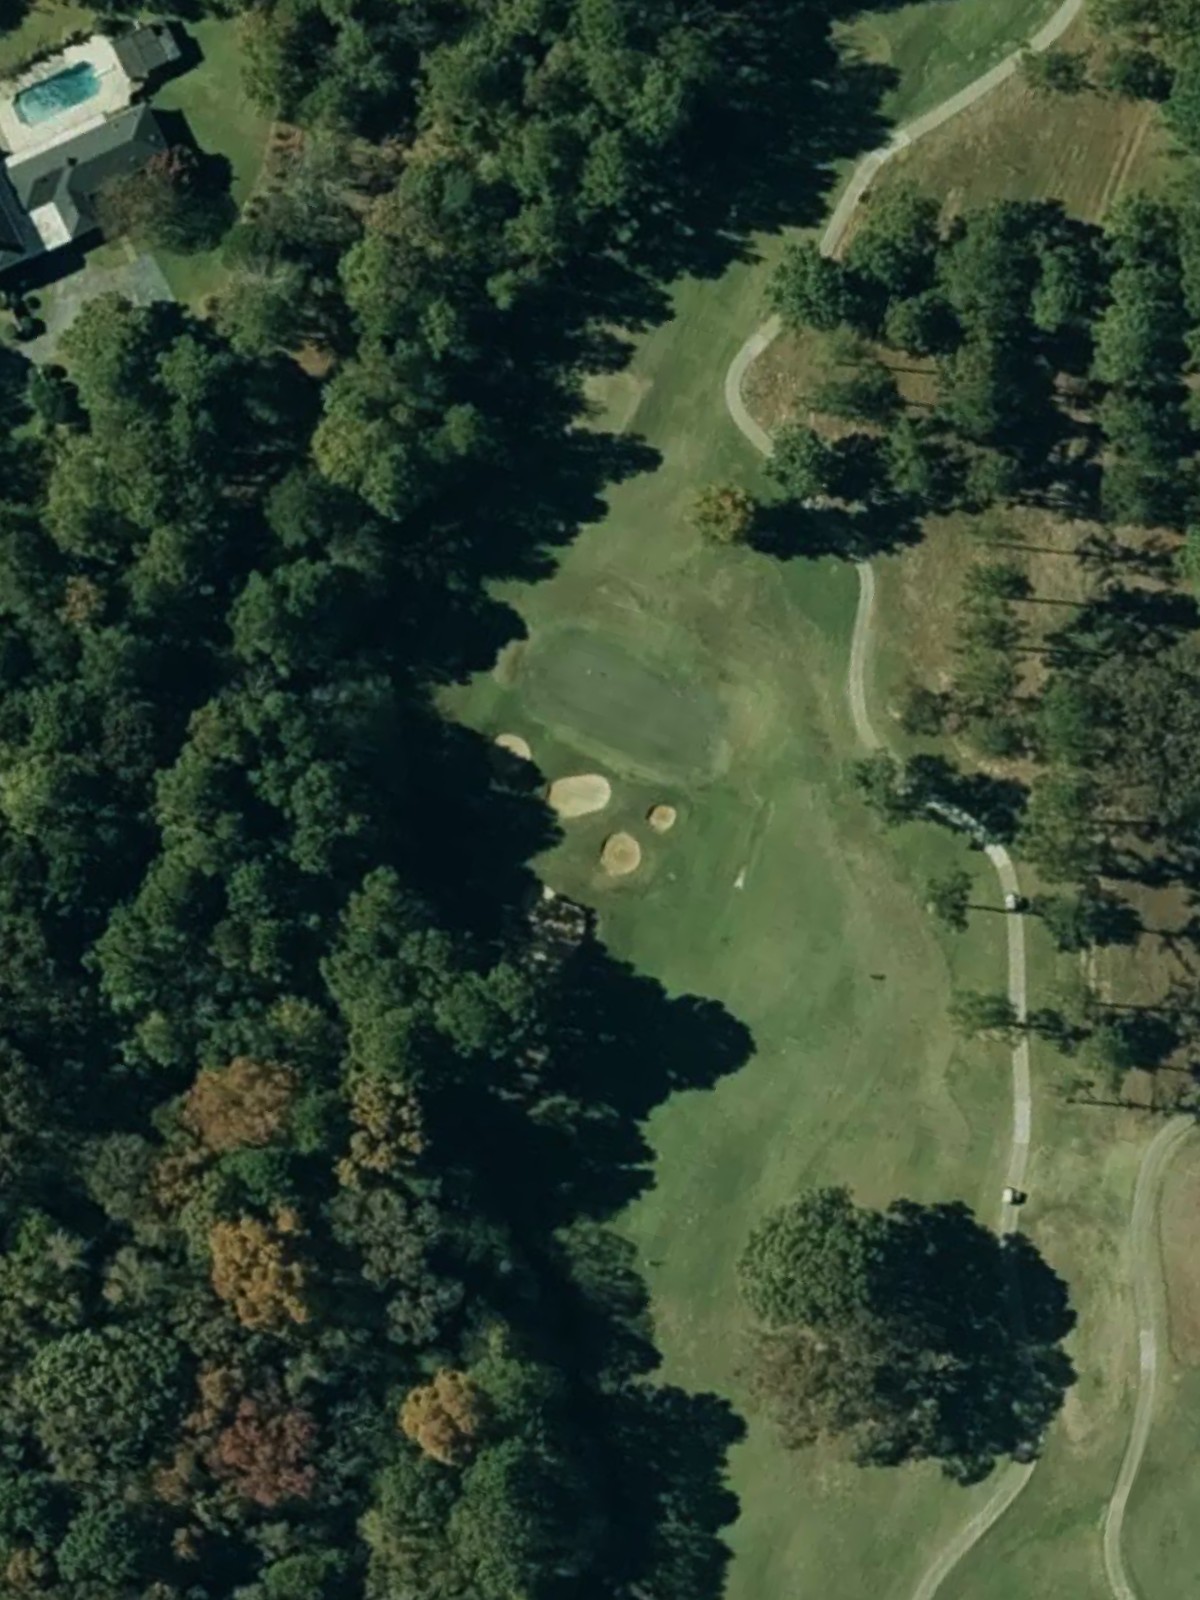
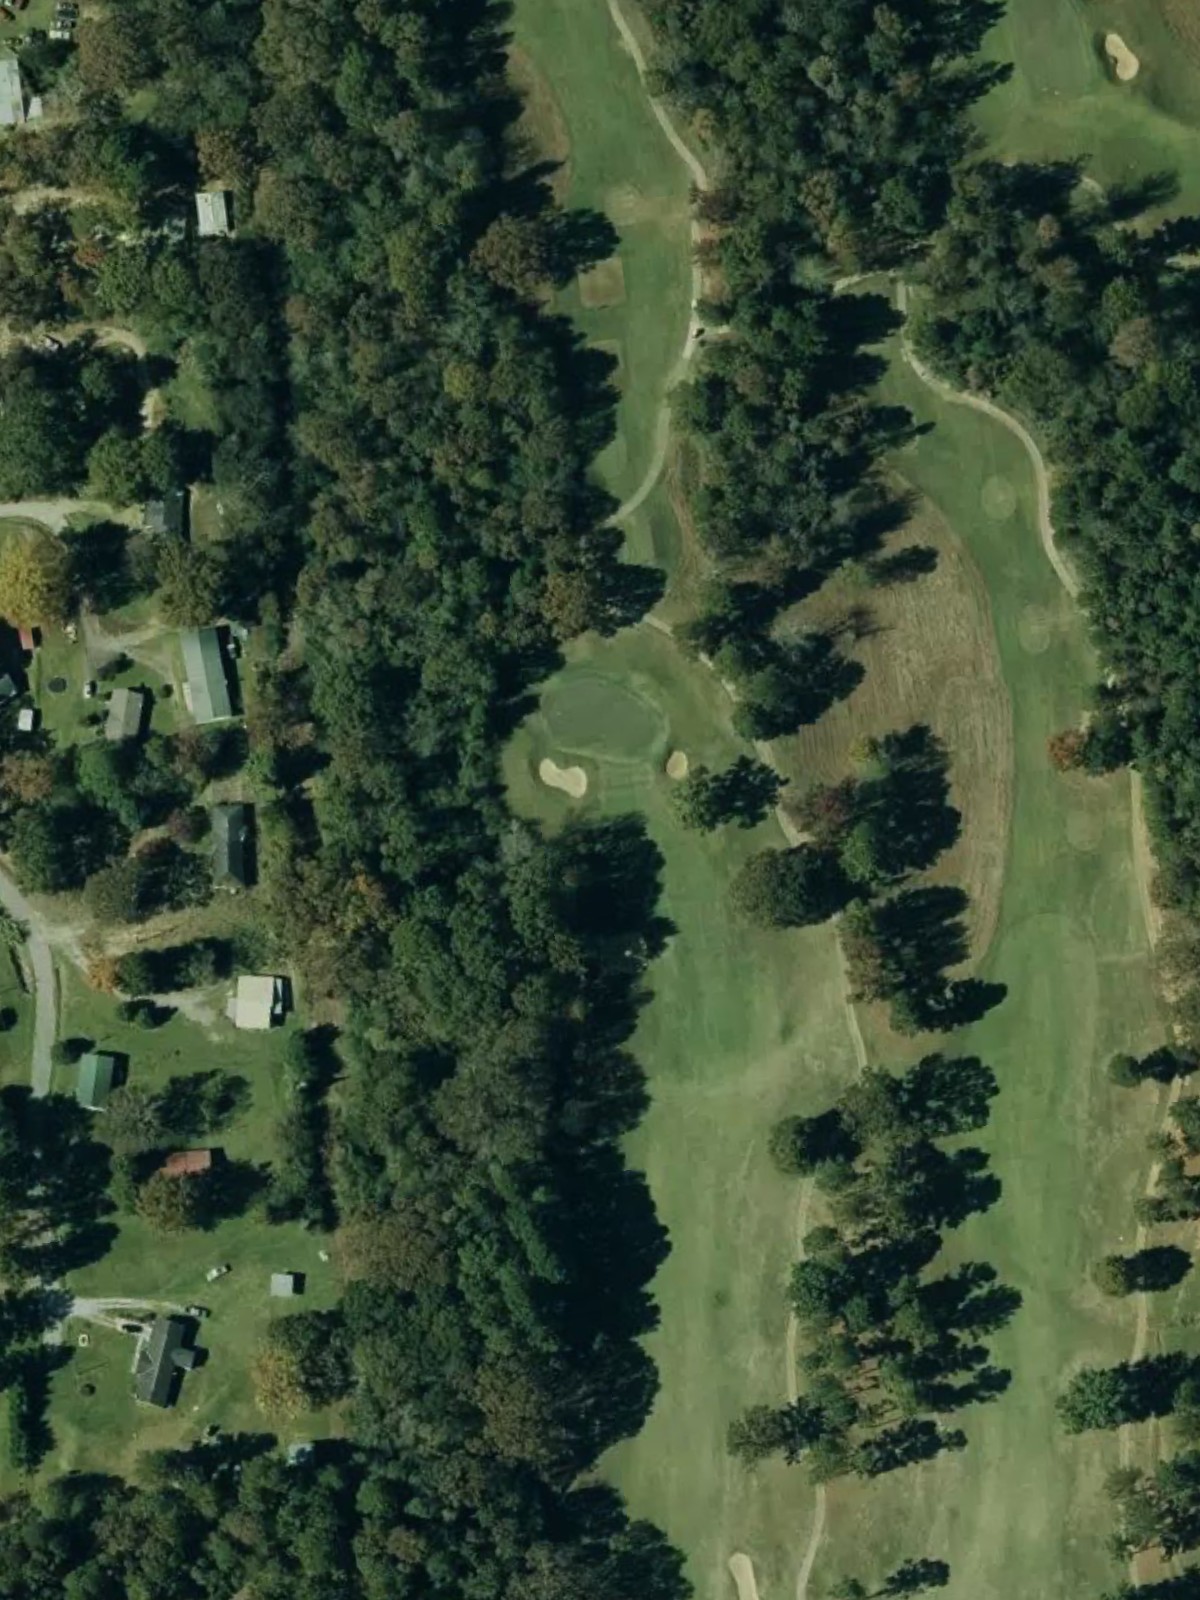
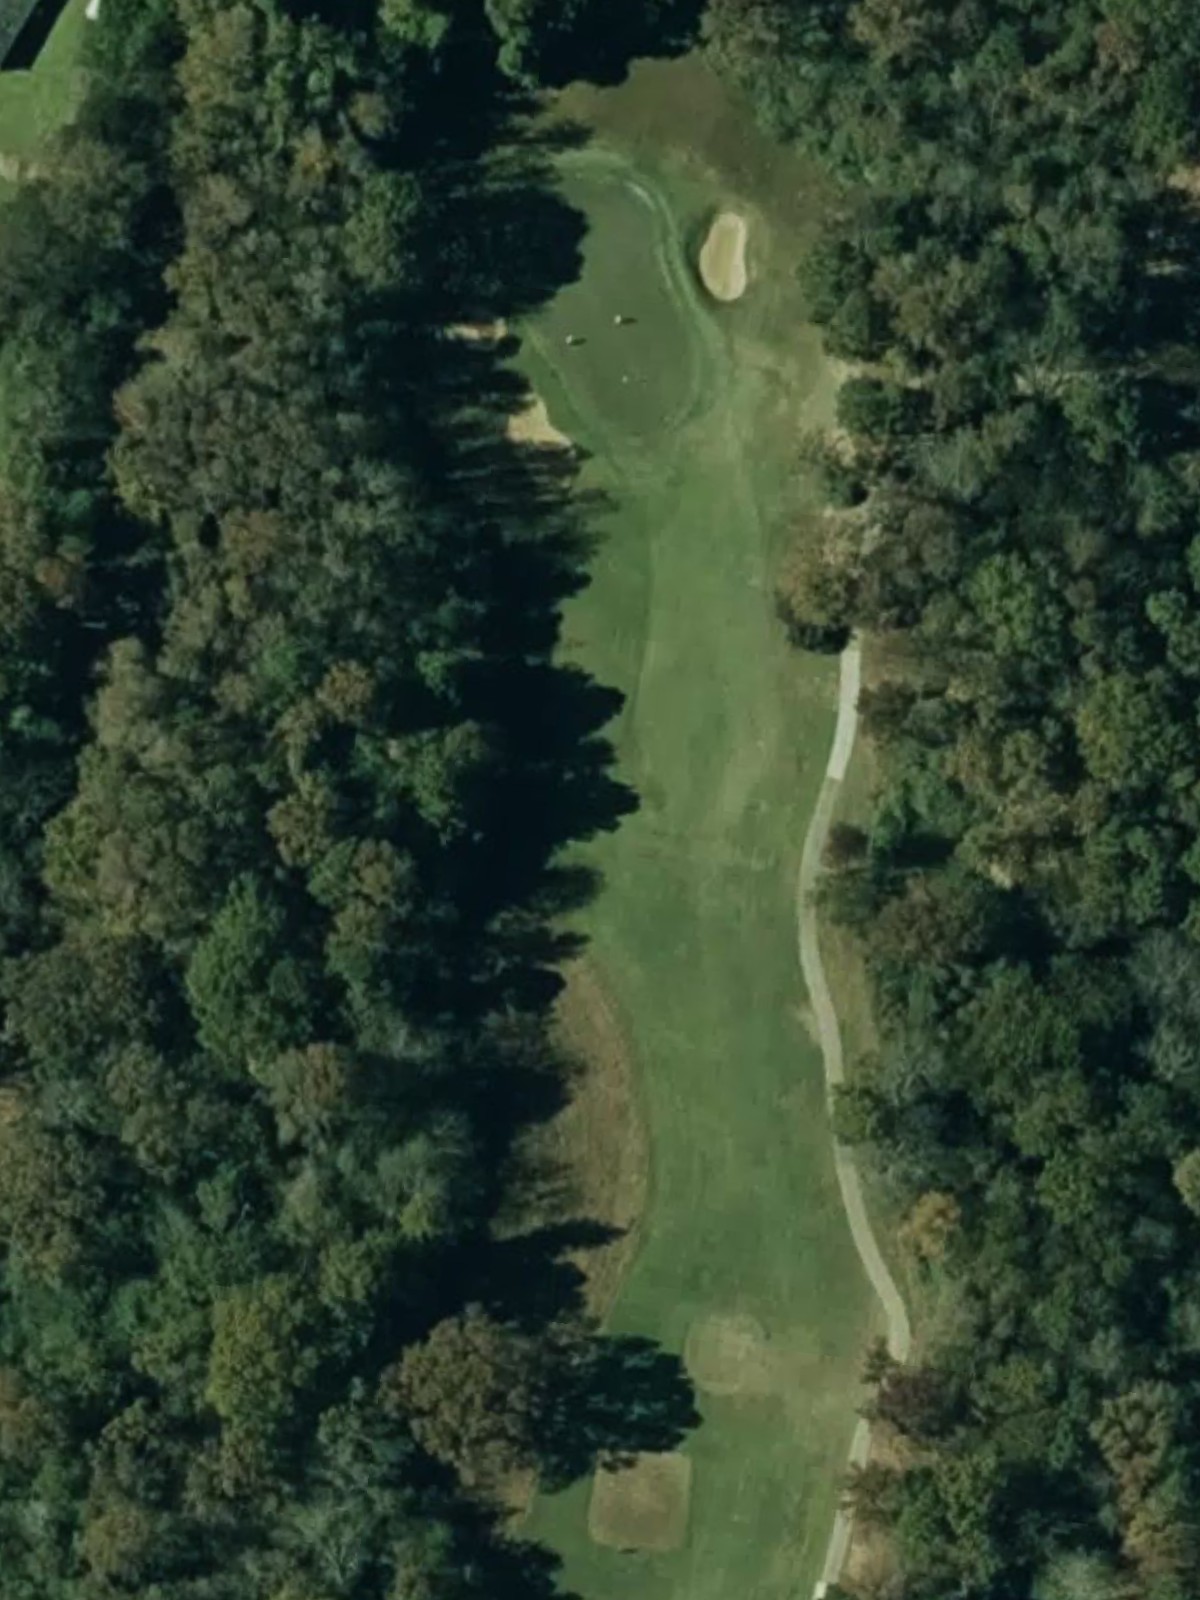
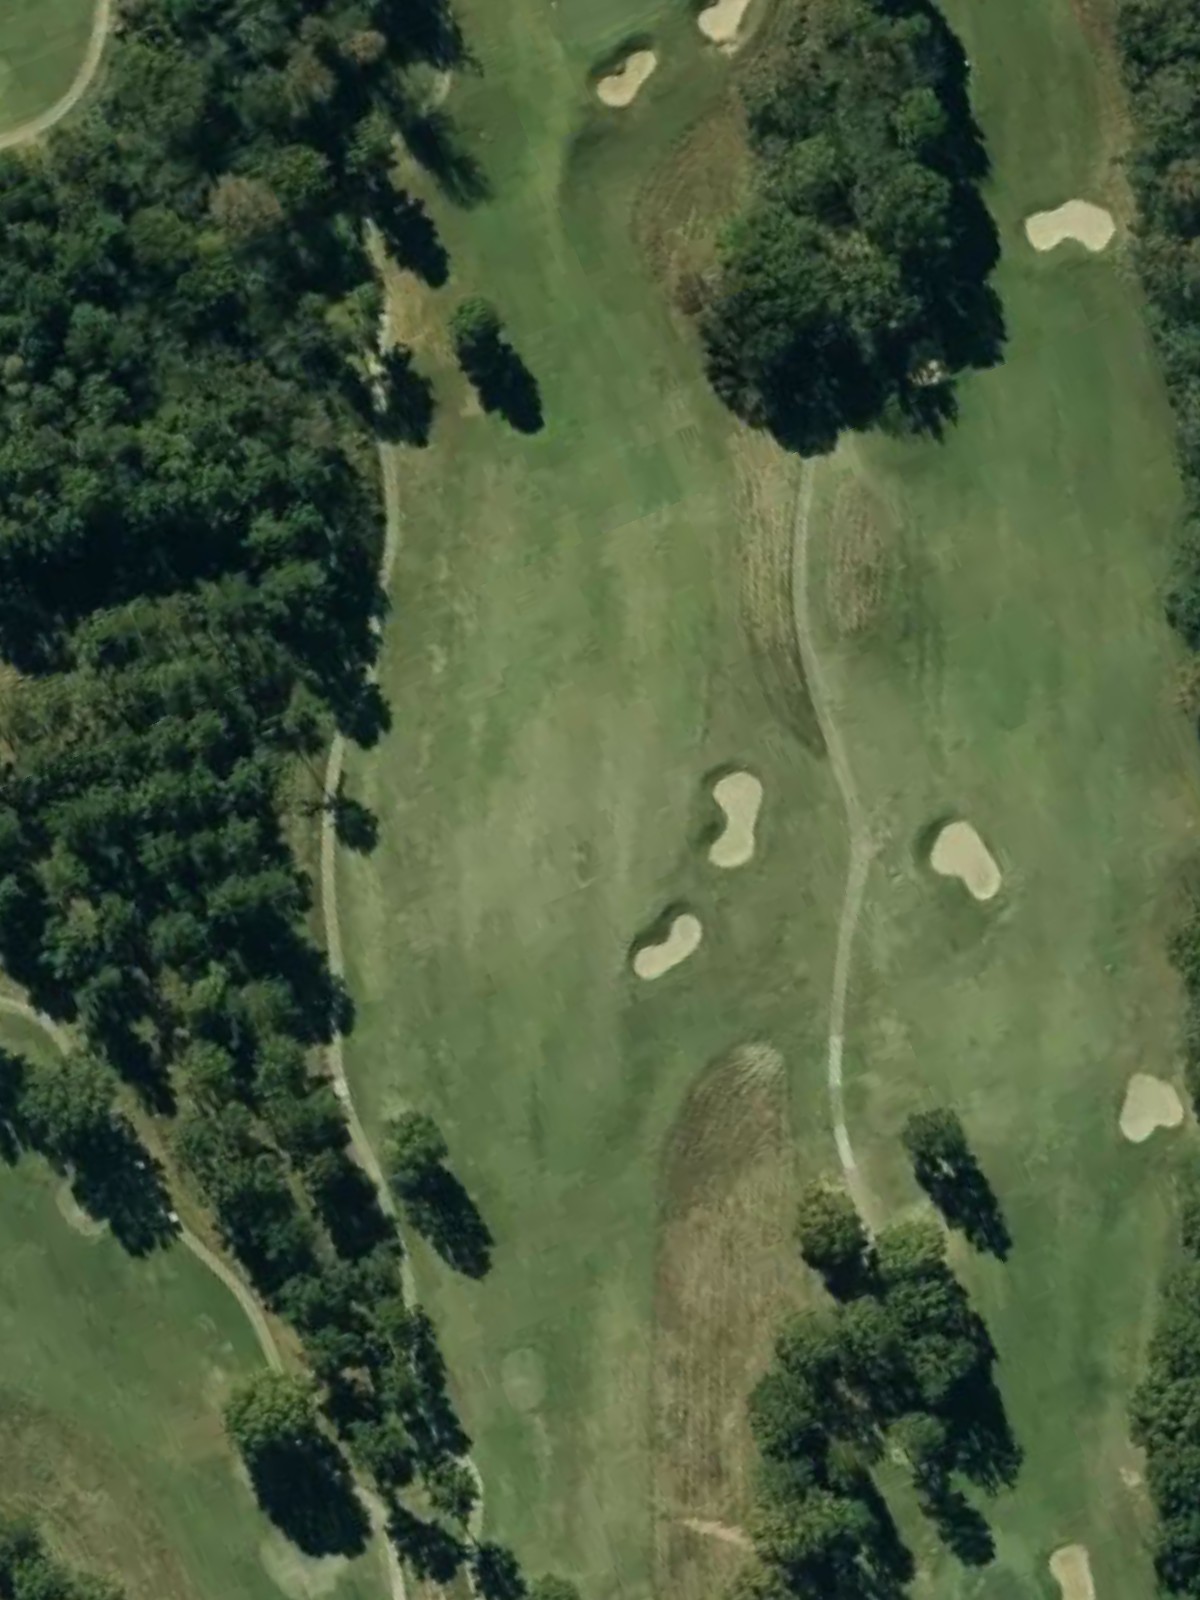
Ol' Colony Golf Complex is an 18-hole golf course in Tuscaloosa, AL with a par of 72. It offers 5 tee sets: crimson (7,546 yards, slope 138, rating 76.6), black (7,097 yards, slope 134, rating 74.6), blue (6,562 yards, slope 132, rating 72), white (5,983 yards, slope 129, rating 69.1), gold (5,035 yards, slope 117, rating 64.7). The hardest hole is #6, a par 4 playing 411 yards from the first tee.
Ol' Colony Golf Complex
Tuscaloosa, AL
Get PDF Yardage Book
We'll email you the PDF link. No spam, ever.
Create Your Game Plan
Pick your tees, enter your bag, and get a personalized shot-by-shot strategy for every hole.

A straightforward par 4 that opens with a wide fairway before narrowing as it approaches the green. Bunkers guard the right side of the green, demanding accuracy on the approach shot.
A short par 4 that offers birdie opportunity despite its modest length. A strategically placed bunker creates the primary challenge on this relatively forgiving hole.
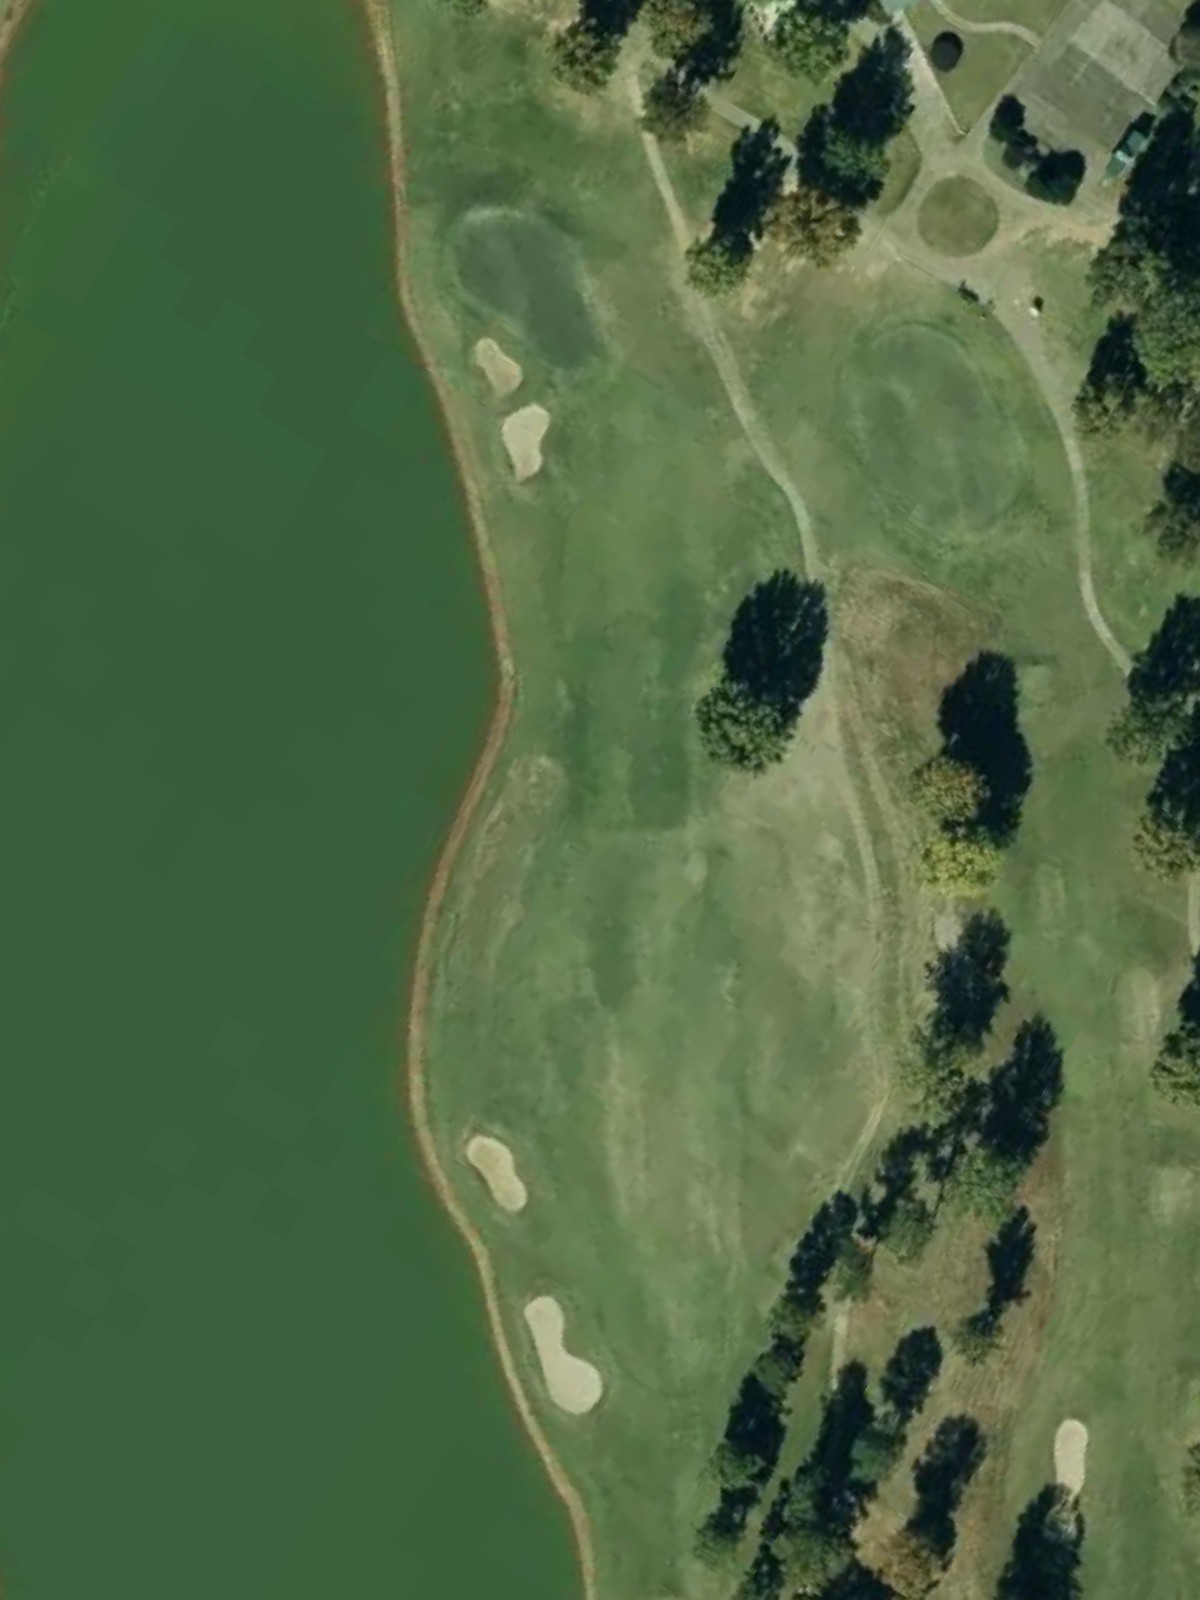
A long par 5 that provides multiple options for attacking the green across its extended length. Bunkers positioned throughout the hole demand thoughtful course management over three shots.
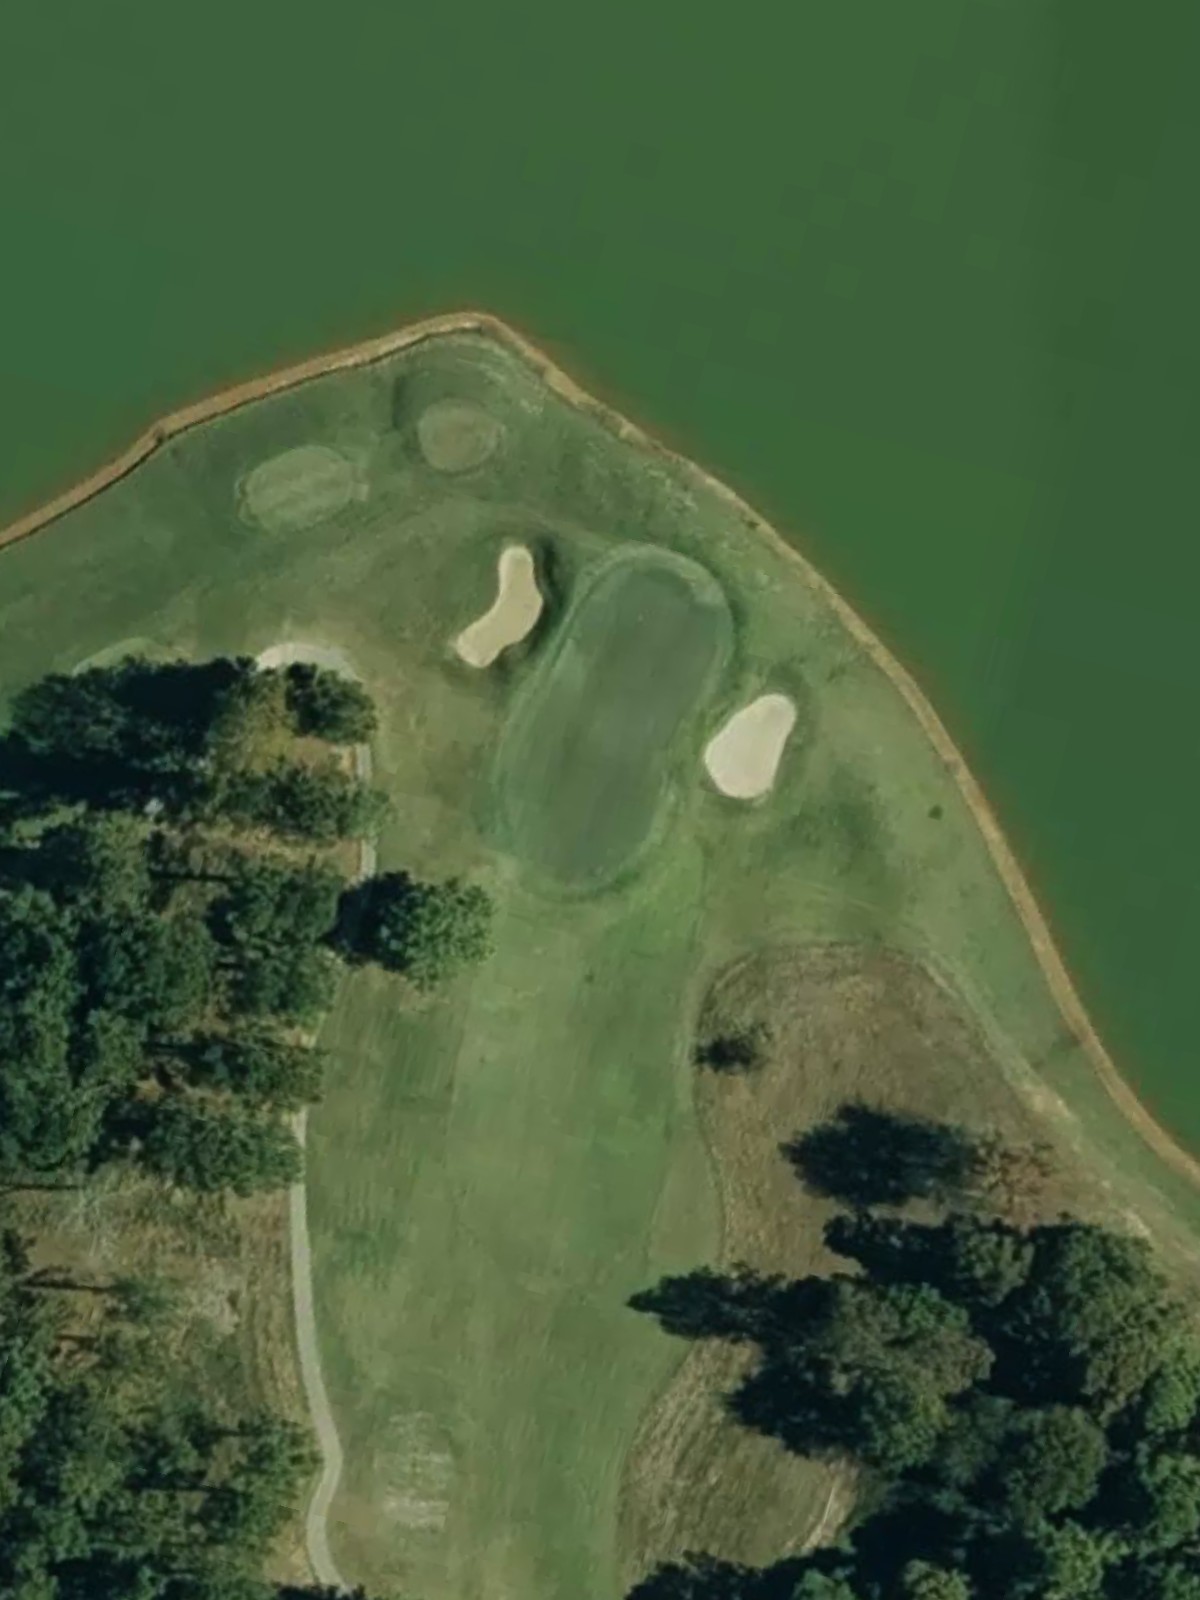
A mid-length par 3 with bunkers framing the green and testing accuracy from the tee. The isolated nature of this one-shot hole makes clean execution essential.

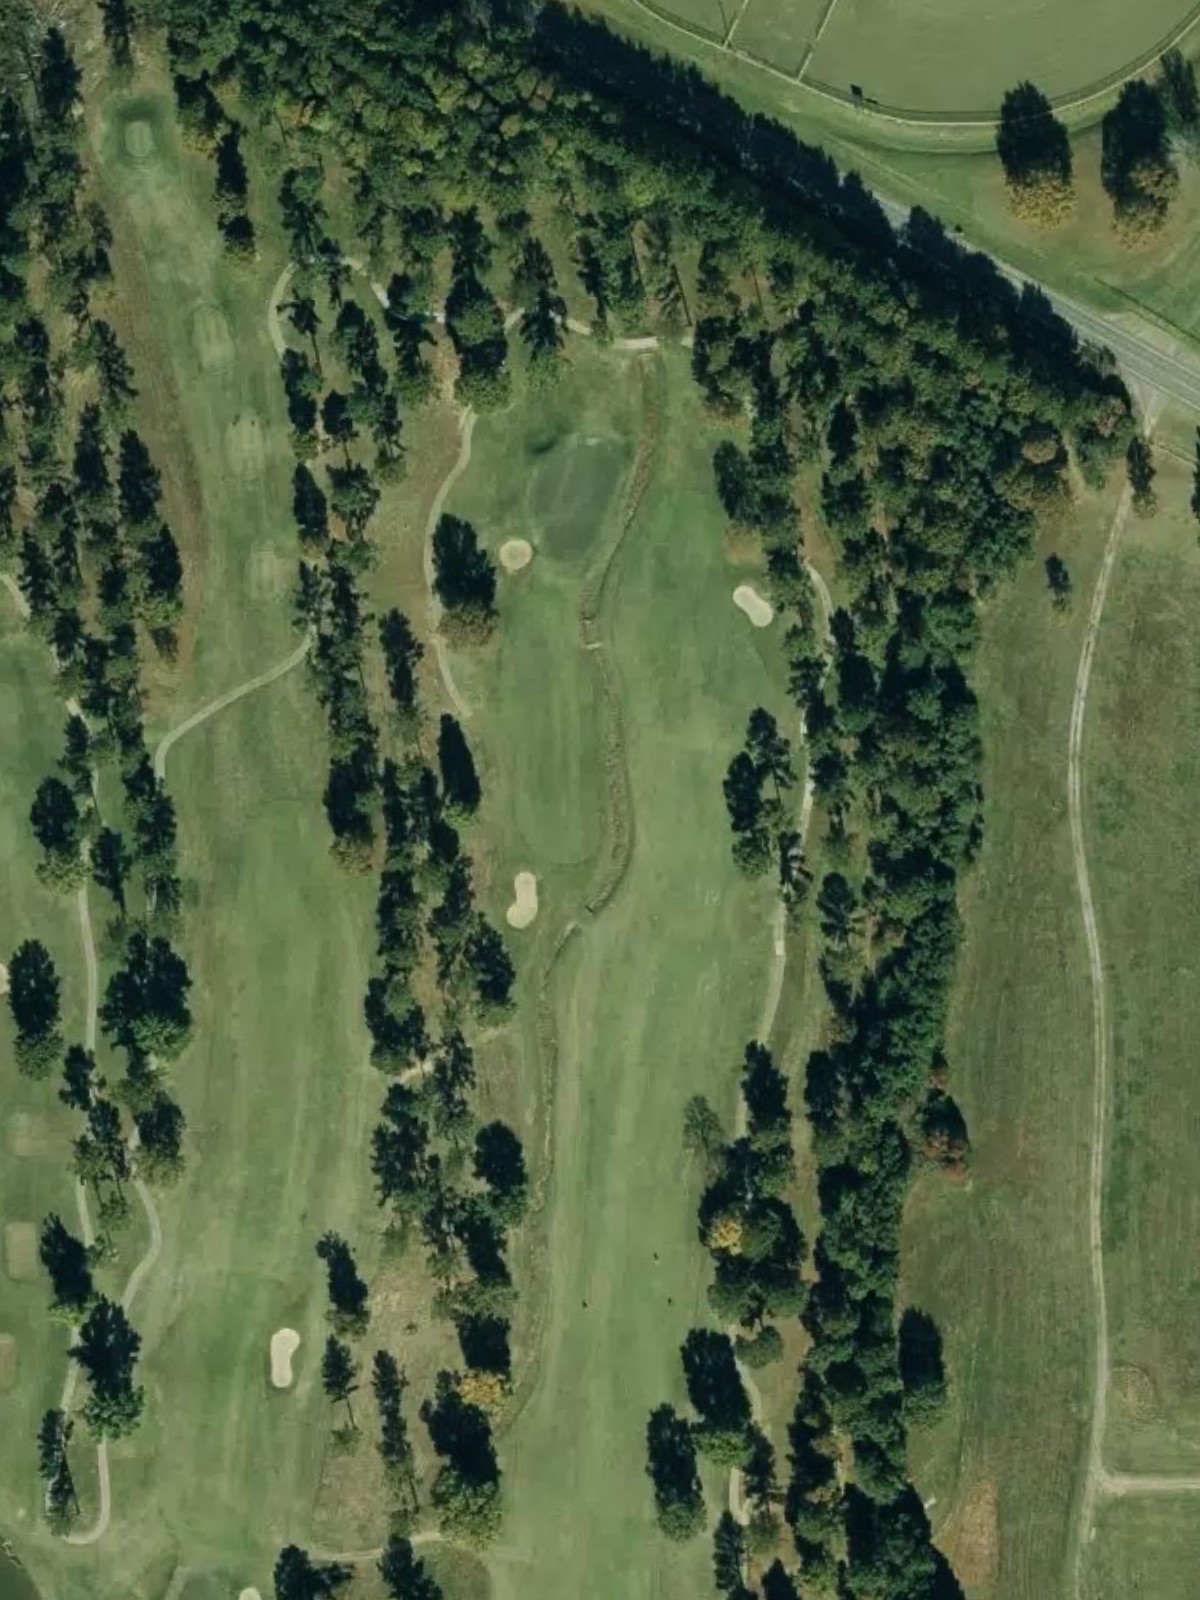
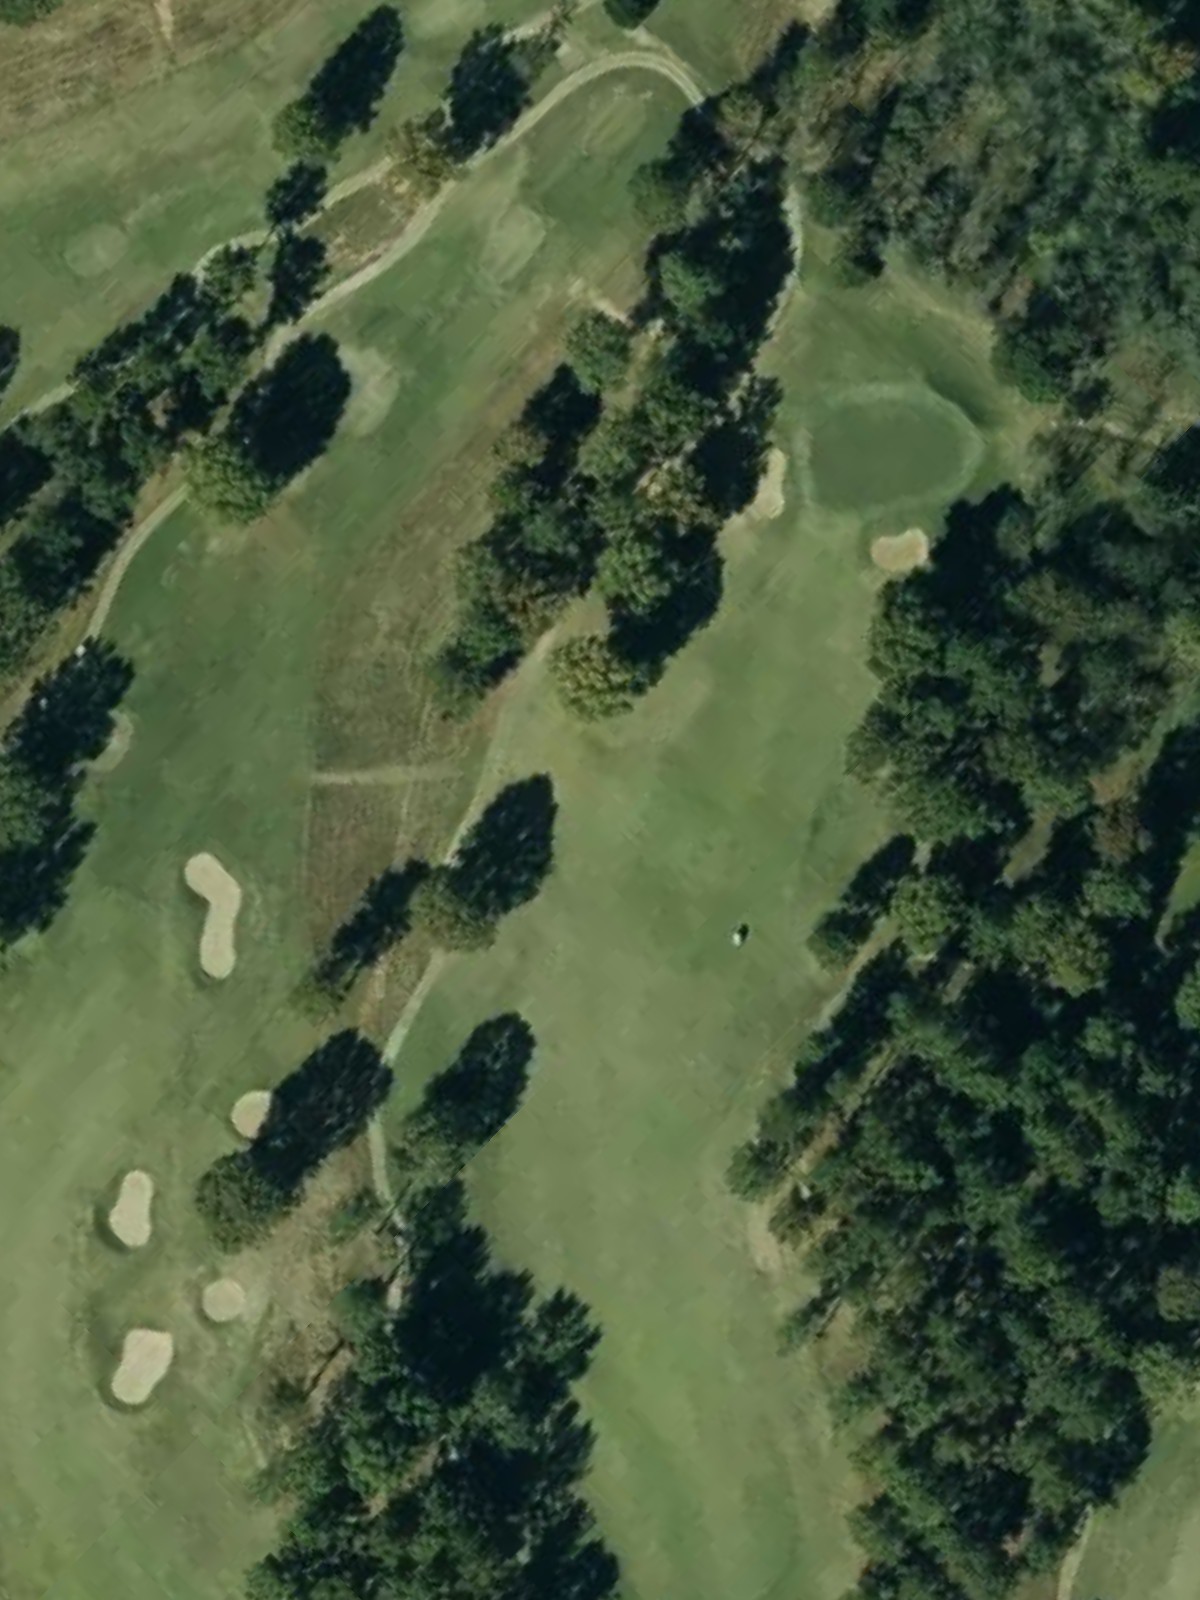
A demanding par 4 that ranks among the course's most difficult holes despite reasonable yardage. The hole's character and strategic challenges make it a pivotal scoring opportunity.
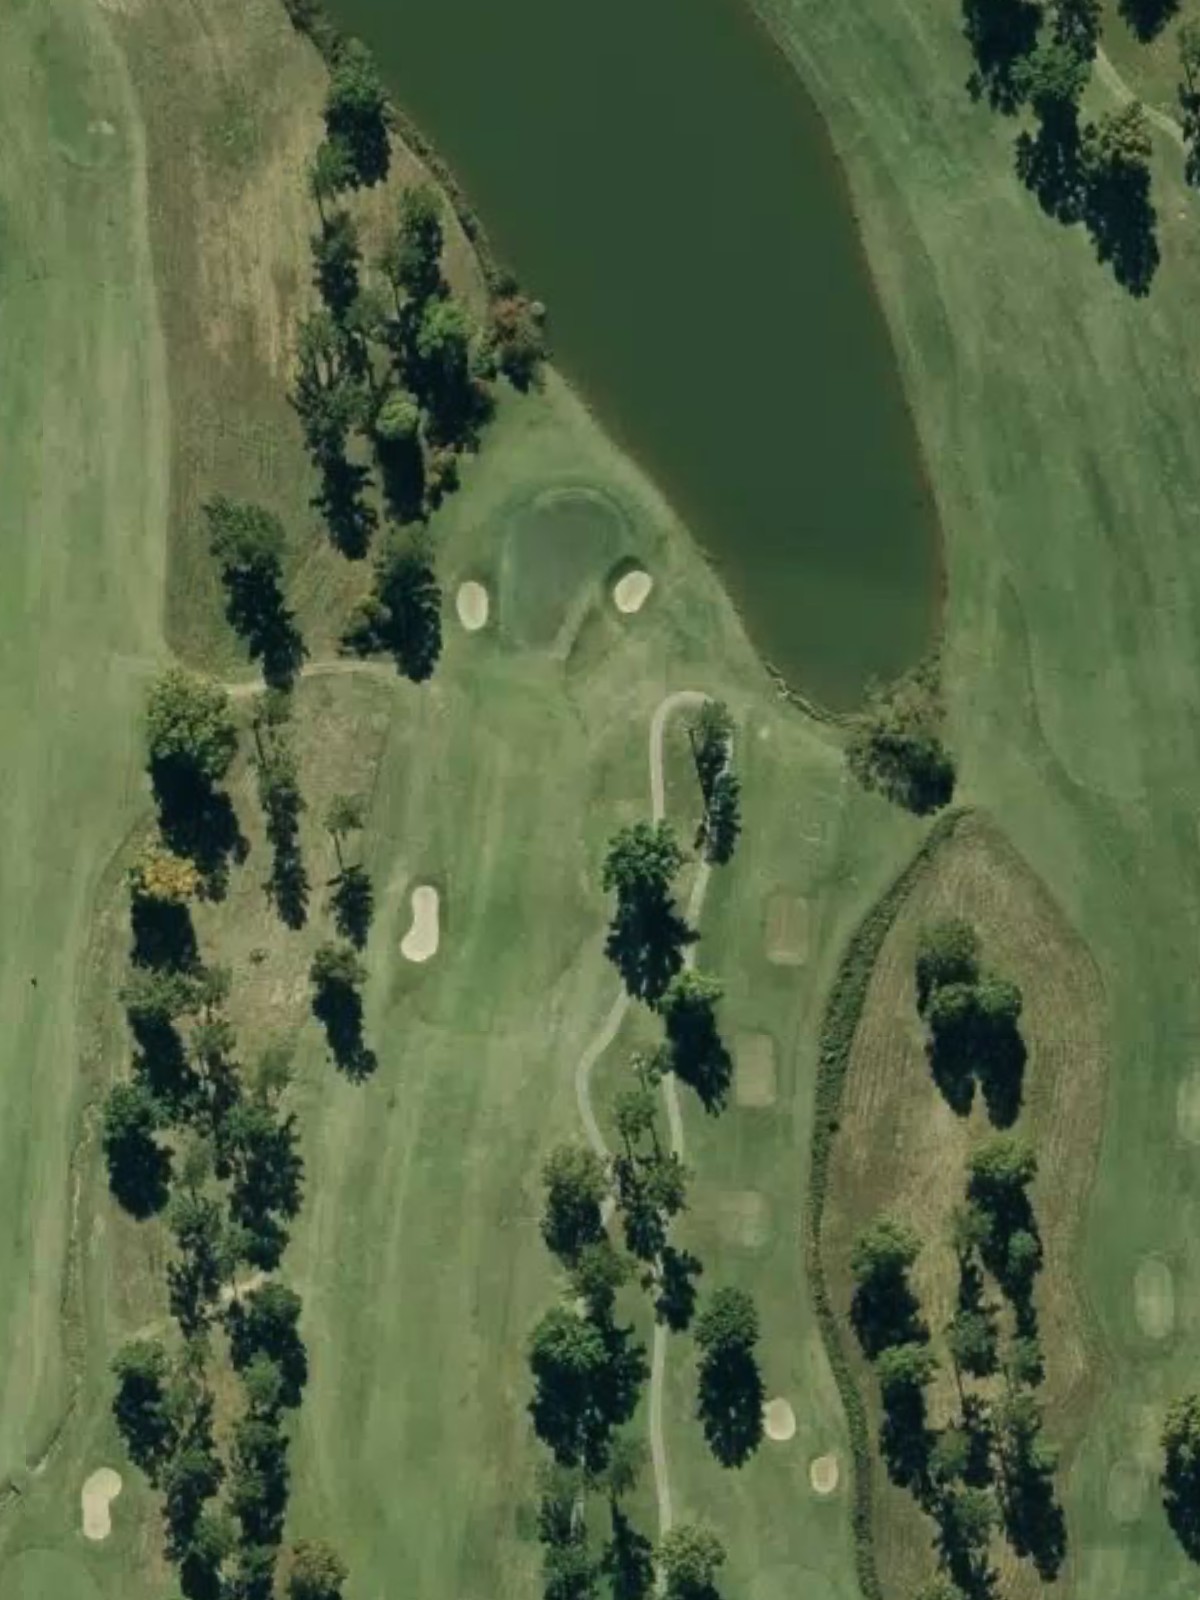
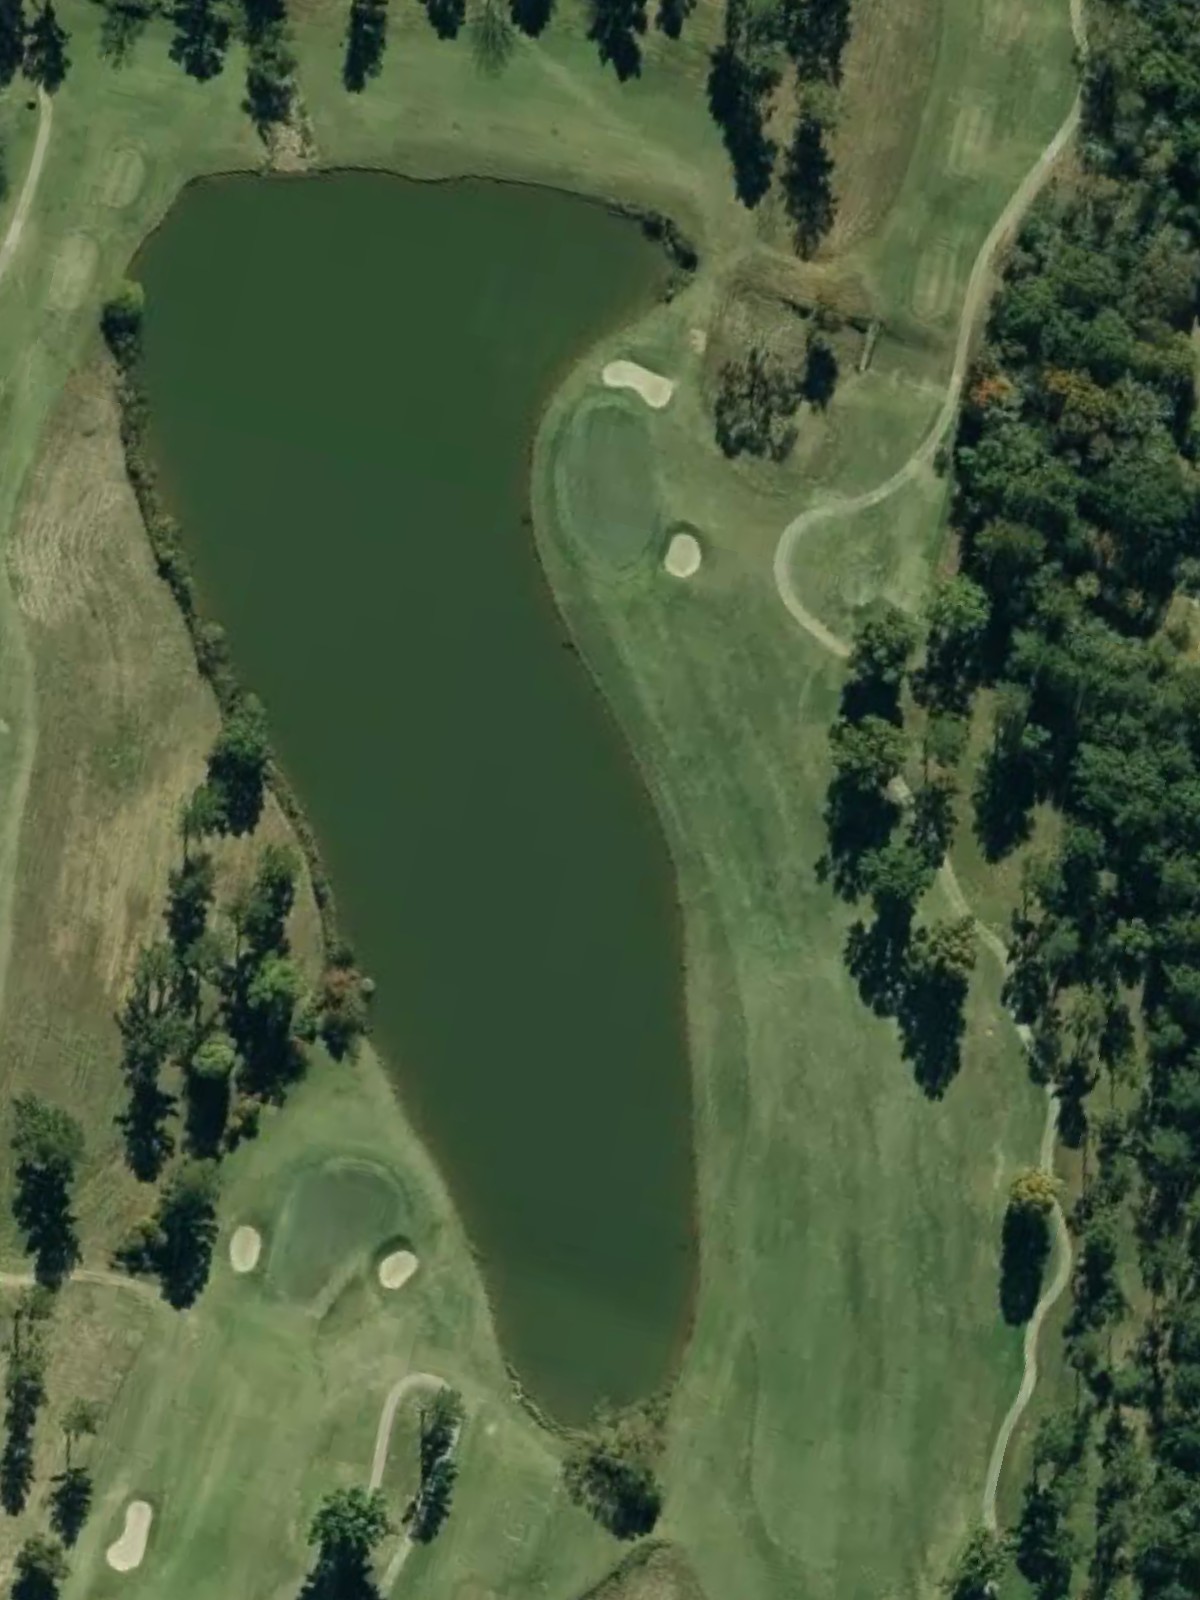
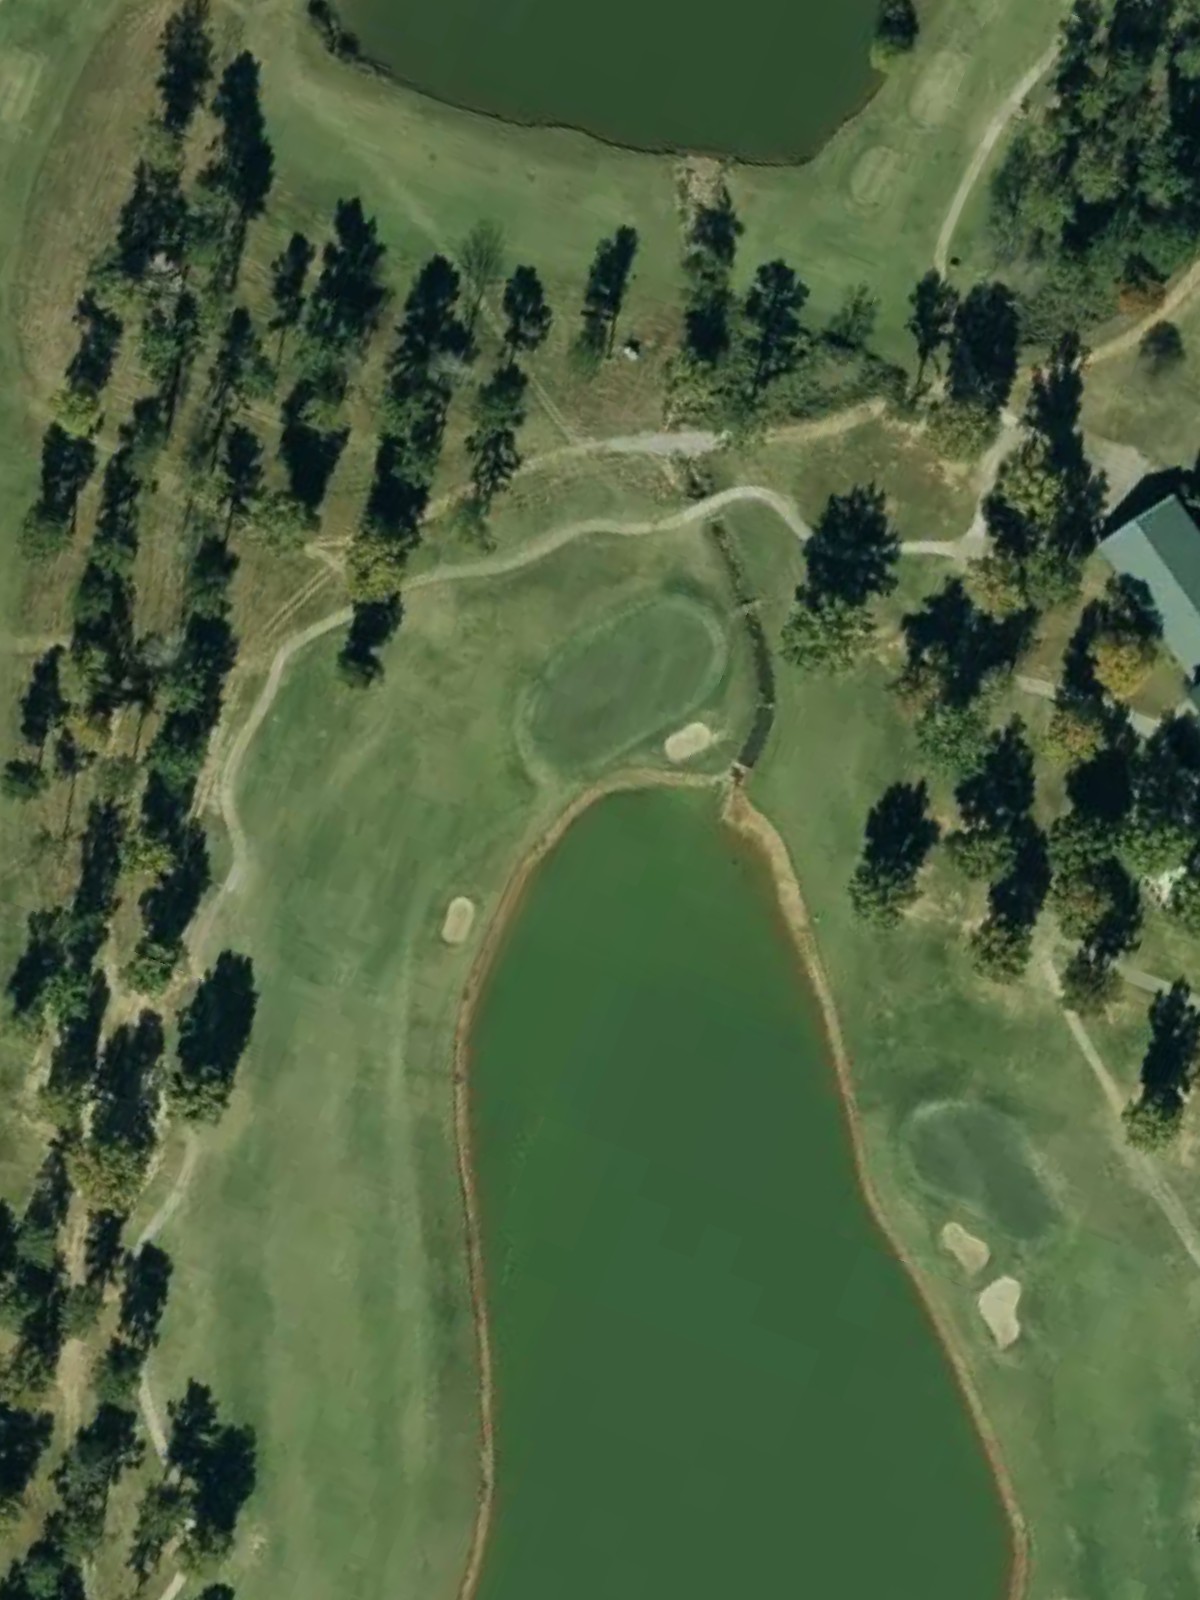
The signature par 4 and most difficult hole on the course, this test requires precision and composure throughout. Length and positioning demand respect from the opening tee shot.
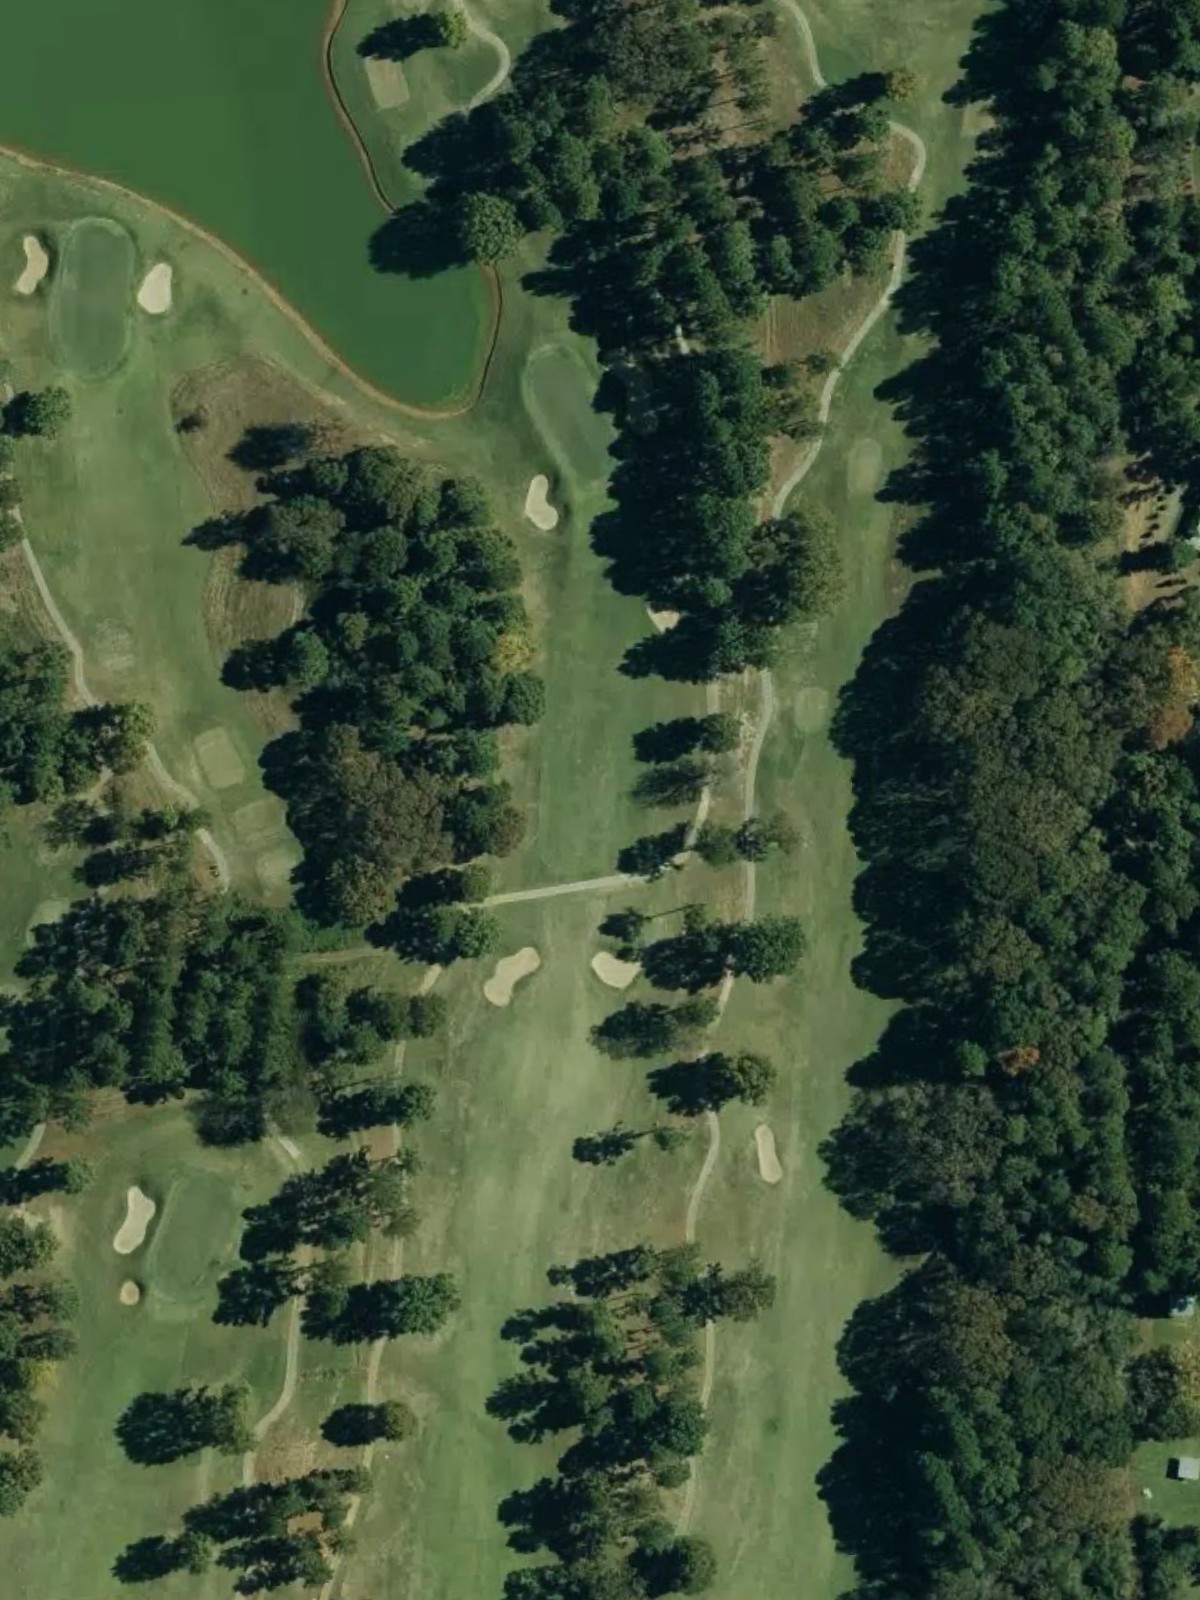
A substantial par 5 where bunkers dot the landscape and require navigation across the hole's full length. The strategic variety makes this long hole complex despite its length.
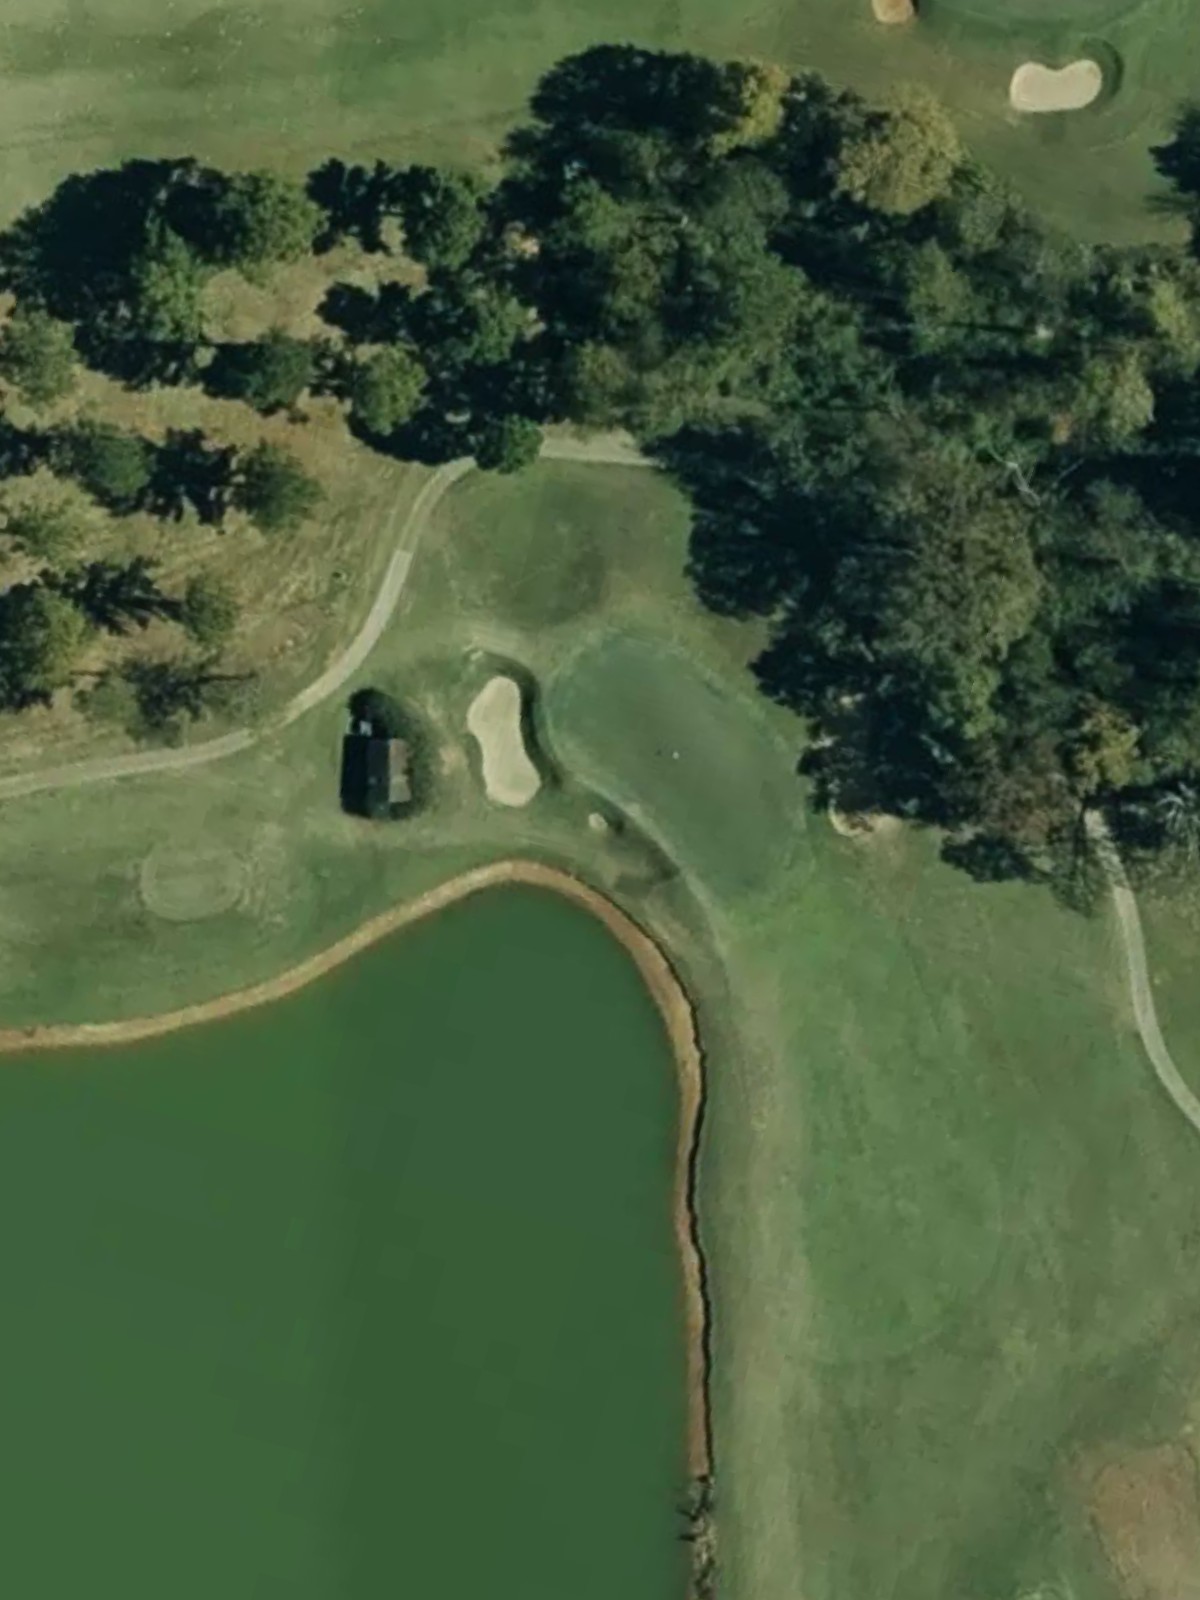
A short par 3 where bunkers surrounding the green demand an accurate tee shot to a compact target. The hole's brevity belies its precision requirement.
A testing par 4 and third-hardest hole on the course that punishes poor execution despite moderate length. Bunkers and strategic positioning create a challenging risk-reward scenario.
A par 5 where the fairway shape and bunker placement guide play across a multi-shot hole. Strategic bunkering makes positioning as important as distance.
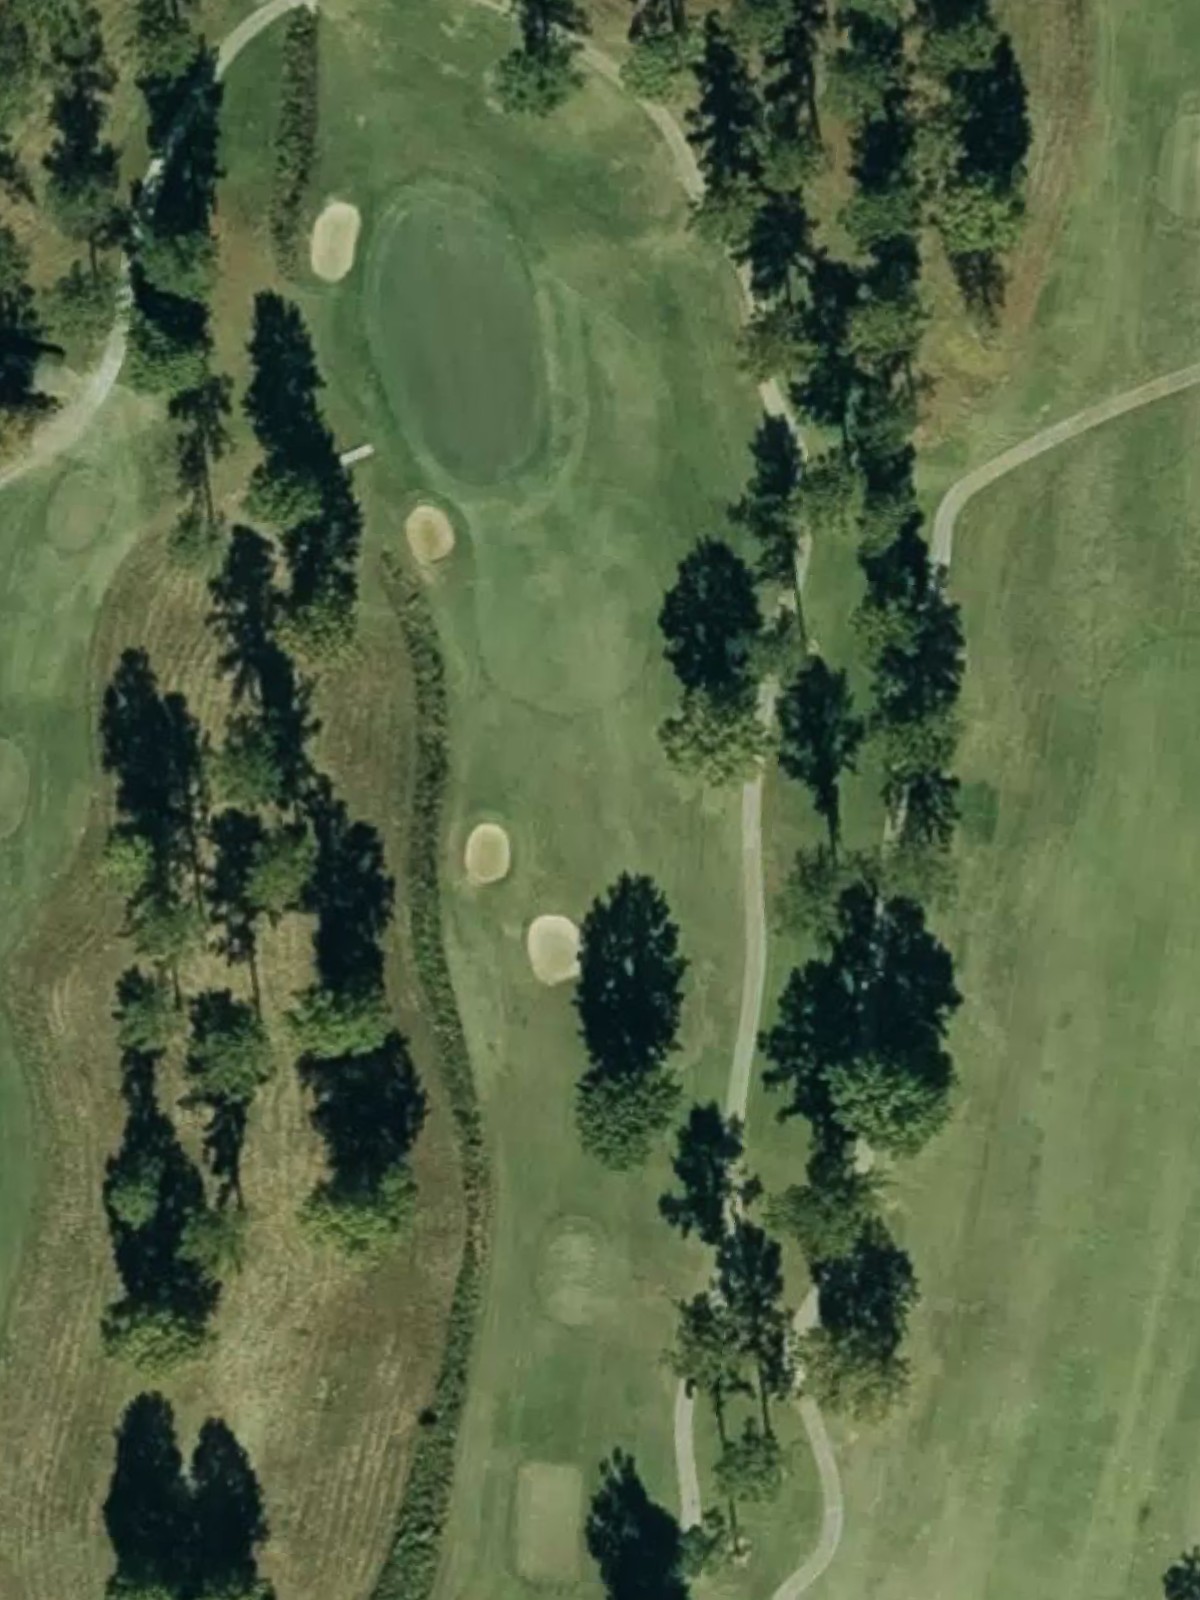
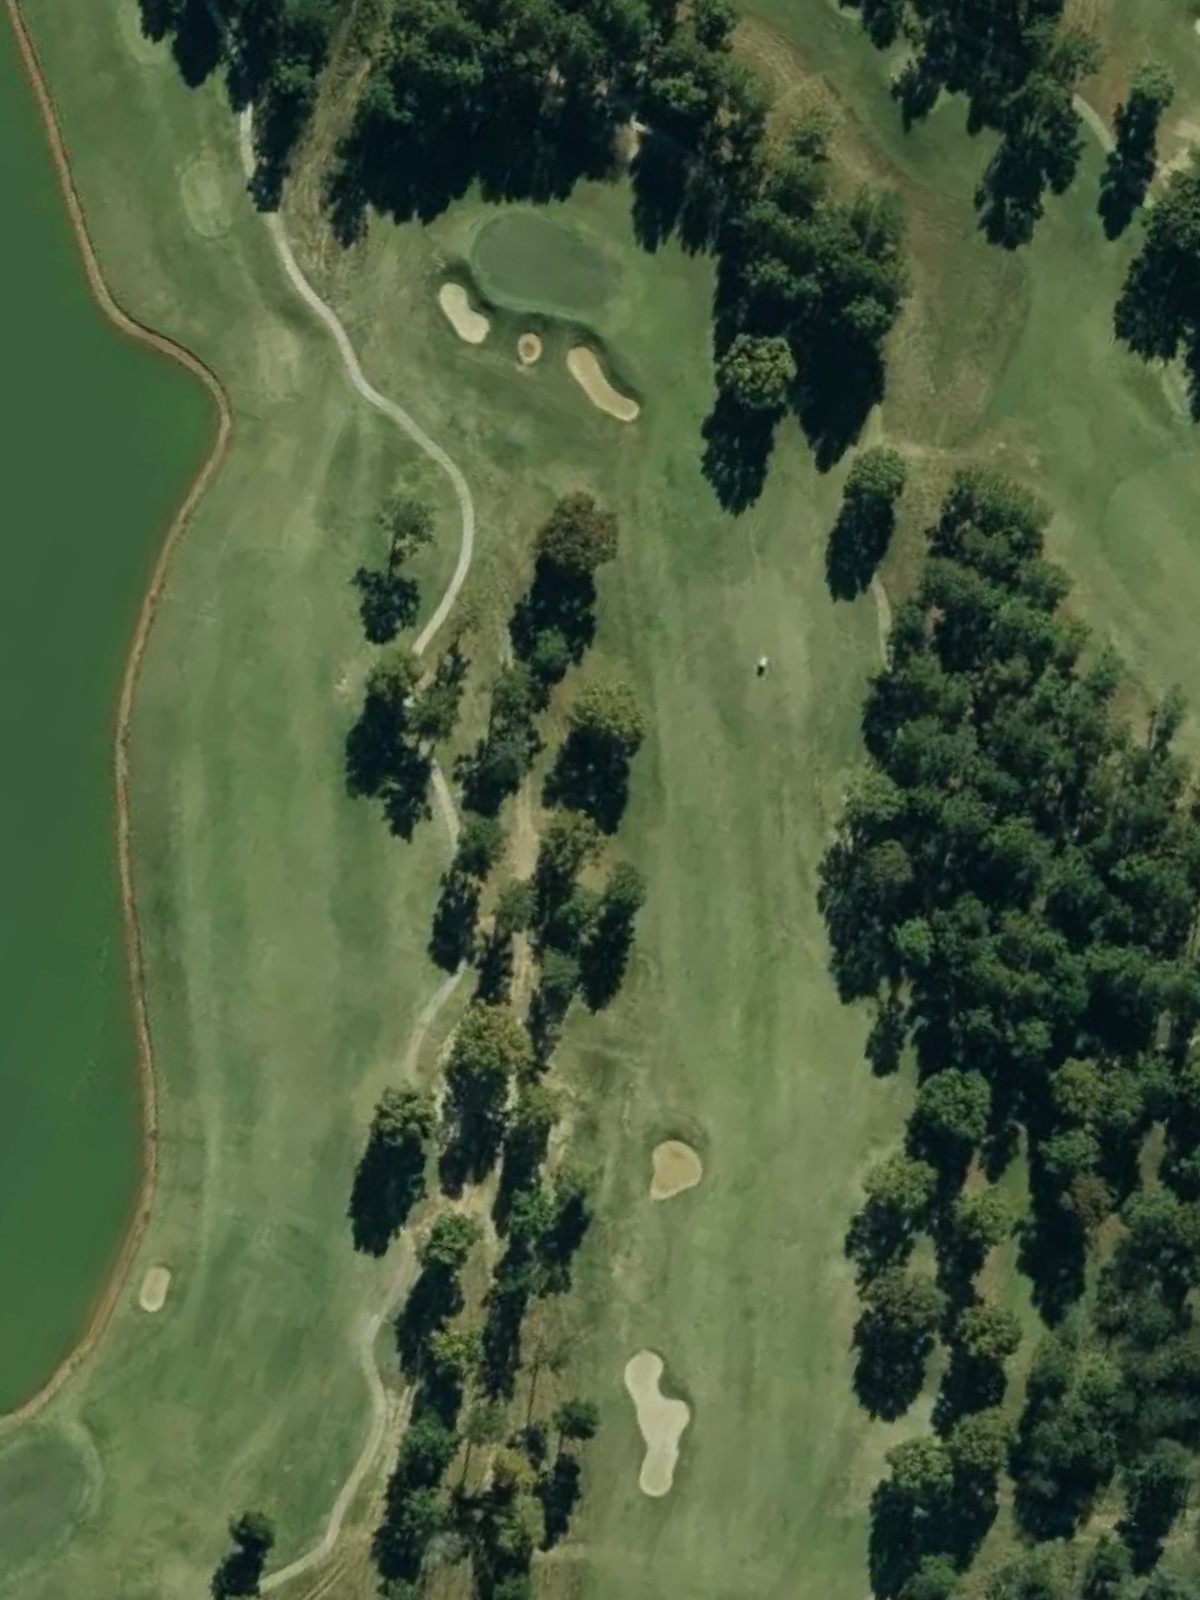
A mid-length par 4 where bunkers near the green create the primary challenge on approach. The hole presents a balanced test of both distance and accuracy.
A par 3 of moderate length where greenside bunkers create a demanding target from the tee. The bunker positioning makes this short hole deceptively challenging.
A par 4 where bunkers frame the approach and demand careful navigation to the green. The hole's strategic bunkering creates complexity on a relatively straightforward routing.
The easiest par 5 on the course, this hole offers the most birdie opportunity among the longer holes. Bunker placement provides the primary challenge across the extended layout.
A par 4 where the fairway narrows and bunkers guard the approach to the green, creating a strategic puzzle. The hole's contours and hazard placement demand tactical decision-making.

The second-hardest hole on the course, this par 4 presents a severe examination of ball striking and course management. Bunkers and length combine to make this a critical test.
A short par 3 where bunkers frame the green and the fairway contours create nuance around the target. The hole's modest yardage masks a demanding accuracy requirement.
A finishing par 4 that combines length and strategic bunkering to provide a stern closing test. The bunker placement around the green demands precision on the approach shot to end the round.
Scorecard
| Hole | 1 | 2 | 3 | 4 | 5 | 6 | 7 | 8 | 9 | Out | 10 | 11 | 12 | 13 | 14 | 15 | 16 | 17 | 18 | In | Tot |
|---|---|---|---|---|---|---|---|---|---|---|---|---|---|---|---|---|---|---|---|---|---|
| Par | 4 | 4 | 5 | 3 | 4 | 4 | 5 | 3 | 4 | 36 | 5 | 4 | 3 | 4 | 5 | 4 | 4 | 3 | 4 | 36 | 72 |
| HCP | 11 | 17 | 7 | 13 | 5 | 1 | 9 | 15 | 3 | 6 | 12 | 16 | 10 | 18 | 8 | 2 | 14 | 4 | |||
| crimson | 474 | 318 | 578 | 245 | 485 | 460 | 592 | 210 | 416 | 3778 | 565 | 435 | 219 | 460 | 549 | 399 | 491 | 191 | 459 | 3768 | 7546 |
| black | 428 | 310 | 536 | 213 | 470 | 431 | 556 | 203 | 409 | 3556 | 555 | 397 | 213 | 416 | 513 | 394 | 432 | 186 | 435 | 3541 | 7097 |
| blue | 405 | 295 | 510 | 188 | 380 | 411 | 537 | 176 | 373 | 3275 | 531 | 370 | 191 | 374 | 477 | 371 | 401 | 169 | 403 | 3287 | 6562 |
| white | 362 | 270 | 466 | 165 | 359 | 371 | 498 | 152 | 348 | 2991 | 492 | 340 | 161 | 331 | 445 | 344 | 361 | 154 | 364 | 2992 | 5983 |
| gold | 320 | 253 | 391 | 144 | 329 | 291 | 441 | 132 | 288 | 2589 | 402 | 304 | 128 | 275 | 412 | 249 | 279 | 113 | 284 | 2446 | 5035 |