Occano is an 18-hole golf course in Merry Hill, NC with a par of 72. It offers 6 tee sets: palmer tees (7,262 yards, slope 146, rating 77.1), black tees (6,974 yards, slope 142, rating 75.3), blue tees (6,445 yards, slope 135, rating 72.7), white tees (6,073 yards, slope 132, rating 70.9), yellow tees (5,330 yards, slope 124, rating 67.4), red tees (4,427 yards, slope 114, rating 63.1). The hardest hole is #5, a par 5 playing 406 yards from the first tee.
Occano
Merry Hill, NC
Get PDF Yardage Book
We'll email you the PDF link. No spam, ever.
Create Your Game Plan
Pick your tees, enter your bag, and get a personalized shot-by-shot strategy for every hole.
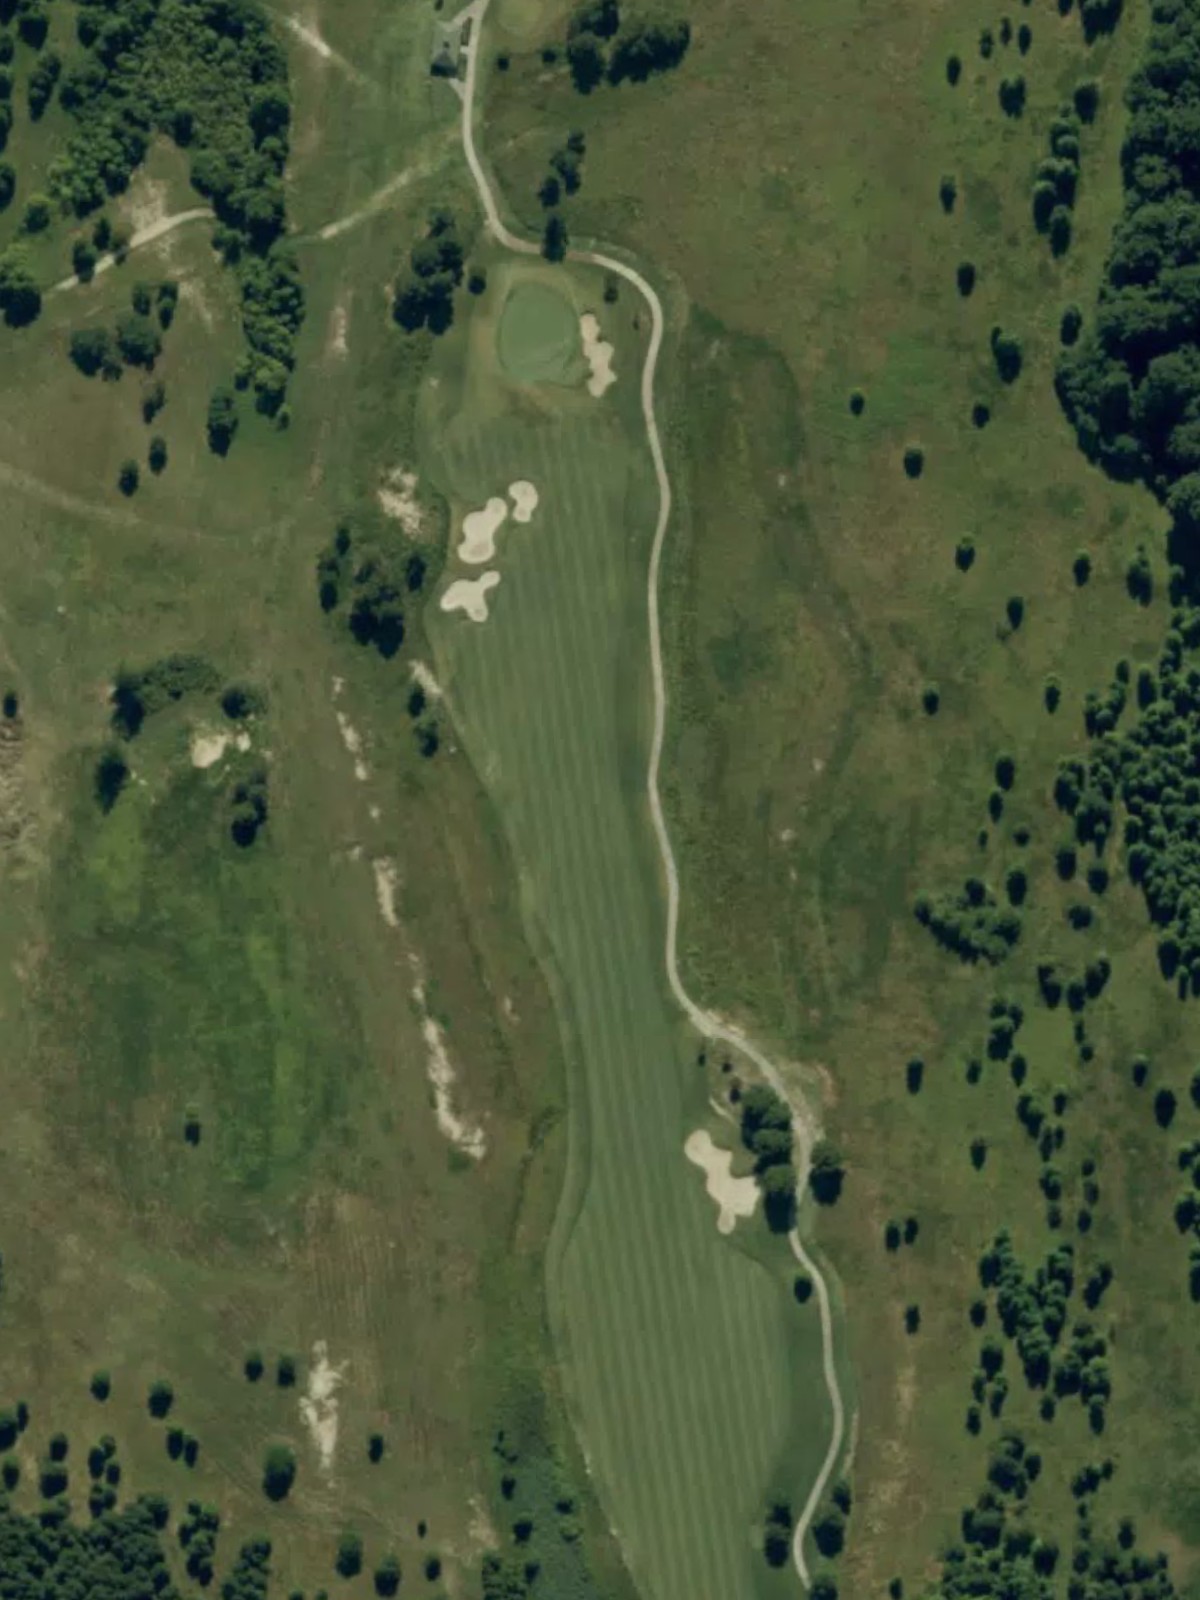
A straightforward opening par 4 with a welcoming fairway that gradually narrows as it approaches the green. Bunkers guard the right side of the green, requiring accuracy on the approach shot to avoid sand.
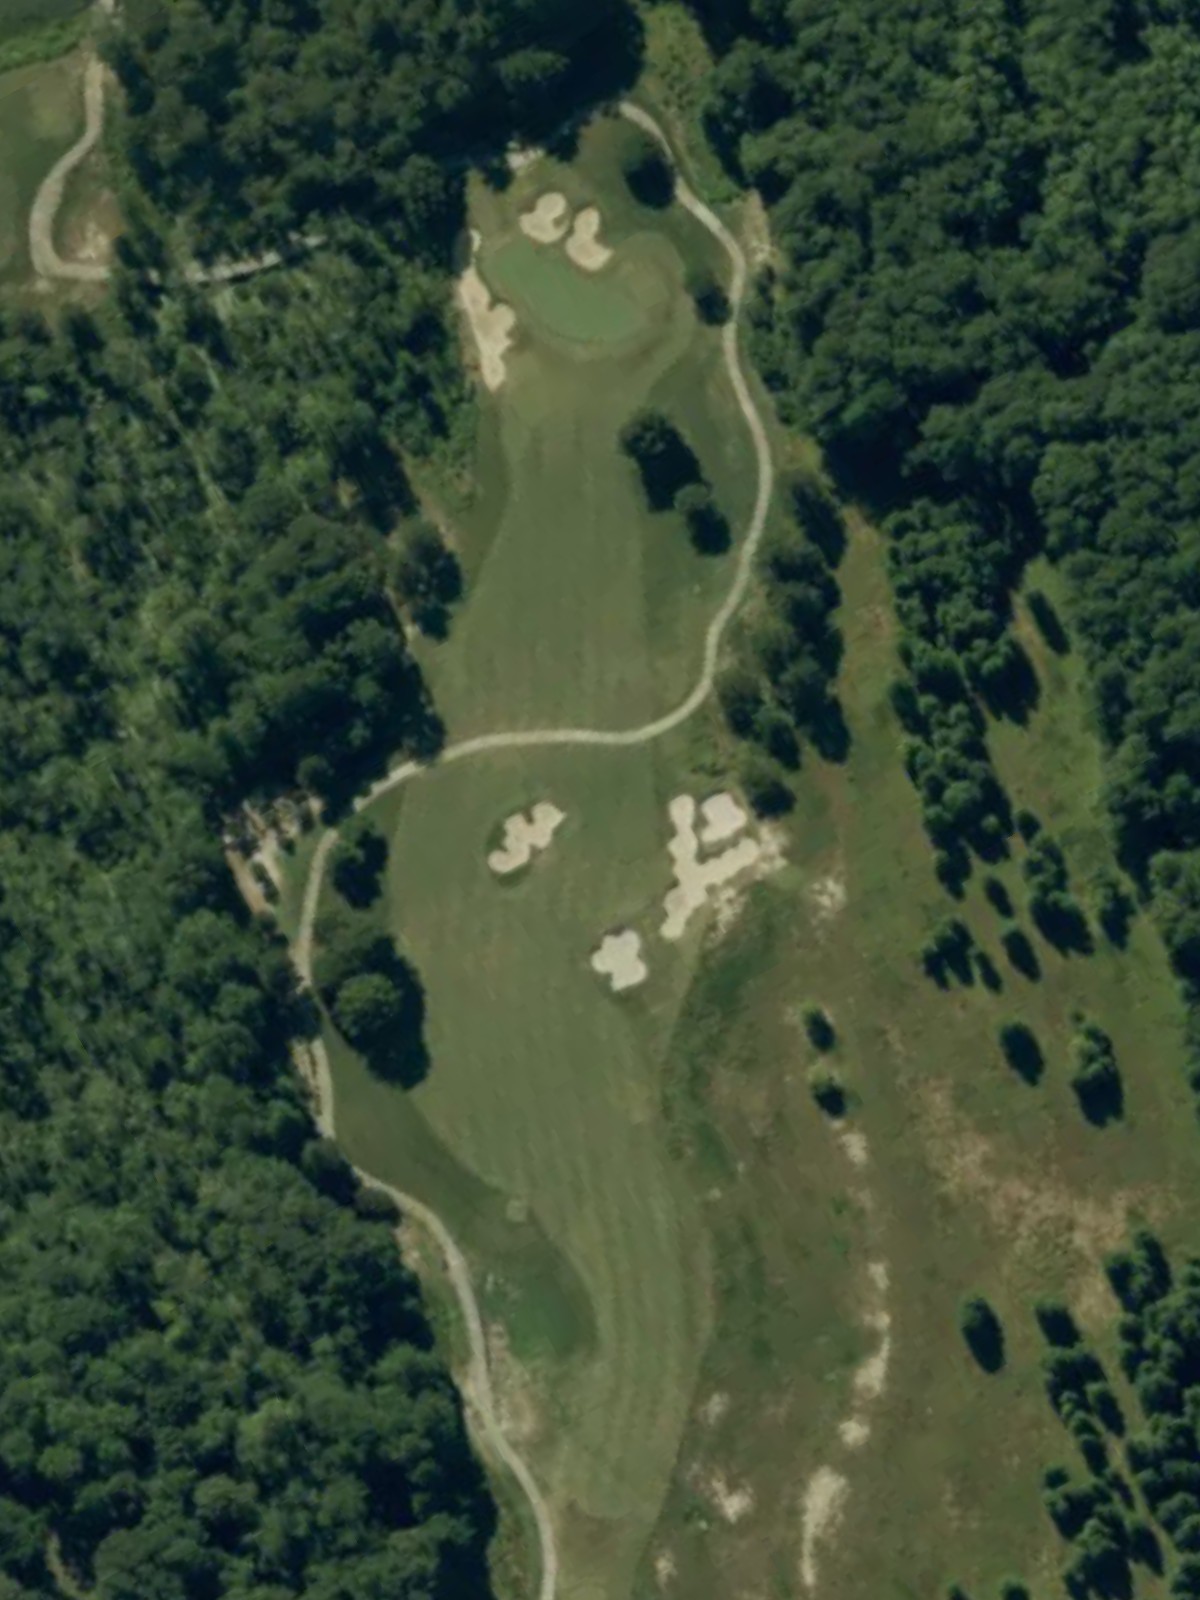
A solid par 4 that plays longer than the scorecard suggests with steady length throughout. The fairway is relatively open but the green is well-protected, demanding a precise second shot to find the putting surface.
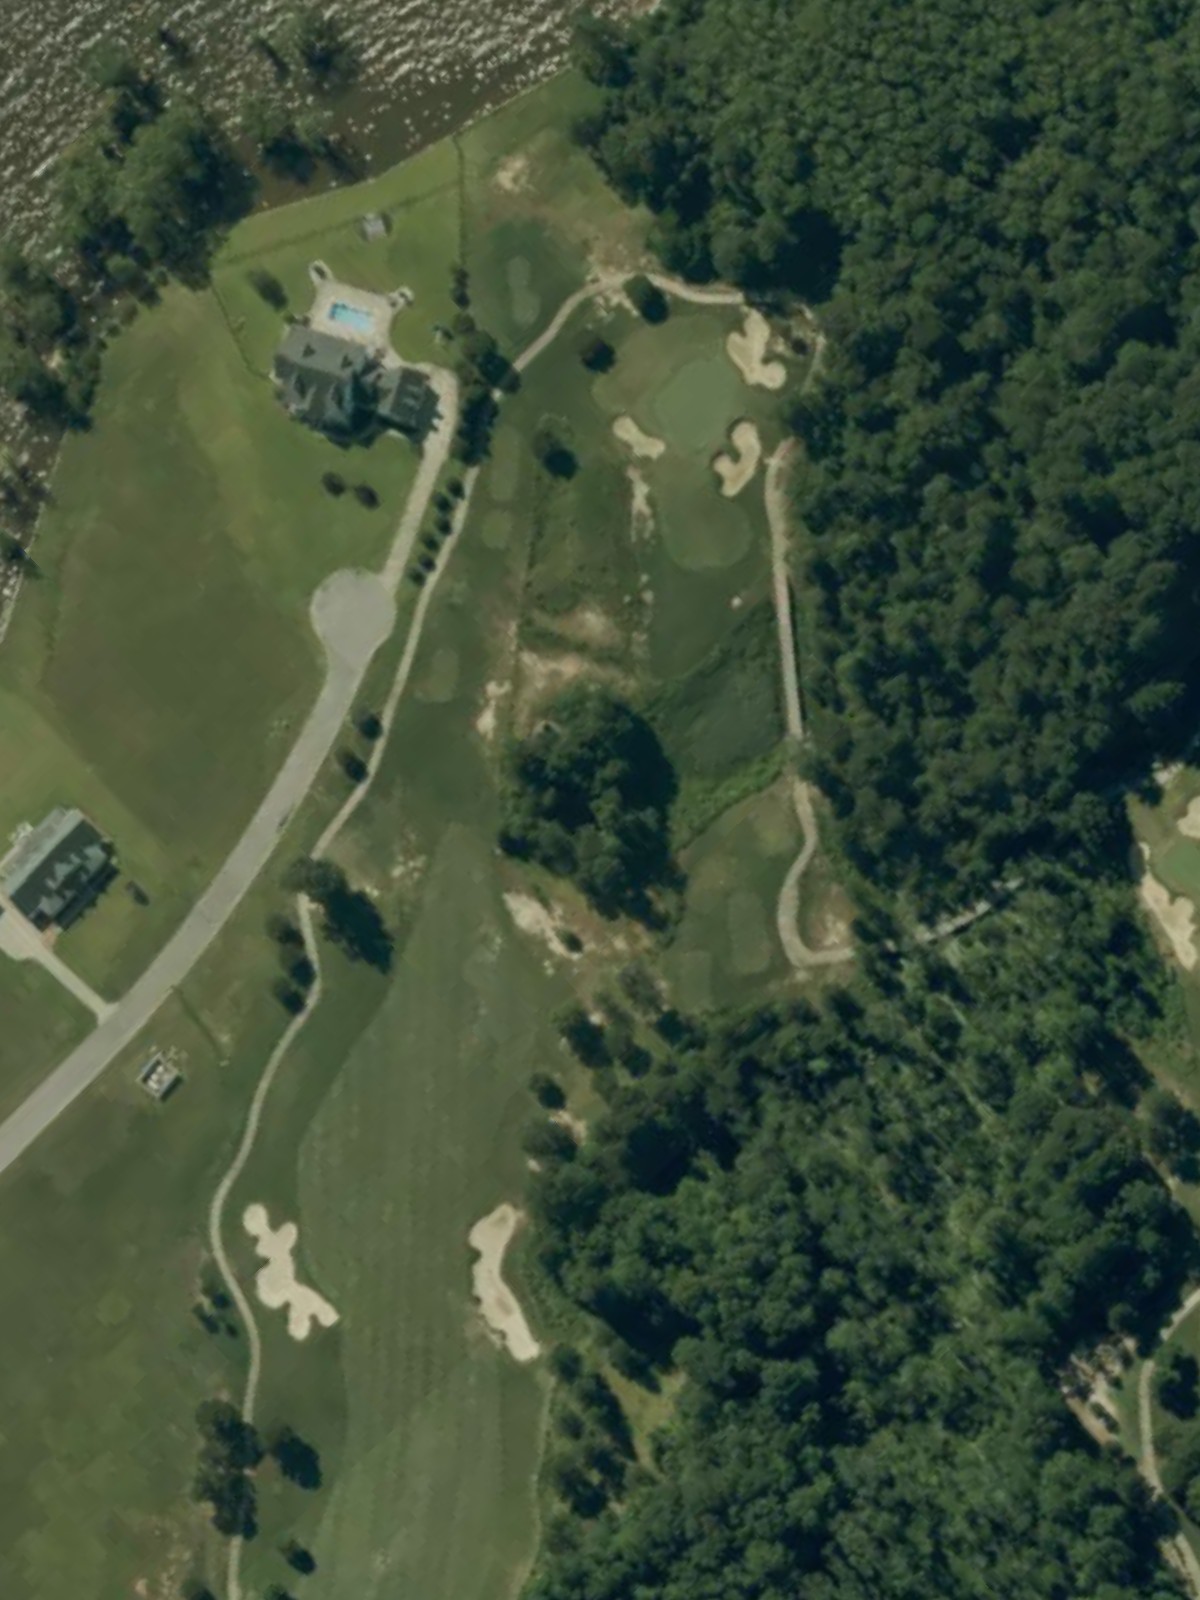
A short par 3 that varies significantly in length depending on tee selection, playing anywhere from a chip to a mid-iron. The green is surrounded by hazards that demand accuracy despite the modest yardage.
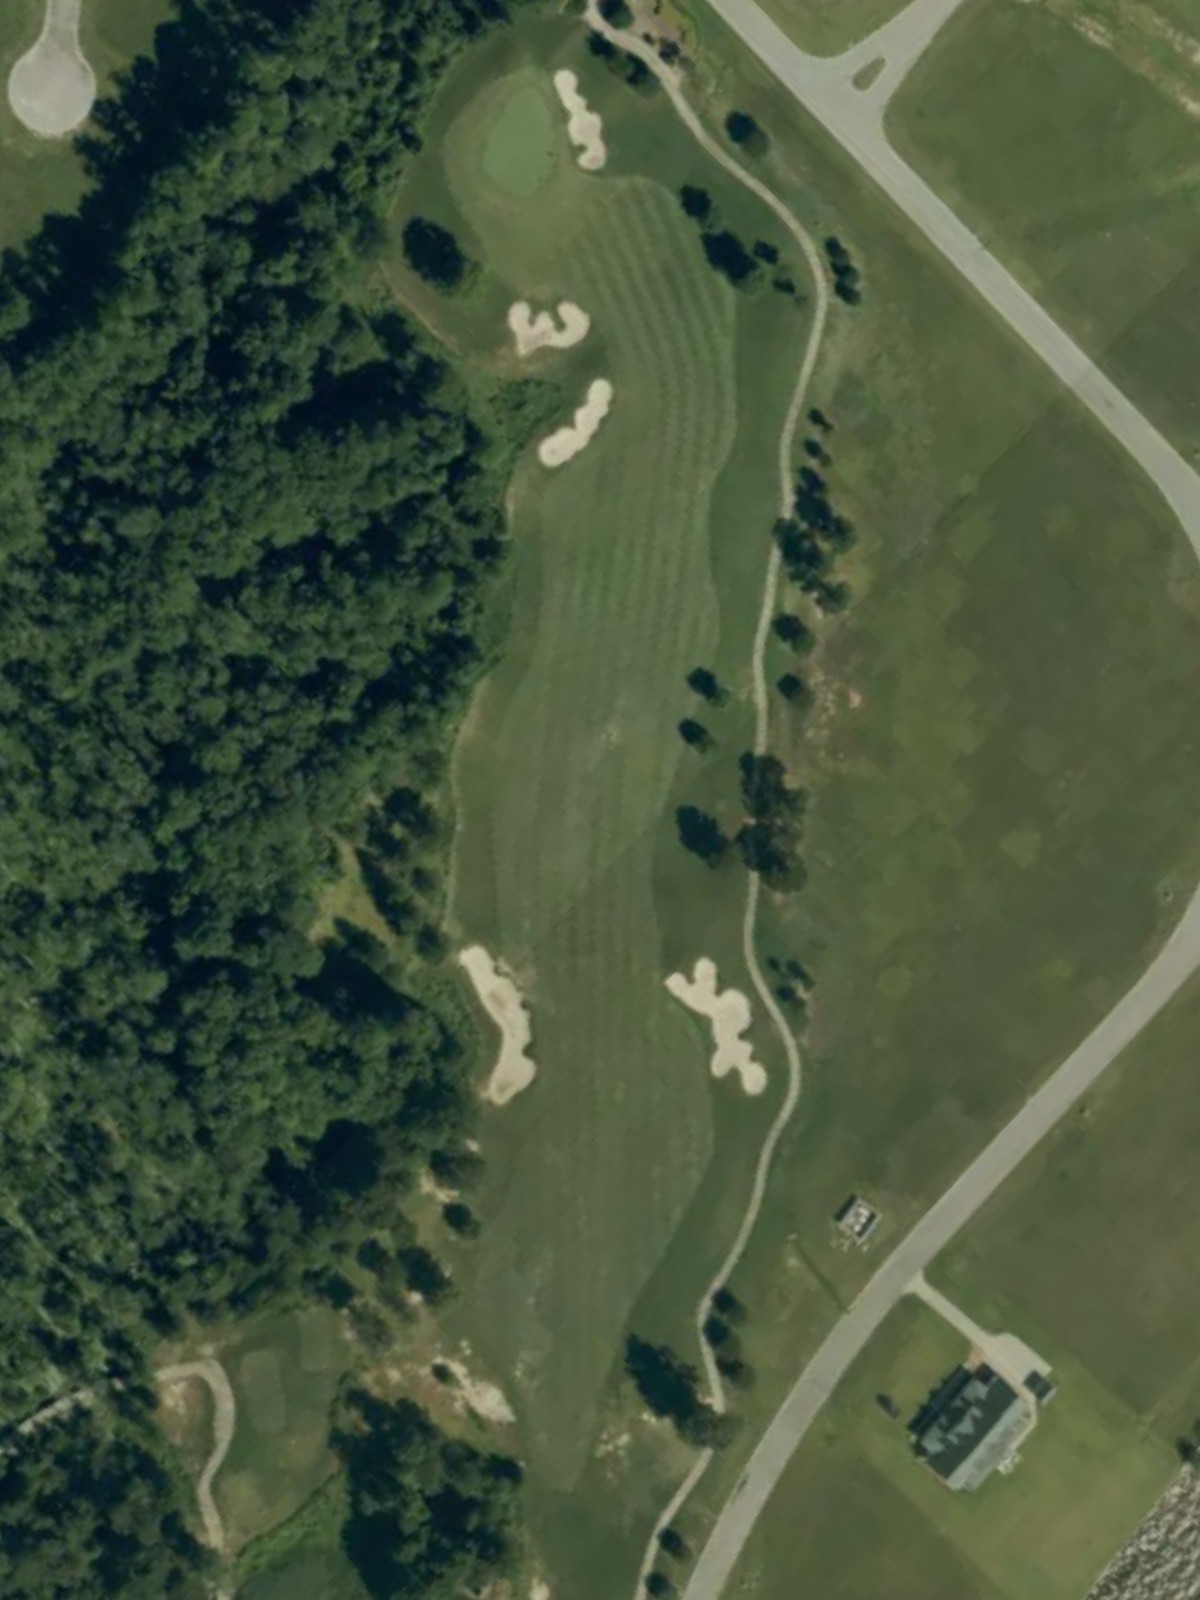
A par 4 with a relatively open fairway that allows for a confident drive. The approach shot is the key challenge, as the green is tightly bunkered and leaves little room for error around the edges.
The signature par 5 and the course's most difficult hole, rewarding aggressive play while punishing poor execution. Water or out-of-bounds left creates risk for those attempting to reach the green in two, while the fairway offers a safer layup route right.
A deceptive par 4 that plays longer than its yardage, with hazards strategically placed to challenge both the drive and approach. The green sits well-guarded, making position off the tee critical to setting up a manageable second shot.
A short par 3 that offers relief from the longer holes but demands solid iron play to avoid the surrounding hazards. The compact green requires precision despite the modest distance involved.
A generous par 5 that opens up scoring opportunities for those who navigate its length effectively. Strategic bunkering along the fairway encourages thoughtful positioning, though the hole rewards aggressive play with a realistic birdie chance.

The course's third-most difficult hole, this par 4 presents a significant challenge with bunkers and hazards strategically placed throughout. The fairway tightens noticeably in the landing area, making the tee shot a critical element of the hole.
A challenging par 4 that demands two solid shots to reach the green in regulation. Water or out-of-bounds right constrains the fairway and approach, forcing players to favor the left side throughout the hole.
A mid-length par 5 that presents multiple strategic options depending on playing ability and course position. The fairway is relatively generous, but hazards lurk strategically to punish both timid and overly aggressive shots.
The easiest hole on the course, this short par 4 offers a birdie opportunity for those who execute well. The straightforward design and modest length make this a welcome breather before the finishing stretch.
A solid mid-range par 4 with a fairway that remains fairly open off the tee. The approach shot is the defining challenge, as the green is well-protected and positioned to catch errant shots.
A picturesque short par 3 and the course's fourth-most difficult, requiring a confident, accurate iron shot despite the brief yardage. Hazards surrounding the green demand precision and leave little margin for error.
The second-most difficult hole on the course, this demanding par 4 requires two excellent shots to find the green. Water and bunkers frame the hole strategically, creating a dramatic risk-reward scenario throughout.
A well-bunkered par 4 that challenges players with strategic hazard placement along the fairway and around the green. The hole's design encourages controlled play rather than aggressive power, with accuracy paramount at every stage.
A charming par 3 with modest length but meaningful challenge from the longer tees. Hazards surrounding the green demand solid contact to avoid costly mistakes on this penultimate hole.
A fitting finishing par 5 that provides opportunity for a closing birdie or a dramatic eagle finish. The fairway offers multiple strategic routing options, allowing players to manage risk on the final hole based on their position in the round.
Scorecard
| Hole | 1 | 2 | 3 | 4 | 5 | 6 | 7 | 8 | 9 | Out | 10 | 11 | 12 | 13 | 14 | 15 | 16 | 17 | 18 | In | Tot |
|---|---|---|---|---|---|---|---|---|---|---|---|---|---|---|---|---|---|---|---|---|---|
| Par | 4 | 4 | 3 | 4 | 5 | 4 | 3 | 5 | 4 | 36 | 4 | 5 | 4 | 4 | 3 | 4 | 4 | 3 | 5 | 36 | 72 |
| HCP | 17 | 13 | 9 | 7 | 1 | 5 | 15 | 11 | 3 | 8 | 12 | 18 | 10 | 4 | 2 | 6 | 14 | 16 | |||
| palmer tees | 414 | 420 | 205 | 390 | 612 | 428 | 172 | 552 | 451 | 3644 | 443 | 523 | 331 | 404 | 233 | 462 | 445 | 207 | 570 | 3618 | 7262 |
| black tees | 402 | 407 | 195 | 381 | 594 | 402 | 161 | 538 | 436 | 3516 | 425 | 506 | 321 | 391 | 206 | 445 | 421 | 189 | 554 | 3458 | 6974 |
| blue tees | 377 | 378 | 182 | 356 | 583 | 381 | 156 | 494 | 369 | 3276 | 393 | 469 | 296 | 358 | 195 | 415 | 385 | 167 | 491 | 3169 | 6445 |
| white tees | 364 | 358 | 152 | 332 | 561 | 365 | 146 | 480 | 358 | 3116 | 375 | 452 | 289 | 343 | 175 | 355 | 361 | 144 | 463 | 2957 | 6073 |
| yellow tees | 321 | 327 | 139 | 294 | 464 | 315 | 124 | 434 | 306 | 2724 | 330 | 403 | 266 | 305 | 108 | 339 | 332 | 98 | 425 | 2606 | 5330 |
| red tees | 222 | 273 | 92 | 290 | 406 | 219 | 124 | 351 | 300 | 2277 | 239 | 397 | 190 | 265 | 108 | 250 | 249 | 95 | 357 | 2150 | 4427 |