Oakwing Golf Club is an 18-hole golf course in Alexandria, LA with a par of 72. It offers 5 tee sets: tour (6,957 yards, slope 130, rating 73.8), champ (6,482 yards, slope 127, rating 71.1), men (6,132 yards, slope 124, rating 69.5), senior (5,756 yards, slope 116, rating 67.9), front (4,971 yards, slope 108, rating 64.3). The hardest hole is #7, a par 4 playing 385 yards from the first tee.
Oakwing Golf Club
Alexandria, LA
Get PDF Yardage Book
We'll email you the PDF link. No spam, ever.
Create Your Game Plan
Pick your tees, enter your bag, and get a personalized shot-by-shot strategy for every hole.
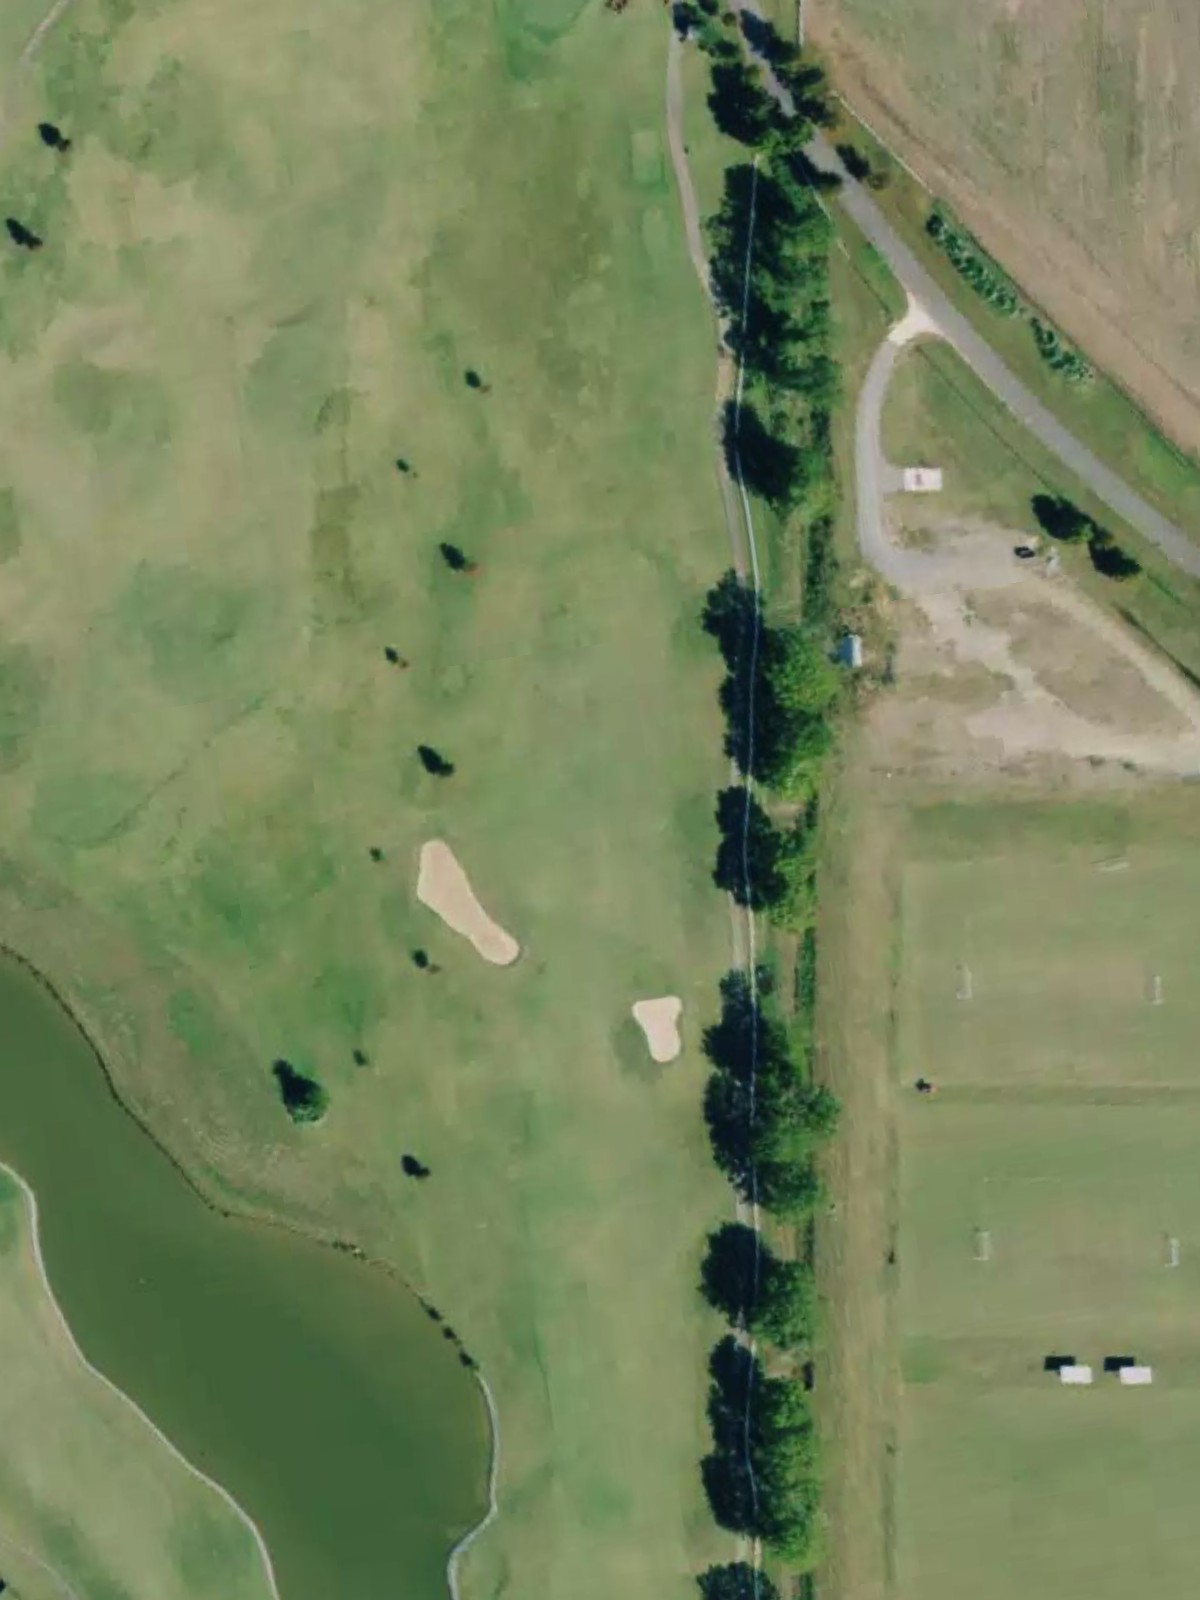
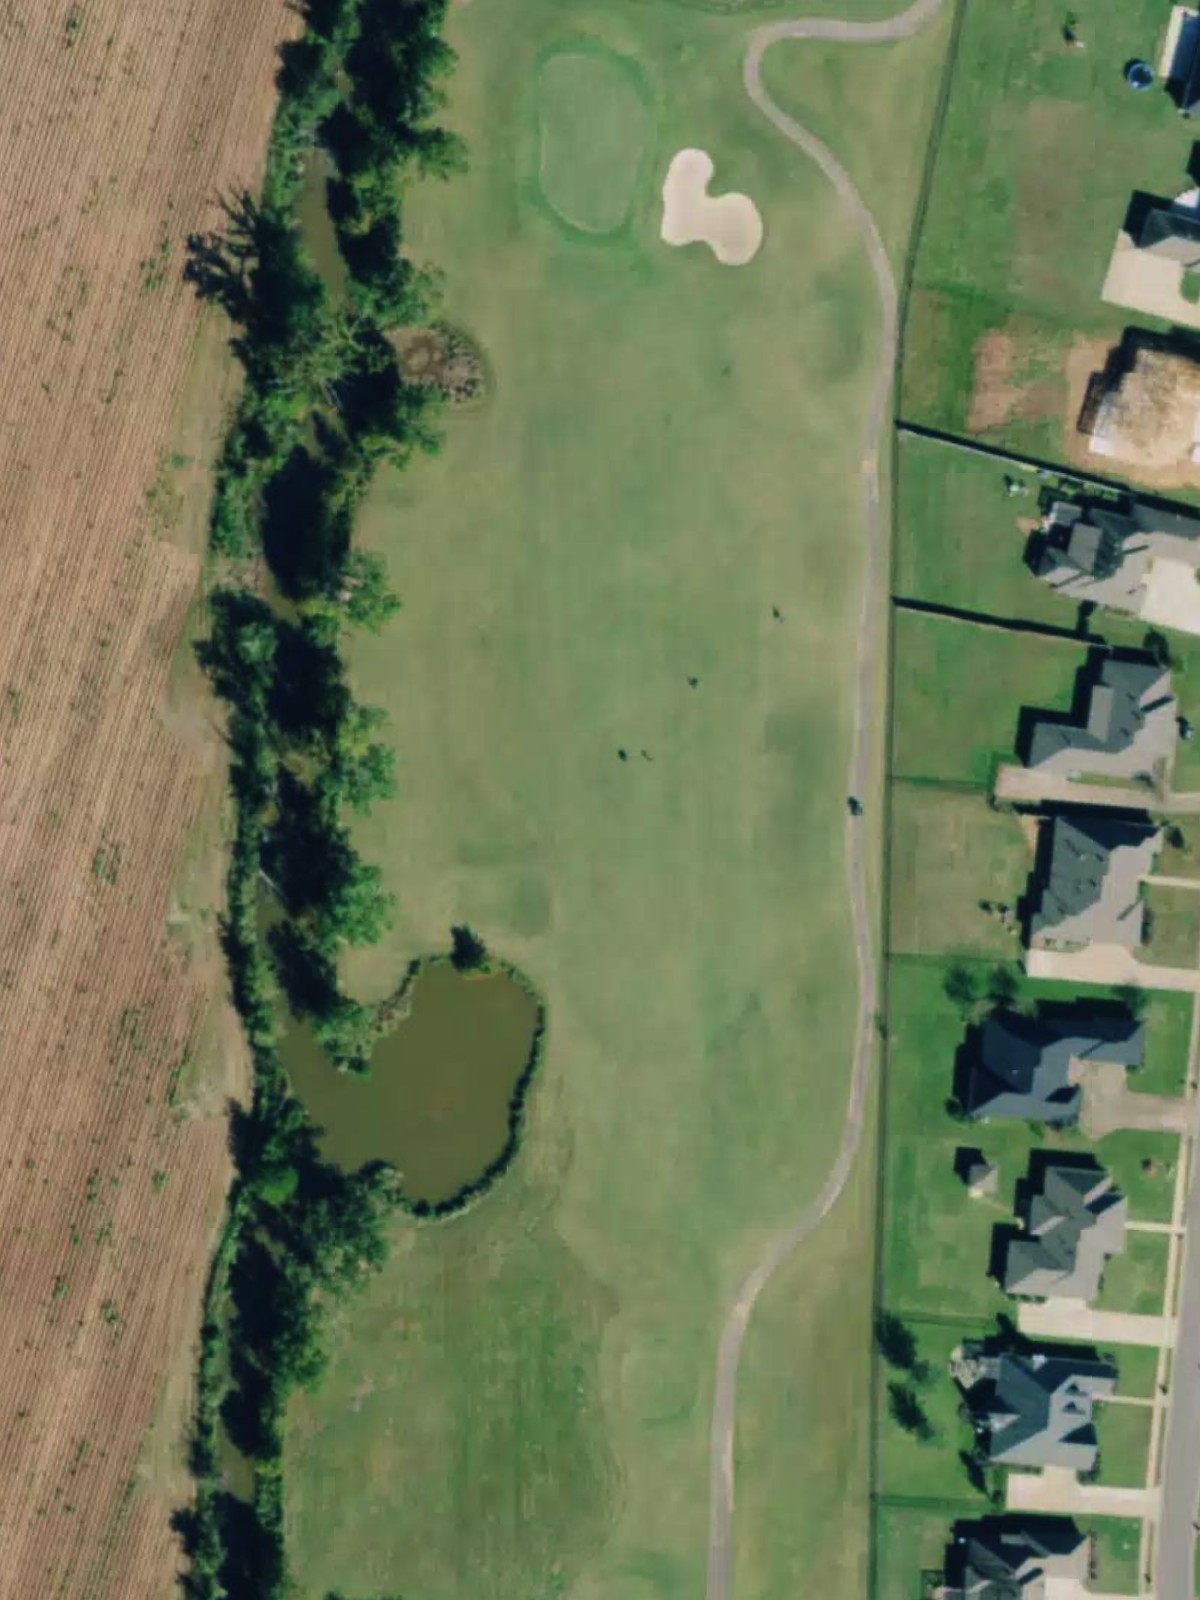
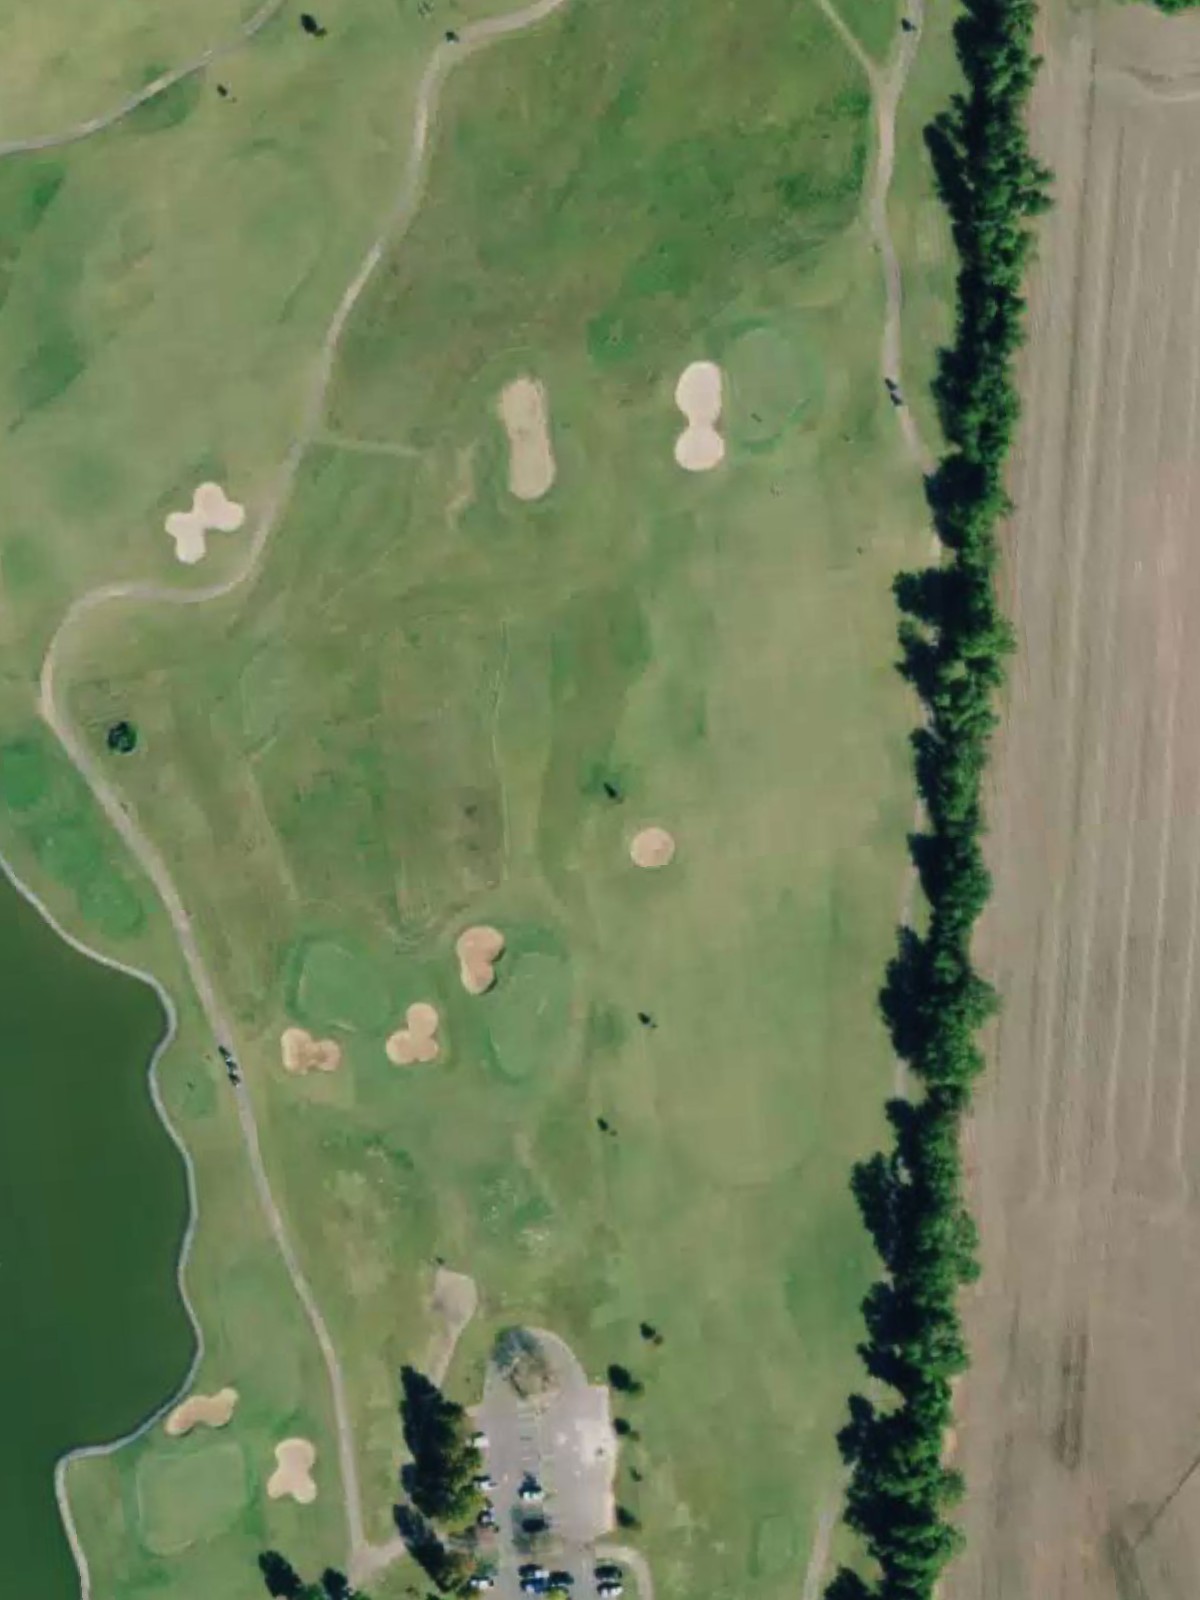
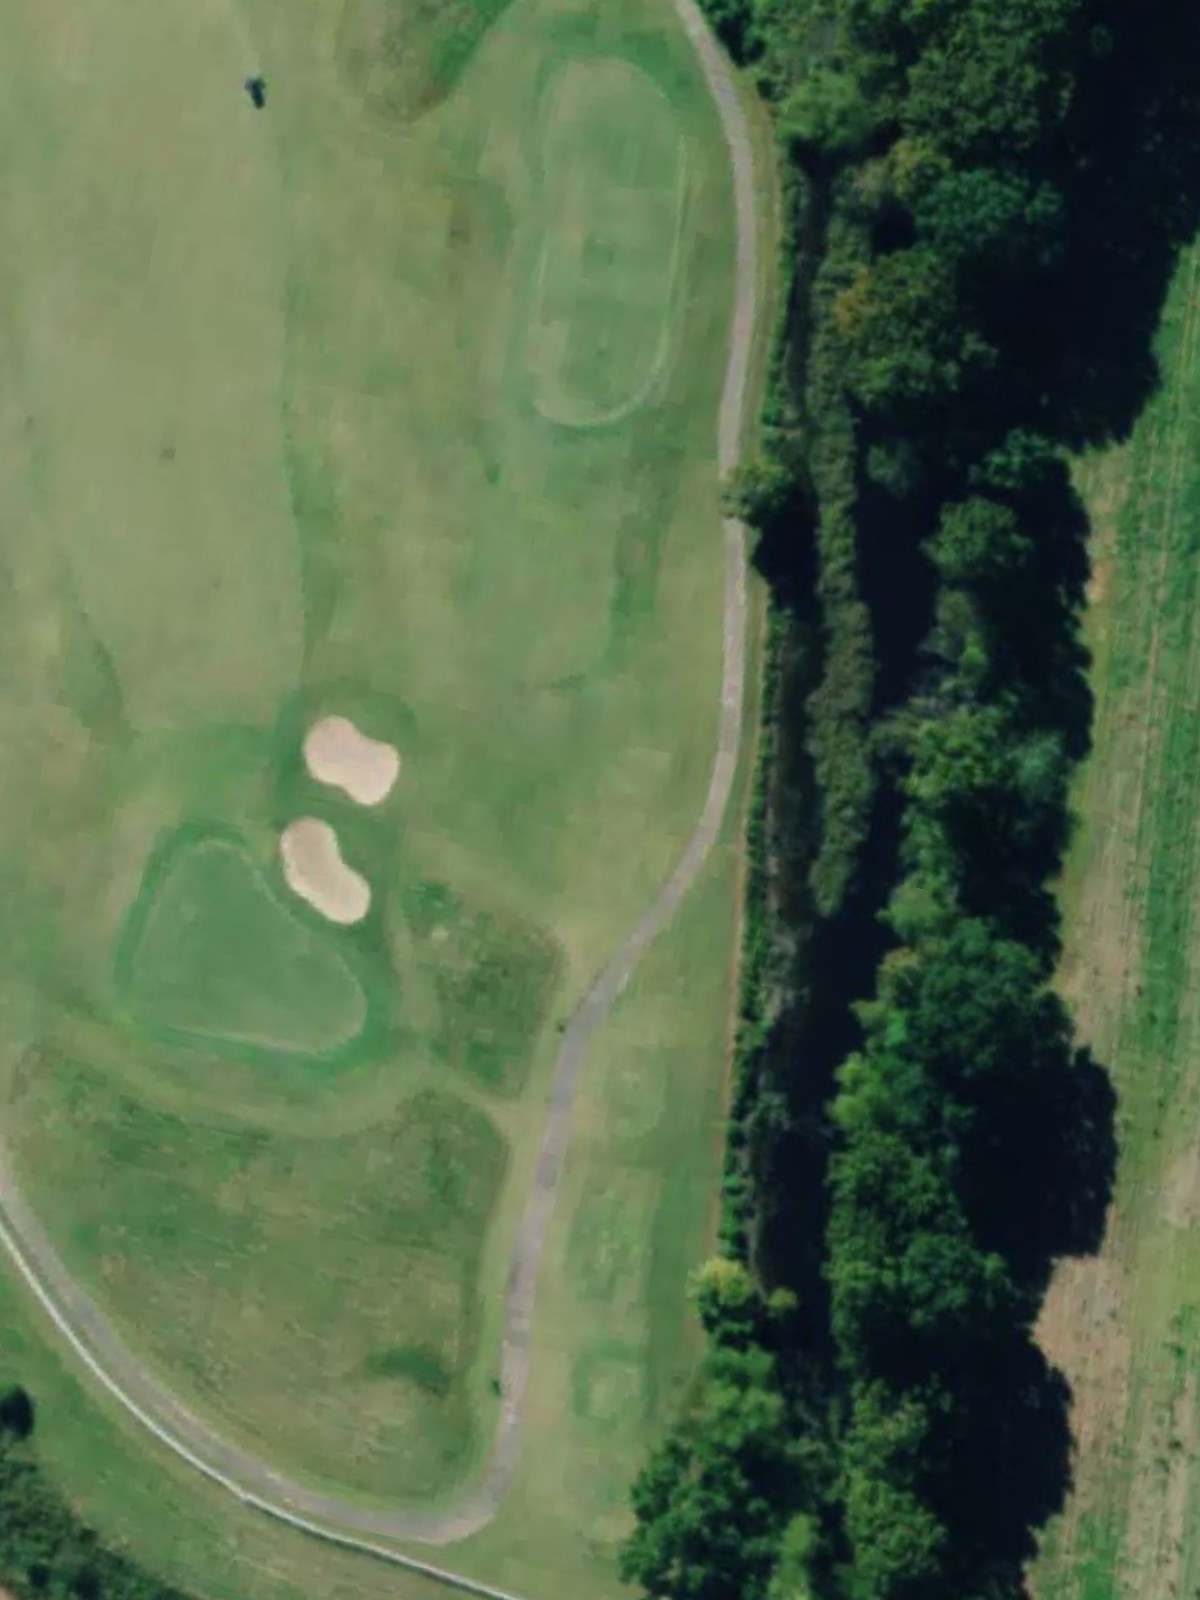
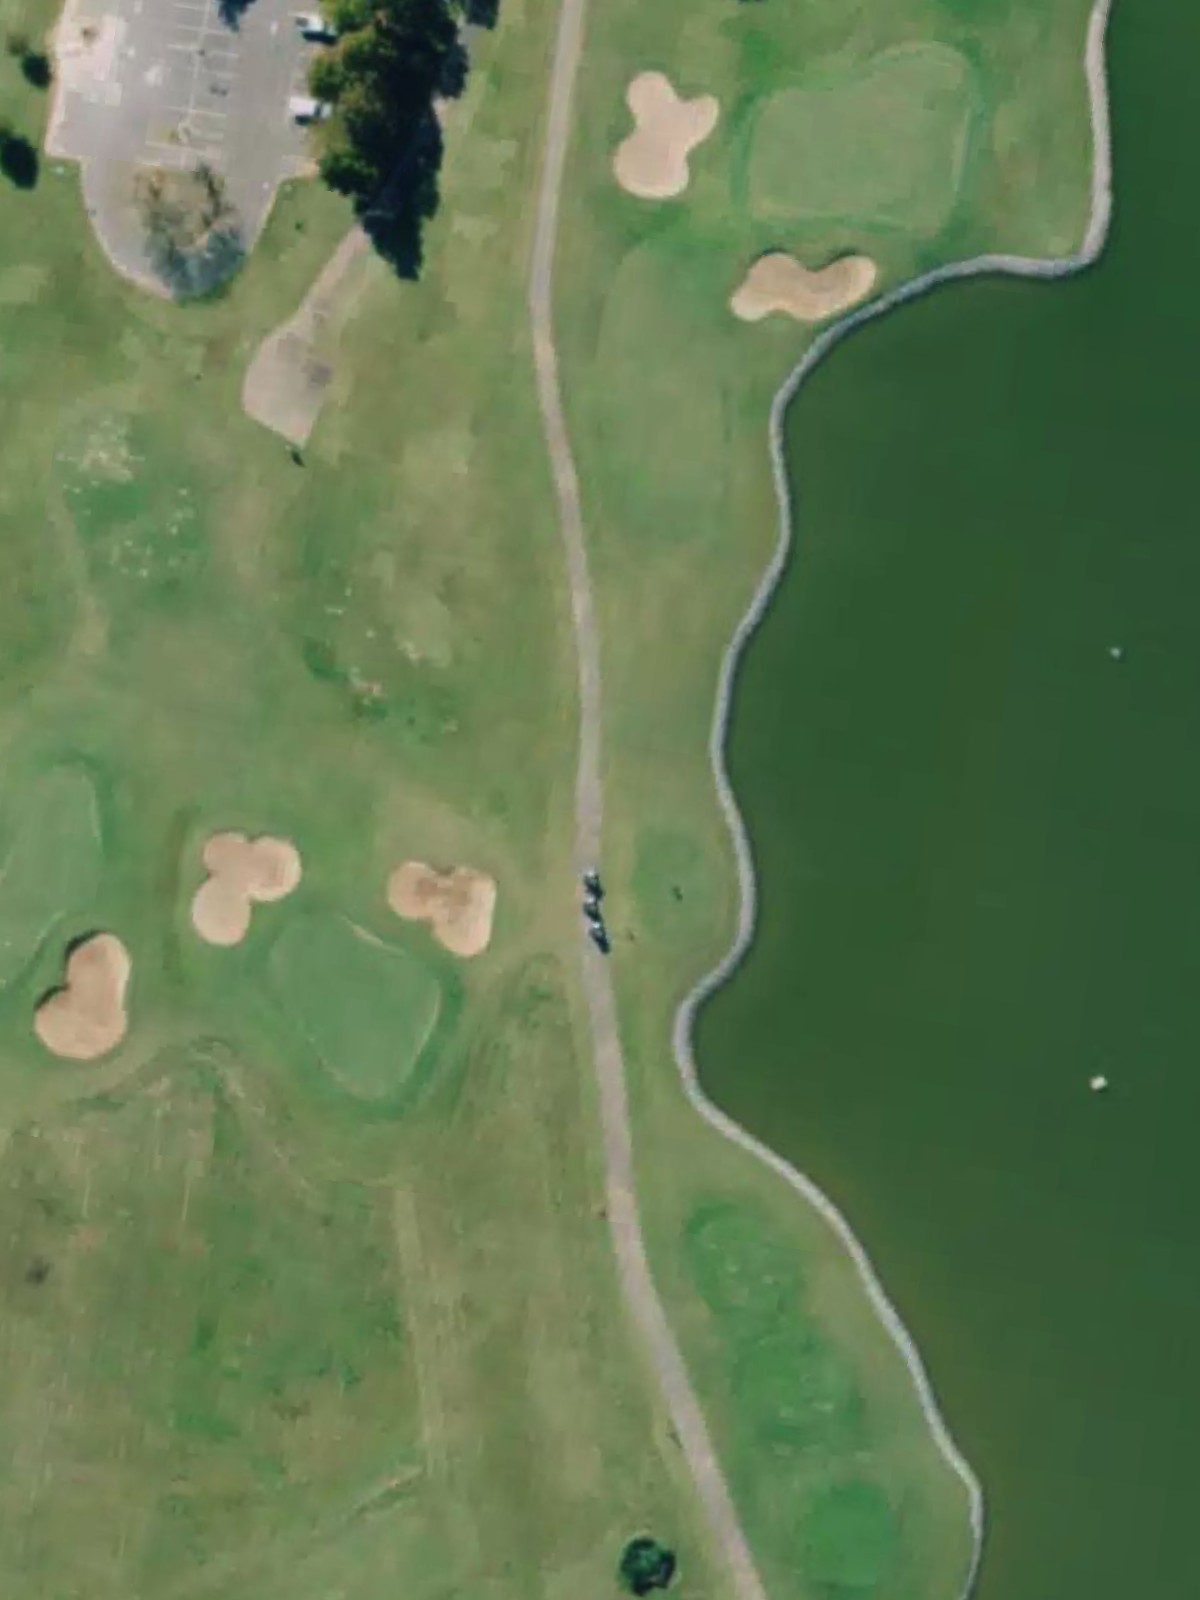
A welcoming opening par 4 with a straight fairway that gradually narrows approaching the green. Bunkers flank both sides of the putting surface, requiring accuracy on the approach shot to avoid sand.
A lengthy par 5 that presents multiple routing options for different skill levels. Water or strategic bunkering along the fairway demands thoughtful course management through the landing zones.
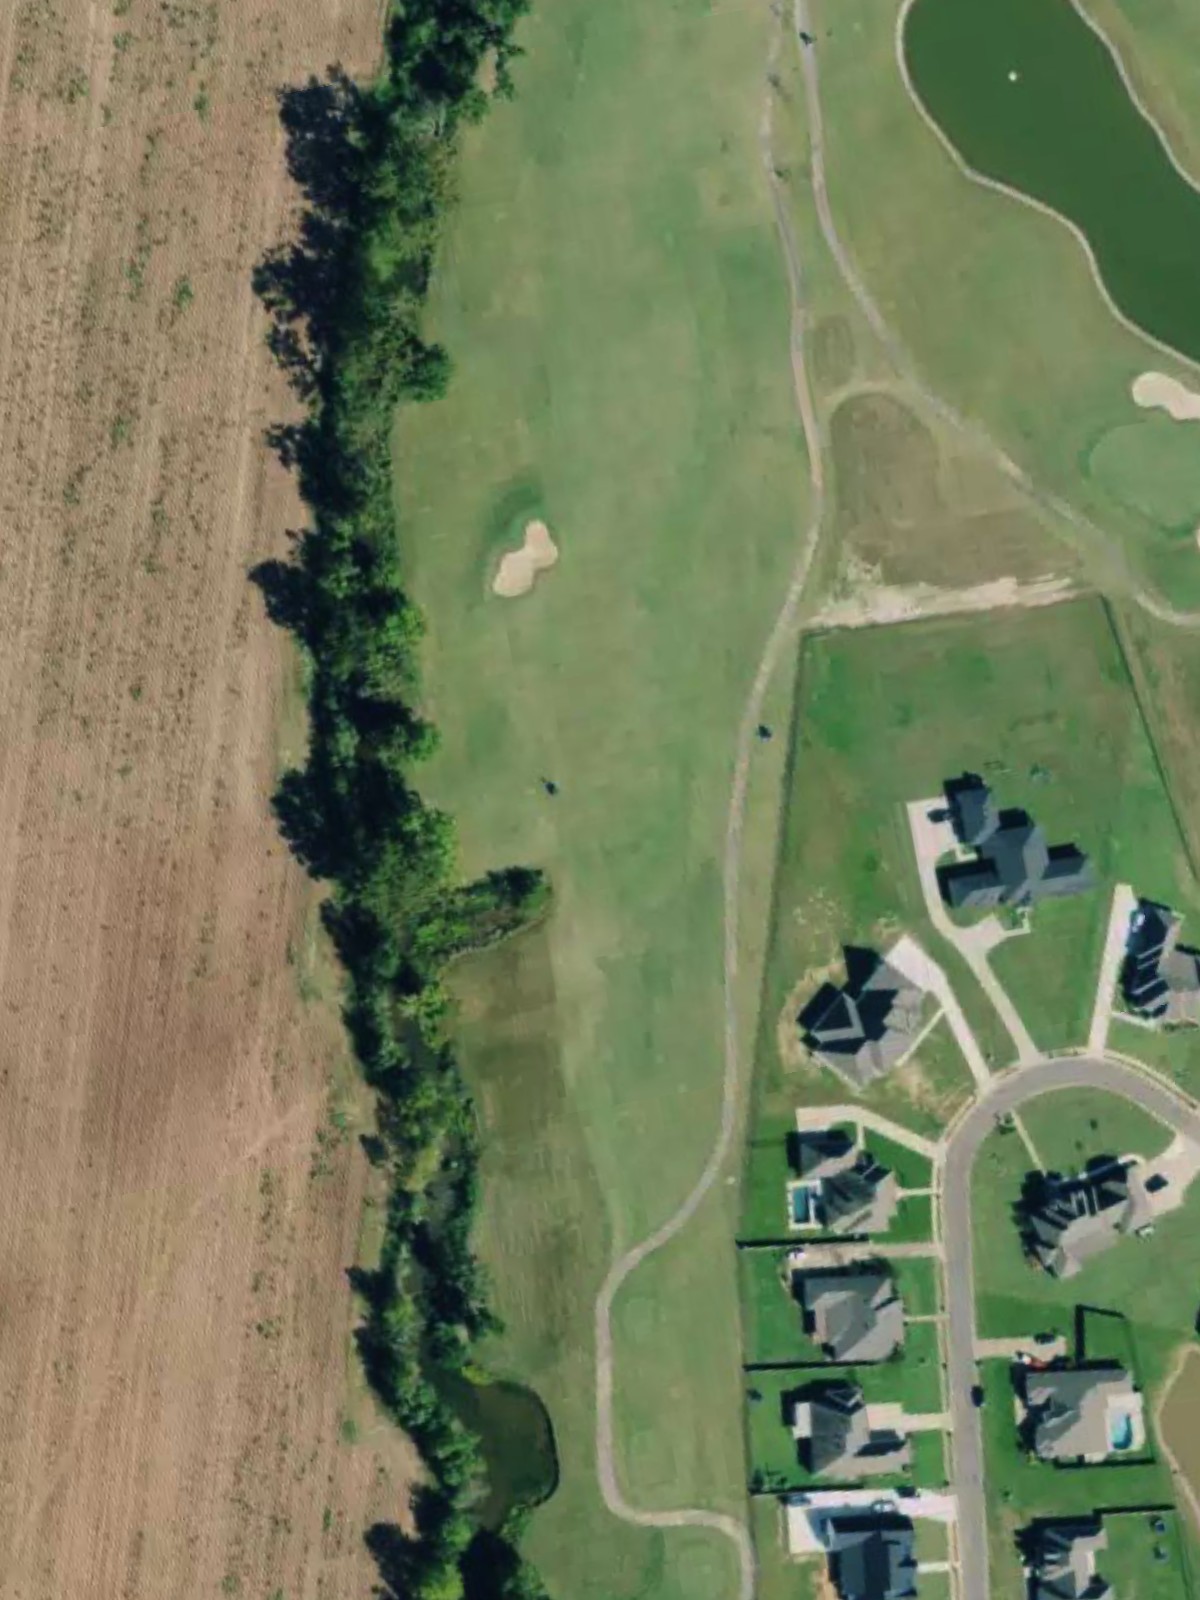
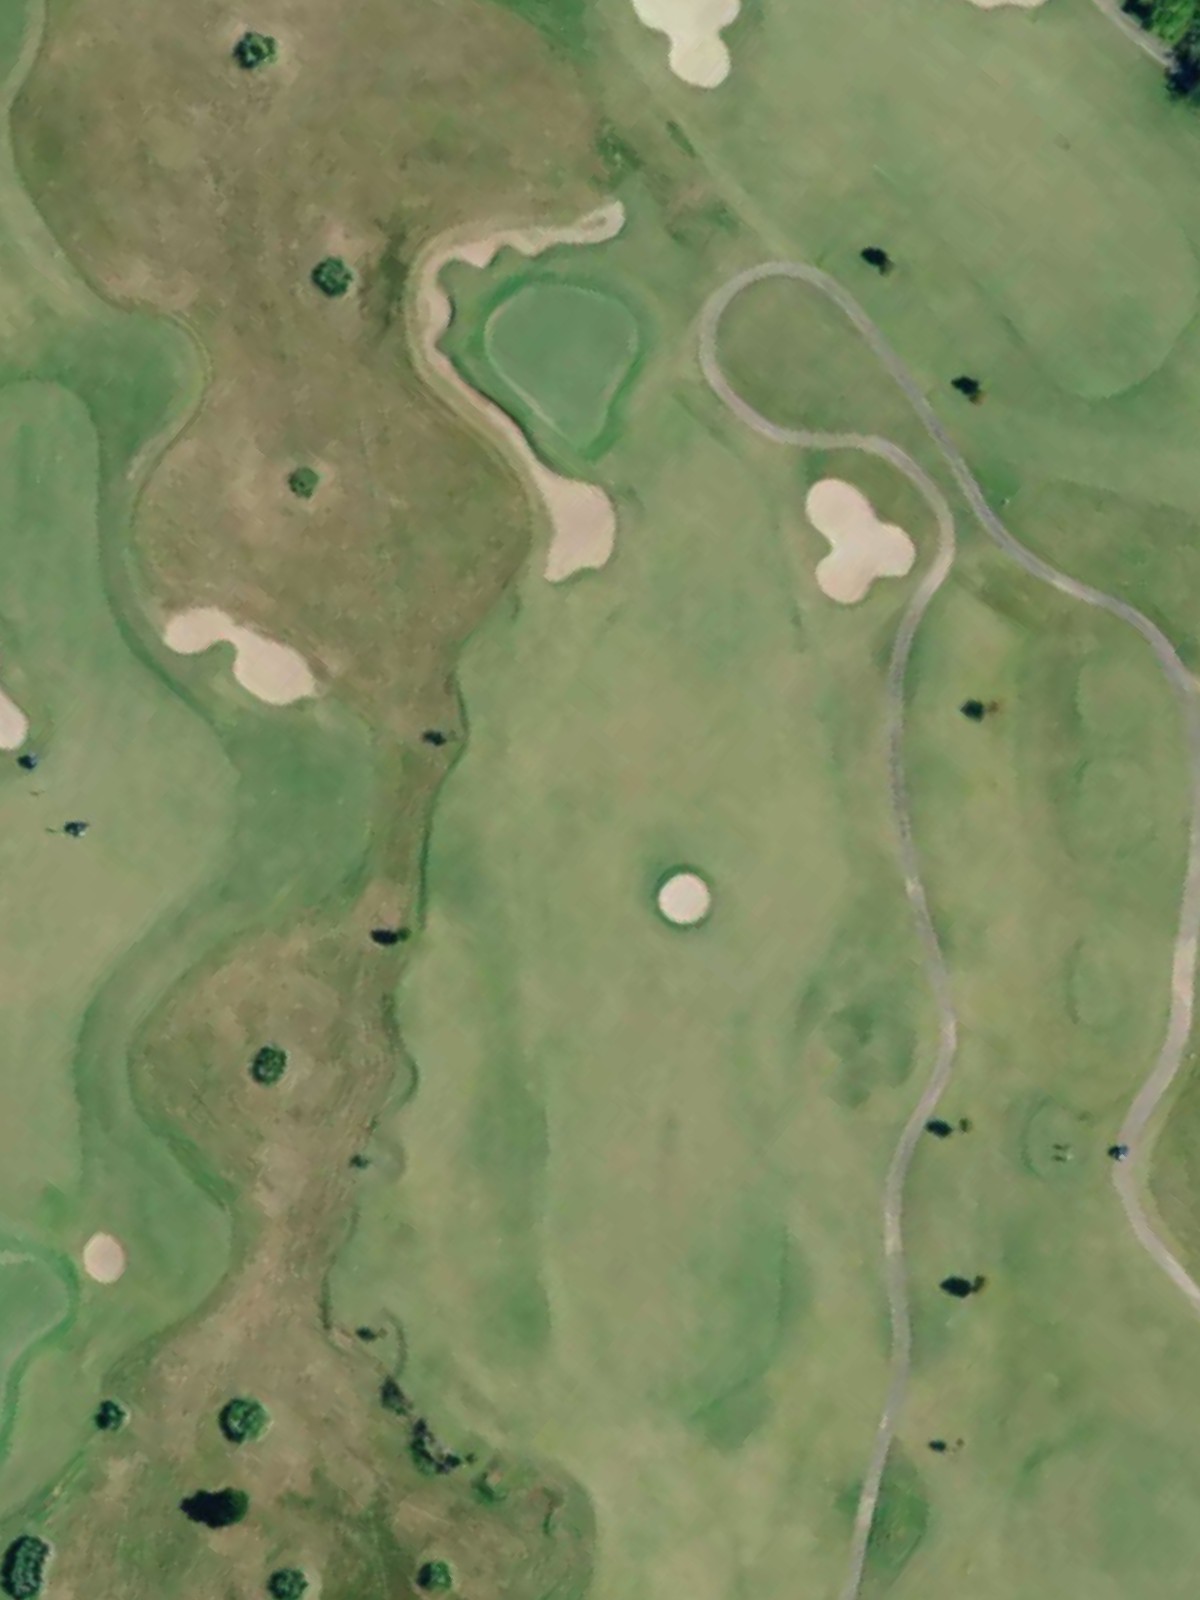
A deceptive par 4 that plays shorter than its yardage suggests, with subtle elevation changes affecting approach shots. Well-positioned hazards near the green reward precision over distance.
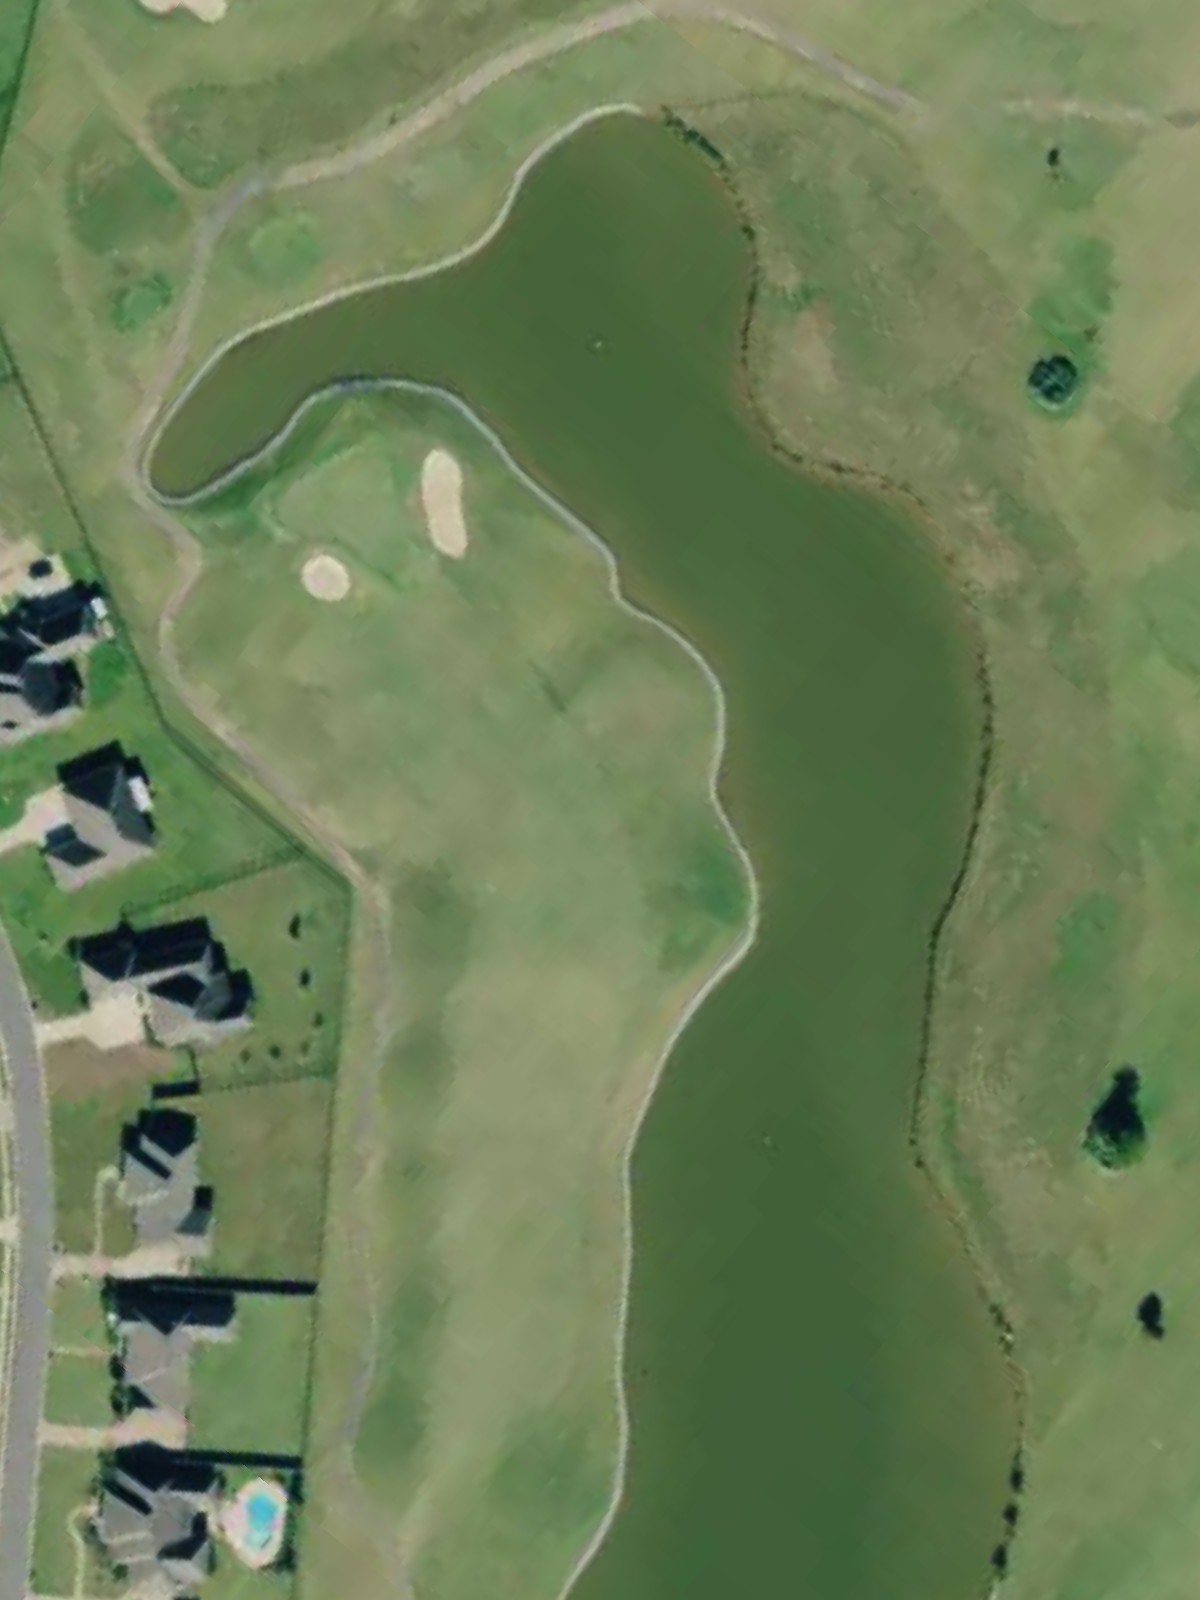
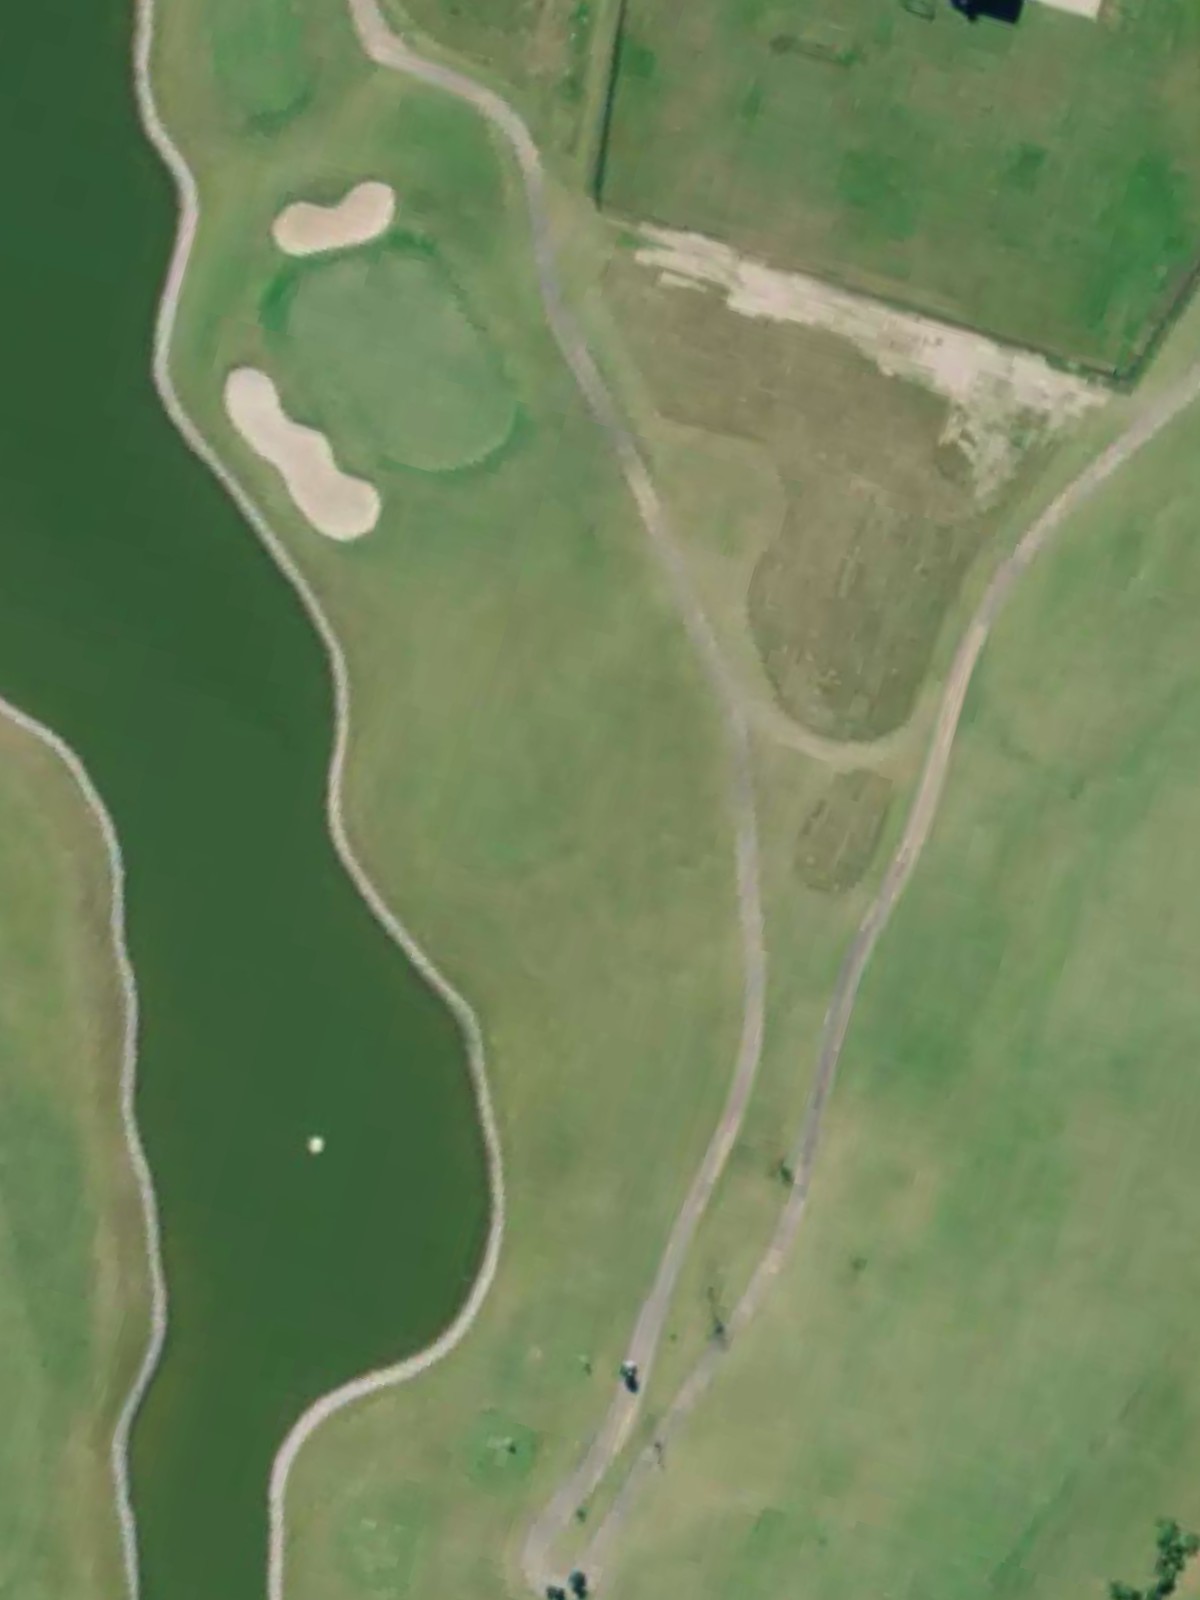
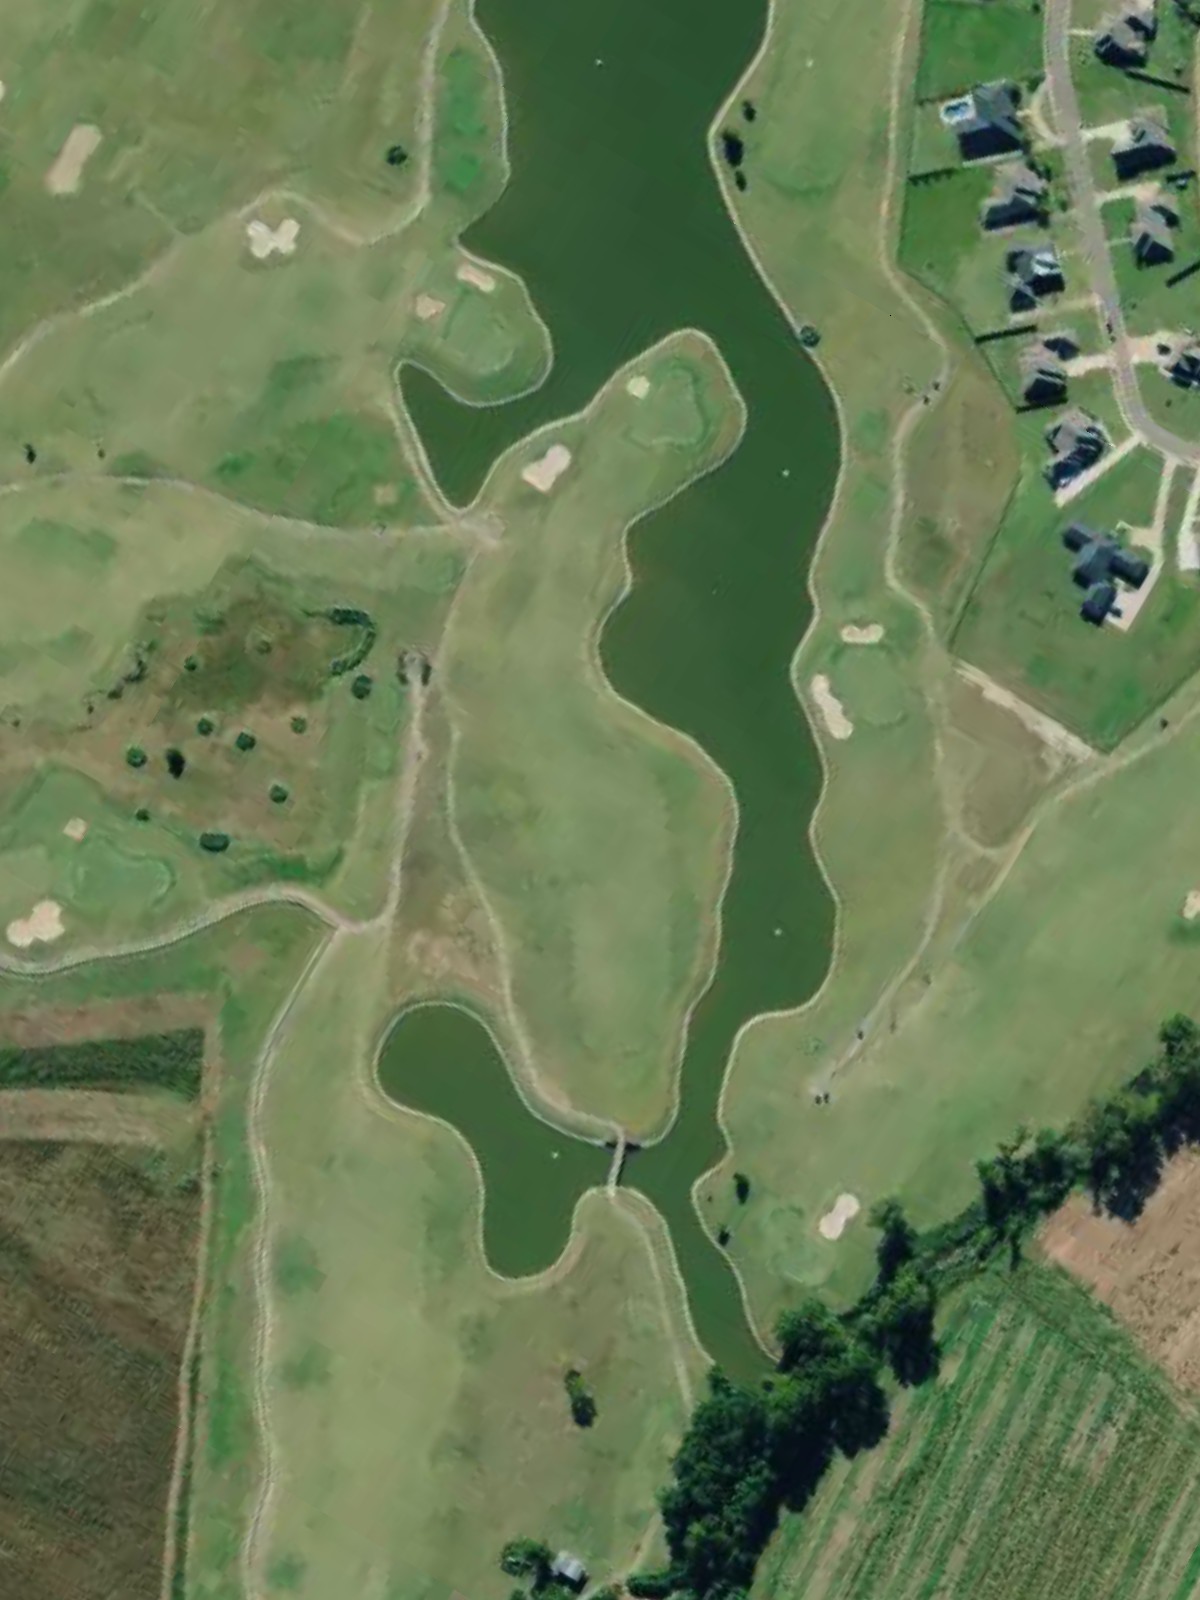
Oakwing's signature par 3, a one-shot challenge over water to an island green or narrow peninsula. The small target and surrounding hazards make club selection and execution critical on this dramatic hole.
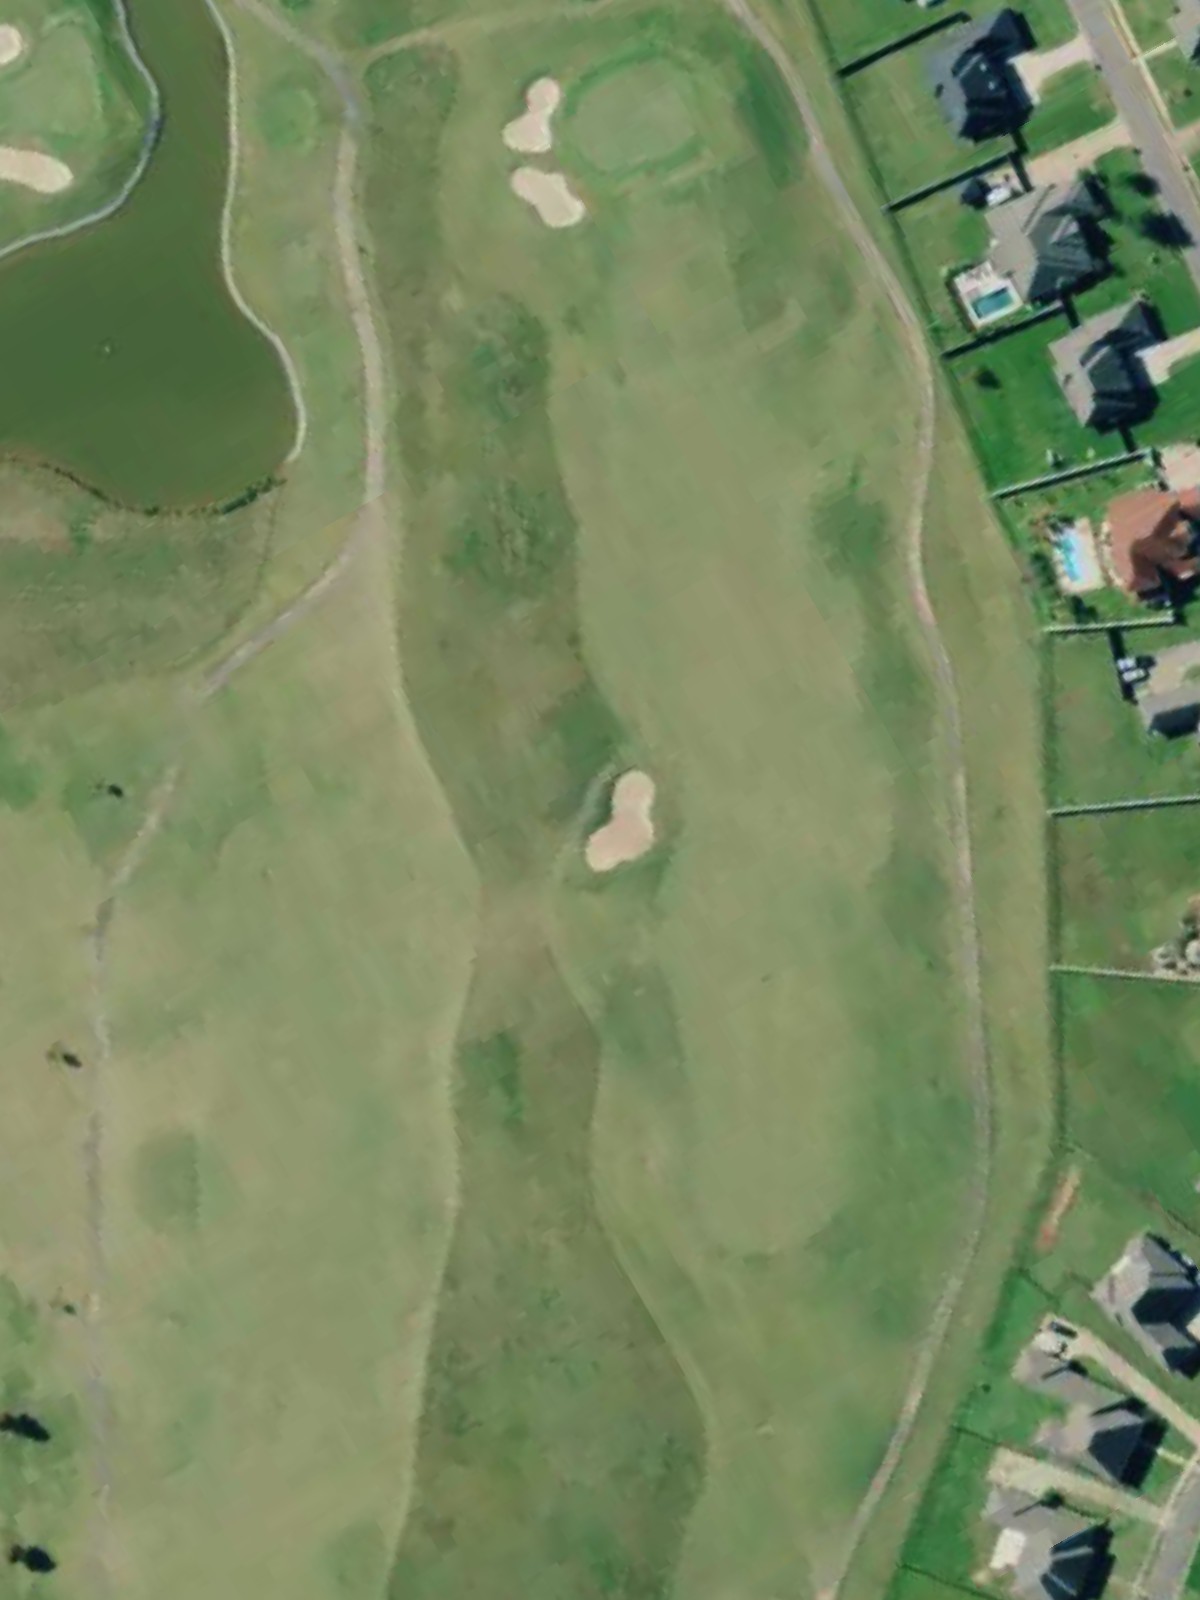
A short par 4 with an inviting drive zone, but the green sits tightly guarded by bunkers and elevation changes. The apparent simplicity masks the precision required for scoring.

A compact par 4 playing into prevailing conditions with a sloping fairway that funnels toward the green. Strategic bunkering and green-side hazards penalize wayward approaches.
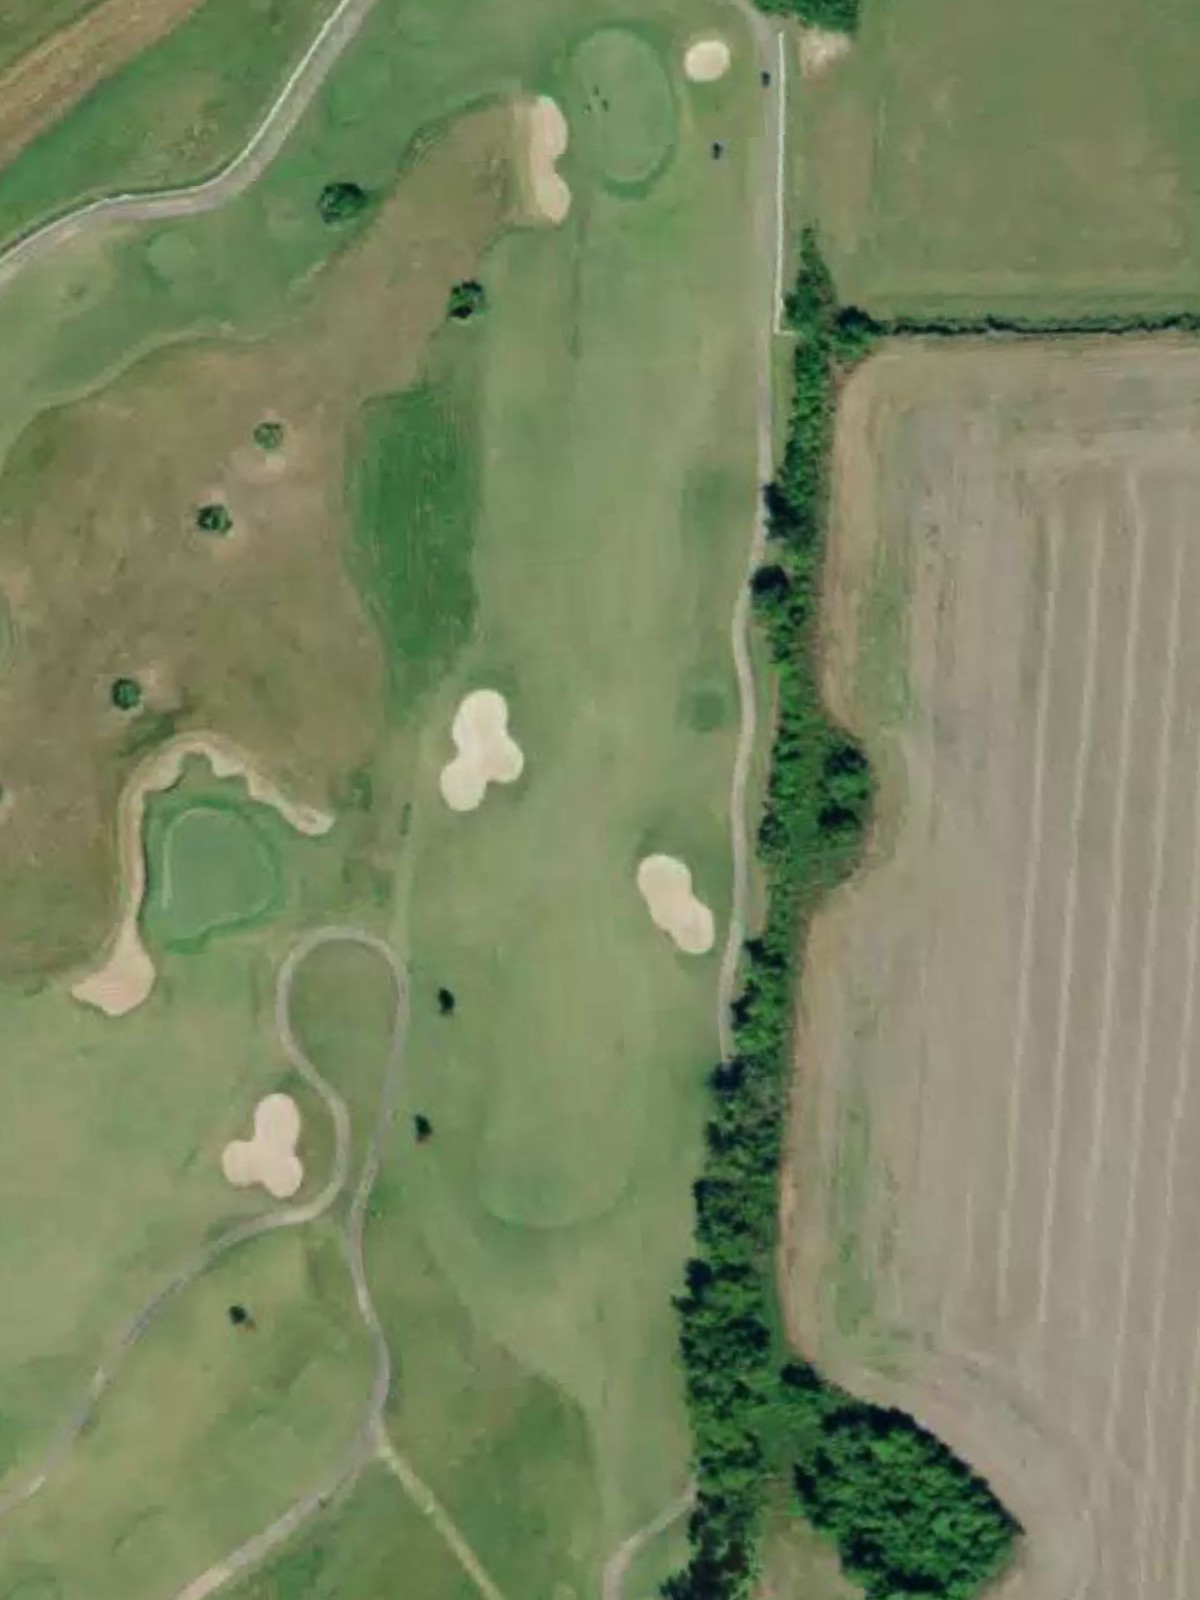
Oakwing's most difficult hole, a muscular par 4 that stretches across difficult terrain with limited bail-out areas. Out of bounds or water lurks along one or both sides, making accuracy paramount.
A short par 3 over a modest hazard to a small, angled green protected by sand. Wind and tight pin positions can make this seem longer than its yardage.
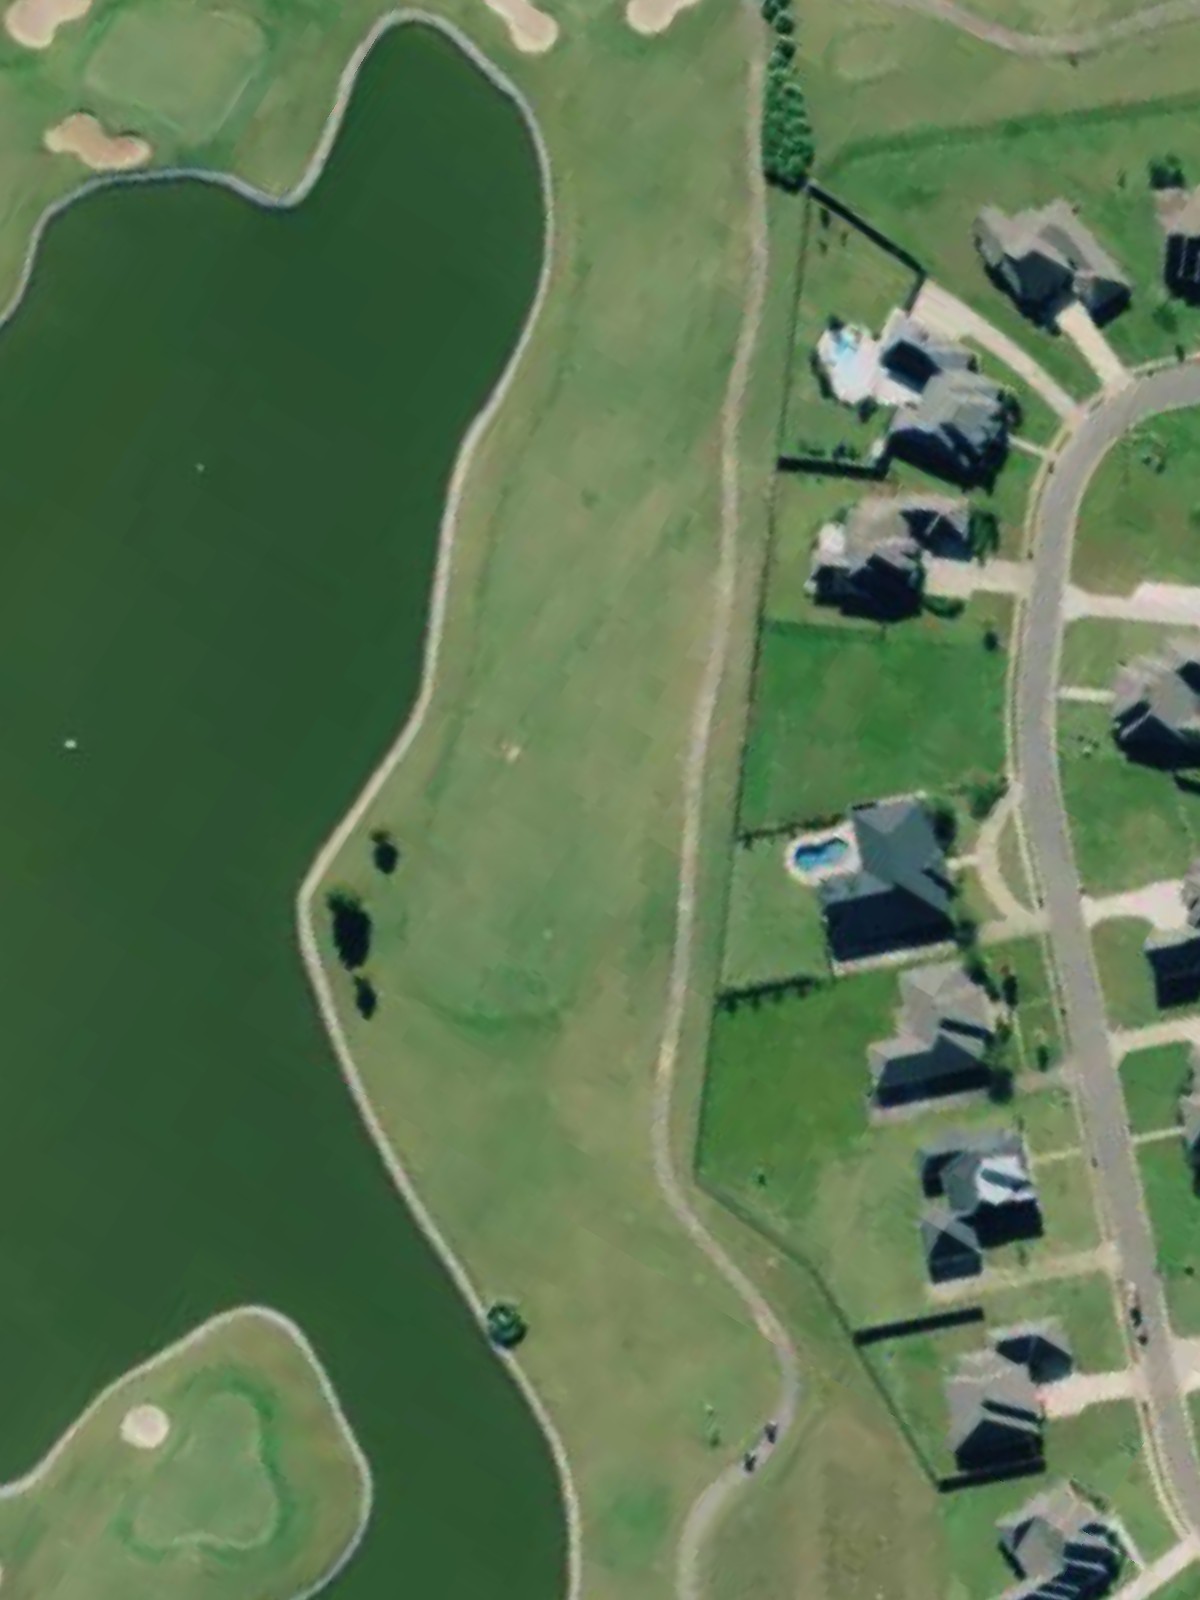
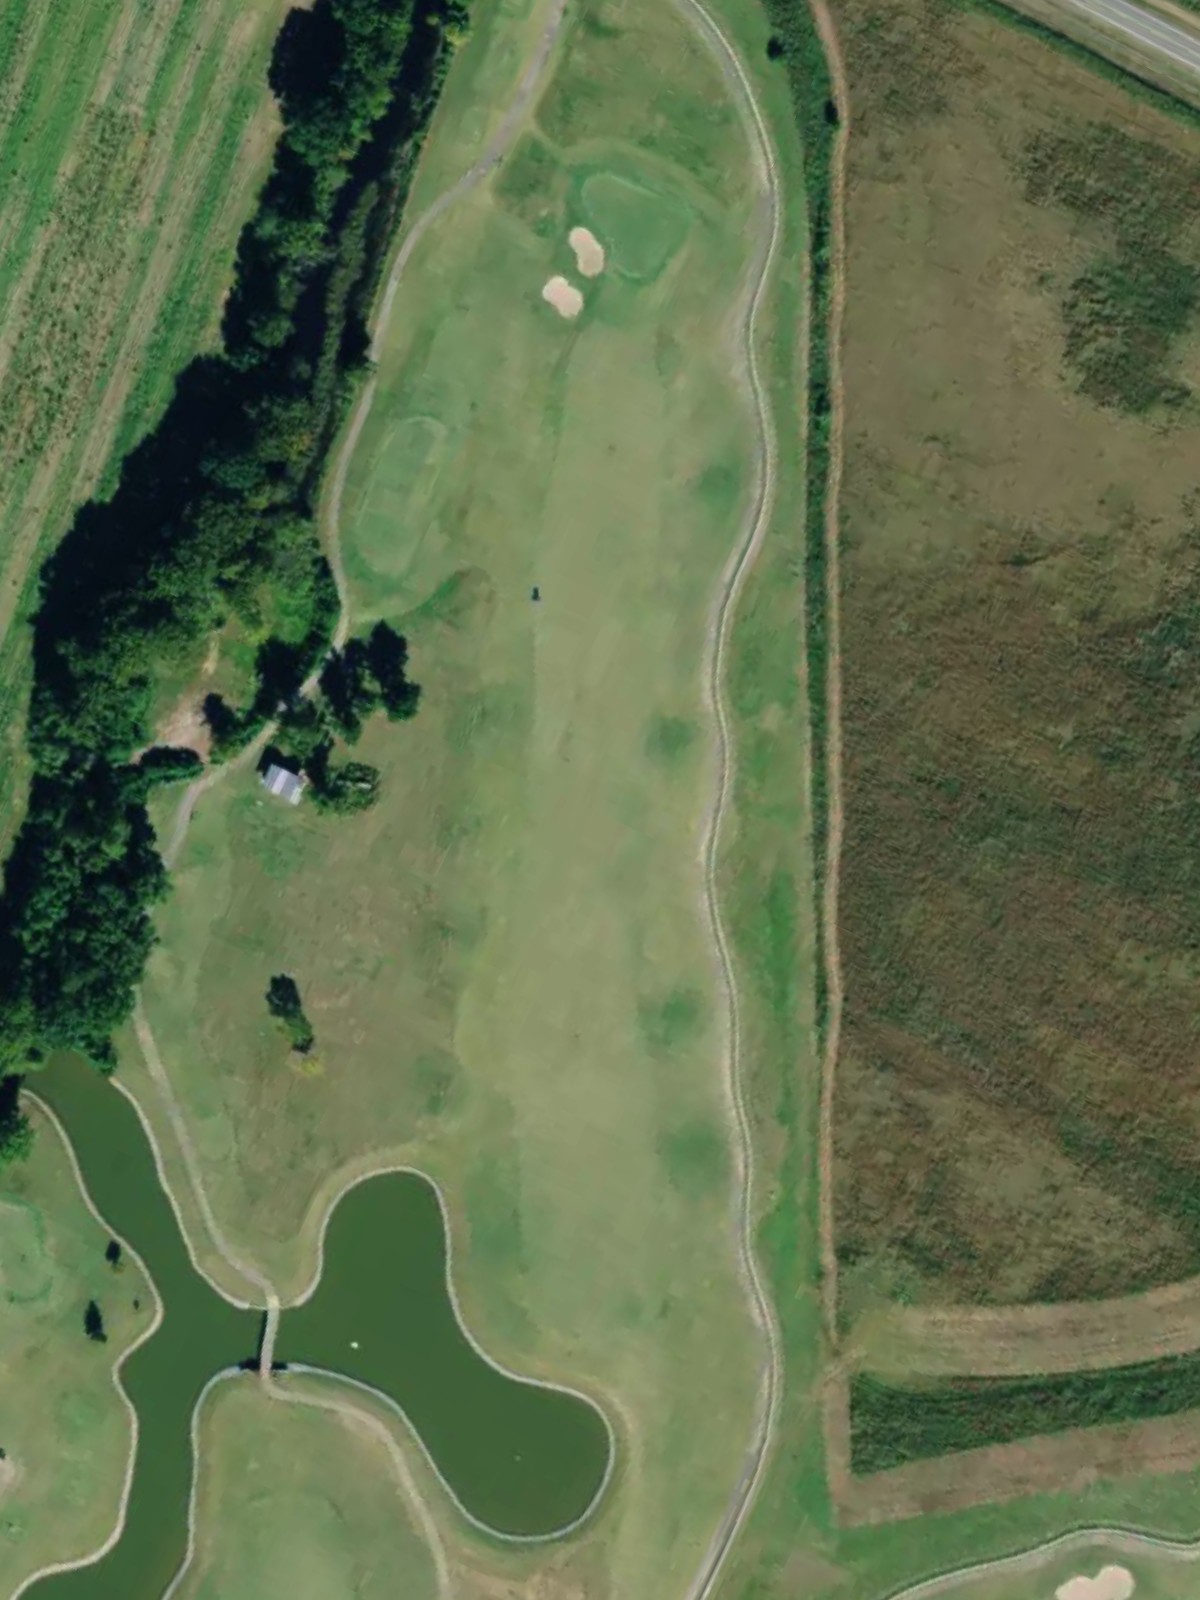
A strong finishing par 5 for the front nine with water or rough terrain bisecting the fairway at mid-length. The risk-reward layout allows multiple routes to the green depending on playing ability.
The shortest hole on the course, a downhill par 3 with a tiny putting surface surrounded by bunkers and falloff areas. Deceptively challenging despite its modest length.
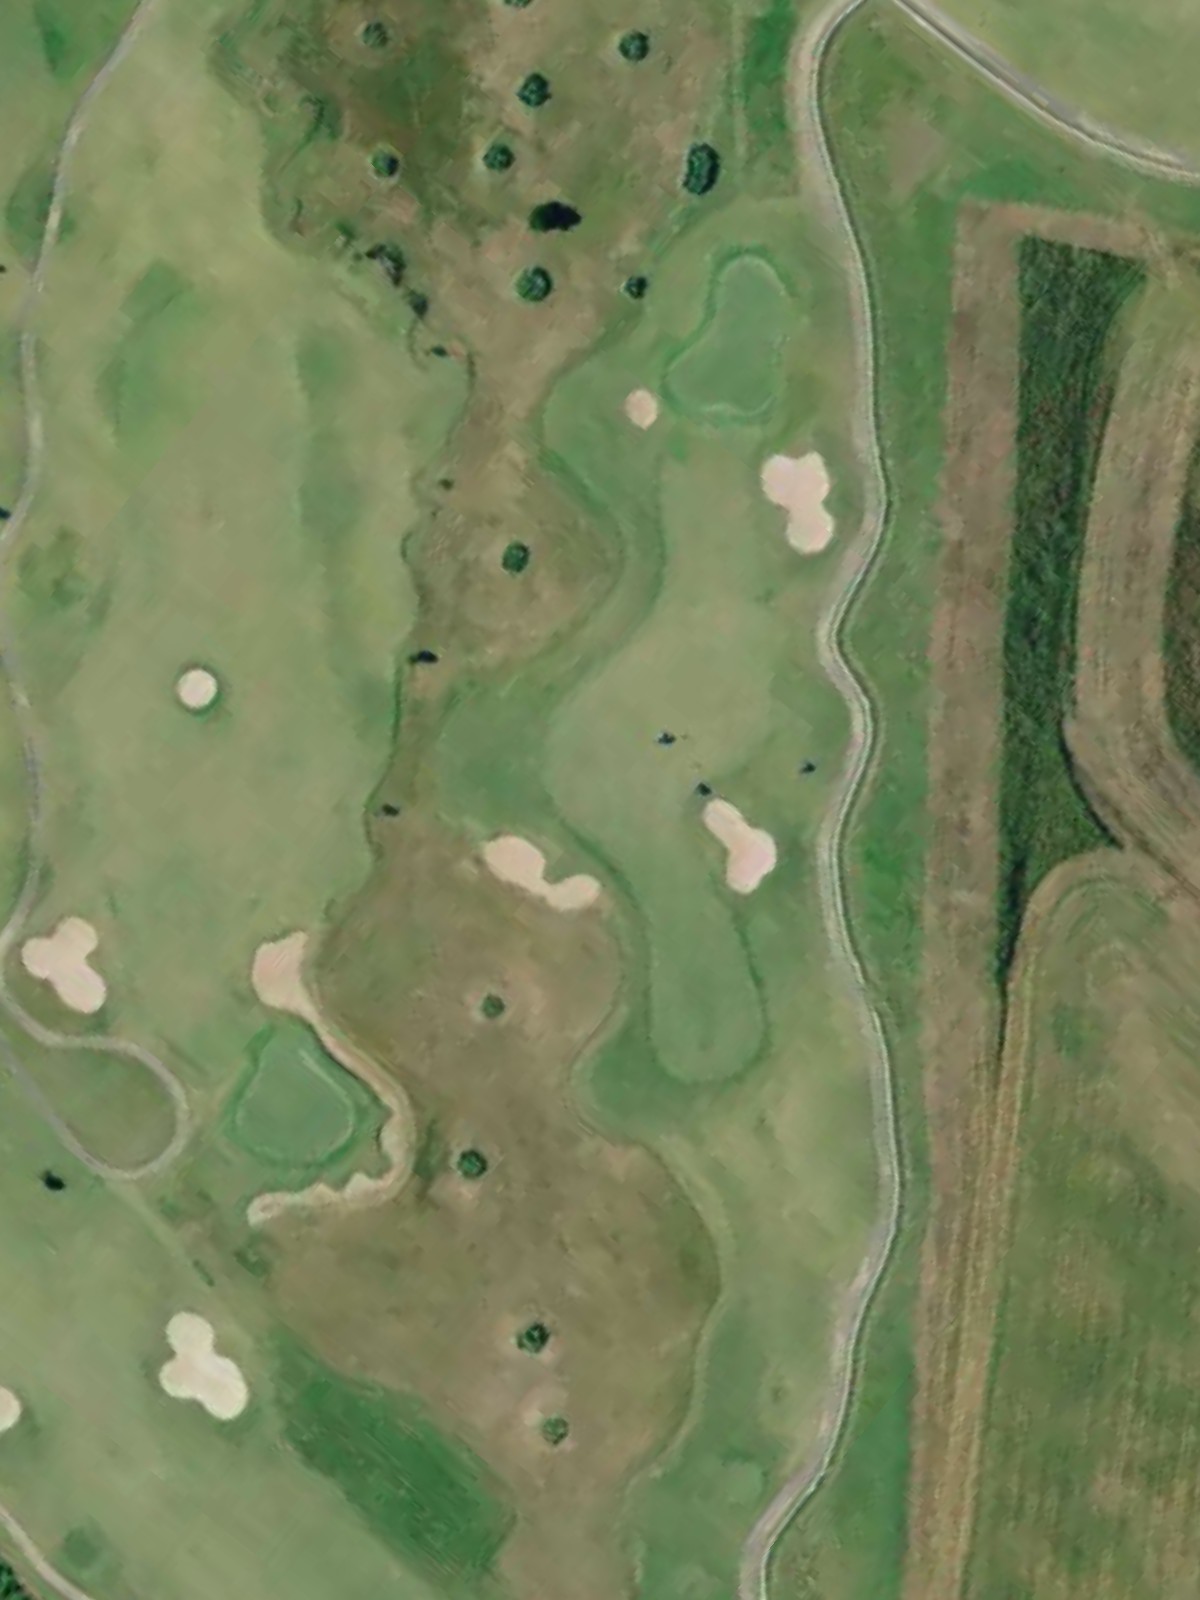
A mid-length par 4 with a fairway that doglegs or bends subtly, with trouble lurking on the outside of the turn. The approach shot must navigate bunkers or rough to find the green.
A reachable par 4 with a fairly open driving zone but a green that sits elevated or is protected by strategic hazards. The final approach demands accuracy to avoid sand or missed putts.
A strong par 4 with considerable length and a fairway shaped to challenge placement. The green is fiercely guarded by bunkers or water, making positioning critical for approach shots.
A lengthy par 5 featuring multiple hazards that create natural decision points for different tee distances. Intelligent routing of the second shot is rewarded with a clear path to the green.
The second-hardest hole, a powerful par 4 stretching across difficult ground with minimal margin for error. Water, out of bounds, or rough lines both sides of the fairway throughout.
A generous par 5 with a broad fairway that rewards solid striking, though strategic hazards in the landing zone demand course awareness. The green can be attacked in two shots or played conservatively in three.
A mid-length par 3 with a shallow green set back from its approach, where distance control is as important as direction. Bunkers and elevation changes surround the target.
A fitting closer, a solid par 4 with a fairway that narrows through the landing zone and a well-protected green. Out of bounds or water along one side demands respect on the drive.
Scorecard
| Hole | 1 | 2 | 3 | 4 | 5 | 6 | 7 | 8 | 9 | Out | 10 | 11 | 12 | 13 | 14 | 15 | 16 | 17 | 18 | In | Tot |
|---|---|---|---|---|---|---|---|---|---|---|---|---|---|---|---|---|---|---|---|---|---|
| Par | 4 | 5 | 4 | 3 | 4 | 4 | 4 | 3 | 5 | 36 | 3 | 4 | 4 | 4 | 5 | 4 | 5 | 3 | 4 | 36 | 72 |
| HCP | 15 | 11 | 9 | 3 | 17 | 5 | 1 | 13 | 7 | 18 | 10 | 16 | 4 | 12 | 2 | 6 | 14 | 8 | |||
| tour | 376 | 523 | 376 | 224 | 327 | 357 | 435 | 193 | 563 | 3374 | 145 | 396 | 380 | 435 | 573 | 462 | 553 | 189 | 450 | 3583 | 6957 |
| champ | 355 | 508 | 349 | 211 | 300 | 329 | 407 | 163 | 522 | 3144 | 138 | 382 | 349 | 385 | 546 | 435 | 523 | 167 | 413 | 3338 | 6482 |
| men | 347 | 468 | 335 | 184 | 287 | 307 | 385 | 149 | 510 | 2972 | 114 | 362 | 342 | 363 | 535 | 398 | 499 | 147 | 400 | 3160 | 6132 |
| senior | 319 | 463 | 300 | 173 | 255 | 299 | 377 | 140 | 460 | 2786 | 104 | 320 | 318 | 355 | 502 | 388 | 489 | 140 | 354 | 2970 | 5756 |
| front | 272 | 403 | 234 | 143 | 233 | 272 | 305 | 121 | 414 | 2397 | 90 | 254 | 260 | 311 | 468 | 321 | 430 | 103 | 337 | 2574 | 4971 |