Oakland Beach Golf Course is an 18-hole golf course in Conneaut Lake, PA with a par of 71. It offers 3 tee sets: blue (6,783 yards, slope 123, rating 72.1), white (6,122 yards, slope 121, rating 69.4), gold (5,378 yards, slope 111, rating 65.7). The hardest hole is #4, a par 4 playing 433 yards from the first tee.
Oakland Beach Golf Course
Conneaut Lake, PA
Get PDF Yardage Book
We'll email you the PDF link. No spam, ever.
Create Your Game Plan
Pick your tees, enter your bag, and get a personalized shot-by-shot strategy for every hole.
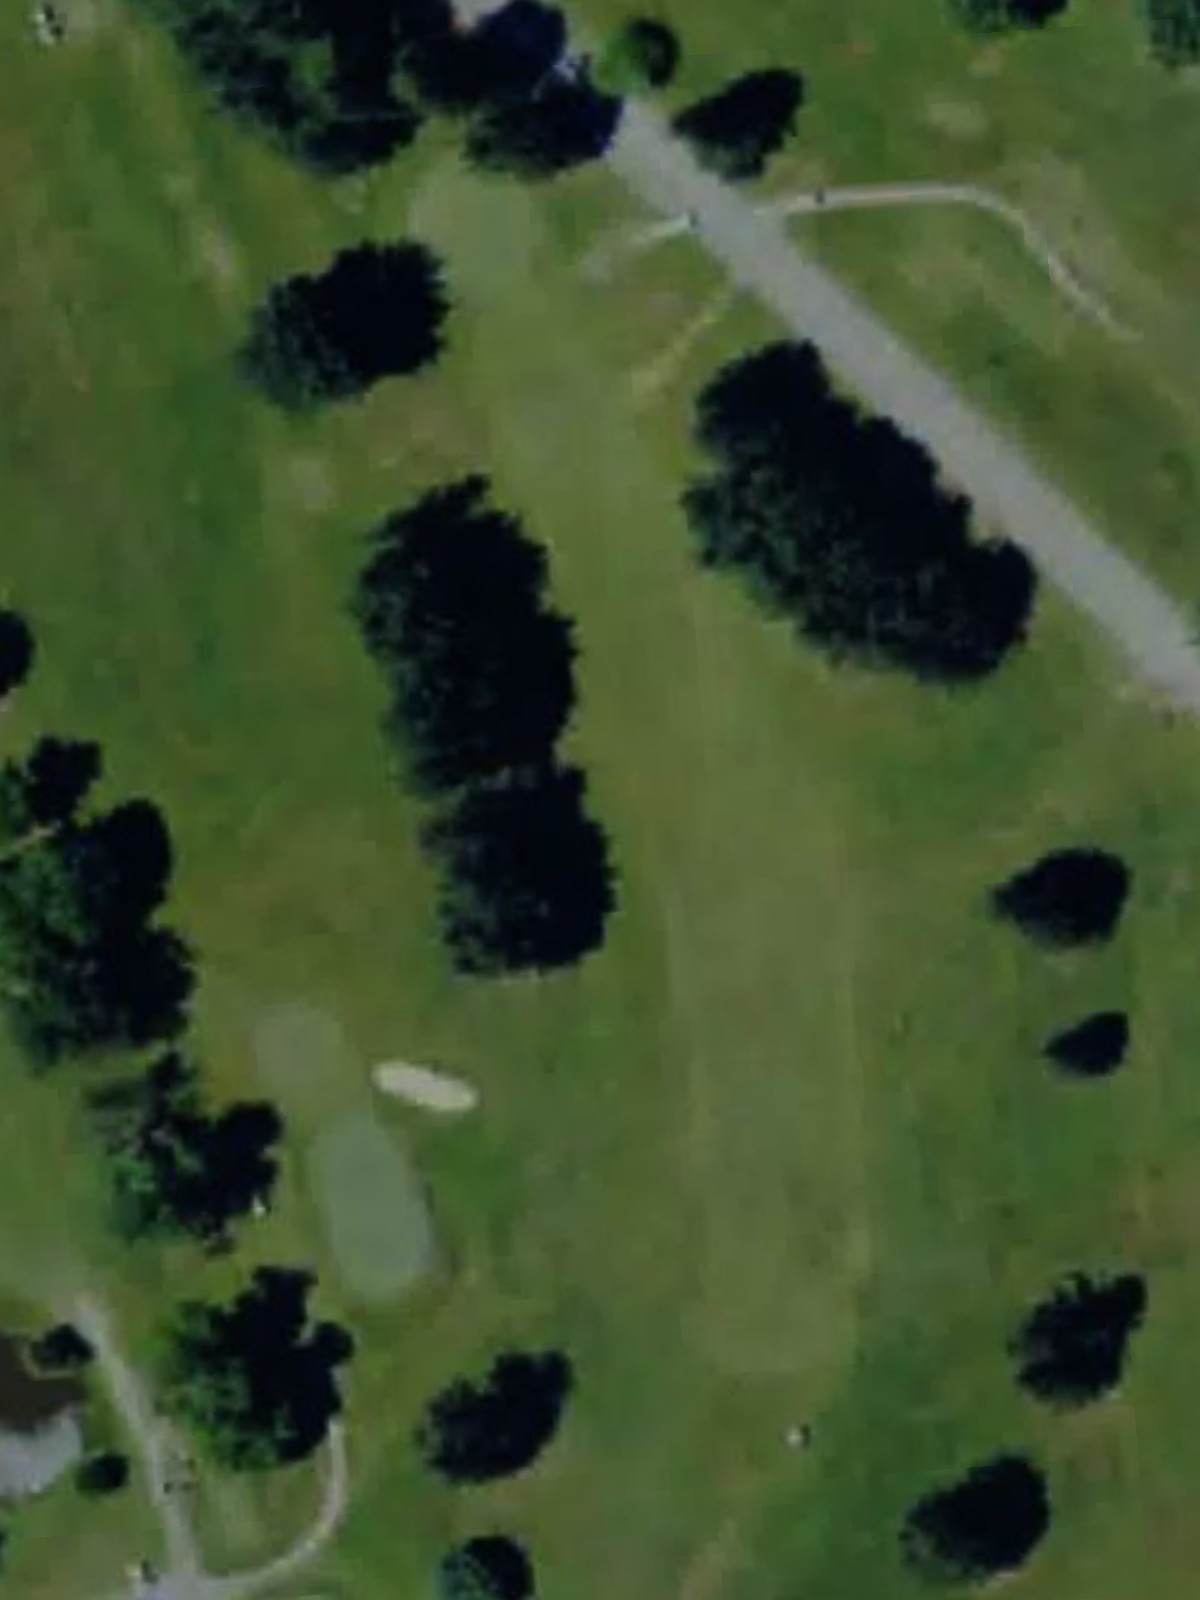
A welcoming opening par 4 with a relatively straight fairway that gradually narrows as it approaches the green. Greenside bunkers protect the right side of the green, while the left offers a safer approach for an opening hole.
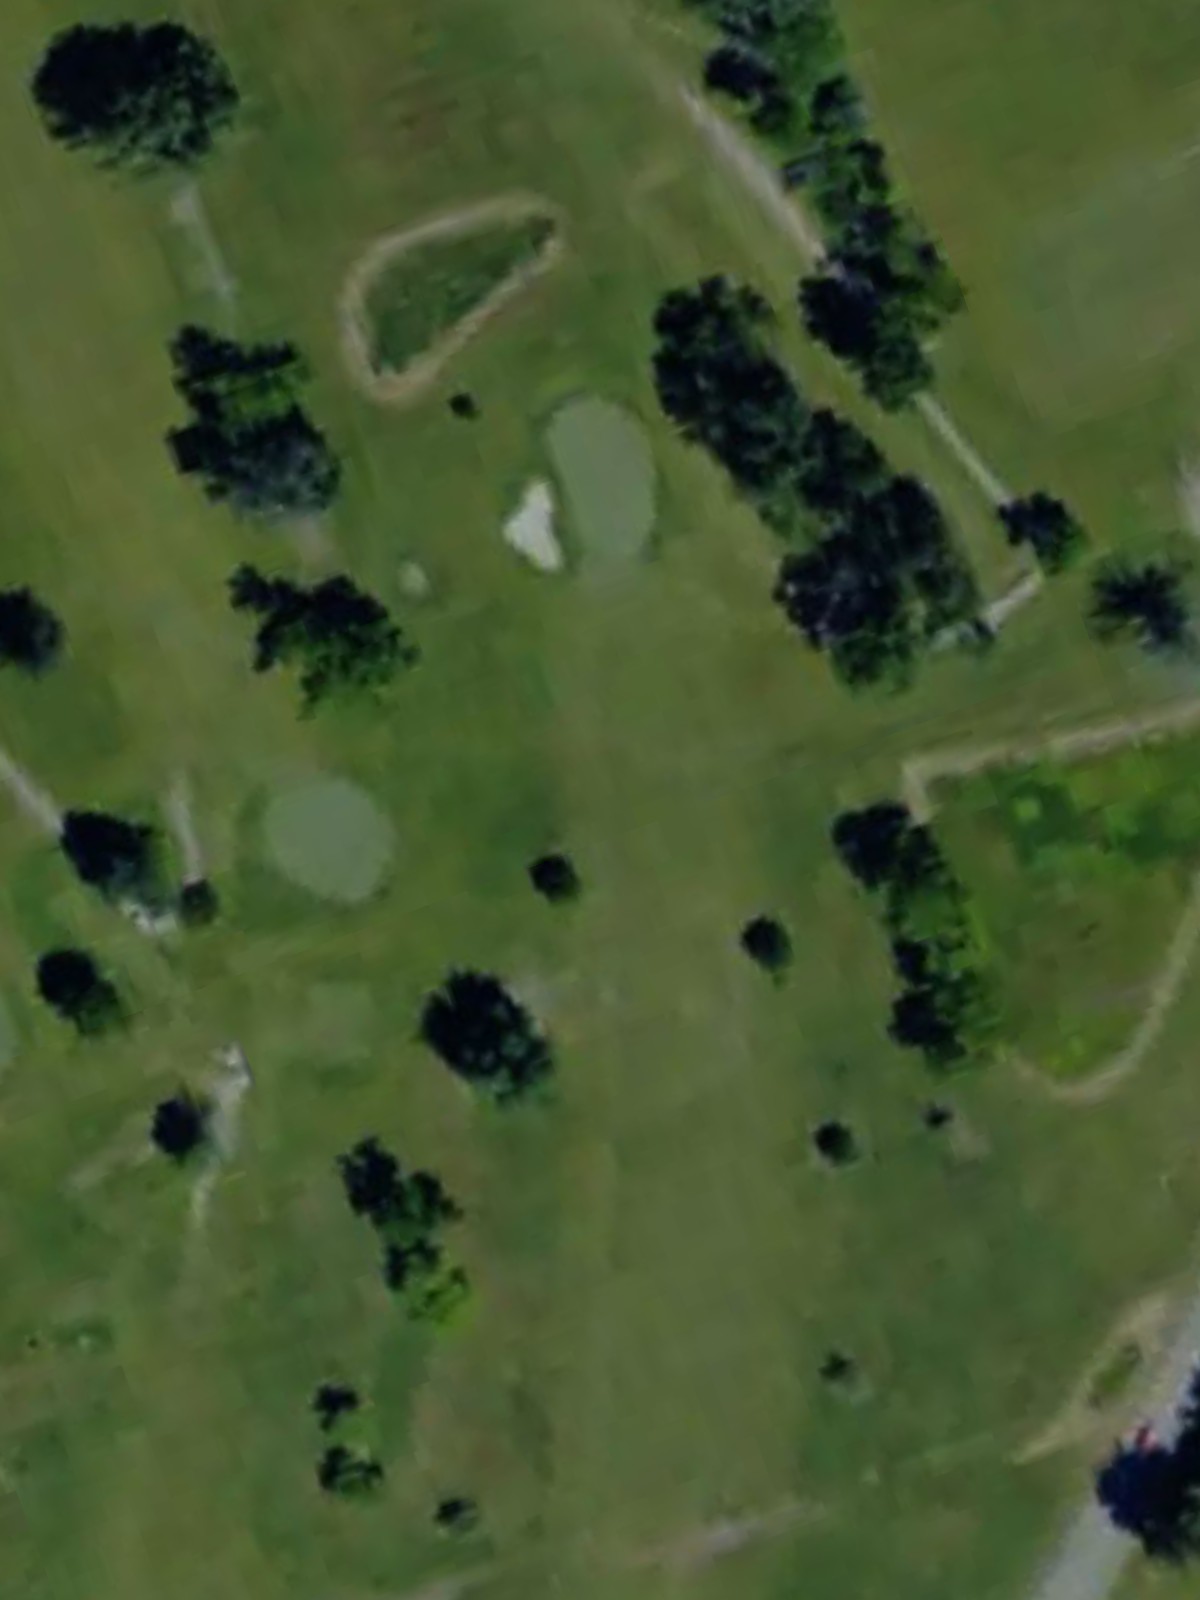
The course's second-hardest hole, this par 4 stretches across 449 yards from the blue tees and demands accuracy off the tee. Water hazards and strategic bunkering frame both sides of the approach, making this a stiff test early in the round.
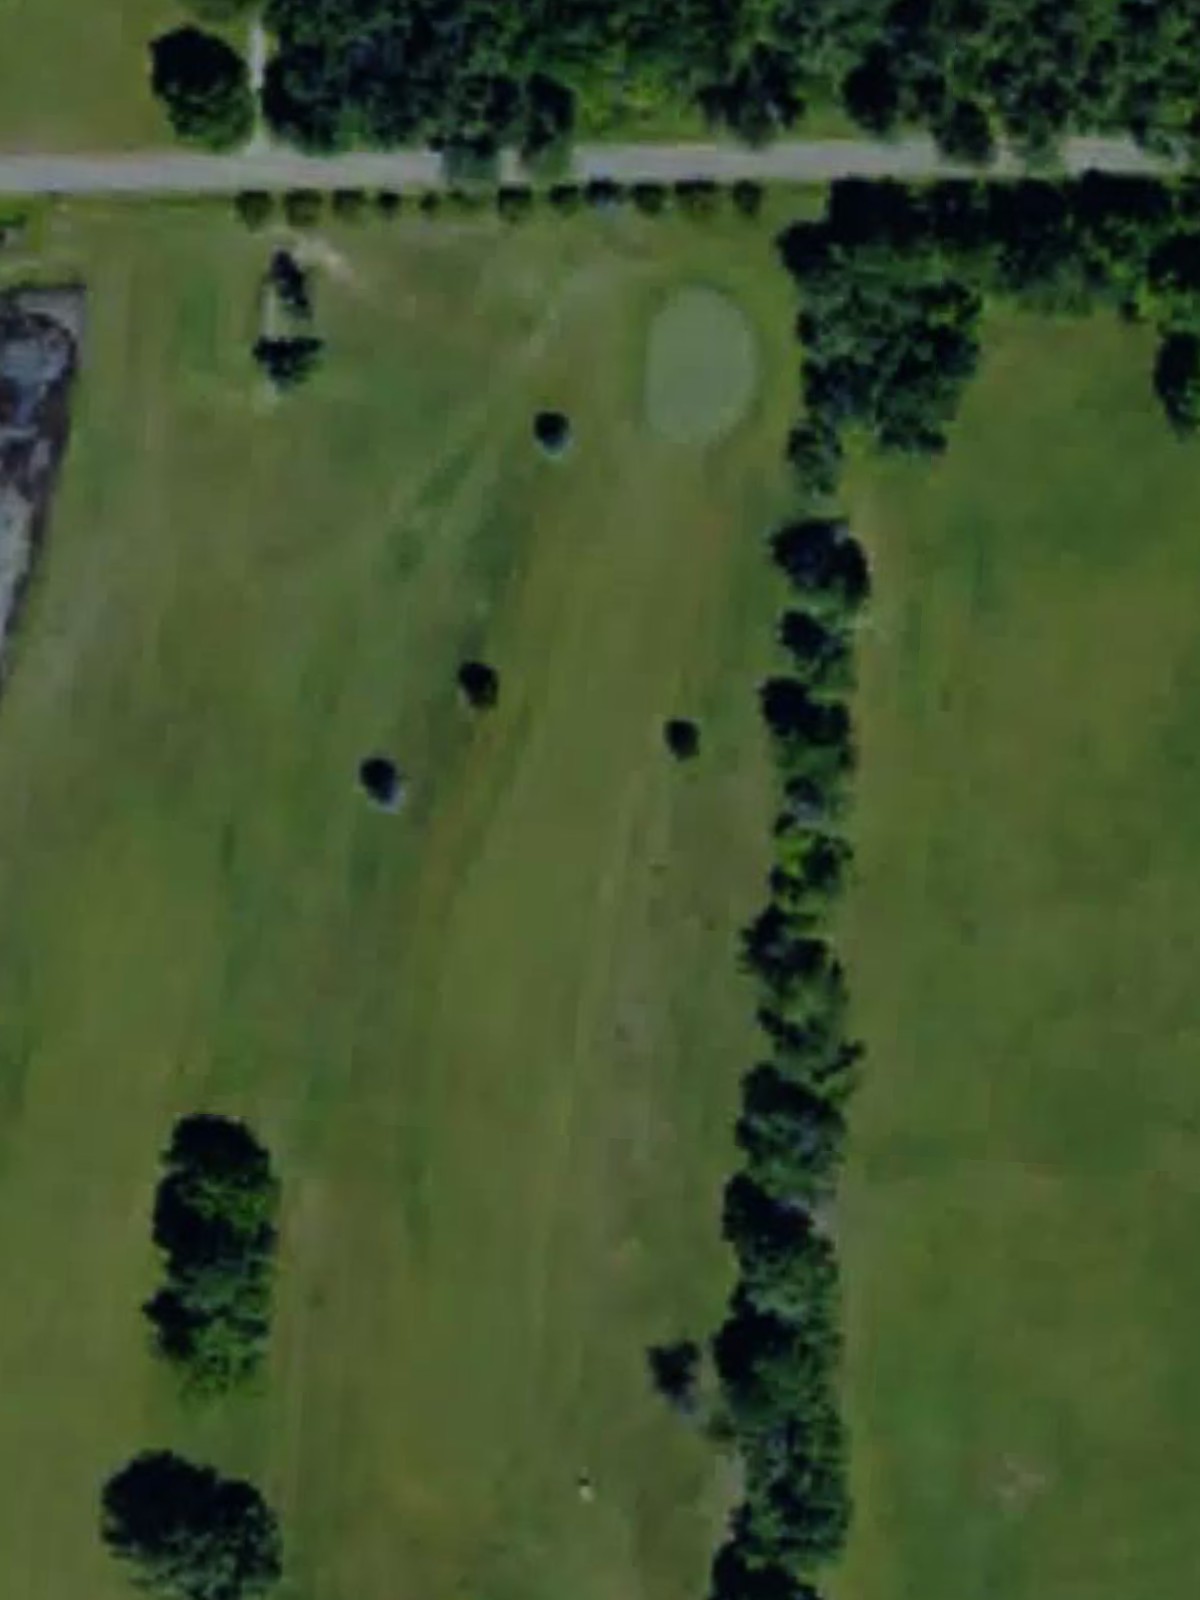
A mid-length par 4 with a fairway that plays relatively straight but tightens near the green. Bunkers guard the approach, and positioning is key to setting up an accessible scoring opportunity.
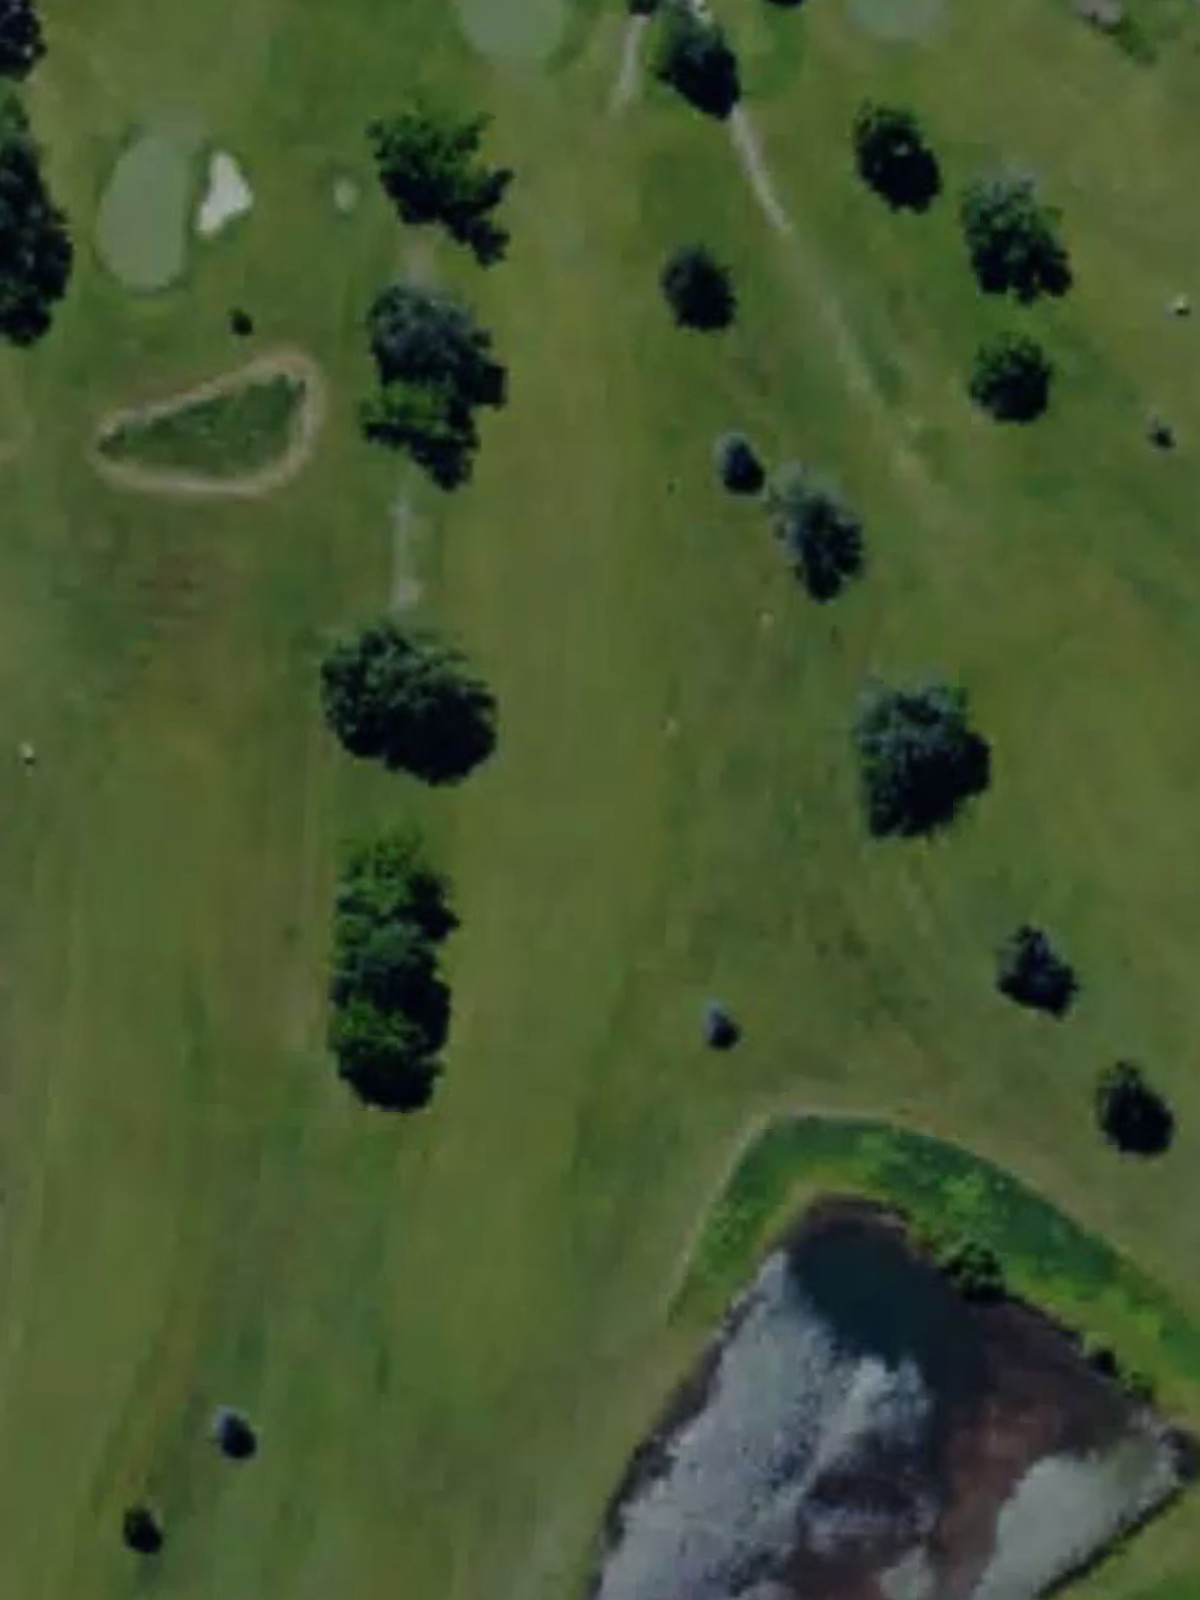
The course's most difficult hole, this par 4 is a formidable challenge that demands two strong shots. Length and strategic hazard placement throughout the hole test both distance and accuracy from tee to green.
A demanding par 4 ranked third in difficulty, with length that increases from the back tees to nearly 455 yards. Hazards and narrowing fairway corridors punish wayward drives and require precise positioning for the approach shot.

A short par 3 requiring only a mid-iron, but with well-placed bunkers surrounding the green that demand accuracy over distance. The small putting surface rewards precision on this straightforward one-shotter.
A substantial par 5 that offers birdie opportunities for those who can navigate its length effectively. The fairway structure and green complex present strategic decision points throughout this three-shot hole.
A short par 4 that plays under 350 yards from the blue tees, offering a scoring chance despite its modest length. The compact design features tight fairways and well-positioned greenside bunkering that demand accuracy.
A lengthy par 3 stretching to 244 yards from the back, making it the most demanding one-shotter on the course. Water and bunkers frame the hole, requiring a controlled, well-struck tee shot to reach the green.
A testing par 4 with substantial length that plays as one of the course's harder holes despite its sixth-place handicap ranking. Strategic hazards and fairway contours require careful navigation on both tee and approach shots.
The easiest par 4 on the course from a handicap perspective, this hole offers a genuine birdie opportunity with its straightforward layout. Modest hazards frame the hole, allowing confident strikers a chance to capitalize.
The second-most difficult hole on the course, this par 5 stretches to 598 yards from the blue tees and demands power and precision. Multiple strategic elements throughout the hole challenge players' ability to balance aggression with accuracy.
A mid-length par 4 with an interesting routing that features strategic bunkering throughout the hole. The fairway design rewards accurate positioning, with the approach shot presenting the primary challenge to reaching the green.
A formidable par 4 ranked fourth in difficulty, this hole combines length with strategic hazard placement that penalizes both tee shots and approaches. The hole's design demands respect and solid execution from both tee and fairway.
A moderate par 4 with relatively accessible length and width that presents a fair scoring opportunity. Bunkers and fairway shaping encourage strategic play without overwhelming difficulty.

The shortest par 4 on the course, this hole provides a clear birdie chance with its minimal yardage from all tees. The modest length is offset by strategic bunkering and green complexity that reward precise execution.
A short par 3 under 200 yards from the back tee, offering an accessible one-shot scoring hole. The green's modest size and surrounding hazards demand accuracy despite the short distance required.
The closing par 4 features a straightforward design that allows the round to finish with a reasonable final test. Length and strategic bunkering frame the approach, providing closure to the eighteen holes.
Scorecard
| Hole | 1 | 2 | 3 | 4 | 5 | 6 | 7 | 8 | 9 | Out | 10 | 11 | 12 | 13 | 14 | 15 | 16 | 17 | 18 | In | Tot |
|---|---|---|---|---|---|---|---|---|---|---|---|---|---|---|---|---|---|---|---|---|---|
| Par | 4 | 4 | 4 | 4 | 4 | 3 | 5 | 4 | 3 | 35 | 4 | 4 | 5 | 4 | 4 | 4 | 4 | 3 | 4 | 36 | 71 |
| HCP | 15 | 5 | 11 | 1 | 3 | 13 | 7 | 9 | 17 | 6 | 18 | 2 | 8 | 4 | 12 | 16 | 10 | 14 | |||
| blue | 347 | 449 | 393 | 433 | 438 | 151 | 570 | 349 | 244 | 3374 | 431 | 426 | 598 | 370 | 373 | 352 | 290 | 181 | 388 | 3409 | 6783 |
| white | 333 | 360 | 356 | 399 | 454 | 139 | 502 | 314 | 216 | 3073 | 406 | 349 | 500 | 362 | 350 | 319 | 259 | 163 | 341 | 3049 | 6122 |
| gold | 315 | 336 | 330 | 385 | 350 | 118 | 465 | 276 | 127 | 2702 | 355 | 303 | 418 | 292 | 310 | 290 | 222 | 160 | 326 | 2676 | 5378 |