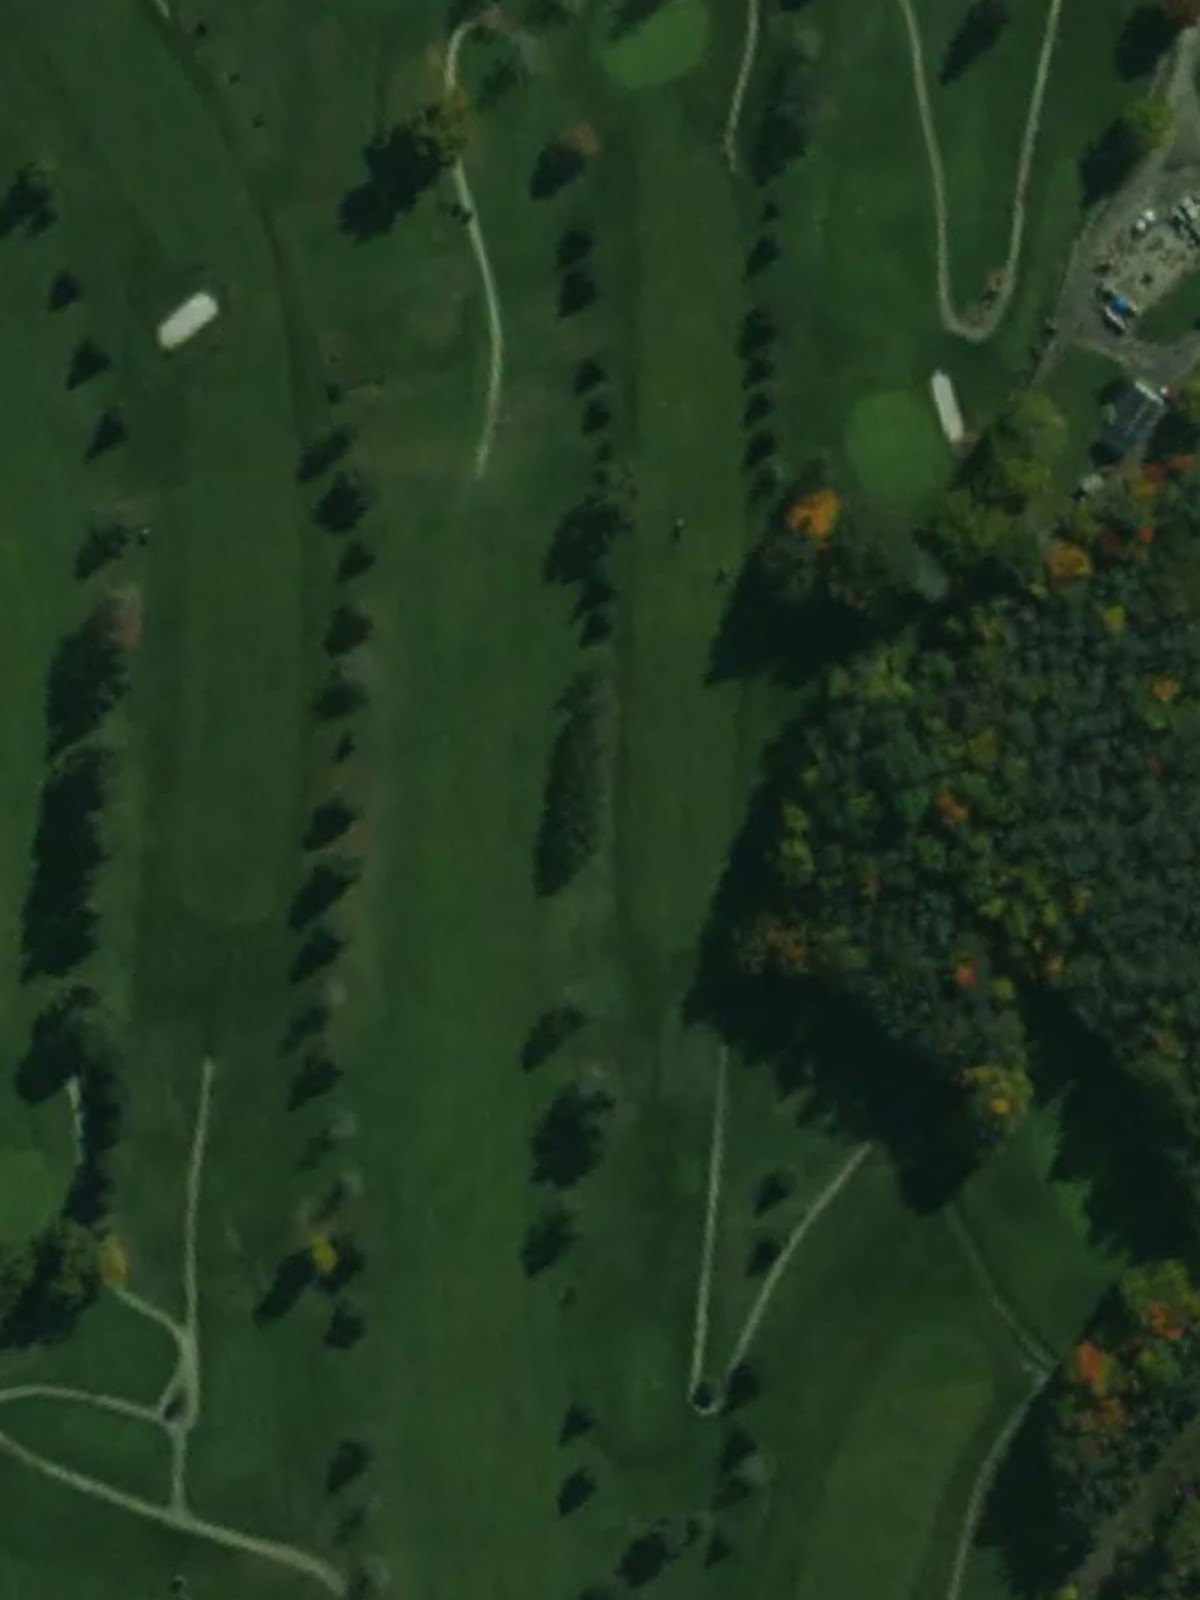
Oakbrook Golf Course is an 18-hole golf course in Stoystown, PA with a par of 71. It offers 4 tee sets: blue (6,345 yards, slope 119, rating 70.6), white (6,021 yards, slope 118, rating 69), gold (5,510 yards, slope 108, rating 66.8), red (4,930 yards, slope 103, rating 64.2). The hardest hole is #1, a par 4 playing 380 yards from the first tee.
Oakbrook Golf Course
Stoystown, PA
Get PDF Yardage Book
We'll email you the PDF link. No spam, ever.
Create Your Game Plan
Pick your tees, enter your bag, and get a personalized shot-by-shot strategy for every hole.
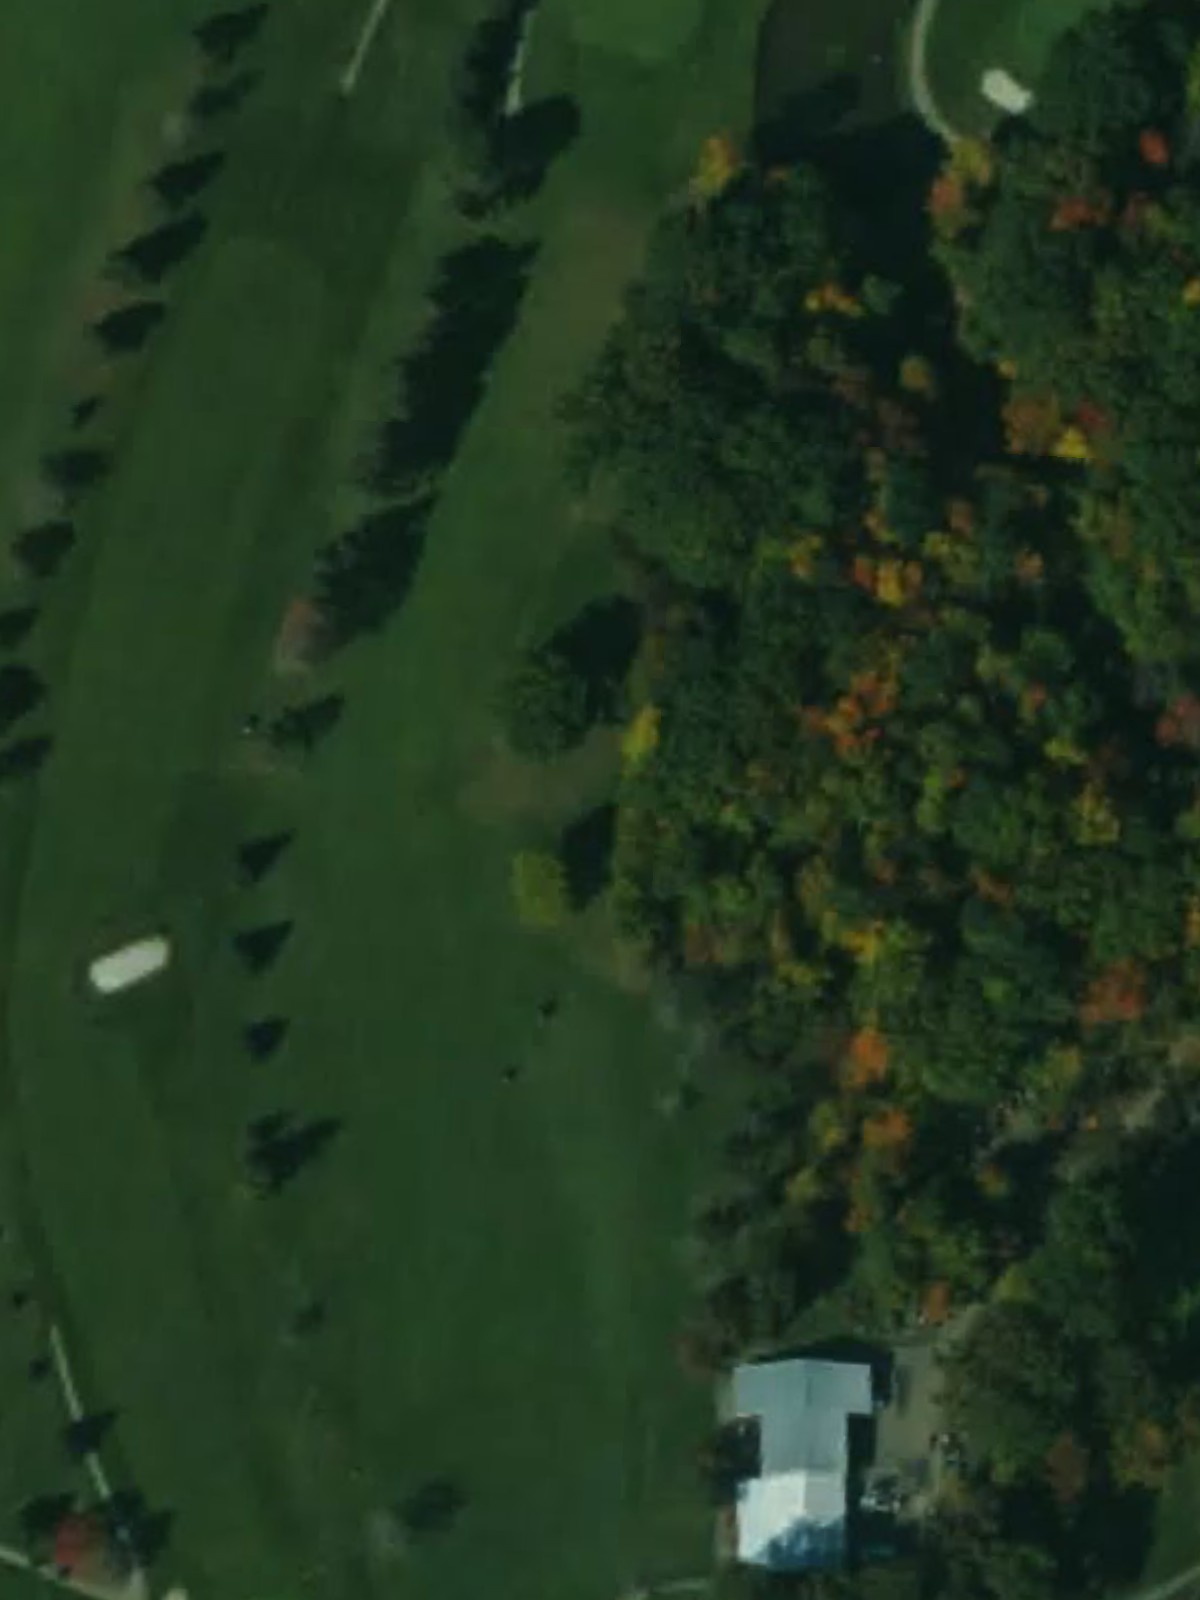
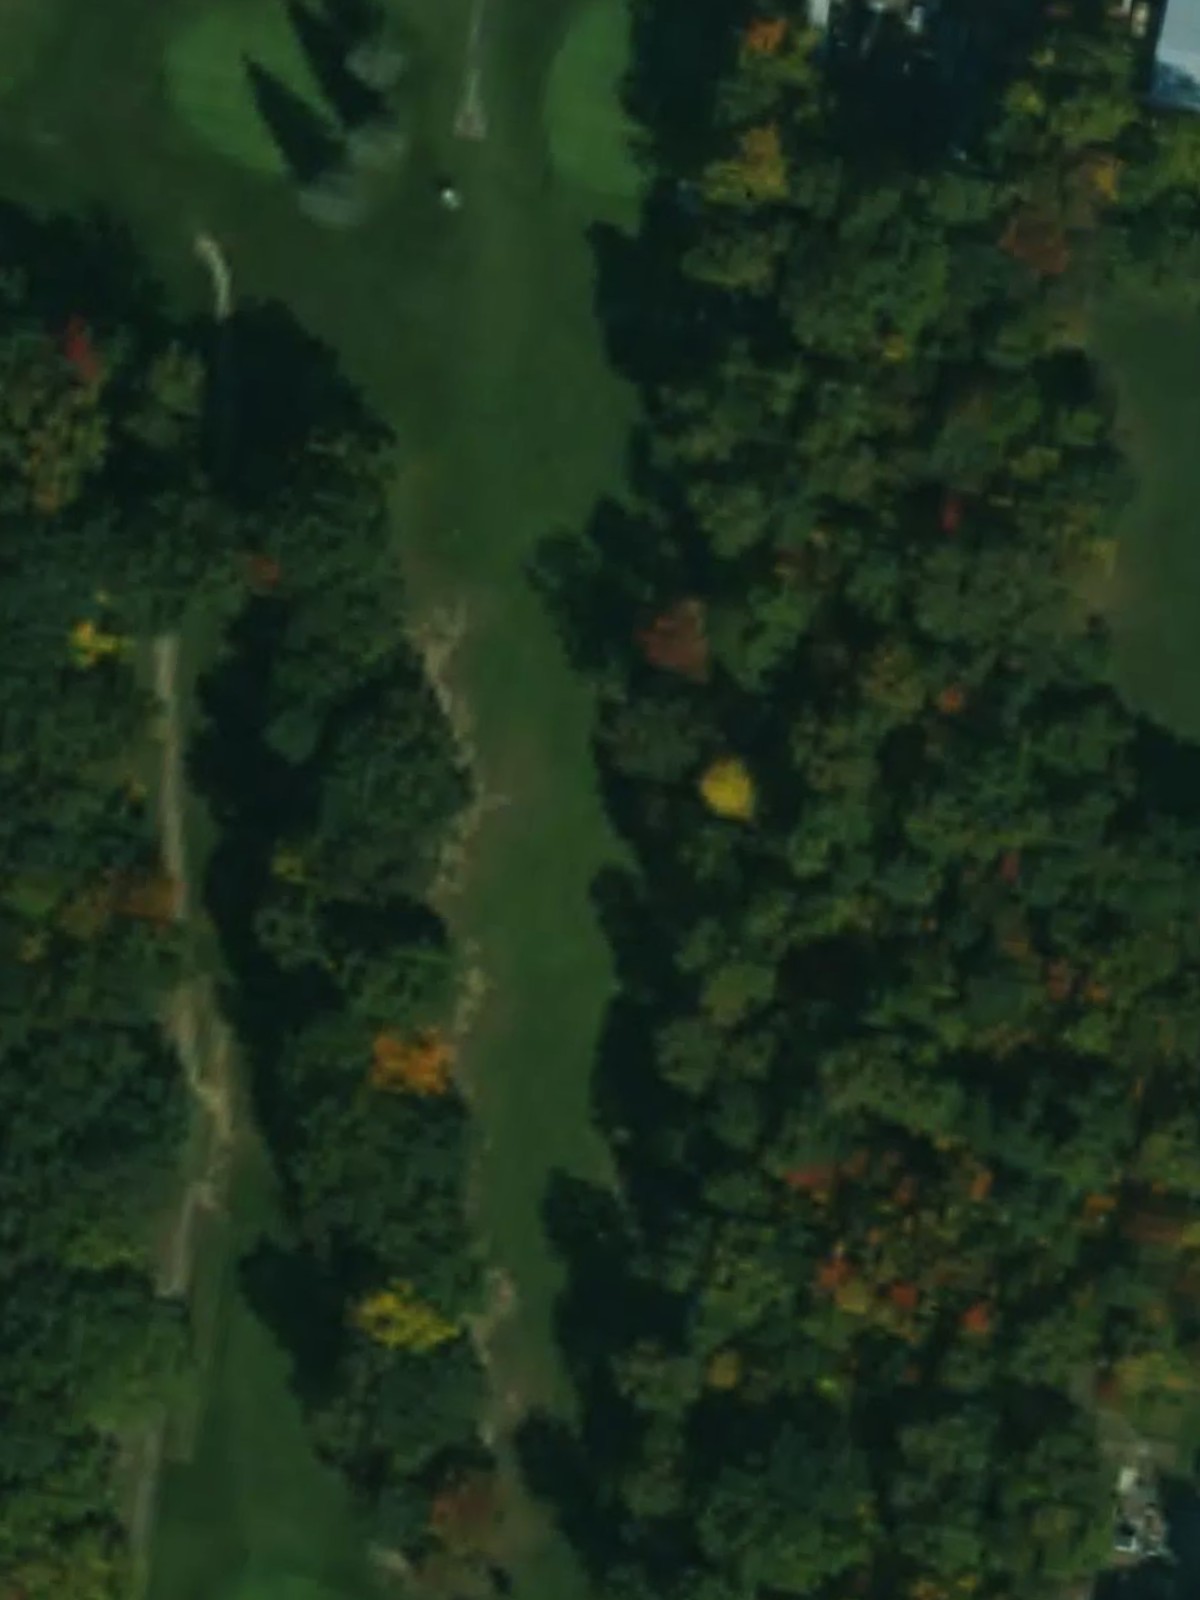
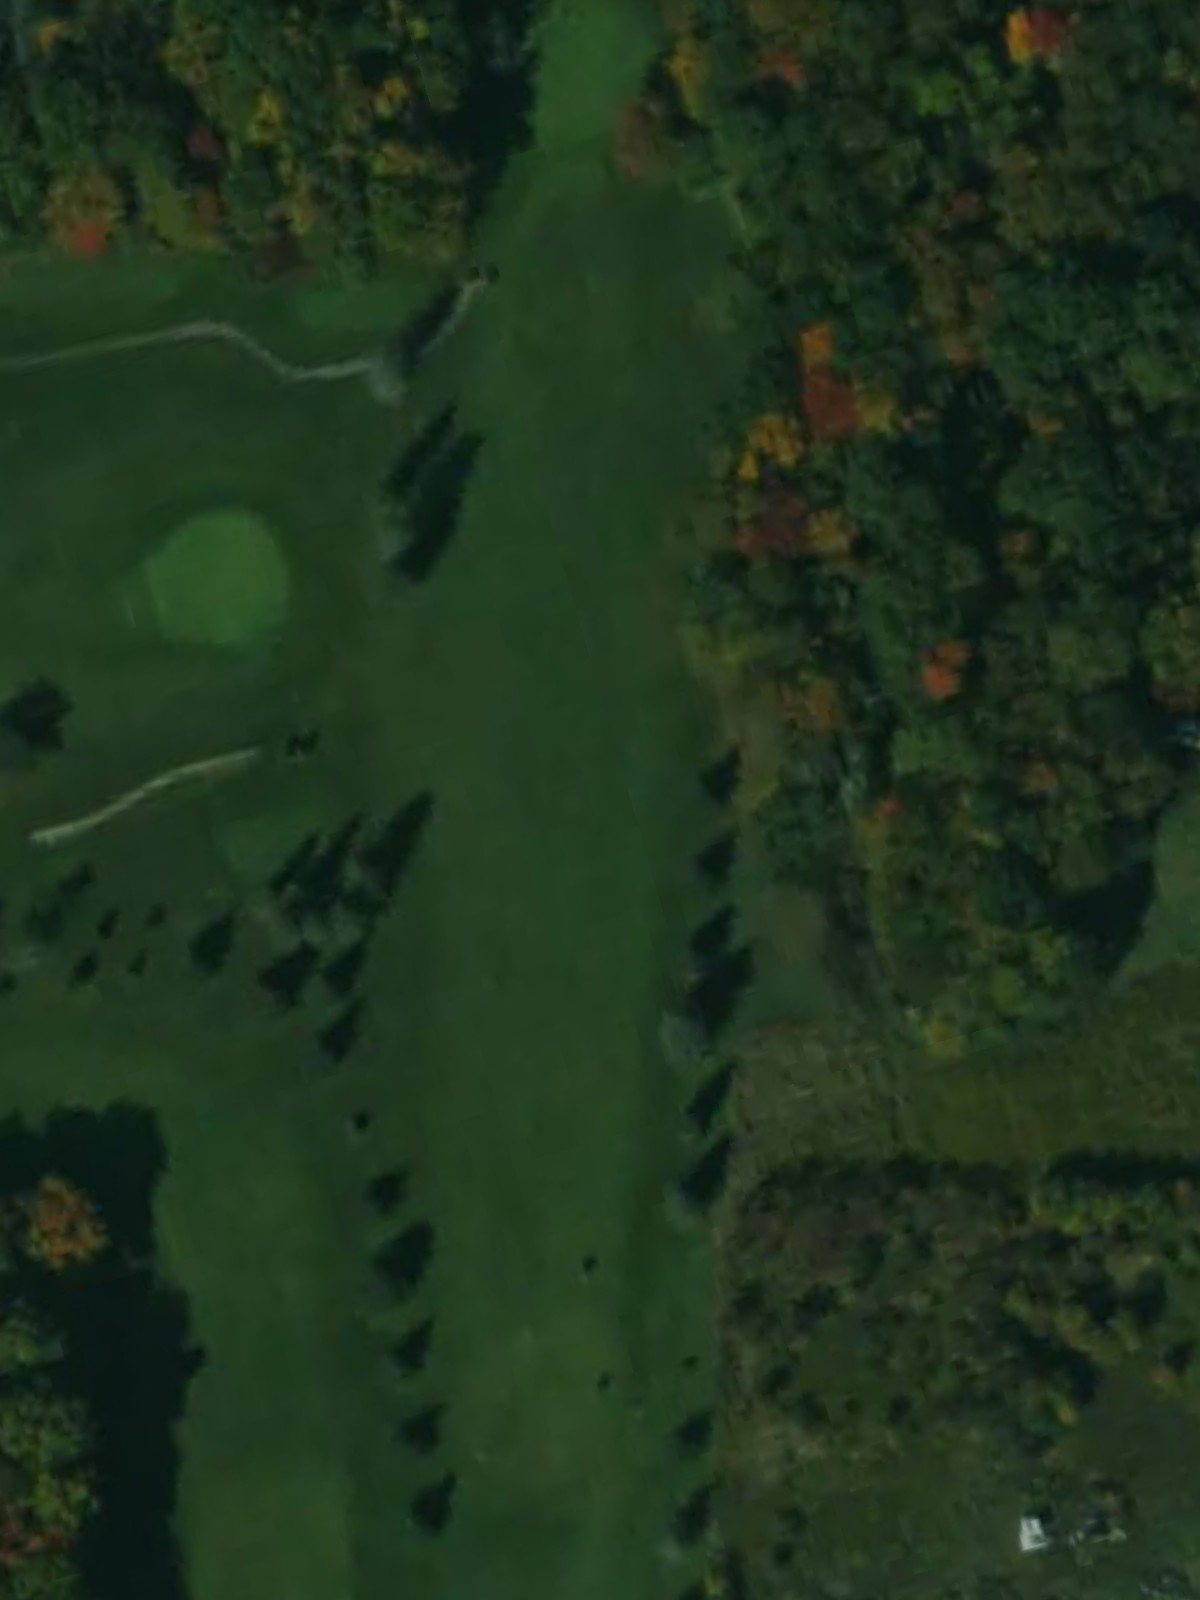
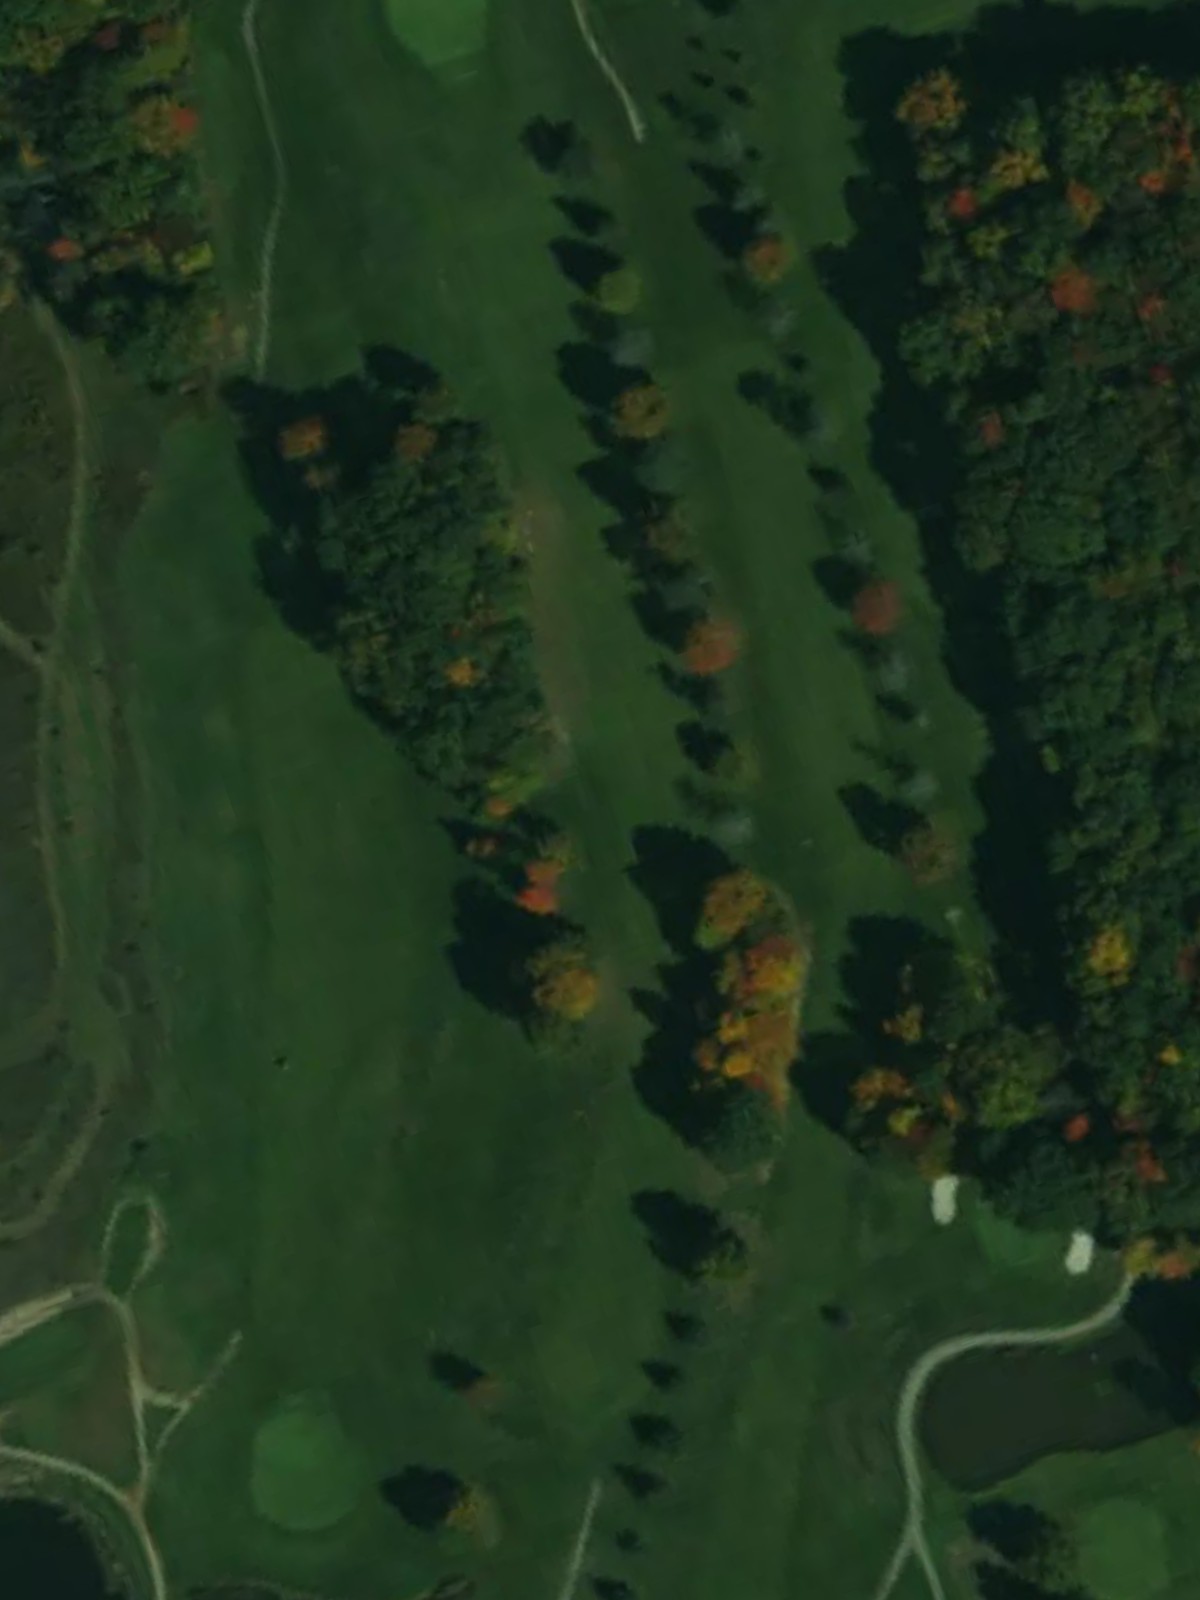
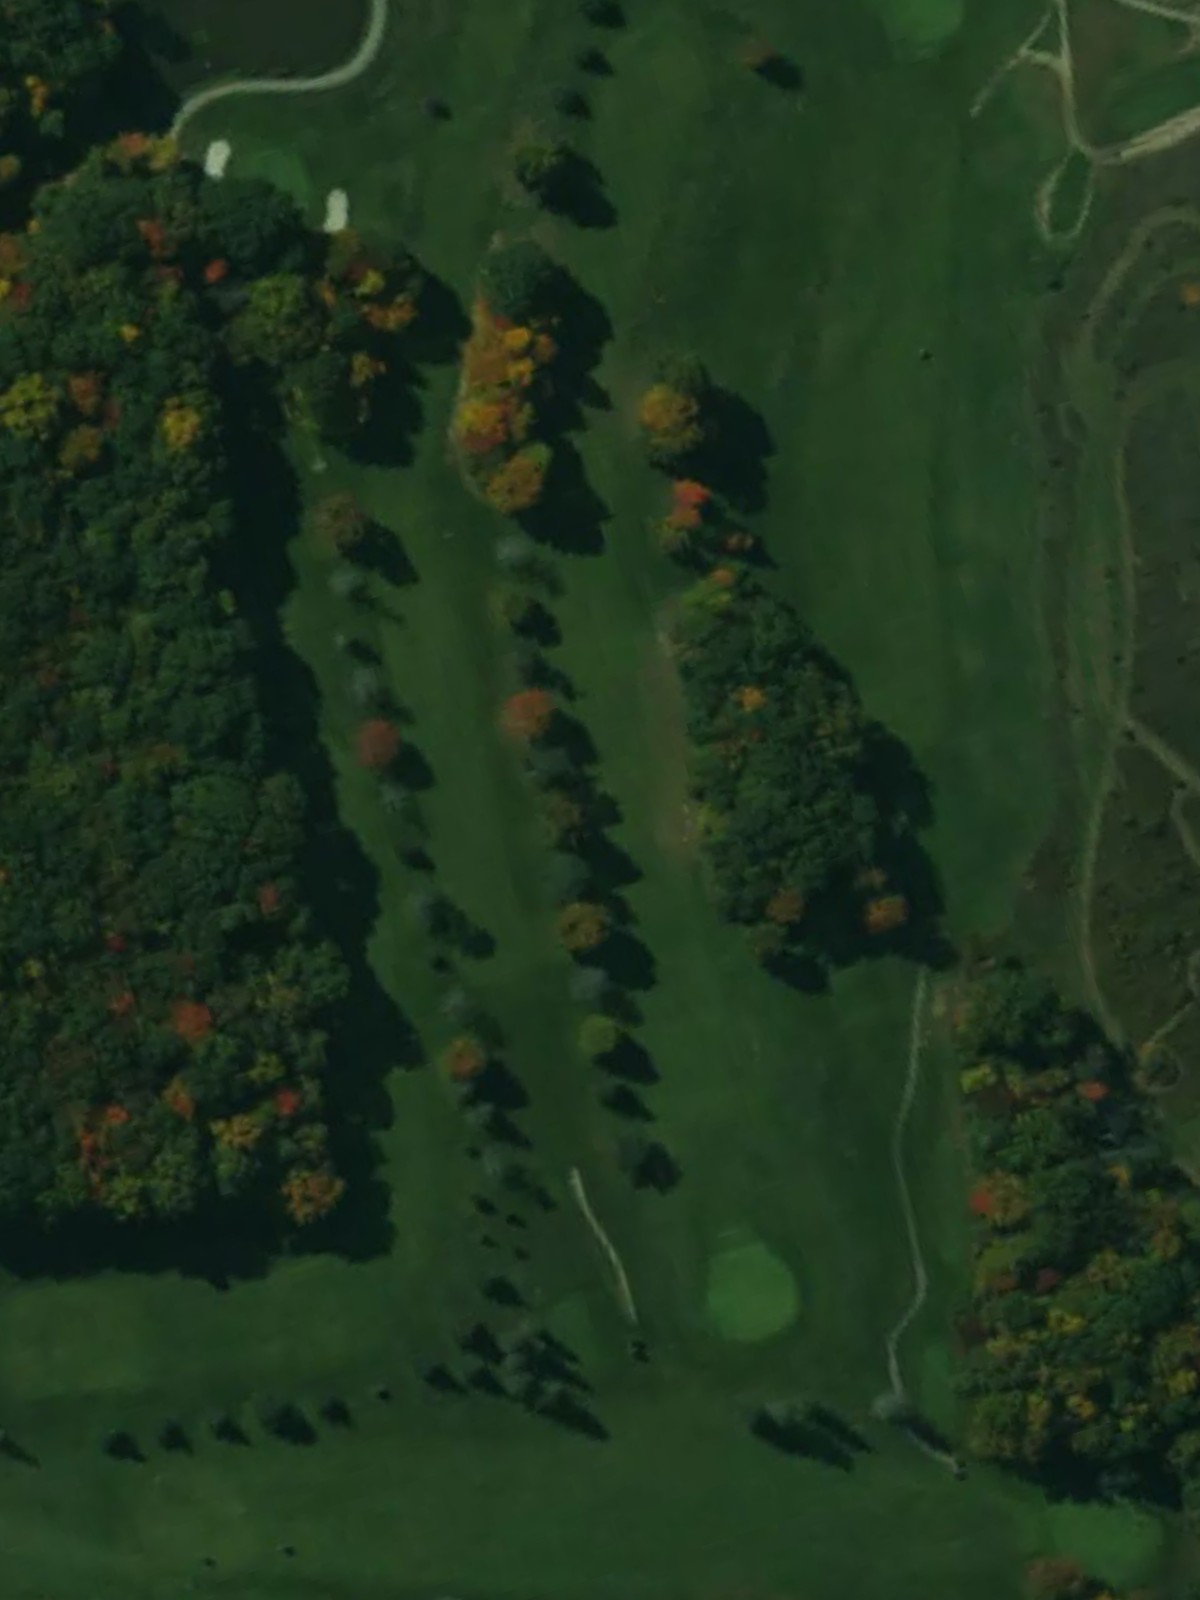
A demanding opening par 4 that plays as the course's handicap 1 hole. The fairway is relatively open off the tee but tightens significantly as it approaches a well-bunkered green, demanding accuracy on the approach shot.
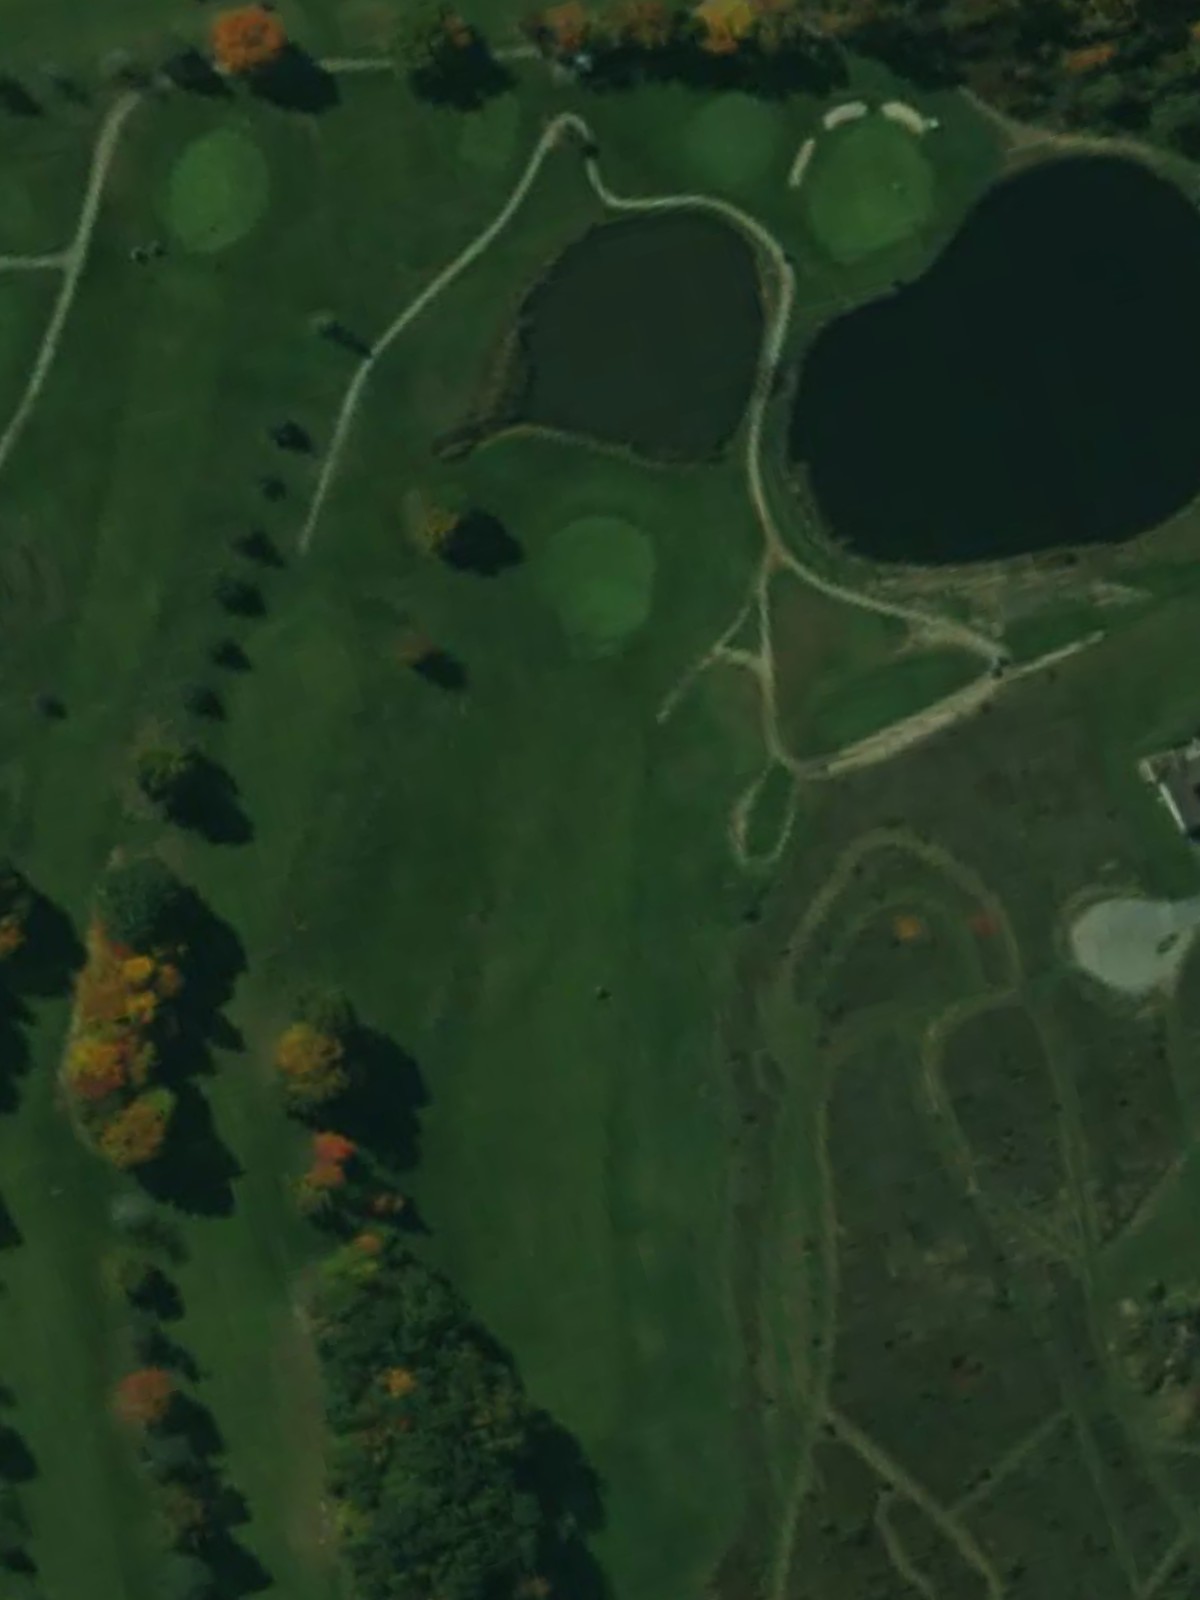
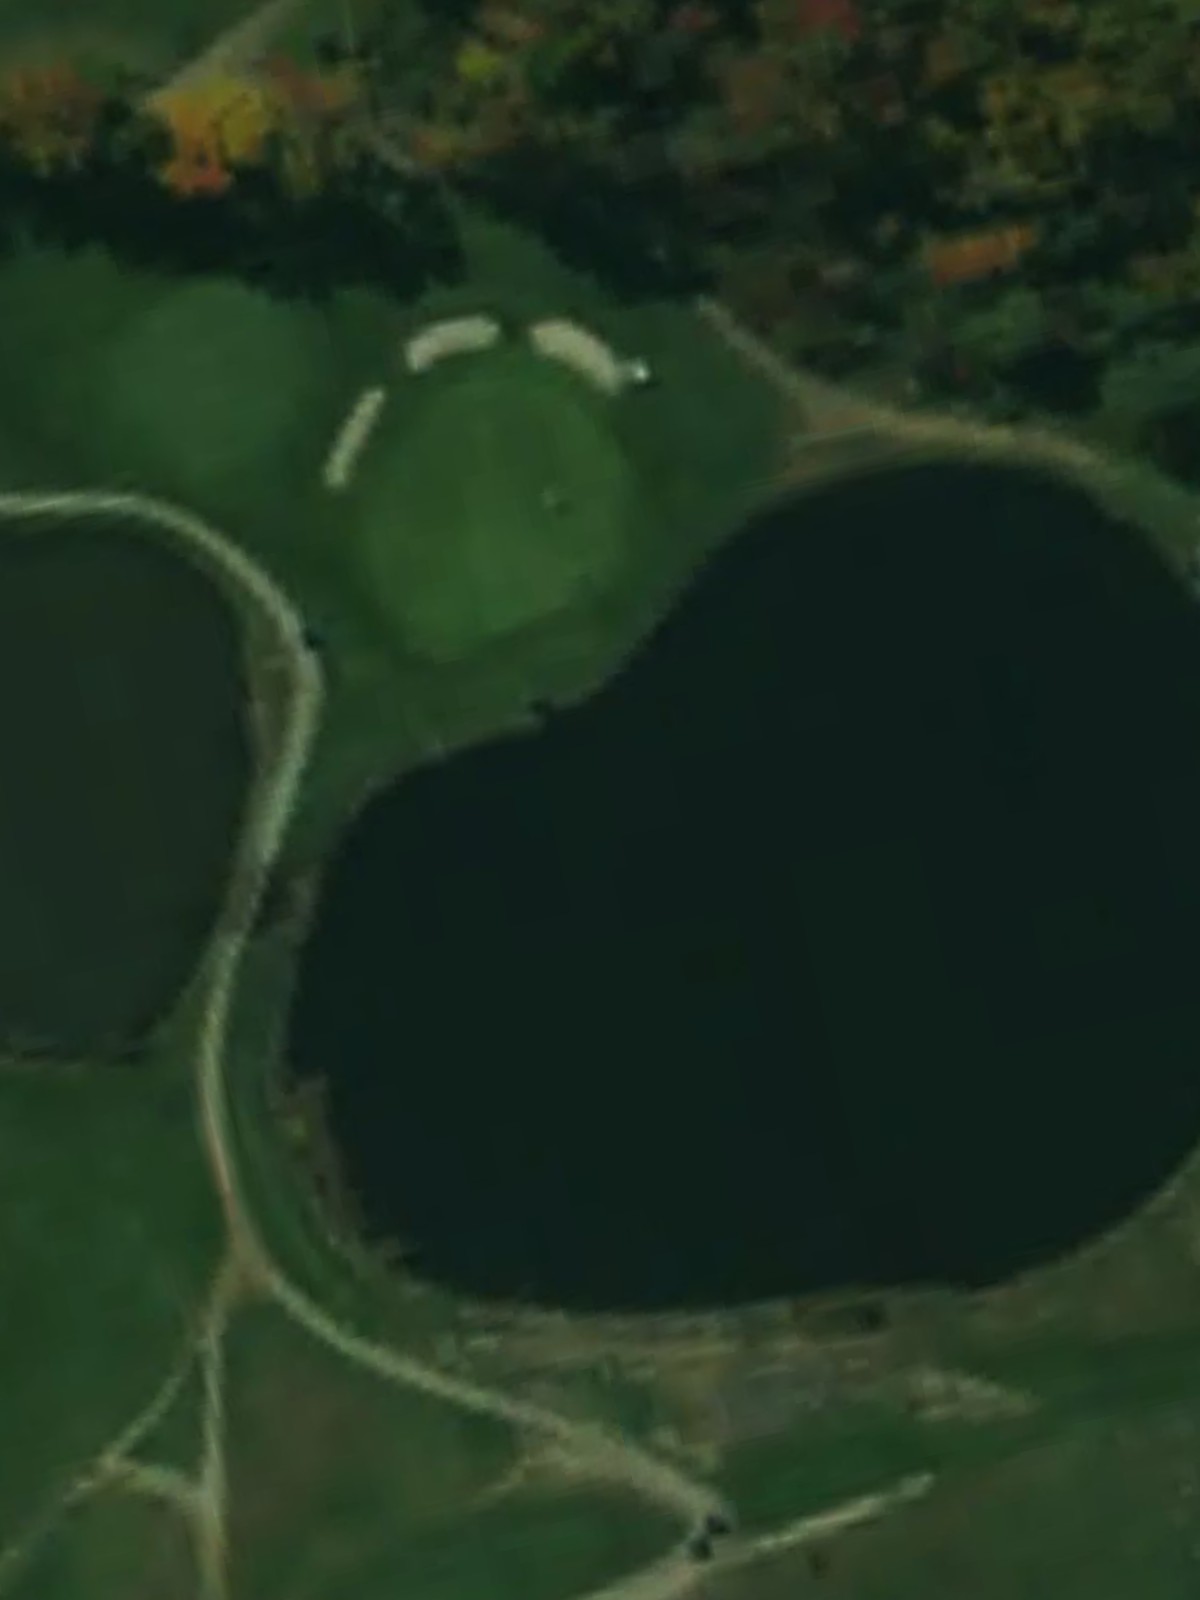
A reachable par 5 with a straightforward layout offering birdie opportunities for longer hitters. Water hazards and bunkers frame the approach area, requiring careful positioning for the second shot.
A short par 3 presenting a straightforward one-shot challenge over minimal hazards. The modest length and generous green make this a scoring opportunity early in the round.

A lengthy par 5 and one of the course's most difficult holes, requiring two solid shots to set up a manageable approach. Strategic bunkering and water hazards demand precise positioning throughout the hole.
A short par 4 that offers a chance to attack despite its modest length. Out-of-bounds or hazards on one or both sides of the fairway pinch the landing area and make accuracy off the tee essential.
A mid-length par 4 with potential doglegging or bending character that adds complexity to both tee and approach shots. Greenside bunkers or water guard the putting surface, requiring precision into the green.
A mid-length par 3 with enough distance to demand a solid intermediate iron. A well-positioned green and strategic bunkering make this hole a fair test of accuracy and distance control.
A short to mid-length par 3 with water or bunkers creating a defined target. The relatively compact green and surrounding hazards demand precise shot-making over a modest yardage.
A compact par 4 offering scoring potential despite its brevity. Narrow fairways or hazards left and right demand controlled tee shots, and the approach must navigate greenside defenses.
A short par 4 presenting an accessible scoring hole, though hazards frame the fairway or green. The modest length is deceptive if the landing area or approach is guarded tightly by bunkers or water.
A mid-length par 4 with potential bending characteristics and strategic hazard placement. The demanding length combined with out-of-bounds or water on one side creates a test of both power and accuracy.
The second-most difficult hole on the course, this par 4 features substantial length and strategic hazards that penalize poor positioning. Doglegging or bending fairways demand precision off the tee to set up a manageable approach.
A very short par 3 that provides a birdie opportunity for accurate strikers. The tight green surrounded by bunkers or hazards means even this modest yardage demands precision.
A formidable par 5 ranking as the fourth-toughest hole on the course, featuring substantial length and strategic bunkering. Two well-positioned shots are required to reach scoring position in regulation.
A length par 5 with a challenging layout that ranks among the course's most difficult. Water, bunkers, or out-of-bounds threaten throughout, and the approach into the green demands careful navigation.
The easiest par 3 on the course, this short hole plays downhill or to a receptive green with minimal hazard threat. The generous target makes this an ideal birdie opportunity despite the ranking as the course's hardest by stroke index.
A long par 5 offering scoring potential despite its substantial yardage. Strategic positioning of water or bunkers throughout the hole rewards accurate shot-making on both the drive and second shot.

The closing par 3 features dramatic length and likely island-green or heavily bunkered design that demands a precise final shot. This memorable finishing hole creates a fitting conclusion to the round with its challenging green-side defenses.
Scorecard
| Hole | 1 | 2 | 3 | 4 | 5 | 6 | 7 | 8 | 9 | Out | 10 | 11 | 12 | 13 | 14 | 15 | 16 | 17 | 18 | In | Tot |
|---|---|---|---|---|---|---|---|---|---|---|---|---|---|---|---|---|---|---|---|---|---|
| Par | 4 | 5 | 3 | 5 | 4 | 4 | 3 | 3 | 4 | 35 | 4 | 4 | 4 | 3 | 5 | 5 | 3 | 5 | 3 | 36 | 71 |
| HCP | 1 | 15 | 17 | 3 | 9 | 11 | 5 | 7 | 13 | 14 | 10 | 2 | 12 | 4 | 6 | 18 | 16 | 8 | |||
| blue | 438 | 478 | 146 | 543 | 299 | 372 | 199 | 187 | 348 | 3010 | 330 | 427 | 442 | 178 | 553 | 539 | 141 | 505 | 220 | 3335 | 6345 |
| white | 422 | 466 | 138 | 530 | 295 | 360 | 185 | 170 | 335 | 2901 | 320 | 400 | 390 | 150 | 540 | 520 | 130 | 475 | 195 | 3120 | 6021 |
| gold | 400 | 445 | 130 | 485 | 290 | 300 | 165 | 150 | 325 | 2690 | 310 | 385 | 360 | 130 | 460 | 485 | 120 | 390 | 180 | 2820 | 5510 |
| red | 380 | 390 | 120 | 480 | 260 | 290 | 145 | 135 | 250 | 2450 | 260 | 280 | 310 | 95 | 455 | 480 | 80 | 390 | 130 | 2480 | 4930 |