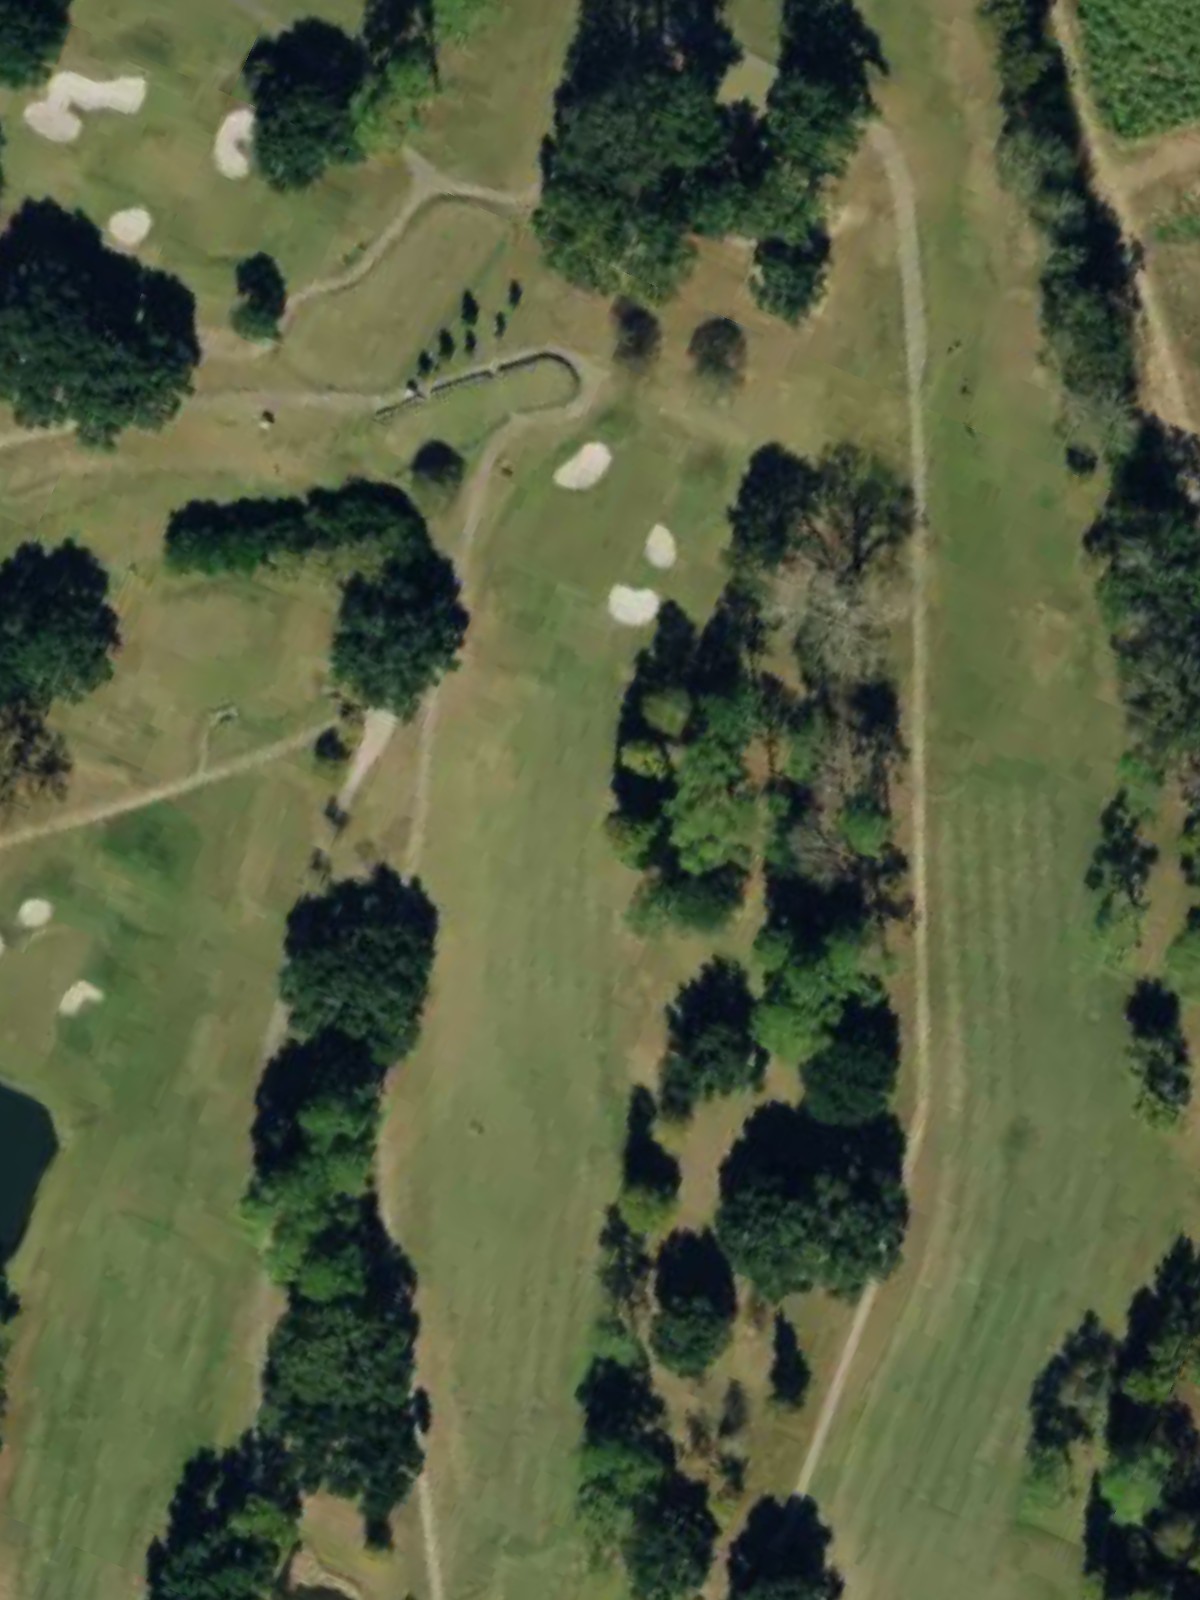
Oakbourne Country Club is an 18-hole golf course in Lafayette, LA with a par of 72. It offers 5 tee sets: gold (6,866 yards, slope 129, rating 73.2), green (6,511 yards, slope 127, rating 71.6), blue (6,169 yards, slope 123, rating 69.8), white (5,631 yards, slope 115, rating 67.7), red (5,071 yards, slope 108, rating 64.9). The hardest hole is #3, a par 5 playing 434 yards from the first tee.
Oakbourne Country Club
Lafayette, LA
Get PDF Yardage Book
We'll email you the PDF link. No spam, ever.
Create Your Game Plan
Pick your tees, enter your bag, and get a personalized shot-by-shot strategy for every hole.

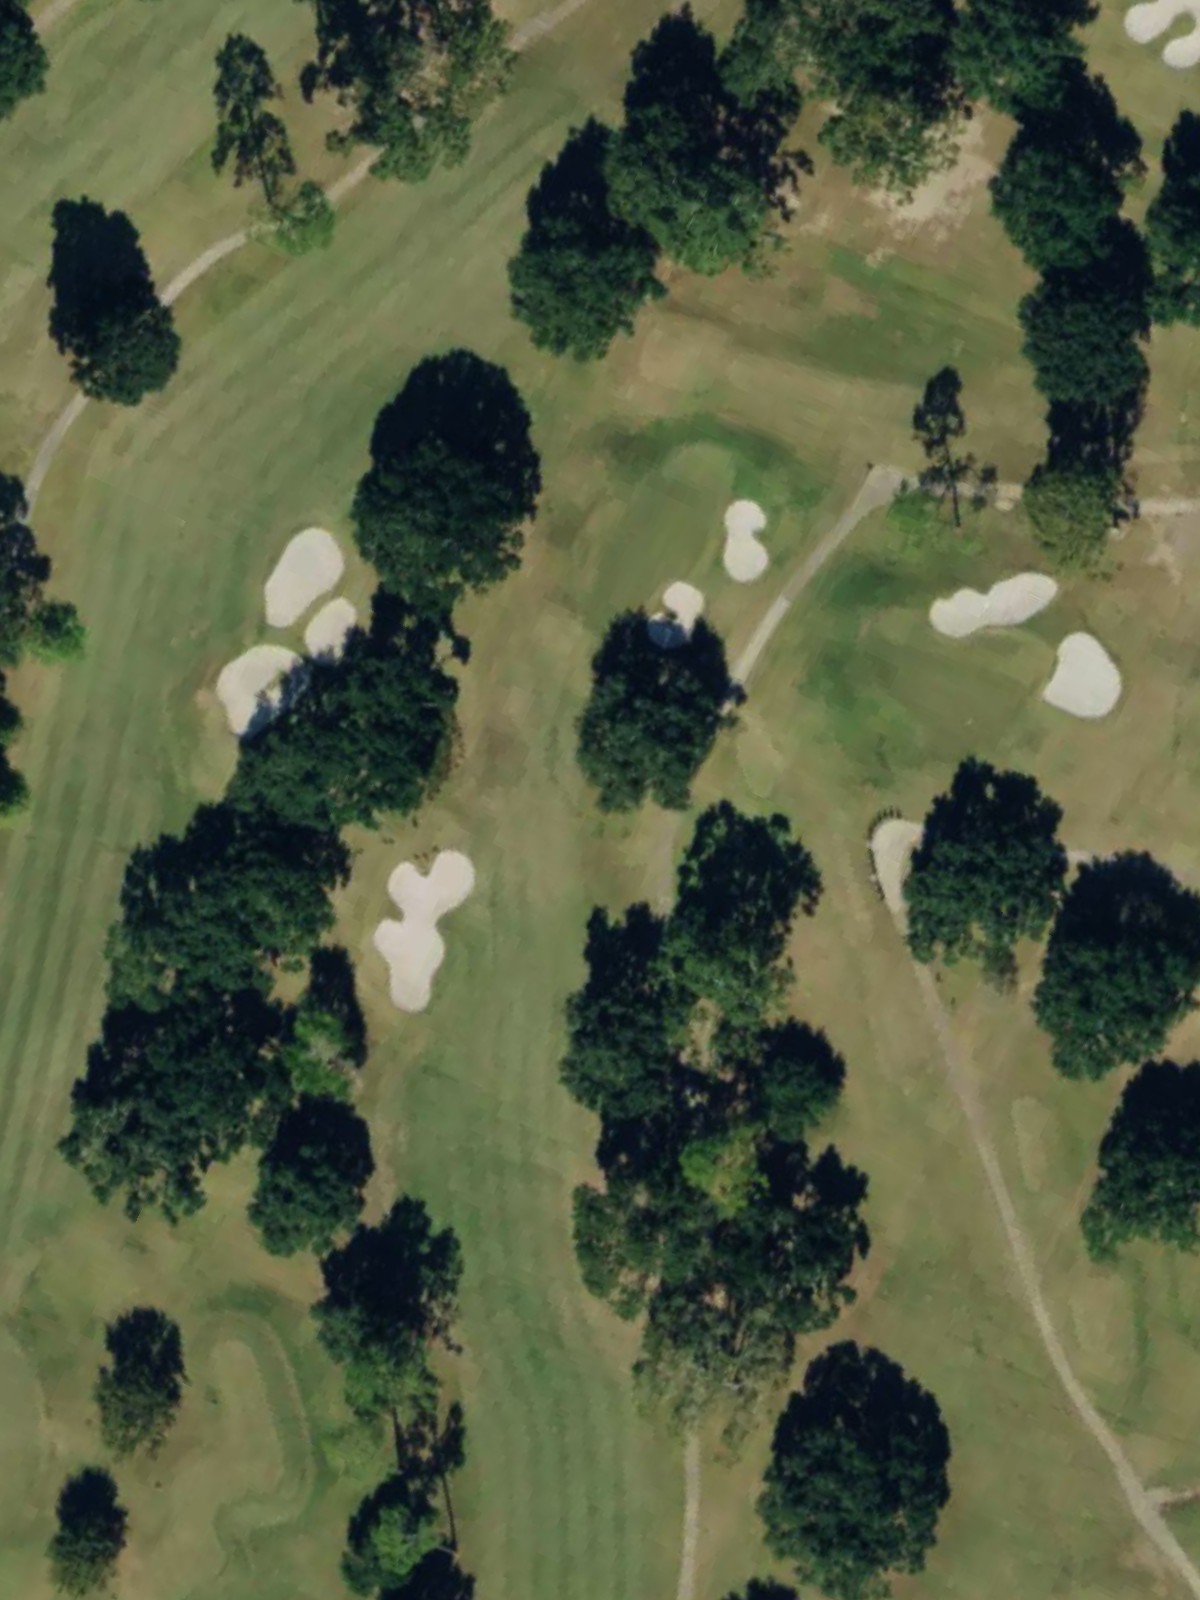
A straightforward opening par 4 with a welcoming fairway that gradually narrows as it approaches the green. Bunkers guard both sides of the green, with the right side presenting the primary challenge for approach shots.
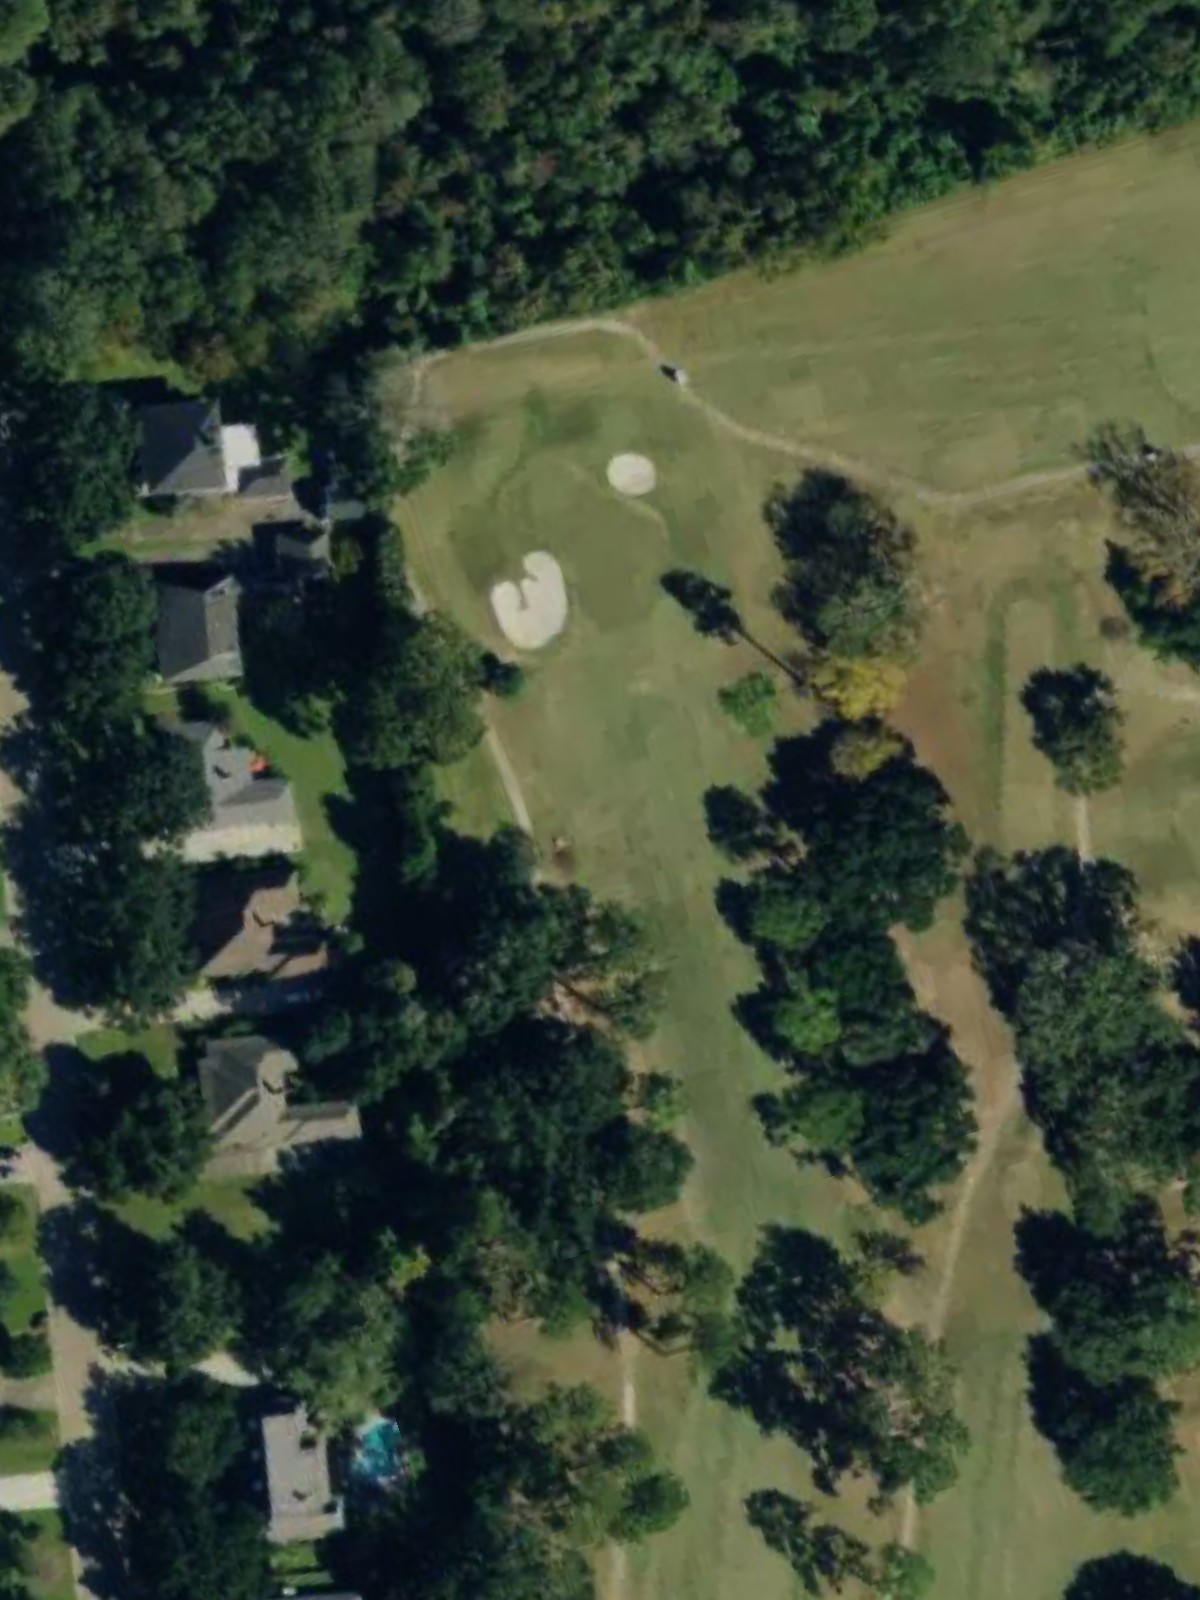
A demanding par 4 that plays longer than it appears, with out-of-bounds lurking along the right side throughout the hole. The fairway tightens significantly near the green, where bunkers frame the left side and demand accuracy on the approach.
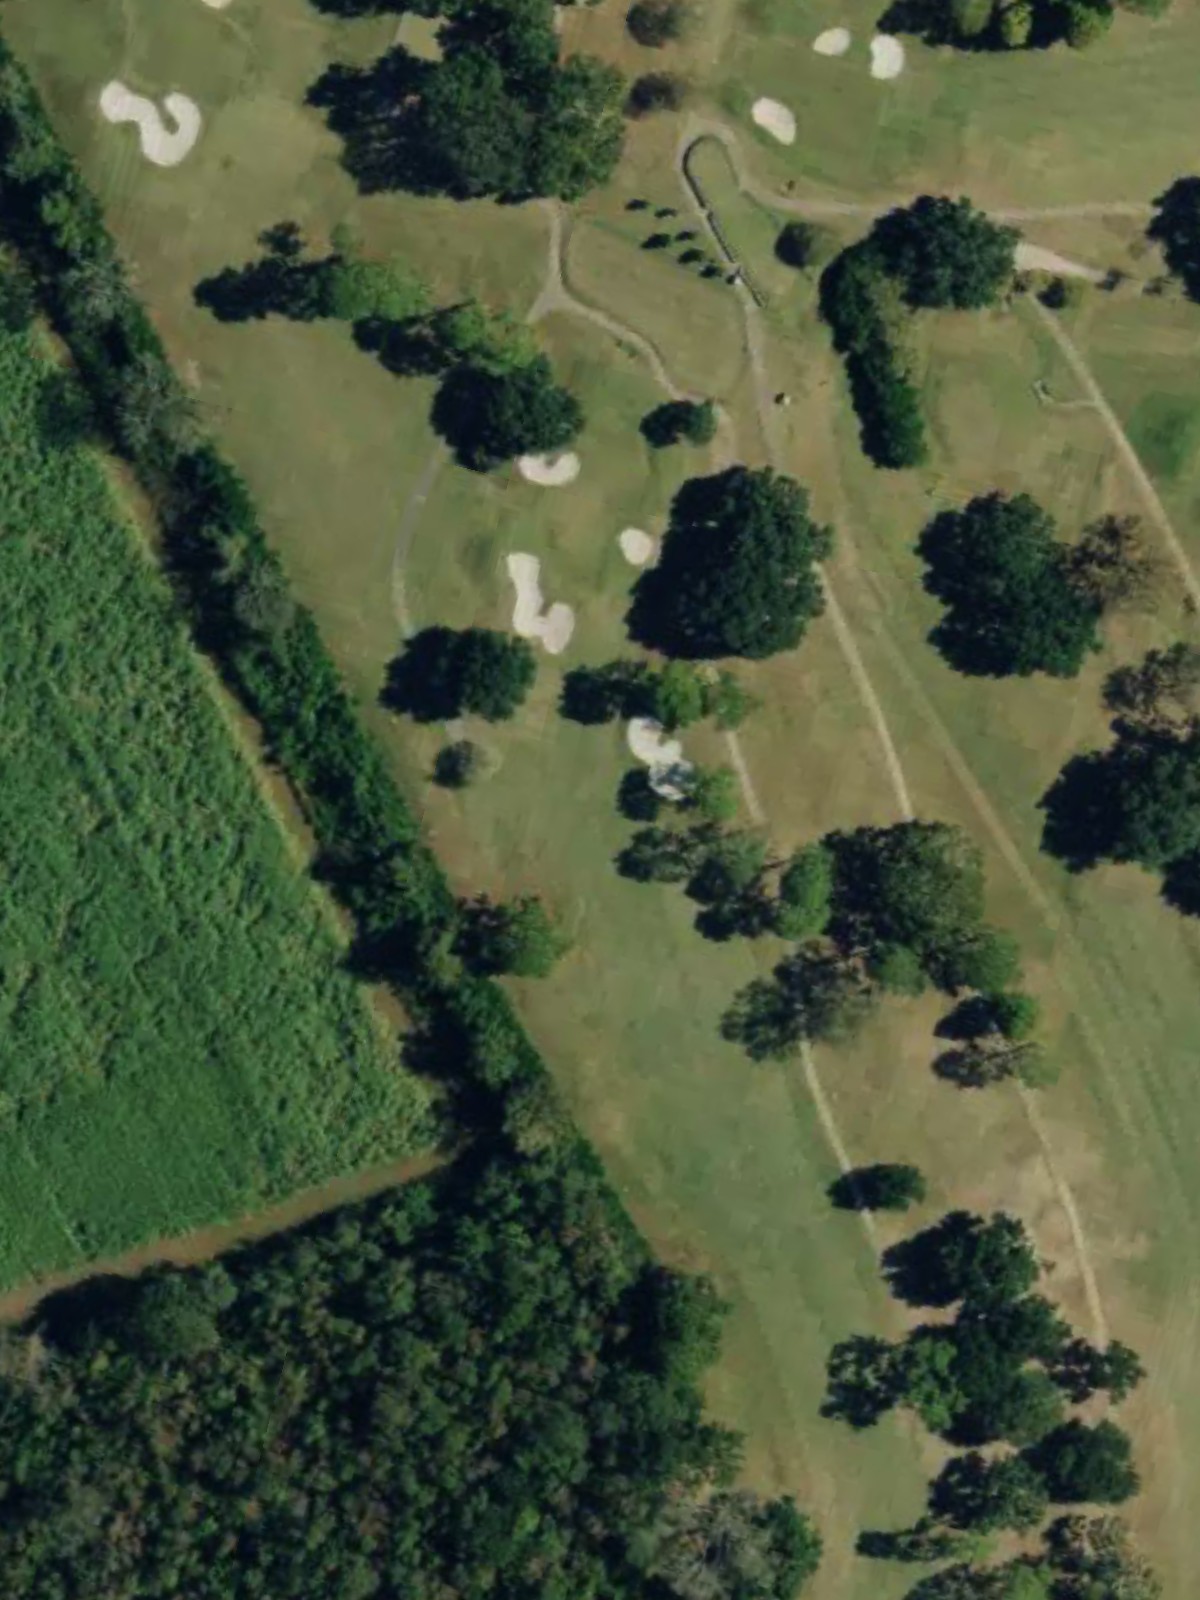
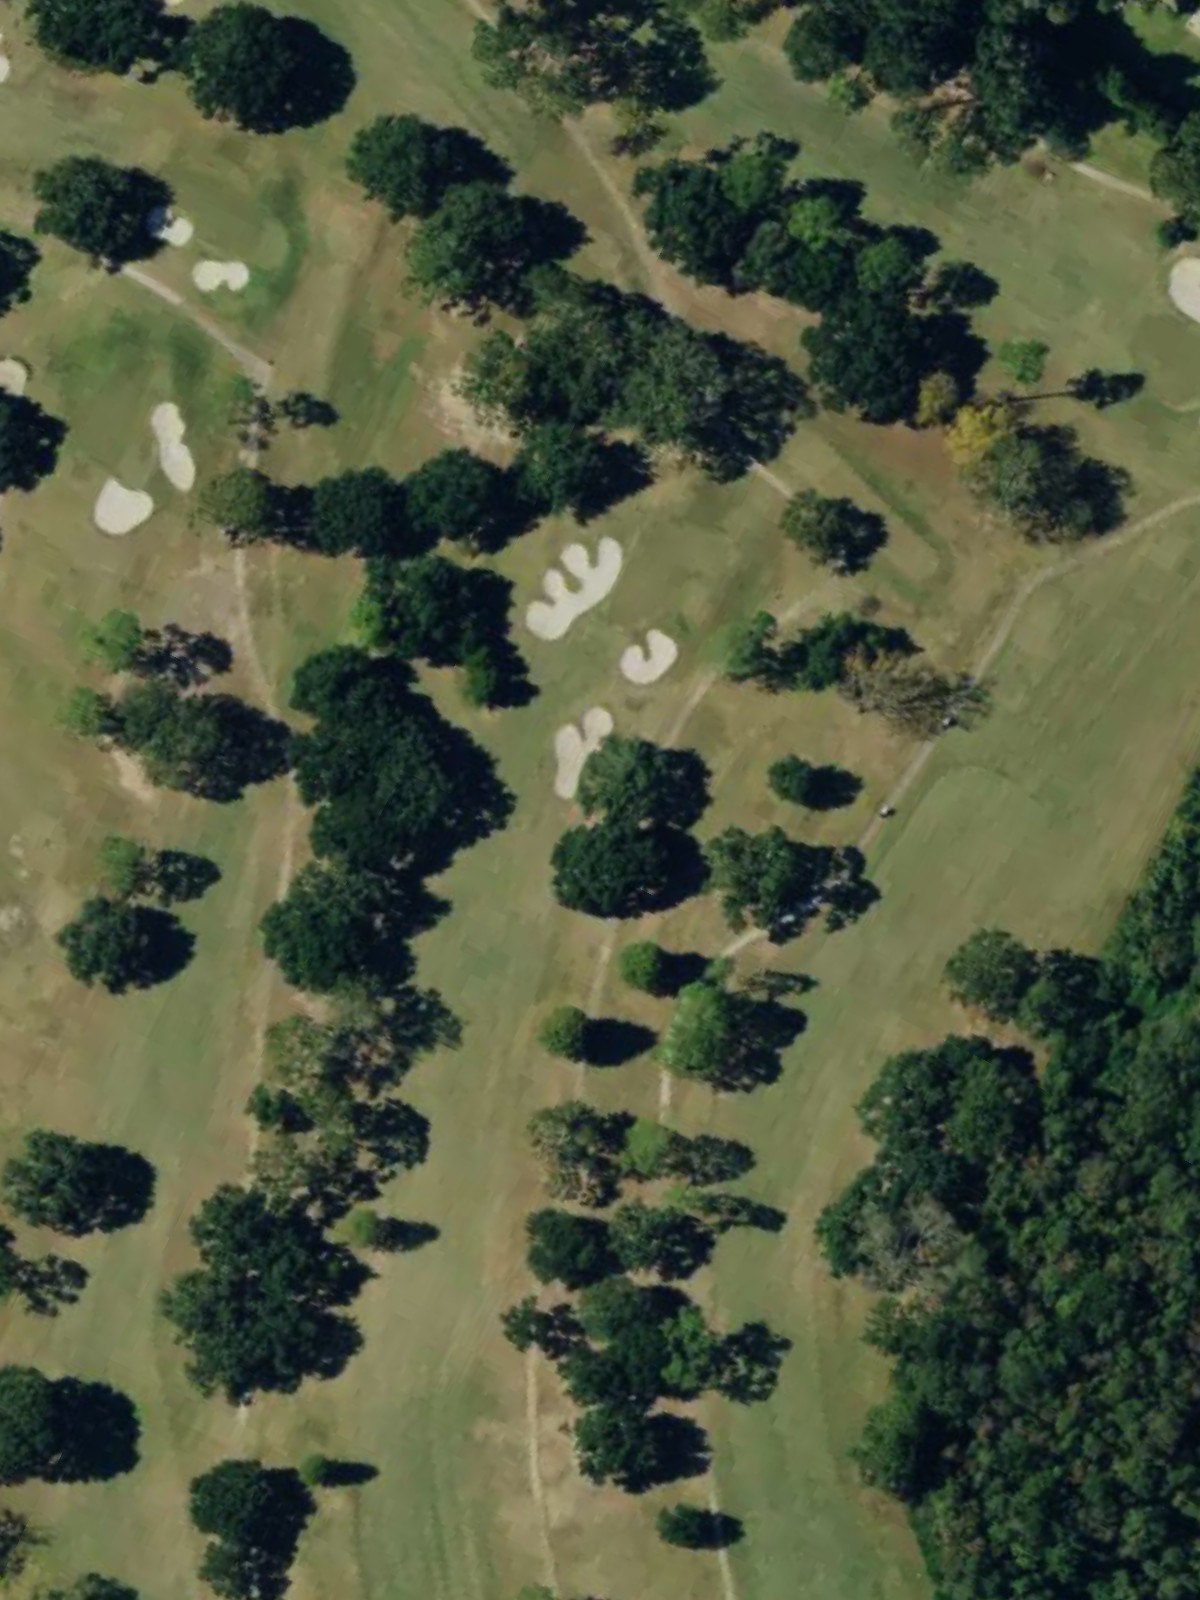
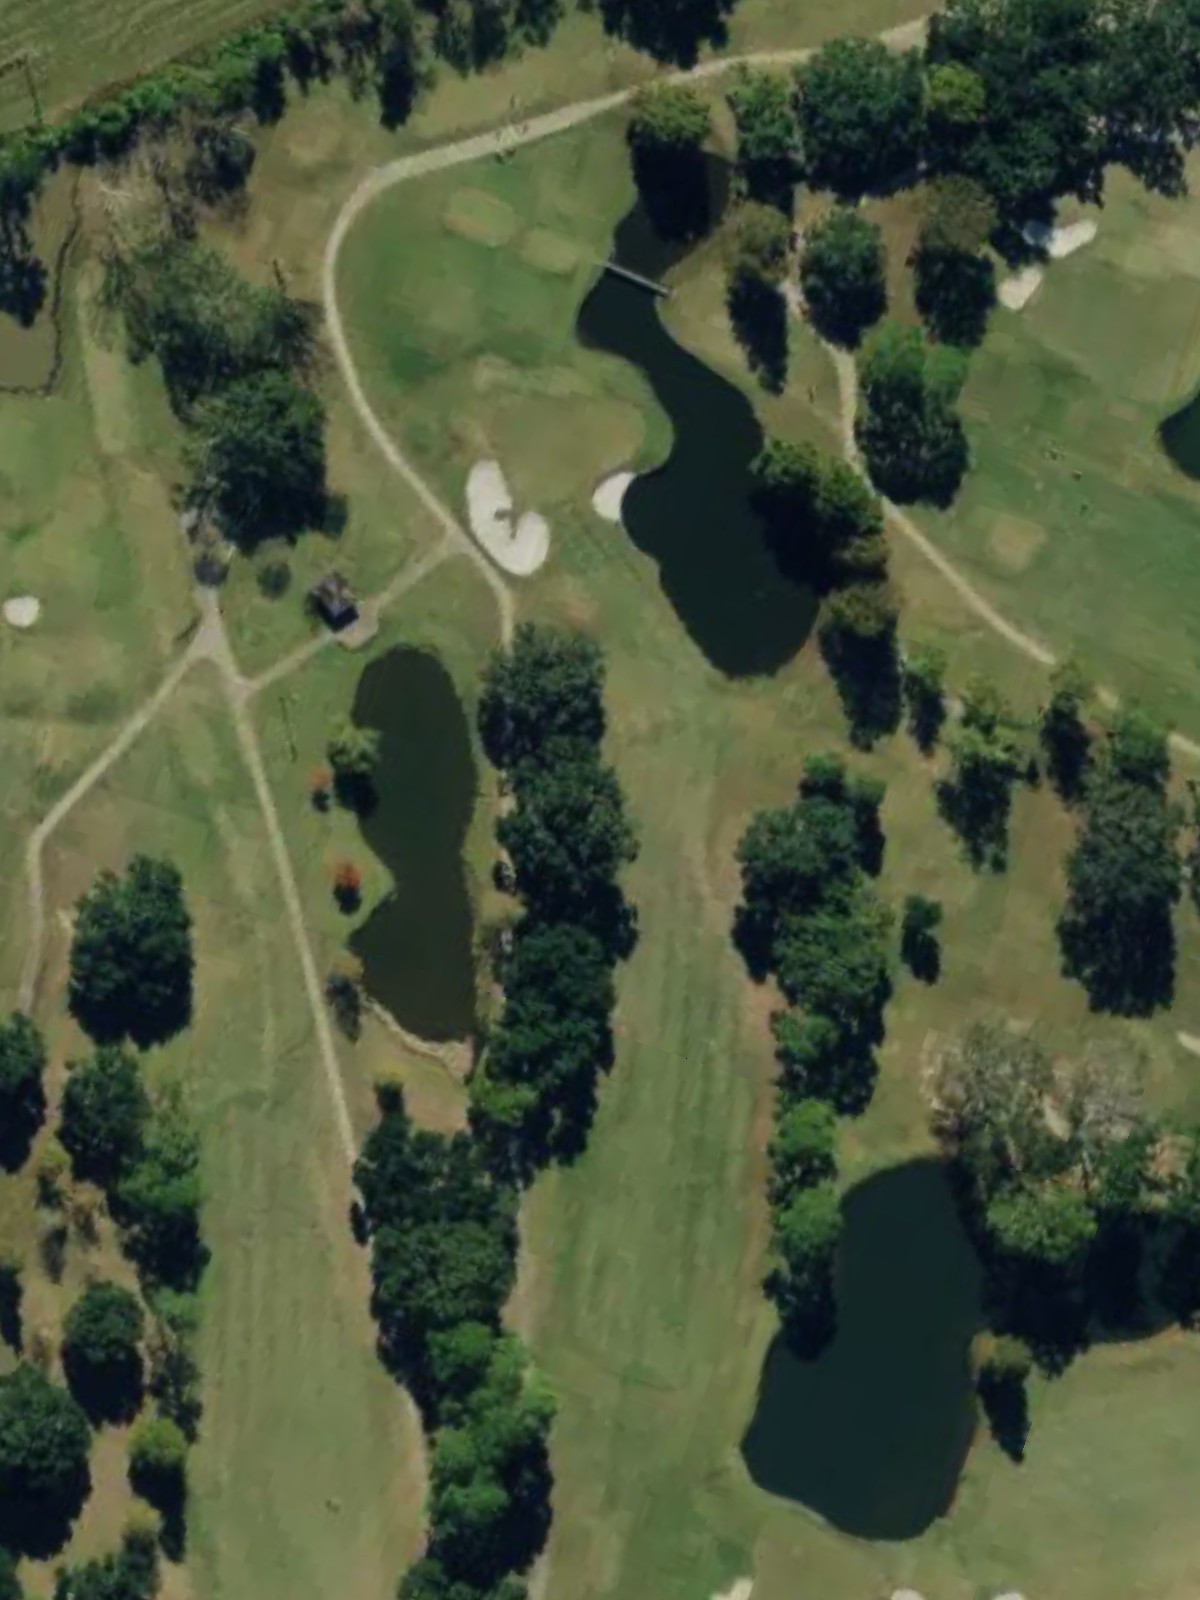
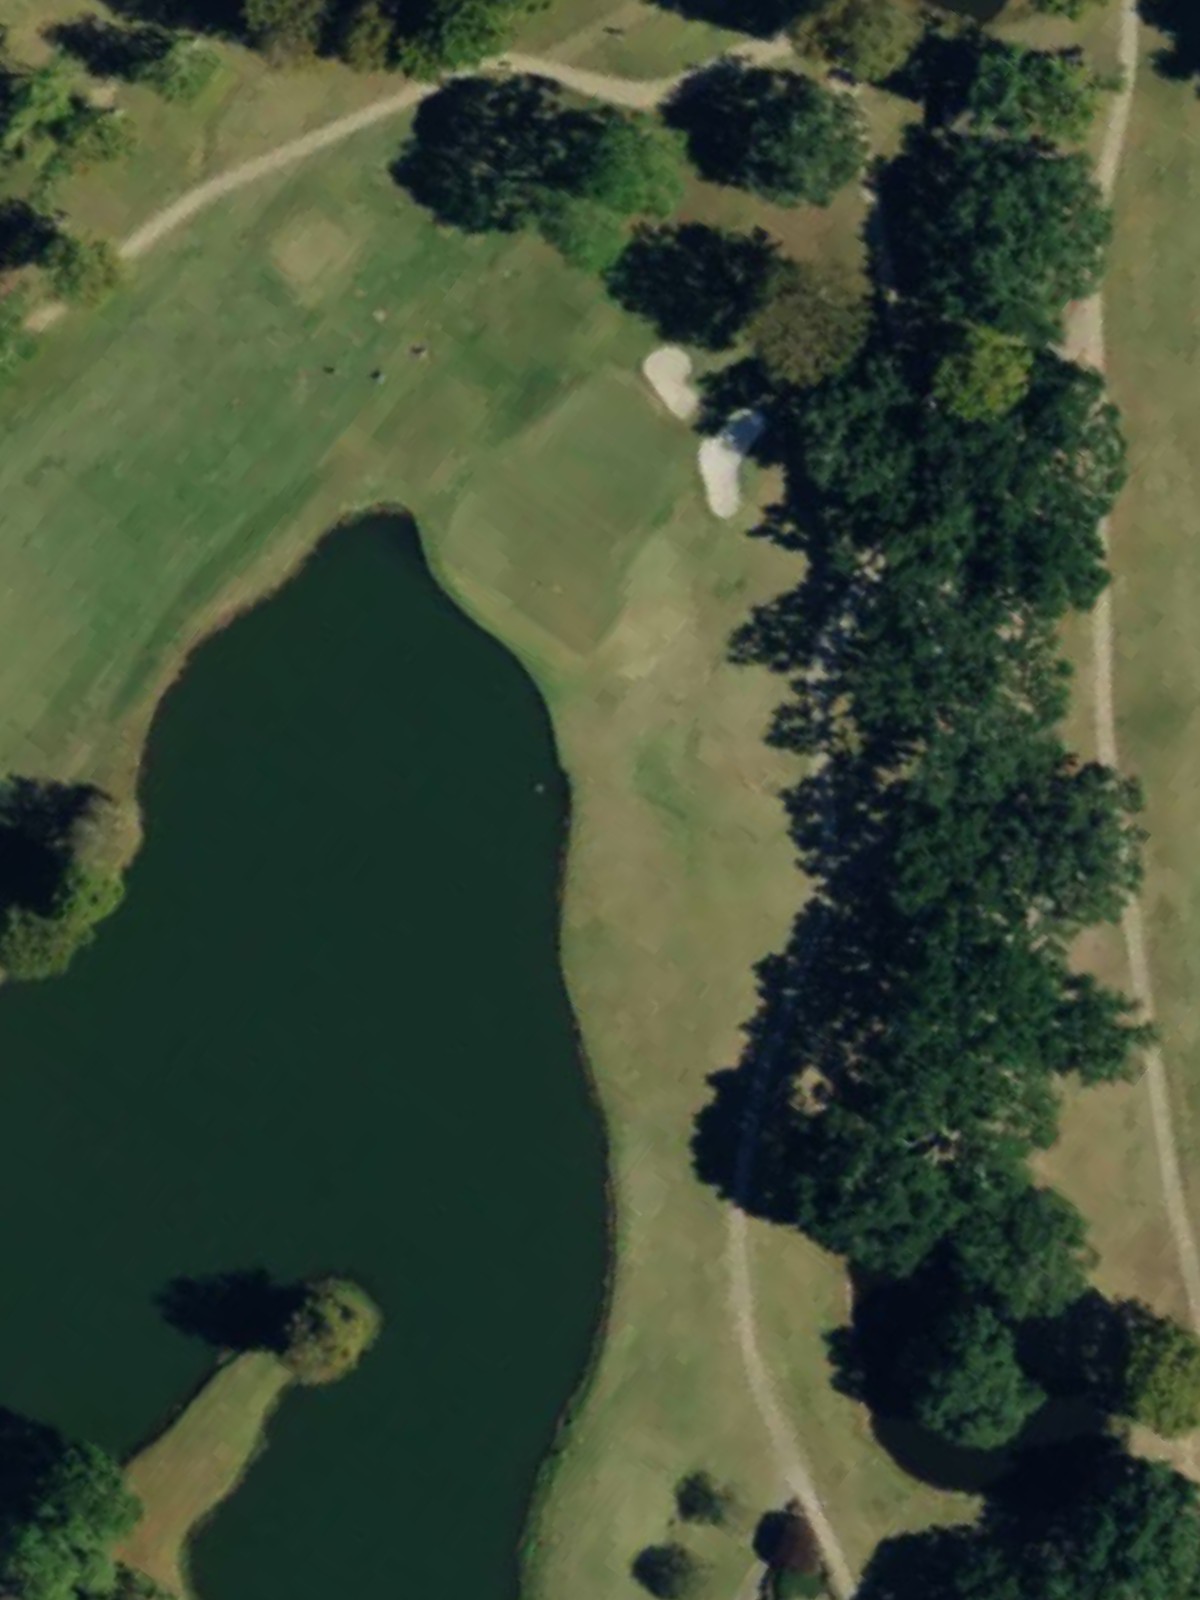
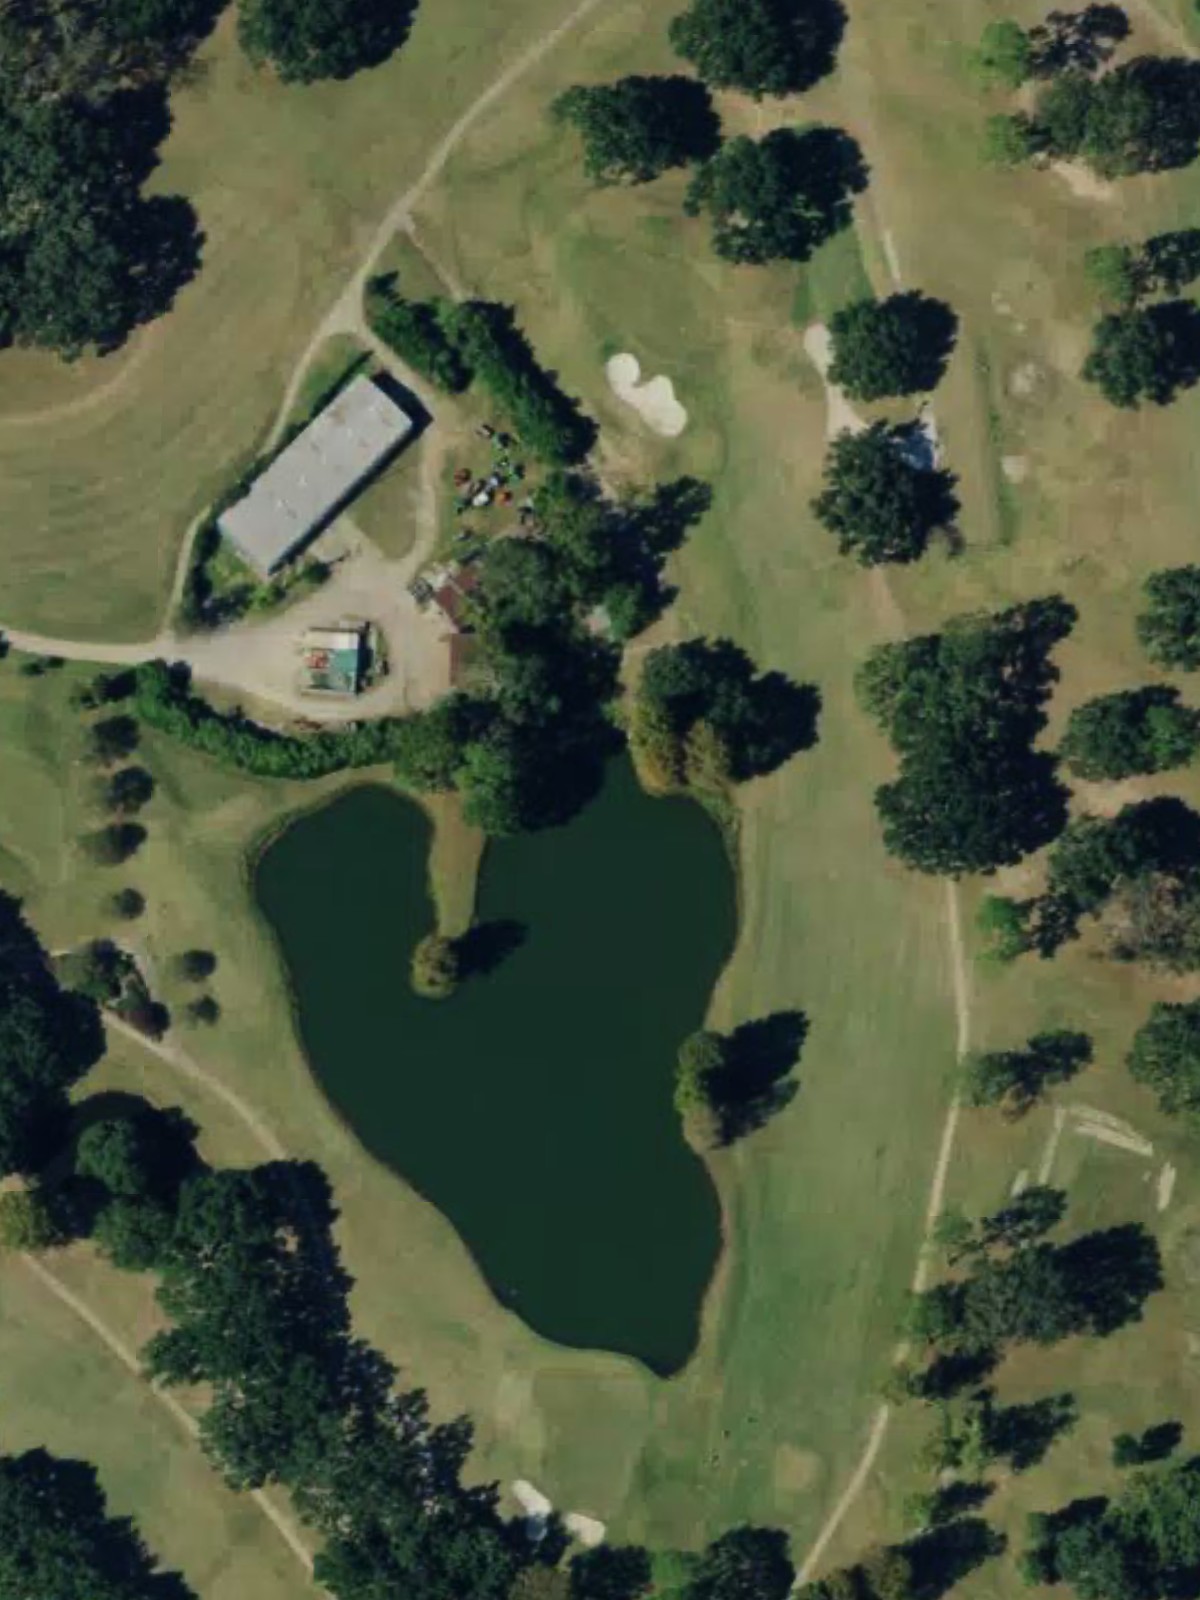
Oakbourne's signature hole—a dramatic par 5 that curves right with water hazards protecting the inside of the dogleg. The length and strategic bunkering throughout require thoughtful positioning on both the drive and second shot.
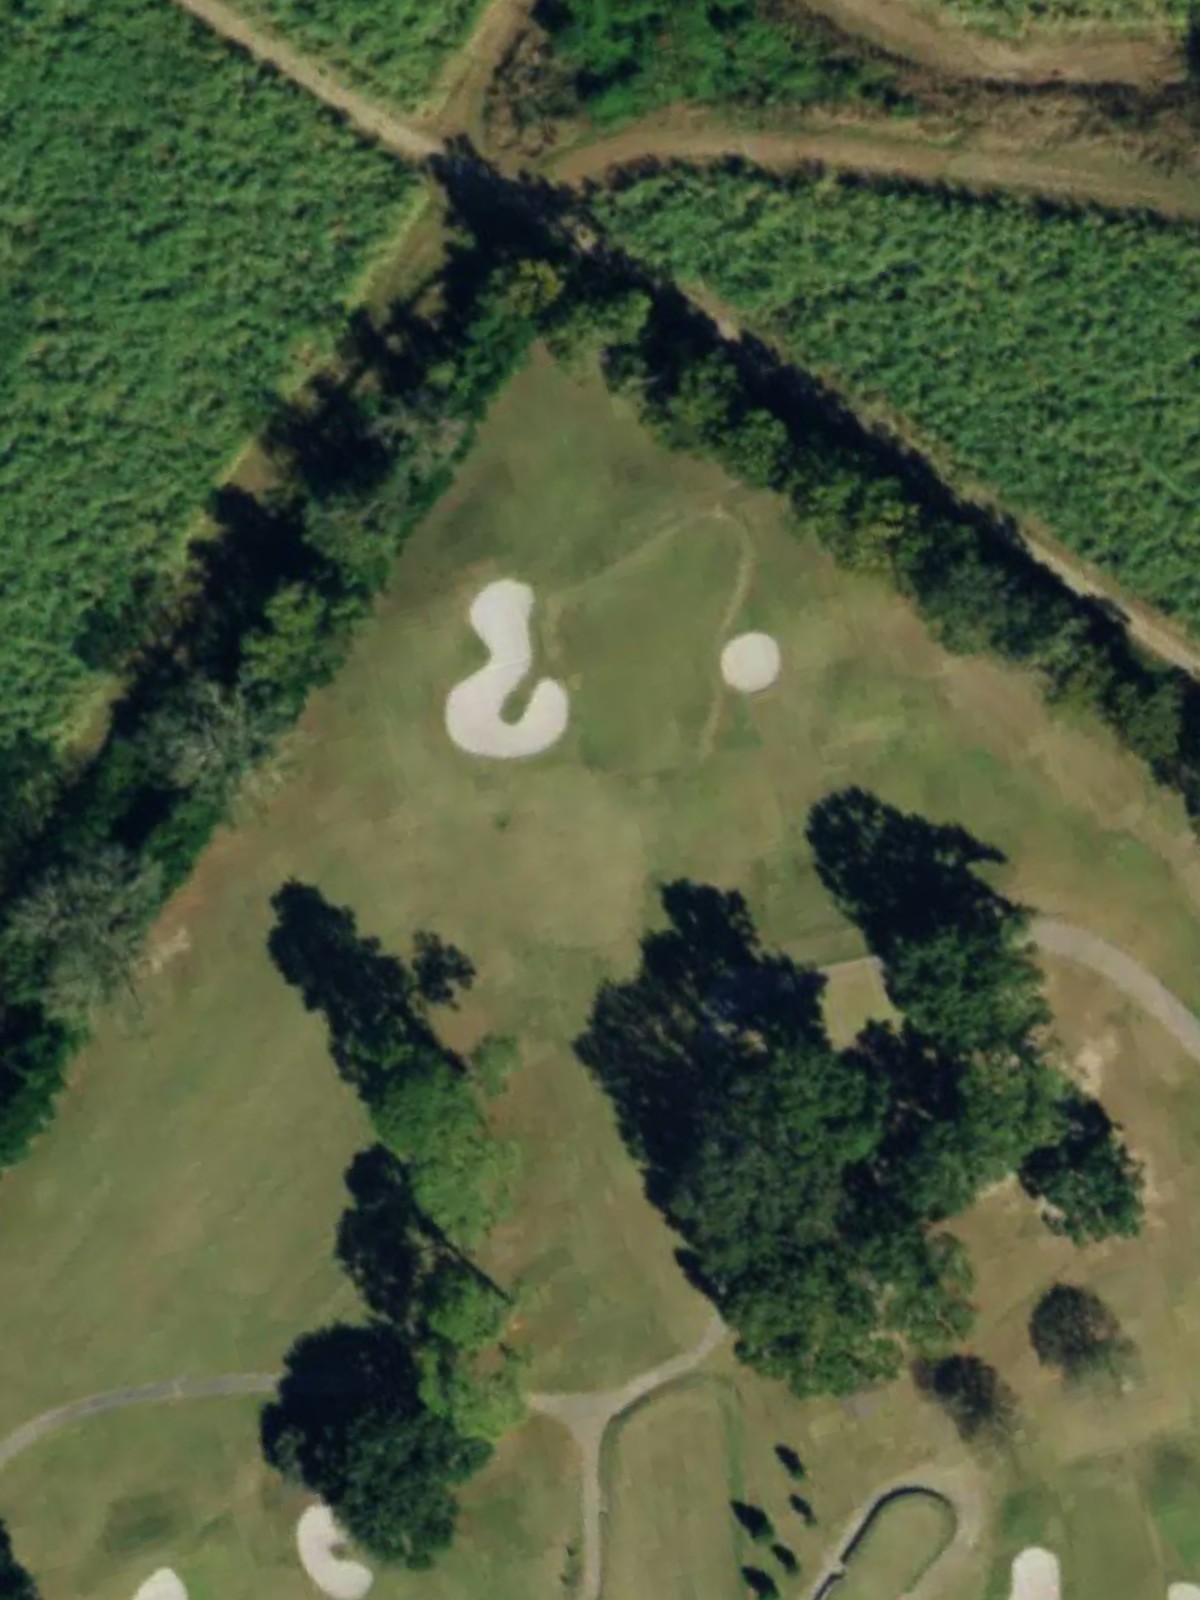
A short but deceptive par 3 with a well-bunkered green and elevated tee shot. The small green and surrounding hazards make club selection and precise execution critical despite the modest yardage.
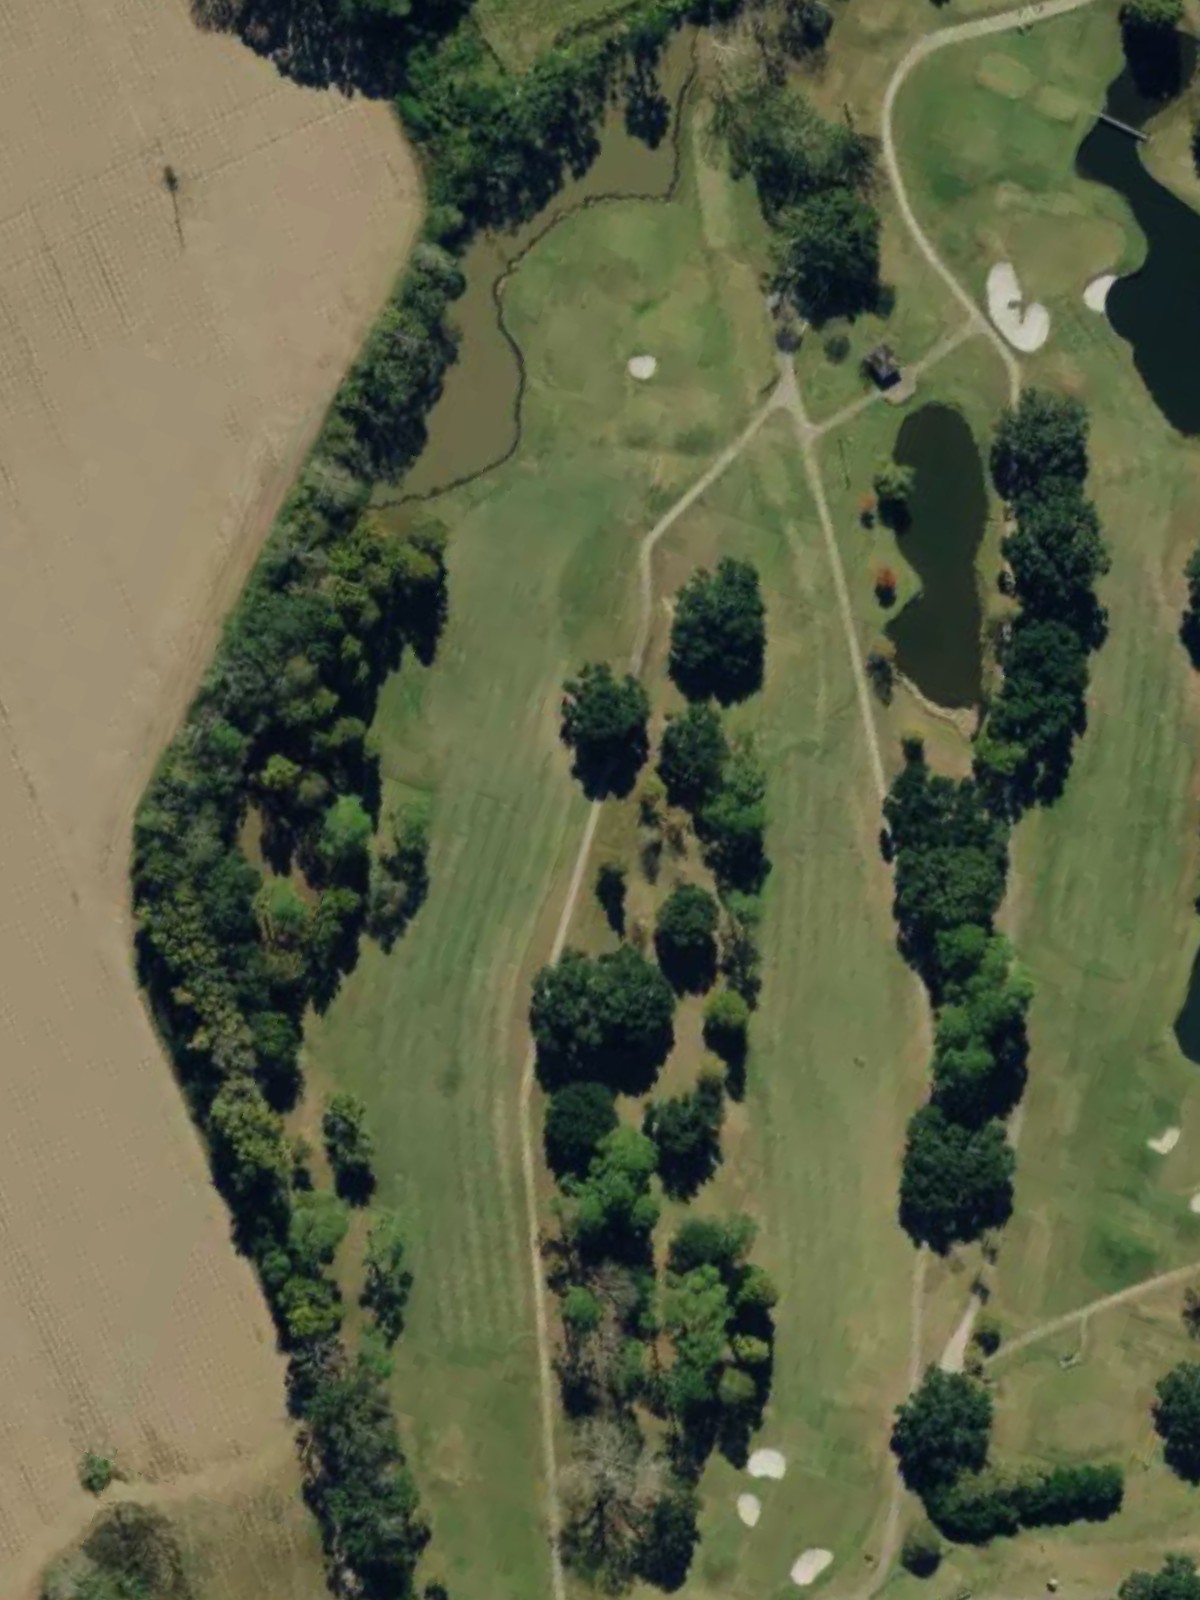
A strong par 4 with out-of-bounds right and water left that narrows the landing area off the tee. The approach must navigate hazards on both sides of the green, making this a pivotal test early in the round.
A clever par 4 that doglegs left around a series of bunkers positioned in the elbow of the turn. The green is further guarded by bunkers on the right, creating an interesting risk-reward dynamic for aggressive players.
A long par 5 that bends gently right with strategic bunkering down the right side and water protecting the left. The fairway widens near the green, but precision placement is essential to set up a manageable third shot.
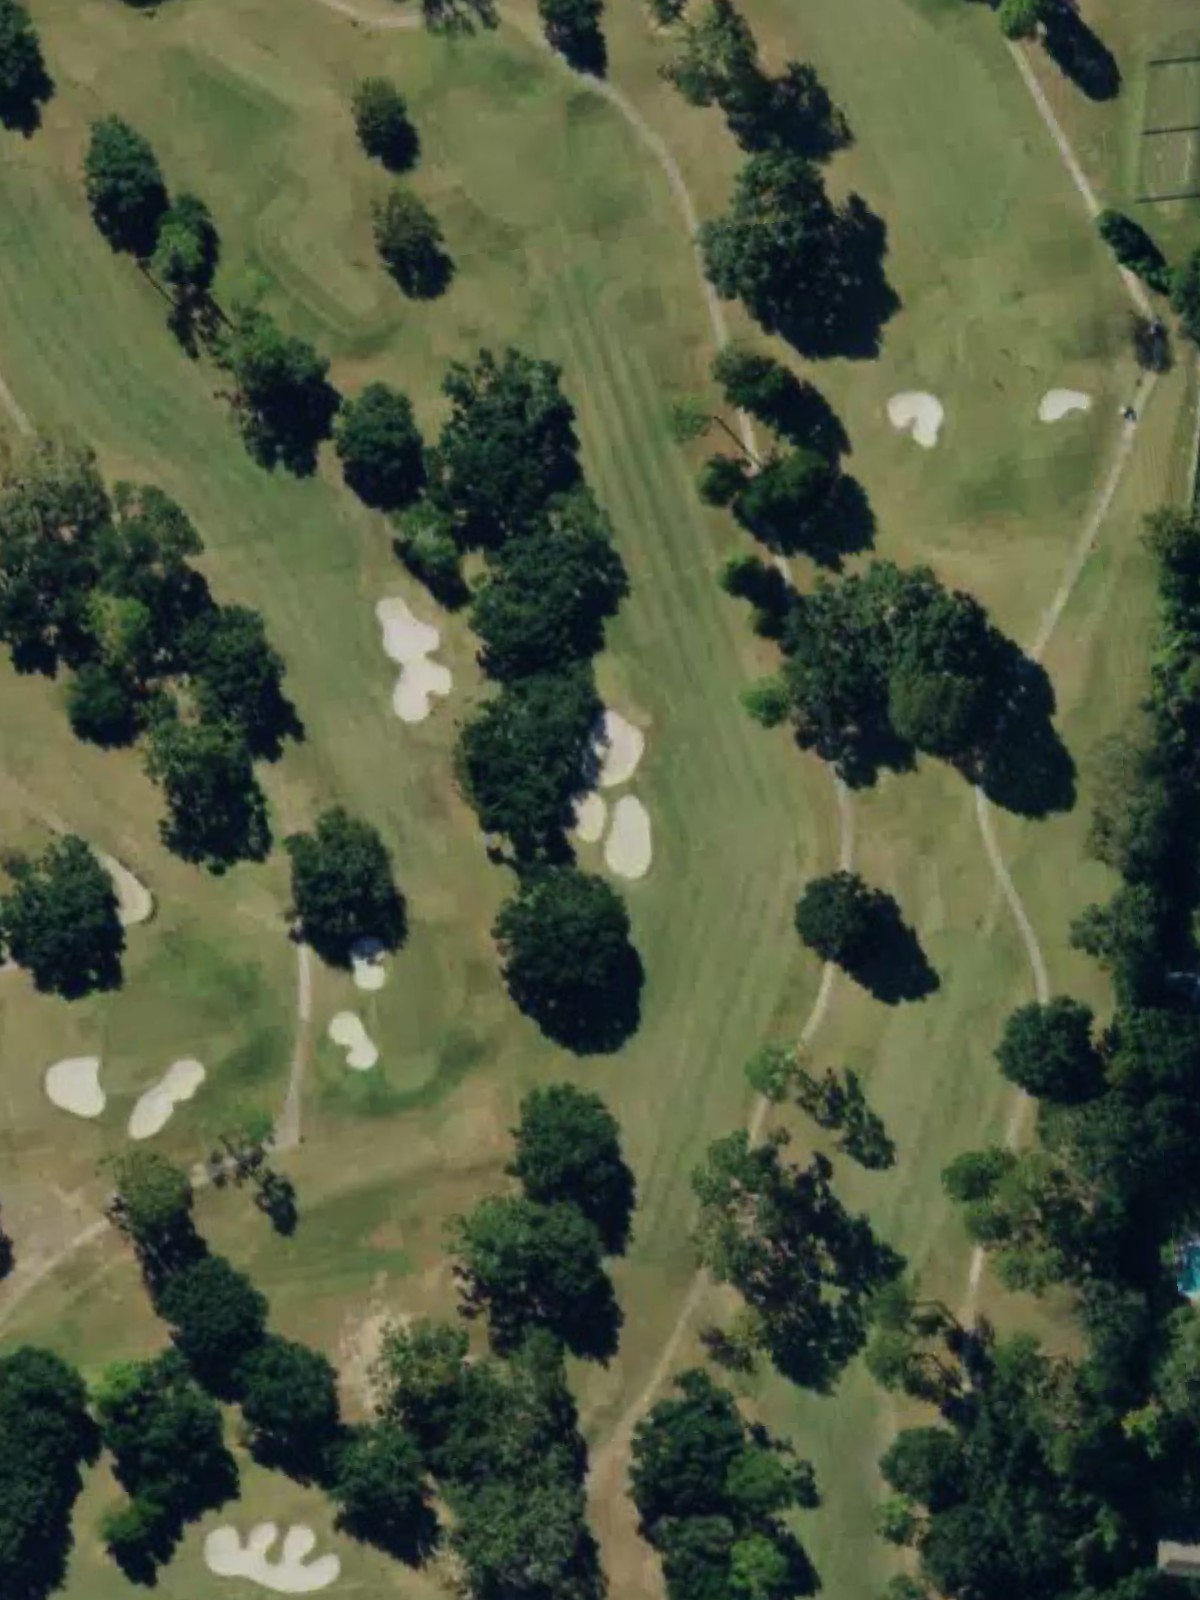
An elegant par 4 with a fairway that slopes subtly left toward water hazards on that side. Bunkers guard the right side of the green, creating a strategic approach where the optimal angle of attack must be carefully considered.
The shortest par 3 on the course, yet the diminutive green and surrounding bunkers demand pinpoint accuracy. Wind can significantly affect club selection on this deceptively tricky short hole.
A moderate par 4 that plays uphill toward a green protected by bunkers on the right and back. The elevation change and narrow green opening make this a solid match-play test in the back nine.

A well-balanced par 5 with bunkers strategically placed down the right side of the fairway. Water comes into play left on the approach, and the green's depth allows for multiple scoring options depending on second-shot placement.
A short par 4 with a deceptively tight driving area flanked by hazards on both sides. The compact green is nestled among bunkers, making this a precision-required hole despite its modest length.
Oakbourne's longest hole, a commanding par 5 that doglegs right with out-of-bounds along the right throughout. Water hazards left and significant bunkering near the green make this an exhausting test that rewards strategic planning.
A well-designed par 4 with a fairway that slopes right toward water hazards on that side. The approach must contend with bunkers guarding the green's left side, creating an interesting angle for the second shot.
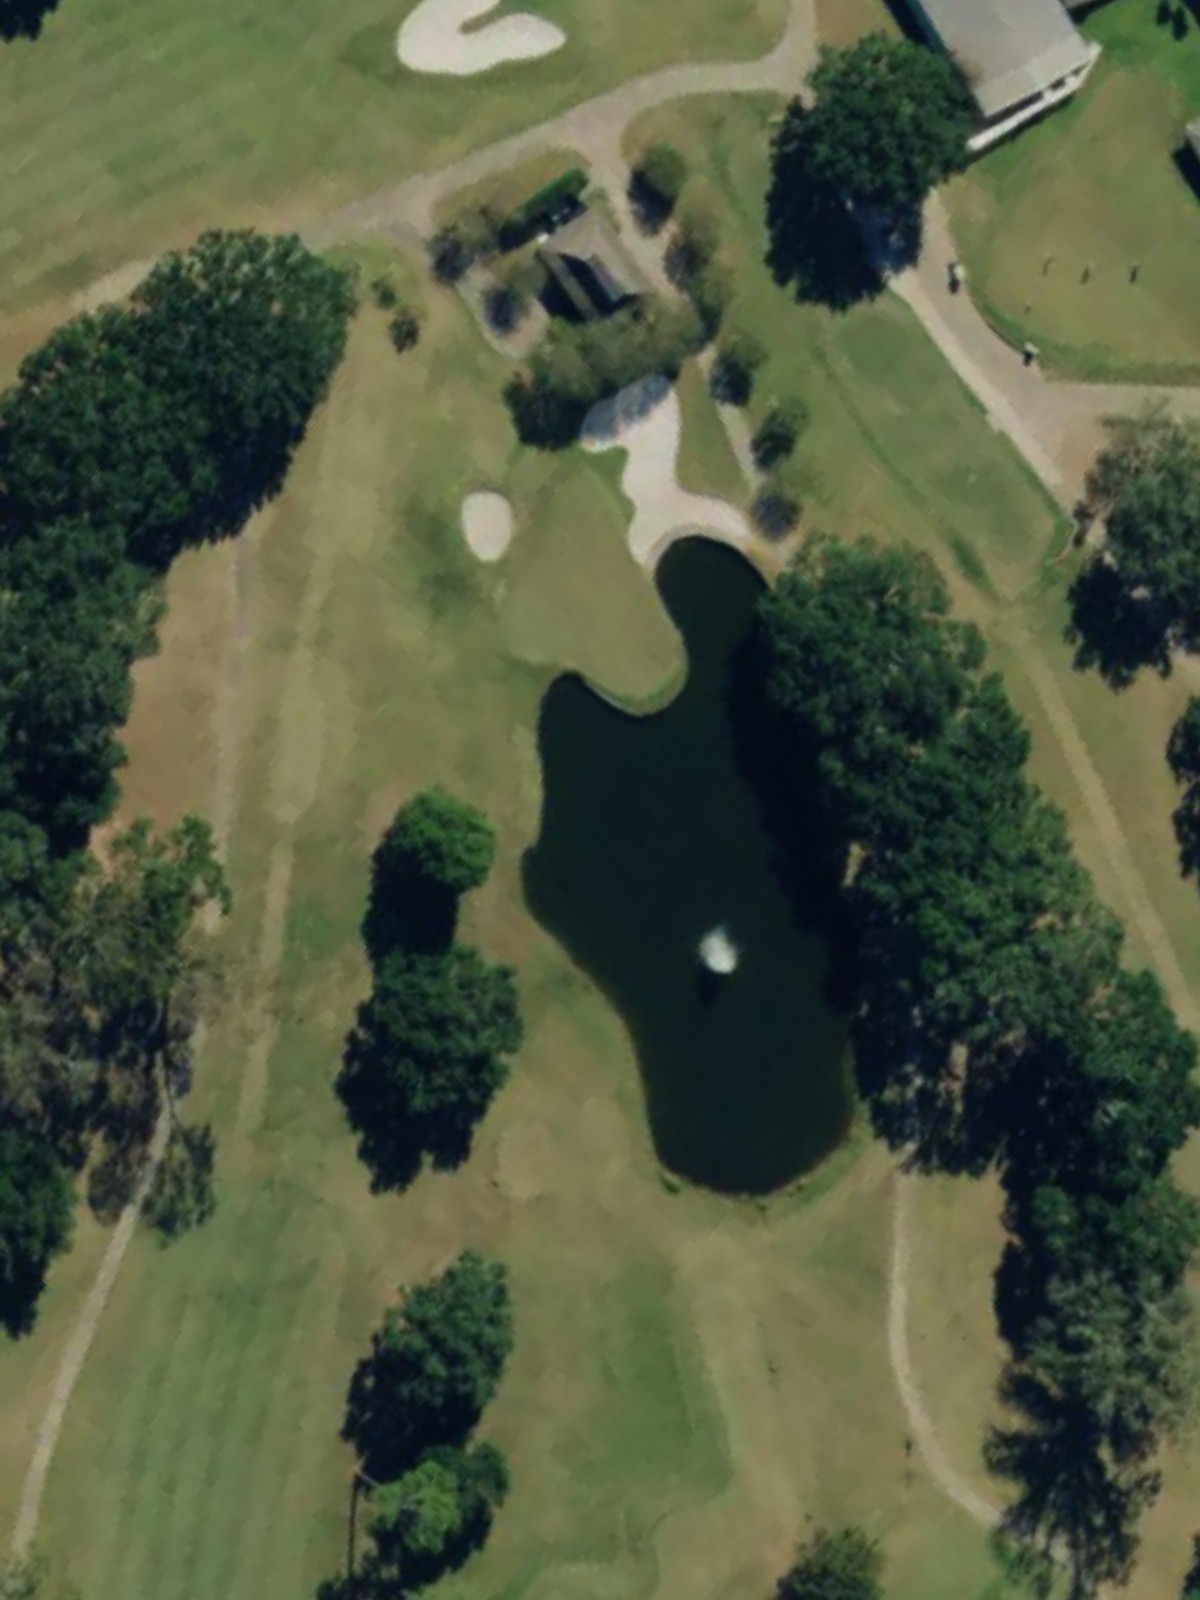
A par 3 of moderate length with an island-like green surrounded by water and bunkers. The exposed position and multiple hazards make this a dramatic hole where precision is essential.
A strong par 4 that plays downhill off the tee with water hazards left and bunkers right throughout. The fairway narrows significantly as it approaches the green, making position off the tee critical for the approach.
The easiest par 3 on the course, offering a more inviting target and wider green compared to its par 3 counterparts. Though forgiving in design, the hole still features strategic bunkering that can catch inaccurate shots.
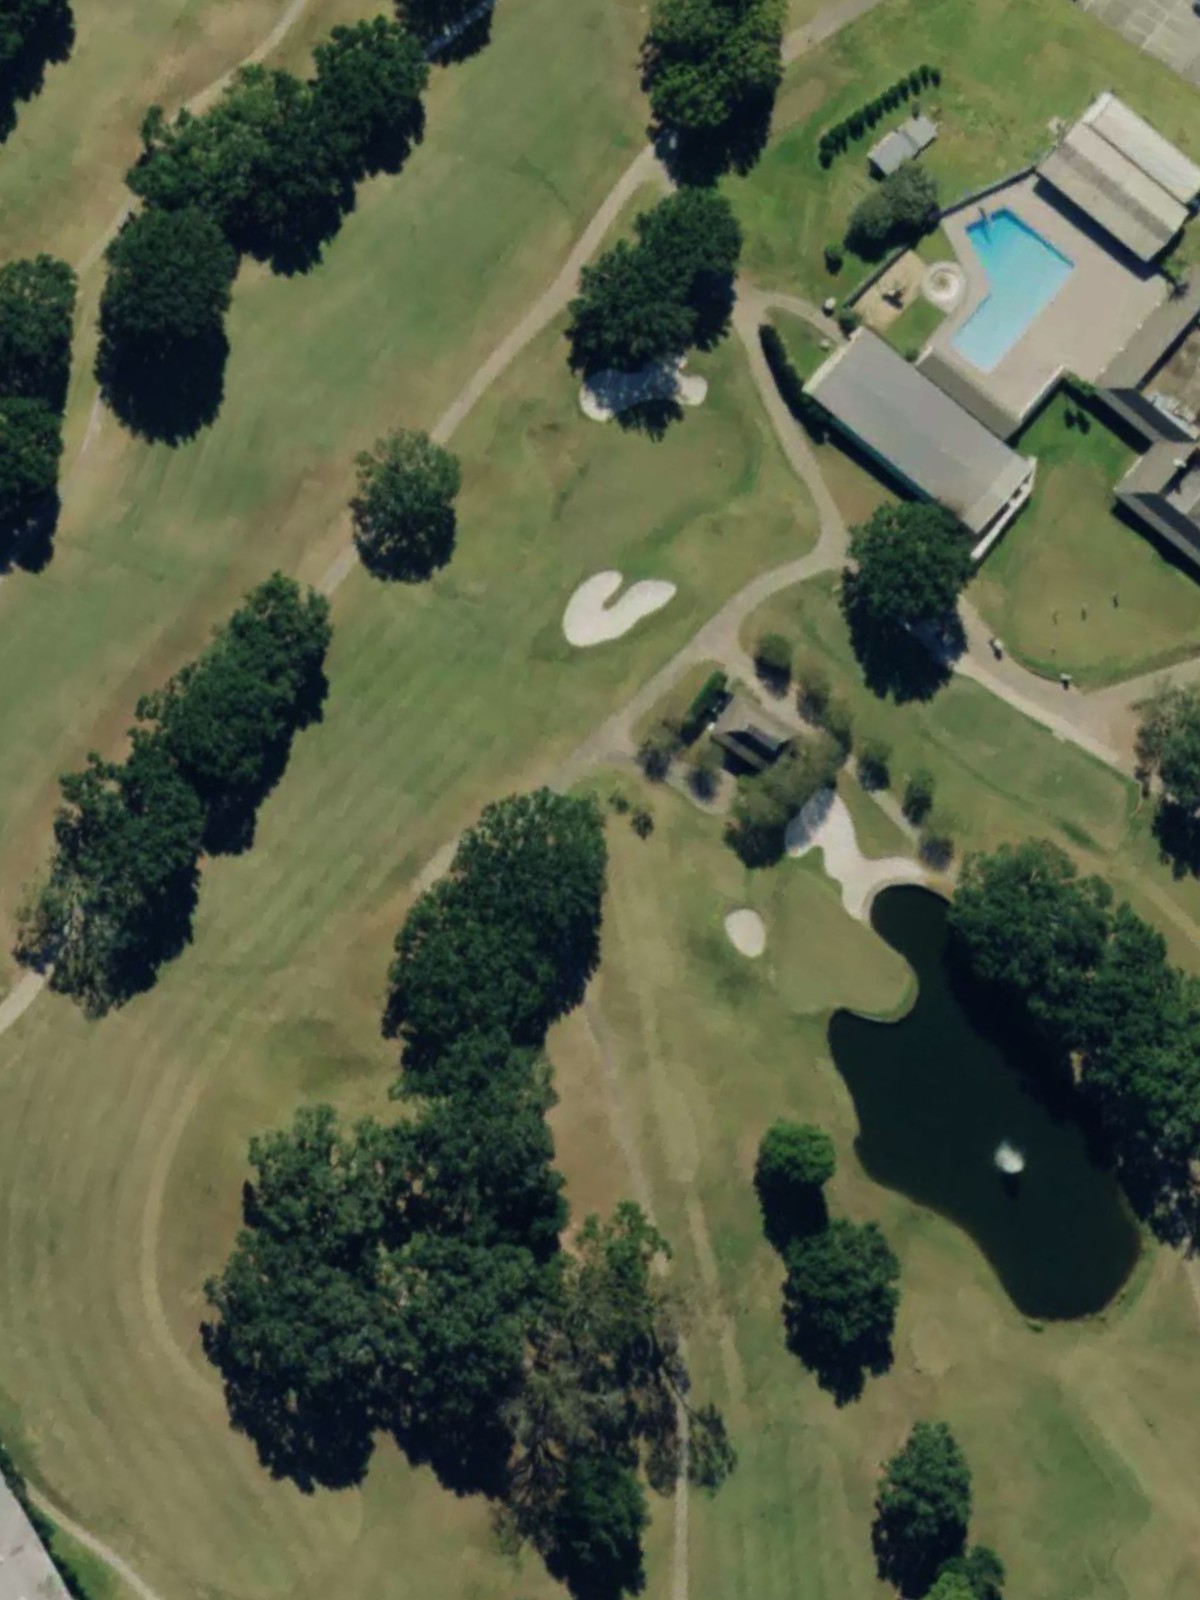
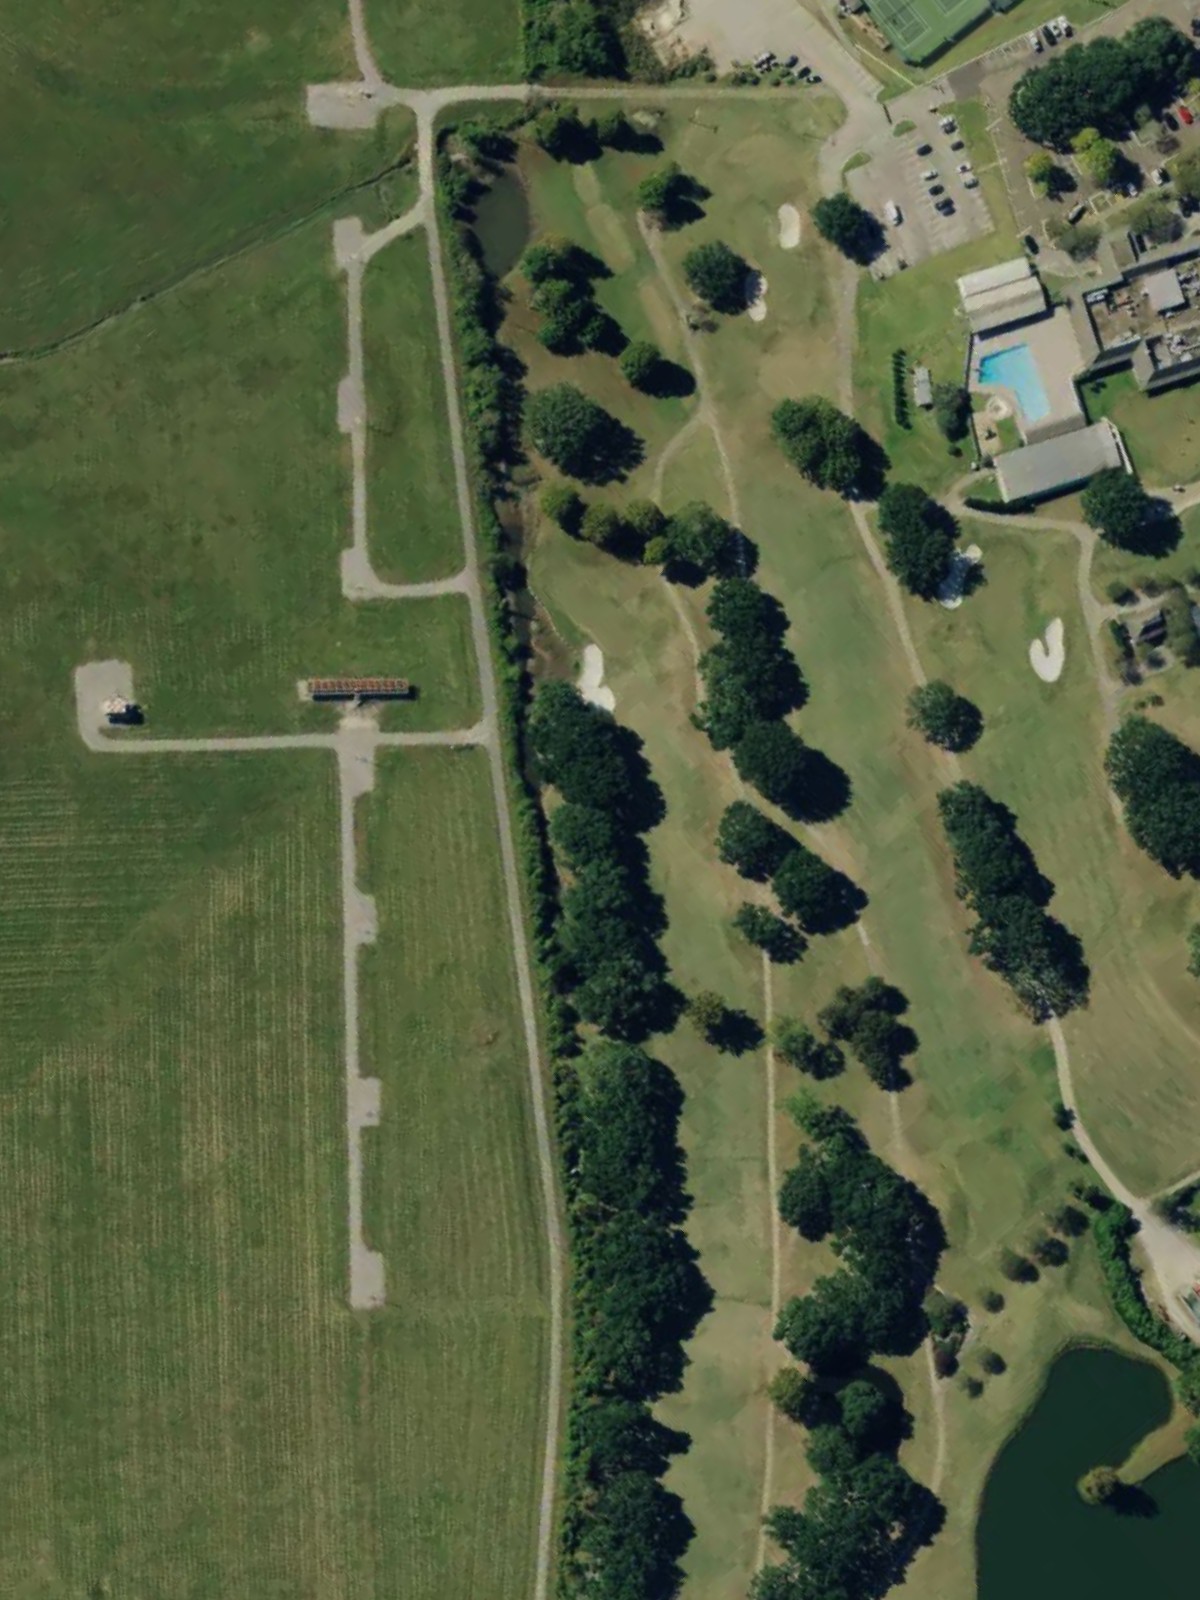
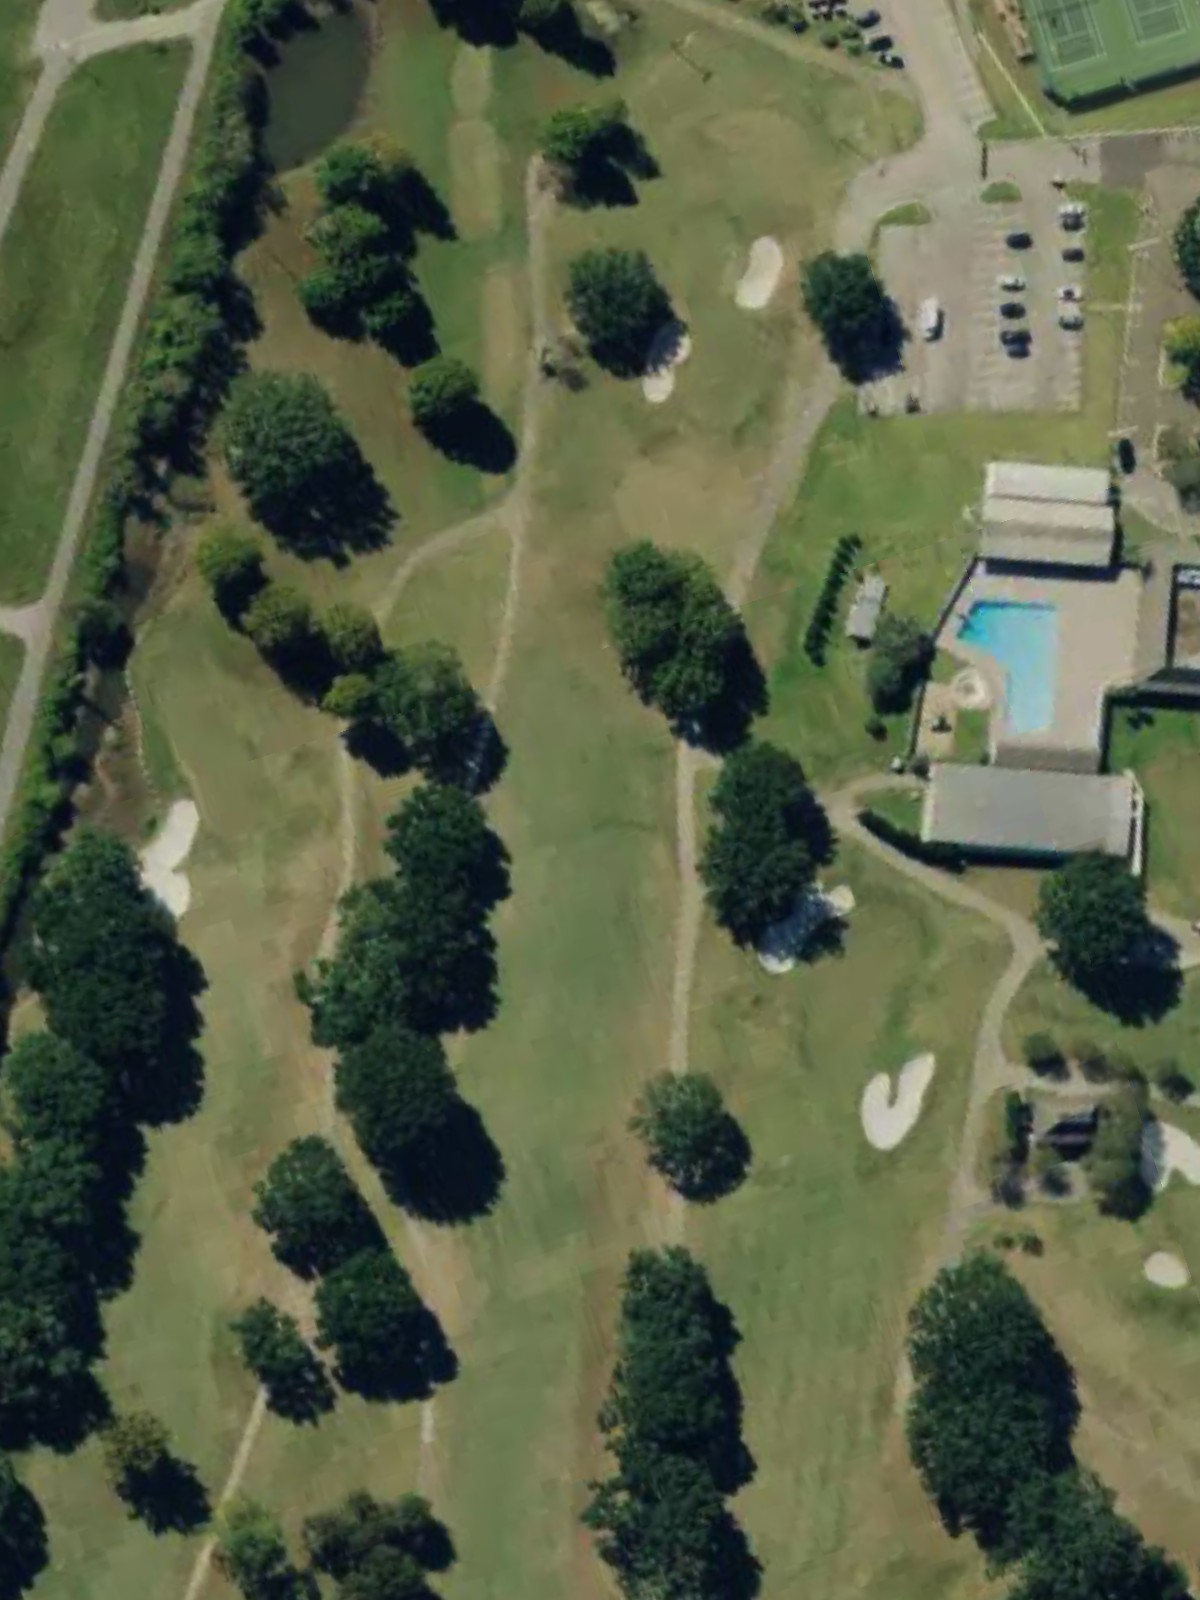
A fitting closing par 4 with out-of-bounds left and water right that frame the entire hole. The fairway tightens near the green, where bunkers on both sides demand a well-placed approach to finish the round strongly.
Scorecard
| Hole | 1 | 2 | 3 | 4 | 5 | 6 | 7 | 8 | 9 | Out | 10 | 11 | 12 | 13 | 14 | 15 | 16 | 17 | 18 | In | Tot |
|---|---|---|---|---|---|---|---|---|---|---|---|---|---|---|---|---|---|---|---|---|---|
| Par | 4 | 4 | 5 | 3 | 4 | 4 | 5 | 4 | 3 | 36 | 4 | 5 | 4 | 5 | 4 | 3 | 4 | 3 | 4 | 36 | 72 |
| HCP | 13 | 9 | 1 | 17 | 3 | 11 | 5 | 7 | 15 | 12 | 6 | 14 | 2 | 10 | 16 | 4 | 18 | 8 | |||
| gold | 378 | 418 | 553 | 200 | 444 | 375 | 522 | 423 | 157 | 3470 | 344 | 487 | 329 | 598 | 401 | 194 | 426 | 168 | 449 | 3396 | 6866 |
| green | 356 | 396 | 531 | 175 | 428 | 343 | 510 | 404 | 141 | 3284 | 334 | 469 | 327 | 556 | 380 | 175 | 407 | 156 | 423 | 3227 | 6511 |
| blue | 341 | 375 | 514 | 148 | 402 | 326 | 497 | 387 | 128 | 3118 | 324 | 455 | 314 | 523 | 369 | 168 | 362 | 142 | 394 | 3051 | 6169 |
| white | 324 | 330 | 469 | 132 | 374 | 292 | 468 | 326 | 112 | 2827 | 293 | 439 | 284 | 481 | 343 | 143 | 320 | 135 | 366 | 2804 | 5631 |
| red | 267 | 300 | 434 | 115 | 309 | 266 | 417 | 309 | 78 | 2495 | 285 | 405 | 240 | 441 | 317 | 137 | 295 | 123 | 333 | 2576 | 5071 |