Oak Summit Golf Course is an 18-hole golf course in Rochester, MN with a par of 70. It offers 3 tee sets: blue (6,434 yards, slope 122, rating 70.8), white (6,055 yards, slope 119, rating 69), gold (5,399 yards, slope 112, rating 66.1). The hardest hole is #10, a par 4 playing 408 yards from the first tee.
Oak Summit Golf Course
Rochester, MN
Get PDF Yardage Book
We'll email you the PDF link. No spam, ever.
Create Your Game Plan
Pick your tees, enter your bag, and get a personalized shot-by-shot strategy for every hole.
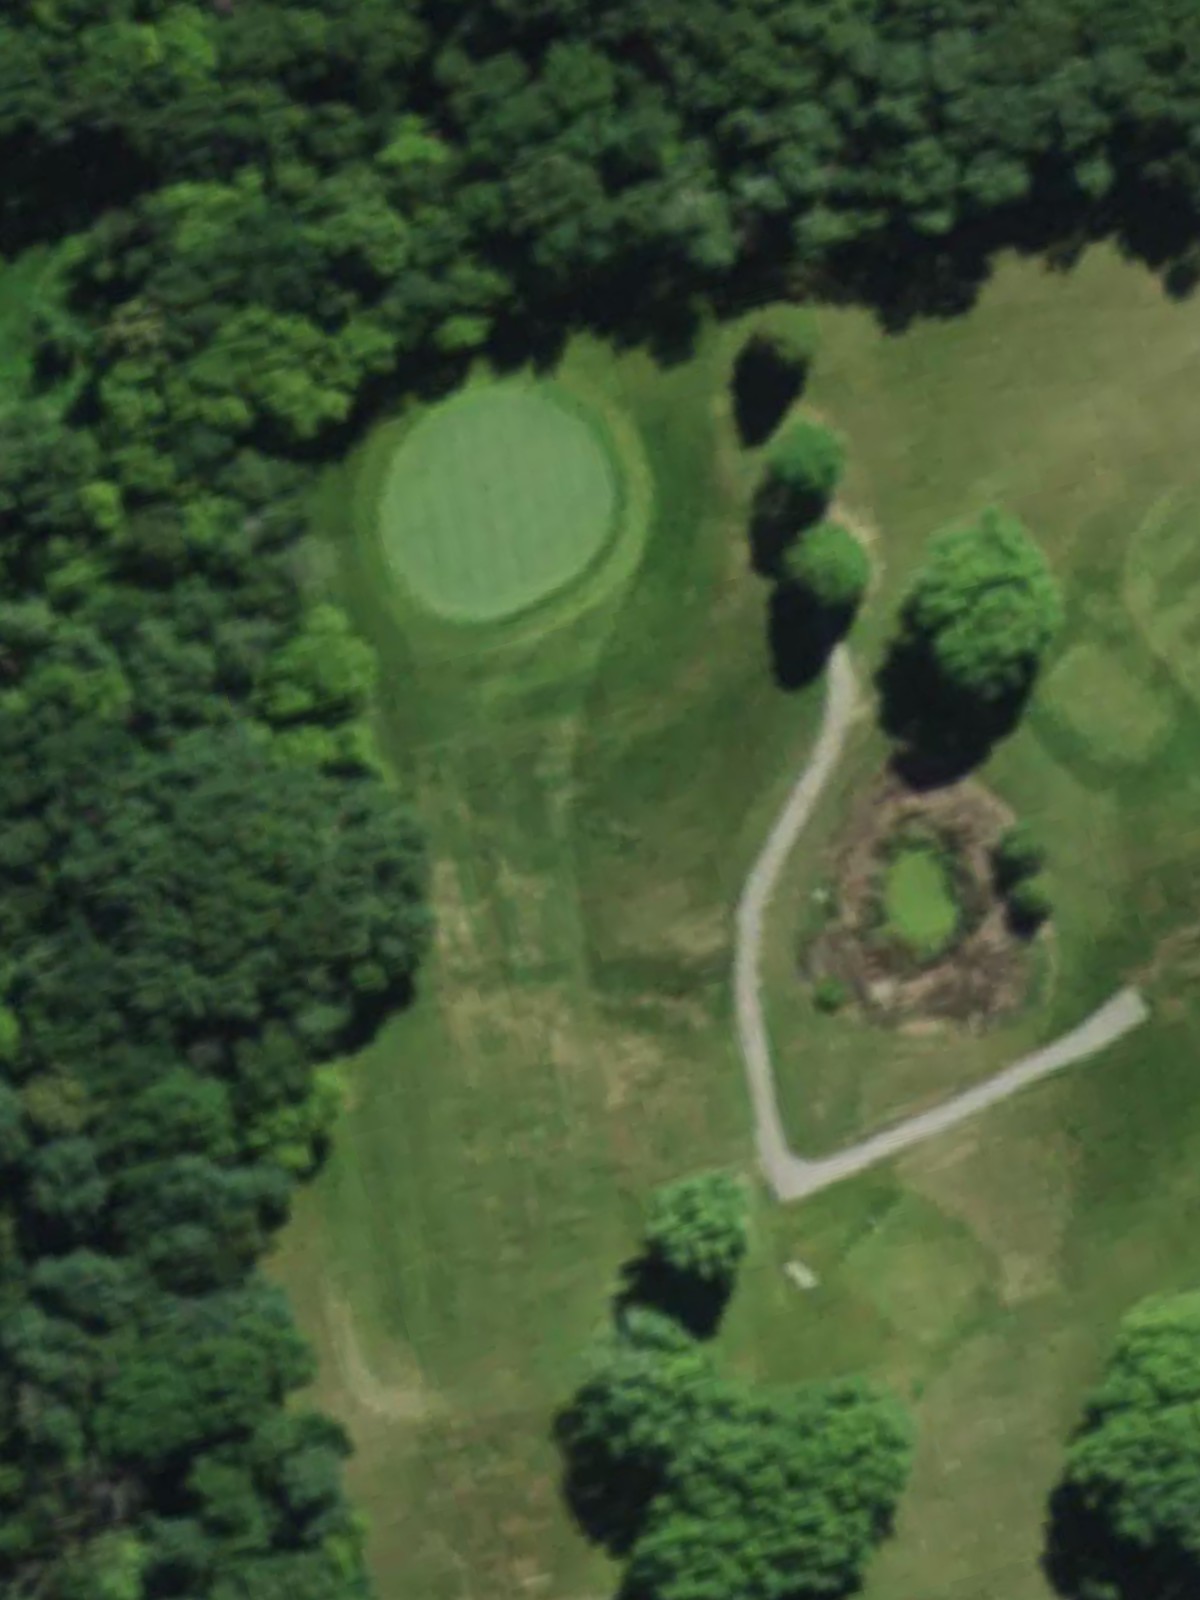
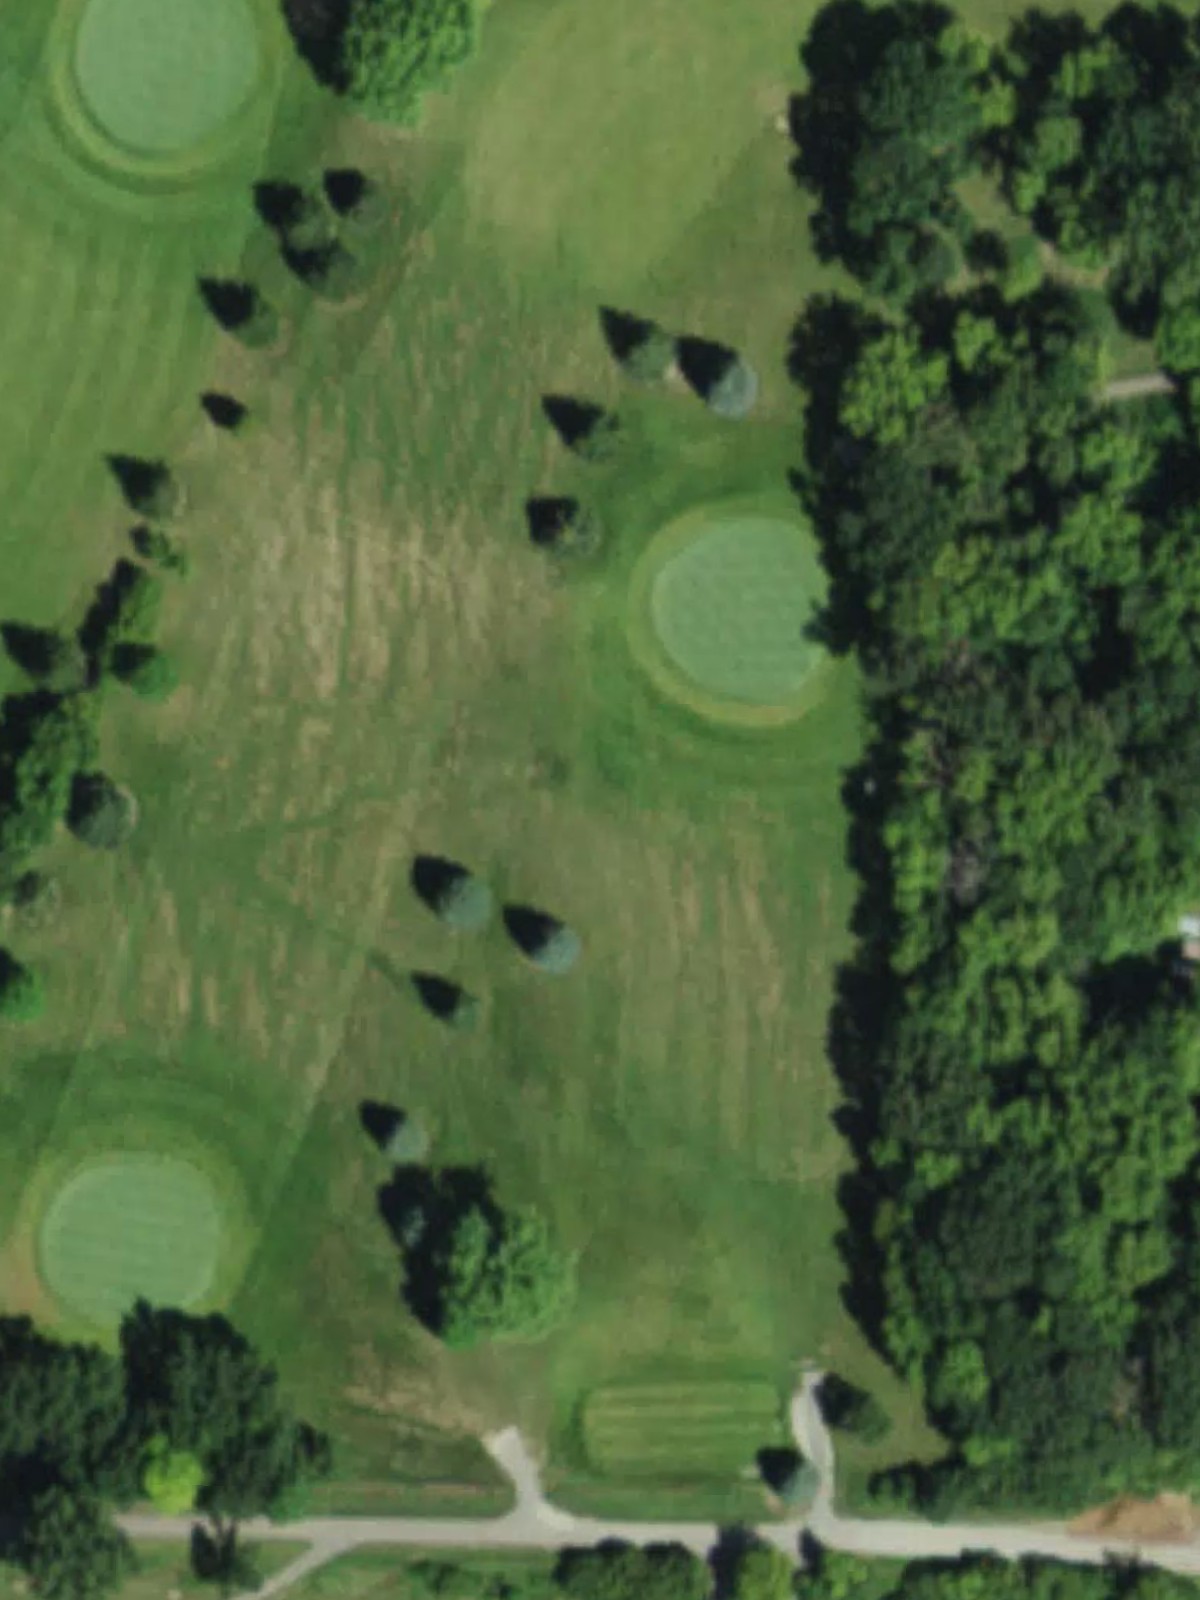
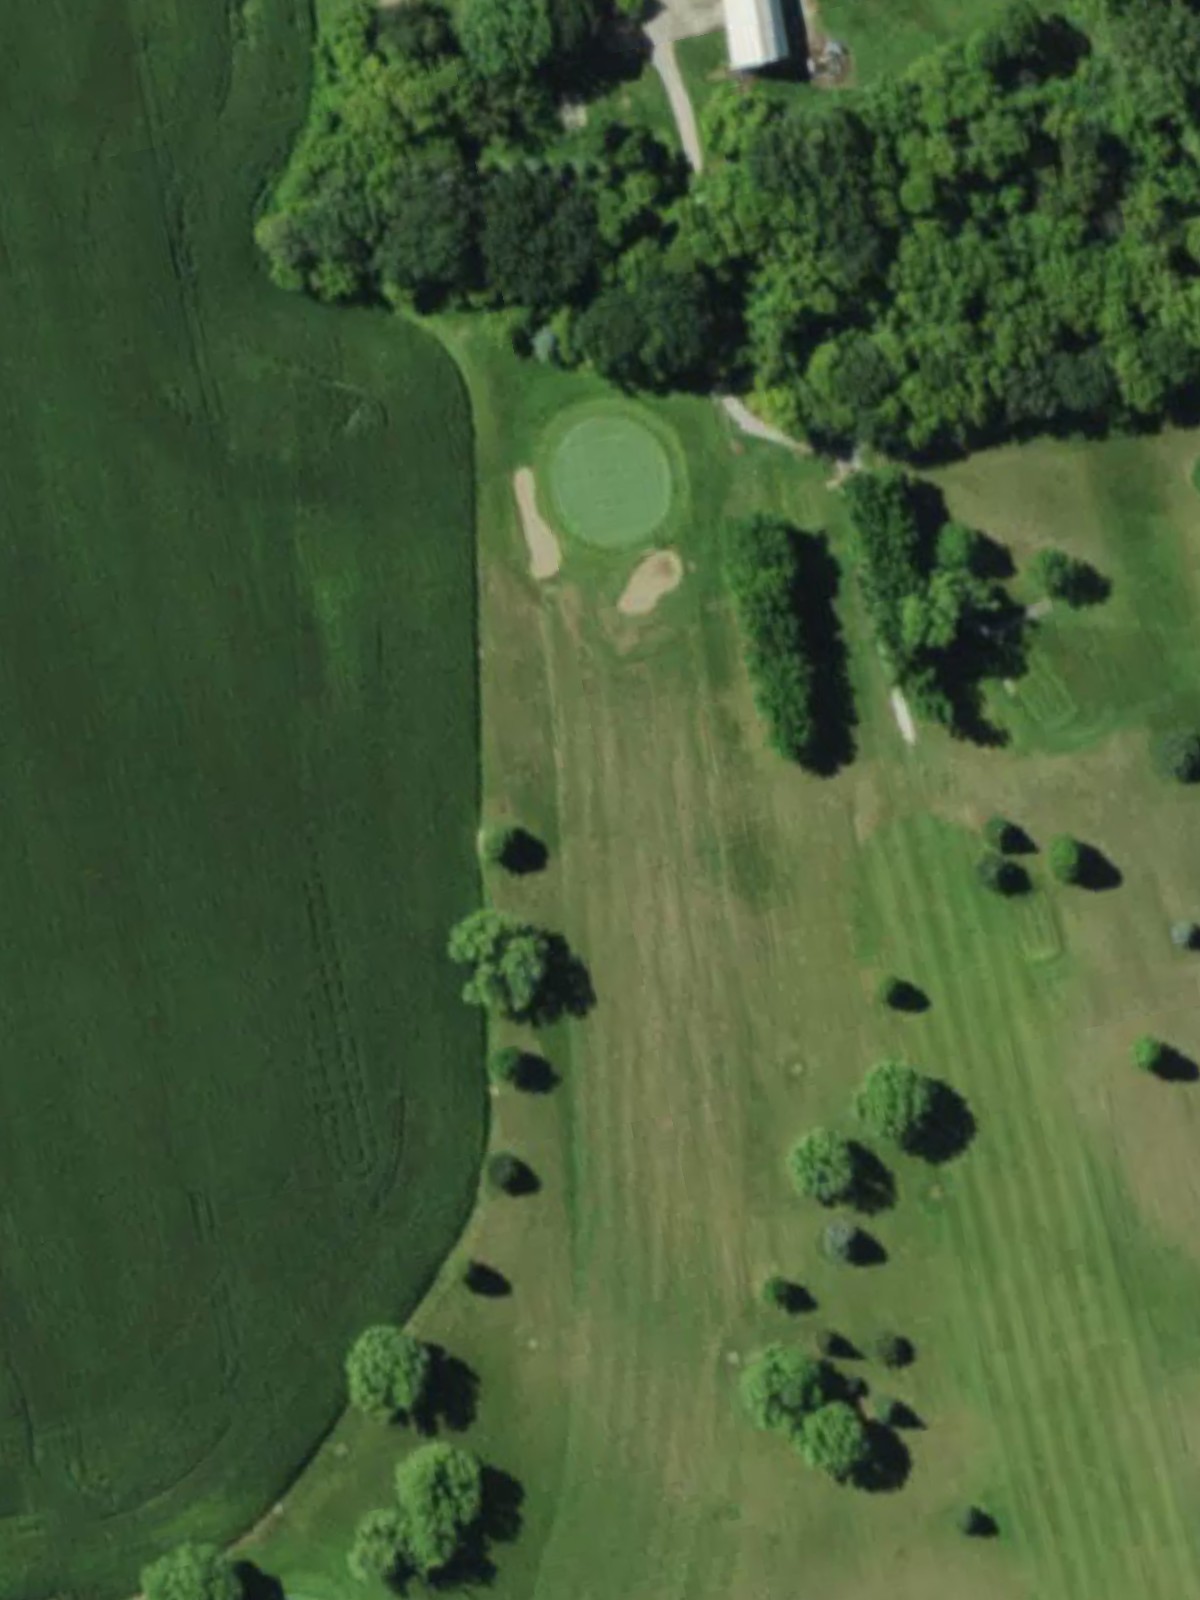
A straightforward par 4 that plays relatively open off the tee with a fairway that gradually narrows as it approaches the green. Bunkers guard the right side of the putting surface, demanding accuracy on the approach shot.
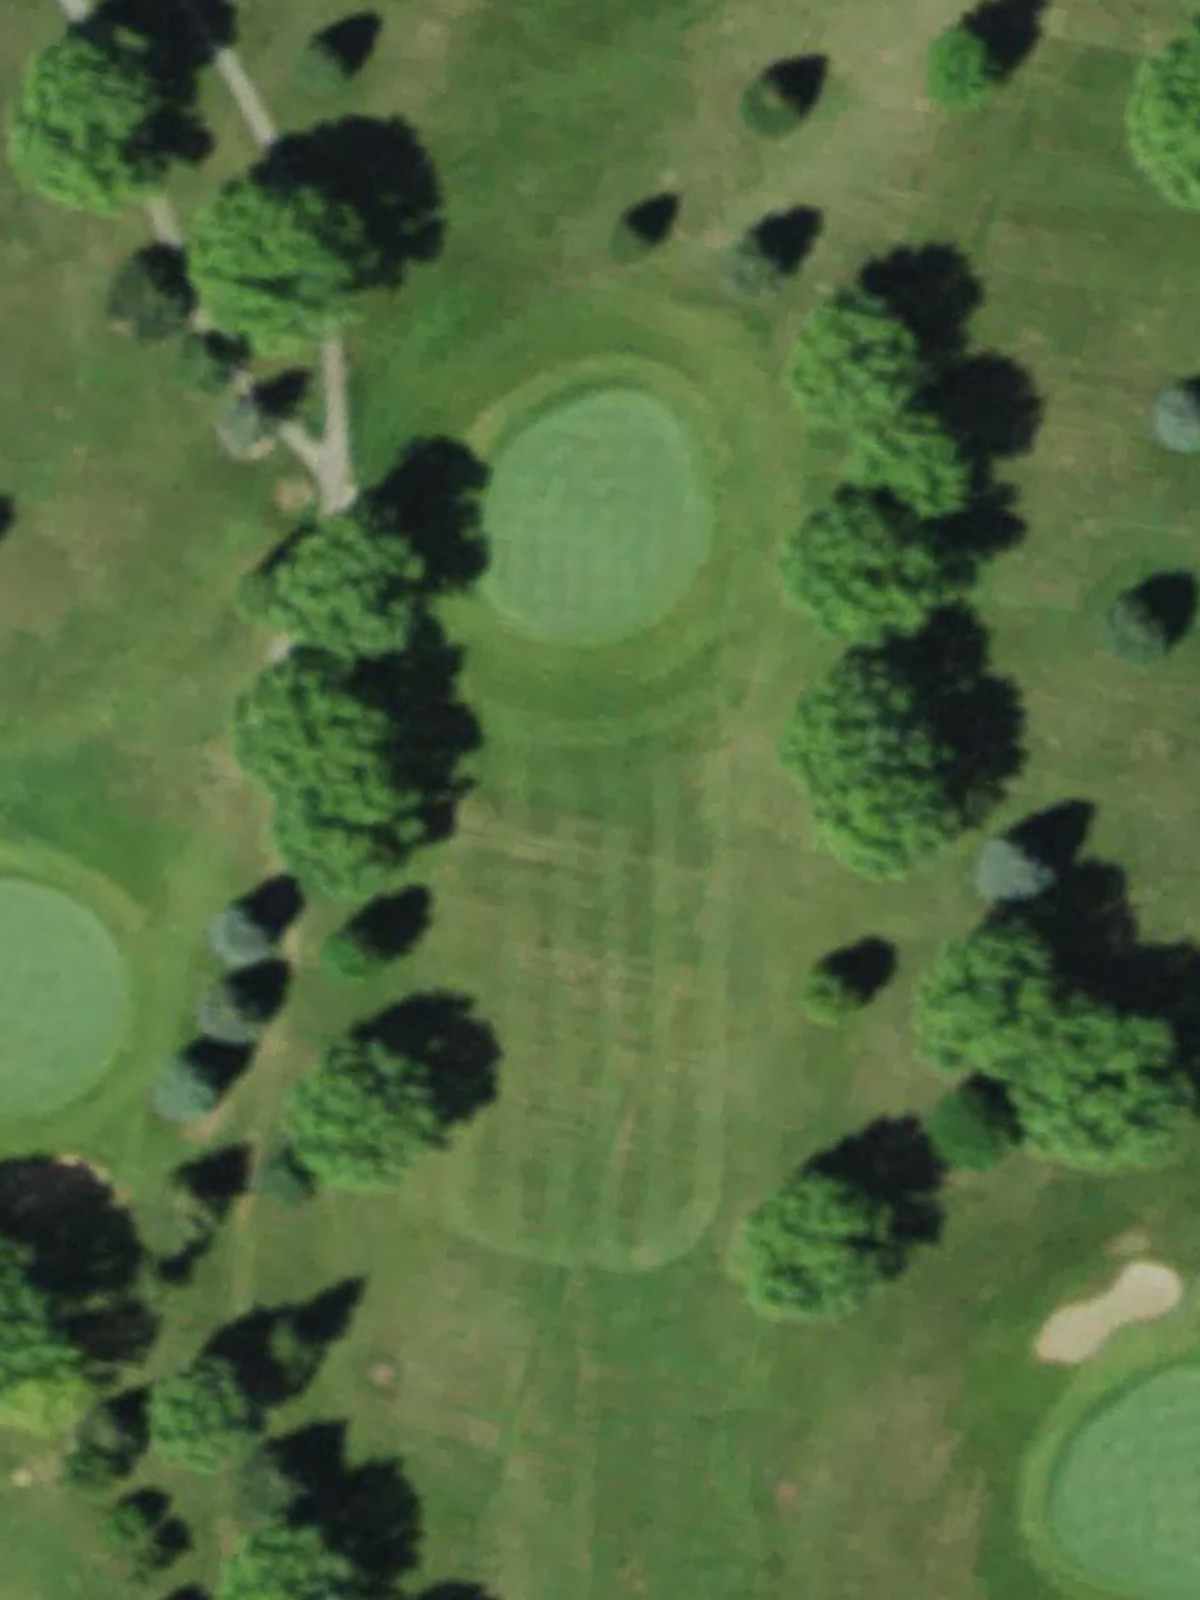
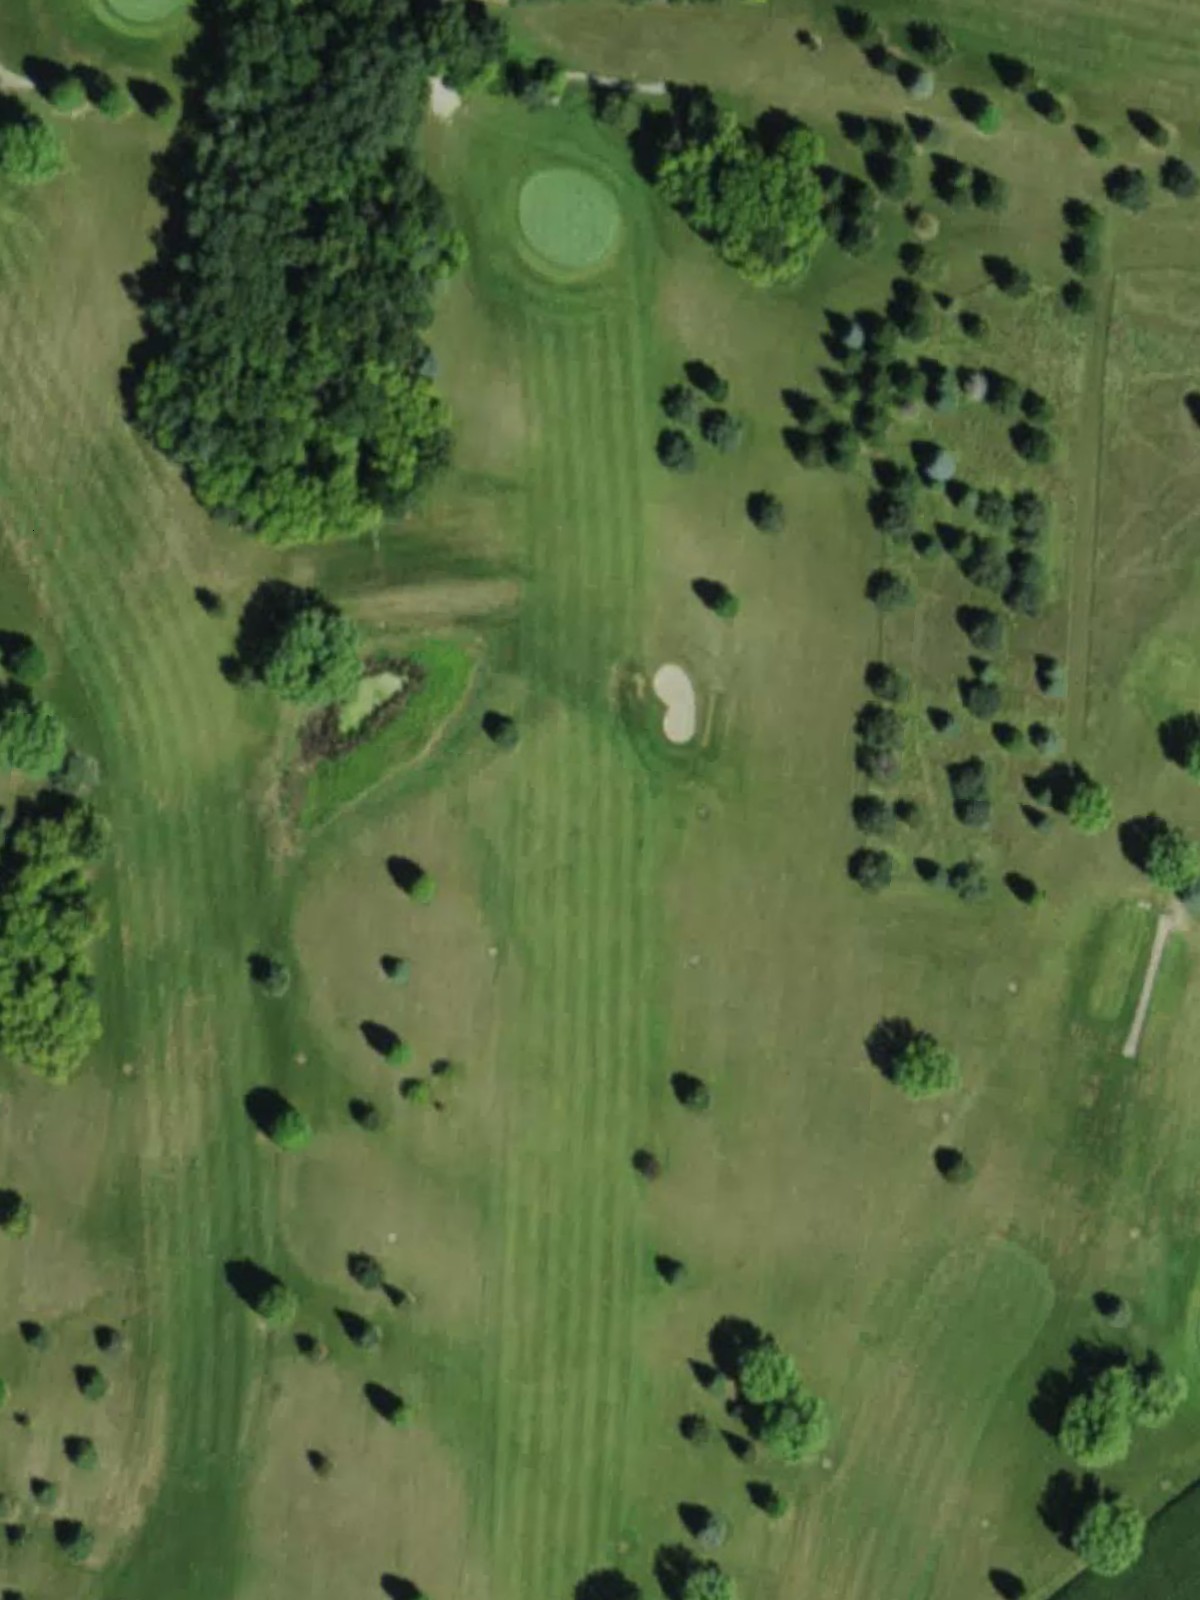
A gentle par 4 offering the most forgiving conditions on the front nine, with a wide fairway and minimal hazards. The relatively open approach provides an opportunity to build confidence early in the round.
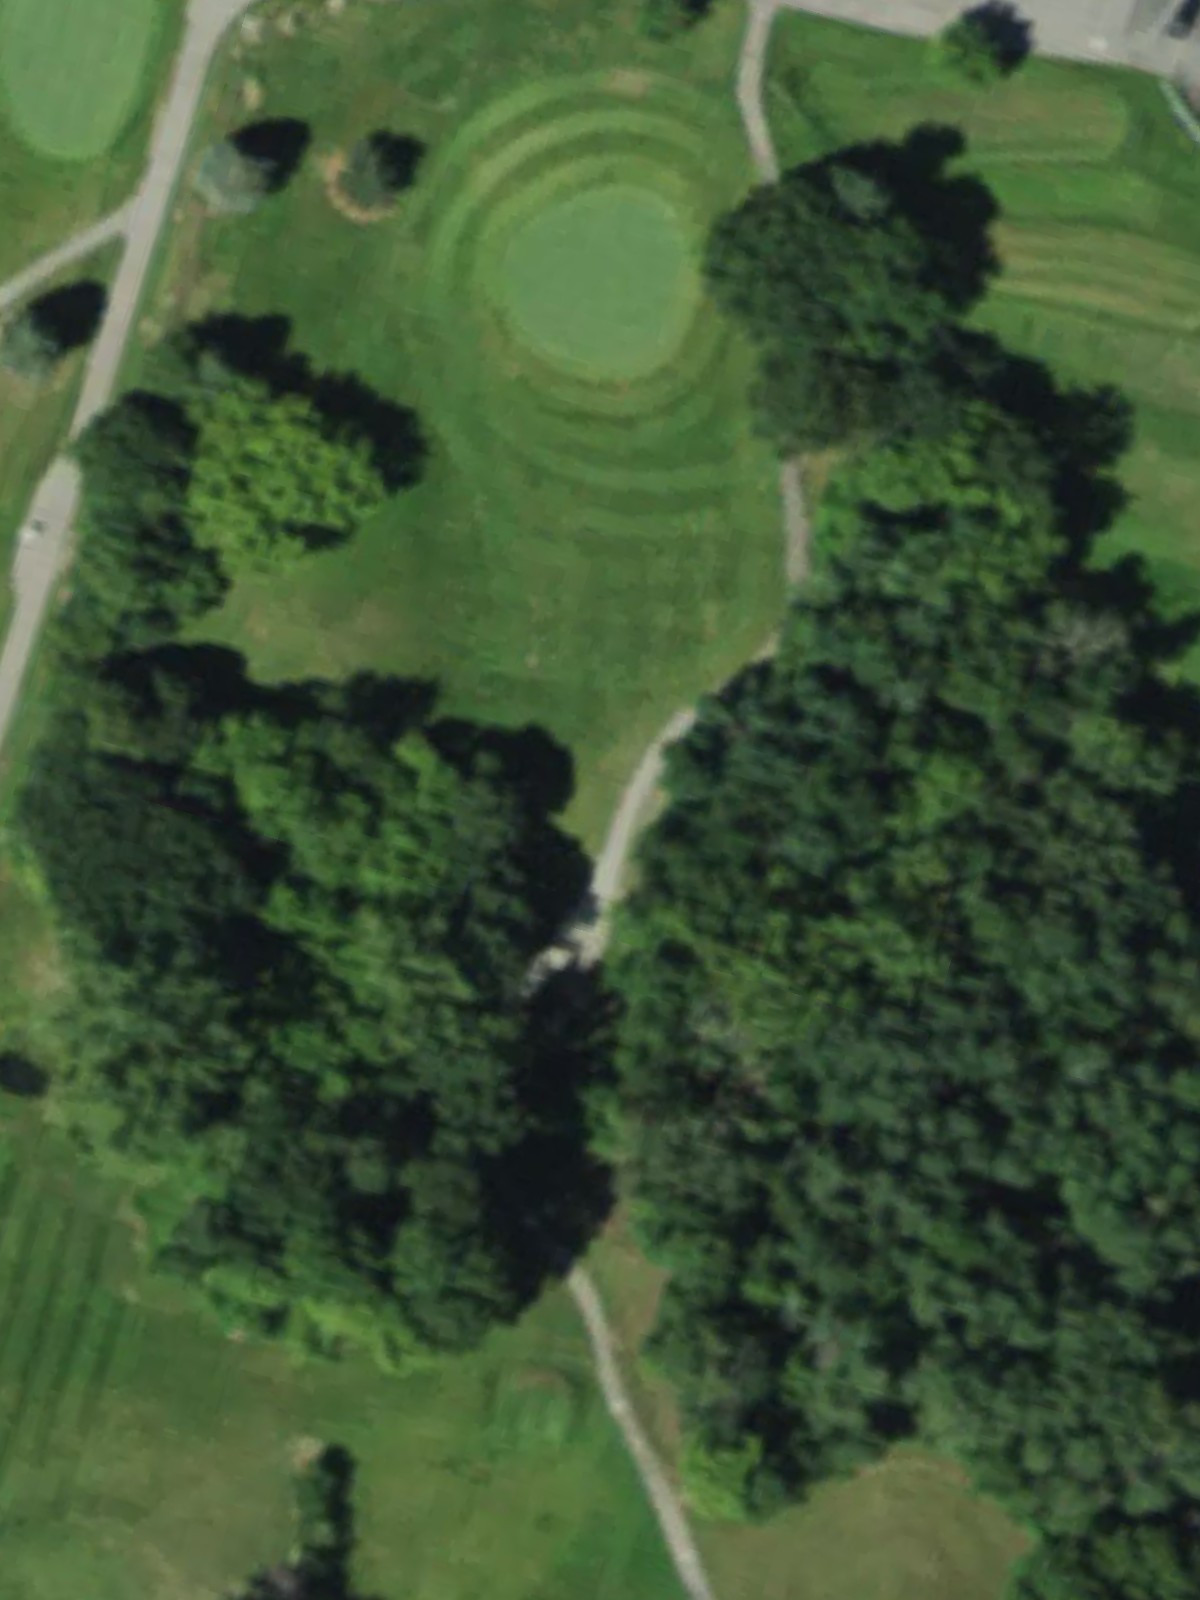
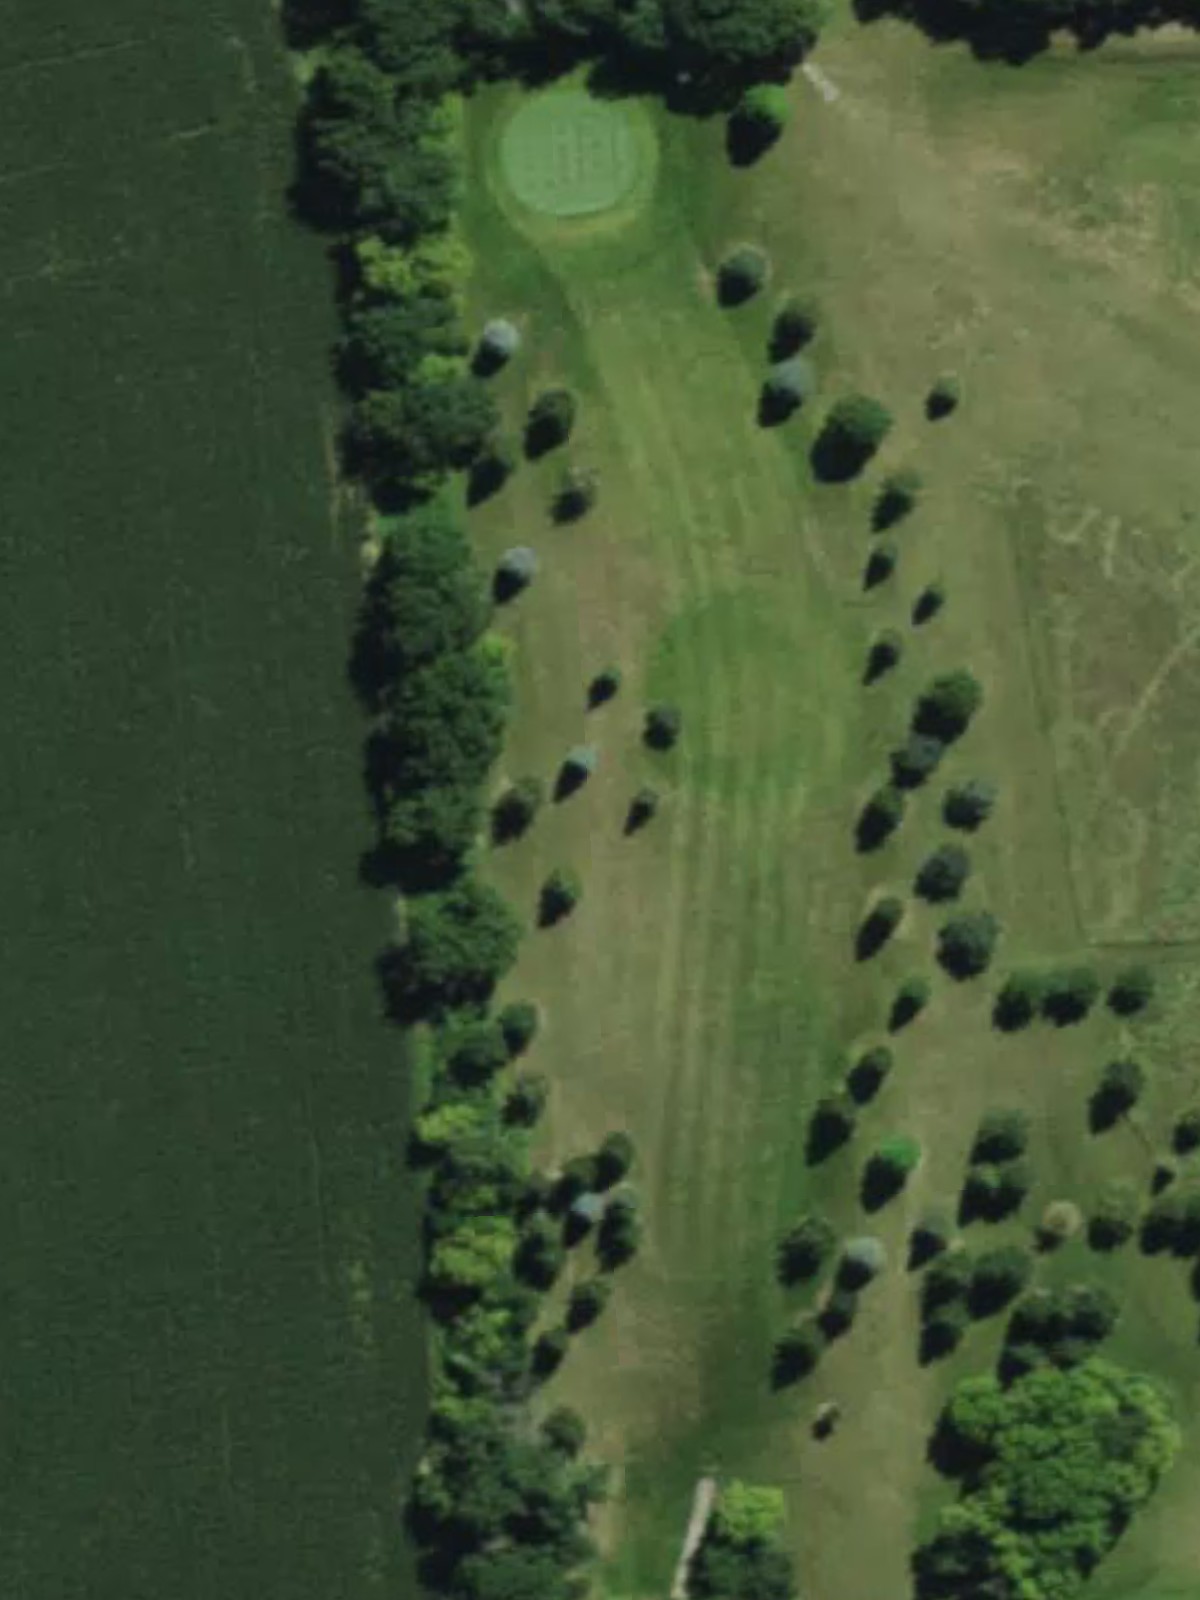
A short par 4 that plays deceptively tight, with out-of-bounds or trees likely framing both sides of the fairway. The compact length rewards precision over power and sets up a short approach to a well-defended green.

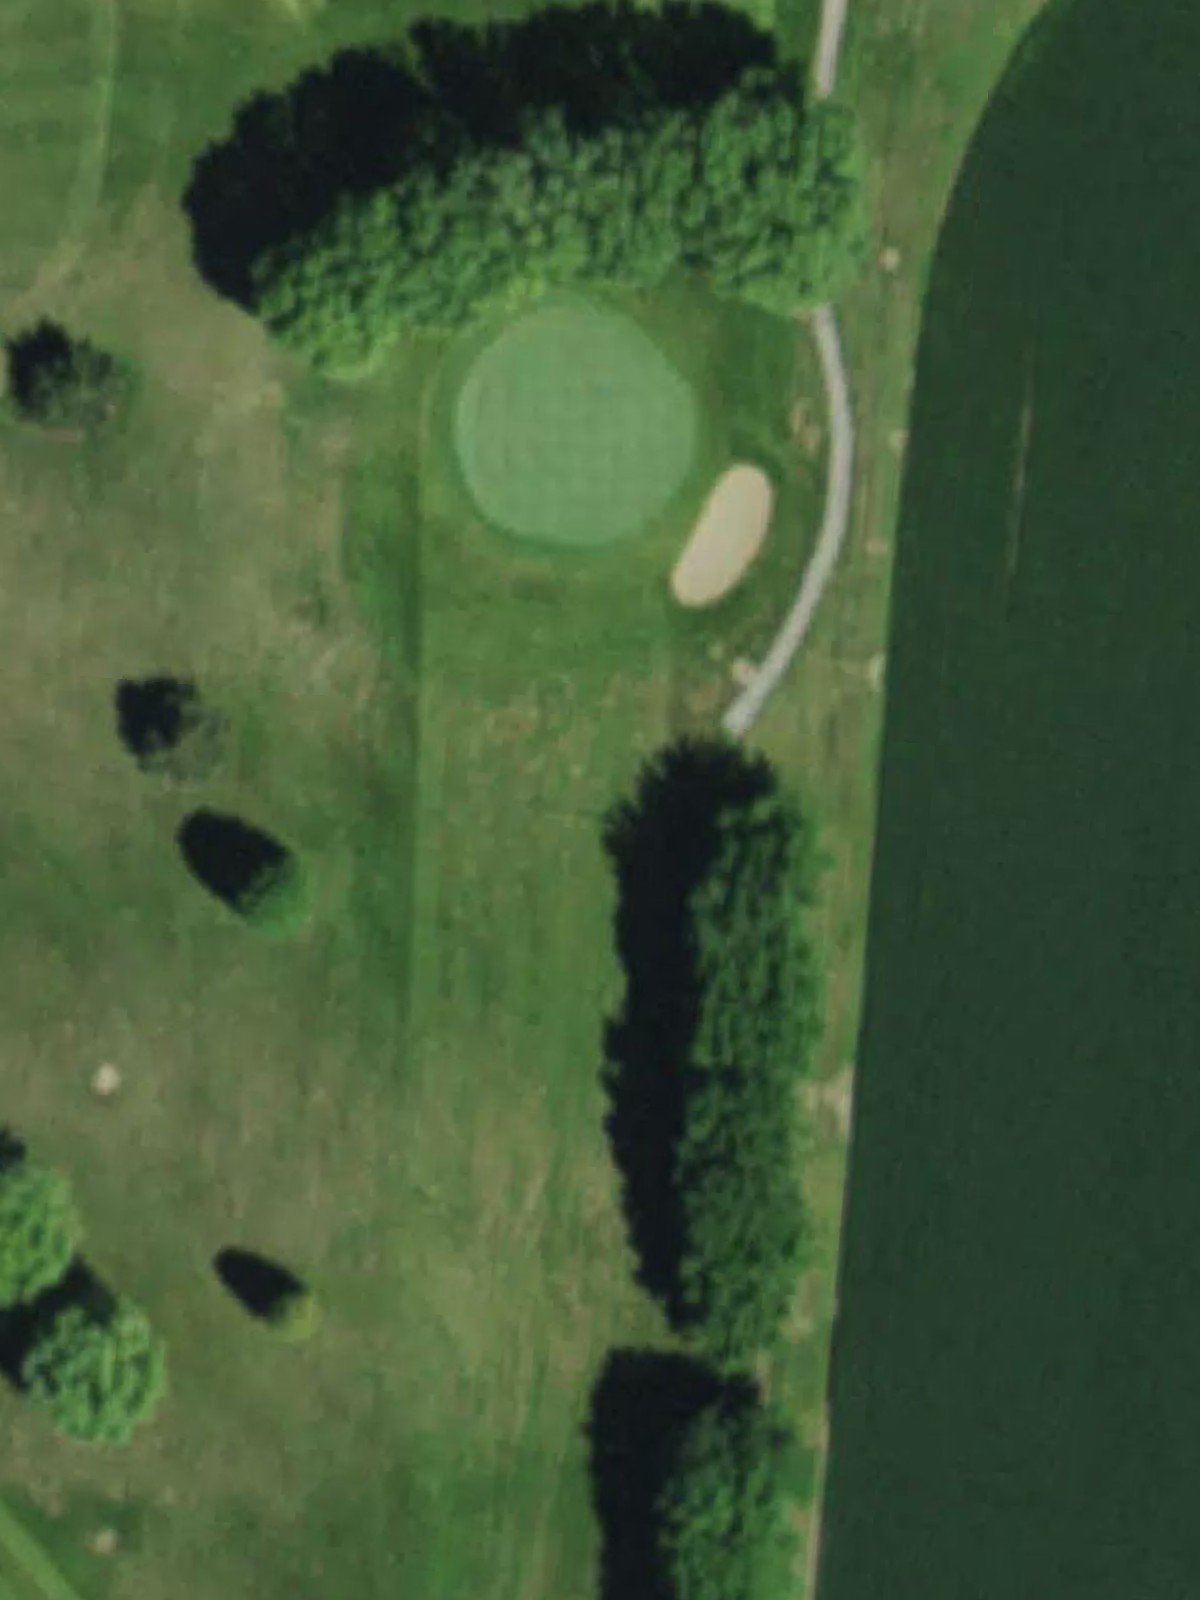
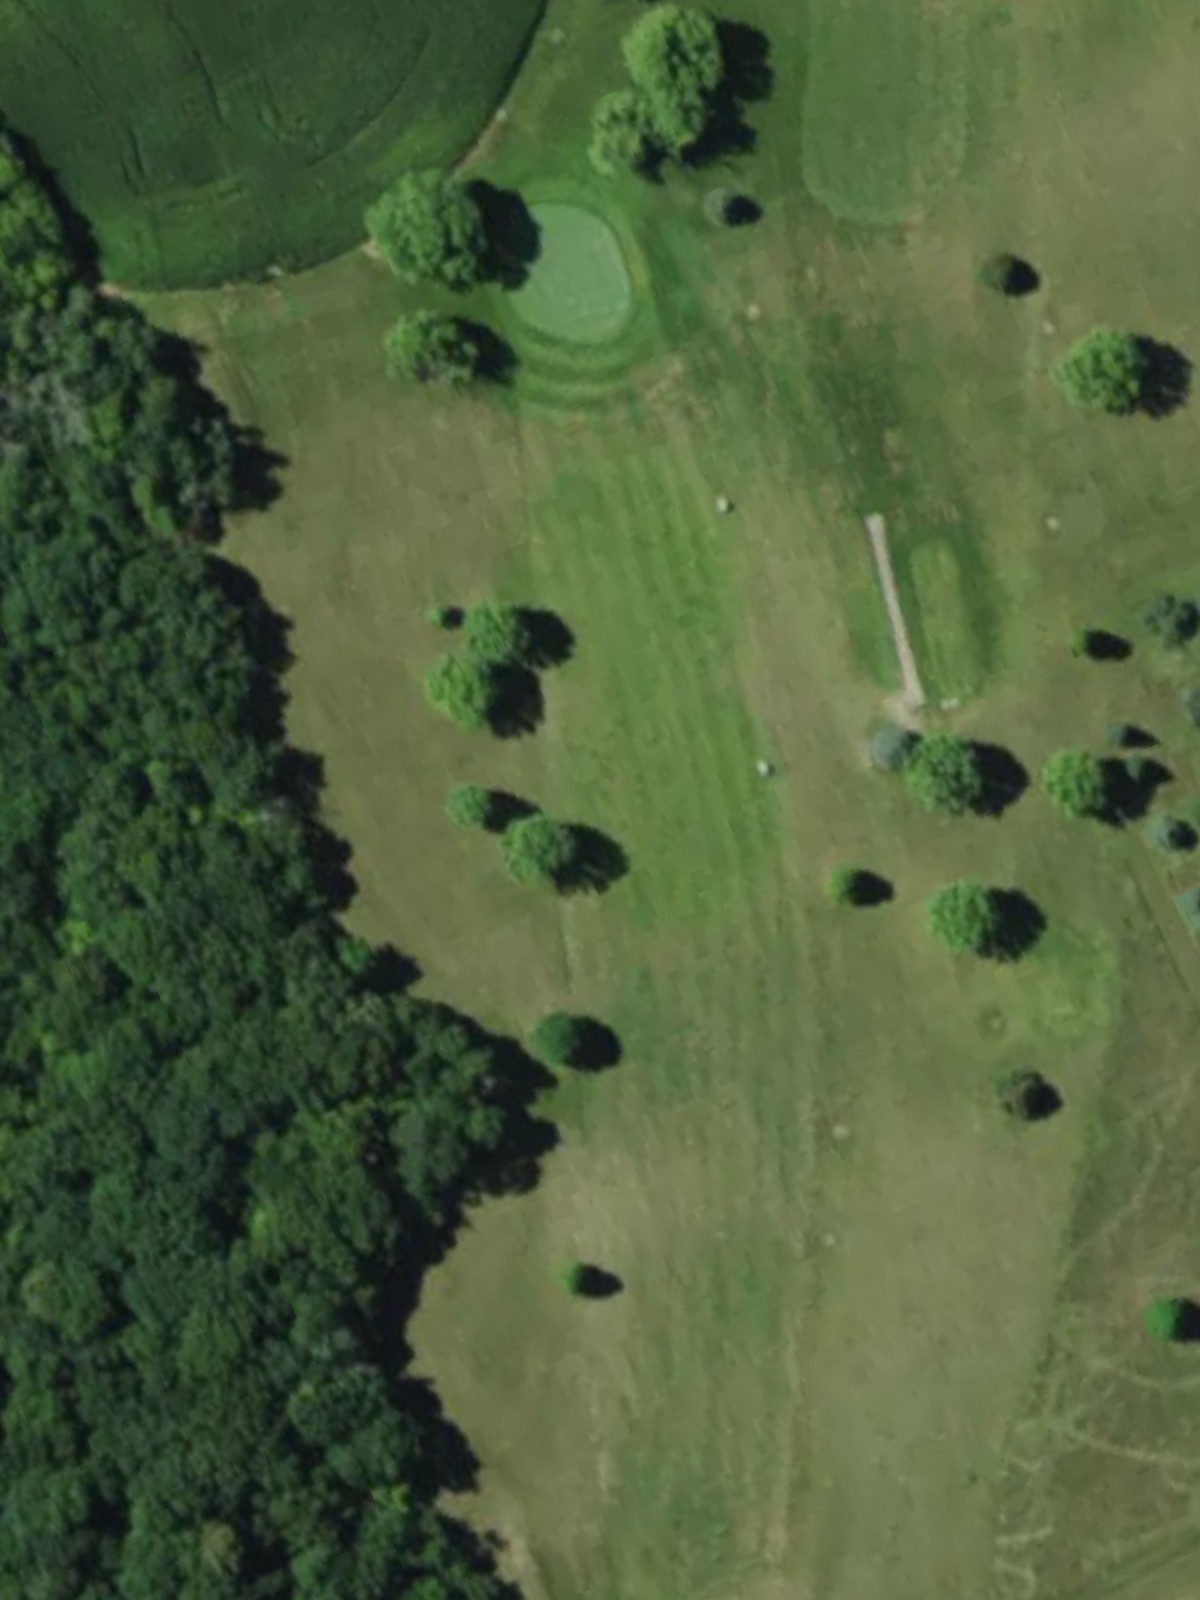
A long par 5 that invites aggressive play for those seeking to reach in two, though strategic layup positioning is equally valid. Water and bunkers likely penalize errant shots, particularly on the left side or around the green complex.
Oak Summit's most difficult par 4, playing significantly longer than the other four-pars with length as its primary defense. A demanding approach shot and well-guarded green make this hole a genuine test of all-around skill.
A mid-length par 3 requiring a solid iron or fairway wood to a green surrounded by sand. The isolated target demands accuracy, with bunkers providing the primary hazard around the putting surface.

A generous par 5 offering multiple routes to the green with strategic bunkering throughout the hole. The length and layout reward both bold play and conservative positioning, making it playable for different skill levels.
A short par 3 with minimal hazards, presenting one of the course's most forgiving scoring opportunities. The straightforward green complex and reasonable yardages make this an ideal birdie chance.
A challenging par 3 that plays as the fourth-most difficult hole despite its par-3 status, likely featuring significant length or well-placed hazards. The demanding tee shot to a well-protected green requires a quality strike.

The course's most difficult hole, a long par 4 that serves as a stern welcome to the back nine. Water, bunkers, or other hazards create a multi-layered challenge requiring two quality shots to reach the well-guarded green.
A mid-length par 3 with moderate difficulty, requiring a well-struck iron to navigate any hazards surrounding the green. The hole's character likely includes bunkers or water that reward precision tee shots.
The shortest hole on the course, a par 3 that offers a stress-free opportunity to make a score. Despite its modest yardage, bunkers or other defenses likely guard the green to maintain challenge even on the shortest tee shot.
A reachable par 5 that presents an inviting two-shot opportunity for skilled players while accommodating three-shot play for others. Strategic bunkering and potential water hazards protect the scoring zone and define the risk-reward calculation.
A moderate-length par 4 with a relatively straightforward design and balanced difficulty. The hole's character likely features minimal forced carries, making it accessible while still demanding a solid approach to the green.
A solid par 4 that sits in the middle of the back-nine difficulty scale with balanced length and hazard placement. Fairway shape and greenside bunkering create a fair test of accuracy on both the tee and approach shots.
A challenging par 4 positioned among the course's most difficult holes, likely featuring length, a tight fairway, or strategic hazards throughout. The demanding layout requires solid fundamentals and shot-making to secure par.

The third-most difficult hole on the course, a par 4 with significant challenge despite moderate yardage, suggesting hazard placement or dramatic terrain. Water, bunkers, or doglegs create complexity and demand careful navigation to reach the green in regulation.

A closing par 4 of modest difficulty that provides a balanced finish to the round, neither penalizing nor offering an easy finale. The hole likely features reasonable hazard spacing and a green complex that rewards solid play without excessive severity.
Scorecard
| Hole | 1 | 2 | 3 | 4 | 5 | 6 | 7 | 8 | 9 | Out | 10 | 11 | 12 | 13 | 14 | 15 | 16 | 17 | 18 | In | Tot |
|---|---|---|---|---|---|---|---|---|---|---|---|---|---|---|---|---|---|---|---|---|---|
| Par | 4 | 4 | 4 | 5 | 4 | 3 | 5 | 3 | 3 | 35 | 4 | 3 | 3 | 5 | 4 | 4 | 4 | 4 | 4 | 35 | 70 |
| HCP | 8 | 18 | 12 | 6 | 2 | 14 | 10 | 16 | 4 | 1 | 13 | 17 | 9 | 11 | 7 | 5 | 3 | 15 | |||
| blue | 405 | 388 | 311 | 545 | 463 | 182 | 557 | 184 | 222 | 3257 | 408 | 205 | 127 | 525 | 376 | 394 | 435 | 397 | 310 | 3177 | 6434 |
| white | 377 | 340 | 304 | 524 | 449 | 173 | 512 | 167 | 200 | 3046 | 392 | 185 | 123 | 519 | 365 | 371 | 361 | 393 | 300 | 3009 | 6055 |
| gold | 350 | 332 | 300 | 518 | 307 | 169 | 452 | 155 | 171 | 2754 | 310 | 171 | 121 | 416 | 302 | 362 | 345 | 325 | 293 | 2645 | 5399 |