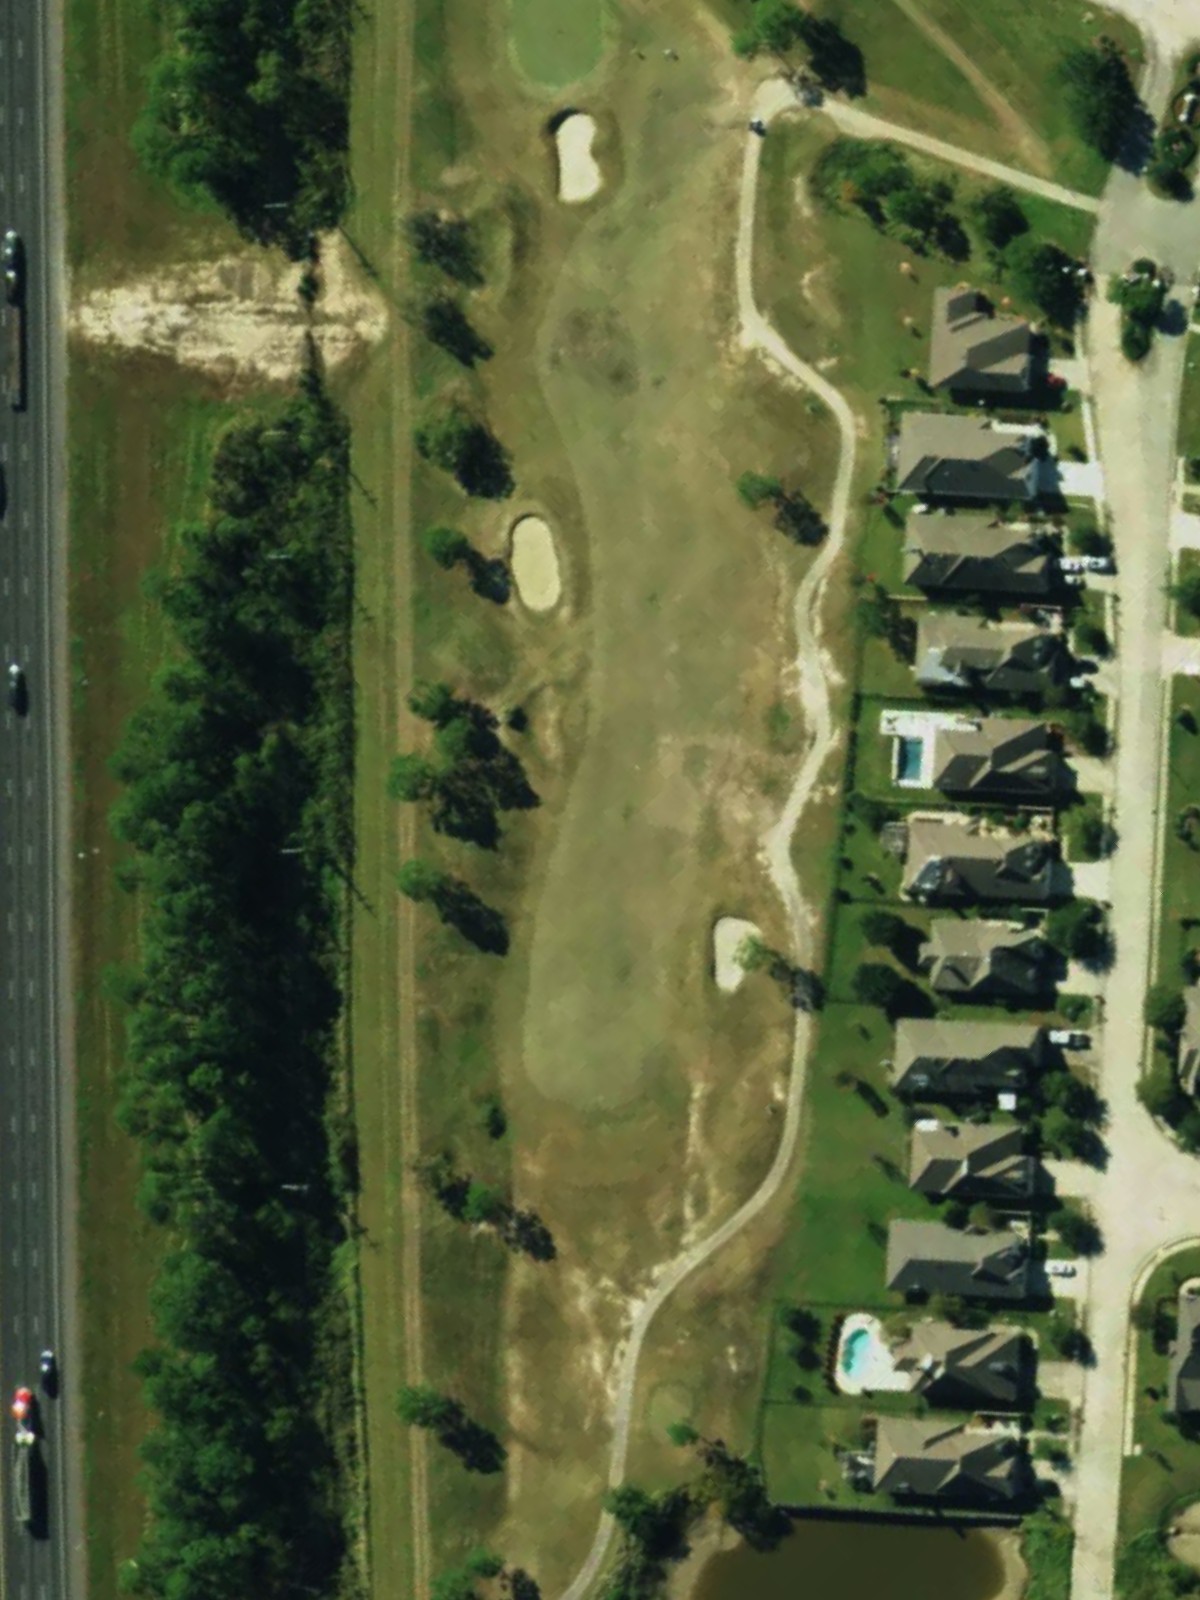
Oak Harbor Golf Club is an 18-hole golf course in Slidell, LA with a par of 72. It offers 4 tee sets: blue (6,805 yards, slope 141, rating 73.1), white (6,212 yards, slope 130, rating 70.3), gold (5,772 yards, slope 123, rating 68.1), red (5,171 yards, slope 112, rating 65.6). The hardest hole is #8, a par 4 playing 376 yards from the first tee.
Oak Harbor Golf Club
Slidell, LA
Get PDF Yardage Book
We'll email you the PDF link. No spam, ever.
Create Your Game Plan
Pick your tees, enter your bag, and get a personalized shot-by-shot strategy for every hole.
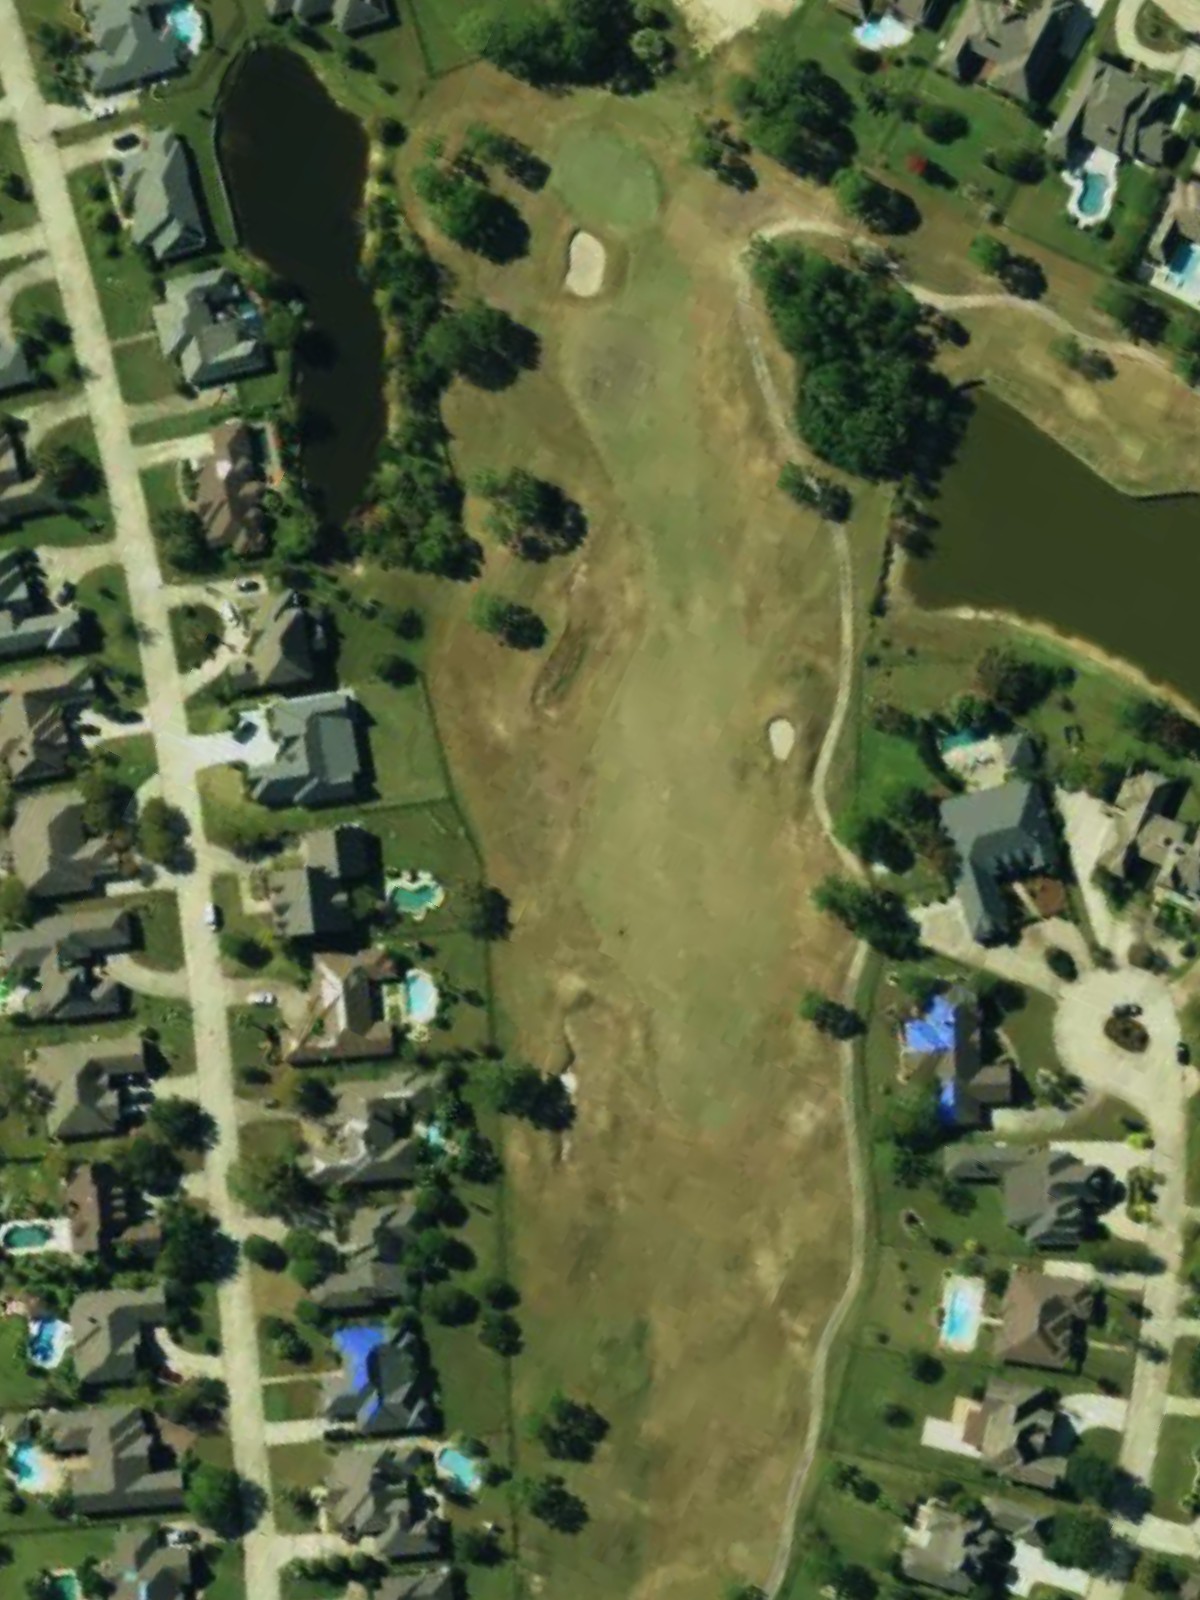
A straightforward opening par 4 with a fairway that gradually narrows as it approaches the green. Two bunkers protect the right side of the green, making accuracy on the approach shot important for a stress-free start.
A long par 5 that invites aggressive play for those seeking a birdie opportunity. The fairway is relatively open, though players must be mindful of positioning for their third shot into a well-guarded green.
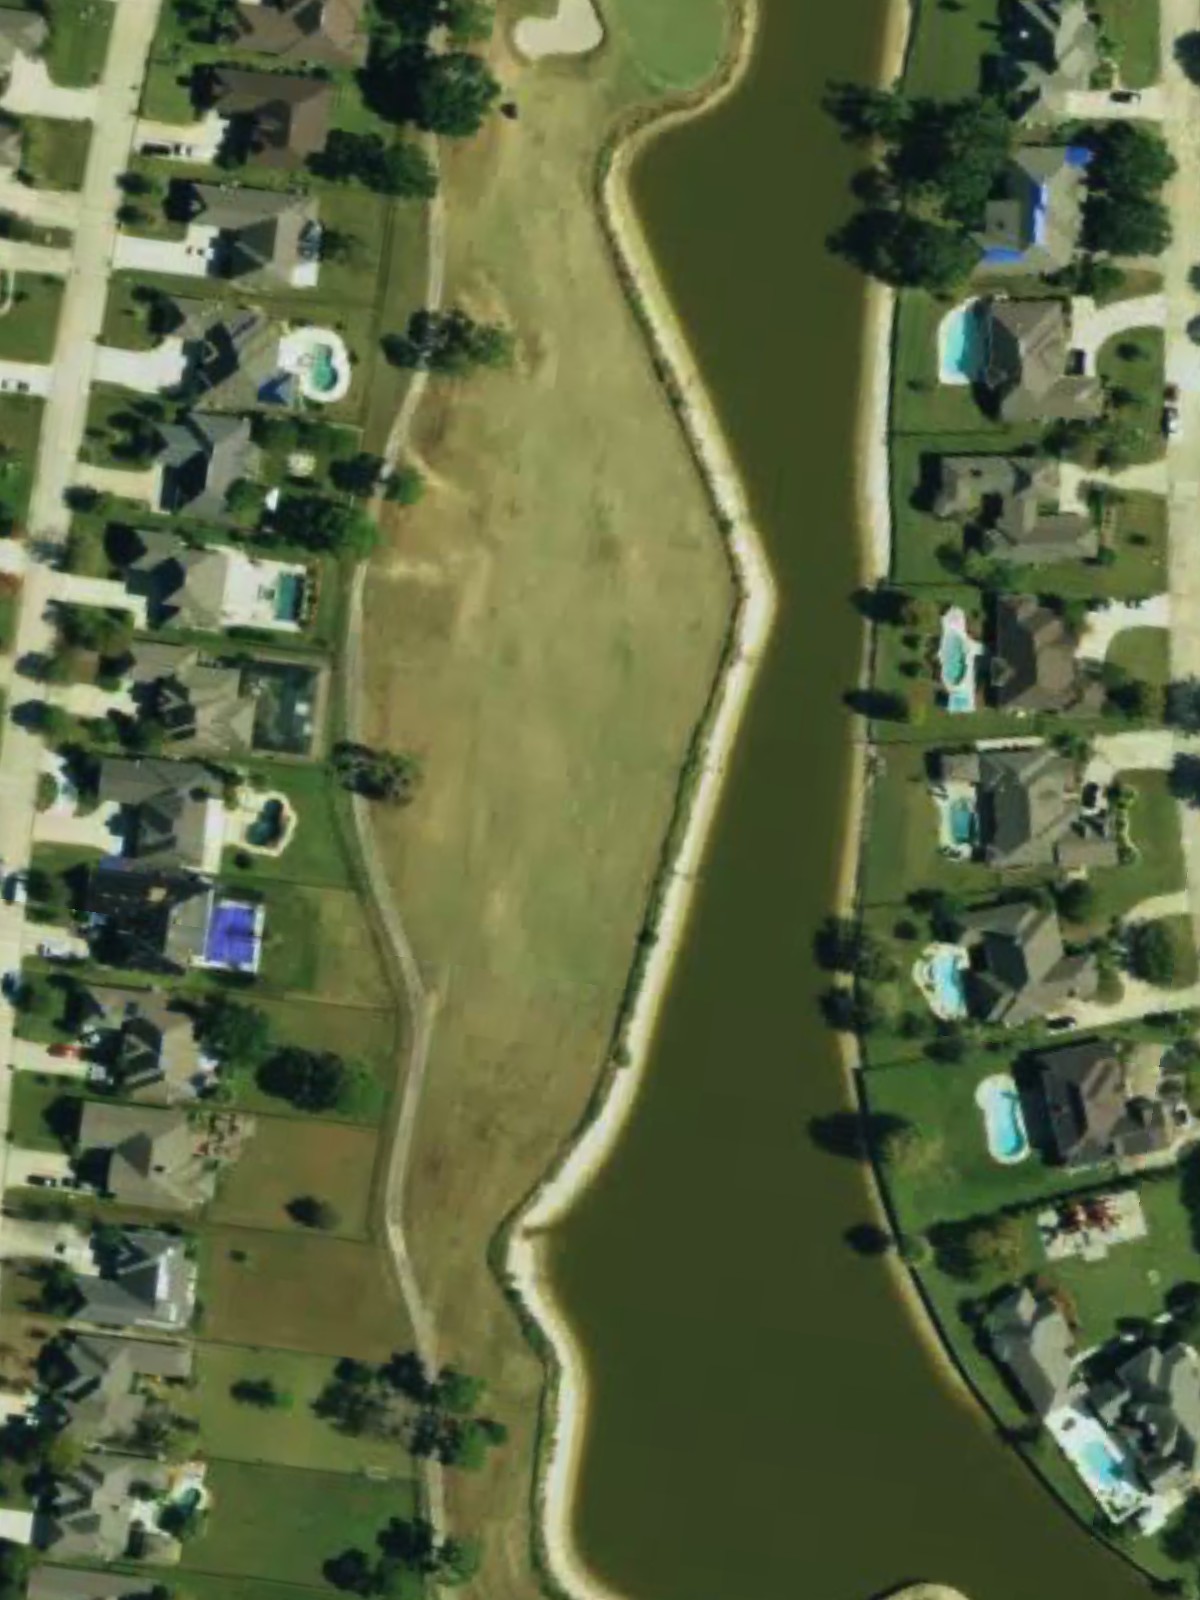
A moderate par 4 with a straightforward layout and plenty of fairway width. The green sits relatively open, making this hole more about solid contact than navigating major hazards.
A short par 4 that plays downhill toward the green, reducing effective yardage. The relaxed difficulty belies the need for precision, as the green's position demands a well-executed approach.
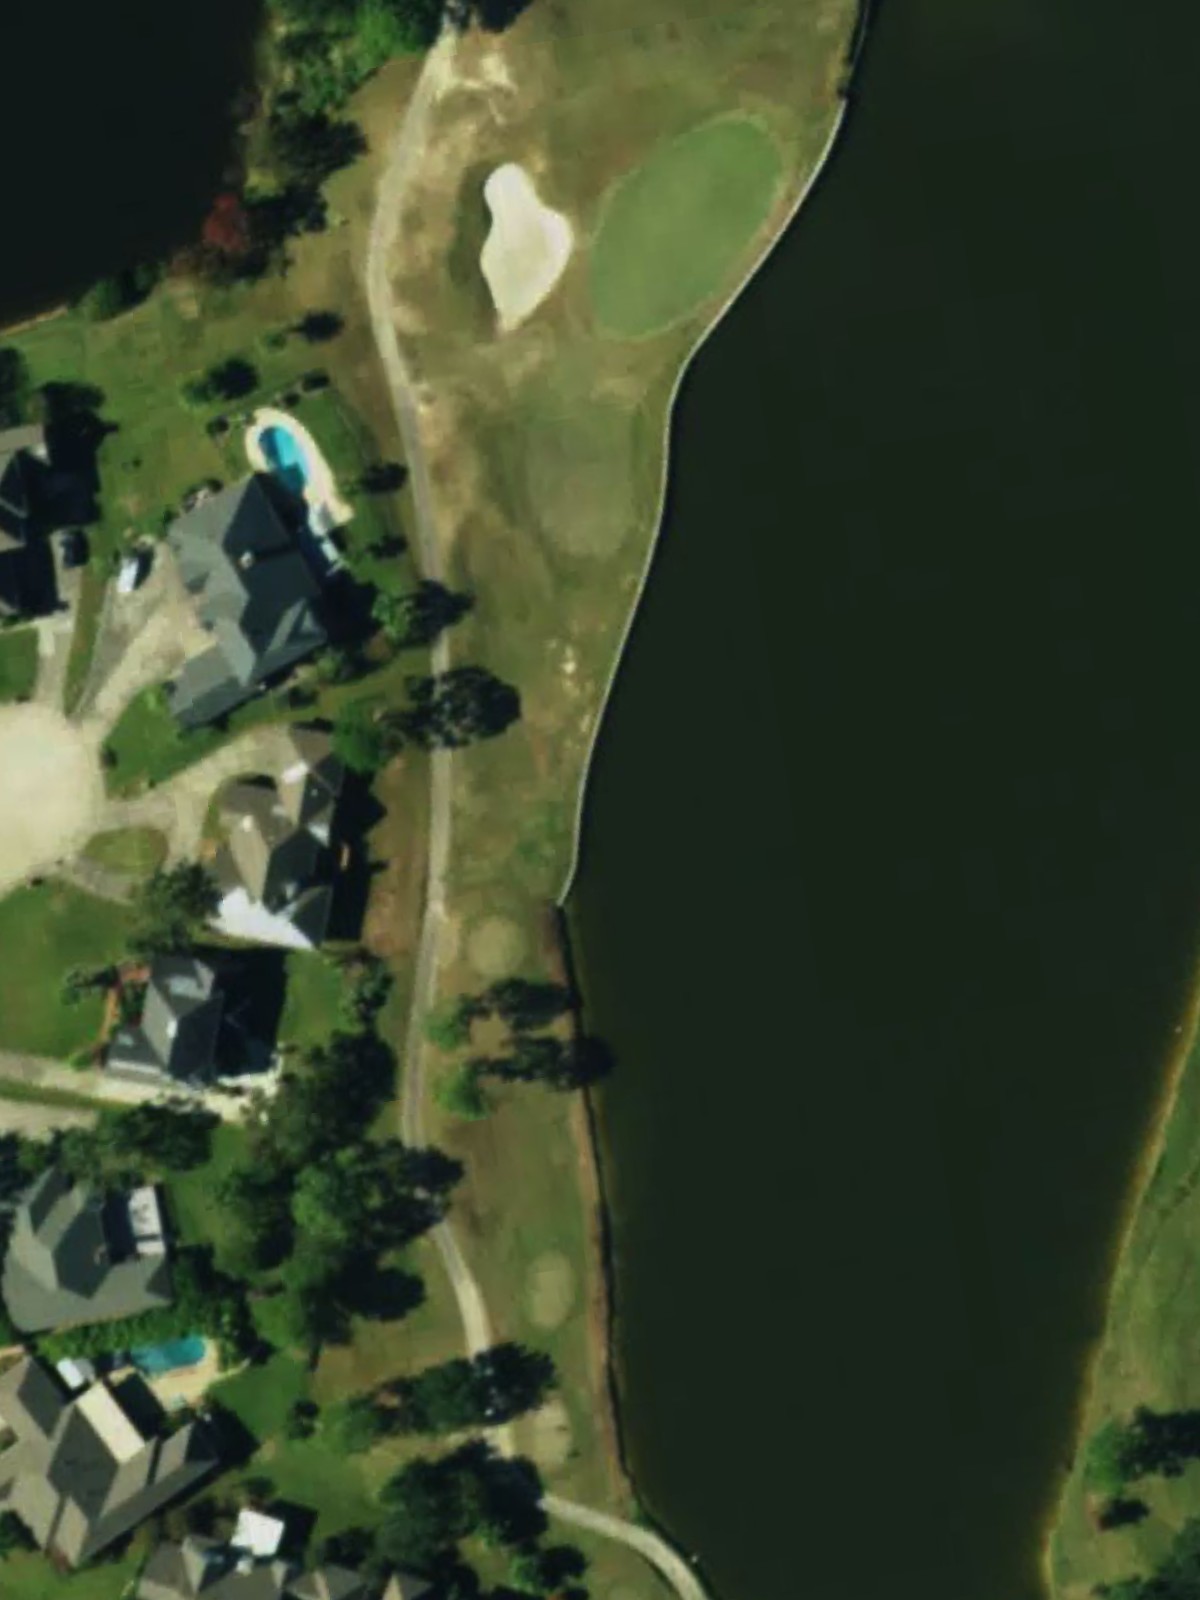
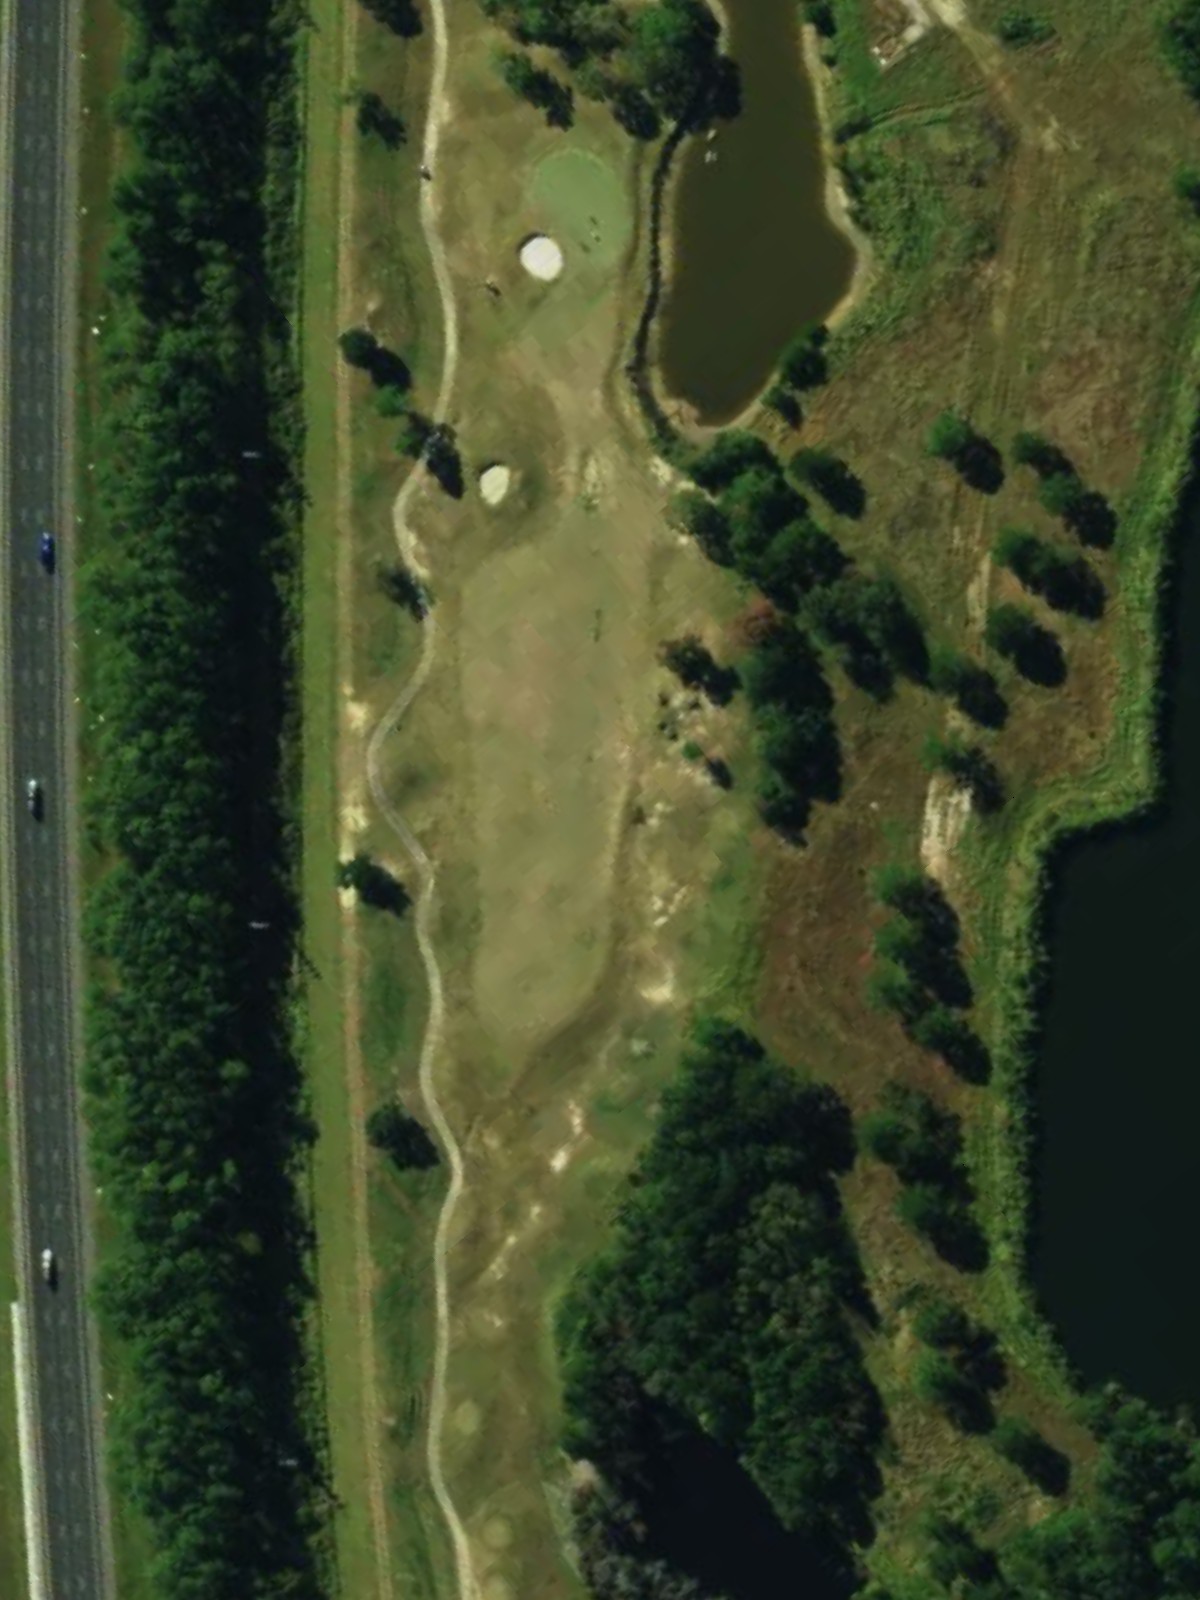
A short par 3 that plays downhill to a receptive green. The modest length and straightforward design make this a good opportunity to post a score, though placement is still important.

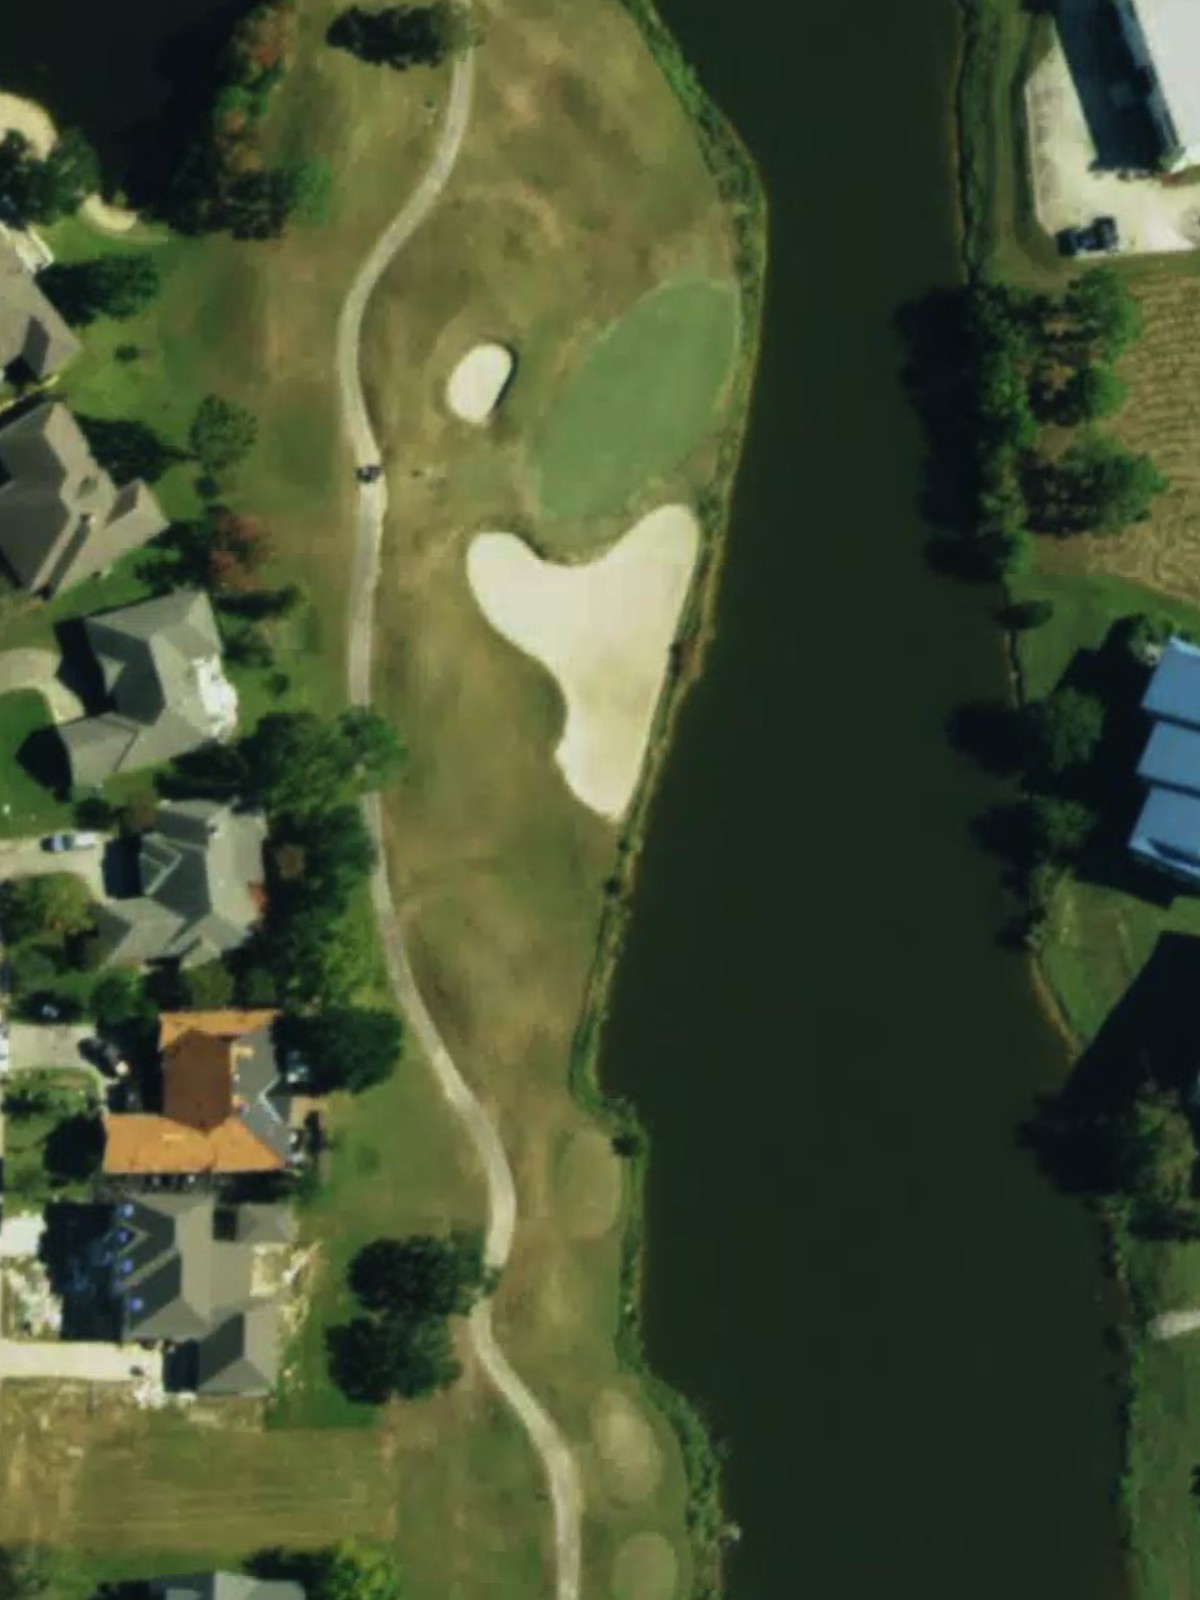
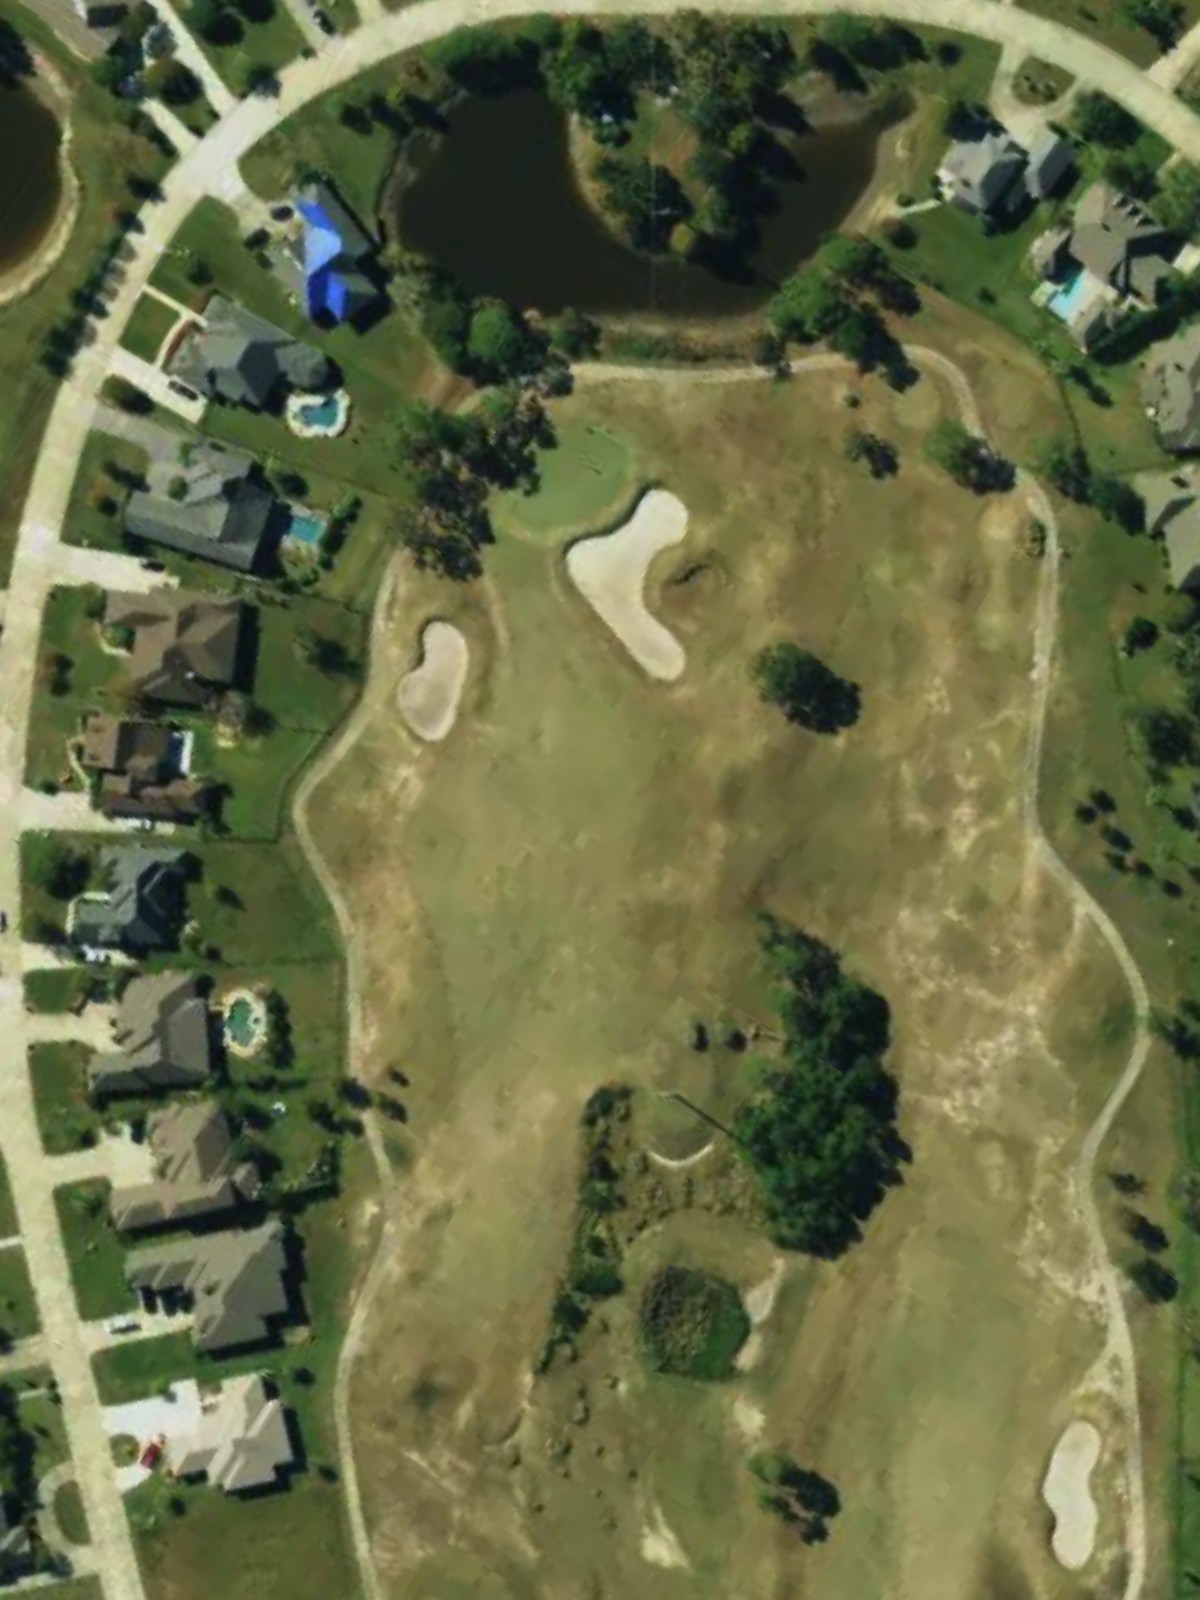
One of the course's most challenging par 4s, featuring a narrow fairway and strategic hazards that demand precision off the tee. The difficulty comes from the need to find the fairway before attempting an equally demanding approach to a well-protected green.
A very short par 3 that plays slightly downhill to a small, well-defined green. Despite its modest length, accuracy is essential as the green offers limited margin for error.
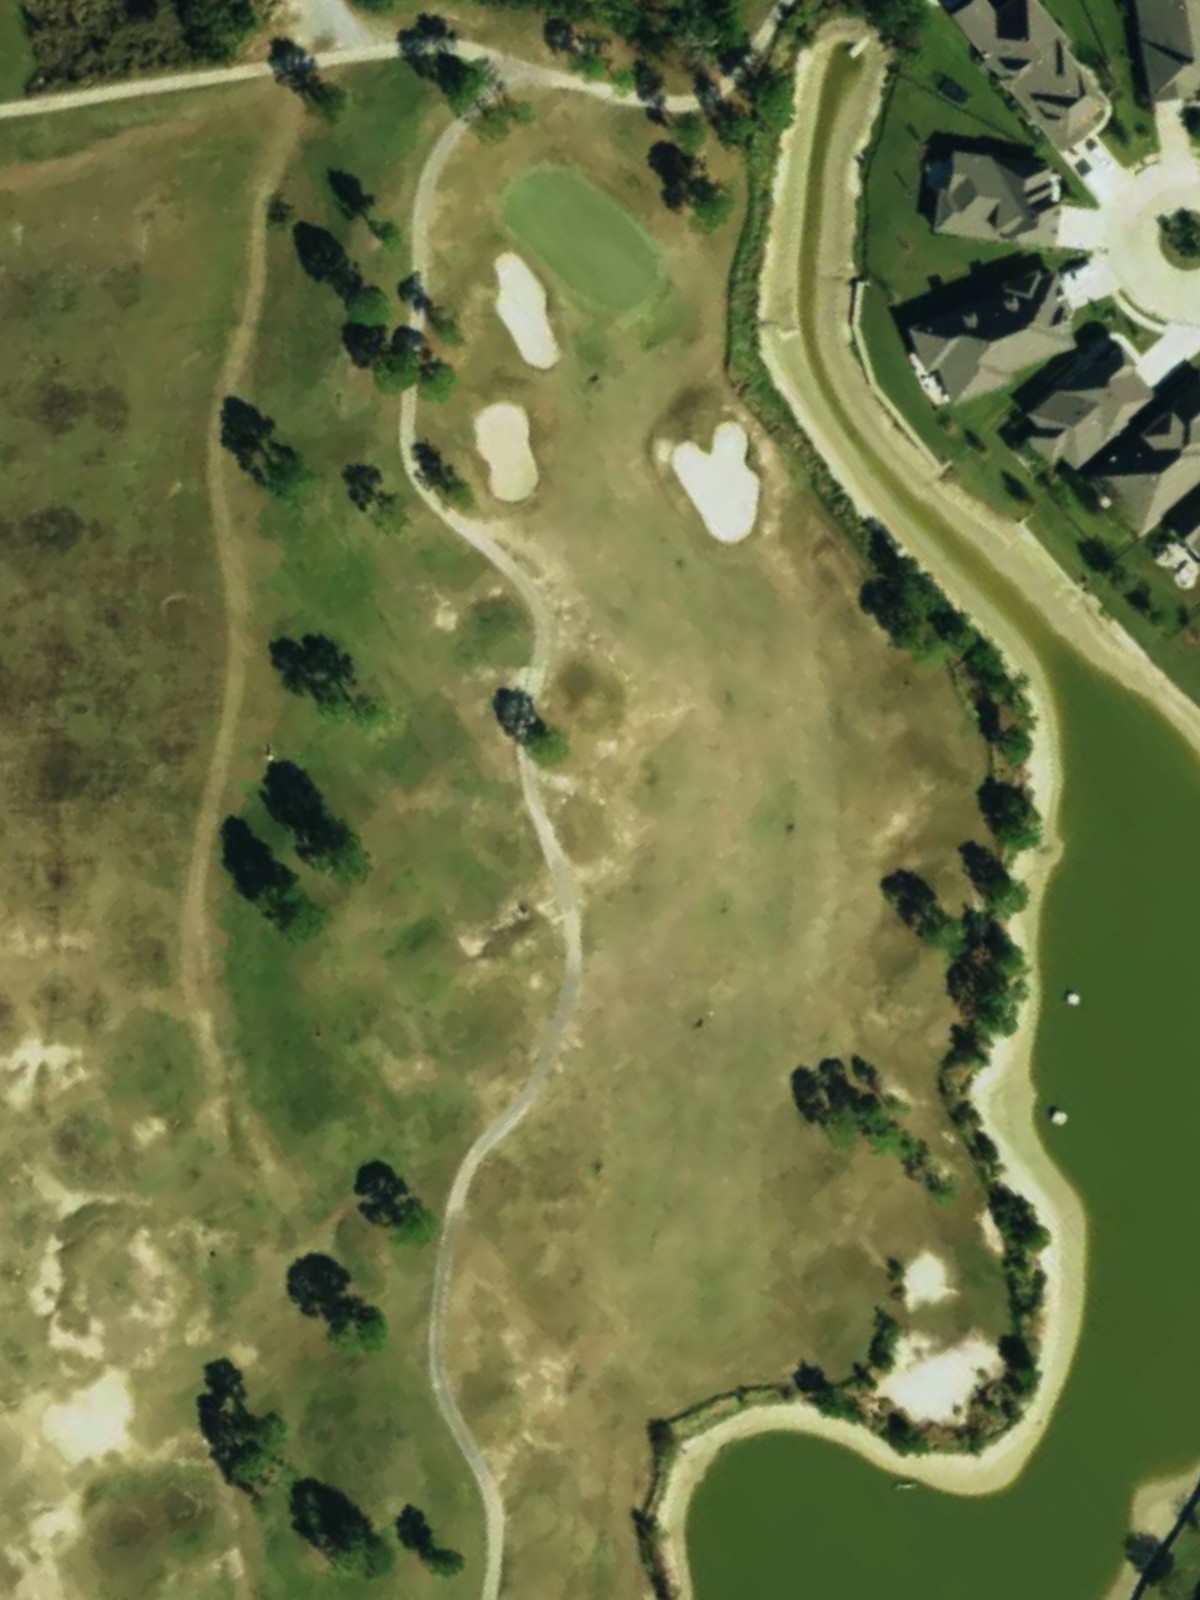
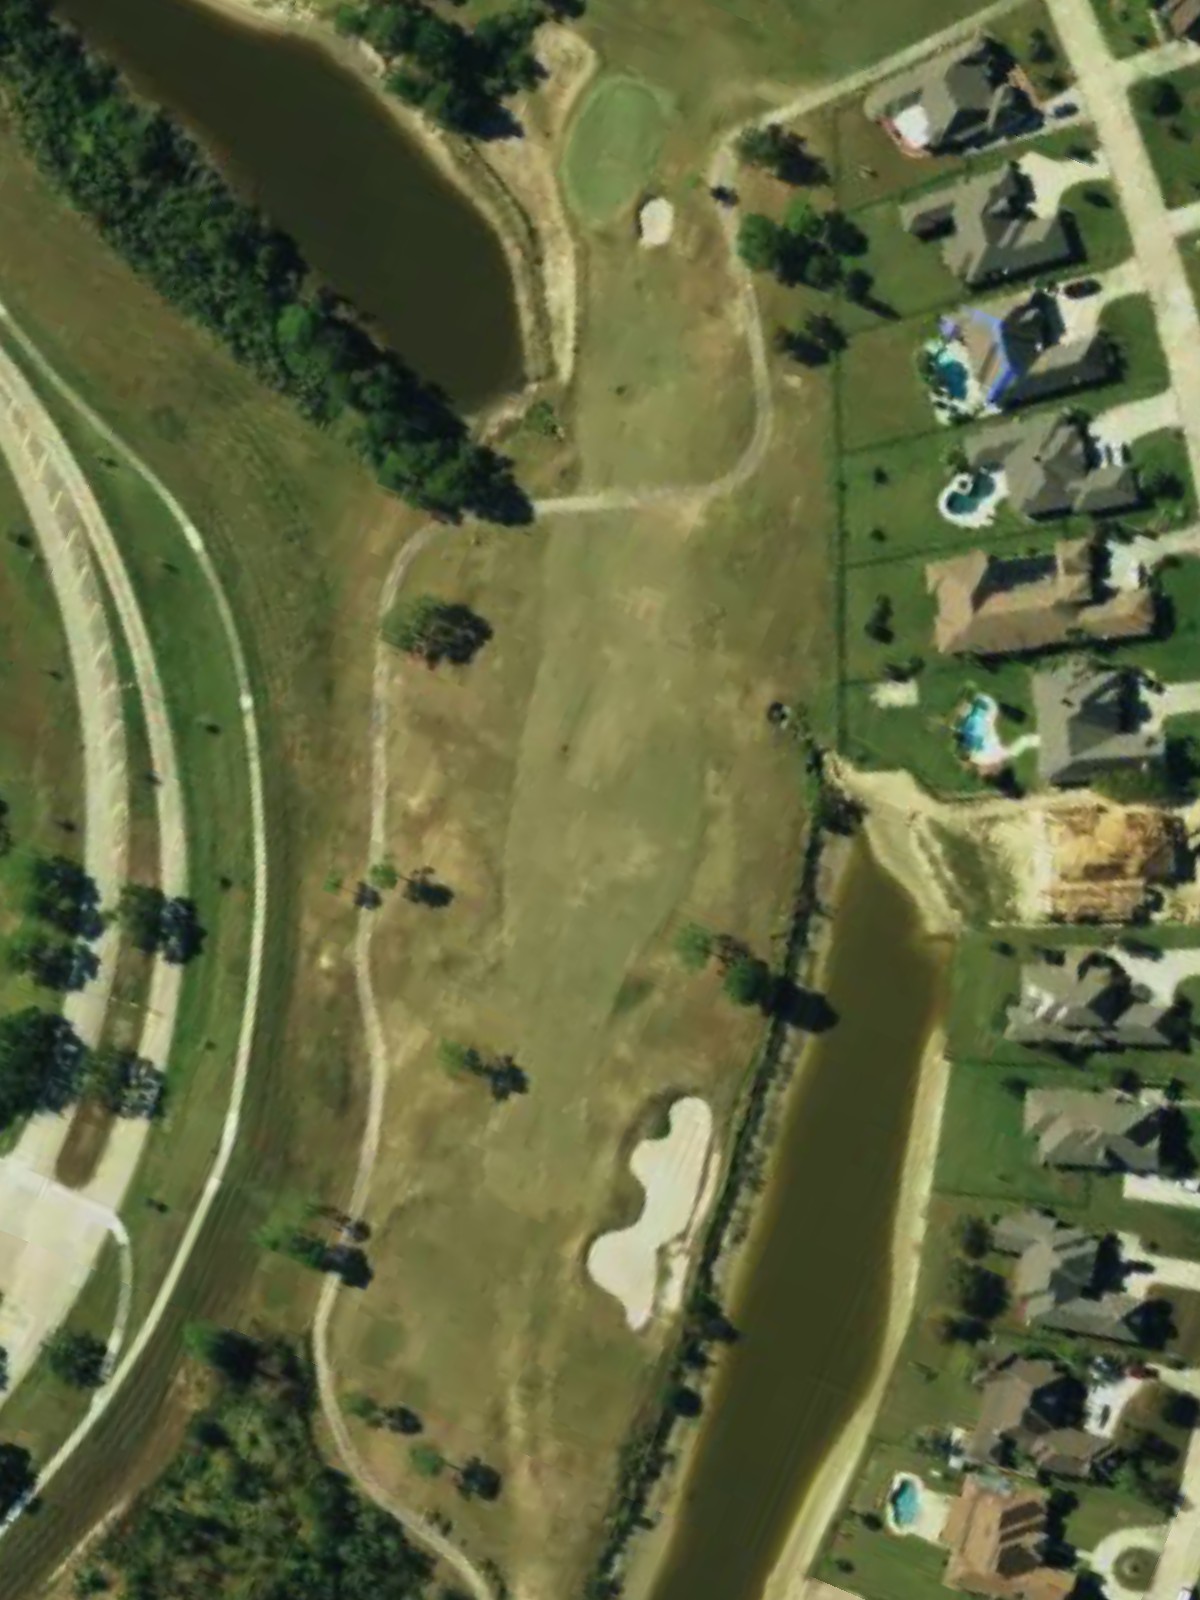
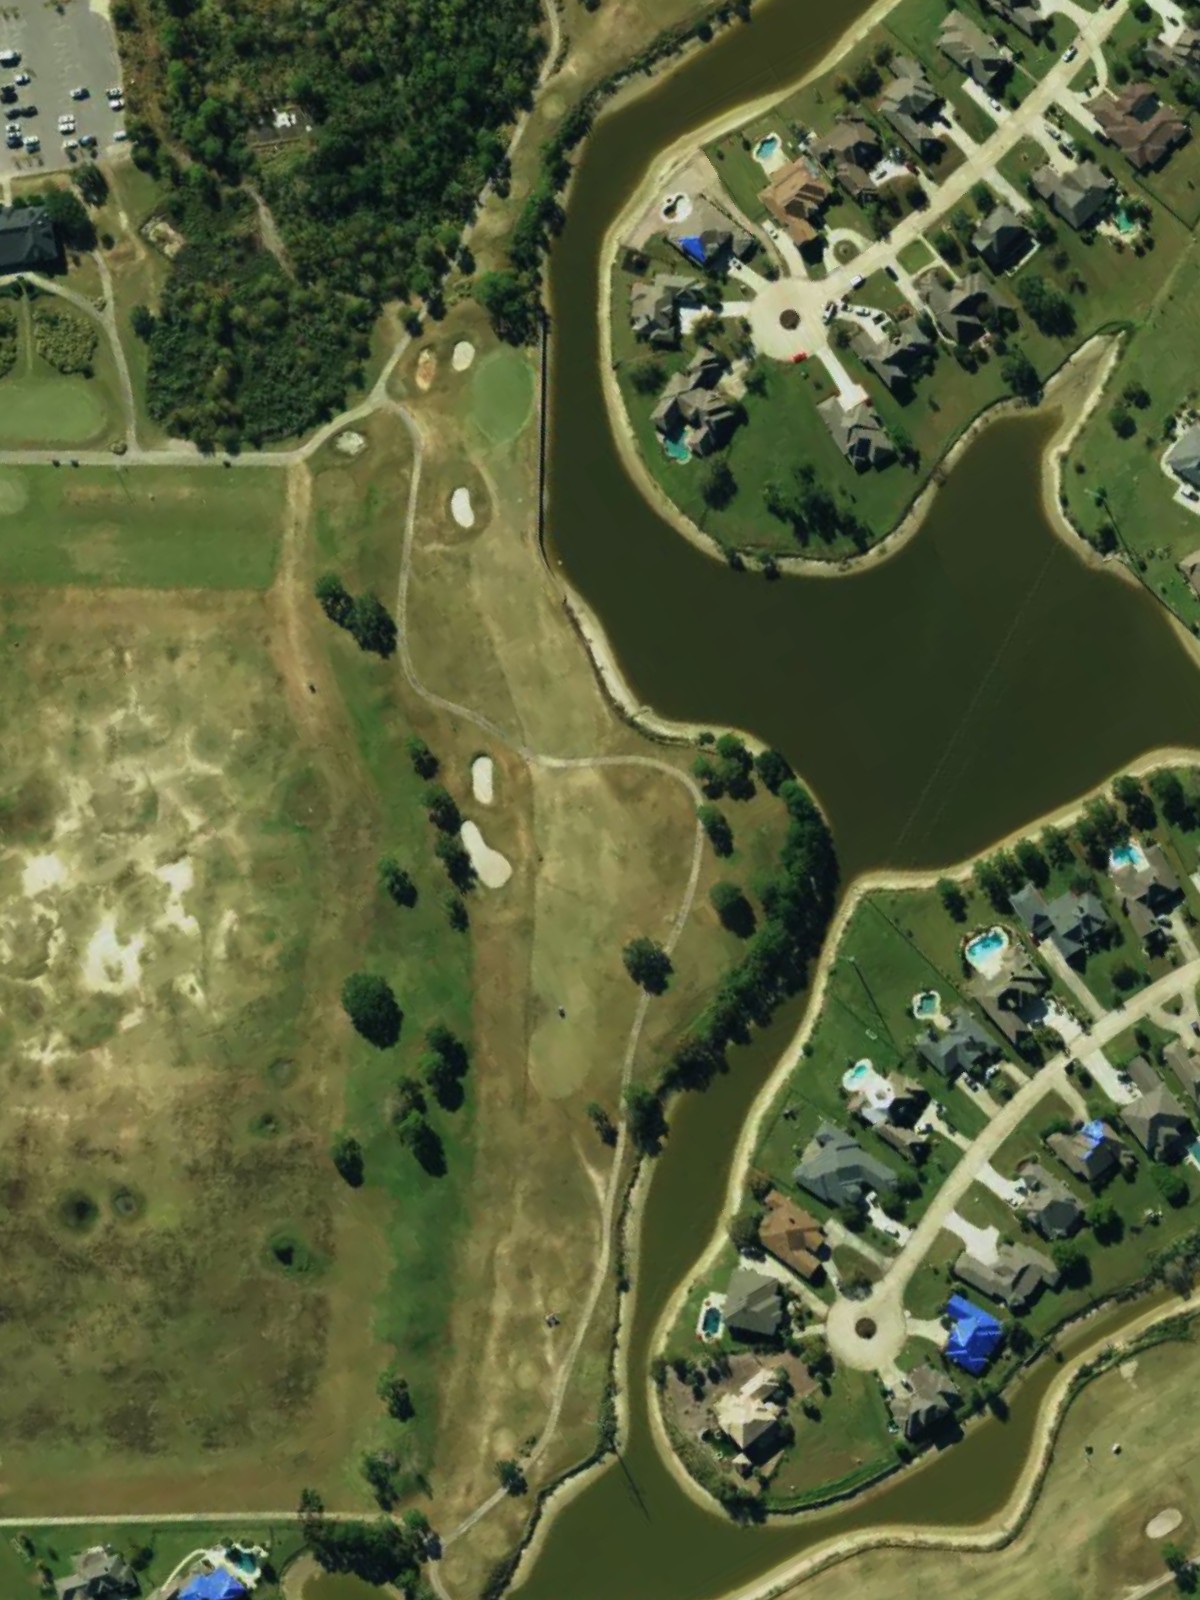
The signature hole and most difficult on the course, this long par 4 requires two quality strikes to reach a challenging green. Hazards and tight positioning make this a true test that separates good scores from great ones.
A strong finishing hole on the front nine, this par 5 offers birdie potential for those who position themselves well off the tee. The fairway is reasonably open, but the green's depth and guarding features demand accuracy on the final approach.
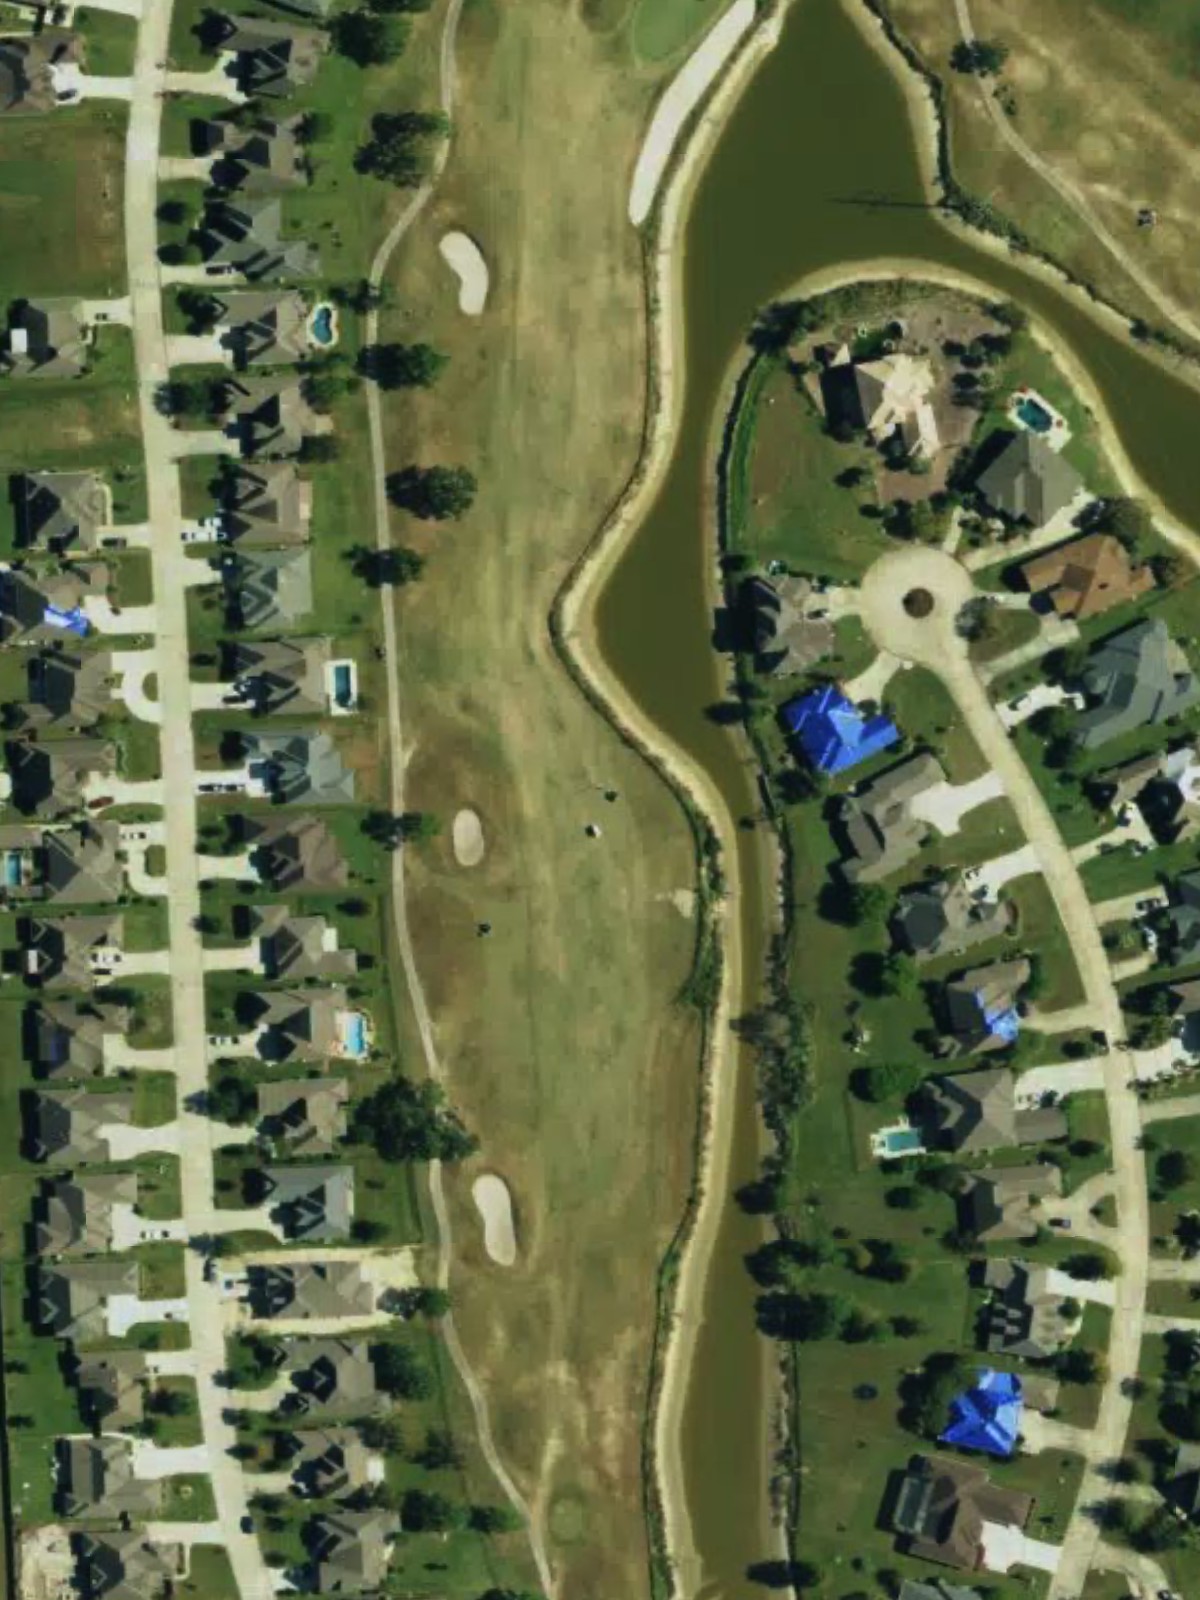
A moderate par 4 with a fairway that demands attention to positioning for the best angle into the green. Hazards around the green require a precise approach shot to set up a makeable putt.
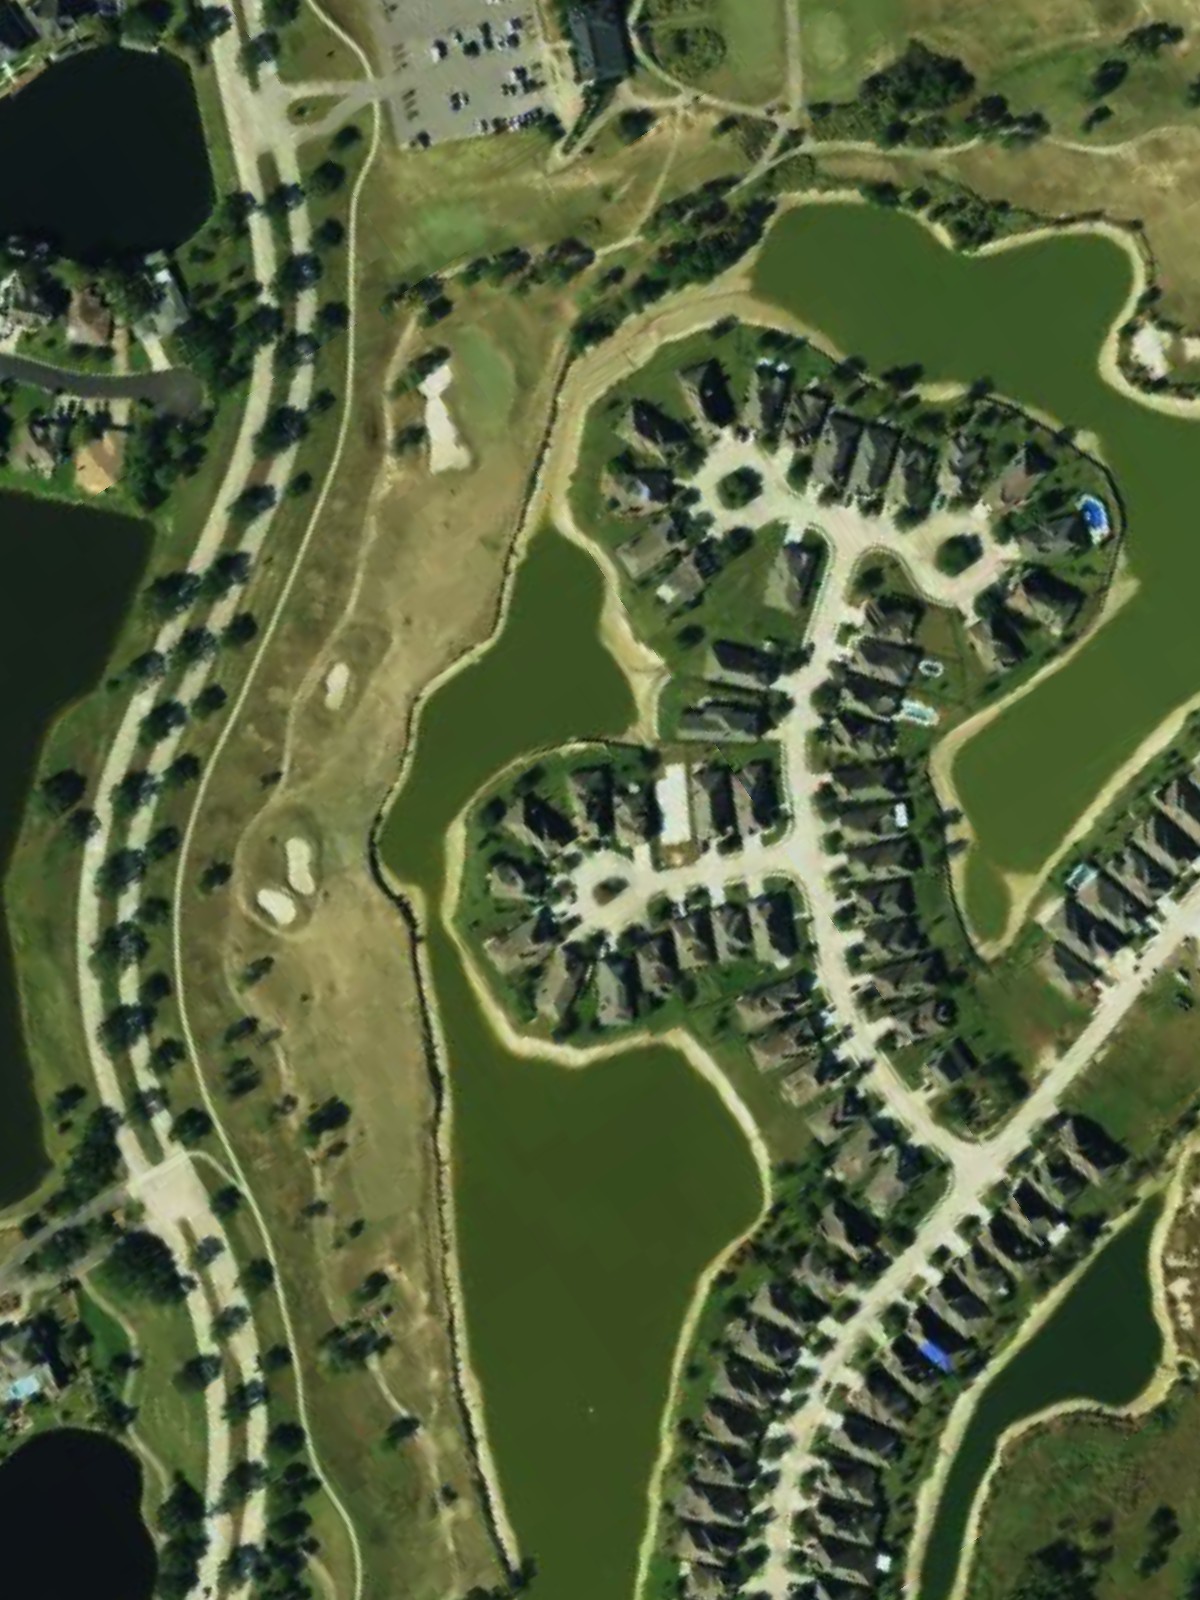
The easiest hole on the course, this short par 4 offers a confidence-building opportunity early on the back nine. The generous fairway and open green make a birdie very achievable.
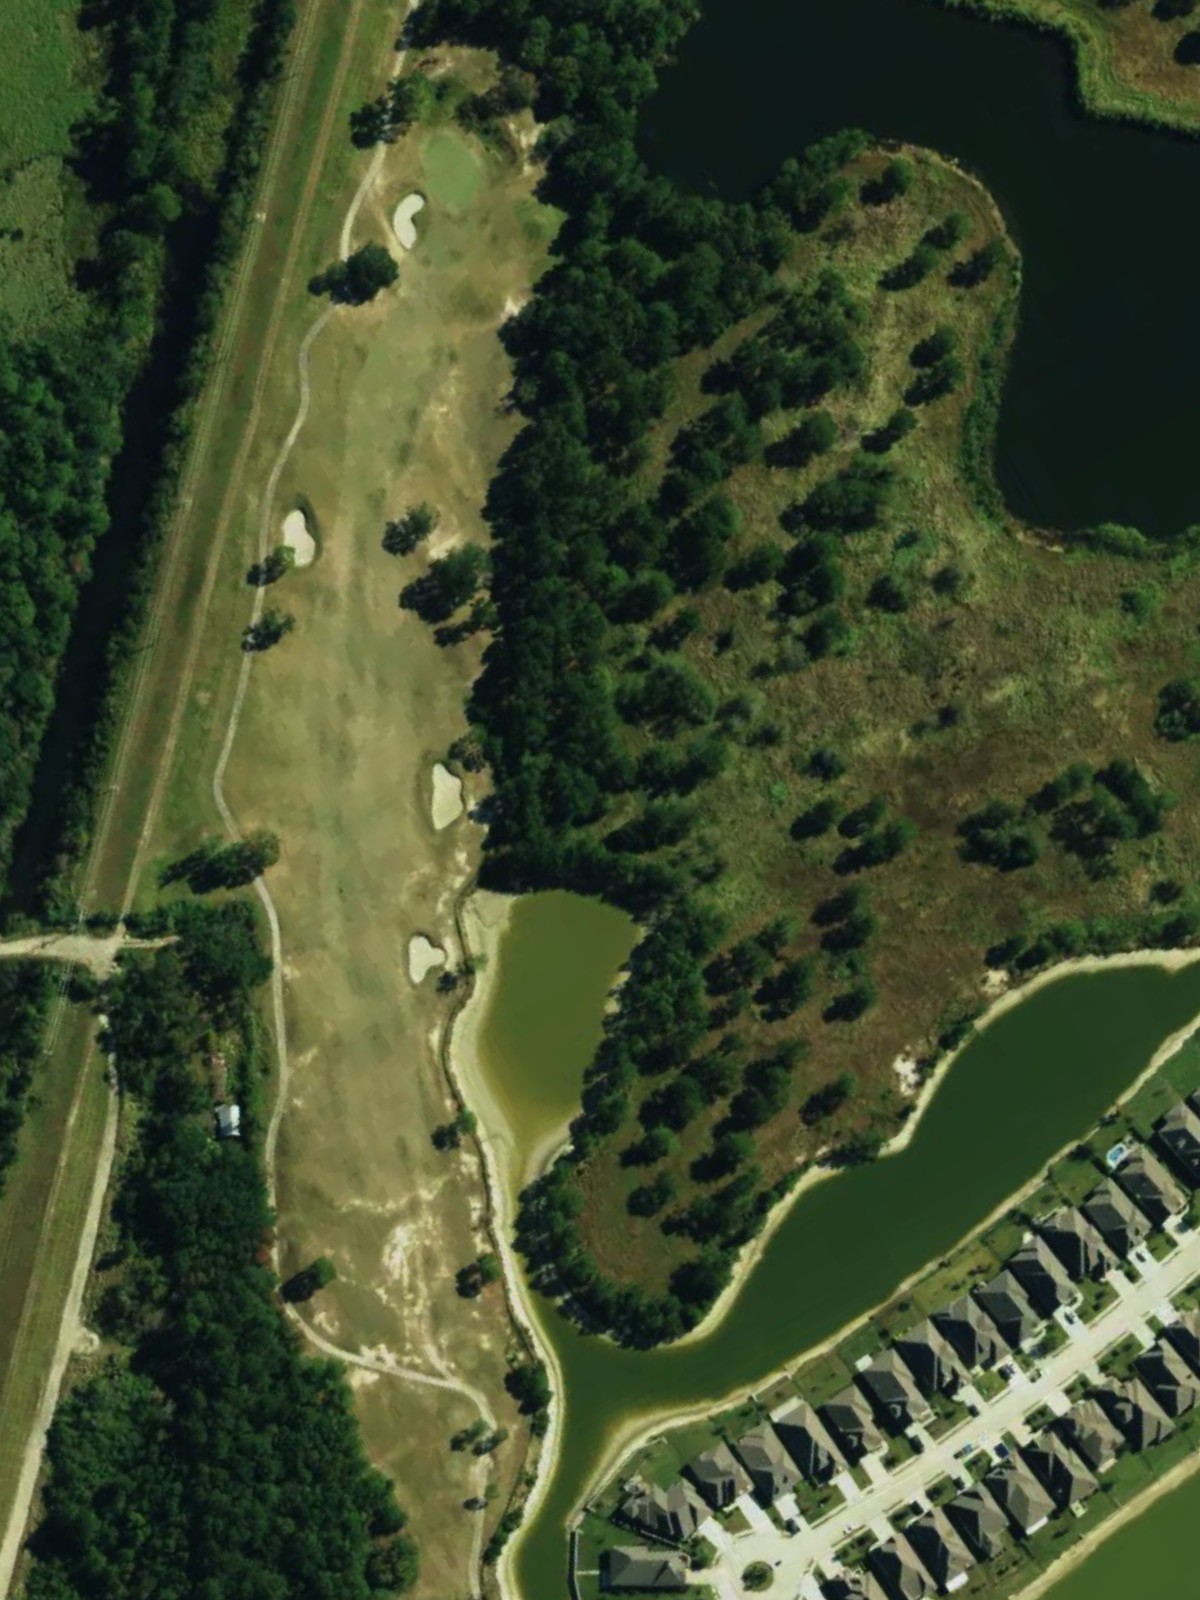
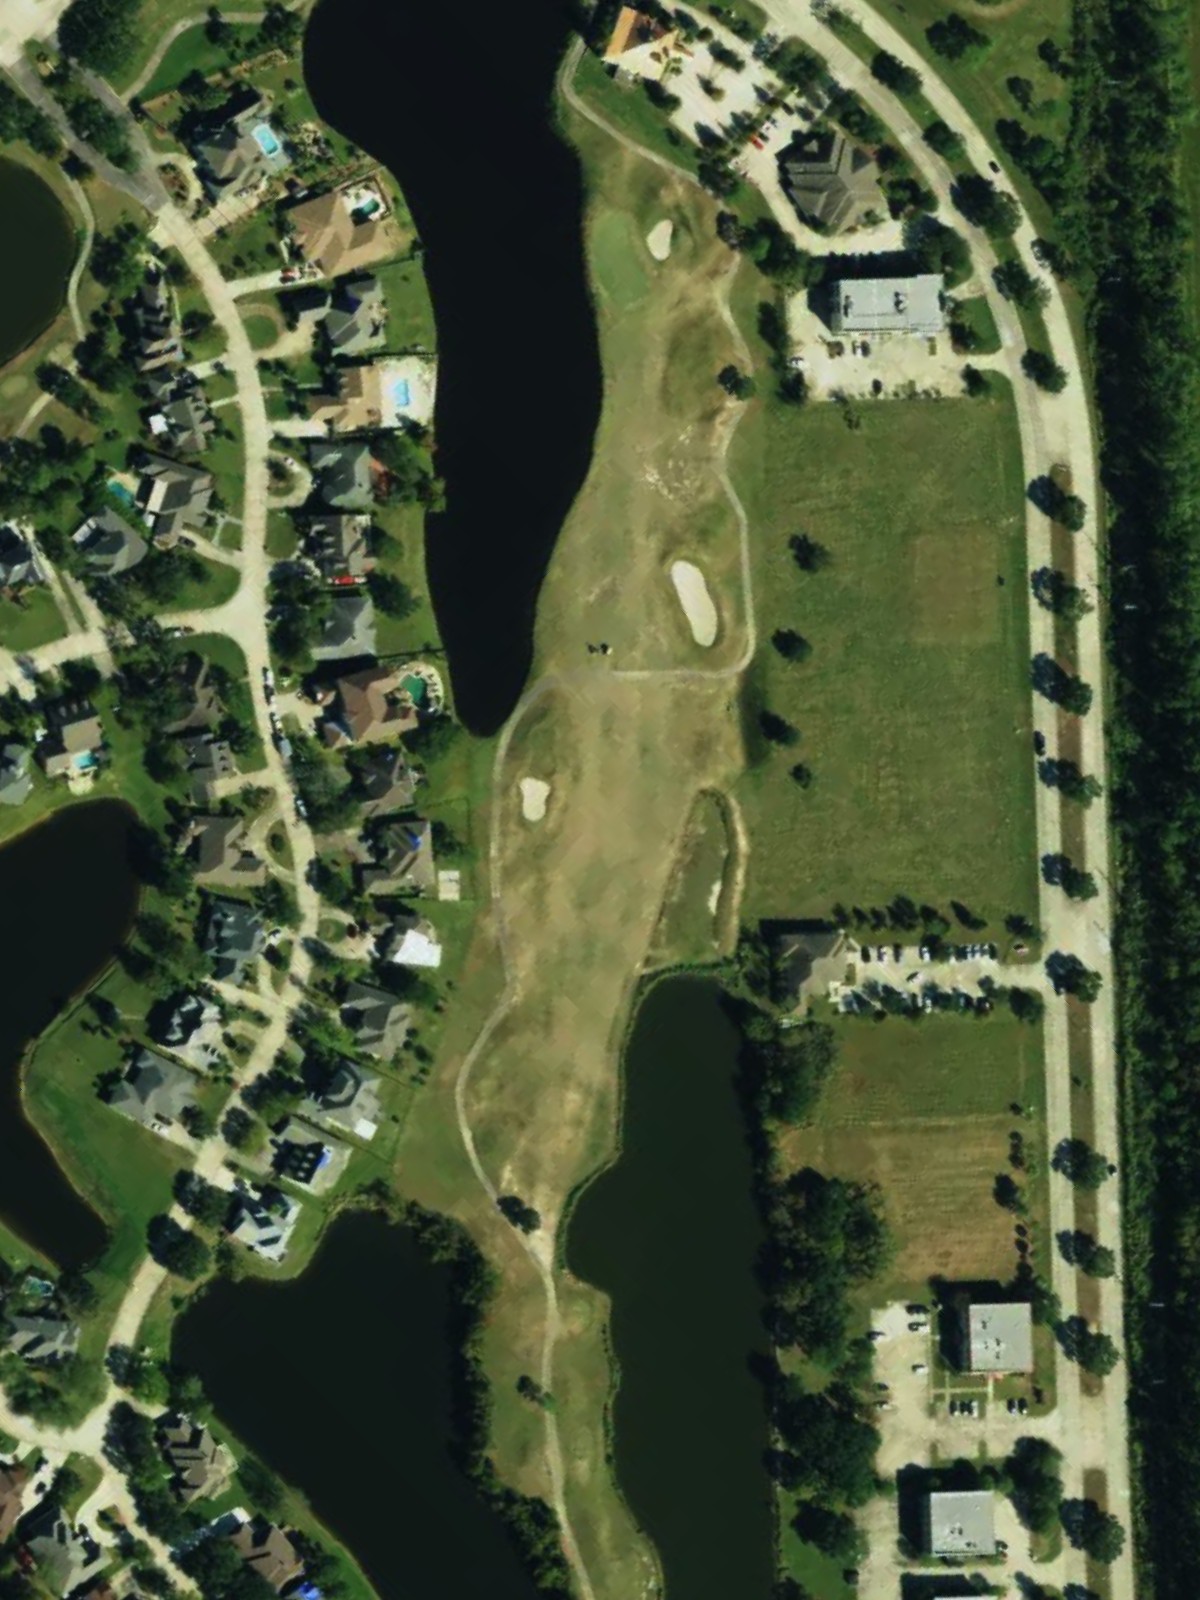
A lengthy par 5 that plays longer than its yardage suggests due to tight positioning throughout the hole. The narrow fairway requires accuracy off the tee, and the green's defenses make a three-shot approach the smart play for most golfers.
A mid-length par 3 with a green that requires a solid, confident strike to find the center. The hole's difficulty comes from the need to carry hazards and find a relatively small target.
One of the course's most difficult par 4s, with a fairway that tightens considerably near the landing area. The green is well-protected, making this a two-shot test that demands execution on both strokes.

A very short par 3 that plays downhill and requires minimal distance but maximum precision. The small, elevated green leaves little room for error despite the modest yardage.
A mid-length par 4 with a fairway that offers reasonable width before narrowing near the approach zone. Strategic positioning off the tee is key to setting up the best angle into a green that rewards accuracy.
A strong par 5 that demands intelligent positioning throughout to manage the hole effectively. The fairway layout rewards good drives, but the lengthy approach and well-protected green ensure this remains a challenging hole despite its par.
The dramatic finishing hole, this par 4 is the course's second-most difficult and requires two quality shots to post a score. A strong test that leaves a lasting impression, with hazards and green-side features punishing anything less than solid execution.
Scorecard
| Hole | 1 | 2 | 3 | 4 | 5 | 6 | 7 | 8 | 9 | Out | 10 | 11 | 12 | 13 | 14 | 15 | 16 | 17 | 18 | In | Tot |
|---|---|---|---|---|---|---|---|---|---|---|---|---|---|---|---|---|---|---|---|---|---|
| Par | 4 | 5 | 4 | 4 | 3 | 4 | 3 | 4 | 5 | 36 | 4 | 4 | 5 | 3 | 4 | 3 | 4 | 5 | 4 | 36 | 72 |
| HCP | 9 | 5 | 13 | 15 | 11 | 3 | 17 | 1 | 7 | 12 | 18 | 14 | 16 | 4 | 10 | 8 | 6 | 2 | |||
| blue | 354 | 536 | 381 | 366 | 195 | 421 | 165 | 471 | 530 | 3419 | 381 | 335 | 534 | 187 | 442 | 170 | 372 | 514 | 451 | 3386 | 6805 |
| white | 338 | 482 | 346 | 333 | 171 | 375 | 151 | 430 | 497 | 3123 | 364 | 303 | 506 | 165 | 388 | 156 | 335 | 472 | 400 | 3089 | 6212 |
| gold | 308 | 465 | 331 | 310 | 151 | 352 | 142 | 381 | 468 | 2908 | 349 | 248 | 487 | 141 | 359 | 117 | 330 | 459 | 374 | 2864 | 5772 |
| red | 245 | 443 | 302 | 279 | 106 | 308 | 111 | 376 | 431 | 2601 | 316 | 244 | 433 | 136 | 335 | 73 | 276 | 412 | 345 | 2570 | 5171 |