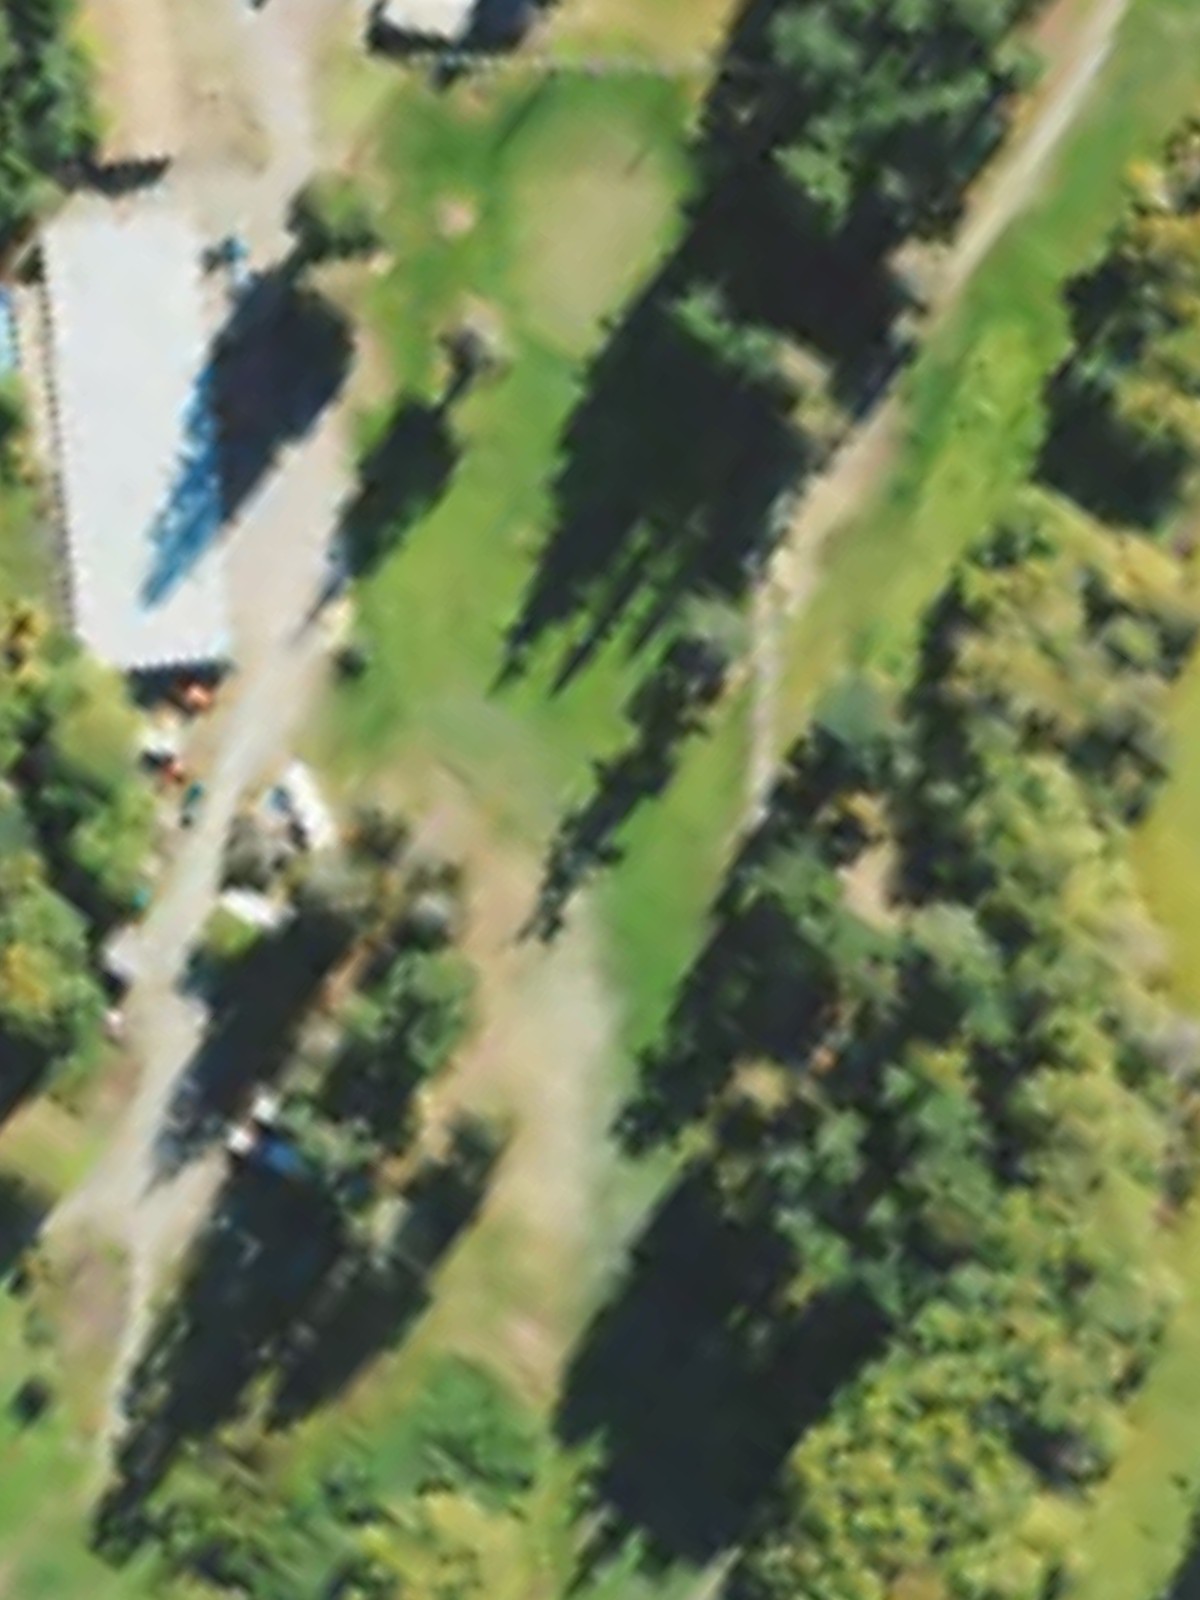
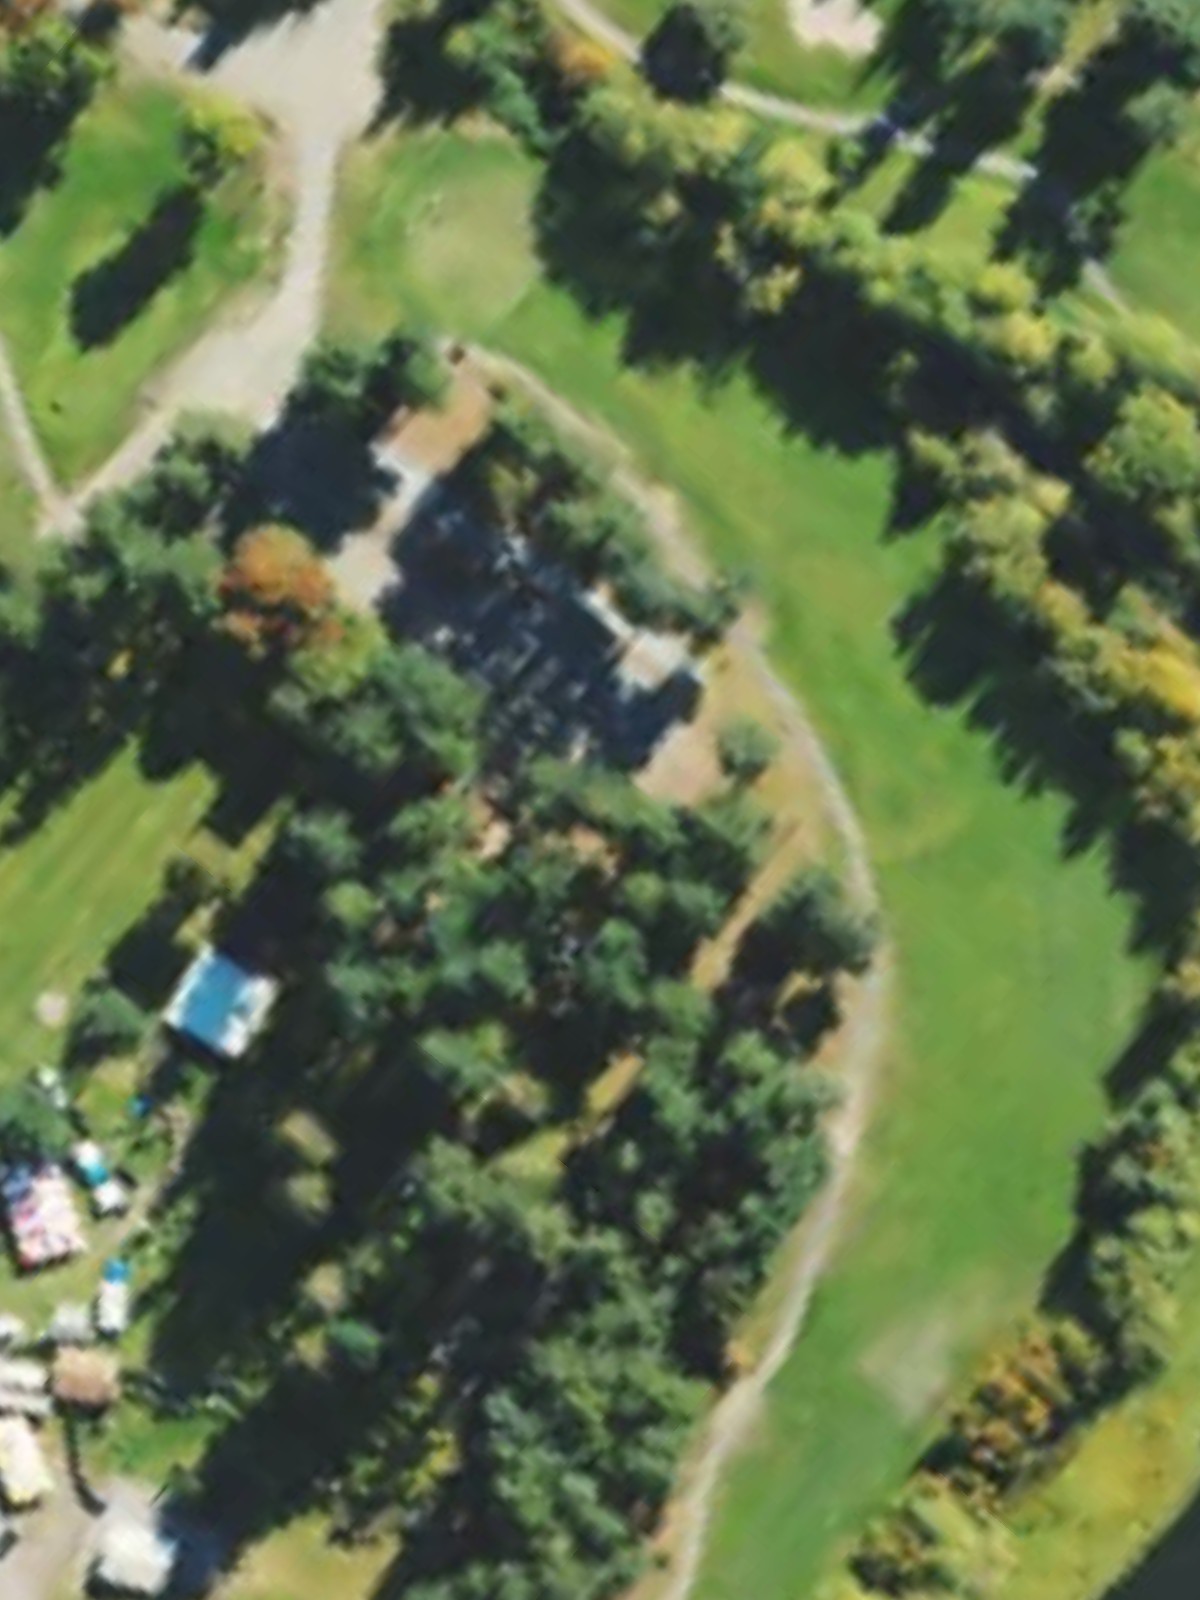
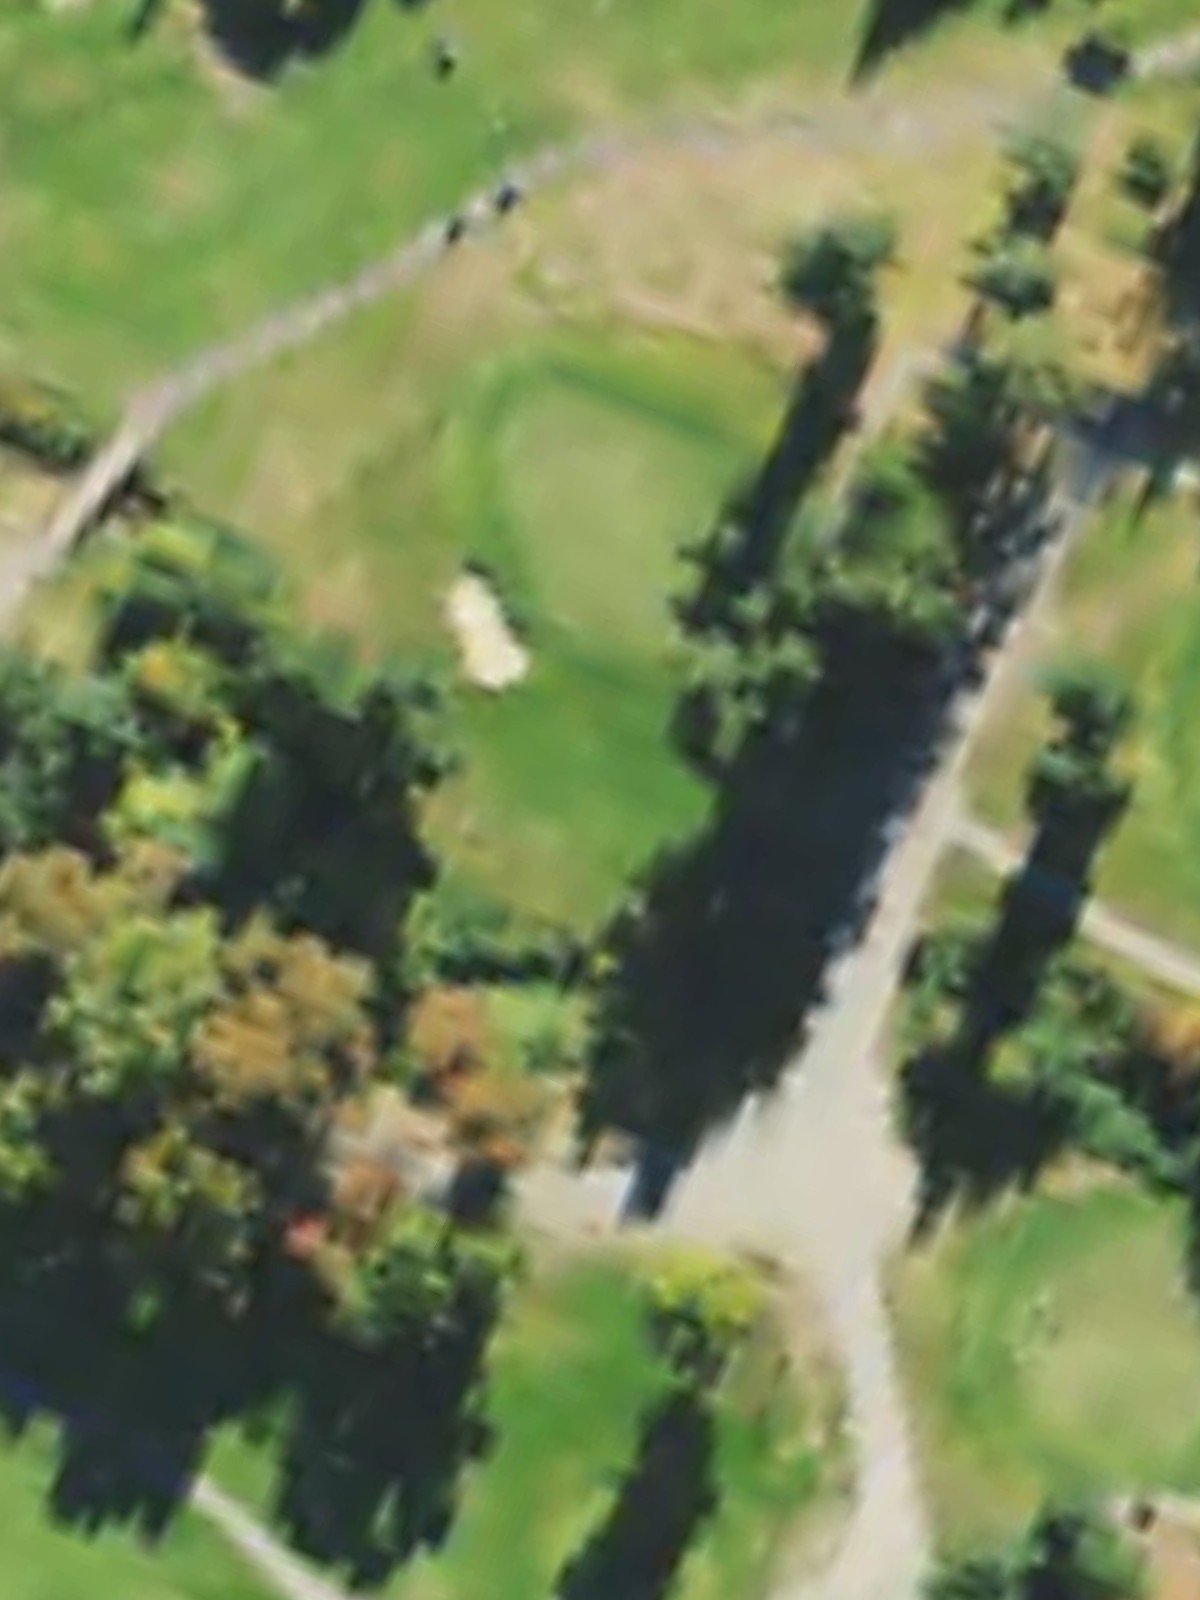
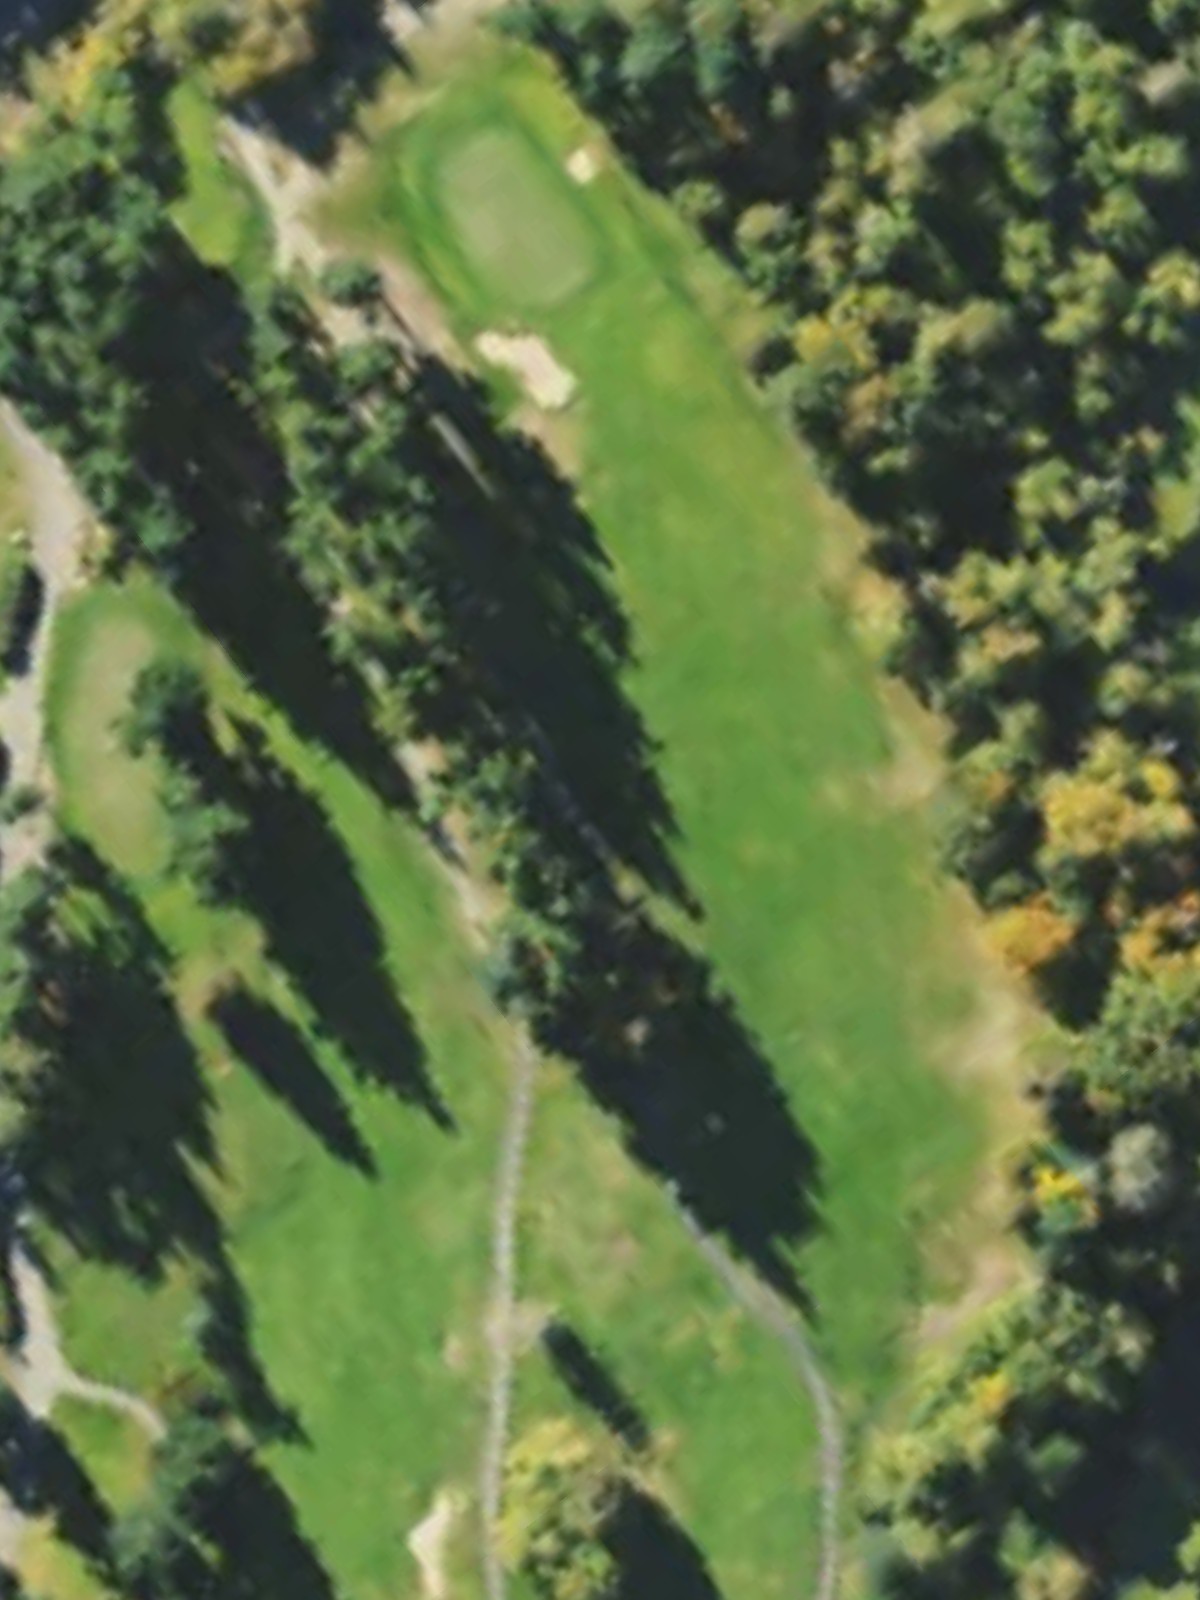
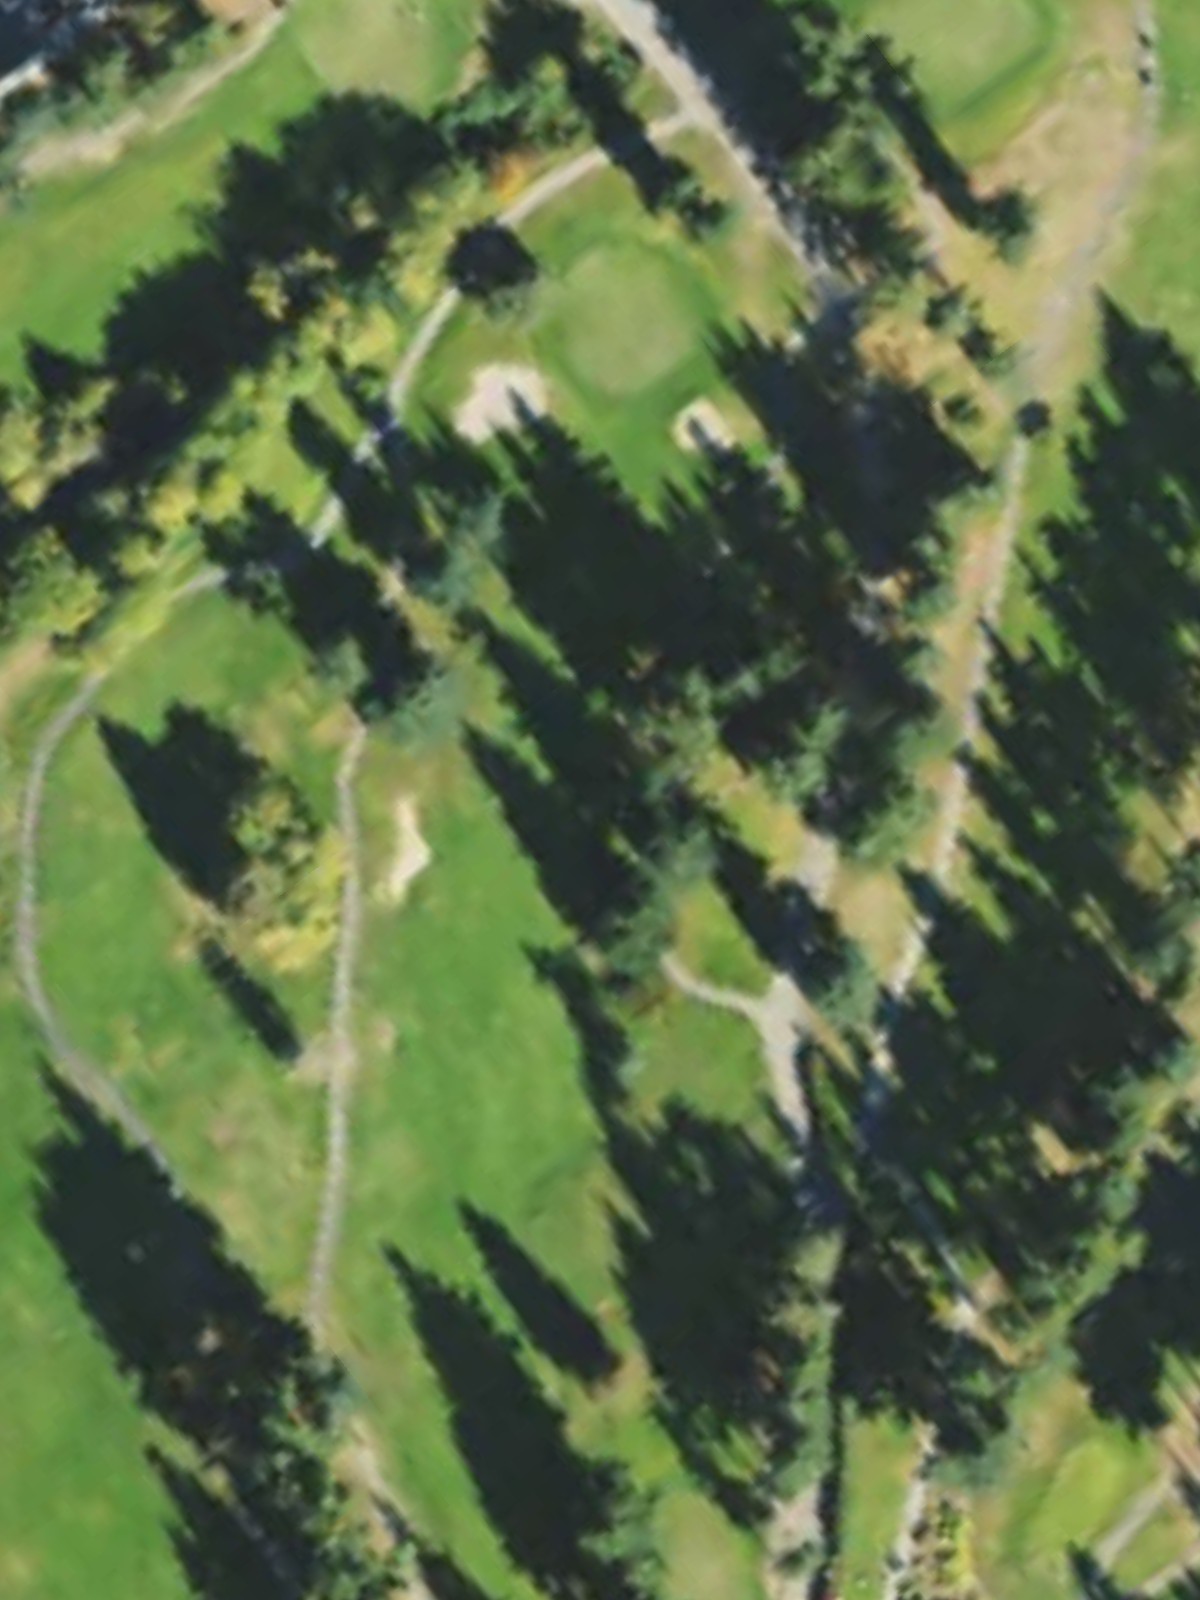
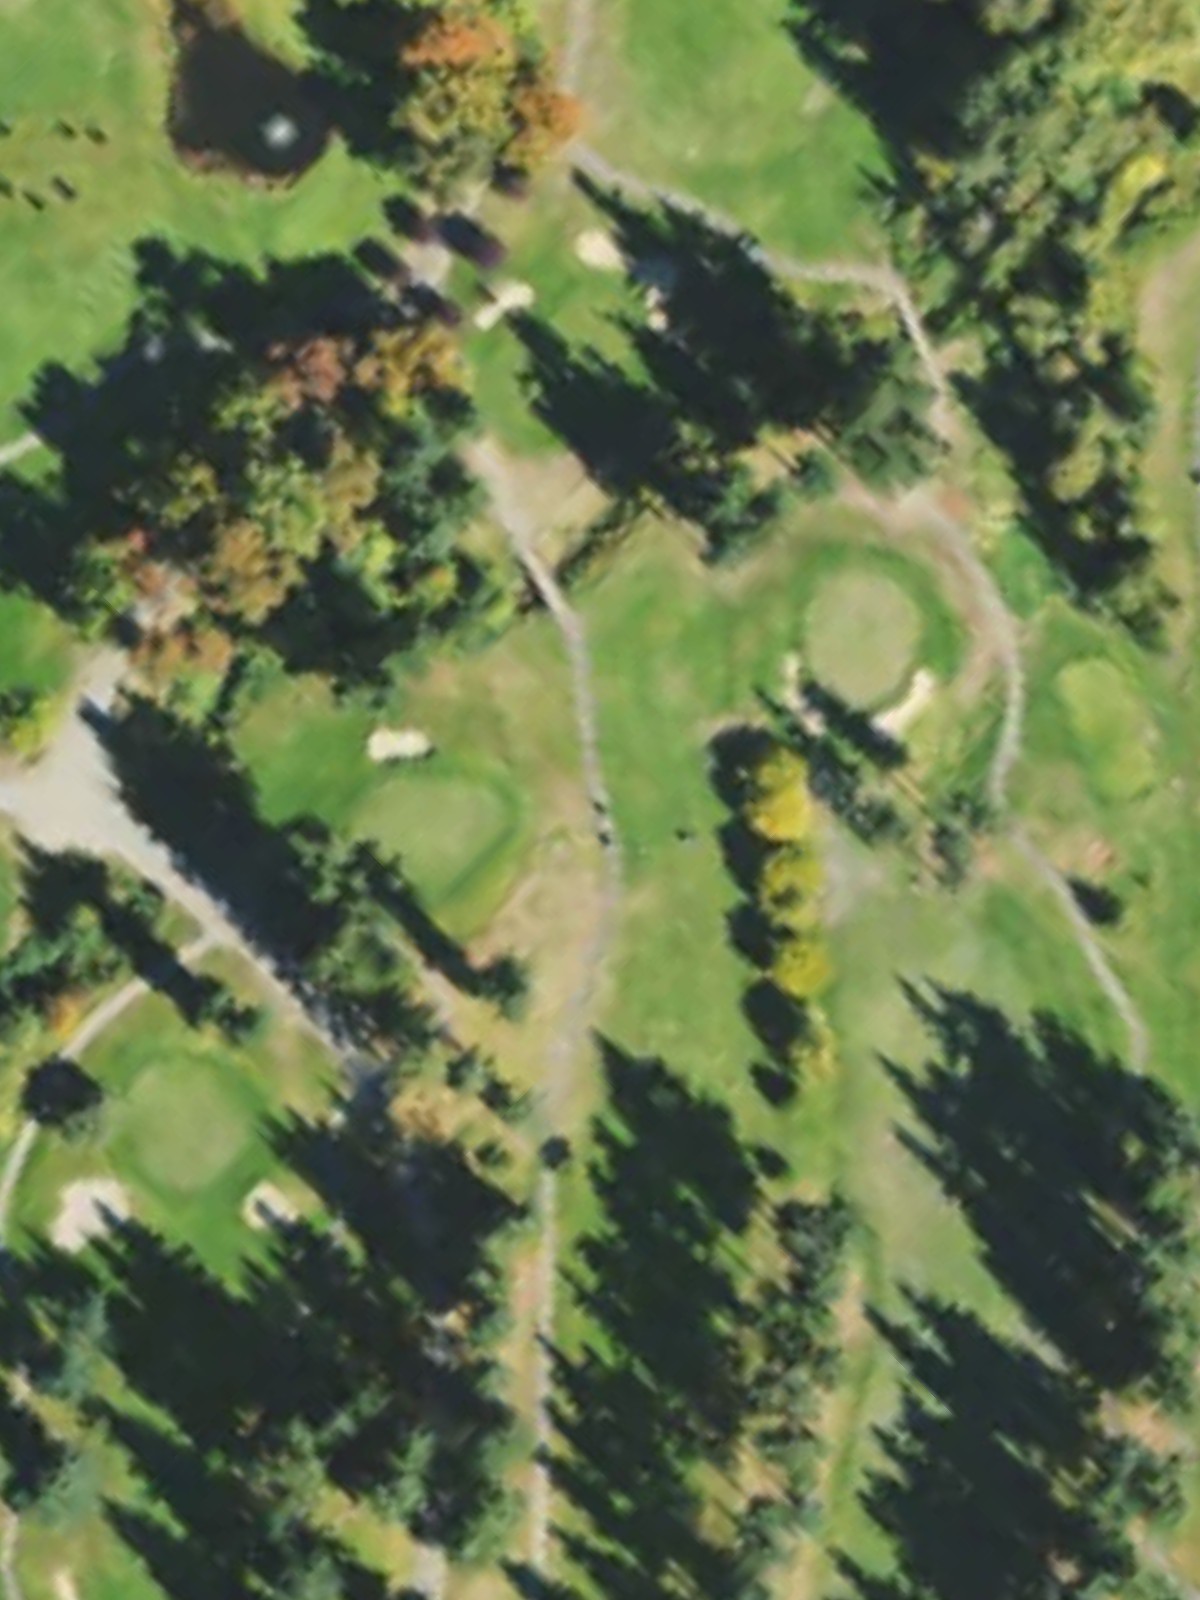
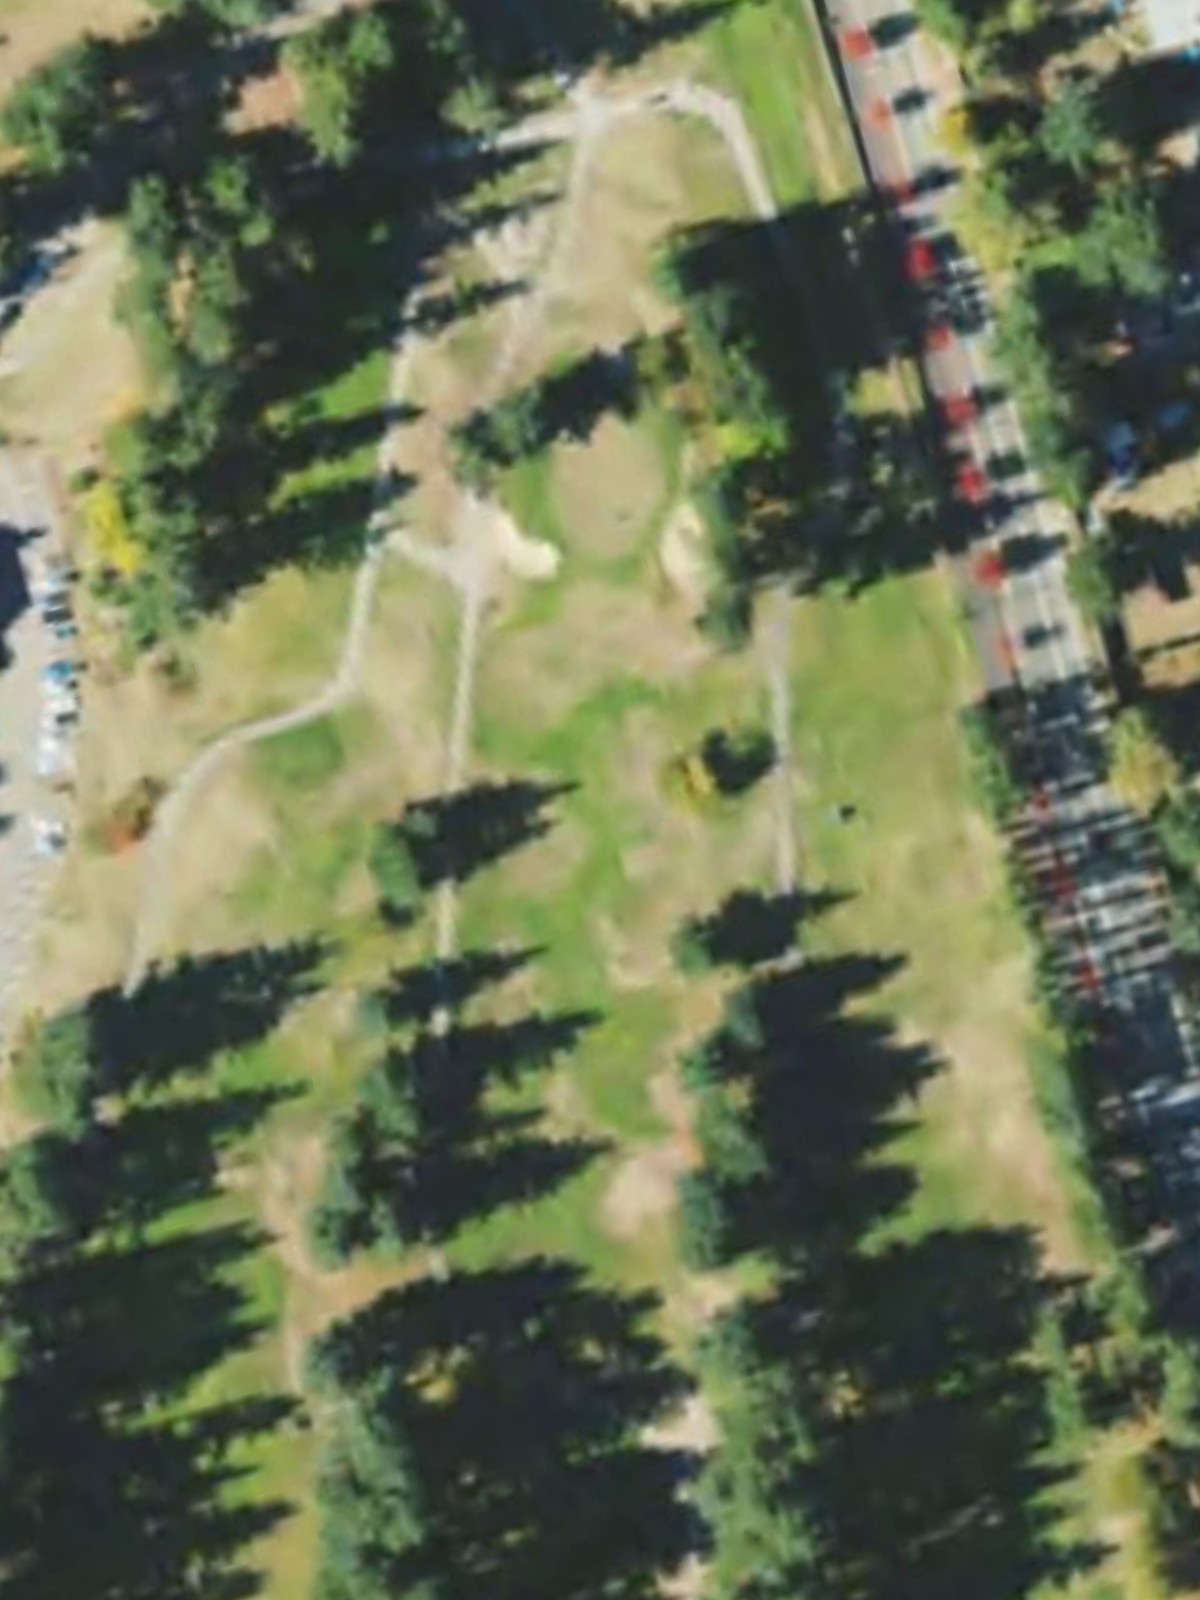
Nile Shrine Golf Club is an 18-hole golf course in Mountlake Terrace, WA with a par of 67. It offers 2 tee sets: back (4,893 yards, slope 110, rating 64.2), front (4,516 yards, slope 102, rating 62.7). The hardest hole is #8, a par 4 playing 388 yards from the first tee.
Nile Shrine Golf Club
Mountlake Terrace, WA
Get PDF Yardage Book
We'll email you the PDF link. No spam, ever.
Create Your Game Plan
Pick your tees, enter your bag, and get a personalized shot-by-shot strategy for every hole.

A short, straightforward par 4 with a generous fairway that tightens as it approaches the green. Bunkers guard both sides of the putting surface, requiring accuracy on the approach shot.
A compact par 4 playing shorter than most, with a relatively open fairway that allows room for error off the tee. The green sits slightly elevated with bunkers positioned left and right, demanding a precise short approach.
A lengthy par 4 that plays as one of the course's most challenging holes, requiring two solid strikes to reach the green in regulation. Bunkers frame the fairway and guard the green, with no bail-out areas for an errant second shot.
A short par 3 with a straightforward design and minimal hazards, providing a scoring opportunity. The green is compact and well-bunkered, so accuracy over distance is the key consideration.
The second-hardest hole on the course, this par 4 features a narrow fairway that demands precision from the tee. Water or hazards likely guard at least one side of the fairway and green, making this a critical test of ball-striking.
A demanding par 4 that ranks among the course's most difficult, with a tight fairway and strategic bunker placement around the green. The hole's length combined with its hazards makes it a significant challenge for most golfers.

A mid-length par 3 with a moderate target and bunkers positioned to catch wayward shots. The hole offers a reasonable scoring opportunity while still demanding an accurate tee shot to the green.
The toughest hole on the course, this par 4 is long and unforgiving with a narrow fairway and likely substantial hazards guarding the approach. Two well-executed shots are essential to avoid trouble and reach the green in regulation.
A very short par 3 with a forgiving layout and minimal hazards, presenting an excellent birdie opportunity. The small green and light bunkering suggest that the hole's brevity is its defining feature.
A solid par 4 with a moderate length and strategic design, featuring bunkers that protect the green and likely define the fairway corridor. The hole presents a fair but demanding test of shotmaking accuracy.
A shorter par 4 that plays more friendly than its handicap suggests, with a relatively open fairway and accessible green. Bunkers likely guard one or both sides of the green, requiring a controlled approach shot.

The second-hardest hole on the course, this lengthy par 4 demands two strong strikes and precise placement to avoid hazards. Bunkers and water or rough terrain likely frame both the fairway and green complex.
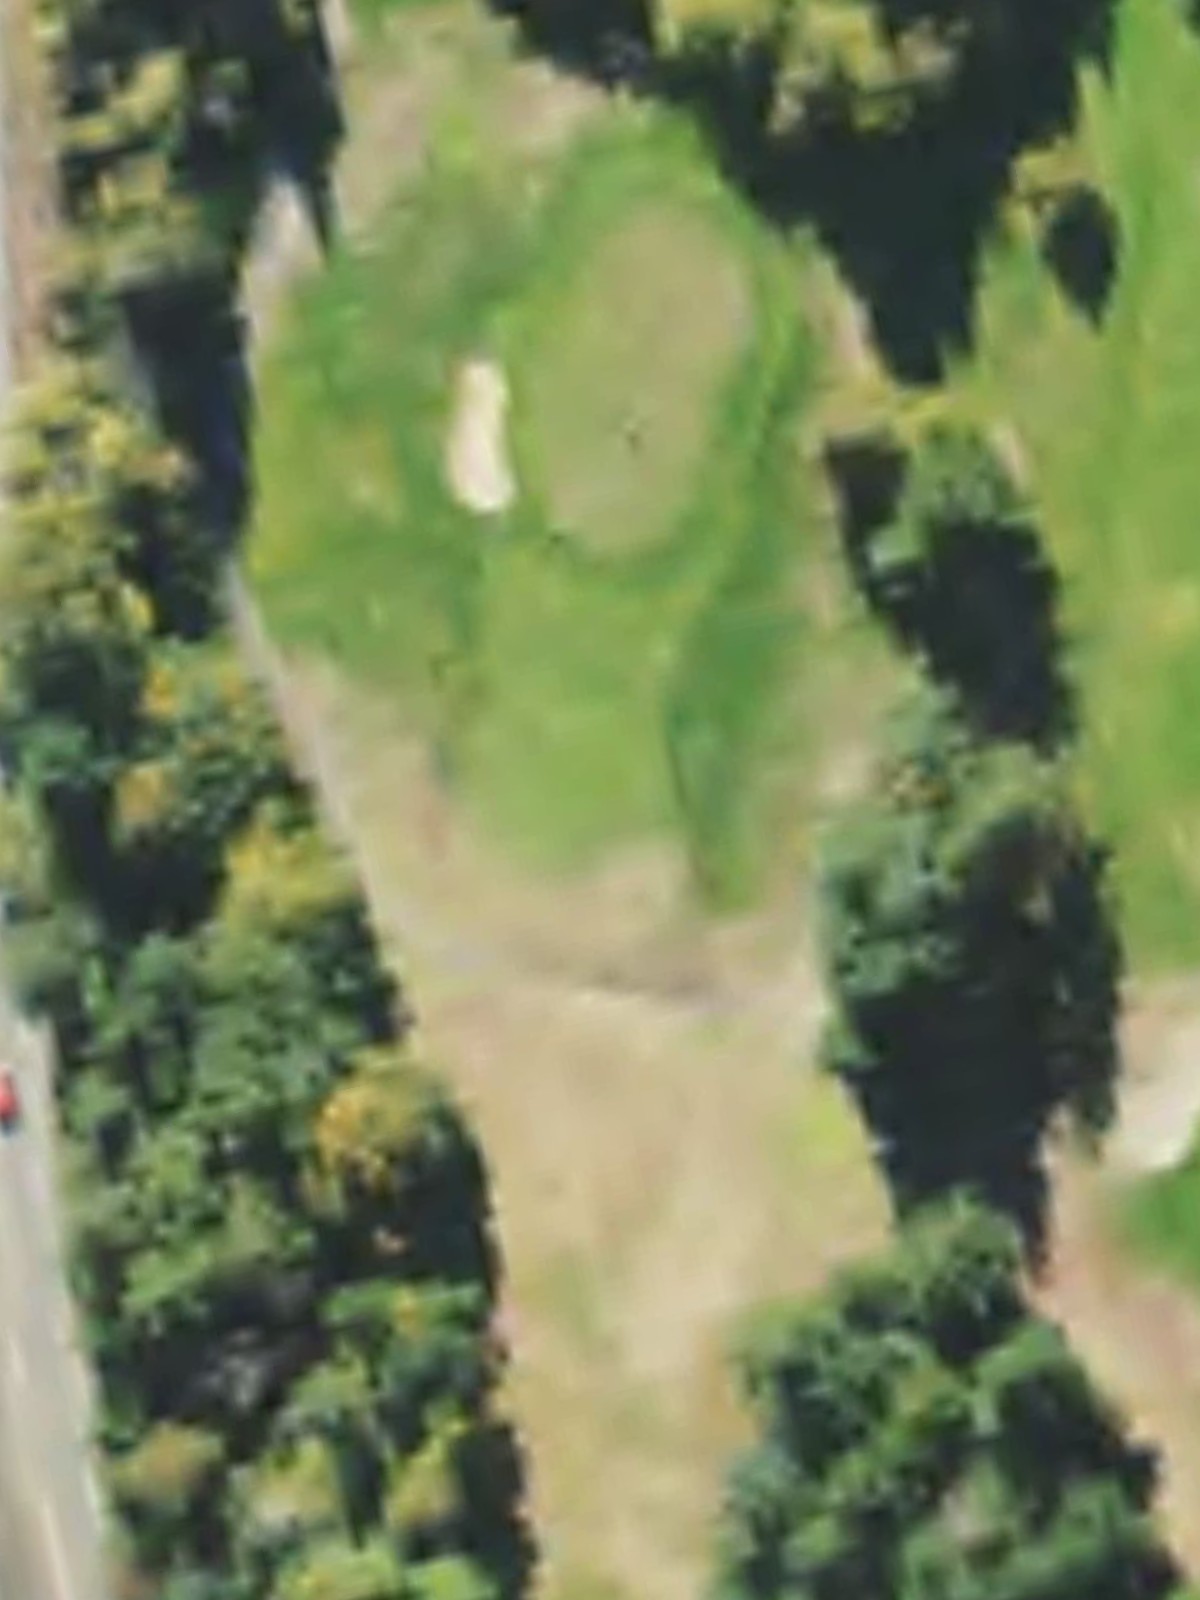
A mid-length par 3 that presents a meaningful challenge from the tee, with substantial bunkering and hazards surrounding the green. The elevated yardage and handicap indicate this par 3 is one of the course's stiffer short-hole tests.
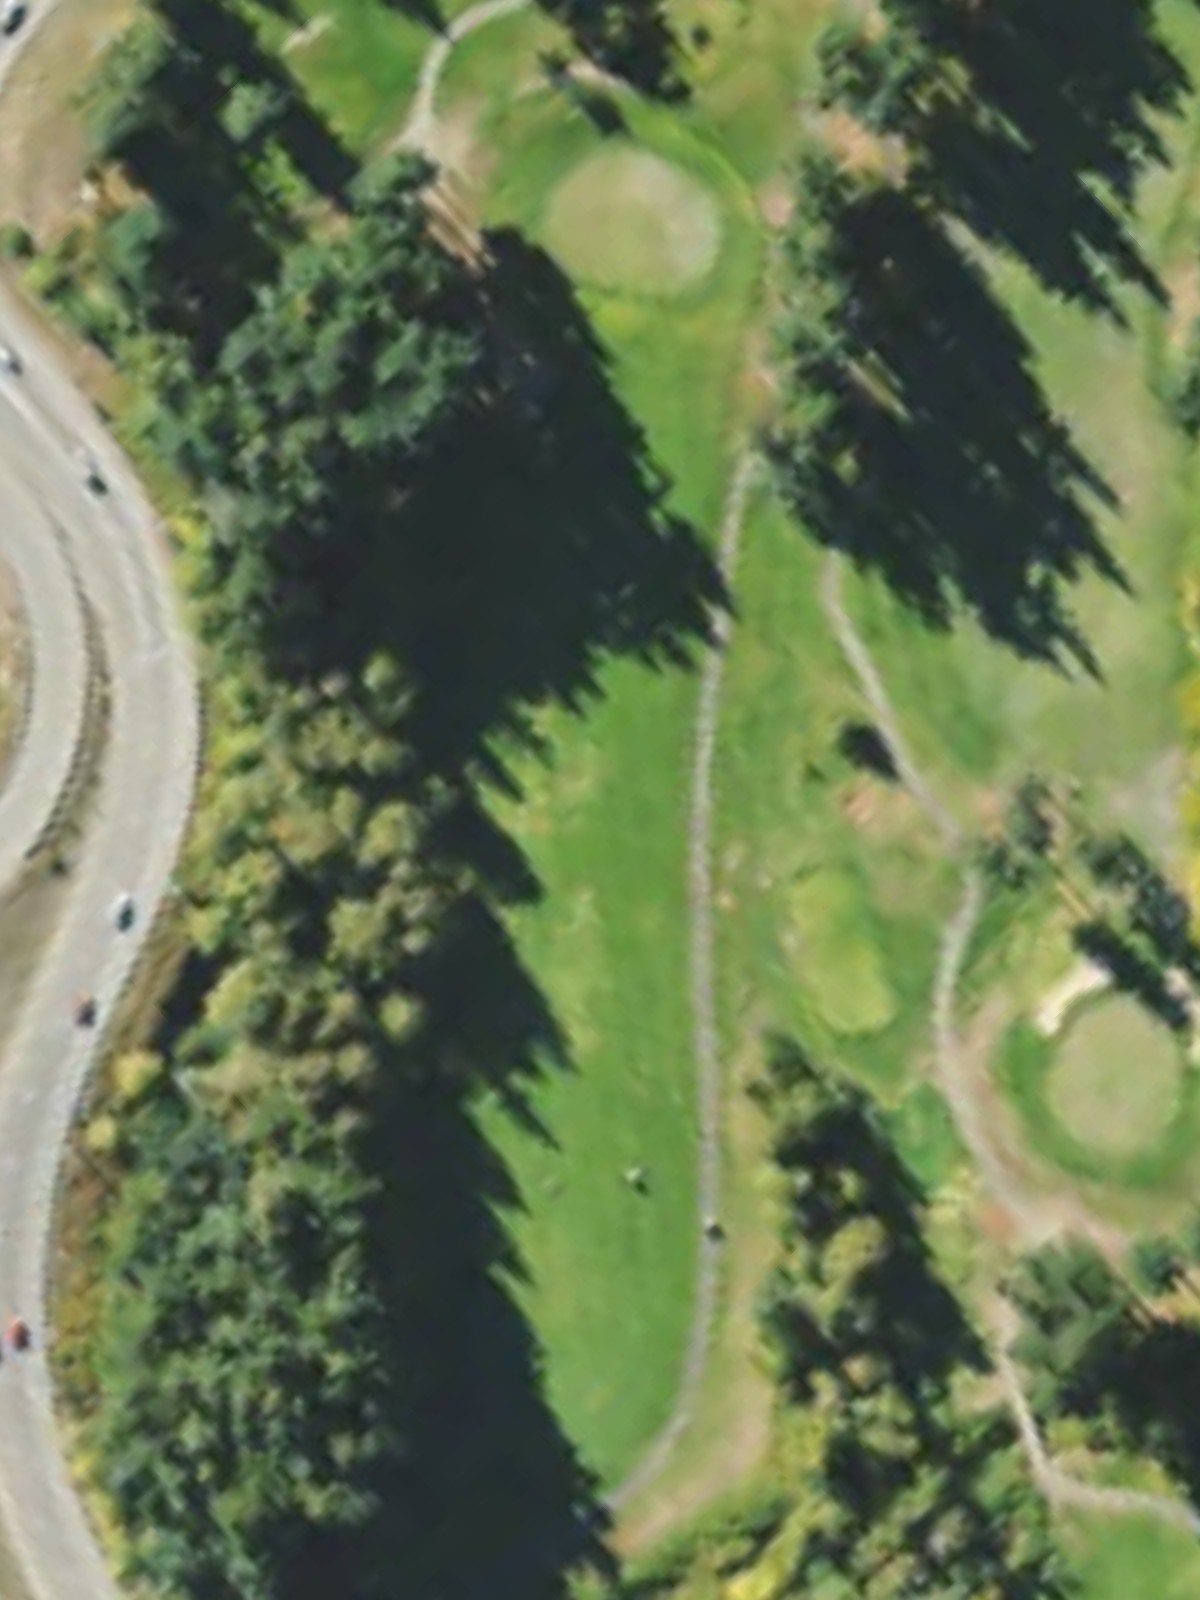
A difficult par 4 ranked fourth in handicap, featuring a well-bunkered fairway and green complex that rewards accurate striking. The hole's strategic layout makes it one of the course's most significant scoring challenges.

A mid-length par 4 with a relatively forgiving layout and reasonable scoring potential. Bunkers protect the green, but the fairway offers enough width to allow for a controlled approach.

A solid par 4 with moderate length and strategic bunkering that guards both the fairway and green. The hole presents a balanced challenge with opportunities for good golf but penalties for poor execution.

A challenging par 4 that plays significantly shorter from the front tees, featuring tight fairway corridors and likely greenside hazards. The substantial yardage difference between tees suggests strategic routing that can accommodate various player abilities.
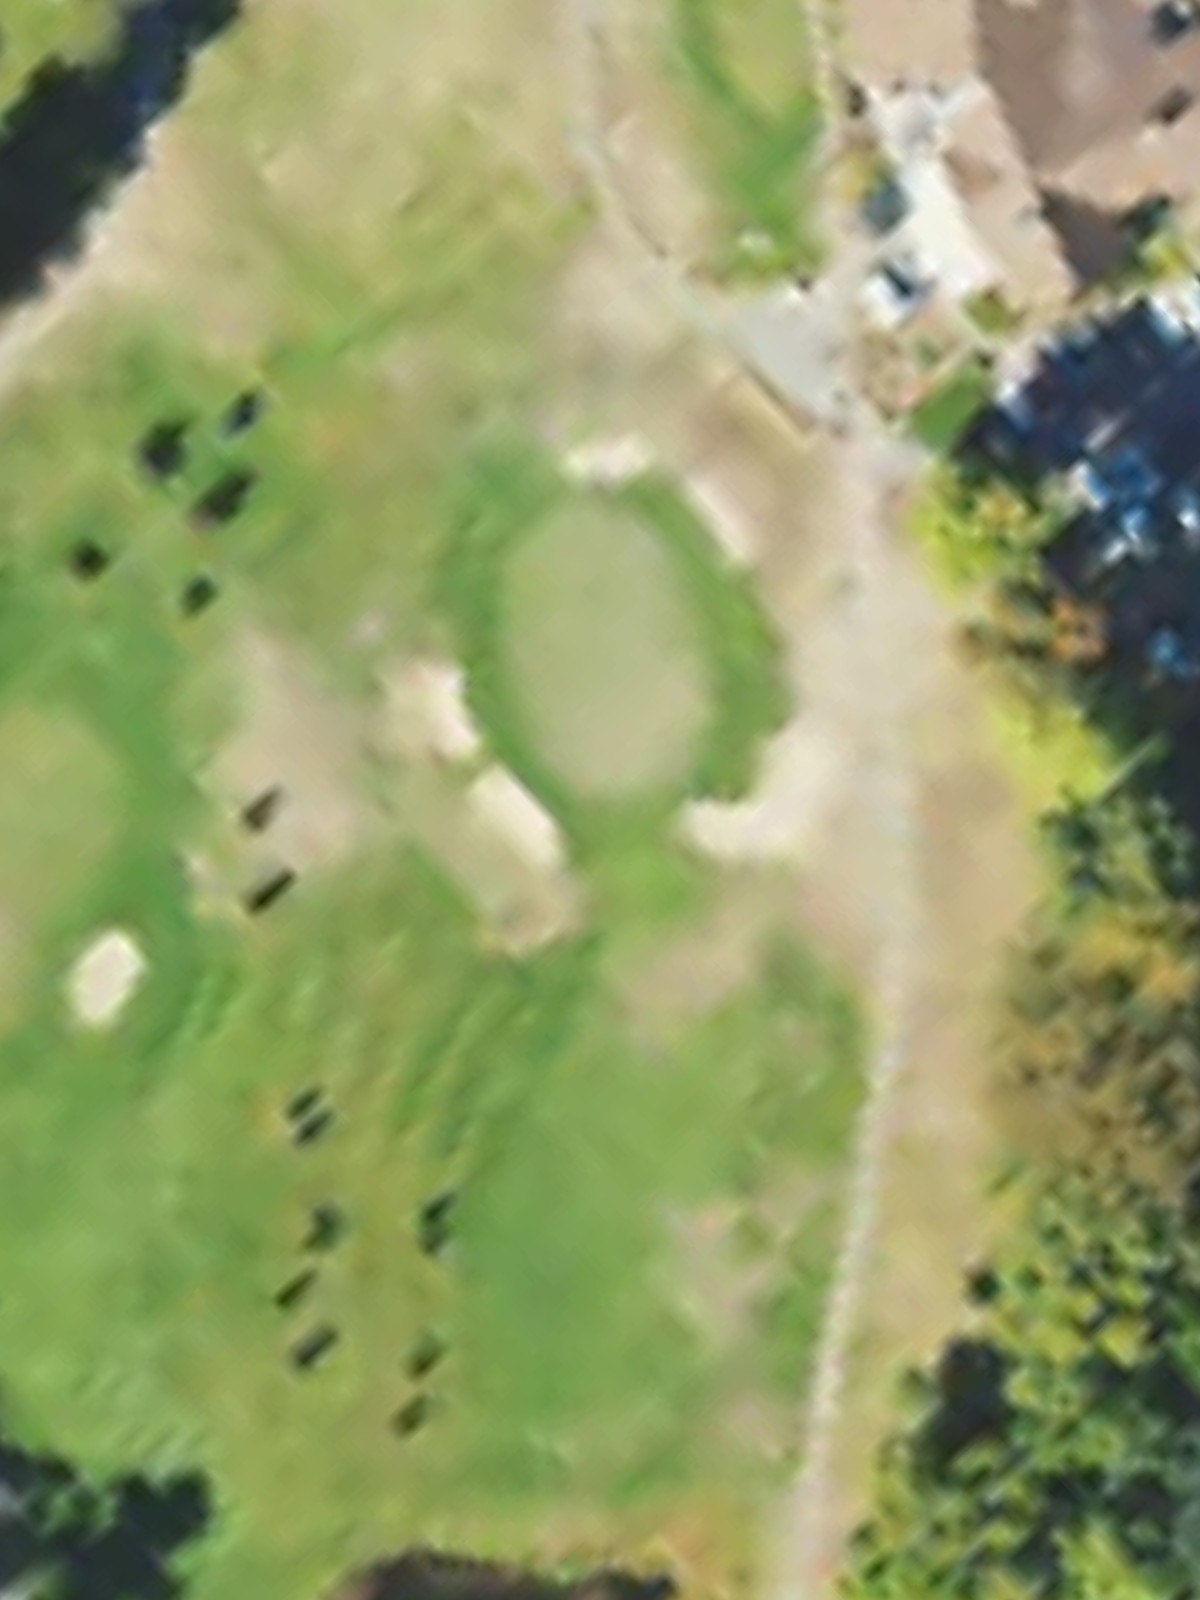
A short finishing par 3 with minimal hazards, providing a scoring opportunity to close out the round. The modest length and light bunkering suggest this hole is designed as an accessible finale to the course.
Scorecard
| Hole | 1 | 2 | 3 | 4 | 5 | 6 | 7 | 8 | 9 | Out | 10 | 11 | 12 | 13 | 14 | 15 | 16 | 17 | 18 | In | Tot |
|---|---|---|---|---|---|---|---|---|---|---|---|---|---|---|---|---|---|---|---|---|---|
| Par | 4 | 4 | 4 | 3 | 4 | 4 | 3 | 4 | 3 | 33 | 4 | 4 | 4 | 3 | 4 | 4 | 4 | 4 | 3 | 34 | 67 |
| HCP | 9 | 11 | 7 | 15 | 3 | 5 | 13 | 1 | 17 | 6 | 12 | 2 | 16 | 4 | 14 | 10 | 8 | 18 | |||
| back | 266 | 237 | 360 | 123 | 344 | 353 | 154 | 388 | 118 | 2343 | 326 | 287 | 376 | 182 | 322 | 285 | 320 | 305 | 147 | 2550 | 4893 |
| front | 243 | 226 | 331 | 111 | 321 | 337 | 135 | 369 | 108 | 2181 | 311 | 274 | 344 | 151 | 309 | 274 | 306 | 231 | 135 | 2335 | 4516 |