National Golf Links is an 18-hole golf course in South Charleston, OH with a par of 72. It offers 4 tee sets: black (7,138 yards, slope 129, rating 74), blue (6,638 yards, slope 126, rating 71.6), white (6,019 yards, slope 121, rating 68.6), gold (5,331 yards, slope 114, rating 65.4). The hardest hole is #4, a par 4 playing 435 yards from the first tee.
National Golf Links
South Charleston, OH
Get PDF Yardage Book
We'll email you the PDF link. No spam, ever.
Create Your Game Plan
Pick your tees, enter your bag, and get a personalized shot-by-shot strategy for every hole.
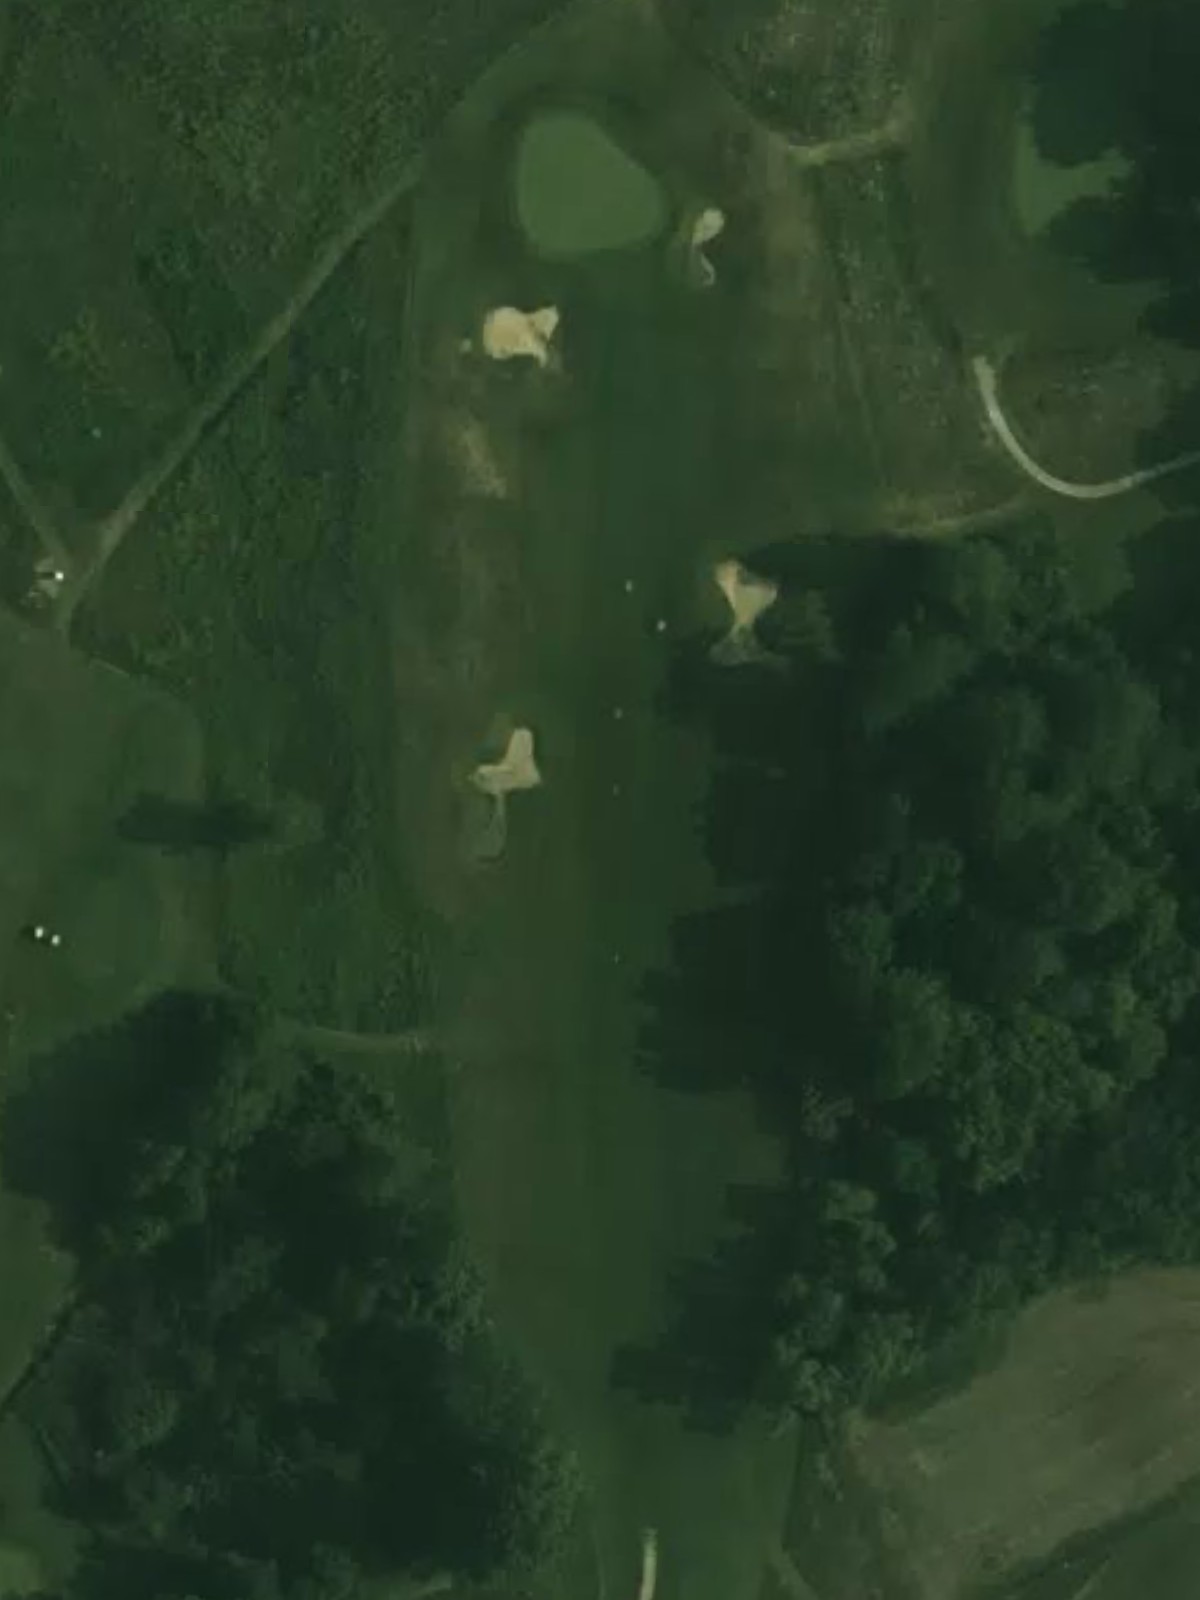
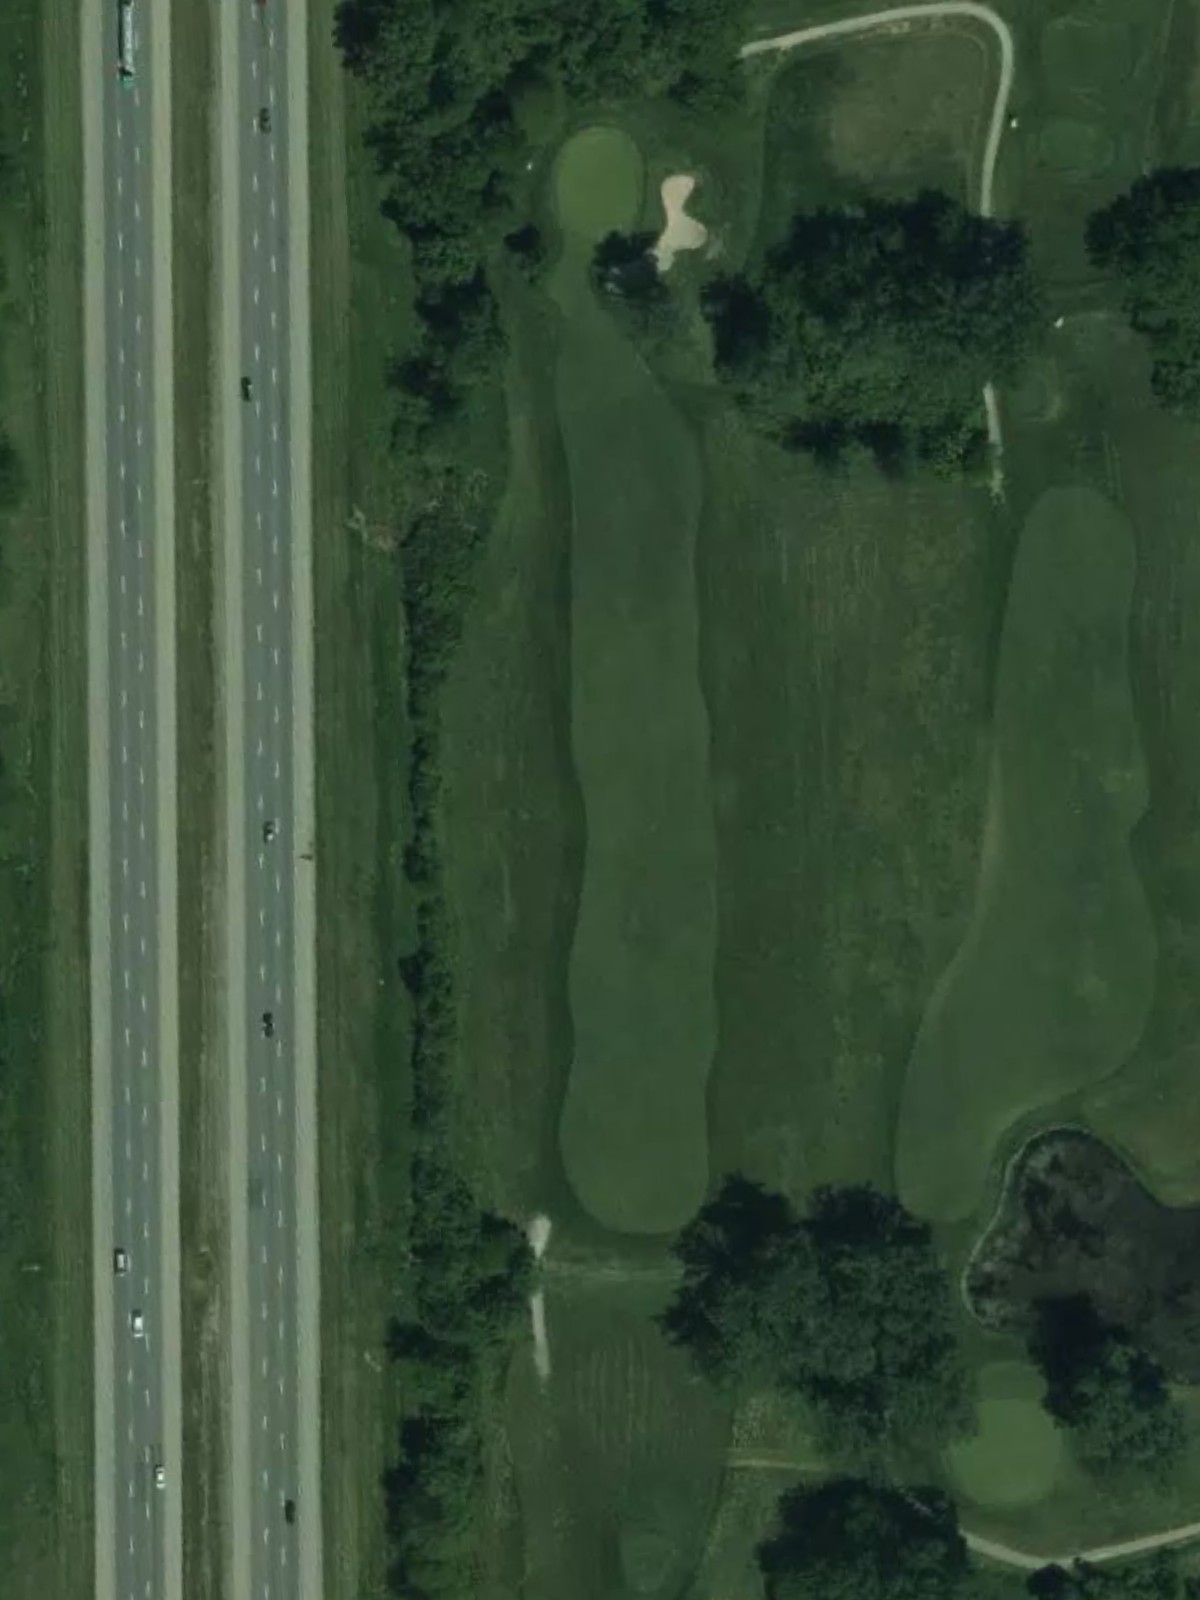
A relatively straightforward opening par 4 with a fairway that gradually narrows as it approaches the green. Strategic bunkering guards the right side of the putting surface, demanding accuracy on the approach shot.
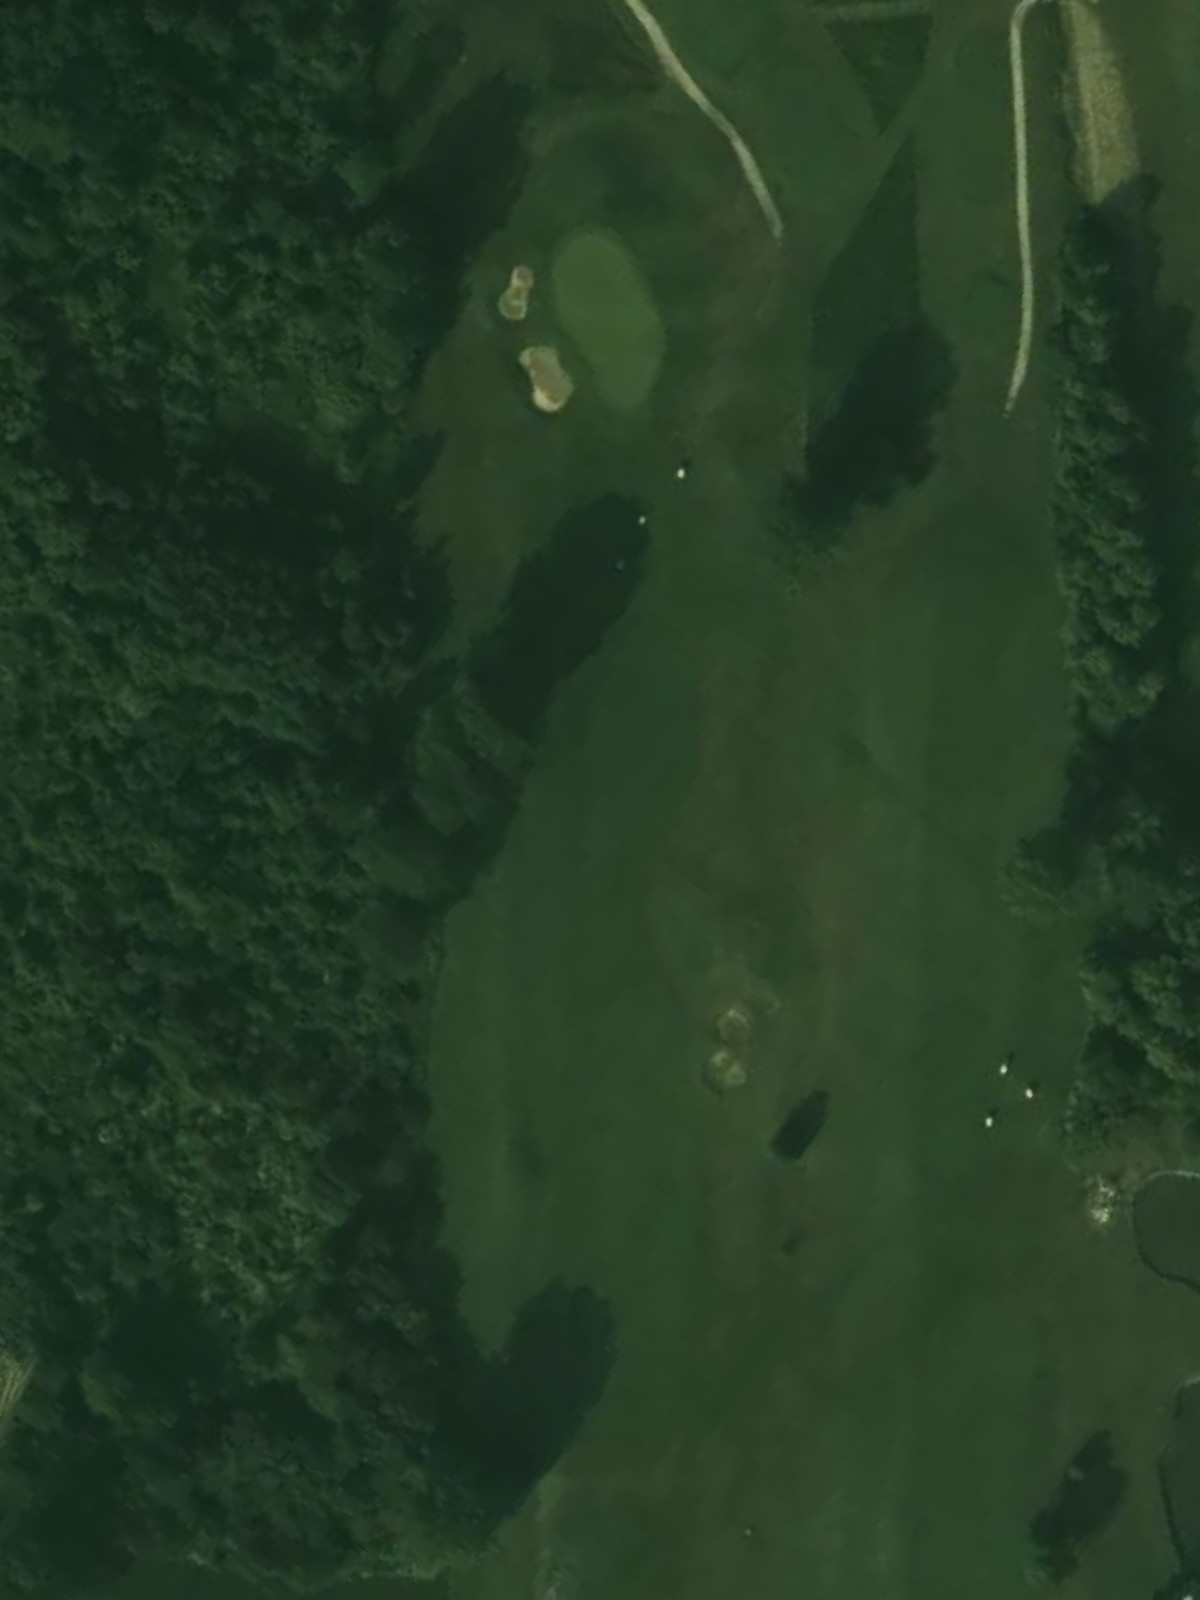
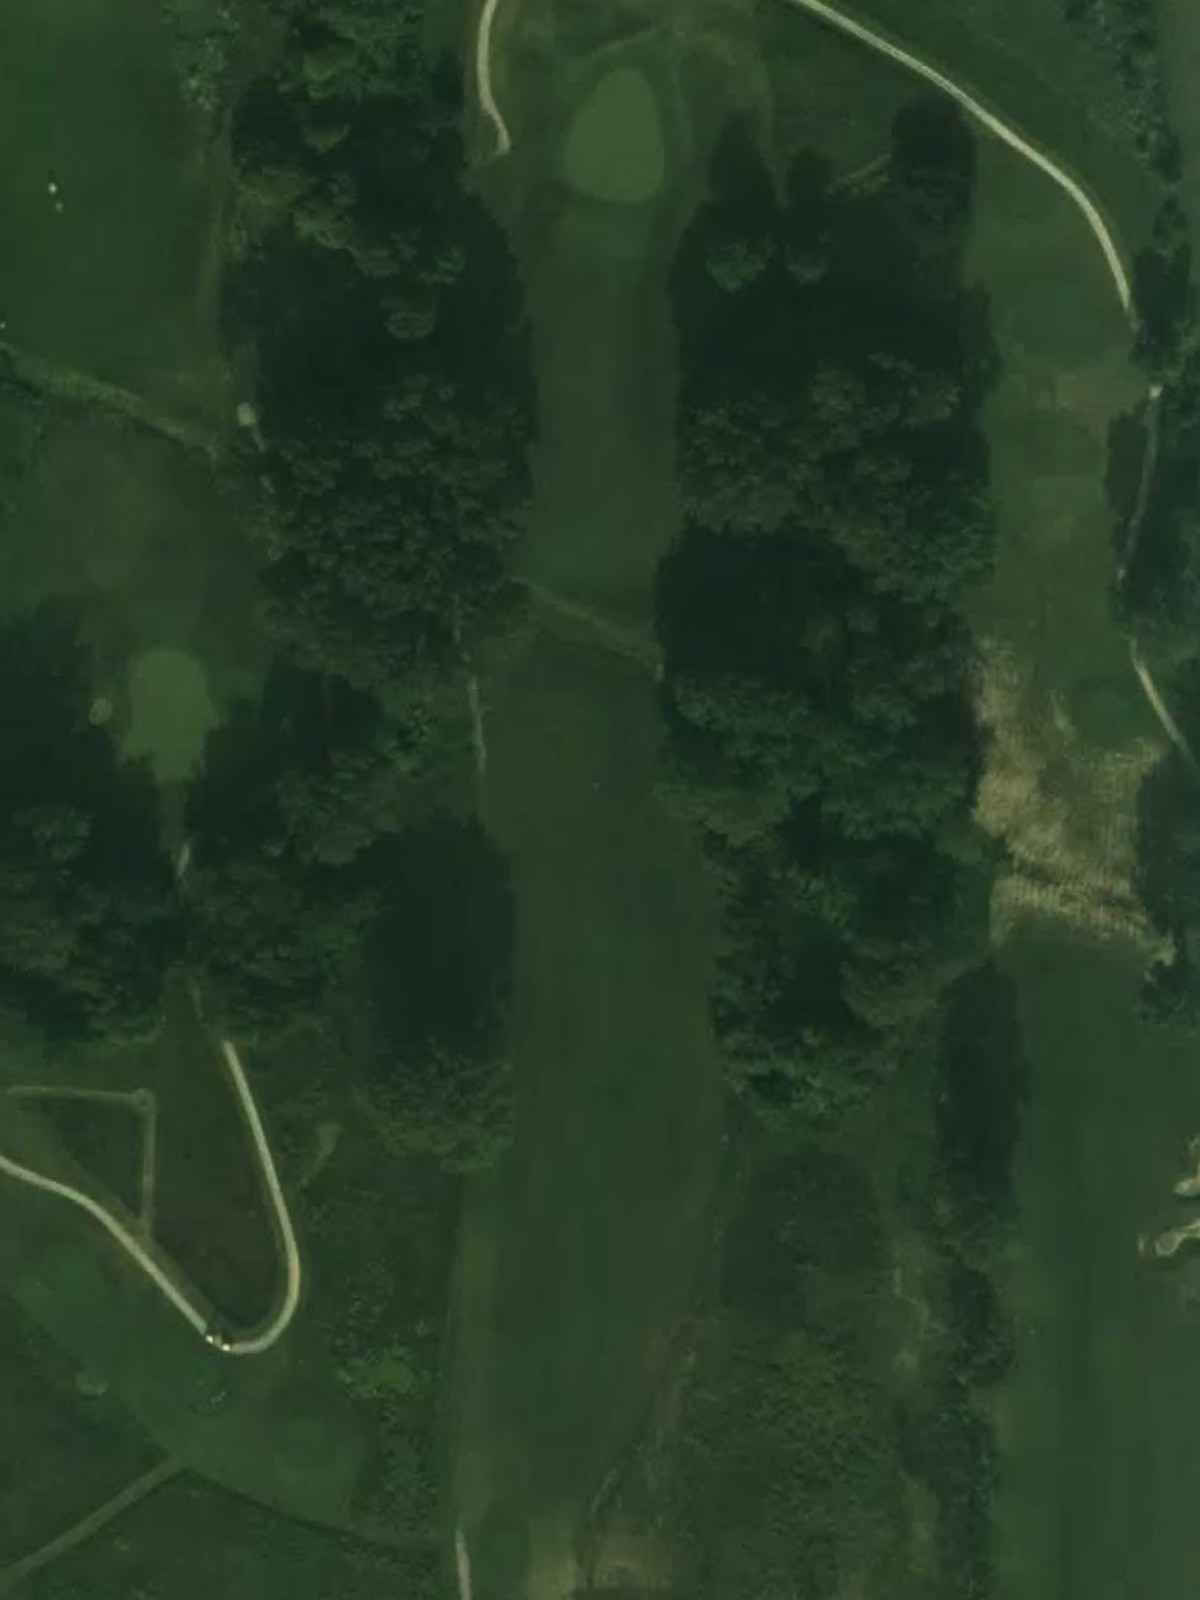
A short par 3 playing to an elevated green protected by bunkers on both sides. The compact nature of this hole rewards precise distance control and clean striking.
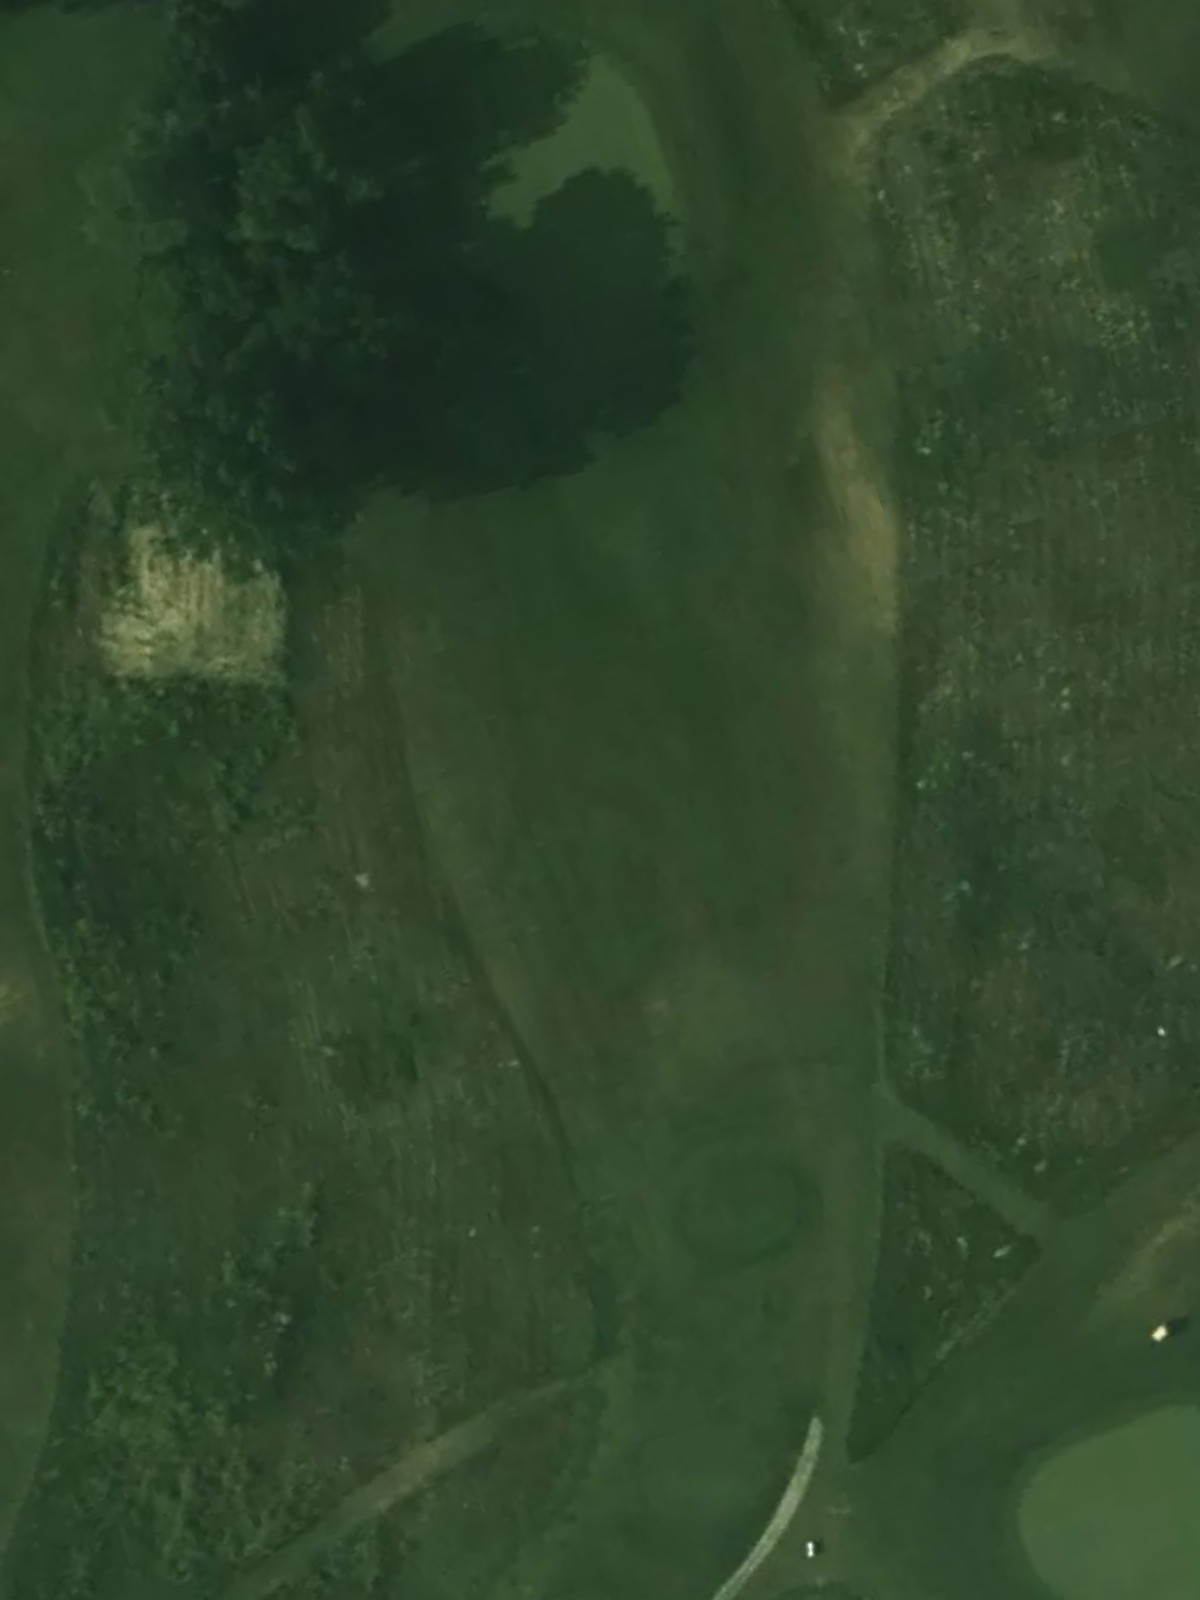
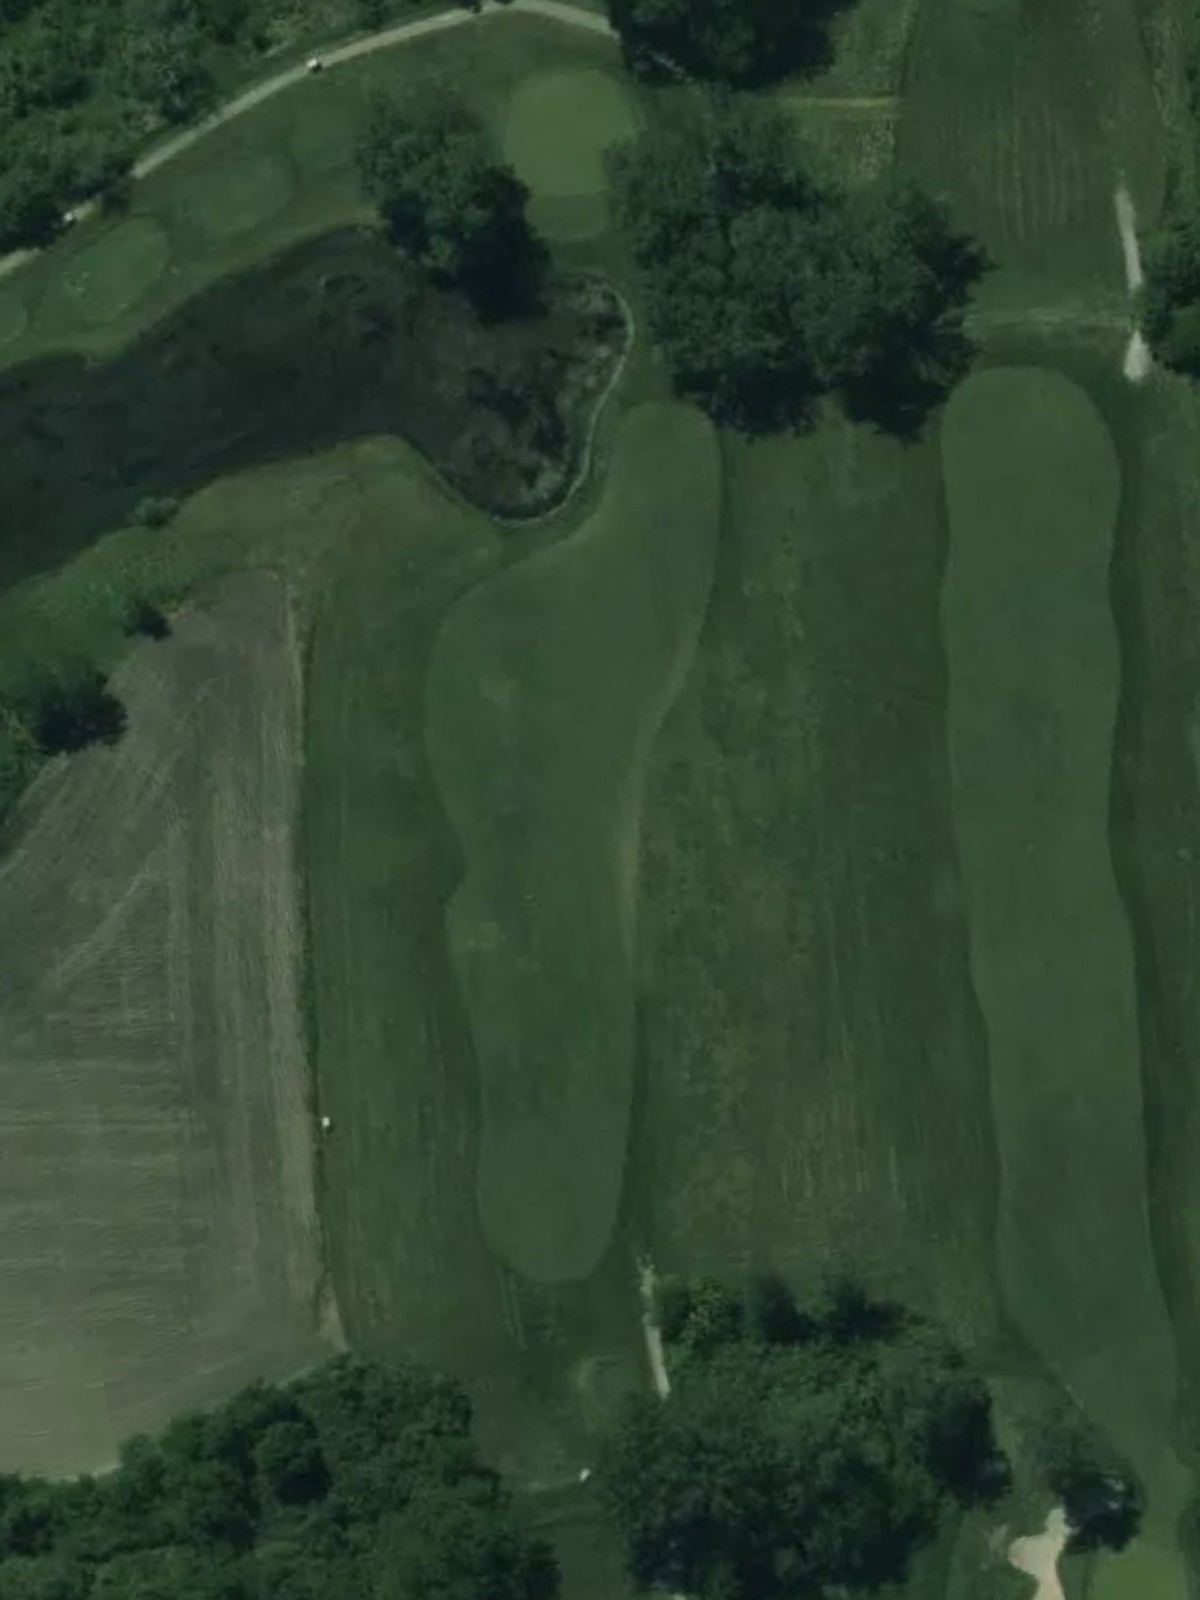
A substantial par 5 with a fairway that offers room for positioning off the tee. Water and bunkers come into play around the green, making the approach the critical challenge on this three-shot hole.
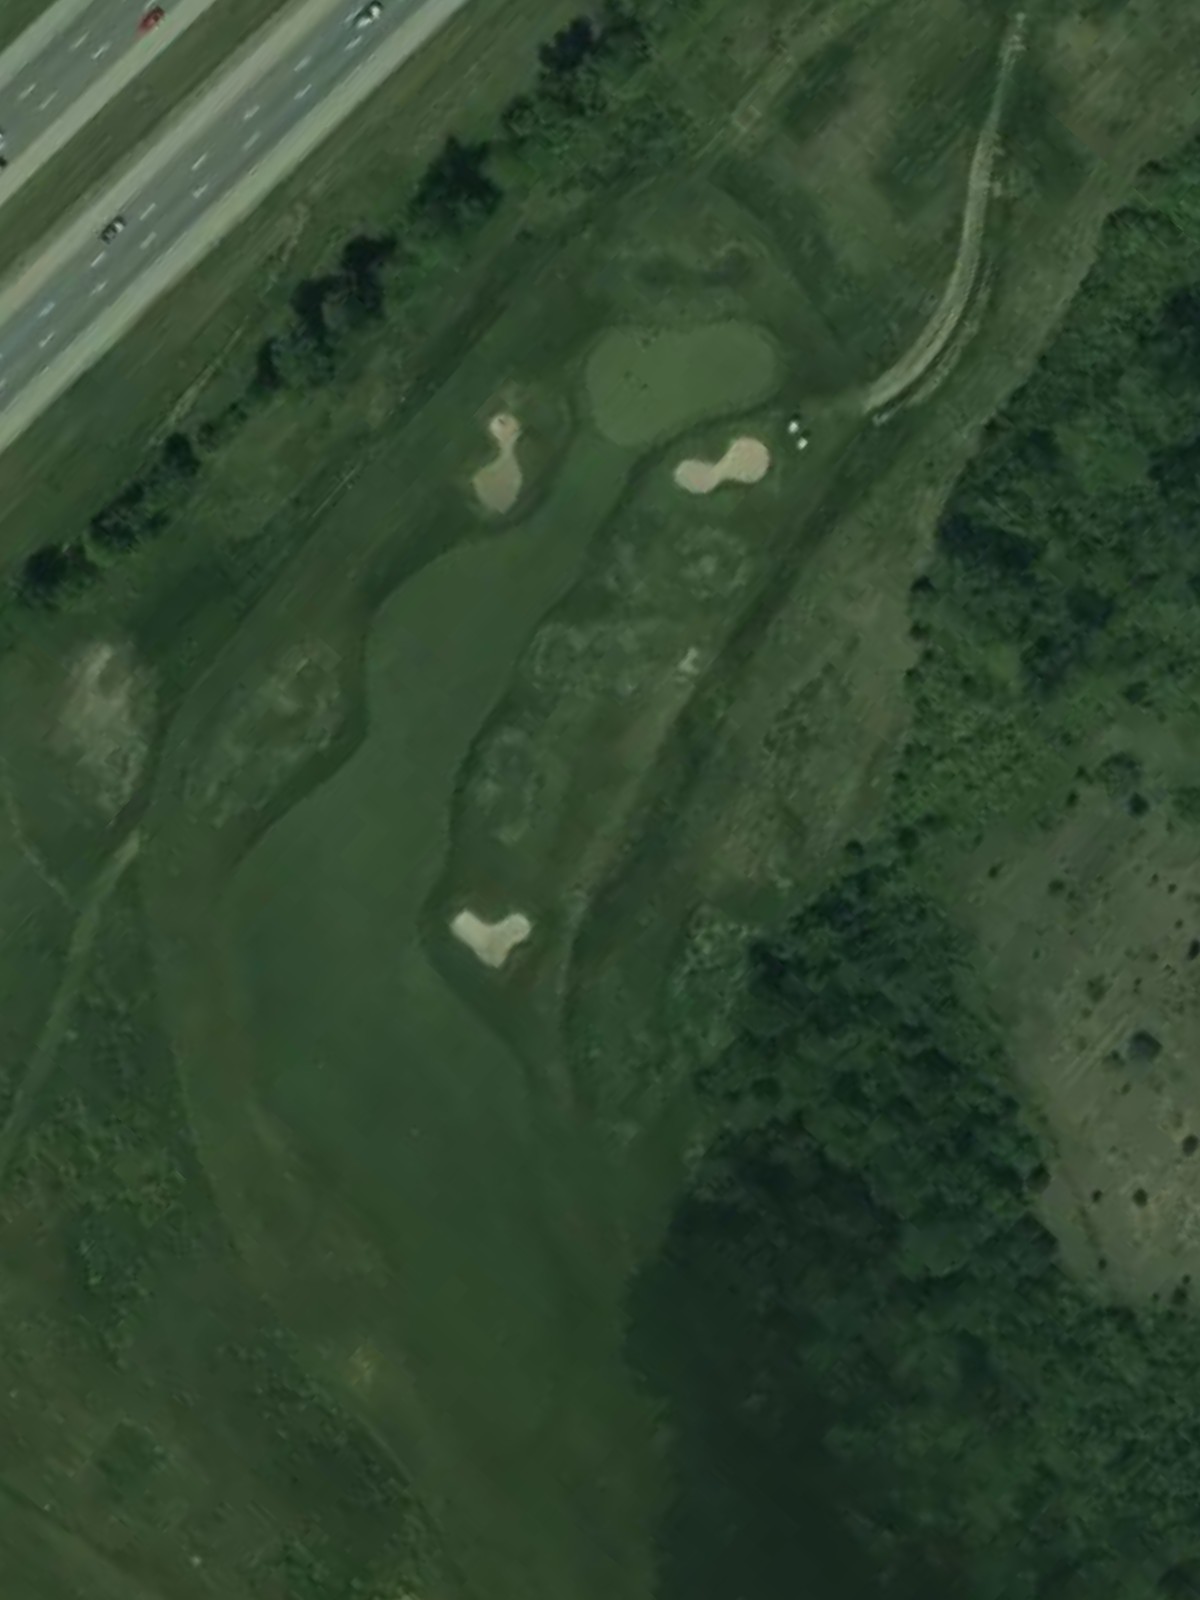
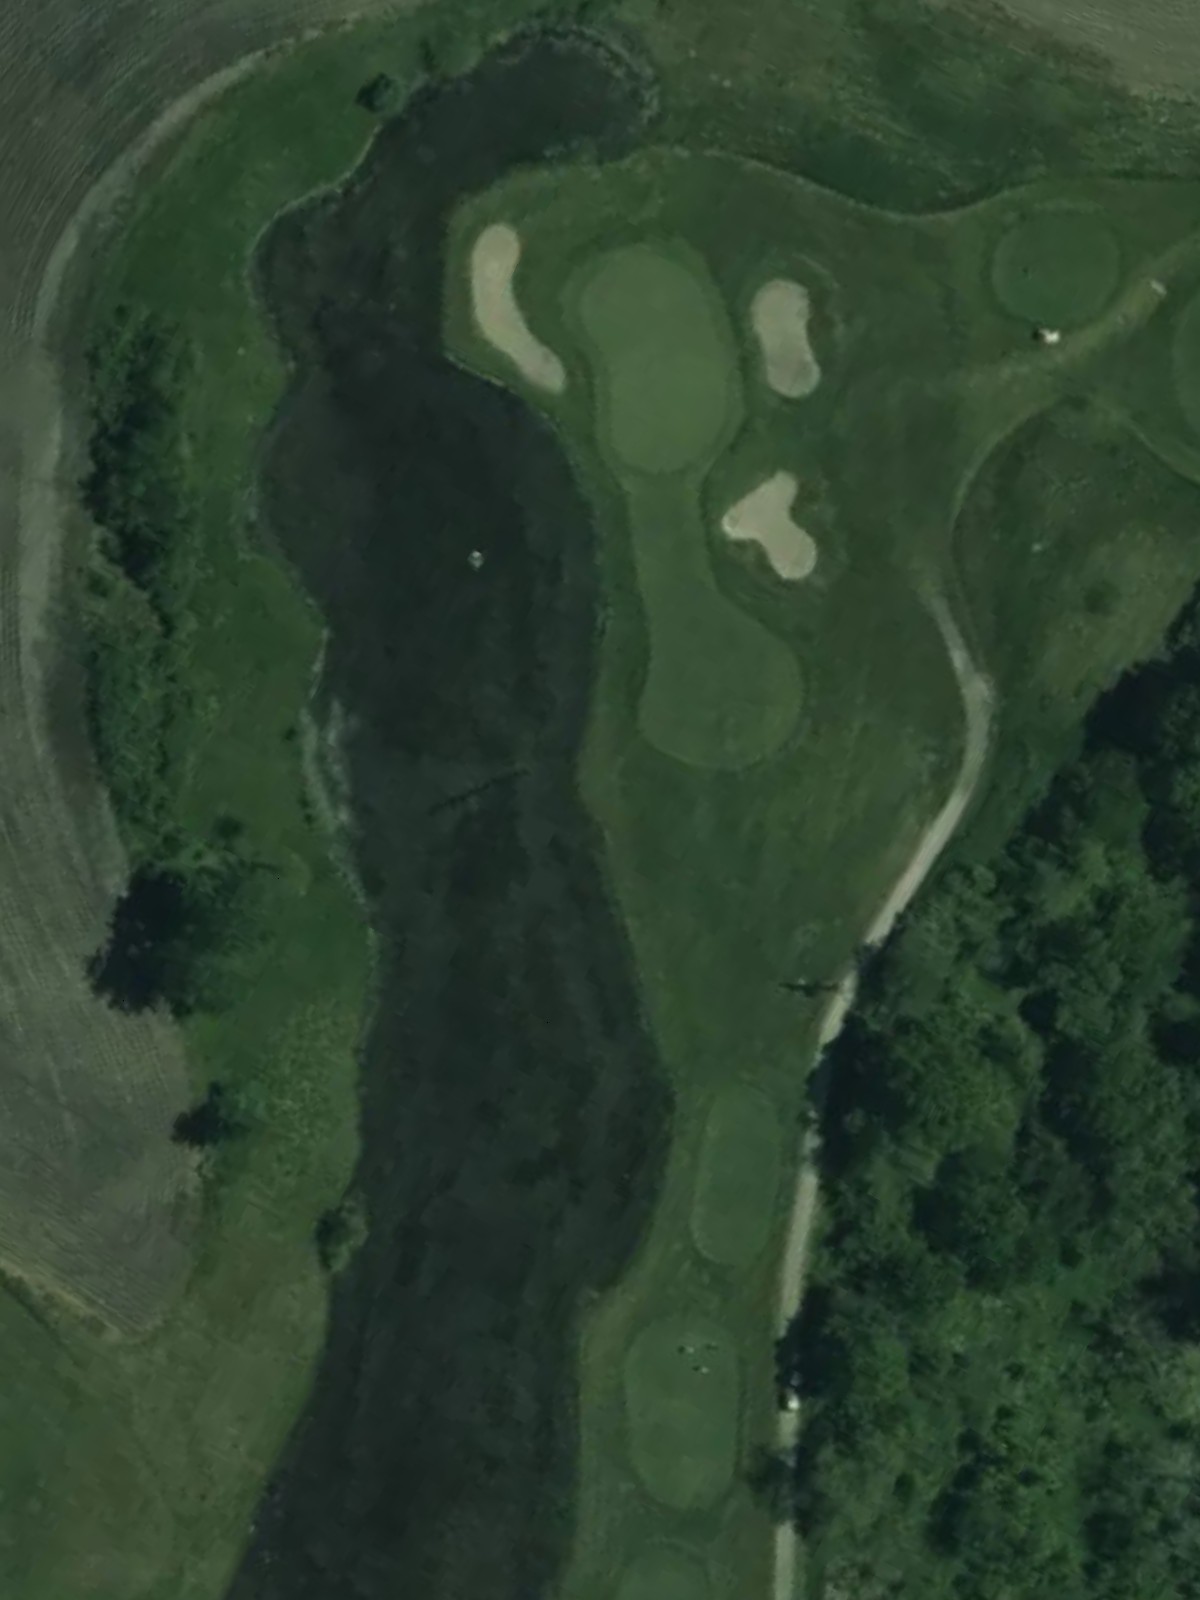
The course's most difficult hole, this lengthy par 4 demands two strong consecutive shots to reach the well-bunkered green. The fairway provides limited bailout areas, and approach angles are crucial to avoid hazards guarding the putting surface.
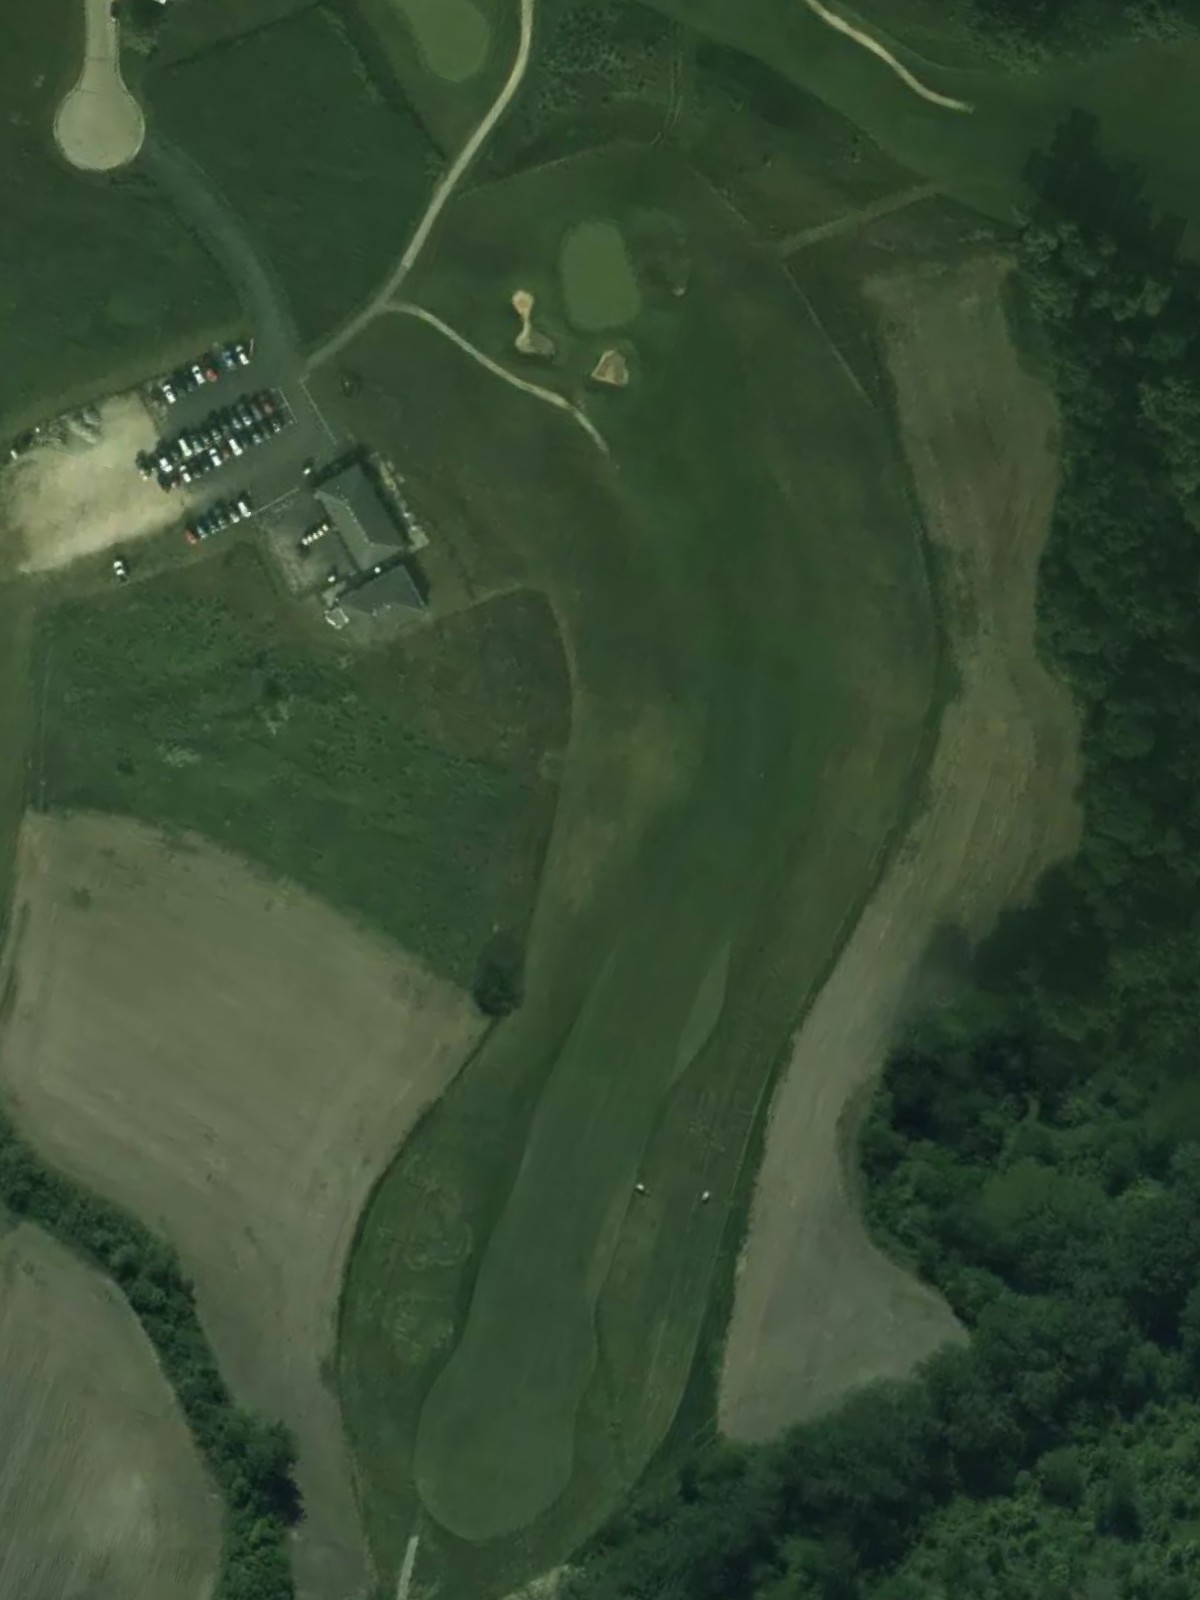
A mid-length par 4 with a relatively open fairway that tightens slightly near the green. Bunkers strategically positioned around the green complex require careful placement of the second shot.
This par 4 features a fairway that bends slightly and narrows as it approaches a well-defended green. Hazards frame both sides of the green, making accuracy off the tee essential for a favorable approach angle.
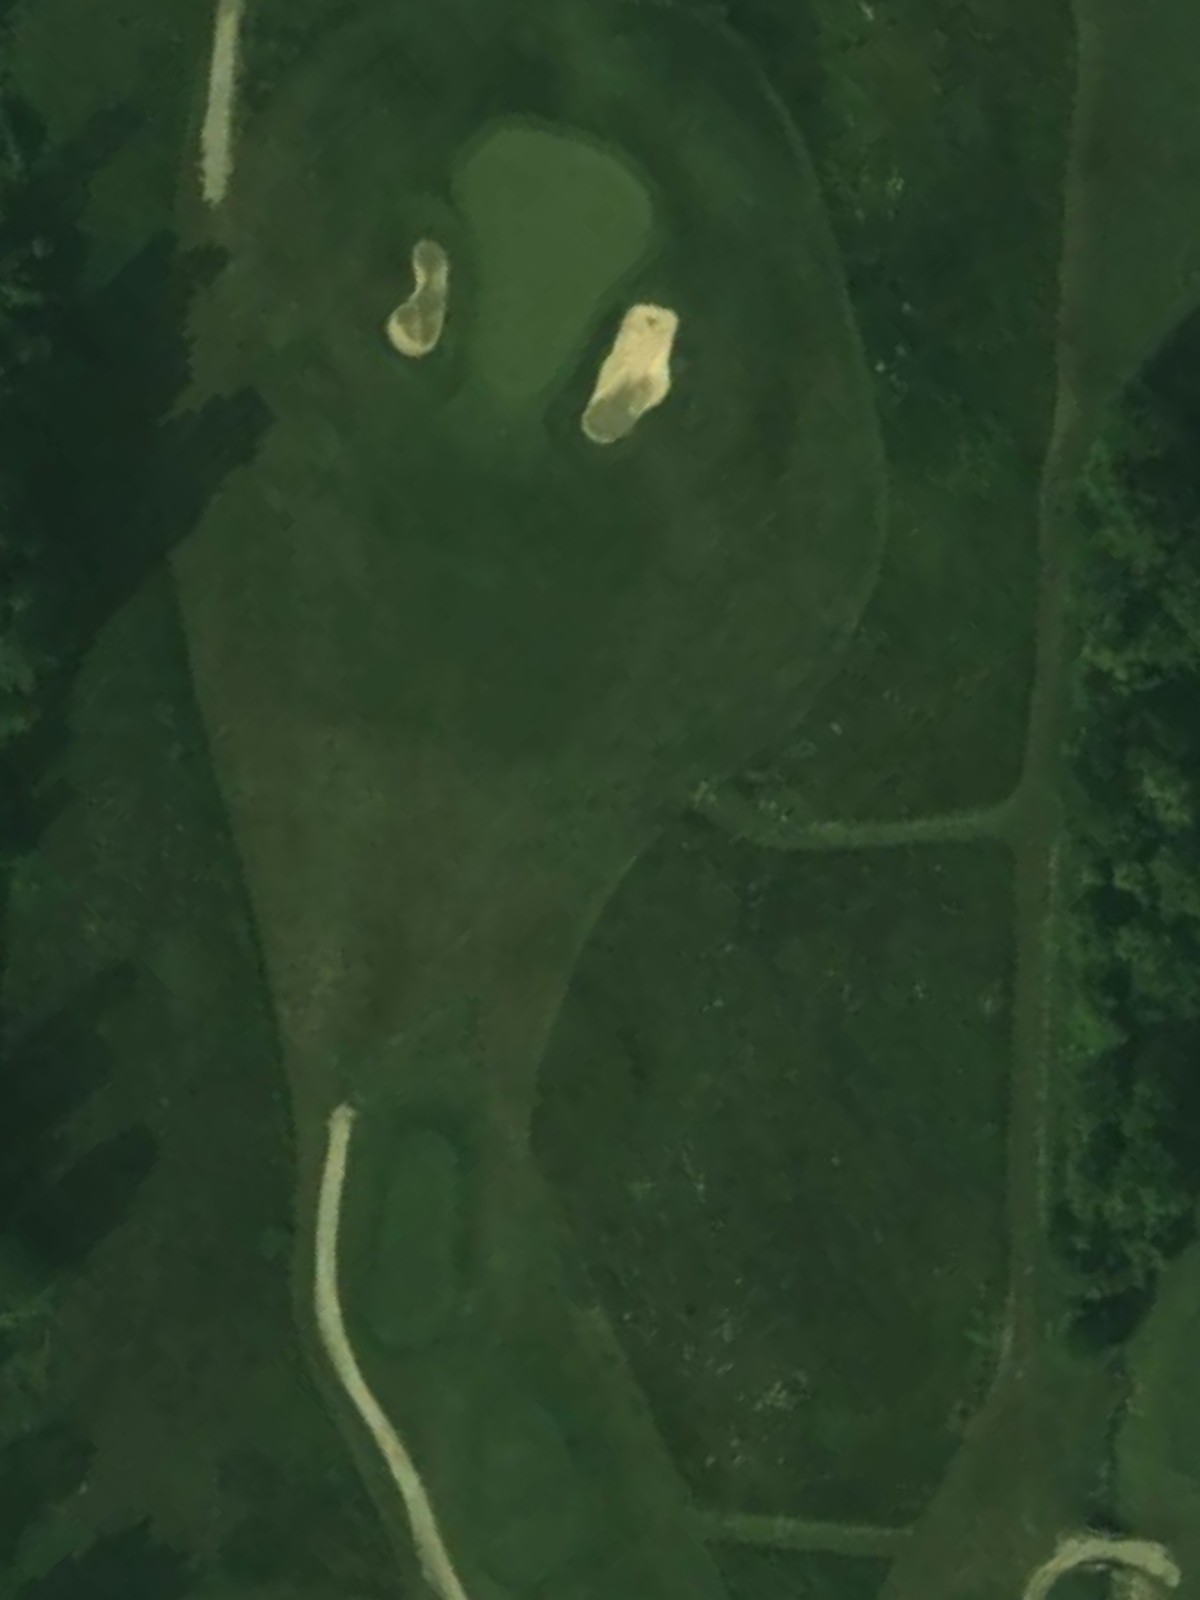
A short par 3 with a narrow, elevated green surrounded by protective bunkering. The compact target area and significant elevation change make this a deceptively challenging short hole.

A mid-length par 4 with strategic bunkering in the landing area and around the green. The hole's design encourages proper positioning off the tee to set up the most straightforward approach.
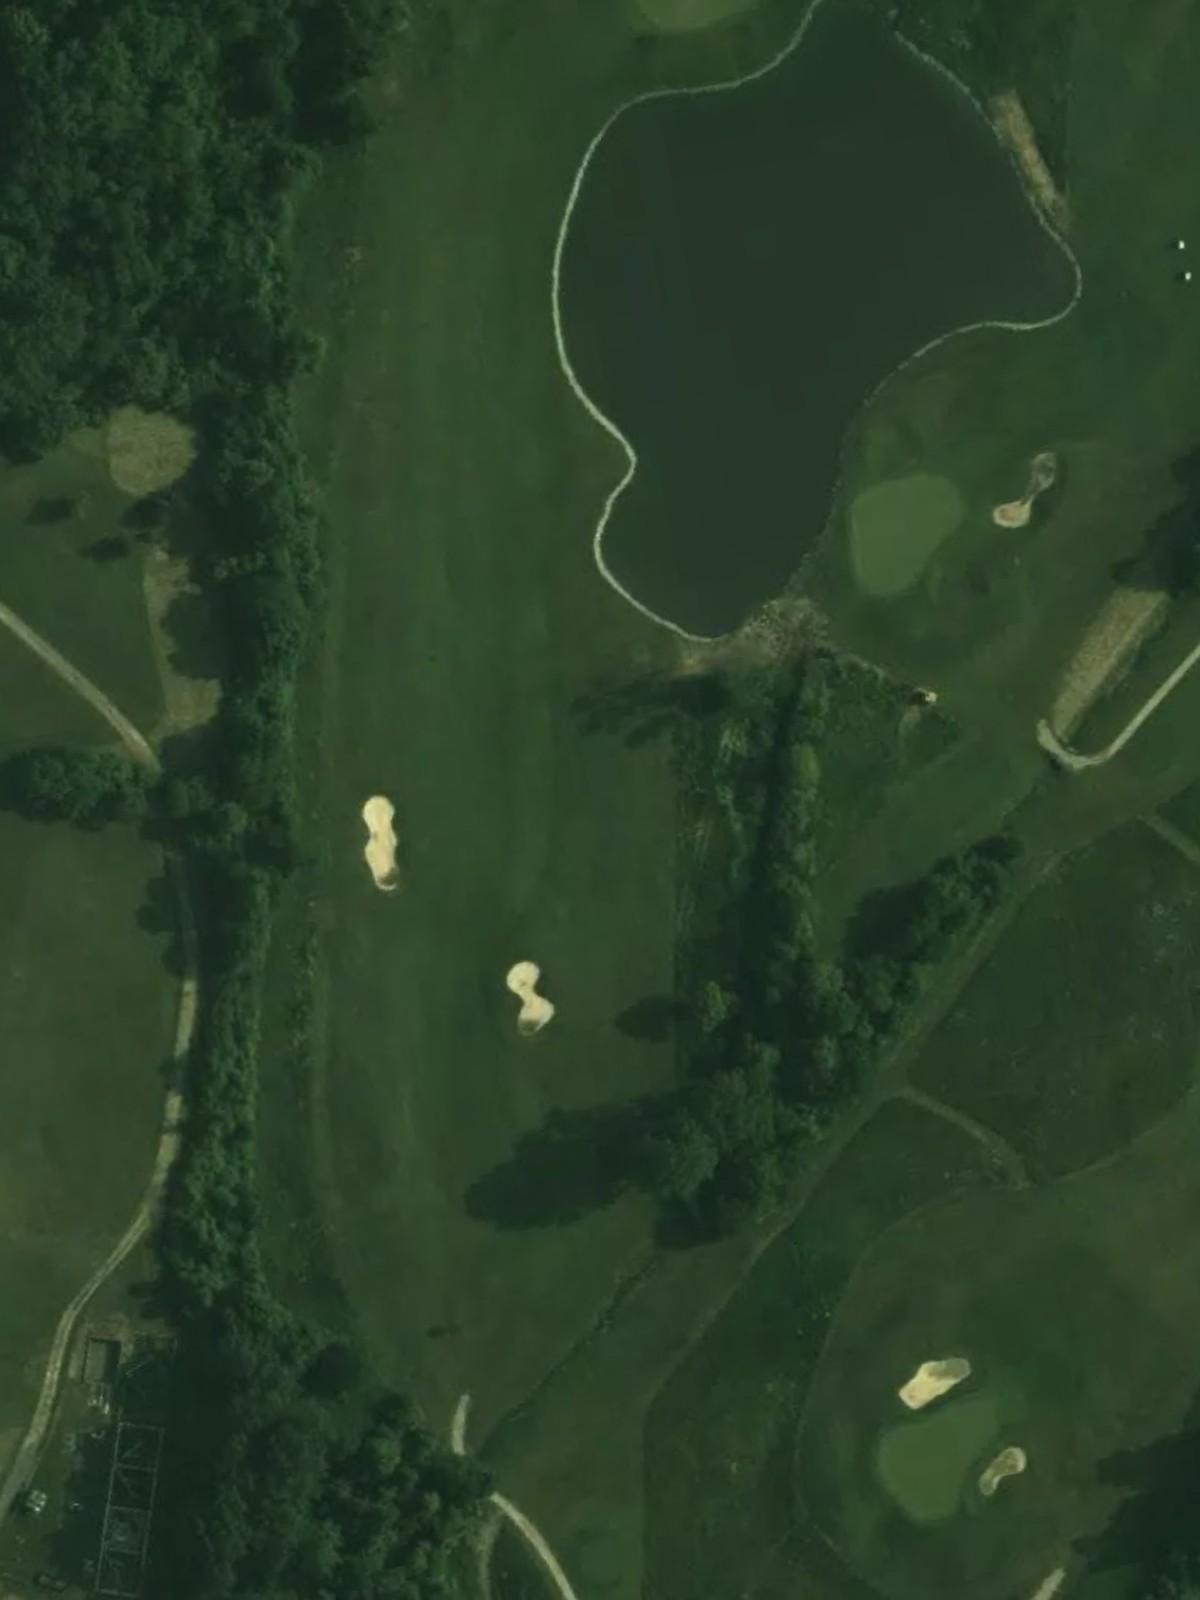
A long par 5 with water hazards that come into play down the left side and near the green. The fairway widens in the landing area but narrows again as players approach the putting surface.
A shorter par 4 with an inviting fairway that opens near the green, offering a more accessible scoring opportunity. Bunkers still frame the green, requiring controlled accuracy on the approach shot.
The second-most difficult hole on the course, this par 4 demands length and precision with strategic bunkering throughout. The green is tightly guarded, offering little margin for error on the approach.

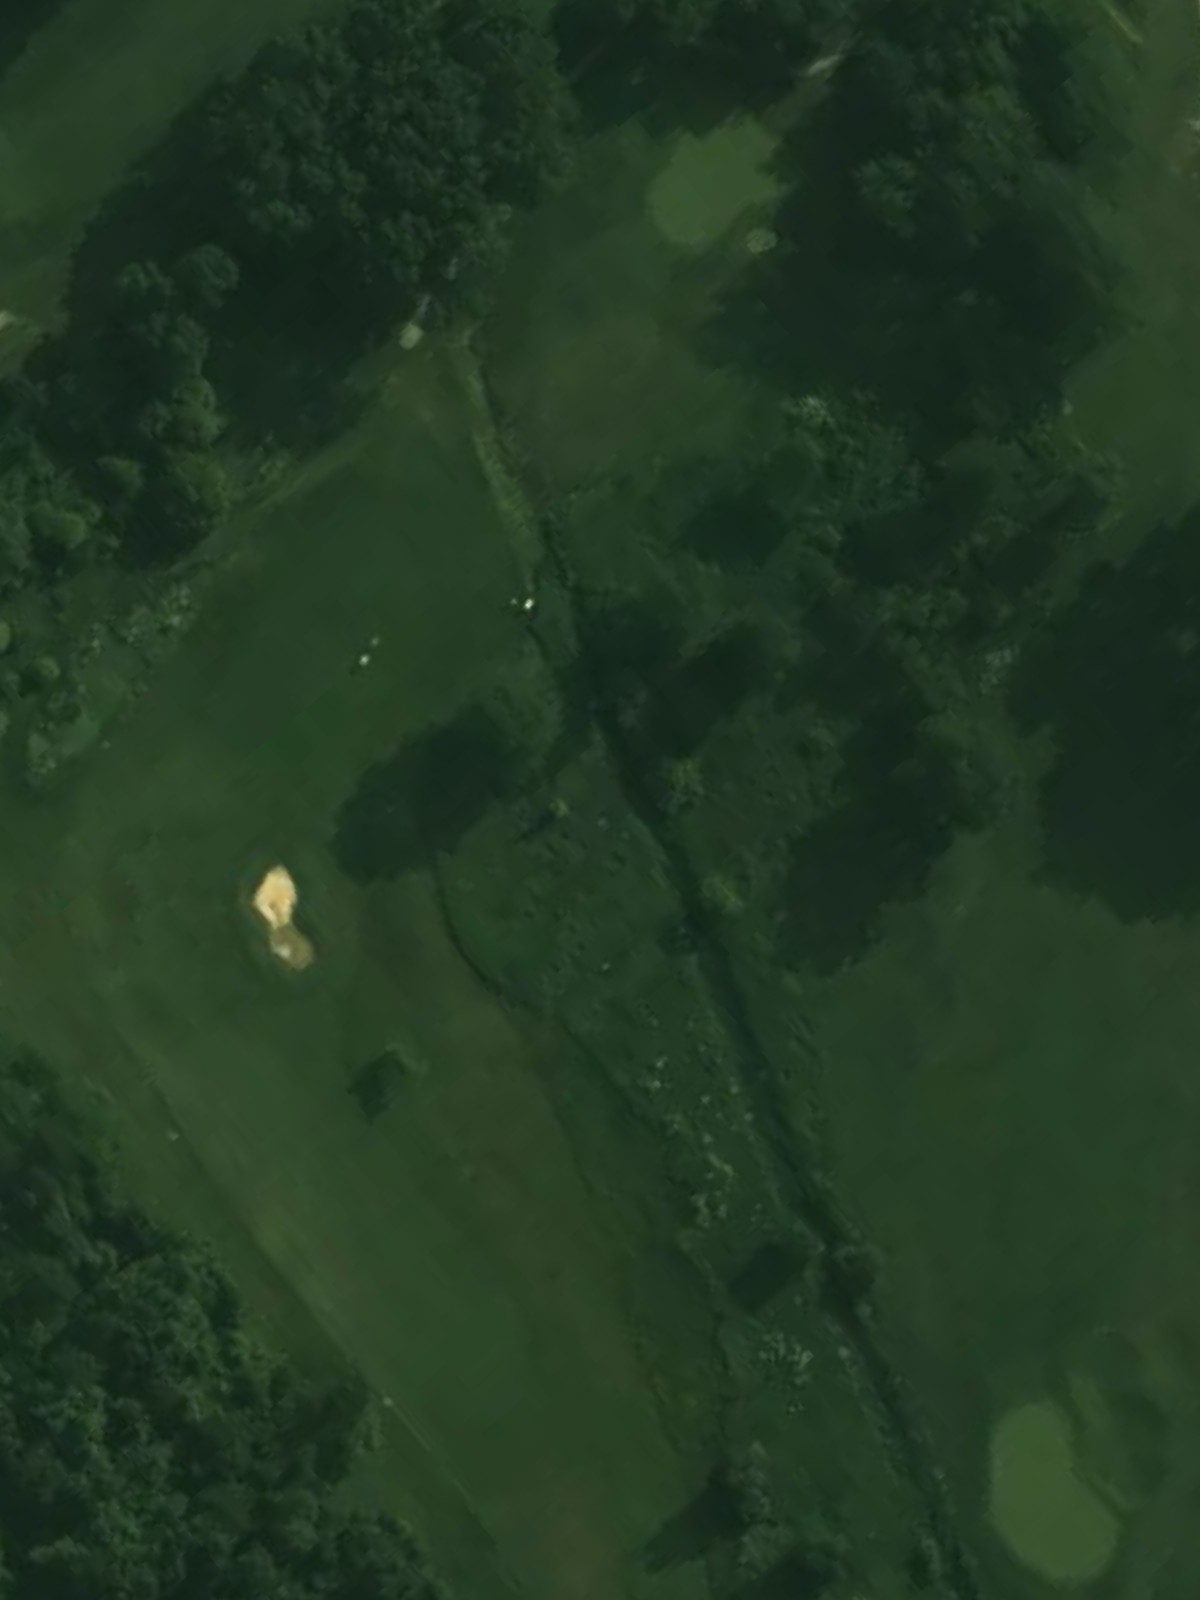
A generous par 5 that ranks among the easiest on the course, with a wide fairway and approachable green. While length may be a factor, hazard placement is less punitive, allowing for a more attacking approach.
A mid-range par 3 with a spacious green complex that offers some forgiveness. Bunkers guard key sections of the green, rewarding accurate distance control and directional precision.
This par 4 features a fairway with modest width and bunkers that frame the approach. The green sits behind defensive bunkering, making club selection and accuracy off the tee essential for scoring.
One of the course's most difficult par 4s, this hole requires two strong shots with limited margin for error. Strategic hazards threaten both the tee shot and approach, with the green situated behind challenging bunkering.
A shorter par 4 with a relatively open fairway that provides scoring opportunity on the back nine. Greenside bunkers still demand precision on the approach, preventing complacency despite the hole's modest length.
A mid-length par 3 with a well-protected green surrounded by multiple bunkers and natural hazards. The putting surface's size and complexity make this a memorable short hole.
The finishing par 5 provides a dramatic closing hole with water and strategic bunkering framing the entire hole. The fairway opens in the landing area, allowing players to position for their approach to a green guarded by hazards on multiple sides.
Scorecard
| Hole | 1 | 2 | 3 | 4 | 5 | 6 | 7 | 8 | 9 | Out | 10 | 11 | 12 | 13 | 14 | 15 | 16 | 17 | 18 | In | Tot |
|---|---|---|---|---|---|---|---|---|---|---|---|---|---|---|---|---|---|---|---|---|---|
| Par | 4 | 3 | 5 | 4 | 4 | 4 | 3 | 4 | 5 | 36 | 4 | 4 | 5 | 3 | 4 | 4 | 4 | 3 | 5 | 36 | 72 |
| HCP | 3 | 15 | 11 | 1 | 9 | 7 | 17 | 5 | 13 | 16 | 4 | 18 | 8 | 10 | 2 | 12 | 14 | 6 | |||
| black | 426 | 179 | 539 | 460 | 411 | 434 | 170 | 408 | 593 | 3620 | 373 | 435 | 514 | 226 | 381 | 454 | 354 | 181 | 600 | 3518 | 7138 |
| blue | 393 | 160 | 514 | 435 | 382 | 392 | 145 | 374 | 557 | 3352 | 341 | 409 | 485 | 191 | 371 | 429 | 331 | 161 | 568 | 3286 | 6638 |
| white | 358 | 133 | 484 | 394 | 349 | 353 | 114 | 344 | 495 | 3024 | 305 | 371 | 455 | 165 | 323 | 399 | 309 | 135 | 533 | 2995 | 6019 |
| gold | 319 | 120 | 439 | 367 | 310 | 341 | 80 | 324 | 452 | 2752 | 280 | 328 | 394 | 132 | 285 | 326 | 251 | 102 | 481 | 2579 | 5331 |