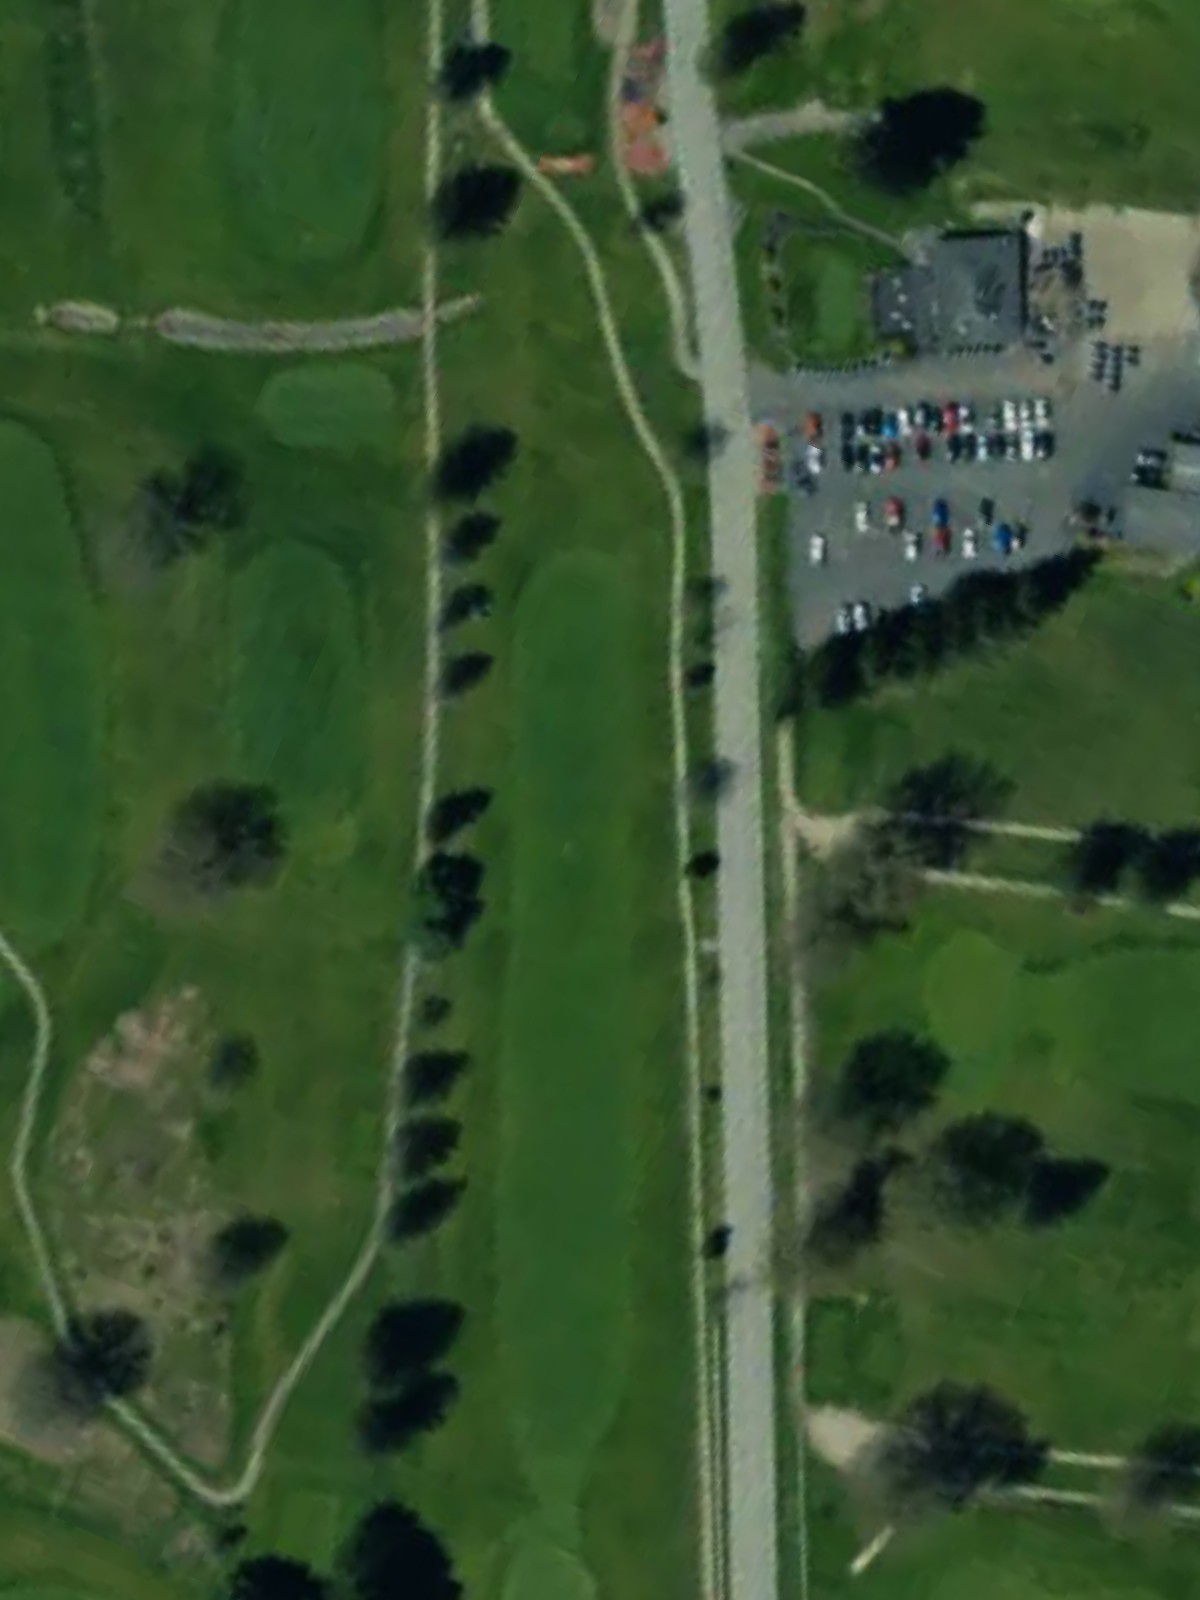
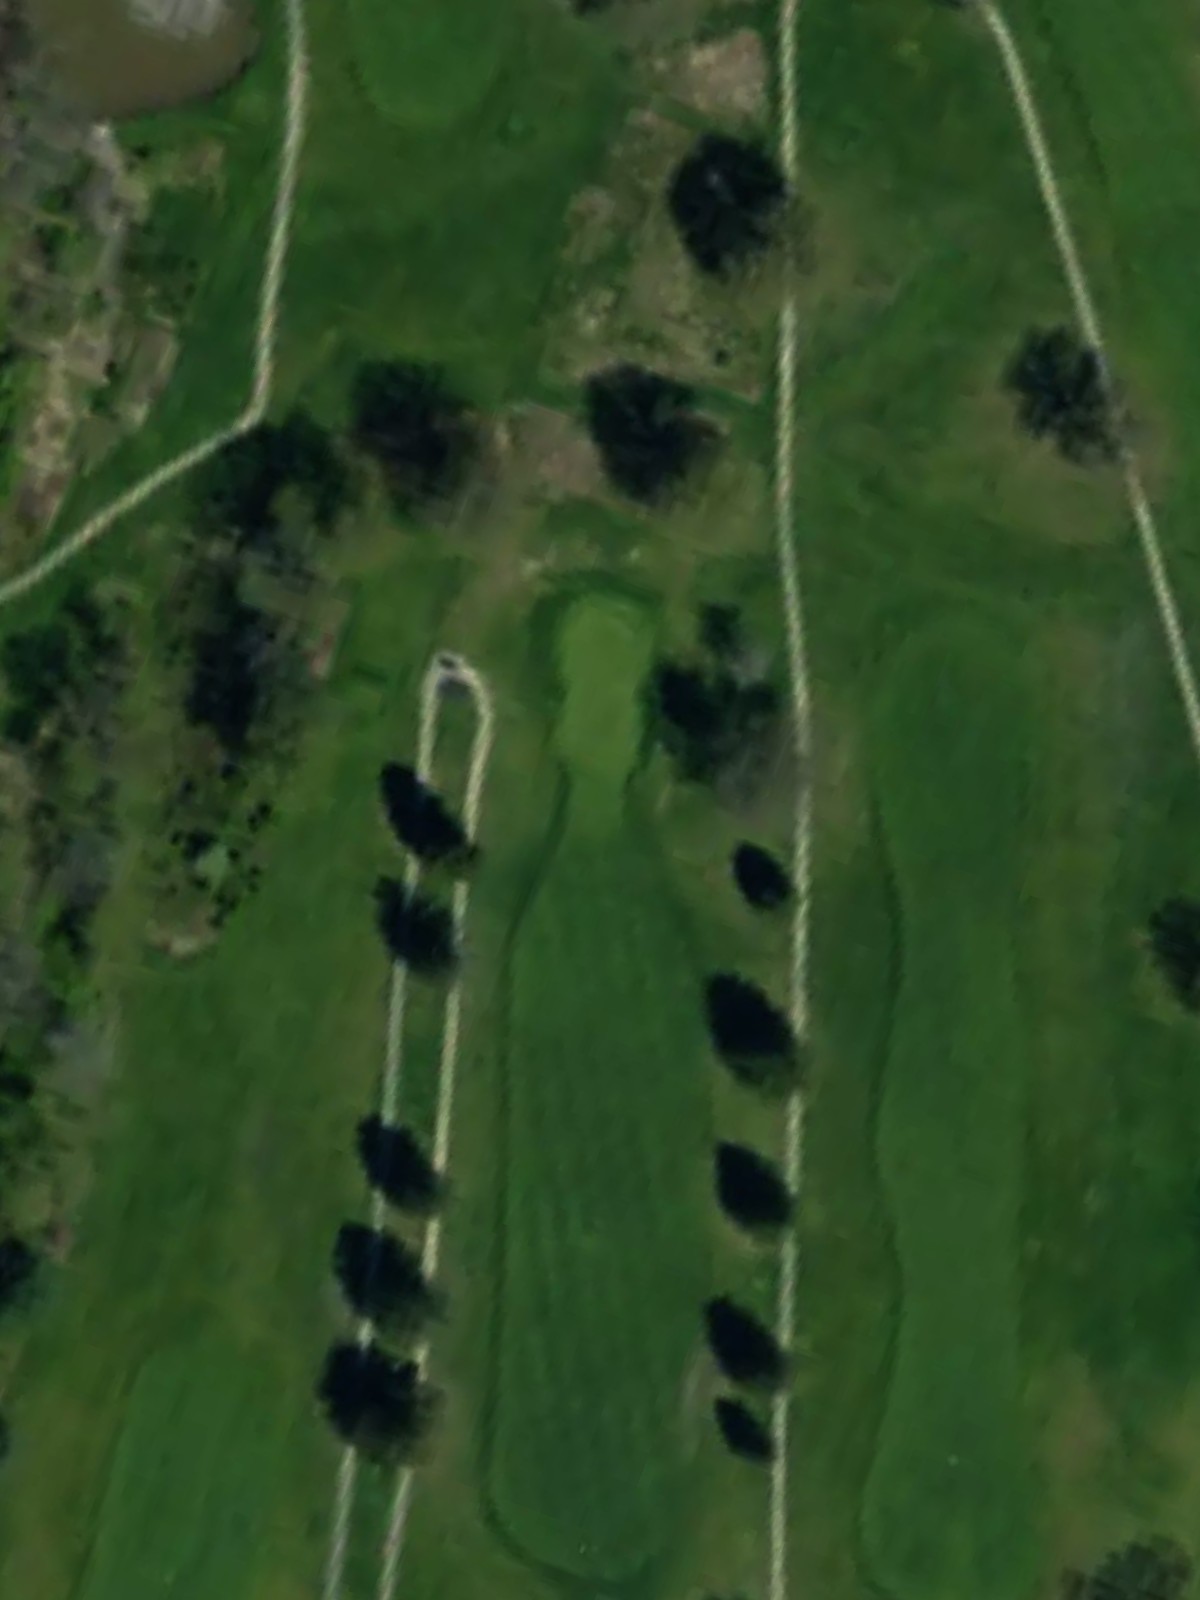
Murrysville Golf Club is an 18-hole golf course in Murrysville, PA with a par of 69. It offers 3 tee sets: black (6,106 yards, slope 120, rating 69.8), white (5,764 yards, slope 118, rating 68.3), gold (4,923 yards, slope 109, rating 64.2). The hardest hole is #17, a par 4 playing 239 yards from the first tee.
Murrysville Golf Club
Murrysville, PA
Get PDF Yardage Book
We'll email you the PDF link. No spam, ever.
Create Your Game Plan
Pick your tees, enter your bag, and get a personalized shot-by-shot strategy for every hole.
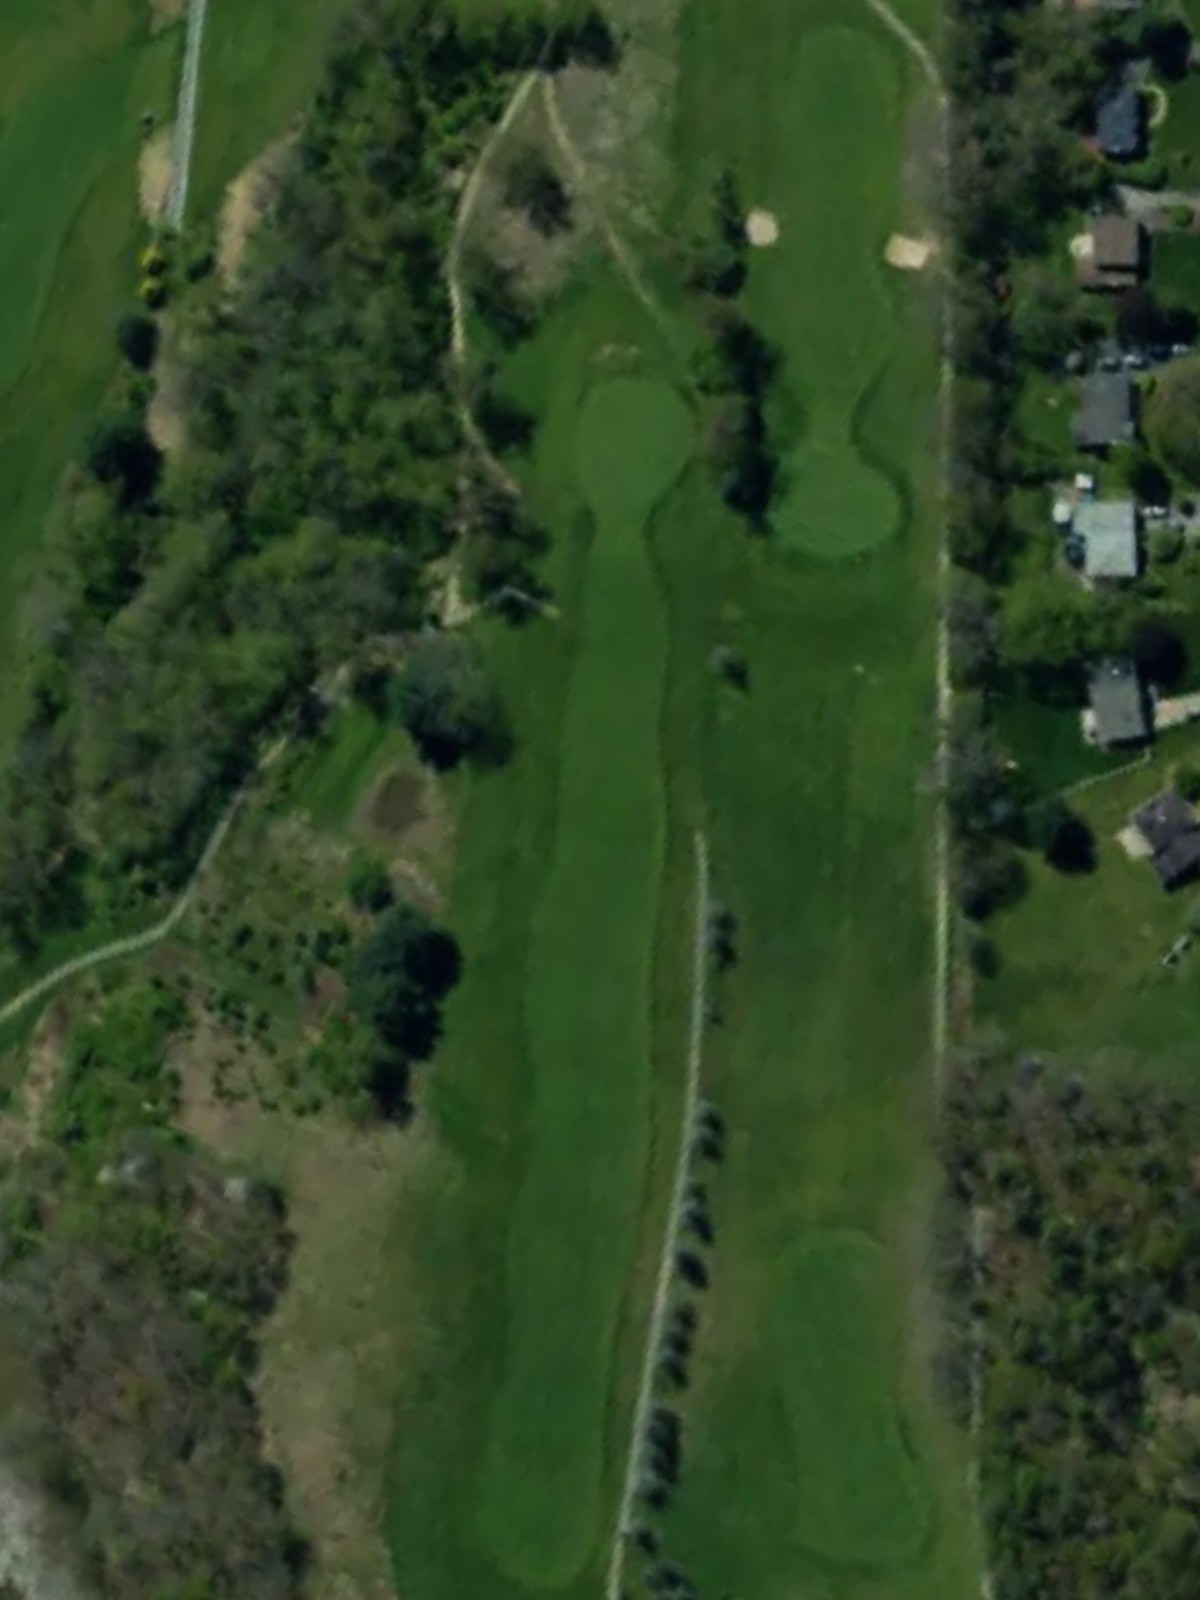
A short, straightforward par 4 with a wide-open fairway that gradually narrows as it approaches the green. Bunkers guard the right side of the green, while the left offers a safer approach for those seeking to avoid them.
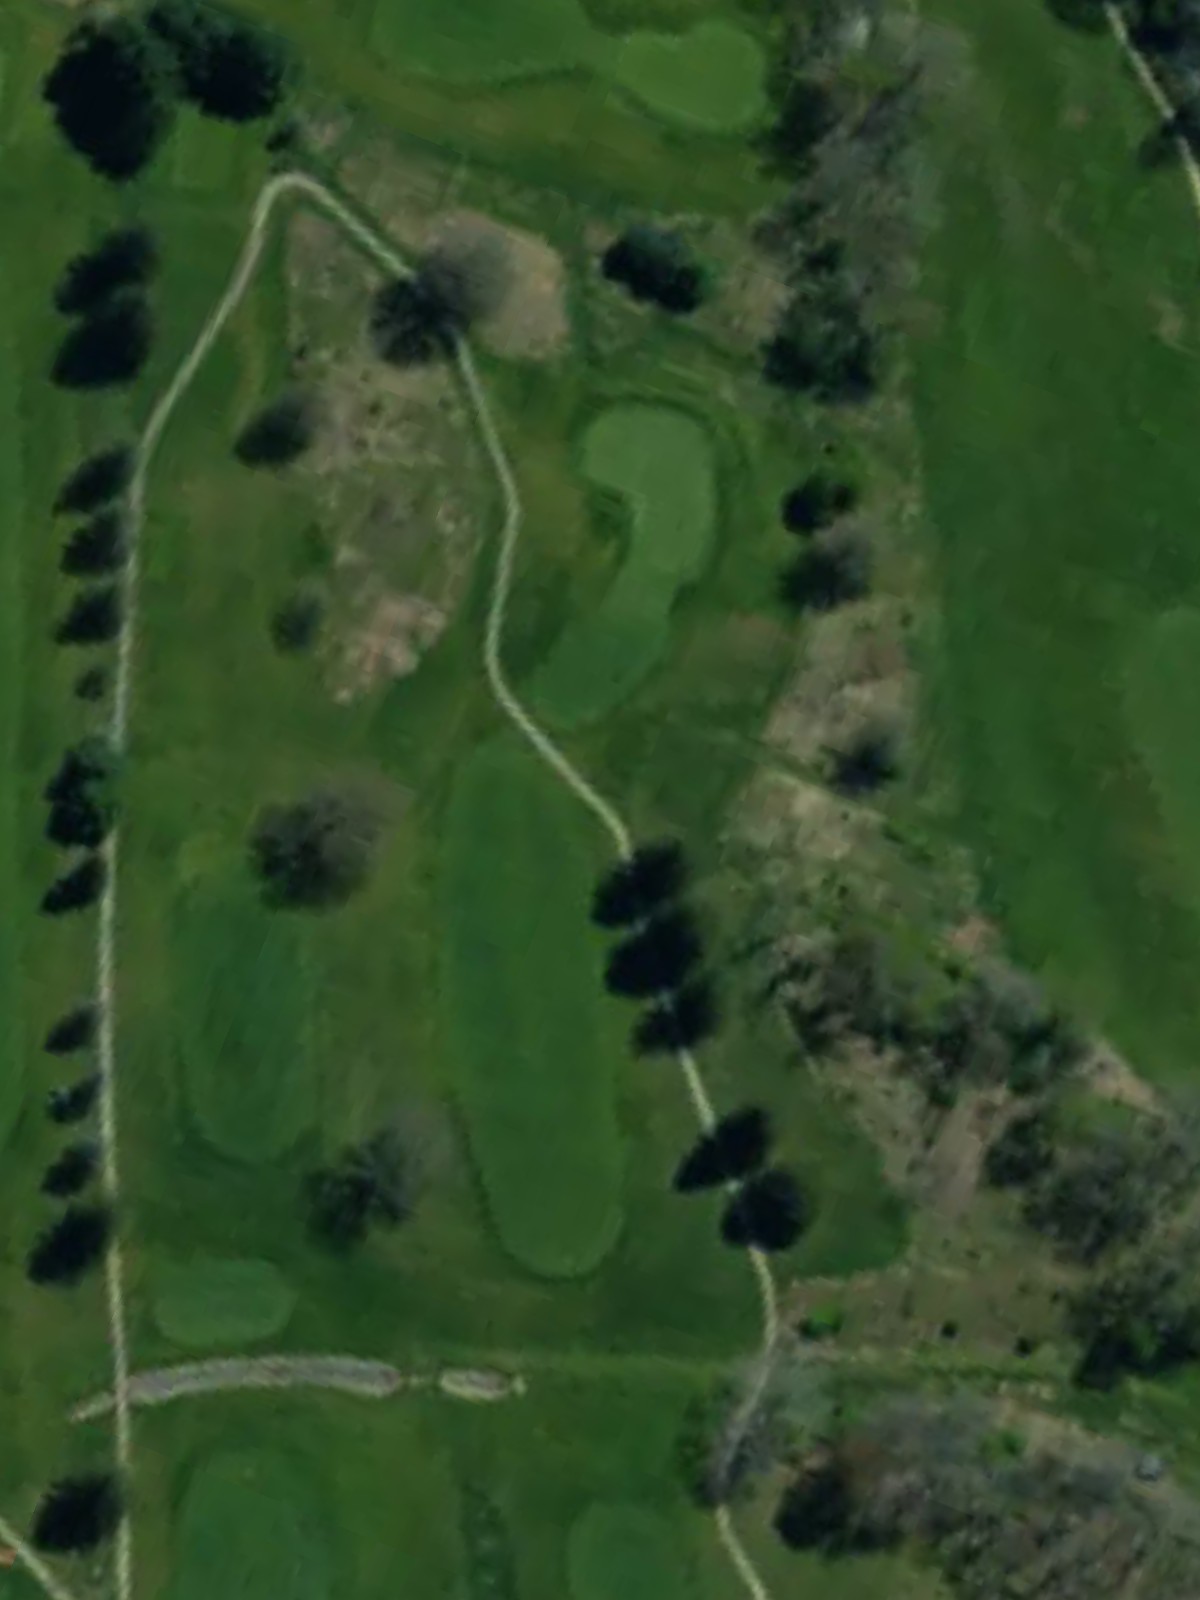
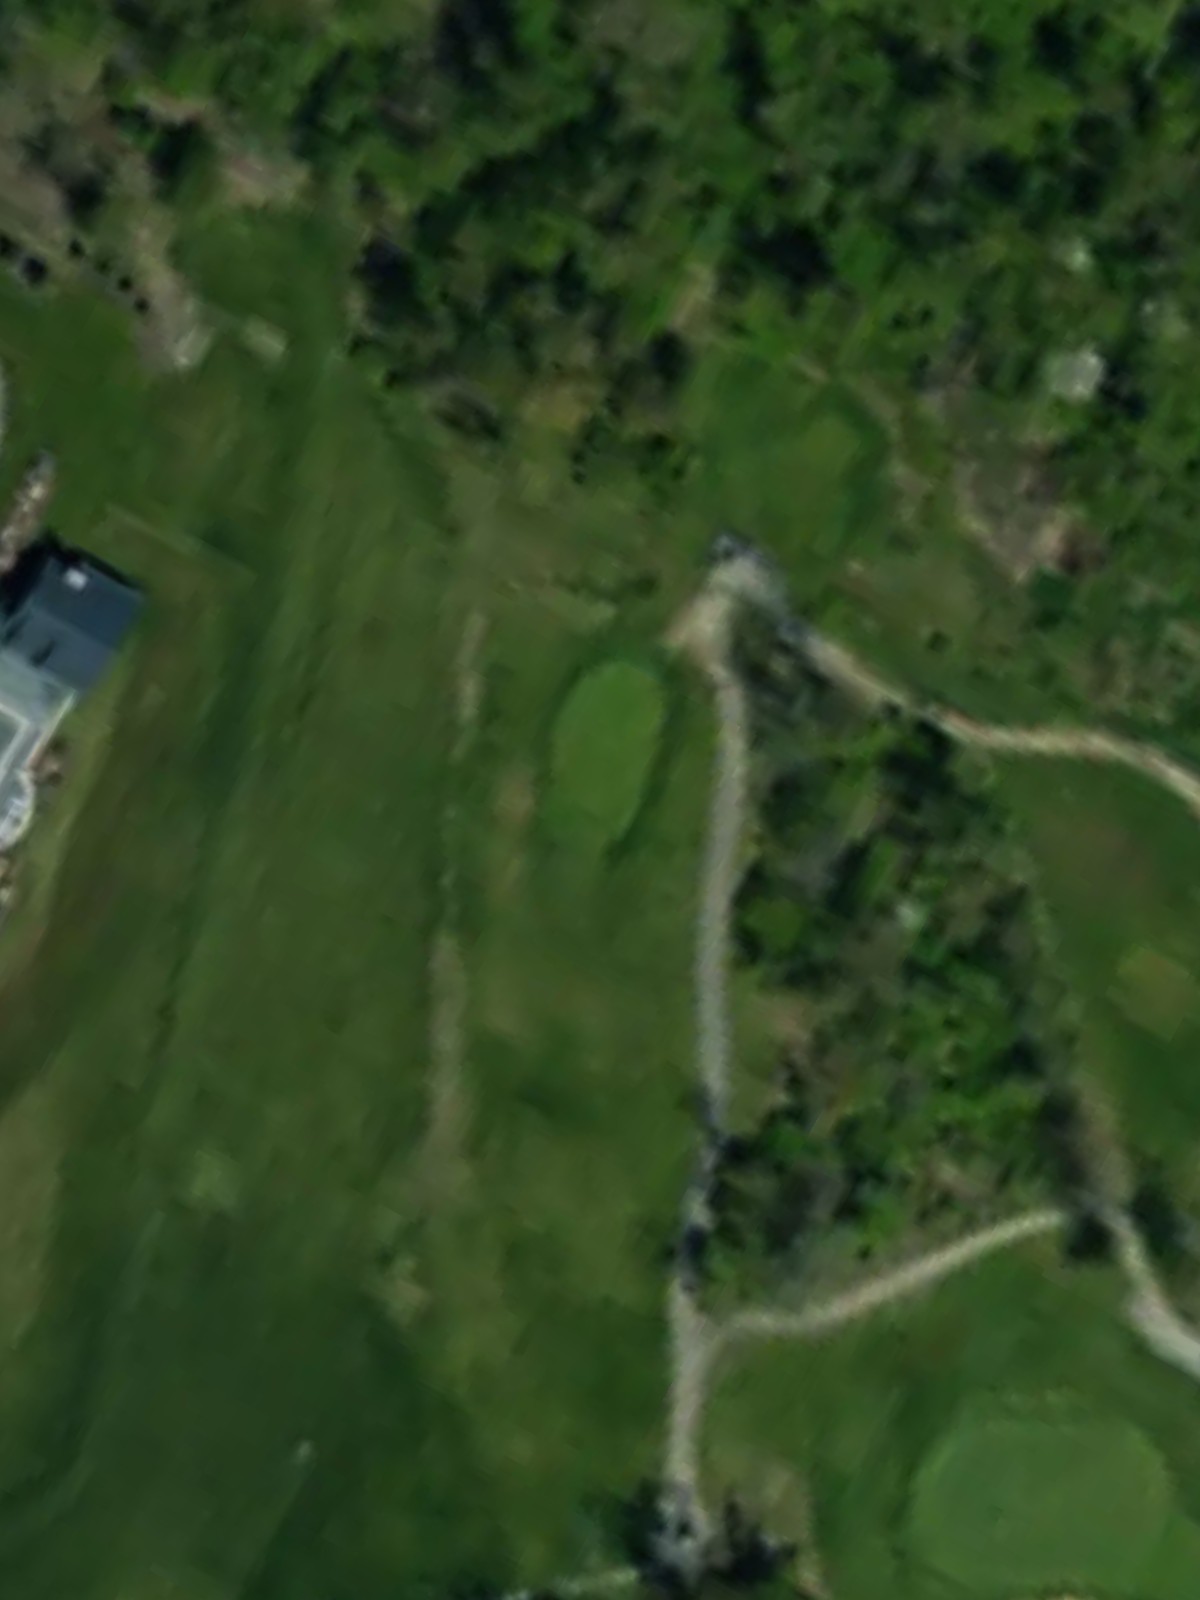
A mid-length par 3 requiring a solid iron shot to a relatively open green. The hole's moderate length and straightforward design make it a good scoring opportunity, though accuracy is essential to avoid surrounding trouble.
A challenging par 4 that demands two quality shots, with the black tees stretching this hole significantly. The fairway is tight and well-defined, requiring accuracy off the tee, and the green is carefully bunkered to penalize poor approach shots.
A short par 3 that plays downhill to an elevated green protected by bunkers. Despite its modest length, the elevation change and greenside hazards make club selection tricky and add character to this brief but demanding hole.
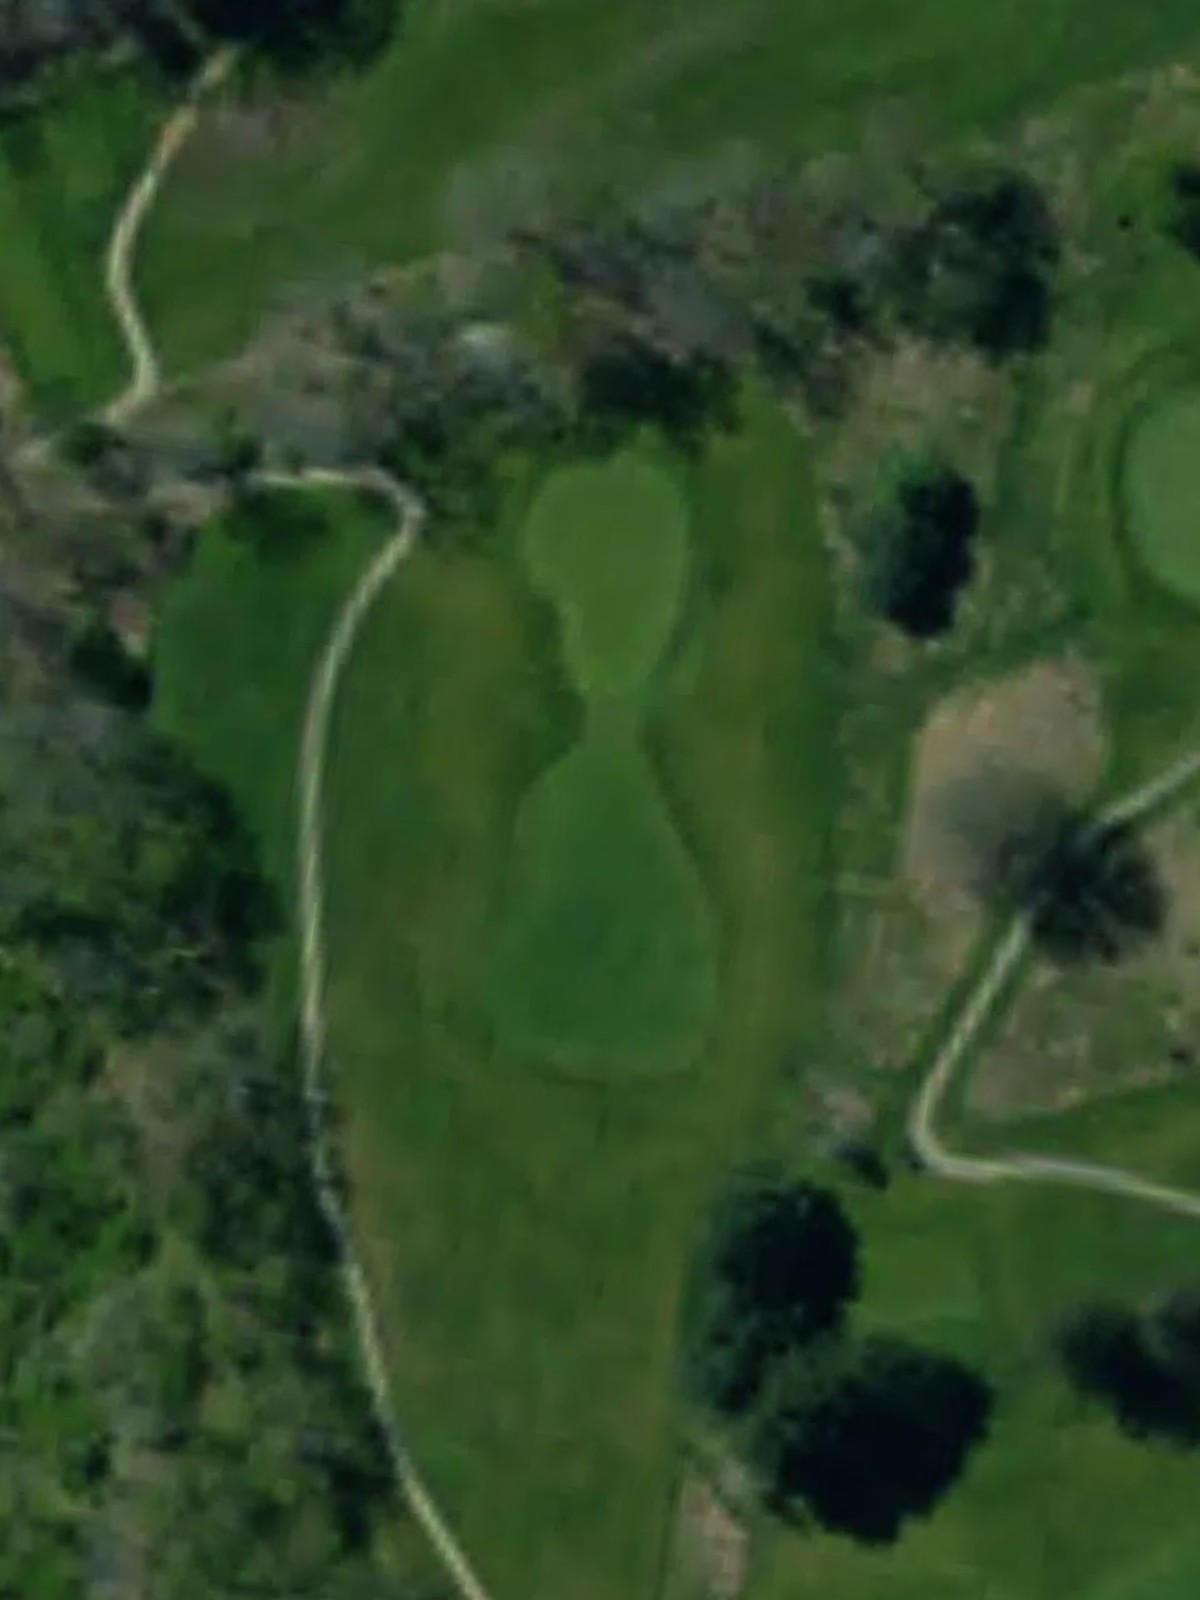
The course's second-hardest hole, this par 4 is a strong test of golf with an undulating fairway and elevated green. Bunkers frame the fairway and surround the putting surface, requiring both power and precision to navigate successfully.
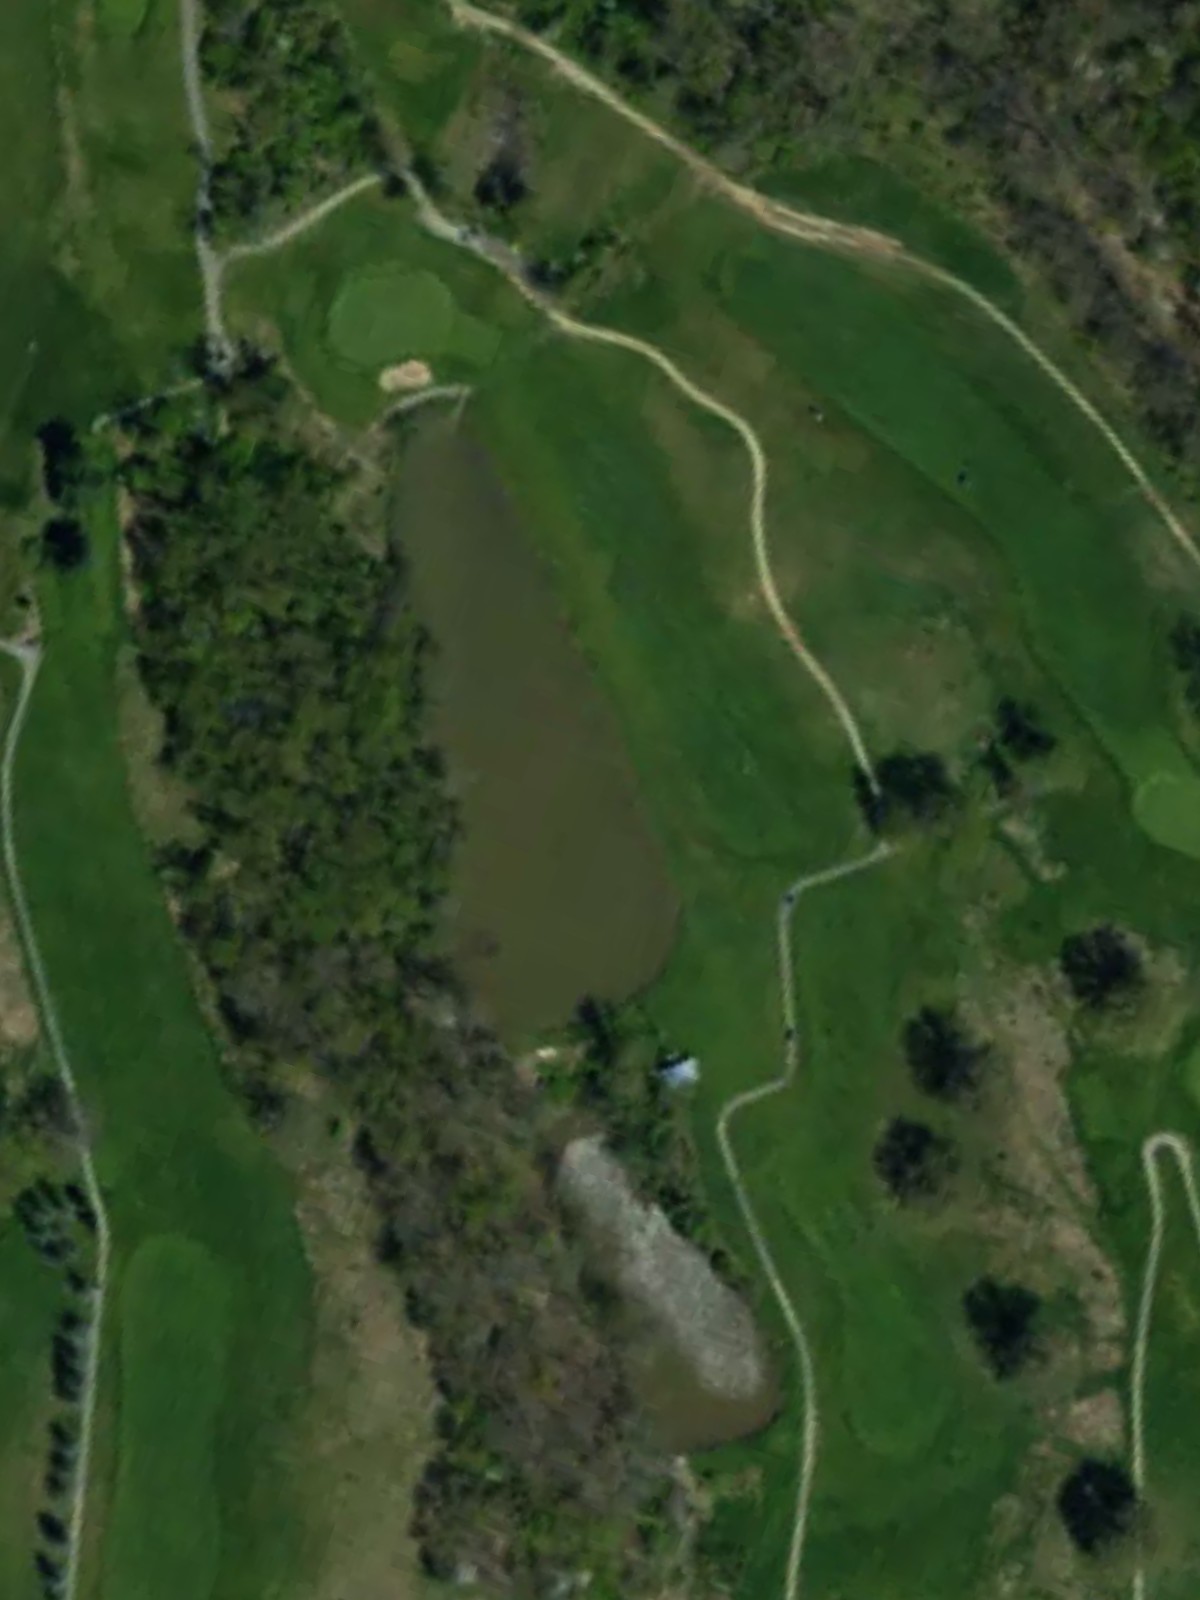
A mid-length par 4 with a dogleg character that requires thoughtful positioning off the tee. Water or other hazards come into play depending on drive placement, and the green's contours add to the overall difficulty.
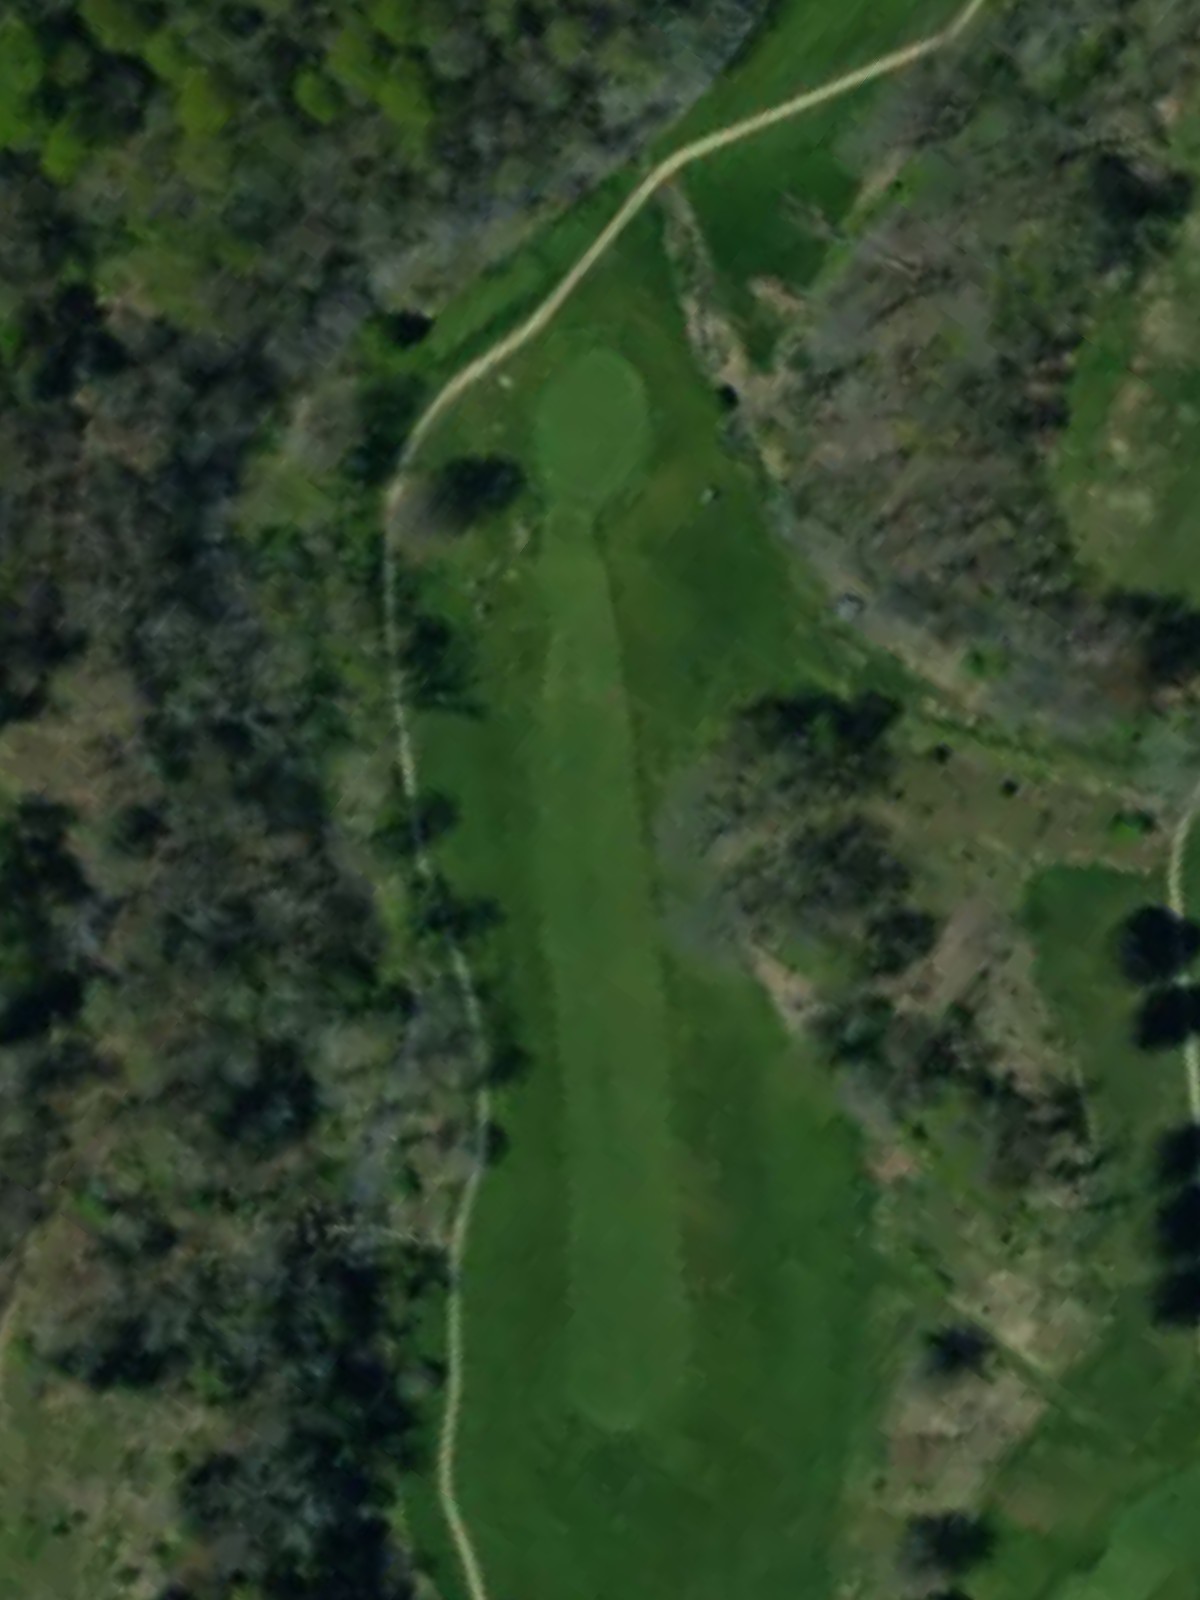
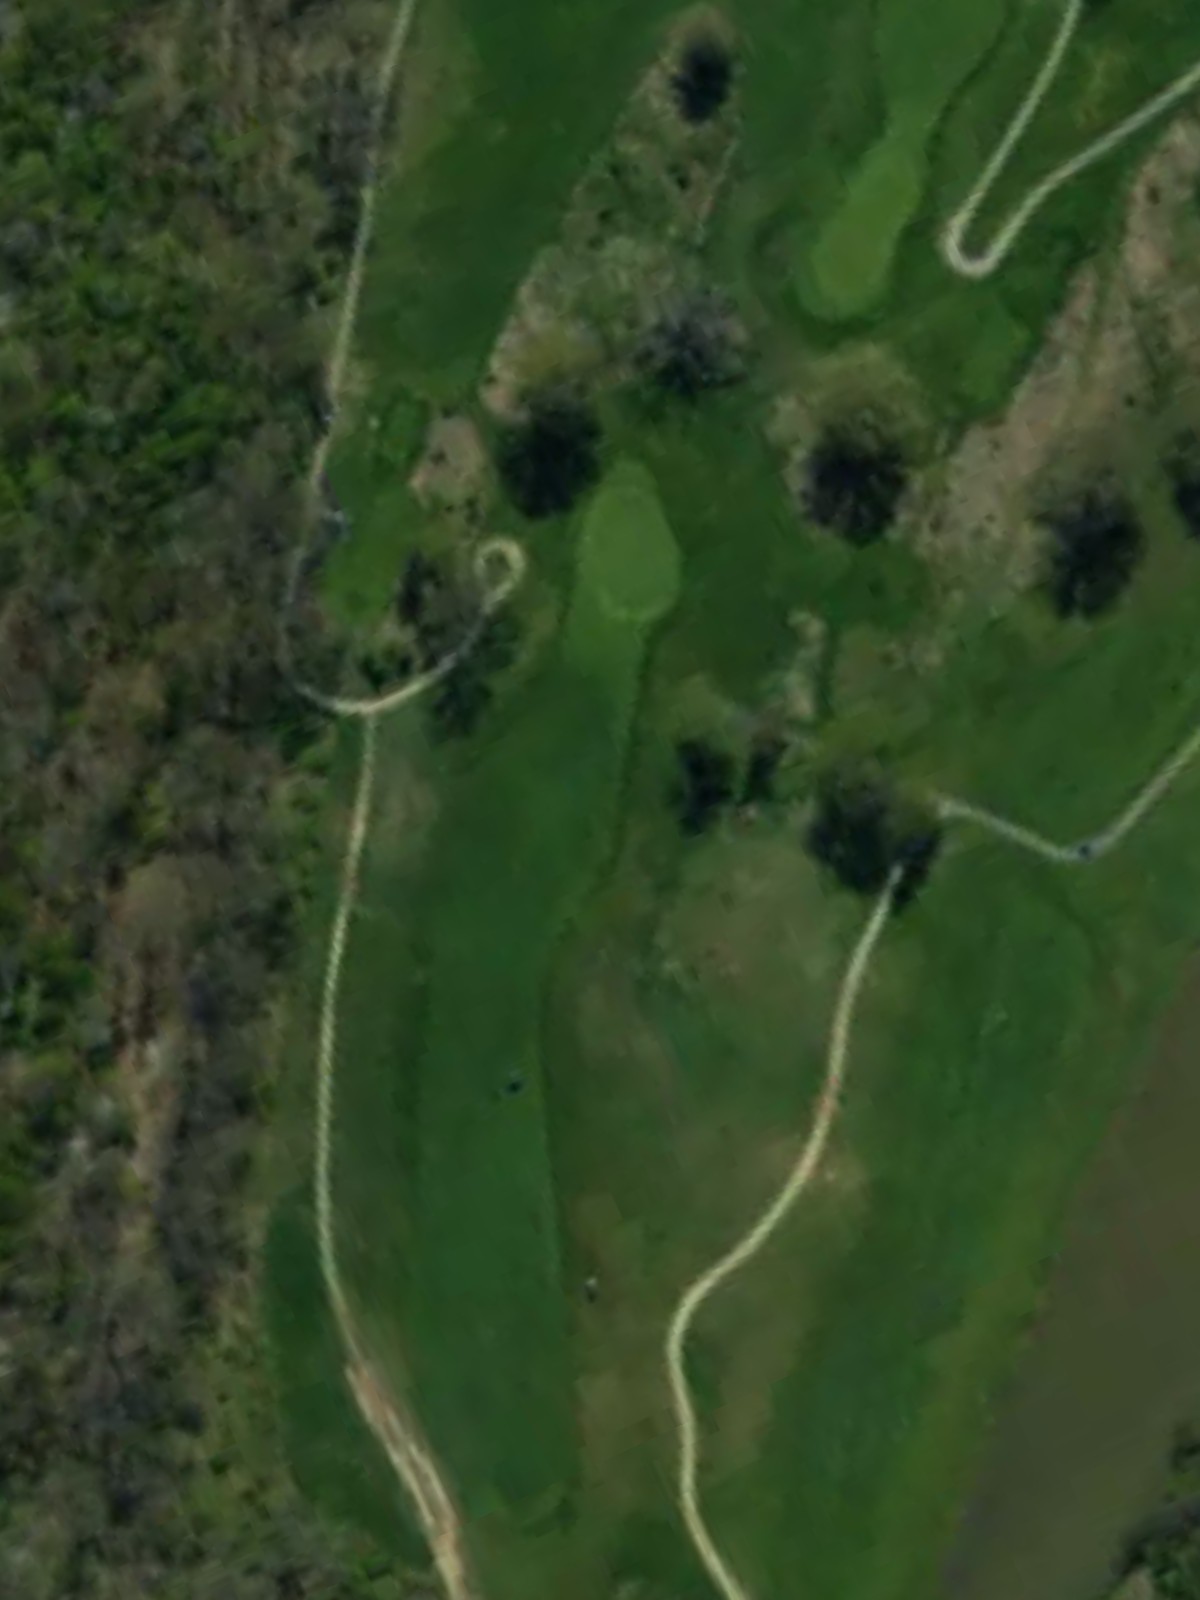
A substantial par 3 playing to an elevated green with natural framing. The length and elevation change make this a striking visual hole, with bunkers strategically positioned to catch wayward shots.
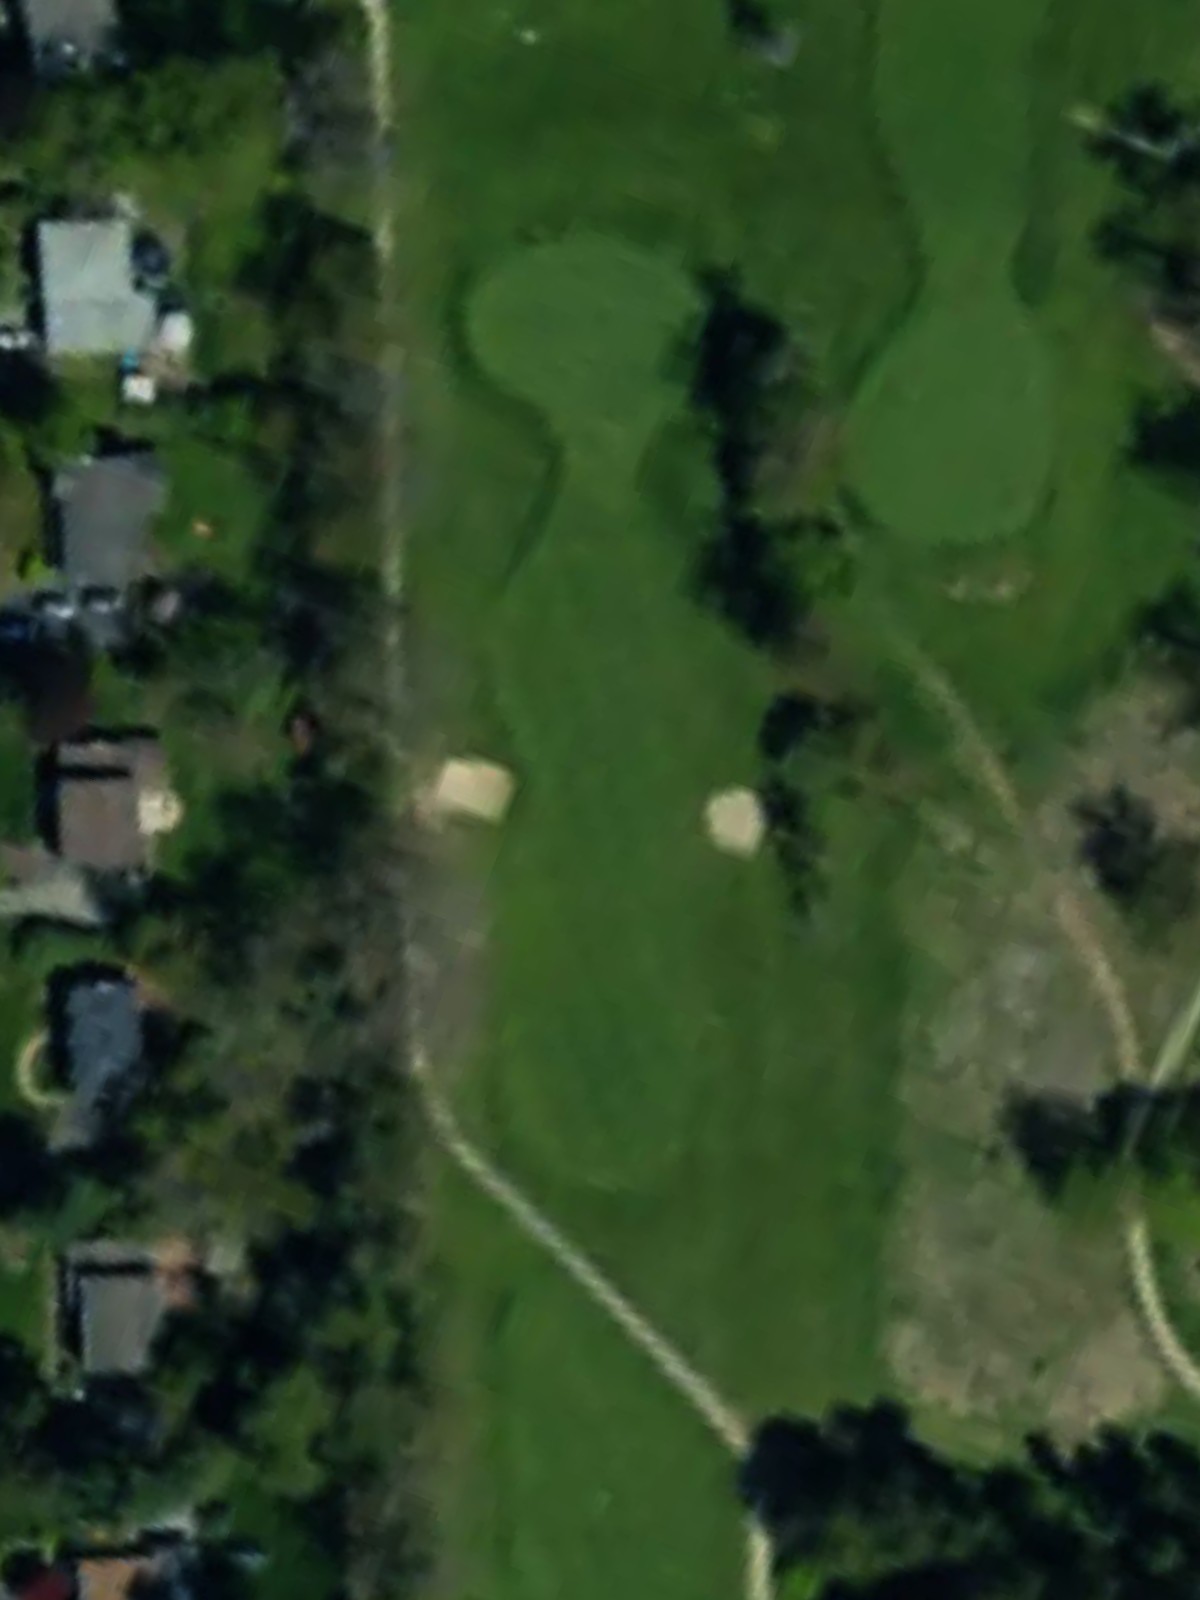
A relatively short par 4 that offers birdie potential despite its length. The fairway is generous off the tee, but greenside bunkers and the green's shape demand an accurate approach to set up scoring chances.
A dramatic par 4 that plays significantly longer from the back tees, with a fairway that narrows in the landing zone. Bunkers frame the approach to the green, and the hole's length makes it a true test for longer hitters and others alike.
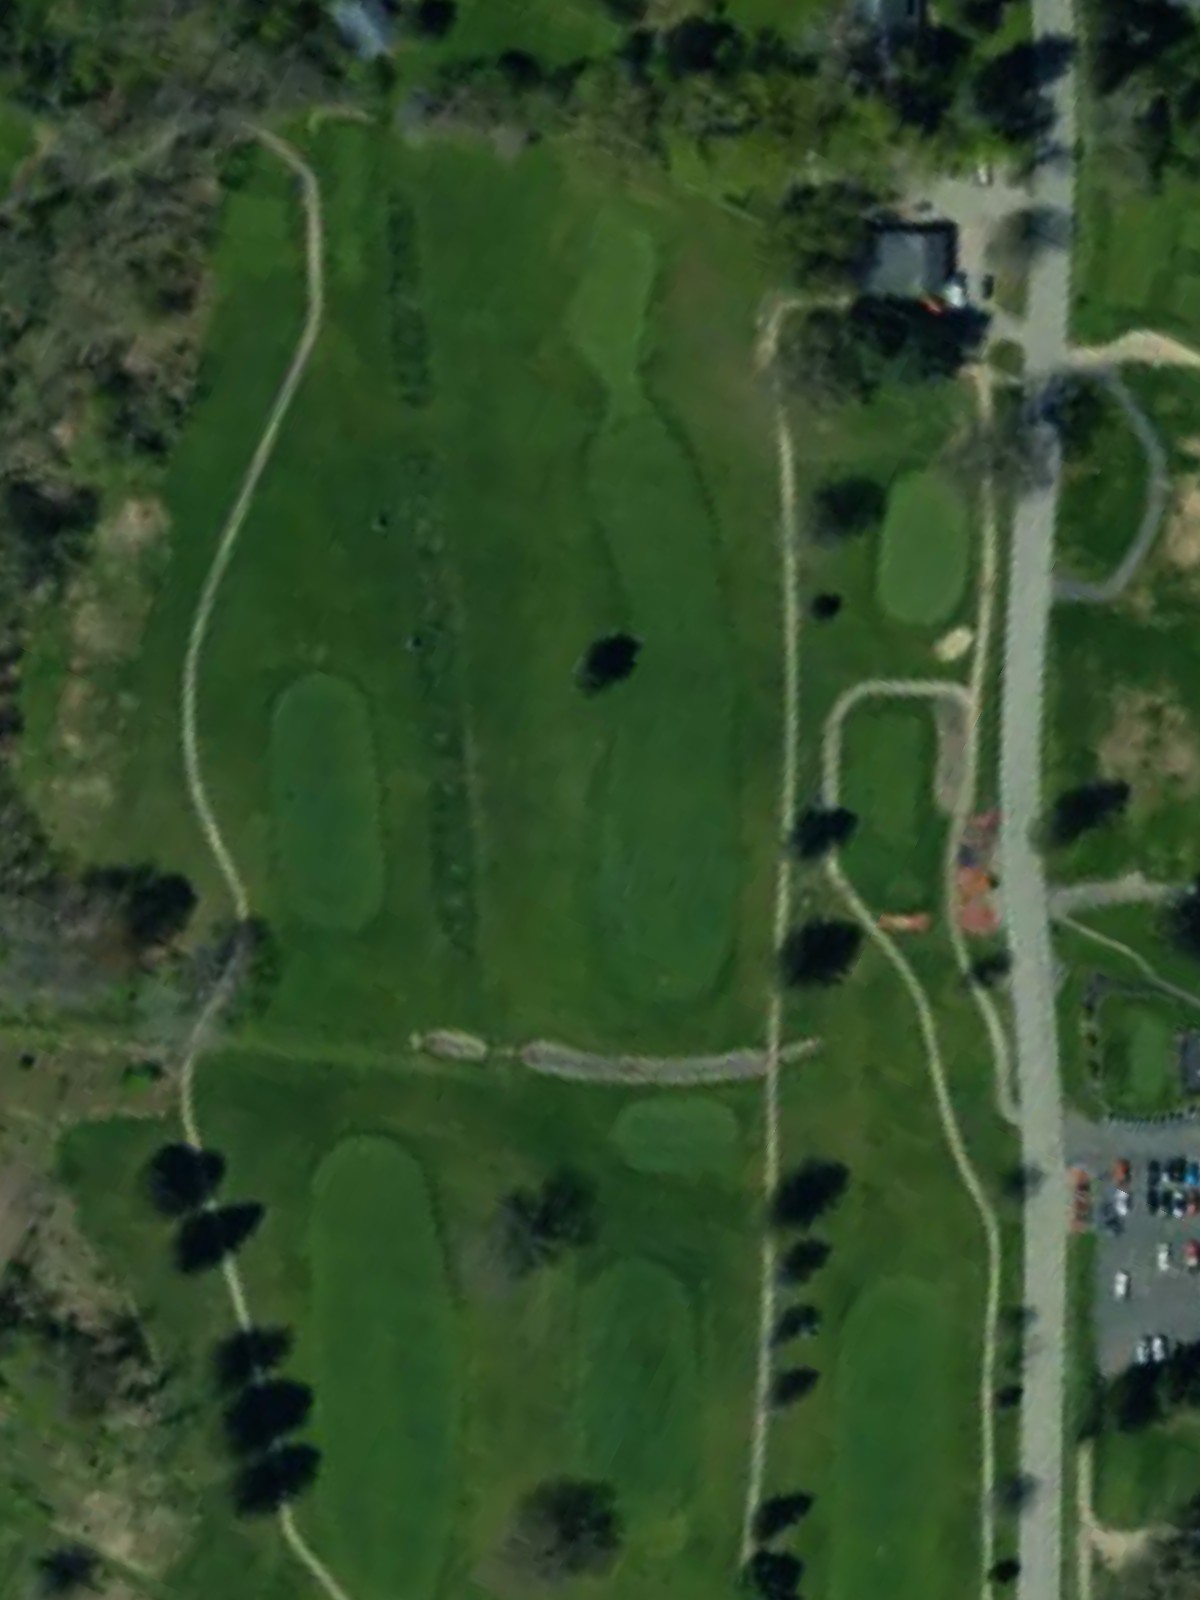
A short and approachable par 4, playing as the course's easiest hole. The wide fairway and generous green provide good scoring opportunity, though subtle hazards may punish careless play.
A solid par 4 with a well-defined fairway and strategic bunkering around the green. The hole's moderate length is deceptive, as accuracy is rewarded and poor positioning off the tee can lead to difficult angles into the putting surface.
A long par 5 that plays substantially longer from the back tees and ranks among the course's most demanding holes. The fairway requires strategic positioning, with hazards and bunkers guarding multiple points along the hole's length.
A mid-length par 4 with a tightening fairway that rewards an accurate drive. Bunkers guard the green's approach, and the hole's overall design demands solid shotmaking from tee to green.
The course's toughest hole, this par 4 is a relentless test from start to finish with a narrow fairway and demanding approach. Hazards on both sides and a well-bunkered green make this a signature challenge that exemplifies the course's difficulty.
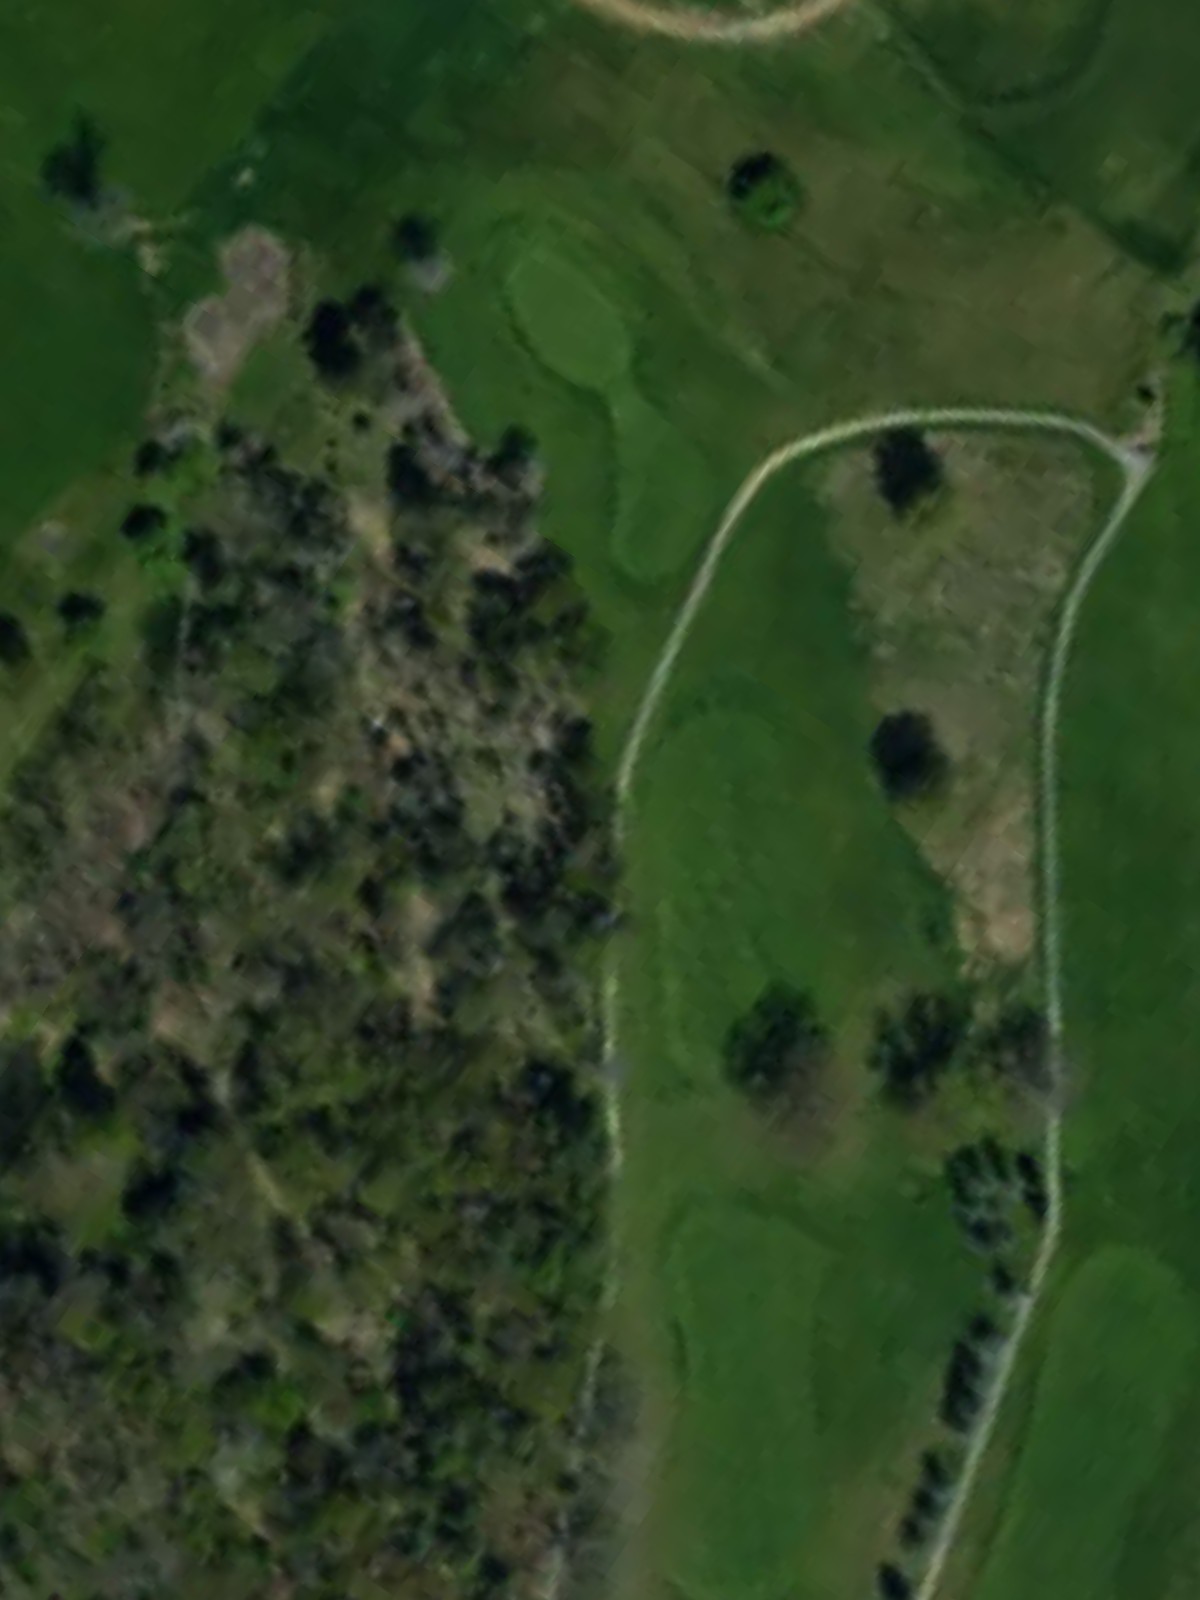
A mid-length par 3 with significant length variation across the tee boxes. The green is well-protected by bunkers and hazards, and the elevation and topography make this a thought-provoking short hole.
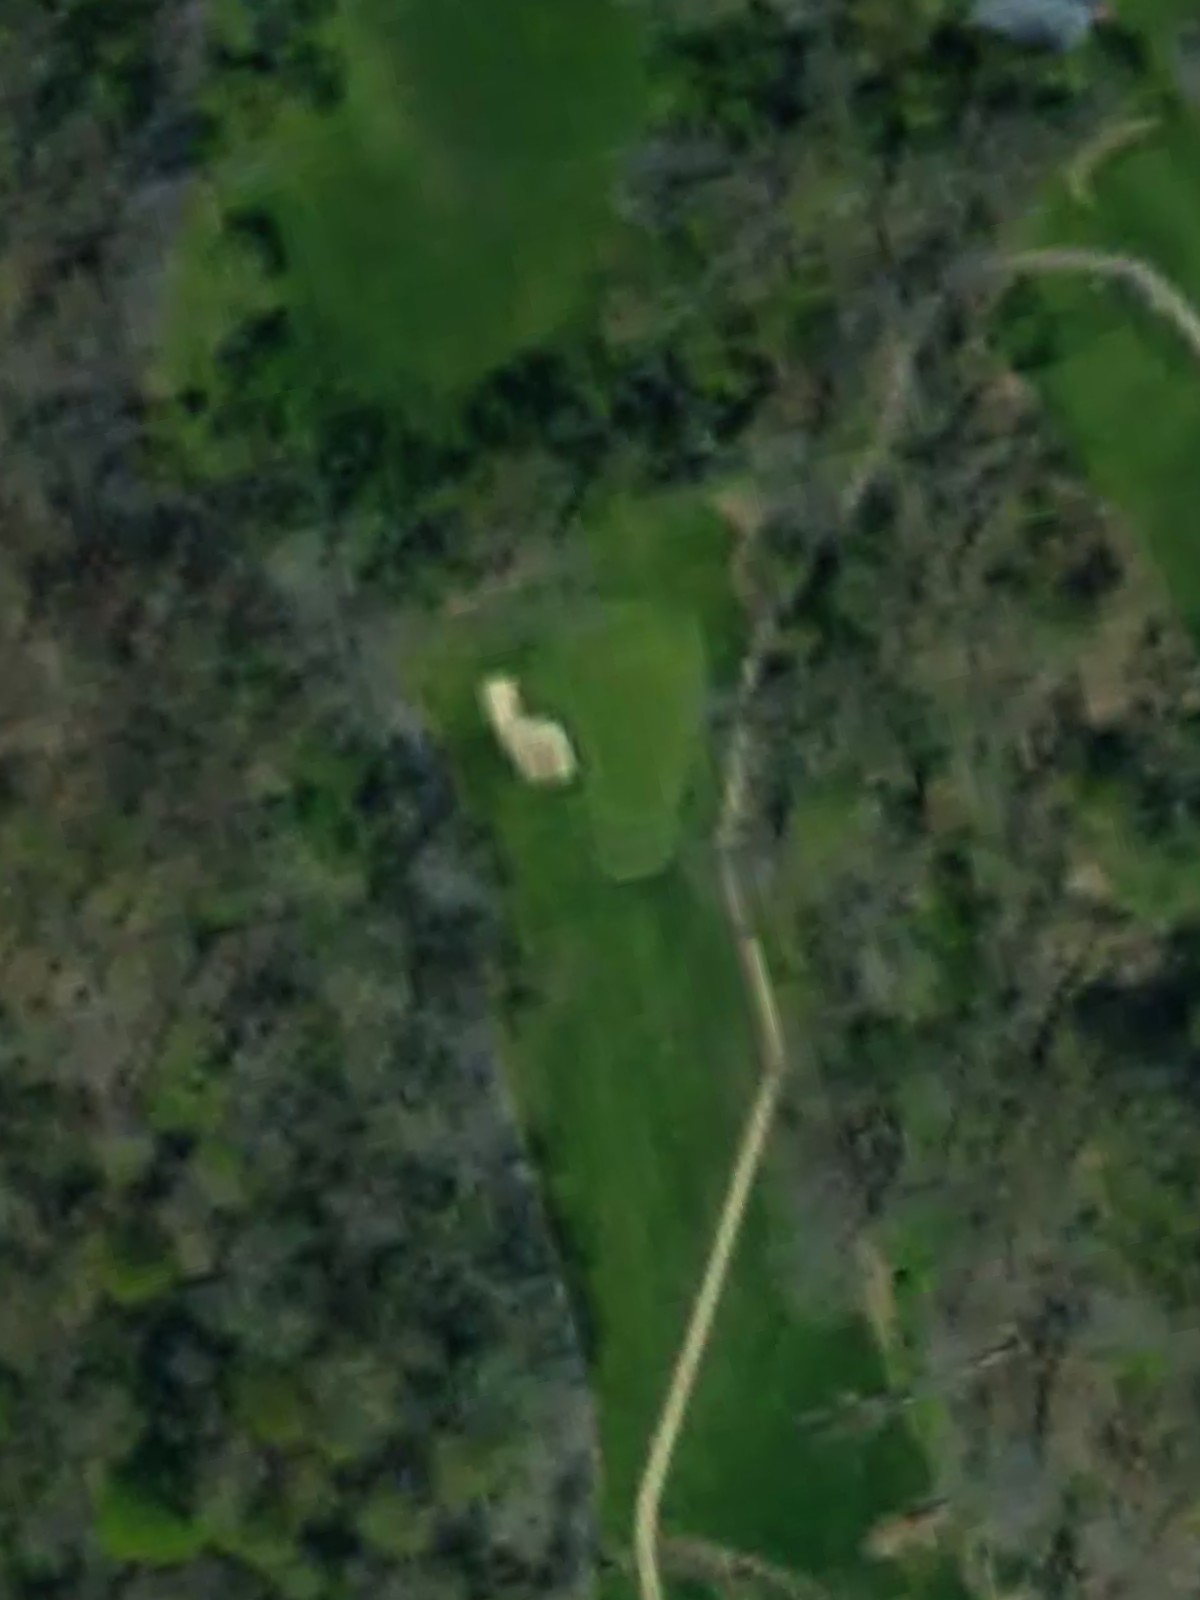
A short par 3 playing to a relatively exposed green with minimal margin for error. The hole's brevity is deceptive; accuracy is paramount, and strategic positioning is critical to avoid surrounding troubles.
The course's most difficult par 4 despite its short length, this hole demands precision and strategy above all else. Tight fairway corridors and dangerous hazards converge to create a genuinely penal finishing test for the front nine.
A lengthy par 5 closing hole that provides a dramatic finish to the round with significant yardage from the back tees. The fairway is strategic with hazards in play, and reaching the green in regulation is a worthy achievement on this demanding finishing hole.
Scorecard
| Hole | 1 | 2 | 3 | 4 | 5 | 6 | 7 | 8 | 9 | Out | 10 | 11 | 12 | 13 | 14 | 15 | 16 | 17 | 18 | In | Tot |
|---|---|---|---|---|---|---|---|---|---|---|---|---|---|---|---|---|---|---|---|---|---|
| Par | 4 | 3 | 4 | 3 | 4 | 4 | 3 | 4 | 4 | 33 | 4 | 4 | 5 | 4 | 4 | 3 | 3 | 4 | 5 | 36 | 69 |
| HCP | 13 | 11 | 4 | 17 | 3 | 14 | 6 | 16 | 8 | 18 | 7 | 5 | 9 | 2 | 12 | 15 | 1 | 10 | |||
| black | 328 | 184 | 369 | 192 | 370 | 421 | 244 | 377 | 460 | 2945 | 318 | 326 | 546 | 403 | 361 | 230 | 170 | 288 | 519 | 3161 | 6106 |
| white | 301 | 173 | 359 | 150 | 353 | 406 | 234 | 360 | 433 | 2769 | 308 | 315 | 534 | 363 | 350 | 208 | 166 | 282 | 469 | 2995 | 5764 |
| gold | 292 | 159 | 285 | 125 | 304 | 326 | 223 | 280 | 280 | 2274 | 298 | 300 | 445 | 284 | 331 | 153 | 158 | 239 | 441 | 2649 | 4923 |