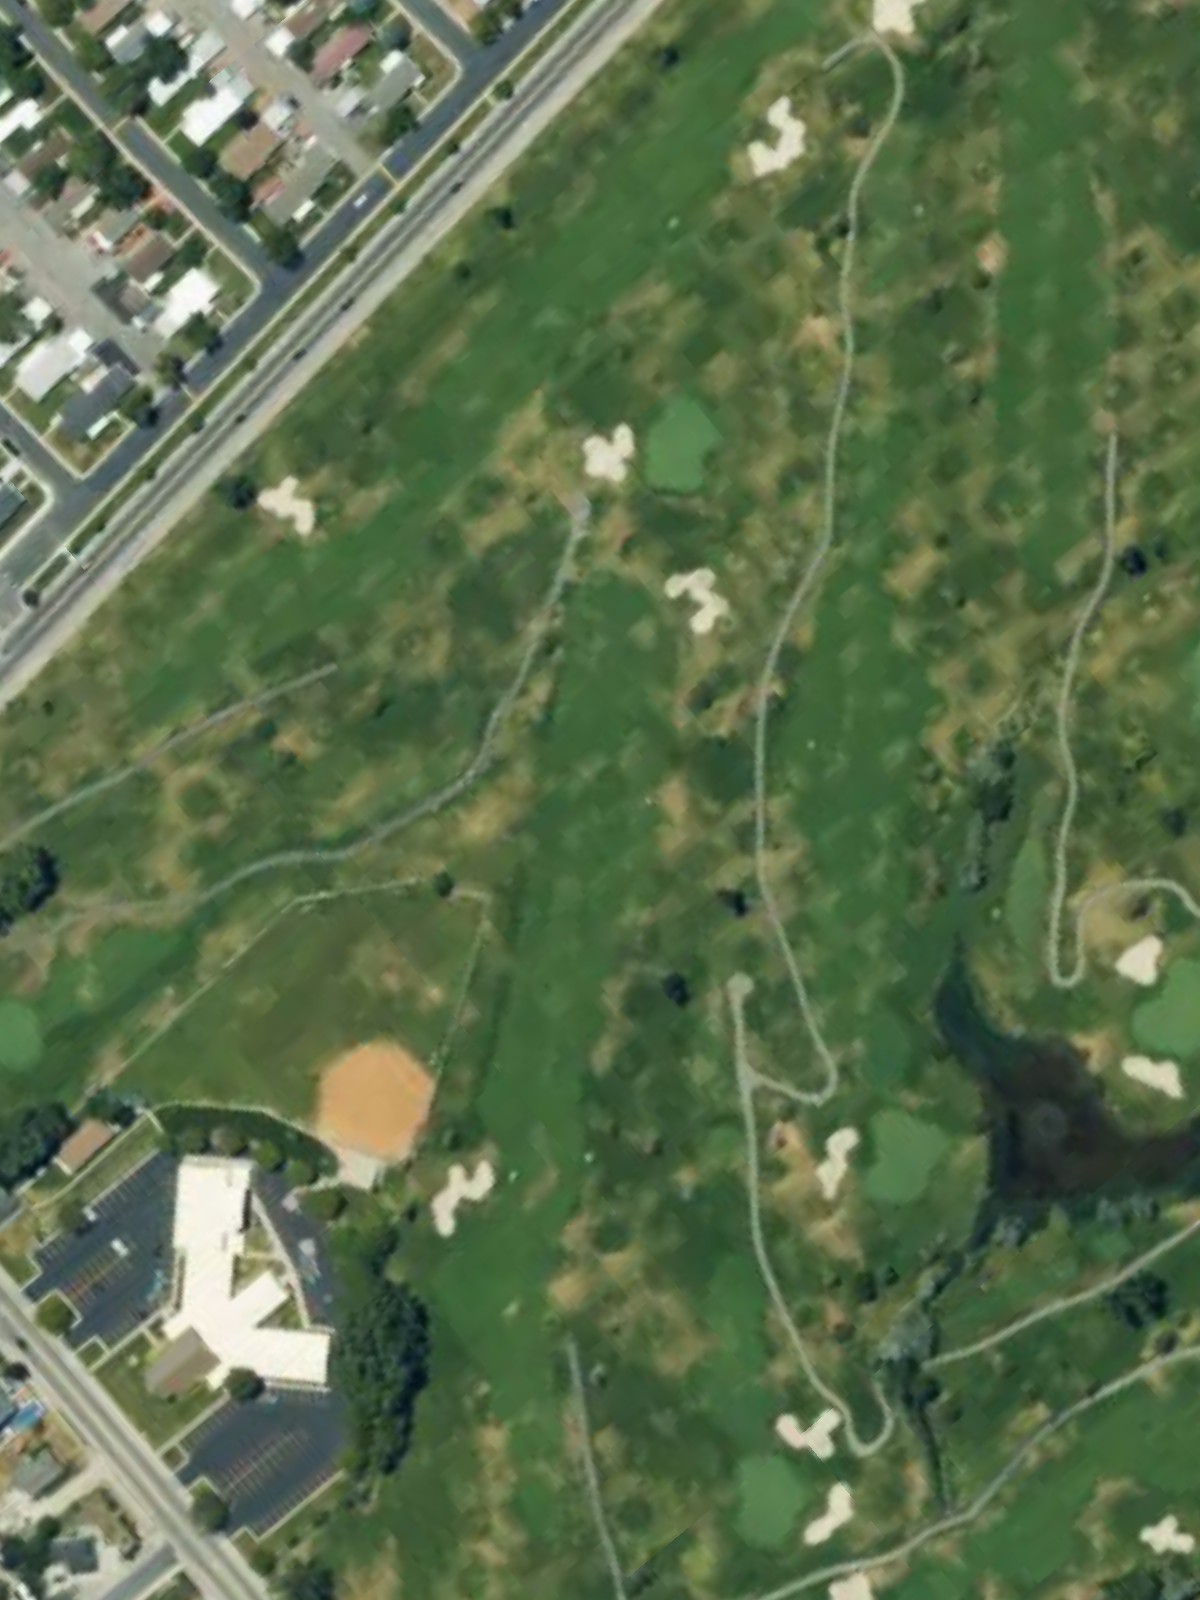
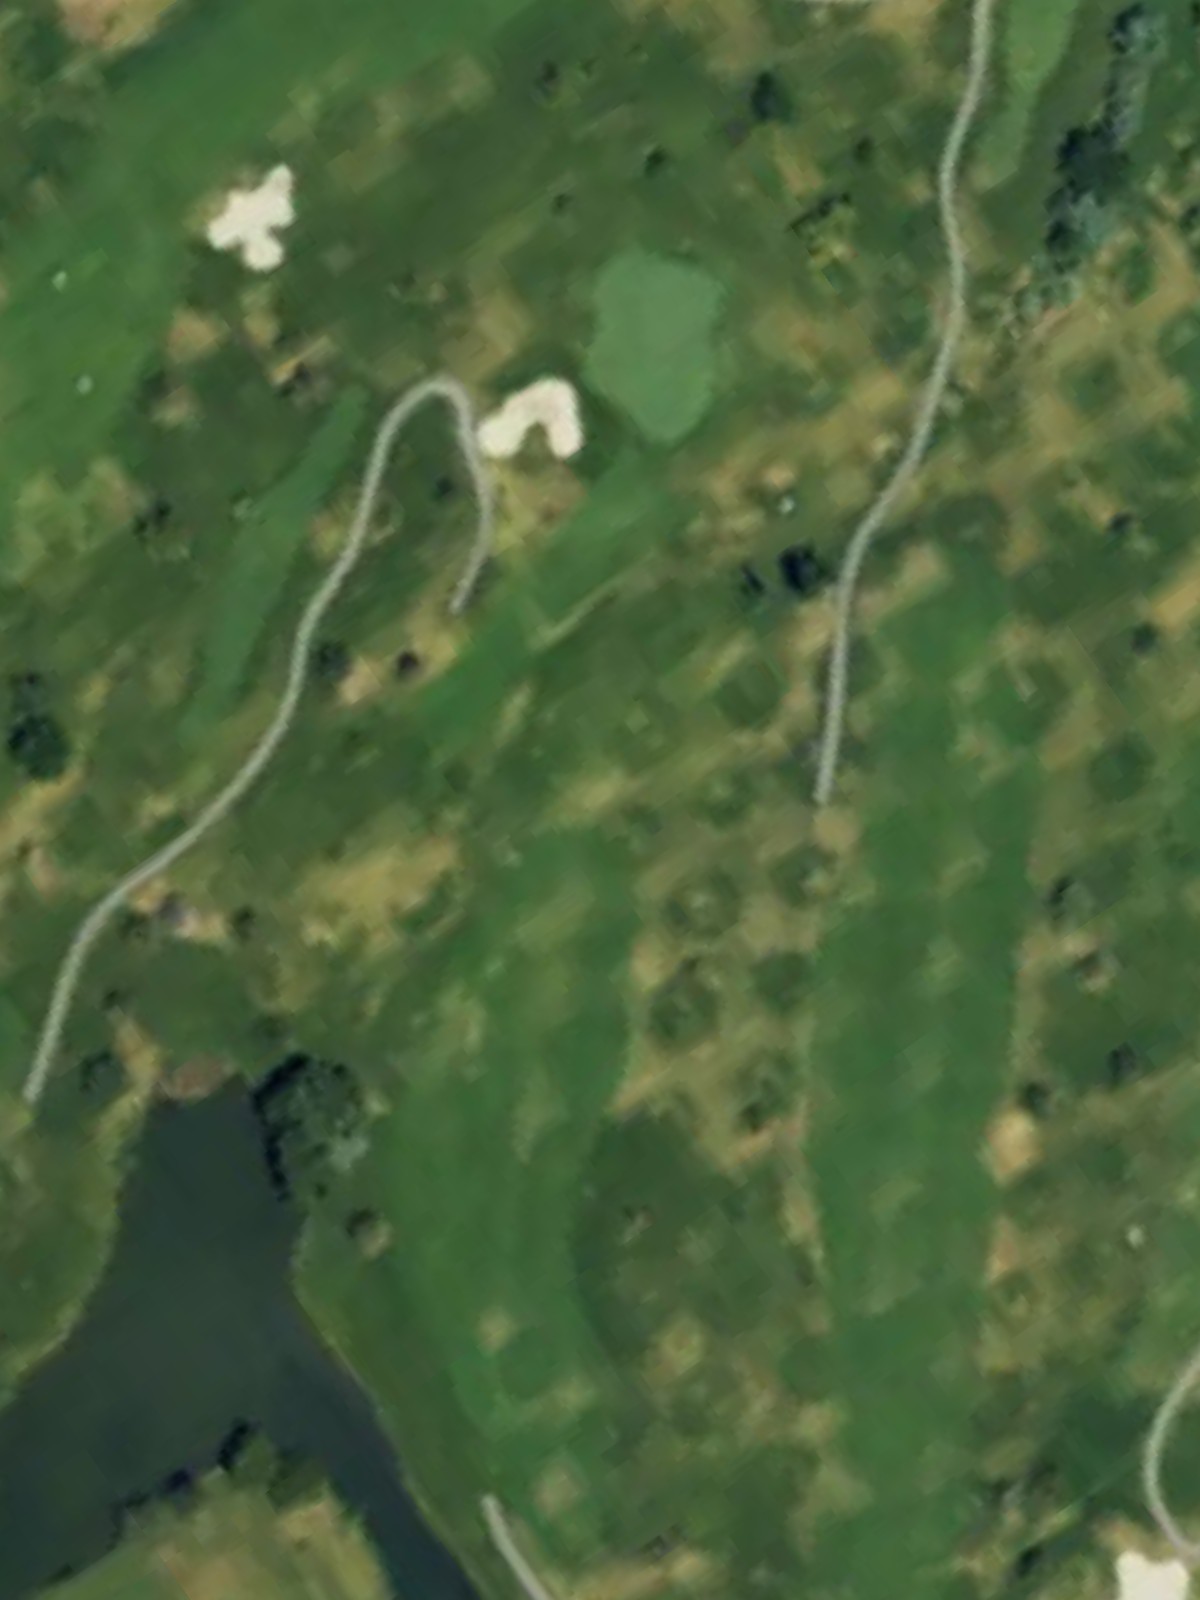
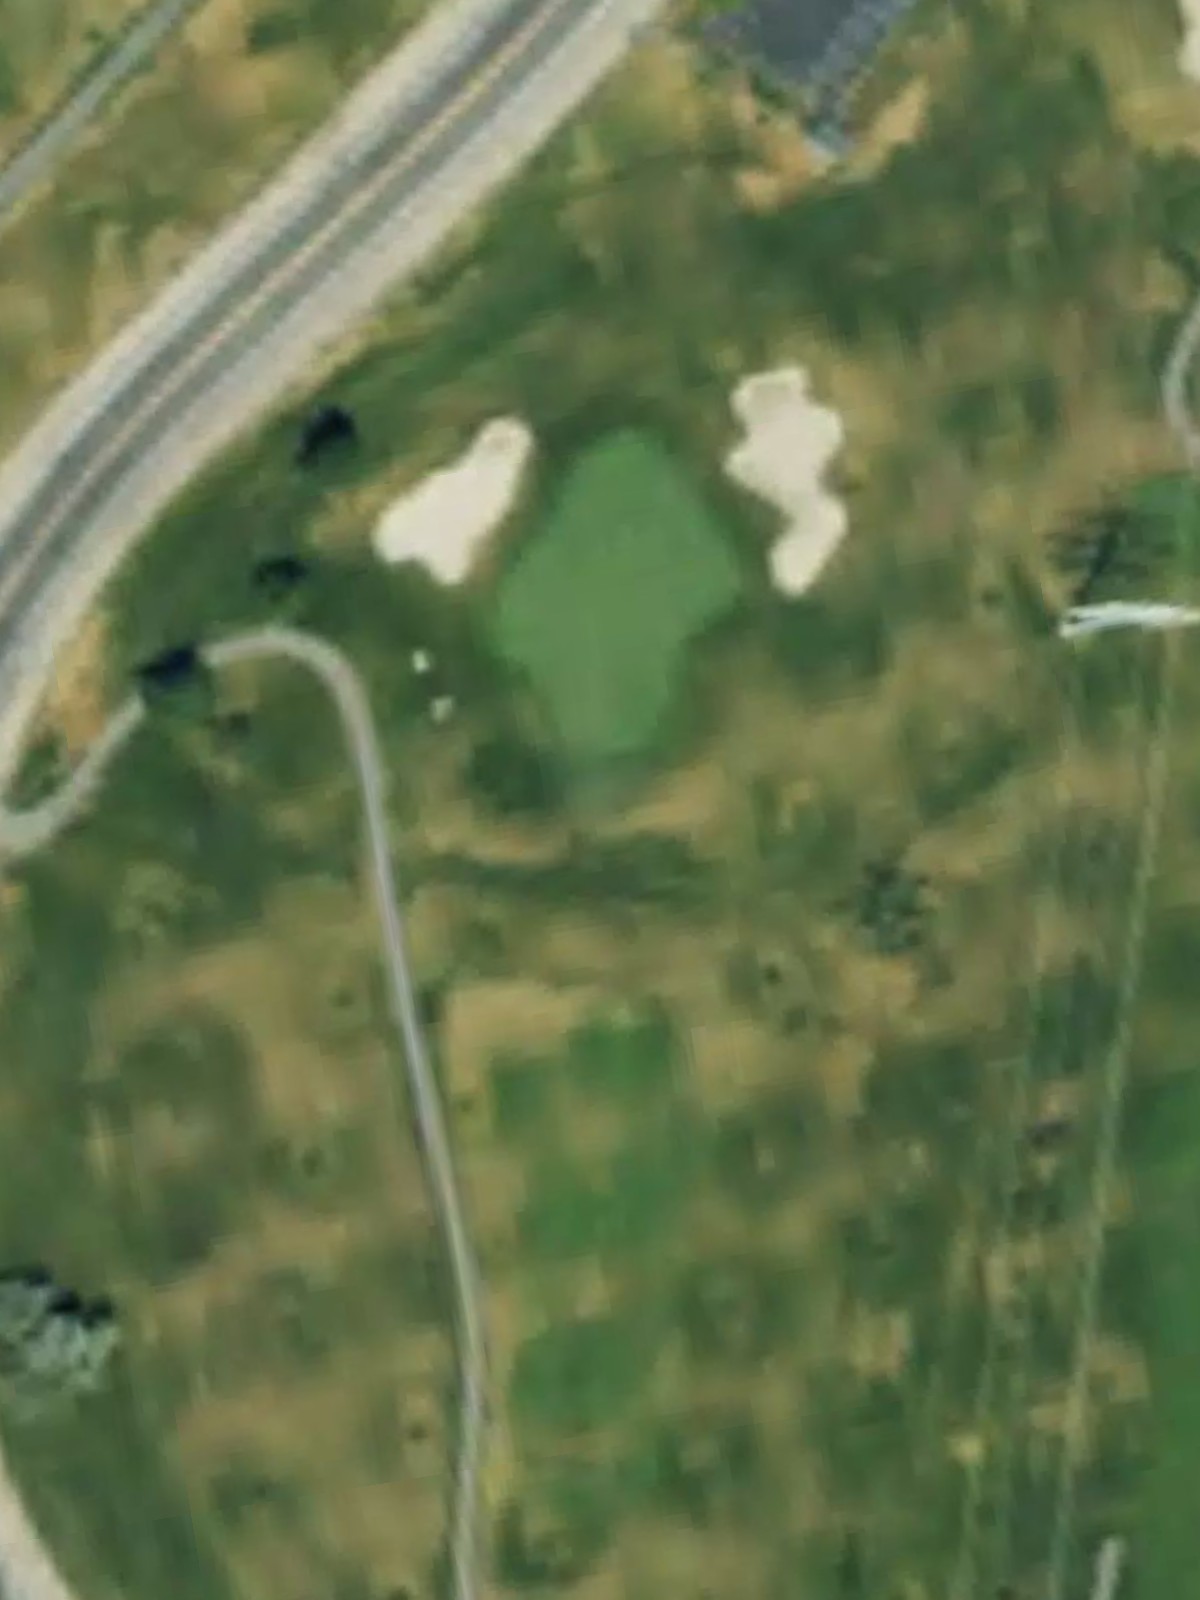
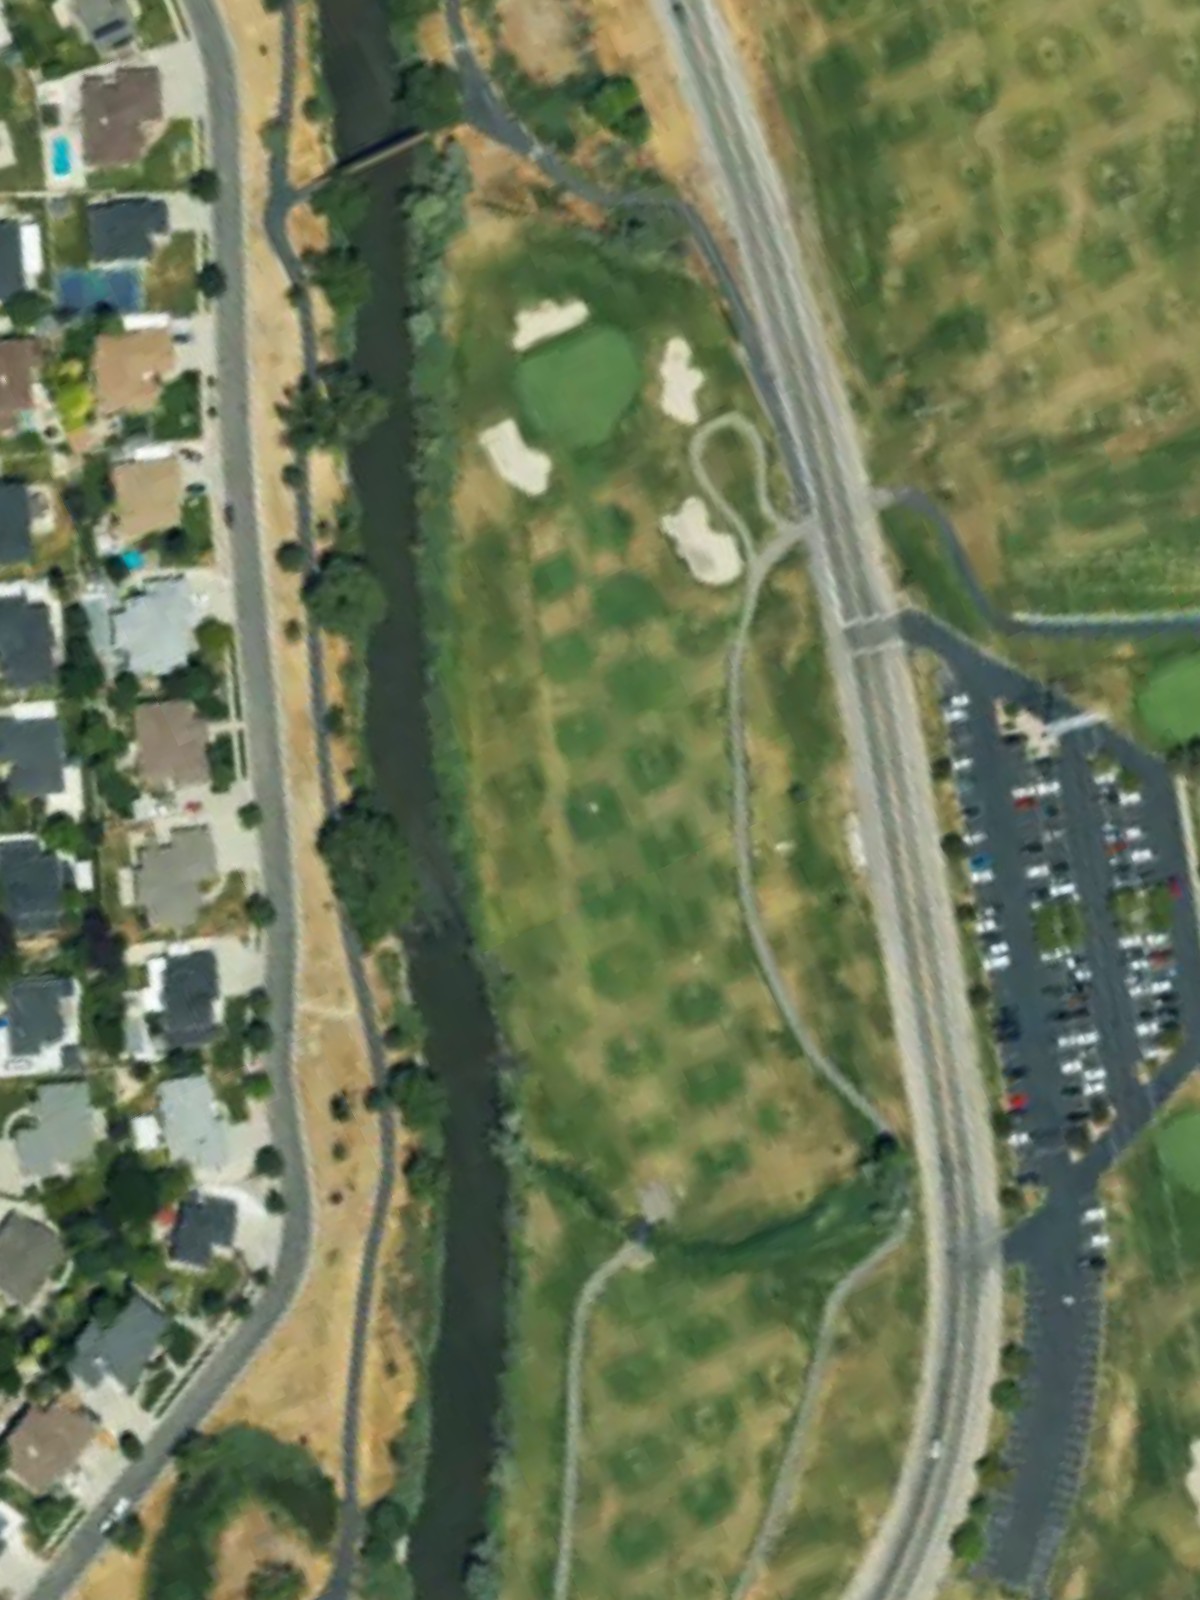
Murray Parkway Gc is an 18-hole golf course in Murray, UT with a par of 72. It offers 3 tee sets: blue (6,671 yards, slope 116, rating 70.3), white (6,294 yards, slope 113, rating 68.6), silver (5,564 yards, slope 106, rating 64.8). The hardest hole is #5, a par 5 playing 528 yards from the first tee.
Murray Parkway Gc
Murray, UT
Get PDF Yardage Book
We'll email you the PDF link. No spam, ever.
Create Your Game Plan
Pick your tees, enter your bag, and get a personalized shot-by-shot strategy for every hole.

A welcoming opening par 4 with a fairly open fairway that gradually narrows as it approaches the green. Two bunkers protect the right side of the green, while the left side is open, making this a good starting hole that sets a friendly tone for the round.

A demanding par 4 that plays as the fifth-toughest hole on the course with a narrow, straight fairway. Bunkers frame both sides of the green entrance, requiring accuracy off the tee and into the approach shot.
A long, relatively straight par 5 ranking as the third-most difficult hole. The fairway is fairly generous, but strategic bunkering near the green and possibly water hazards on the approach require thoughtful positioning for the second shot.

A short par 3 over water, with the green protected by bunkers and surrounded by hazards. This is the easiest par 3 on the course, offering a confidence-building one-shot hole early in the round.
The most challenging hole on the course—a lengthy par 5 with a straight layout and limited margin for error. Strategic hazards likely guard the fairway and green complex, making this a true test of sustained accuracy.
A compact par 4 with a tight fairway that demands accuracy off the tee. Bunkers around the green and potentially narrow angles into the putting surface make this a pressure shot despite the shorter yardage.
A modest par 3 with a straightforward approach to the green. This is the easiest hole on the course, providing a welcome reprieve and opportunity to build momentum on the front nine.

A solid par 4 that plays as the seventh-toughest hole, with a fairway that may feature strategic bunkering or doglegging. The approach into the green is the key challenge, likely with hazards guarding the landing area.

A comfortable par 4 finishing the front nine with a relatively open fairway. Bunkers likely protect the right side of the green, giving players a clear target on the approach shot.

The second-most difficult hole on the course—a lengthy par 5 with significant length and likely multiple strategic hazards. The extended yardage and challenging layout demand excellent execution on both the drive and second shot.

A tough par 4 ranking as the sixth-hardest hole, with a narrow fairway and demanding approach. Bunkers guard the green, and the hole requires precision off the tee to set up a manageable approach shot.
A mid-length par 4 with a relatively straightforward design. Greenside bunkers provide the primary defense, making this a good opportunity to score despite moderate difficulty.

An eighth-ranking par 4 with strategic hazards framing the fairway and green complex. The hole features a good balance of length and technical challenge, testing both power and accuracy.

The easiest par 3 on the course—a short, straightforward one-shot hole over a modest distance. This is an ideal scoring opportunity and confidence builder as players turn toward the back nine.

A short par 4 with a compact layout that favors precision over power. Bunkers around the green and a narrow approach zone make this a strategic scoring opportunity for accurate players.

A shorter par 4 that presents a risk-reward opportunity depending on fairway and green hazard placement. The manageable yardage makes this a realistic birdie chance despite its mid-course difficulty ranking.
A picturesque mid-length par 3 with the green likely protected by bunkers and water hazards. The hole offers a solid test of accuracy from the tee with scenic course character.
A dramatic finishing par 5 with substantial length and likely strategic hazards throughout the hole. The closing hole provides a memorable conclusion, with opportunities for both aggressive and conservative play depending on round position.
Scorecard
| Hole | 1 | 2 | 3 | 4 | 5 | 6 | 7 | 8 | 9 | Out | 10 | 11 | 12 | 13 | 14 | 15 | 16 | 17 | 18 | In | Tot |
|---|---|---|---|---|---|---|---|---|---|---|---|---|---|---|---|---|---|---|---|---|---|
| Par | 4 | 4 | 5 | 3 | 5 | 4 | 3 | 4 | 4 | 36 | 5 | 4 | 4 | 4 | 3 | 4 | 4 | 3 | 5 | 36 | 72 |
| HCP | 9 | 5 | 3 | 15 | 1 | 11 | 17 | 7 | 13 | 2 | 6 | 10 | 8 | 18 | 12 | 14 | 16 | 4 | |||
| blue | 389 | 409 | 508 | 206 | 528 | 364 | 182 | 399 | 362 | 3347 | 590 | 431 | 379 | 382 | 150 | 340 | 343 | 216 | 493 | 3324 | 6671 |
| white | 365 | 389 | 486 | 179 | 505 | 338 | 157 | 380 | 338 | 3137 | 569 | 412 | 359 | 359 | 131 | 330 | 328 | 204 | 465 | 3157 | 6294 |
| silver | 334 | 363 | 449 | 152 | 443 | 314 | 130 | 342 | 313 | 2840 | 449 | 340 | 332 | 335 | 111 | 300 | 304 | 131 | 422 | 2724 | 5564 |