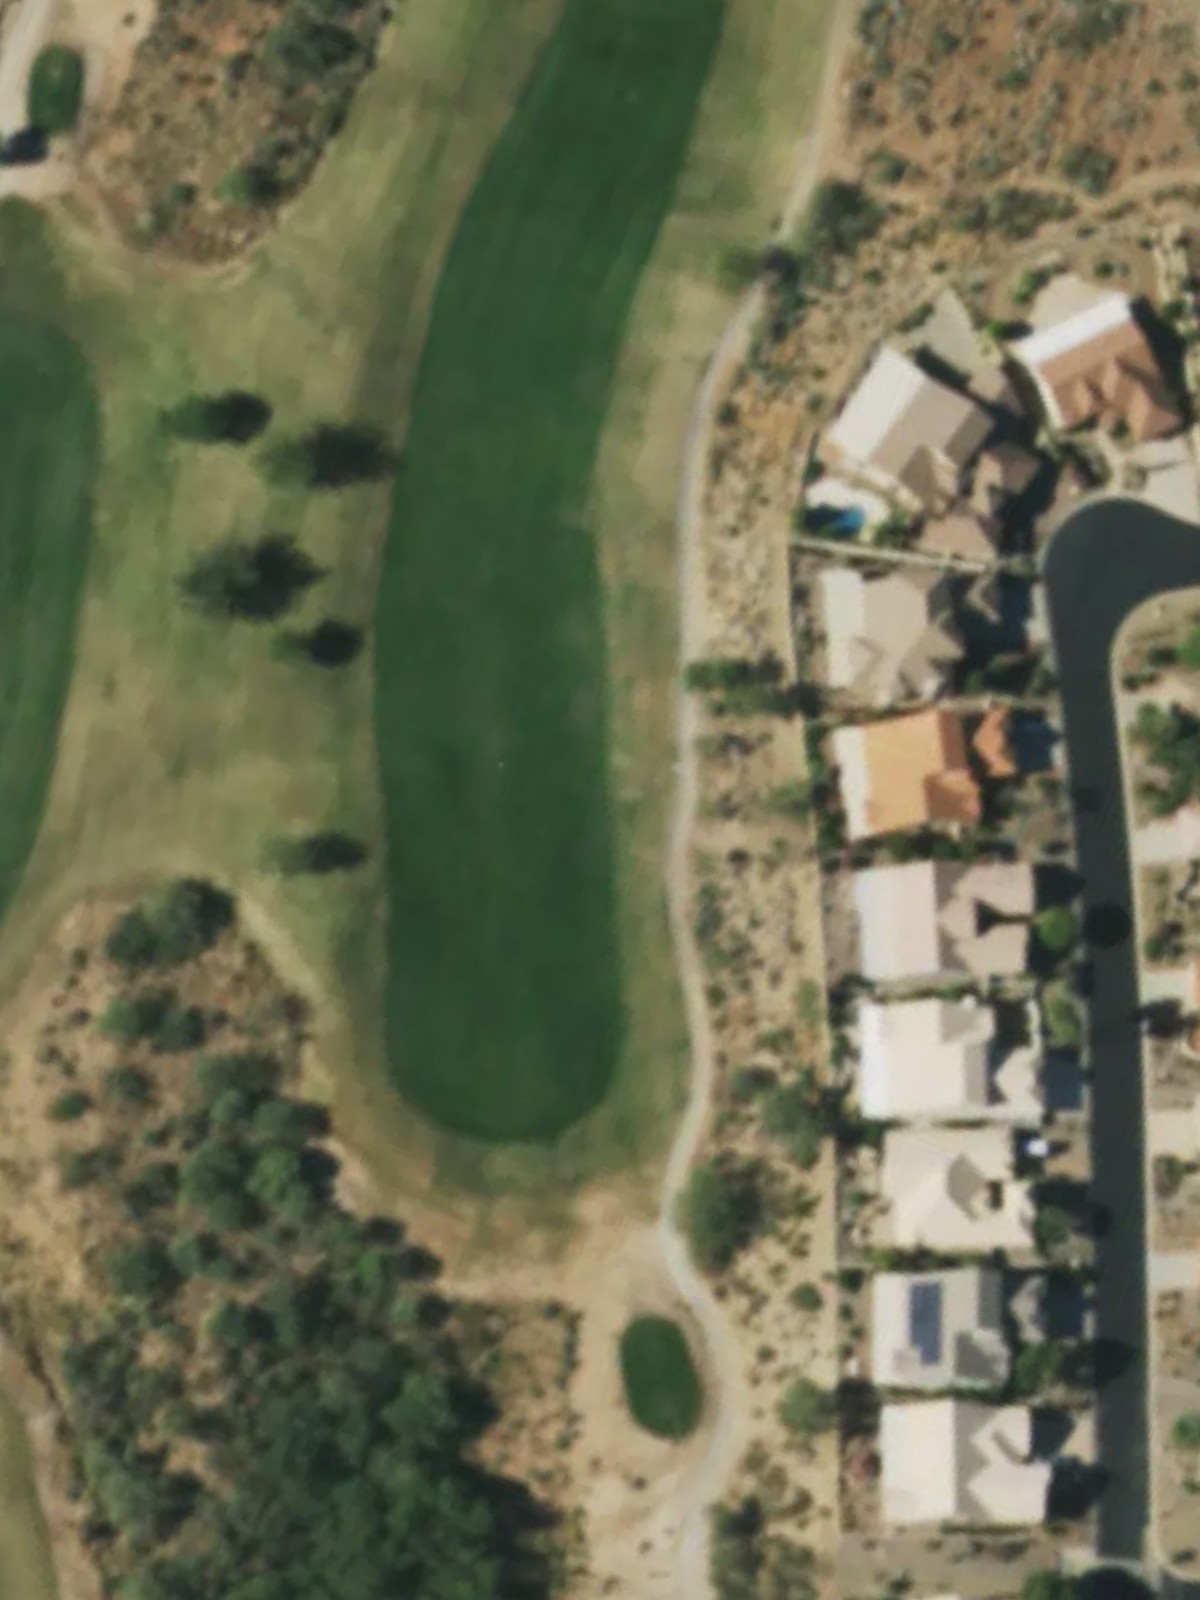
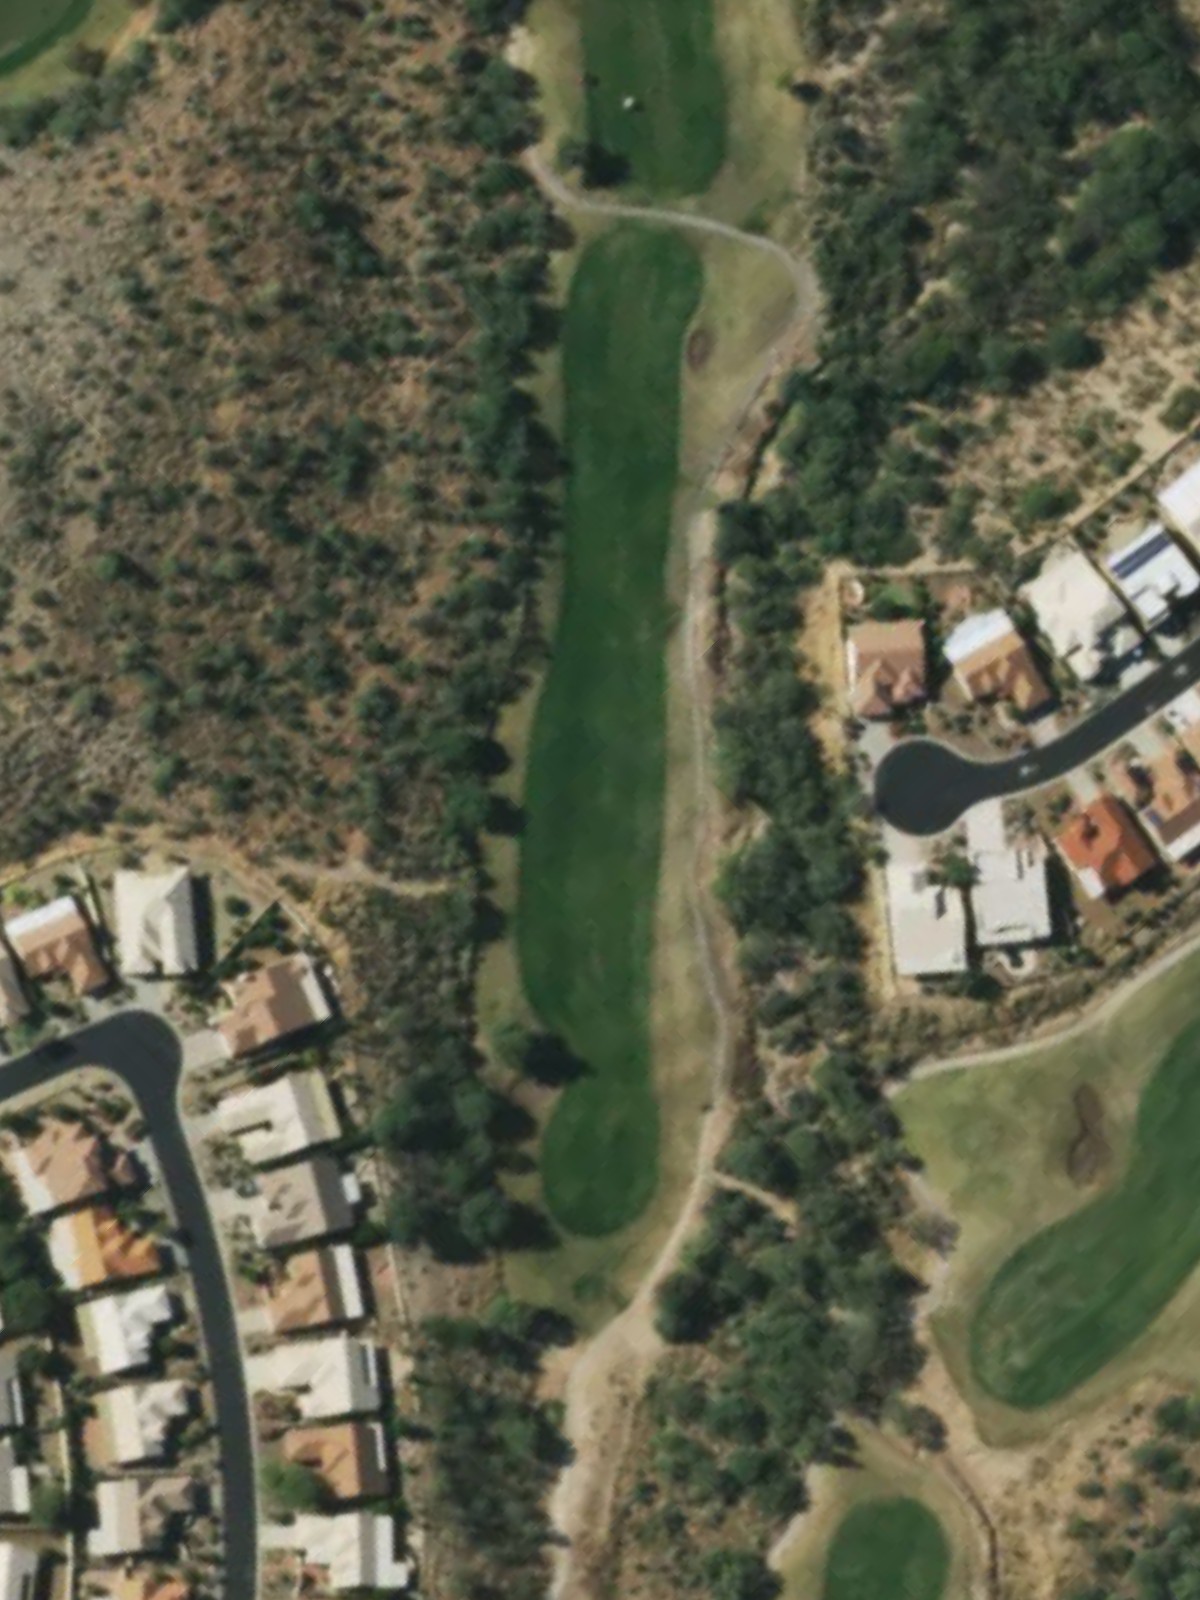
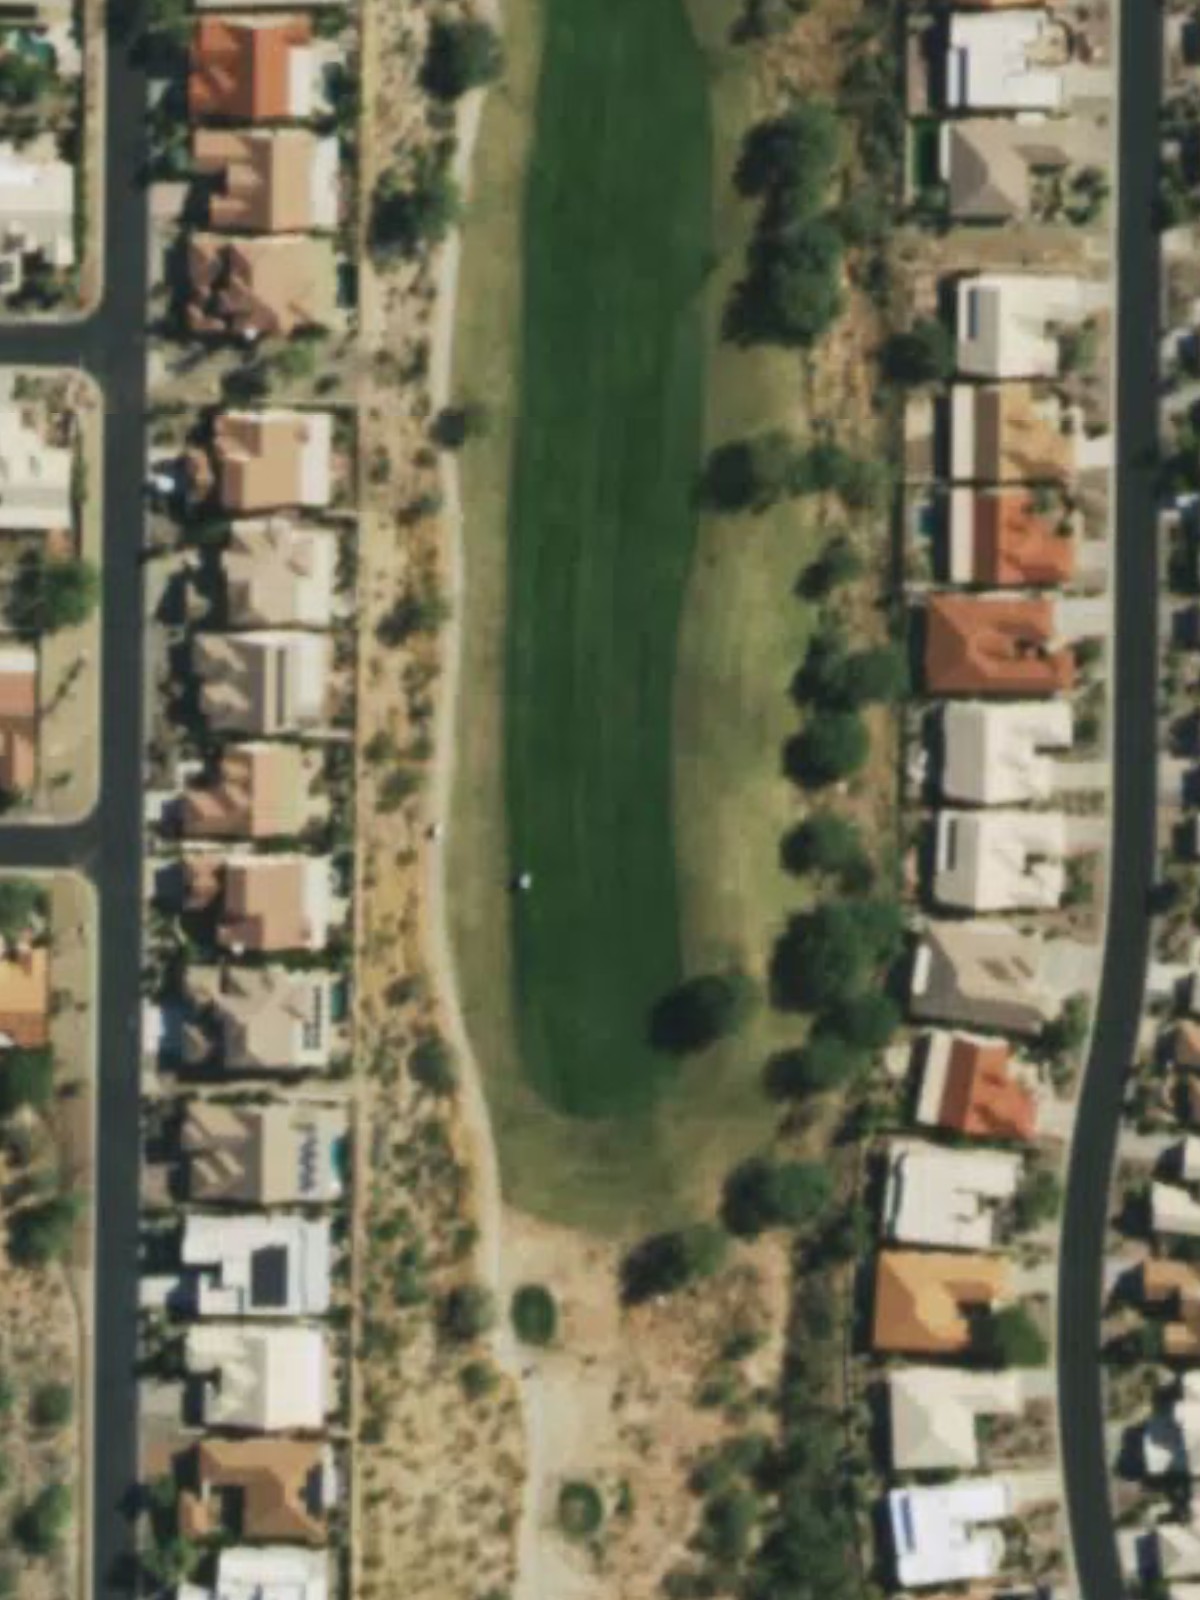
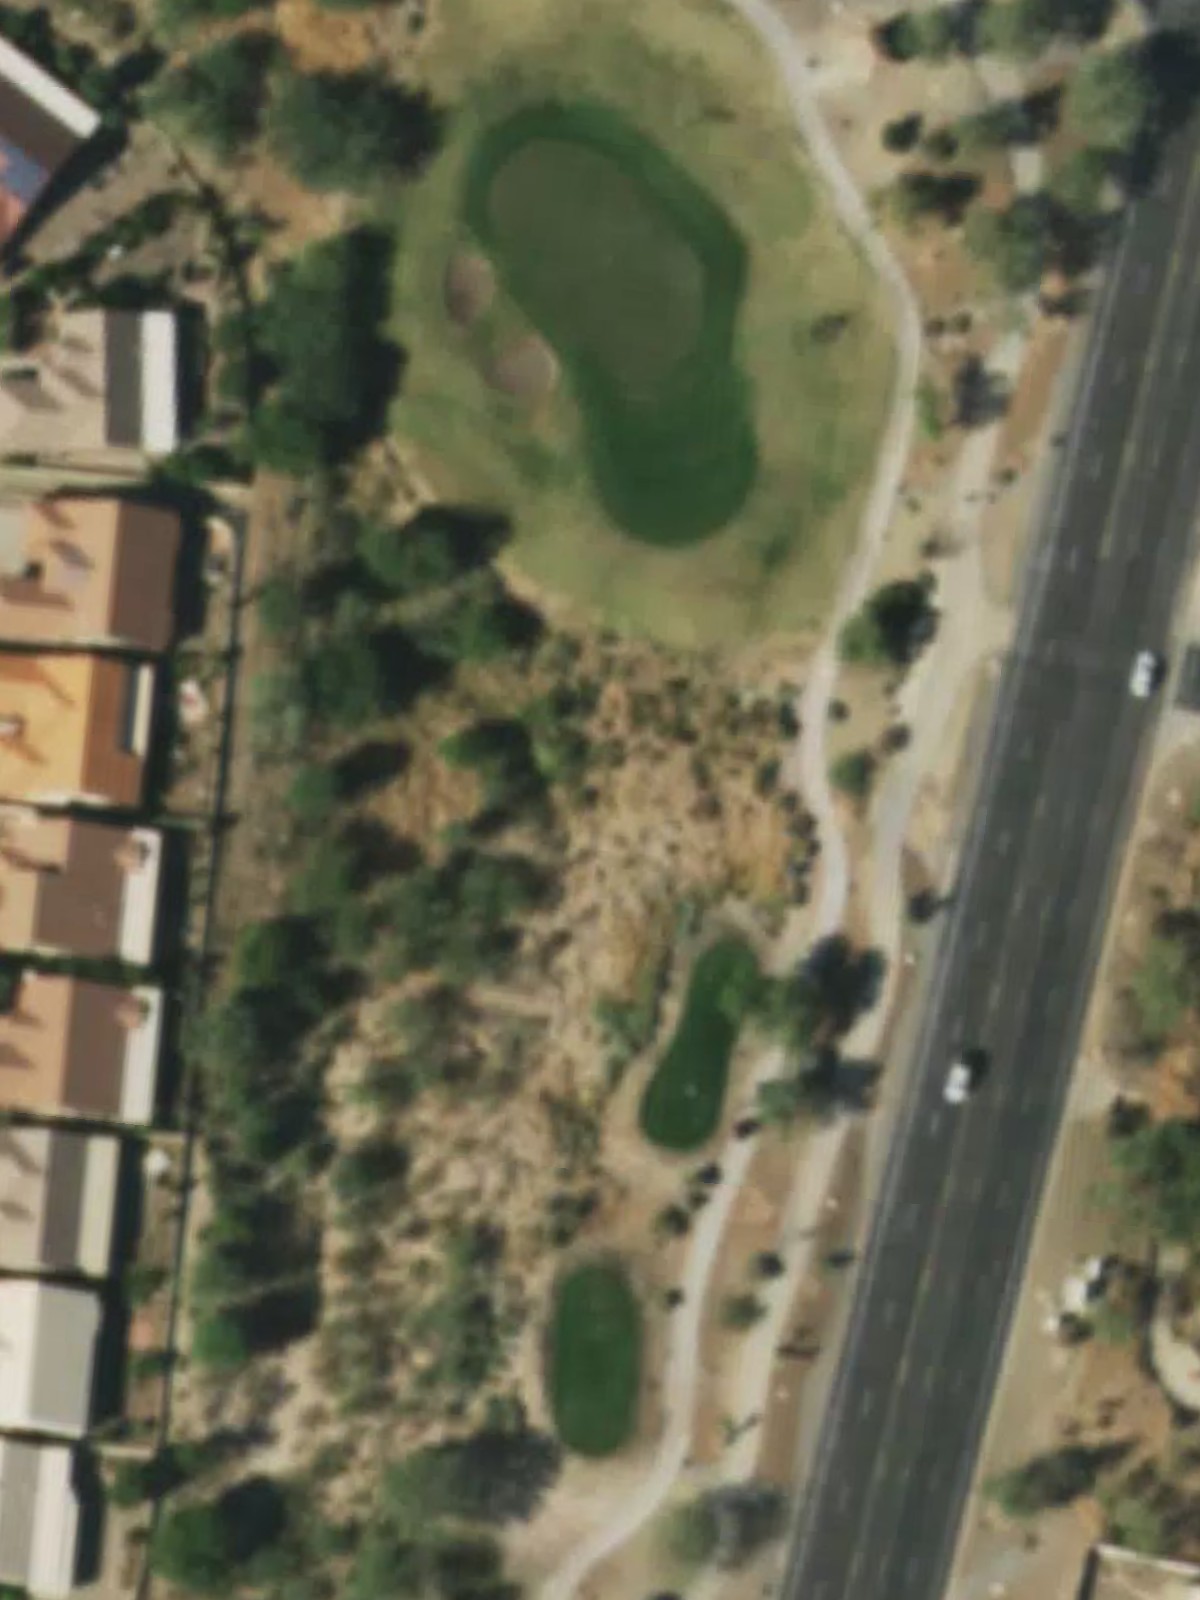
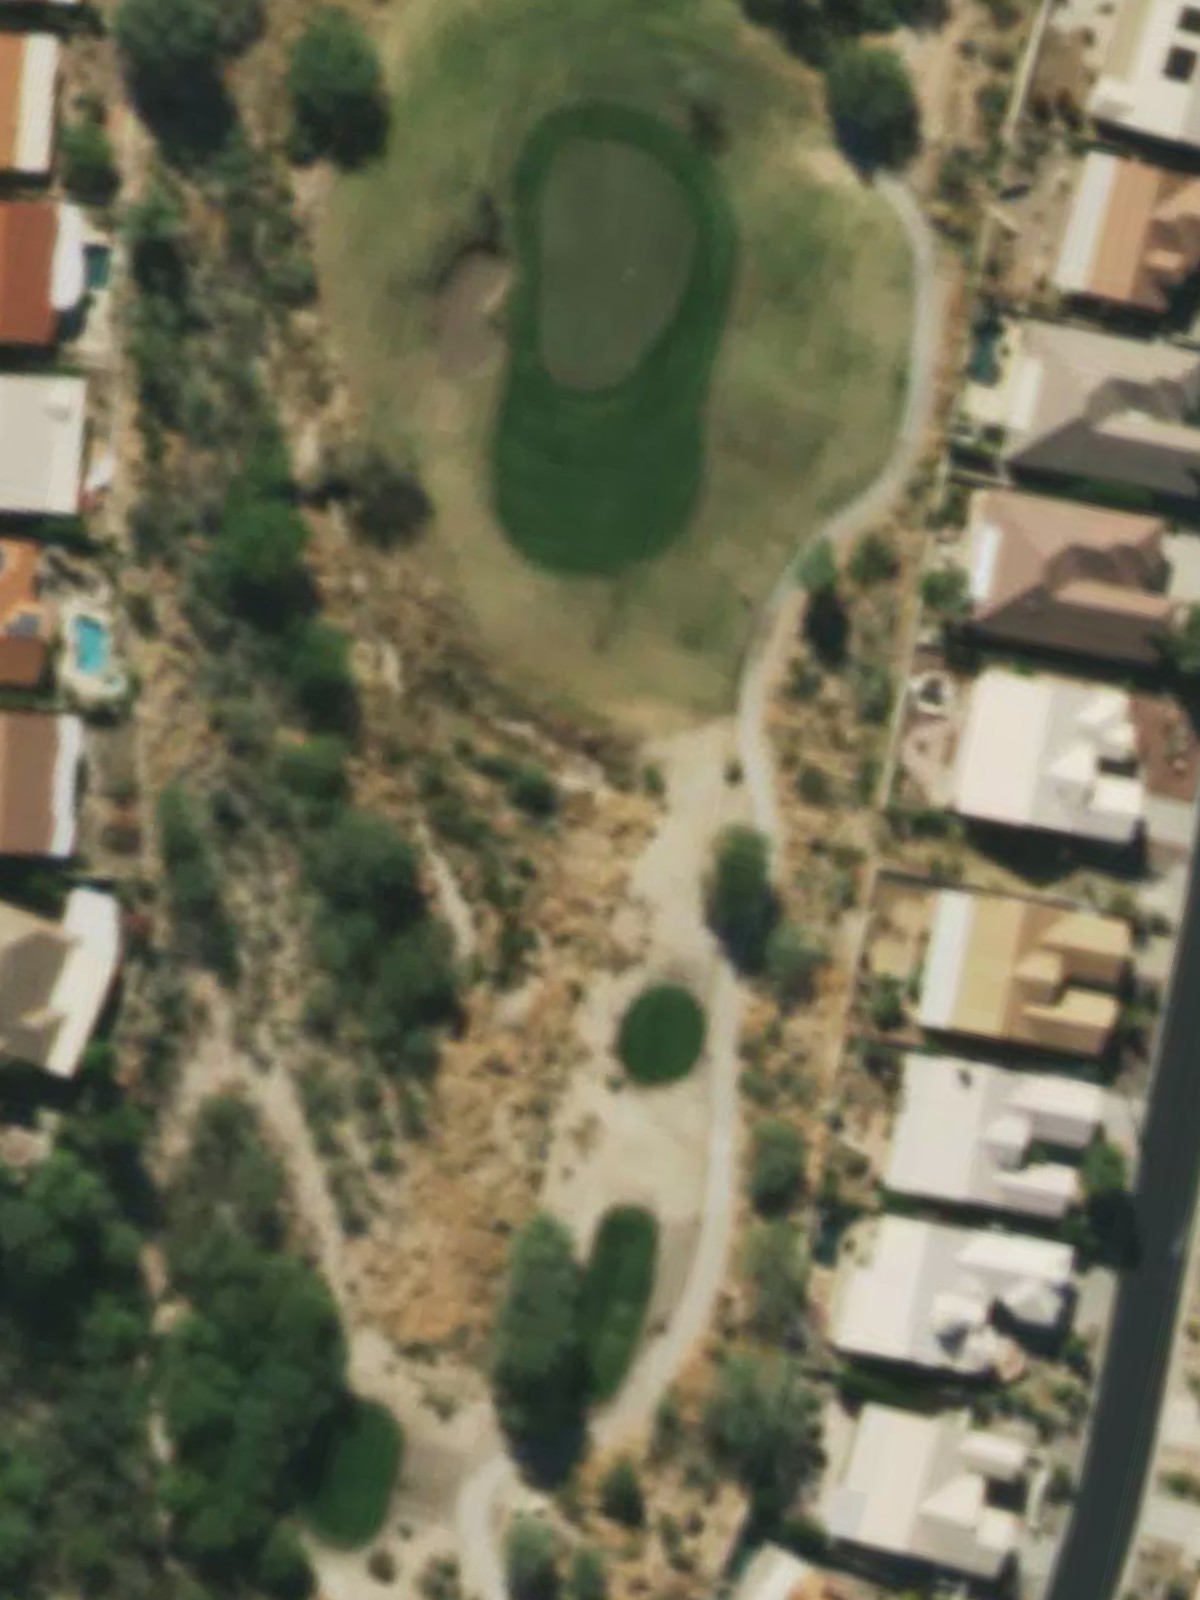
Mountainview Golf Club @ Saddlebrooke is an 18-hole golf course in Tucson, AZ with a par of 72. It offers 10 tee sets: black (6,699 yards, slope 134, rating 71.2), black/purple (6,318 yards, slope 127, rating 69.3), purple (6,045 yards, slope 122, rating 68.1), purple/green (5,753 yards, slope 115, rating 66.4), green (5,413 yards, slope 112, rating 64.7), green/red (5,258 yards, slope 108, rating 64.2), red (4,863 yards, slope 103, rating 63.1), red/yellow (4,749 yards, slope 101, rating 62.4), yellow (4,515 yards, slope 101, rating 61.9), yellow/short course (3,645 yards, slope 93, rating 59). The hardest hole is #2, a par 4 playing 313 yards from the first tee.
Mountainview Golf Club @ Saddlebrooke
Tucson, AZ
Get PDF Yardage Book
We'll email you the PDF link. No spam, ever.
Create Your Game Plan
Pick your tees, enter your bag, and get a personalized shot-by-shot strategy for every hole.
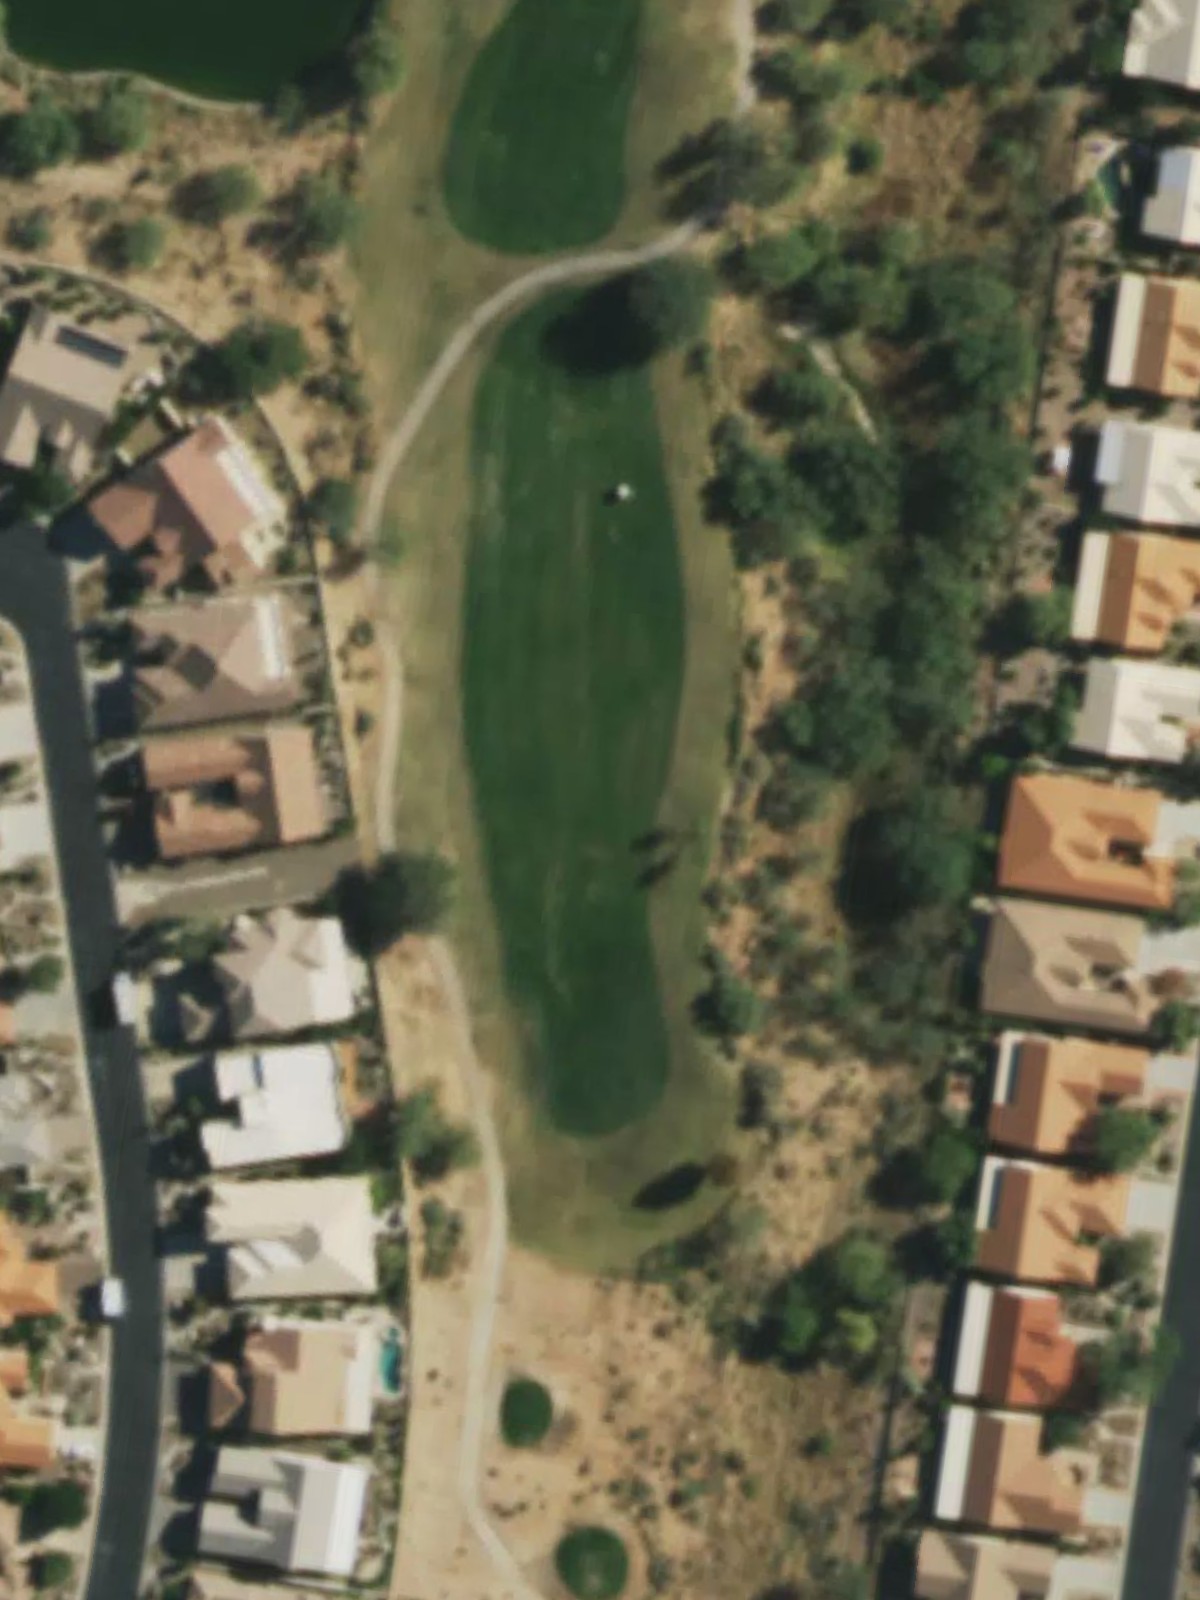
A straightforward par 4 with a relatively open fairway that offers multiple approach angles. The green is moderately sized with subtle contouring, making this an inviting opening hole that sets a manageable tone.

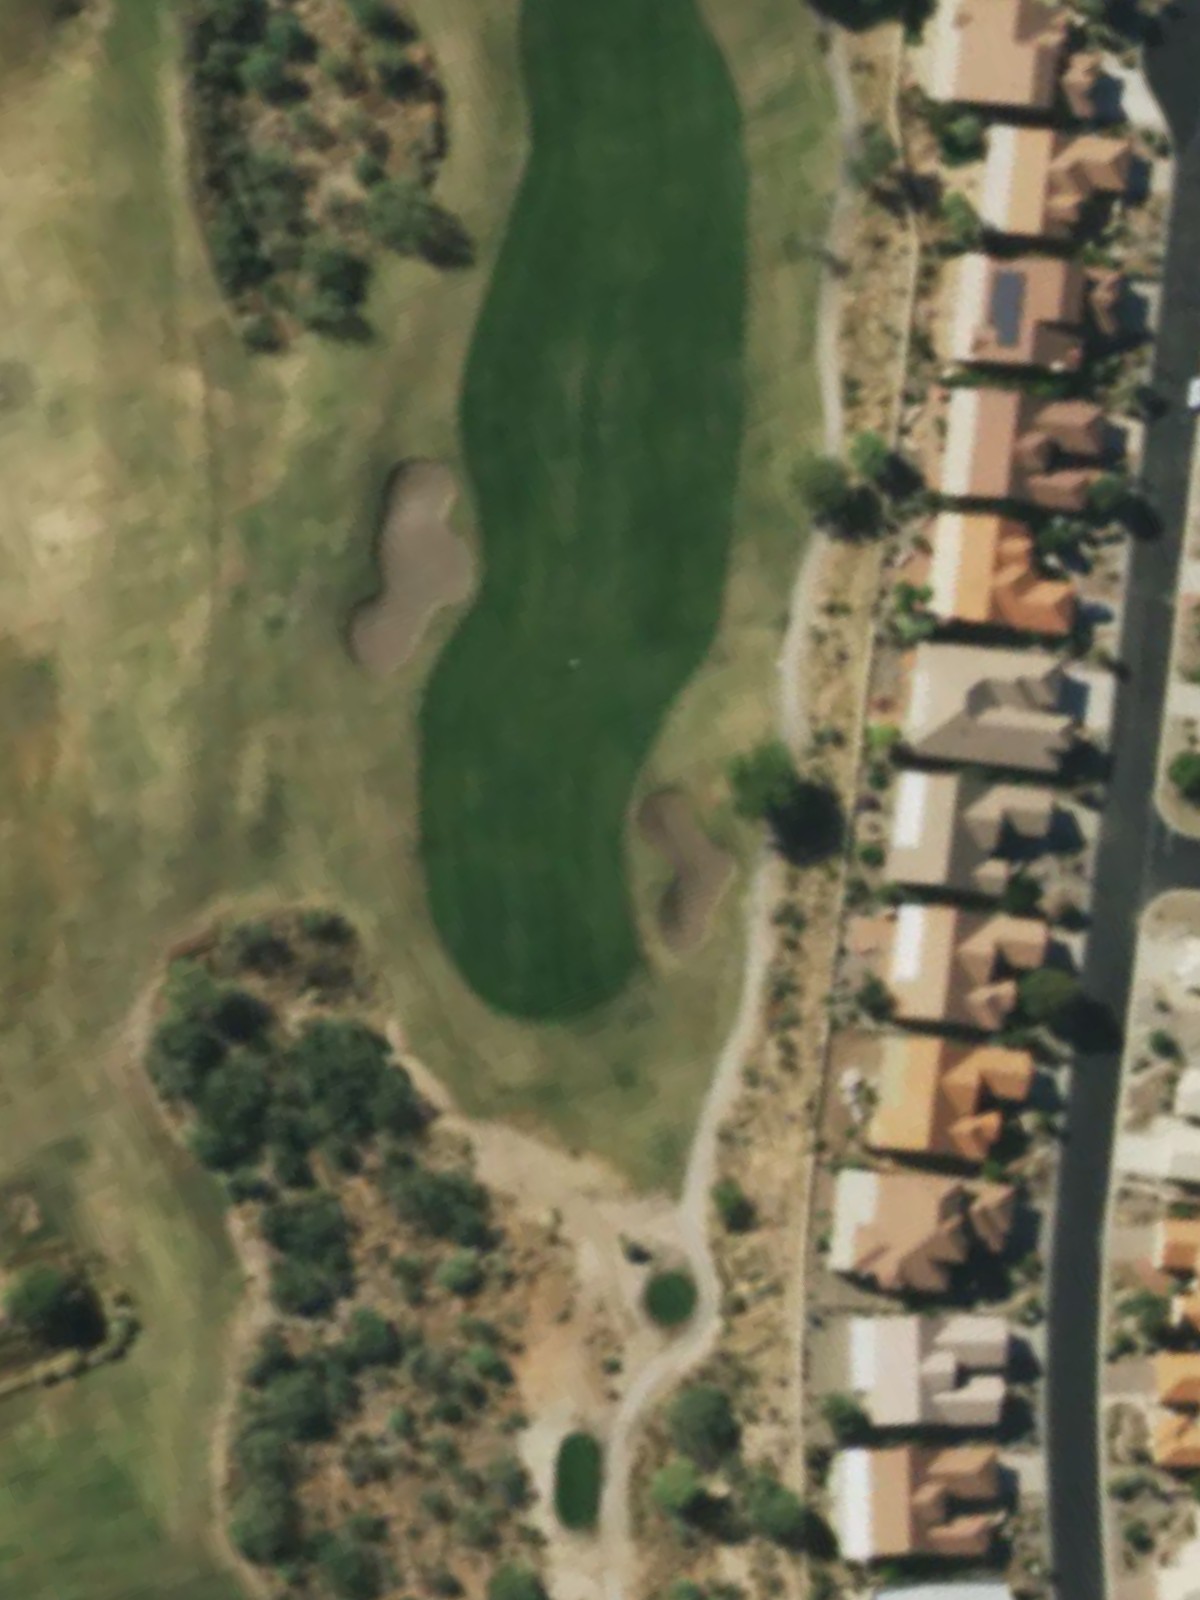
The #1 handicap hole, this demanding par 4 requires a controlled drive on a fairway that tightens in the landing area. Strategic hazards and out-of-bounds along one side create a challenging risk-reward proposition off the tee.
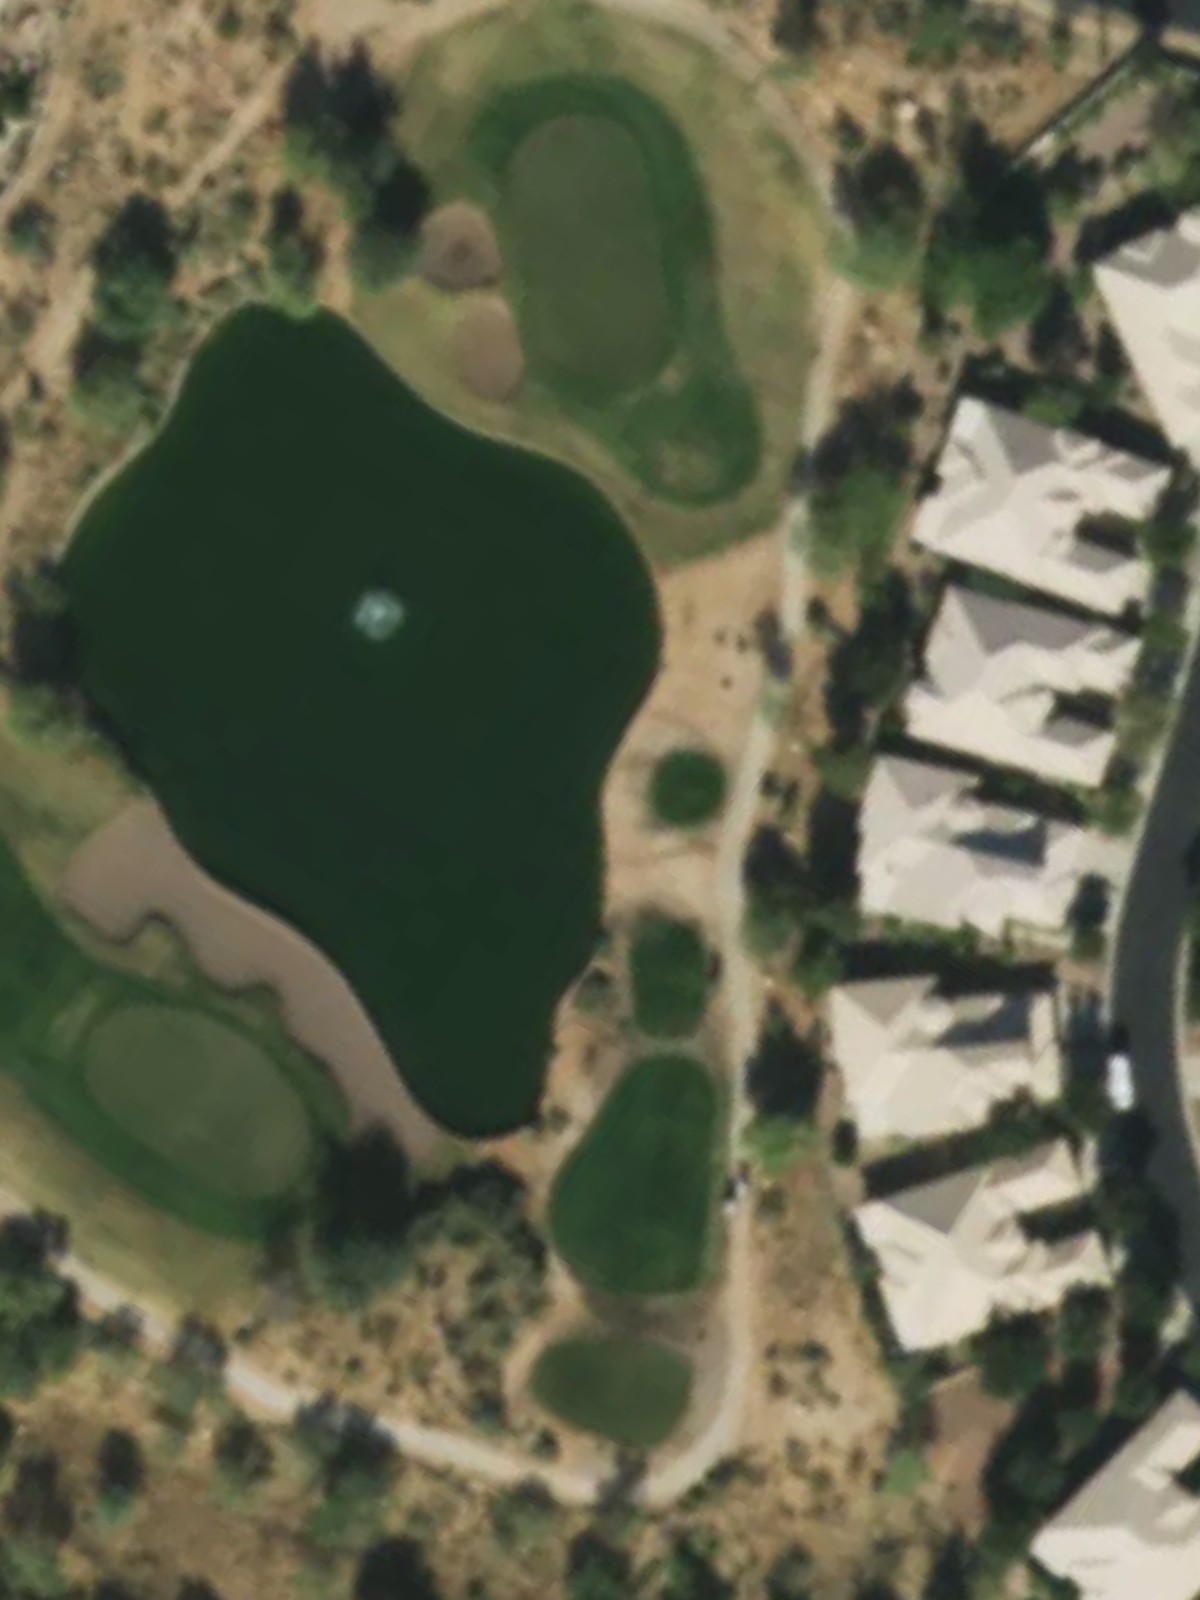
A lengthy par 5 that rewards aggressive play for longer hitters while remaining reachable in three for others. The hole features a wide corridor off the tee but requires careful positioning to avoid hazards near the green.
A short par 3 with a compact green that demands precision over distance. Bunkers frame the landing area, making club selection and accuracy more critical than length on this testing short hole.
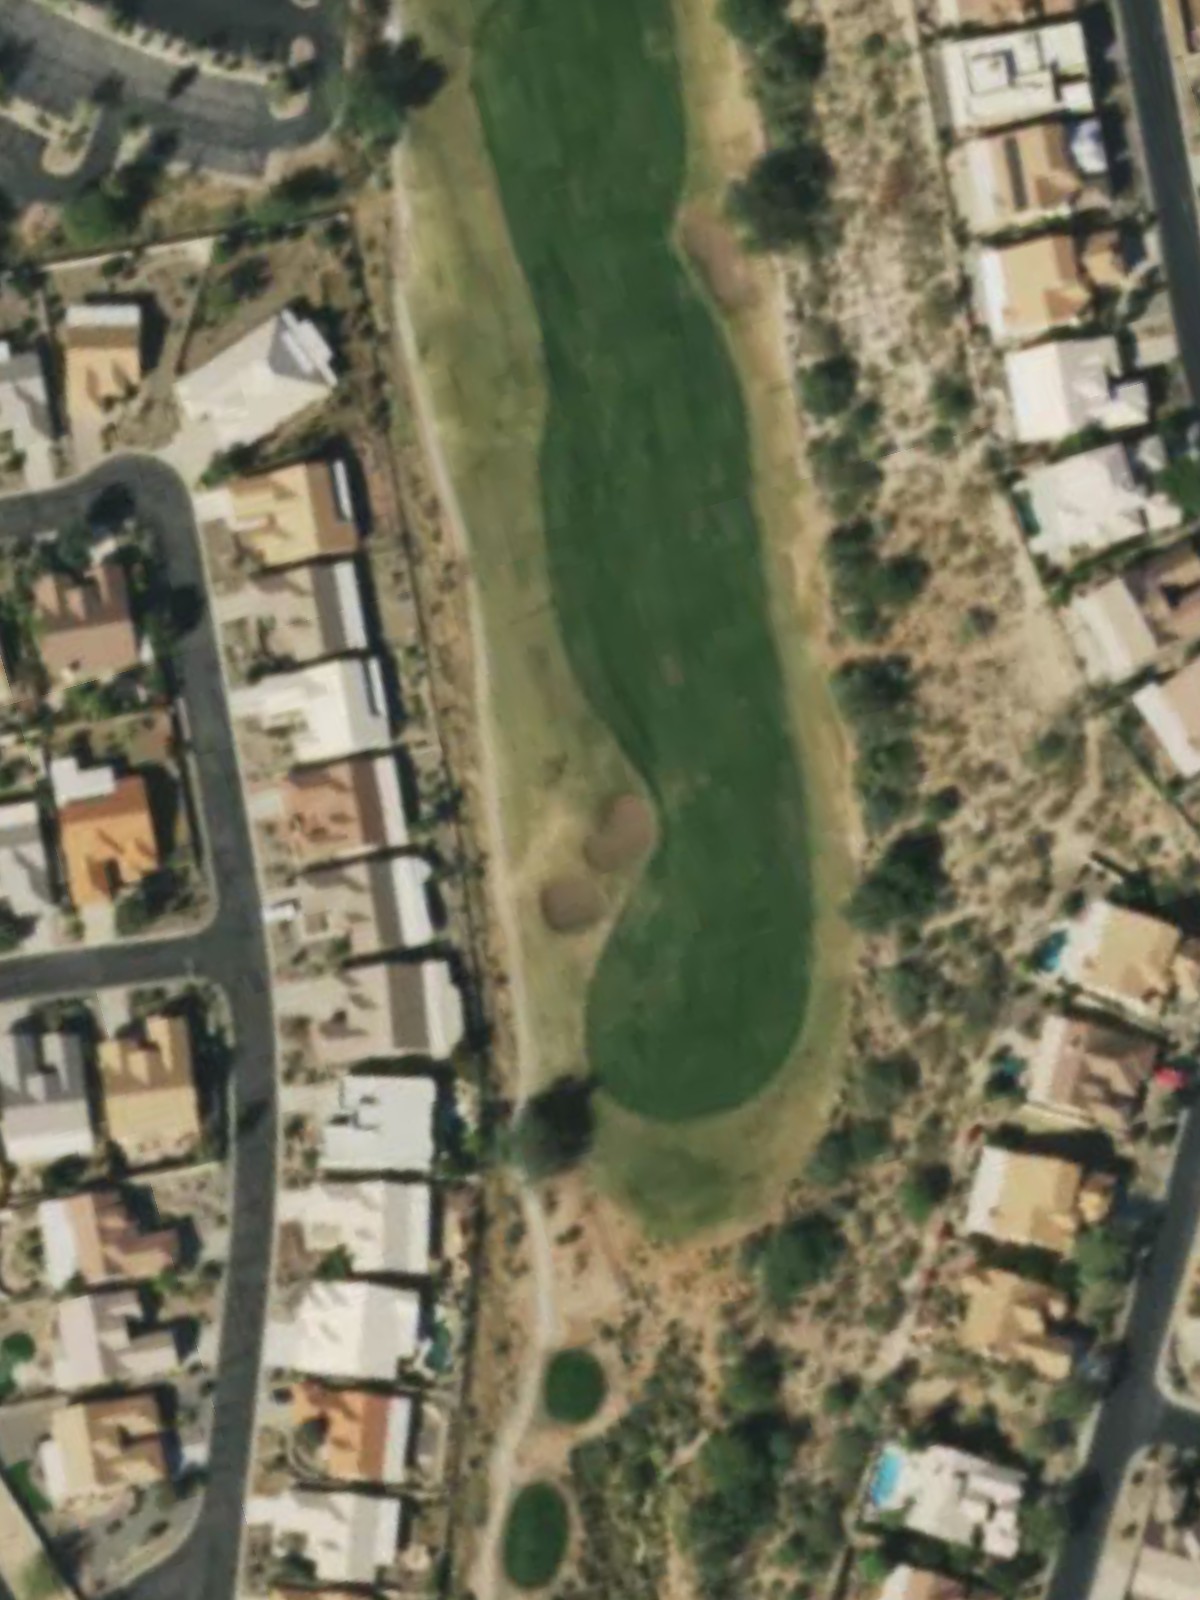
A strong par 4 that features a narrowing fairway in the driving zone, requiring an accurate tee shot to set up a clear approach. Greenside hazards punish wayward long approaches, making strategic positioning essential.

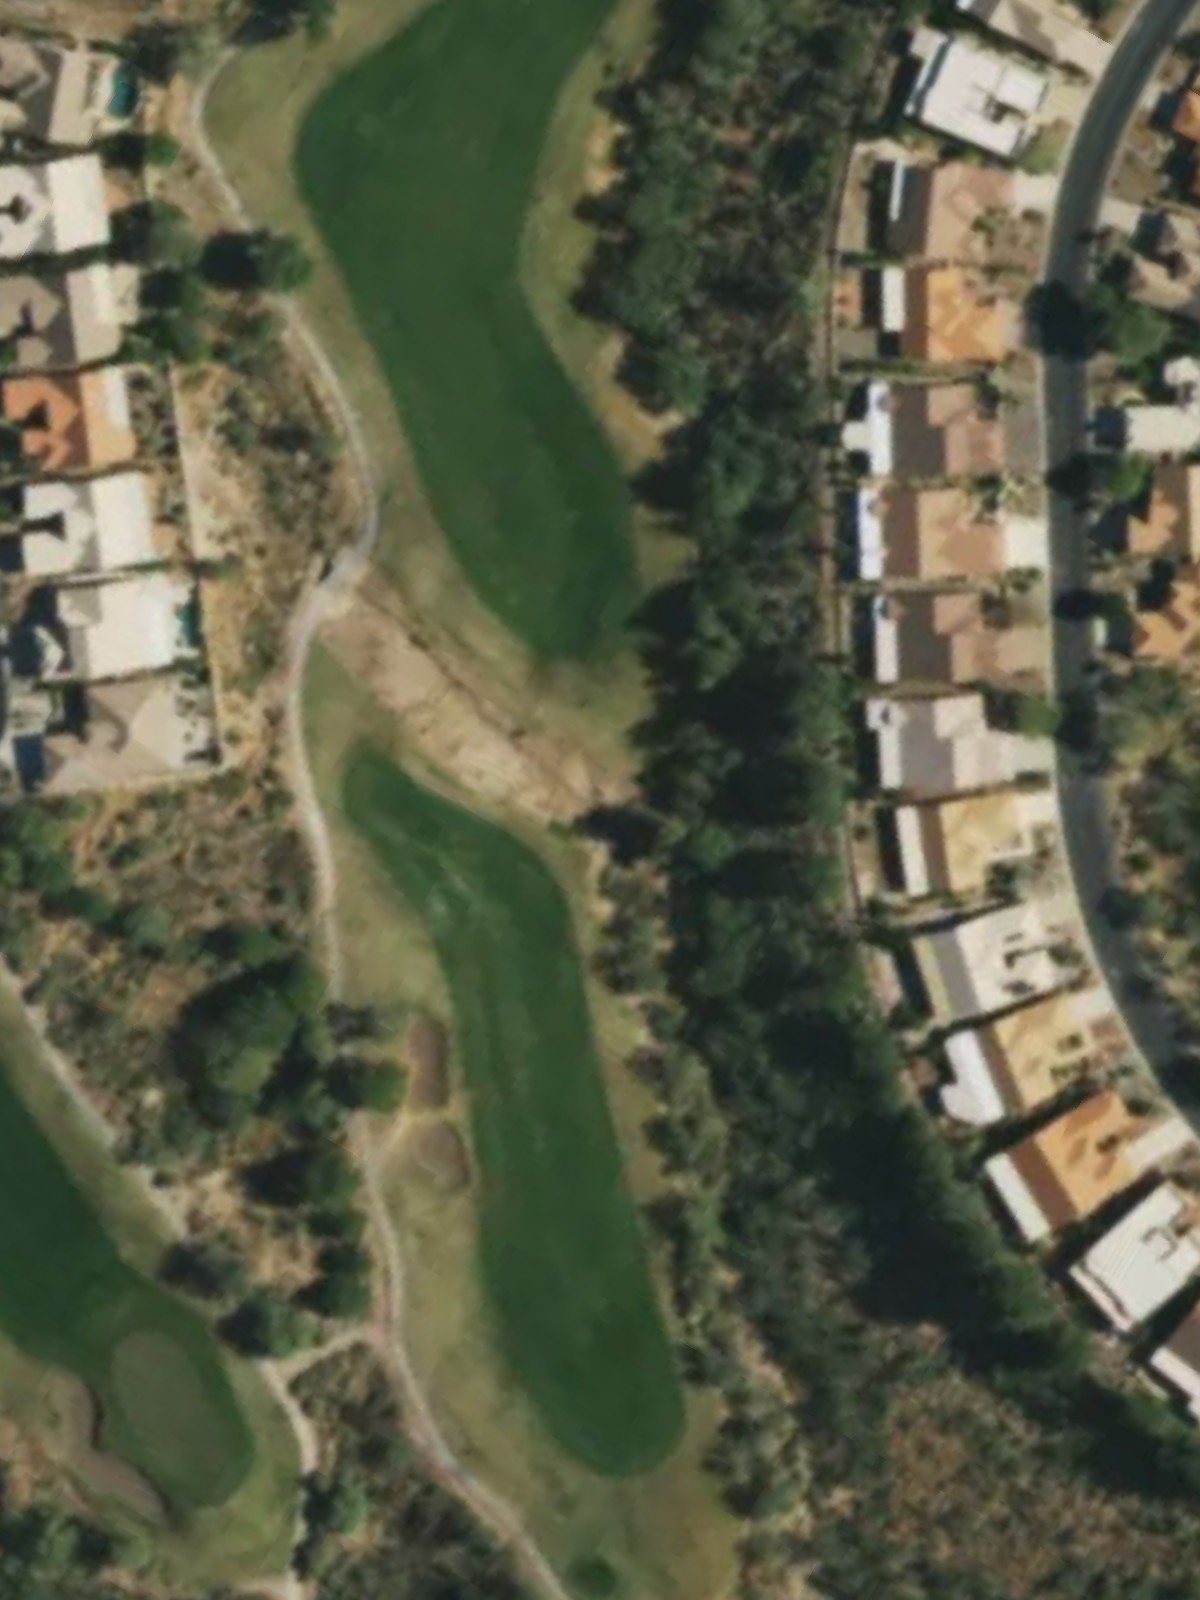
The handicap 17 hole offers the most forgiving scoring opportunity on the front side with a short par 4 and minimal hazards. The fairway is relatively open, allowing players to recover from slightly off-line drives and set up an approachable second shot.
A well-balanced par 4 with a fairway that demands accuracy off the tee without being overly penal. Strategic bunkering around the green rewards disciplined play and punishes aggressive misses.
A diminutive par 3 where the challenge lies in distance control and precision rather than length. The small target area and surrounding hazards make this a deceptively tricky short hole despite modest yardage.
A reachable par 5 that plays as a genuine birdie opportunity for most golfers despite its moderate length. The fairway configuration allows for strategic positioning on the second shot to set up an eagle putt opportunity.

The easiest hole on the course by handicap, this short par 4 is forgiving off the tee with a wide landing area. The generous green and minimal hazards provide an excellent scoring chance early on the back nine.
The #4 handicap hole, this lengthy par 5 demands power and accuracy on a fairway that narrows in the critical zones. Multiple strategic points require careful club selection and course management throughout the hole.

A short par 4 with the handicap 16 rating, offering another favorable scoring opportunity with a relatively straightforward layout. The hole plays shorter than its yardage suggests, making par an attainable target.
A mid-range par 3 with a well-defined green protected by strategic hazards on multiple sides. The elevated tee shot demands both distance control and accuracy to find the putting surface cleanly.
The #2 handicap hole and one of the course's most challenging tests, this par 4 requires a precise drive and a strong second shot into a well-protected green. Hazards on both sides of the fairway and around the green leave little margin for error.
A drivable par 5 for longer hitters that still presents a three-shot challenge for most players, allowing for strategic layup options. The hole's moderate length combined with careful hazard placement creates a fair test of course management.
A strong par 4 with a demanding tee shot that requires accuracy to navigate fairway hazards and set up a playable approach. The green's protected positioning rewards disciplined long play with scoring opportunities.
A mid-length par 3 where distance control proves critical due to hazards framing the green on multiple sides. The elevated green and surrounding bunkering make this an attention-demanding finishing par 3.
The closing par 4 features a fairway that offers a balanced challenge without being overly severe, providing a finishing hole that tests accuracy without becoming unfair. Strategic hazard placement rewards solid shotmaking and punishes poor execution.
Scorecard
| Hole | 1 | 2 | 3 | 4 | 5 | 6 | 7 | 8 | 9 | Out | 10 | 11 | 12 | 13 | 14 | 15 | 16 | 17 | 18 | In | Tot |
|---|---|---|---|---|---|---|---|---|---|---|---|---|---|---|---|---|---|---|---|---|---|
| Par | 4 | 4 | 5 | 3 | 4 | 4 | 4 | 3 | 5 | 36 | 4 | 5 | 4 | 3 | 4 | 5 | 4 | 3 | 4 | 36 | 72 |
| HCP | 13 | 1 | 3 | 9 | 5 | 17 | 7 | 15 | 11 | 18 | 4 | 16 | 10 | 2 | 8 | 6 | 14 | 12 | |||
| black | 351 | 430 | 571 | 175 | 439 | 329 | 396 | 157 | 487 | 3335 | 378 | 571 | 351 | 183 | 400 | 506 | 401 | 202 | 372 | 3364 | 6699 |
| black/purple | 351 | 391 | 540 | 175 | 413 | 264 | 396 | 157 | 487 | 3174 | 378 | 480 | 351 | 155 | 367 | 506 | 365 | 170 | 372 | 3144 | 6318 |
| purple | 327 | 391 | 540 | 160 | 413 | 264 | 357 | 132 | 455 | 3039 | 338 | 480 | 307 | 155 | 367 | 481 | 365 | 170 | 343 | 3006 | 6045 |
| purple/green | 327 | 353 | 495 | 160 | 351 | 264 | 357 | 132 | 434 | 2873 | 338 | 456 | 307 | 155 | 338 | 461 | 330 | 152 | 343 | 2880 | 5753 |
| green | 310 | 353 | 495 | 134 | 351 | 254 | 302 | 113 | 394 | 2706 | 286 | 456 | 262 | 144 | 310 | 438 | 330 | 152 | 329 | 2707 | 5413 |
| green/red | 310 | 313 | 495 | 134 | 351 | 224 | 335 | 100 | 394 | 2656 | 286 | 435 | 256 | 144 | 338 | 347 | 330 | 137 | 329 | 2602 | 5258 |
| red | 262 | 313 | 397 | 115 | 312 | 224 | 302 | 100 | 394 | 2419 | 260 | 435 | 256 | 115 | 310 | 347 | 293 | 137 | 291 | 2444 | 4863 |
| red/yellow | 262 | 313 | 397 | 115 | 312 | 181 | 275 | 100 | 360 | 2315 | 260 | 405 | 256 | 115 | 274 | 438 | 285 | 110 | 291 | 2434 | 4749 |
| yellow | 252 | 305 | 397 | 92 | 312 | 181 | 275 | 75 | 360 | 2249 | 260 | 405 | 228 | 99 | 274 | 347 | 285 | 110 | 258 | 2266 | 4515 |
| yellow/short course | 252 | 200 | 300 | 92 | 200 | 181 | 200 | 75 | 300 | 1800 | 200 | 250 | 228 | 99 | 200 | 300 | 200 | 110 | 258 | 1845 | 3645 |