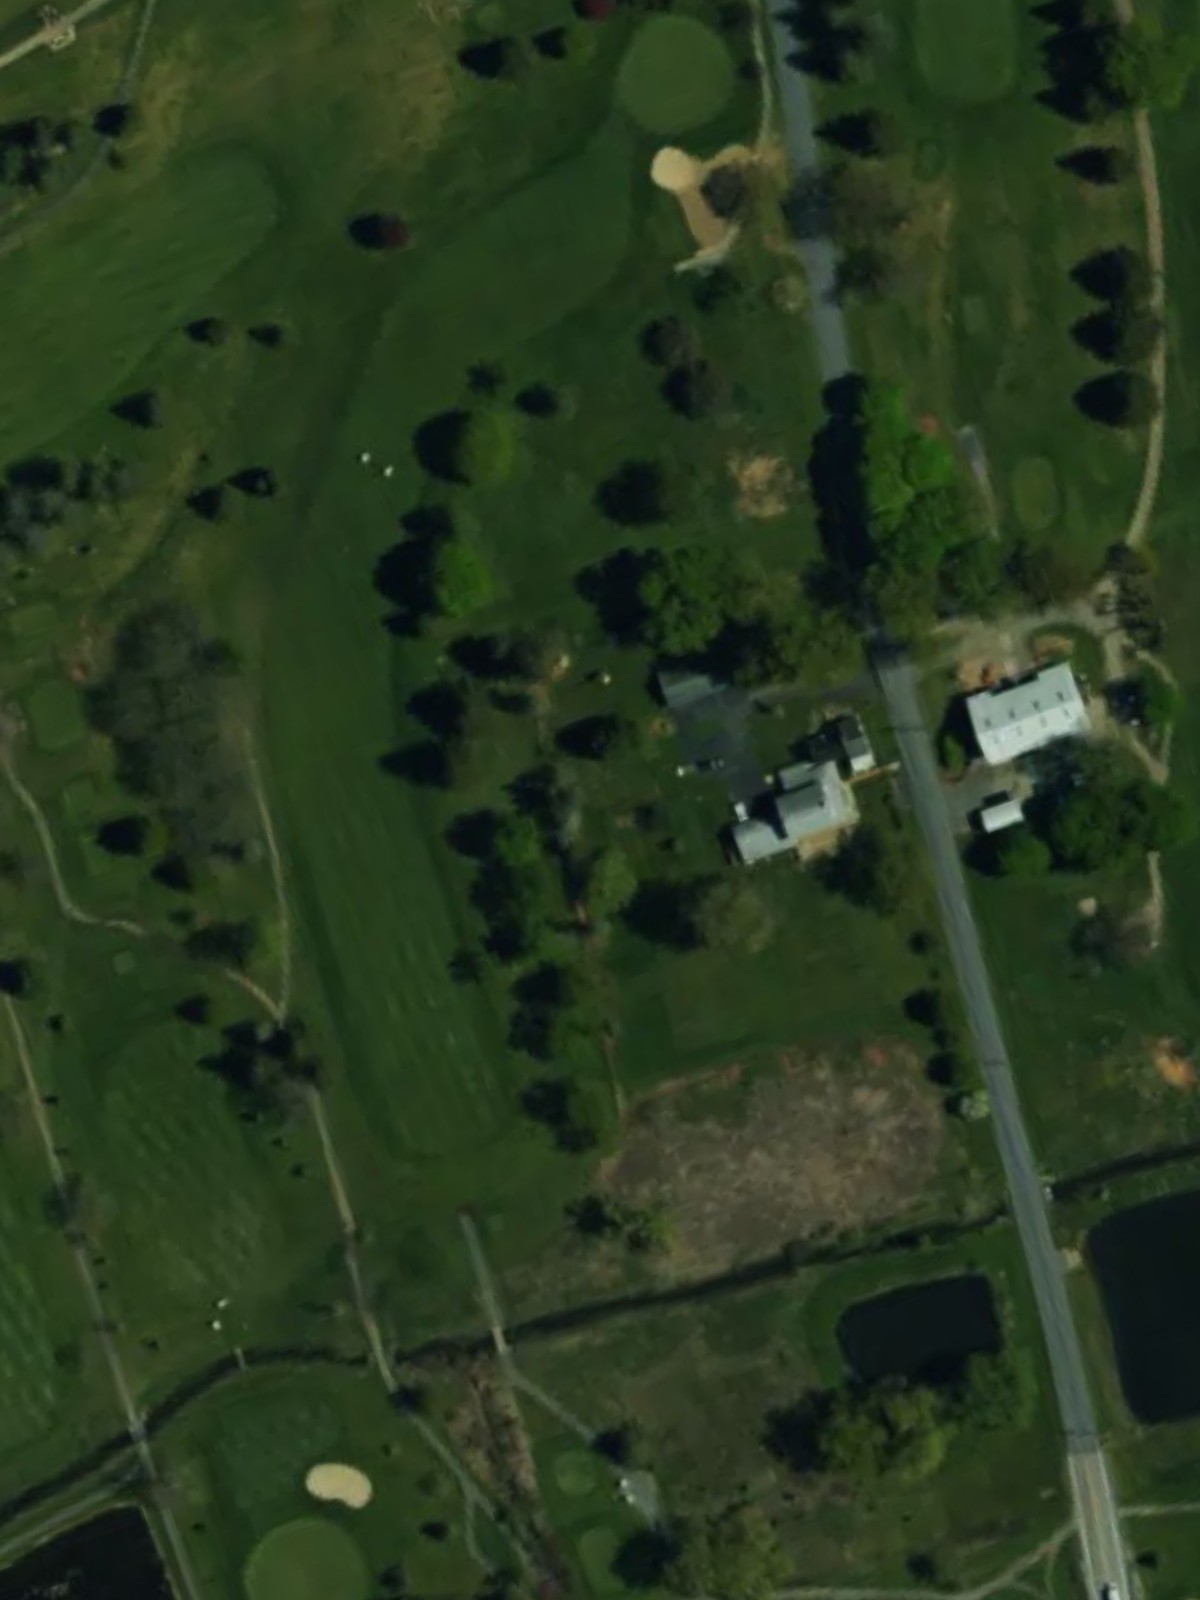
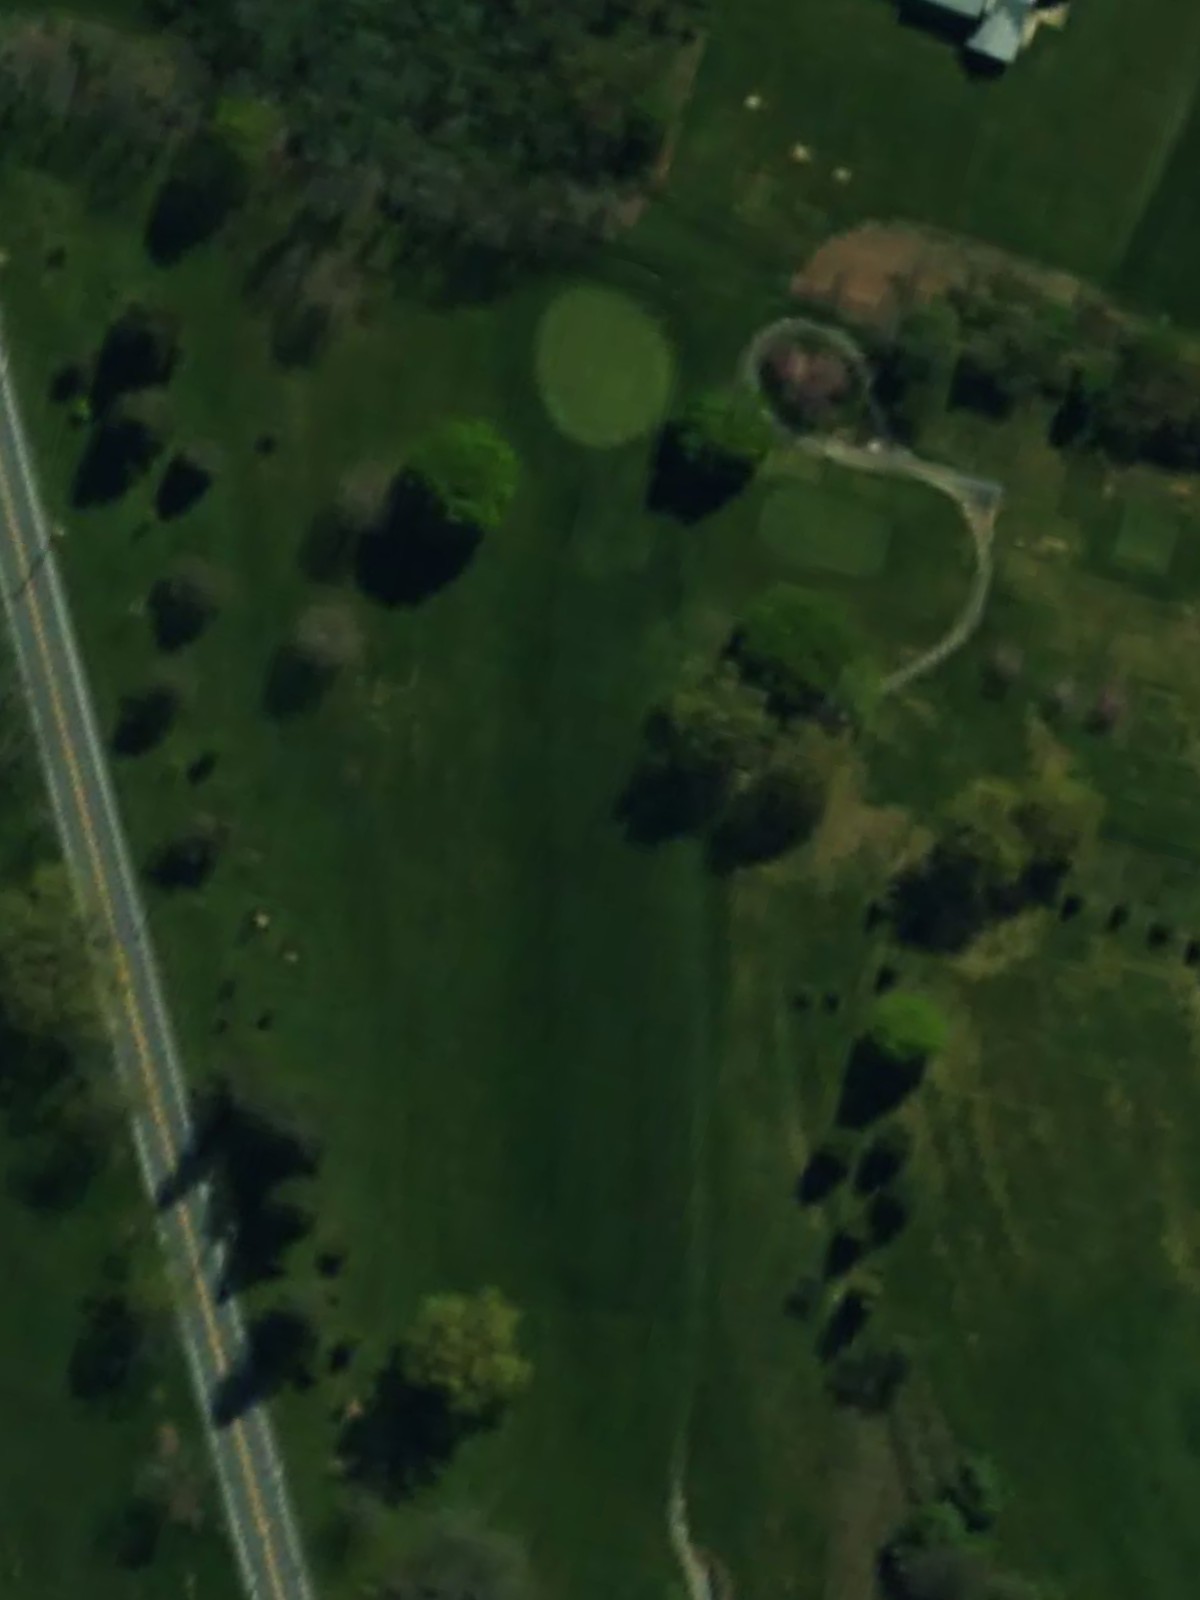
Mountain View Country Club is an 18-hole golf course in Boalsburg, PA with a par of 71. It offers 4 tee sets: blue (6,201 yards, slope 129, rating 70.6), white (5,913 yards, slope 126, rating 69), hybrid-green (5,169 yards, slope 118, rating 65.3), gold (5,002 yards, slope 113, rating 64.6). The hardest hole is #13, a par 5 playing 585 yards from the first tee.
Mountain View Country Club
Boalsburg, PA
Get PDF Yardage Book
We'll email you the PDF link. No spam, ever.
Create Your Game Plan
Pick your tees, enter your bag, and get a personalized shot-by-shot strategy for every hole.
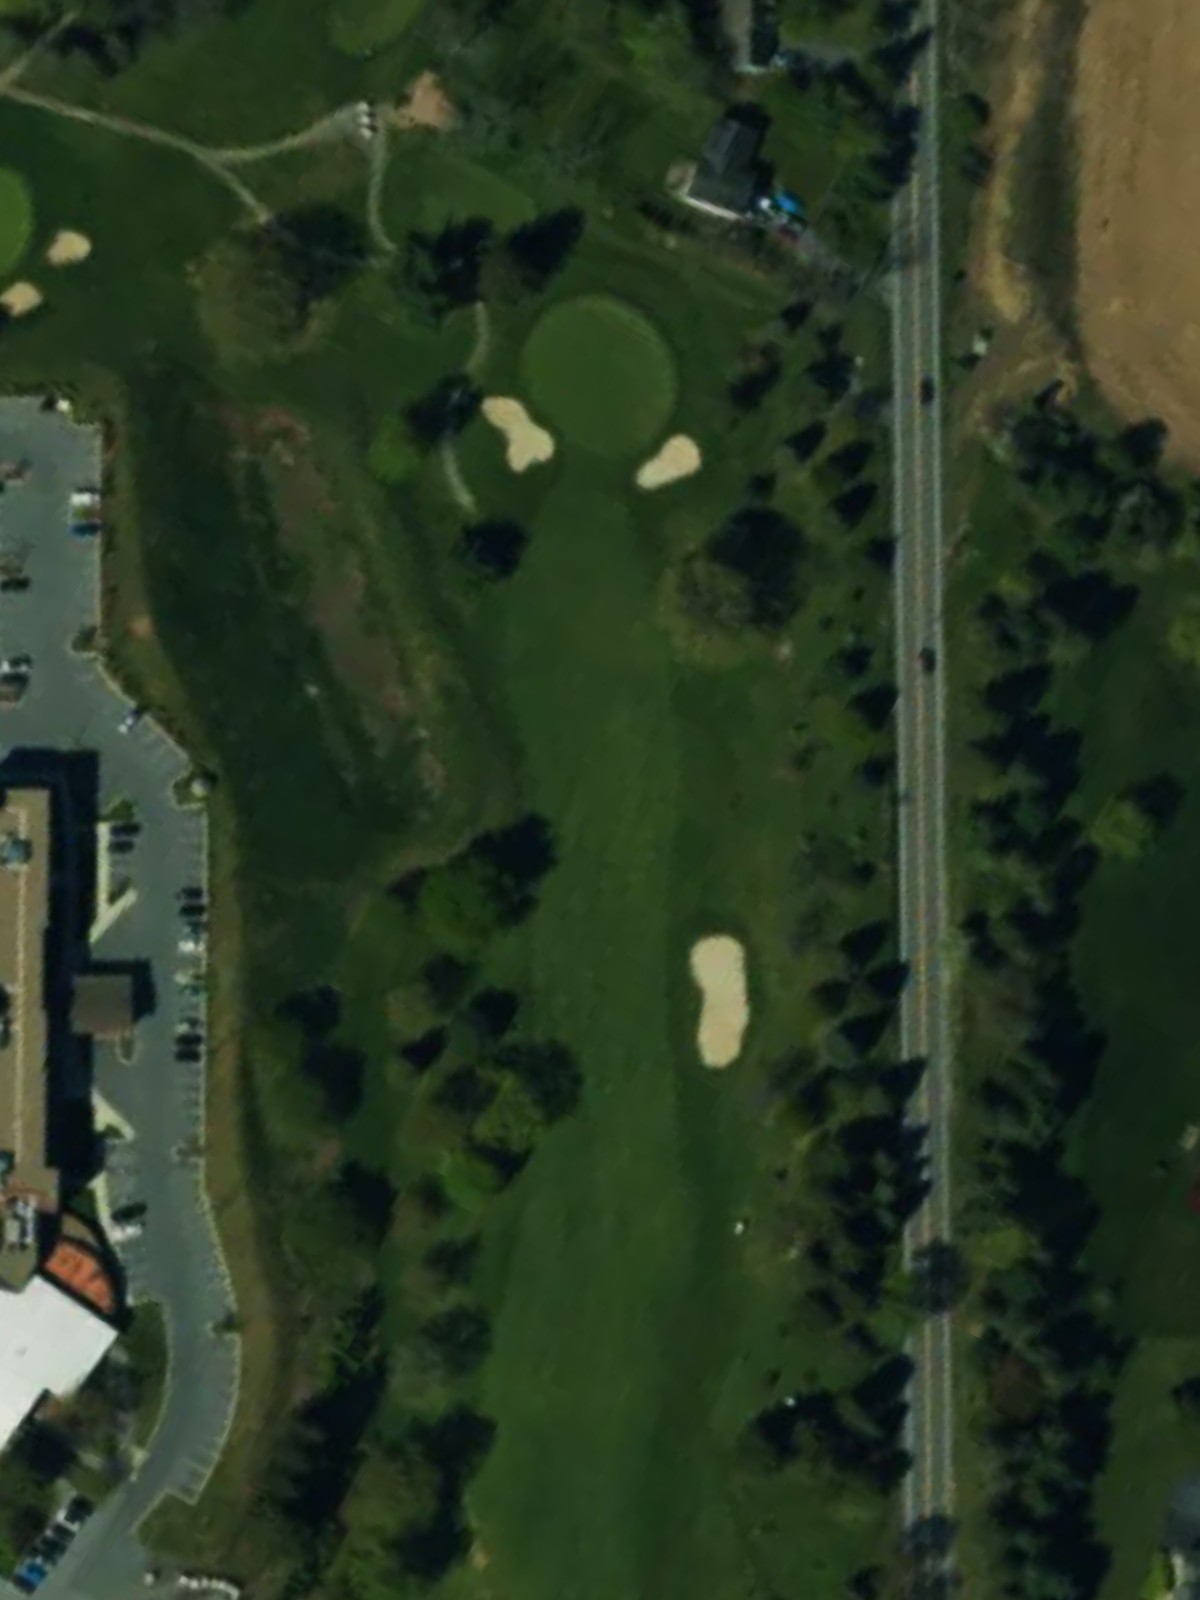
A straightforward par 4 that opens with a wide fairway before narrowing as it approaches the green. Bunkers protect the right side of the putting surface, requiring accuracy on the approach shot to avoid sand.

A short par 3 played to an elevated green with minimal margin for error. The small target and surrounding rough make this deceptively demanding despite its modest length.
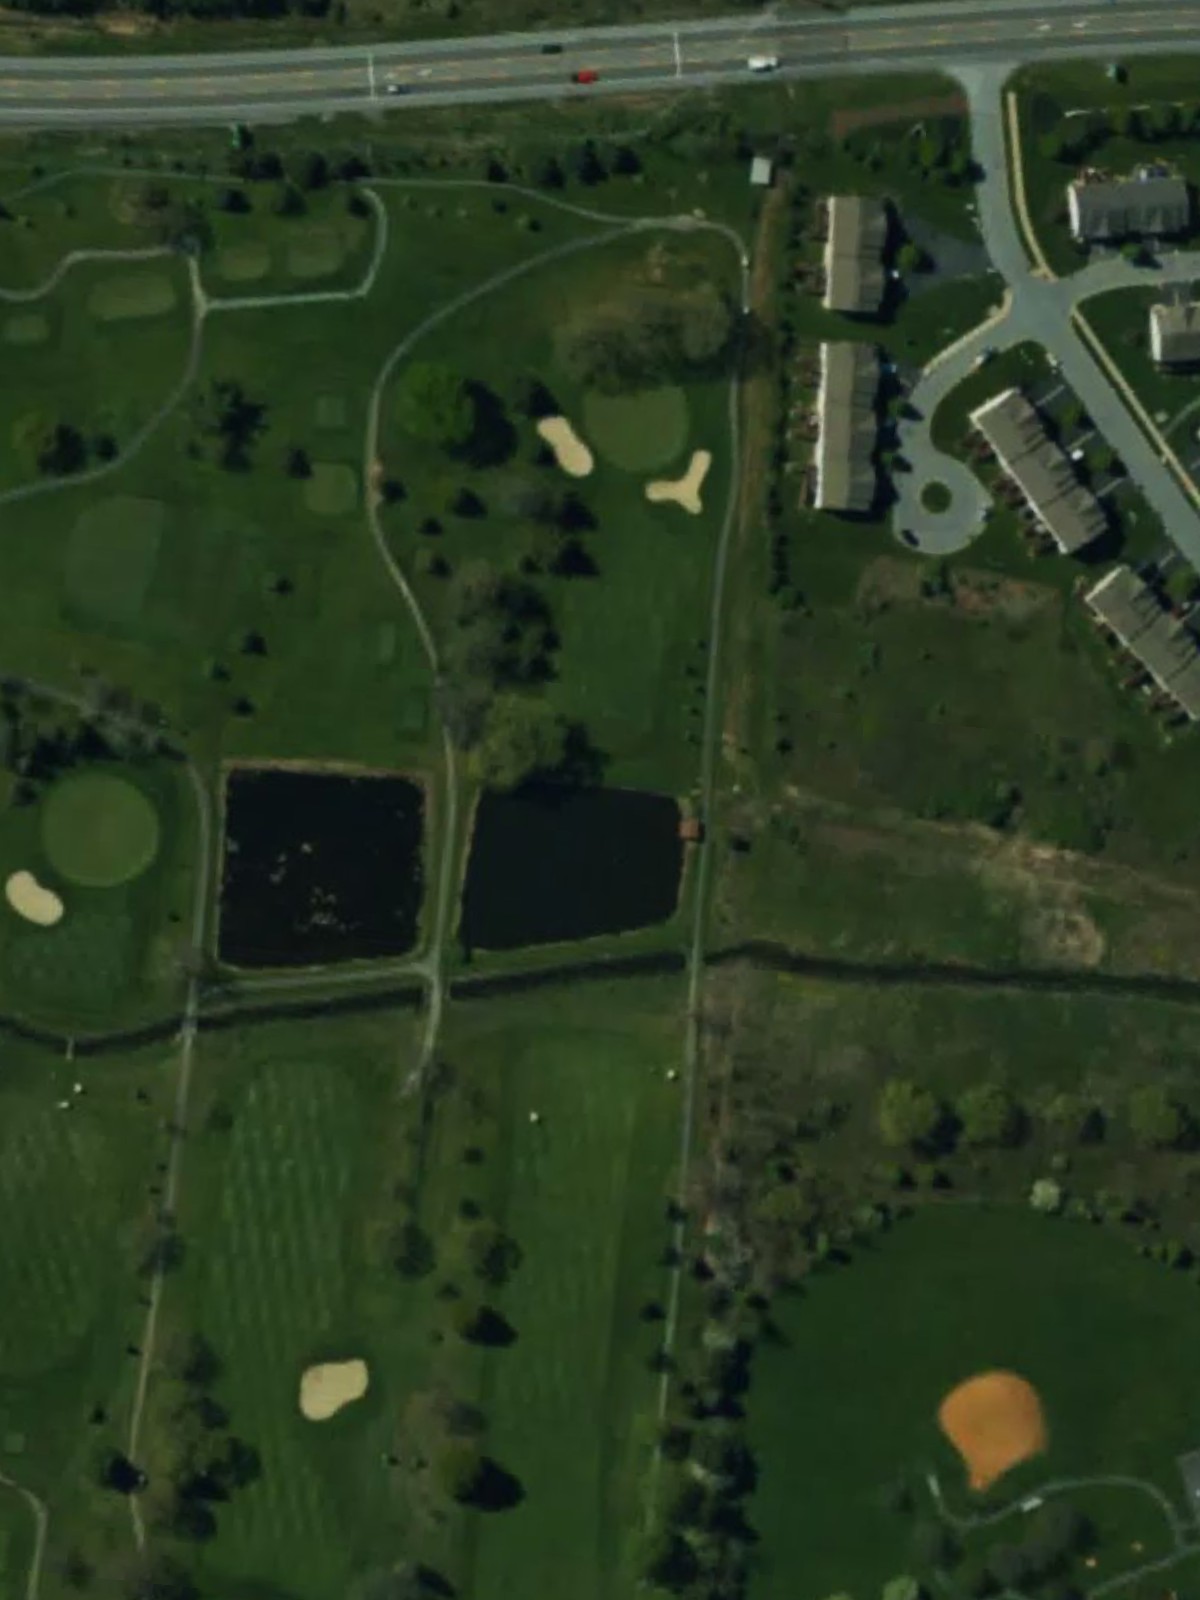
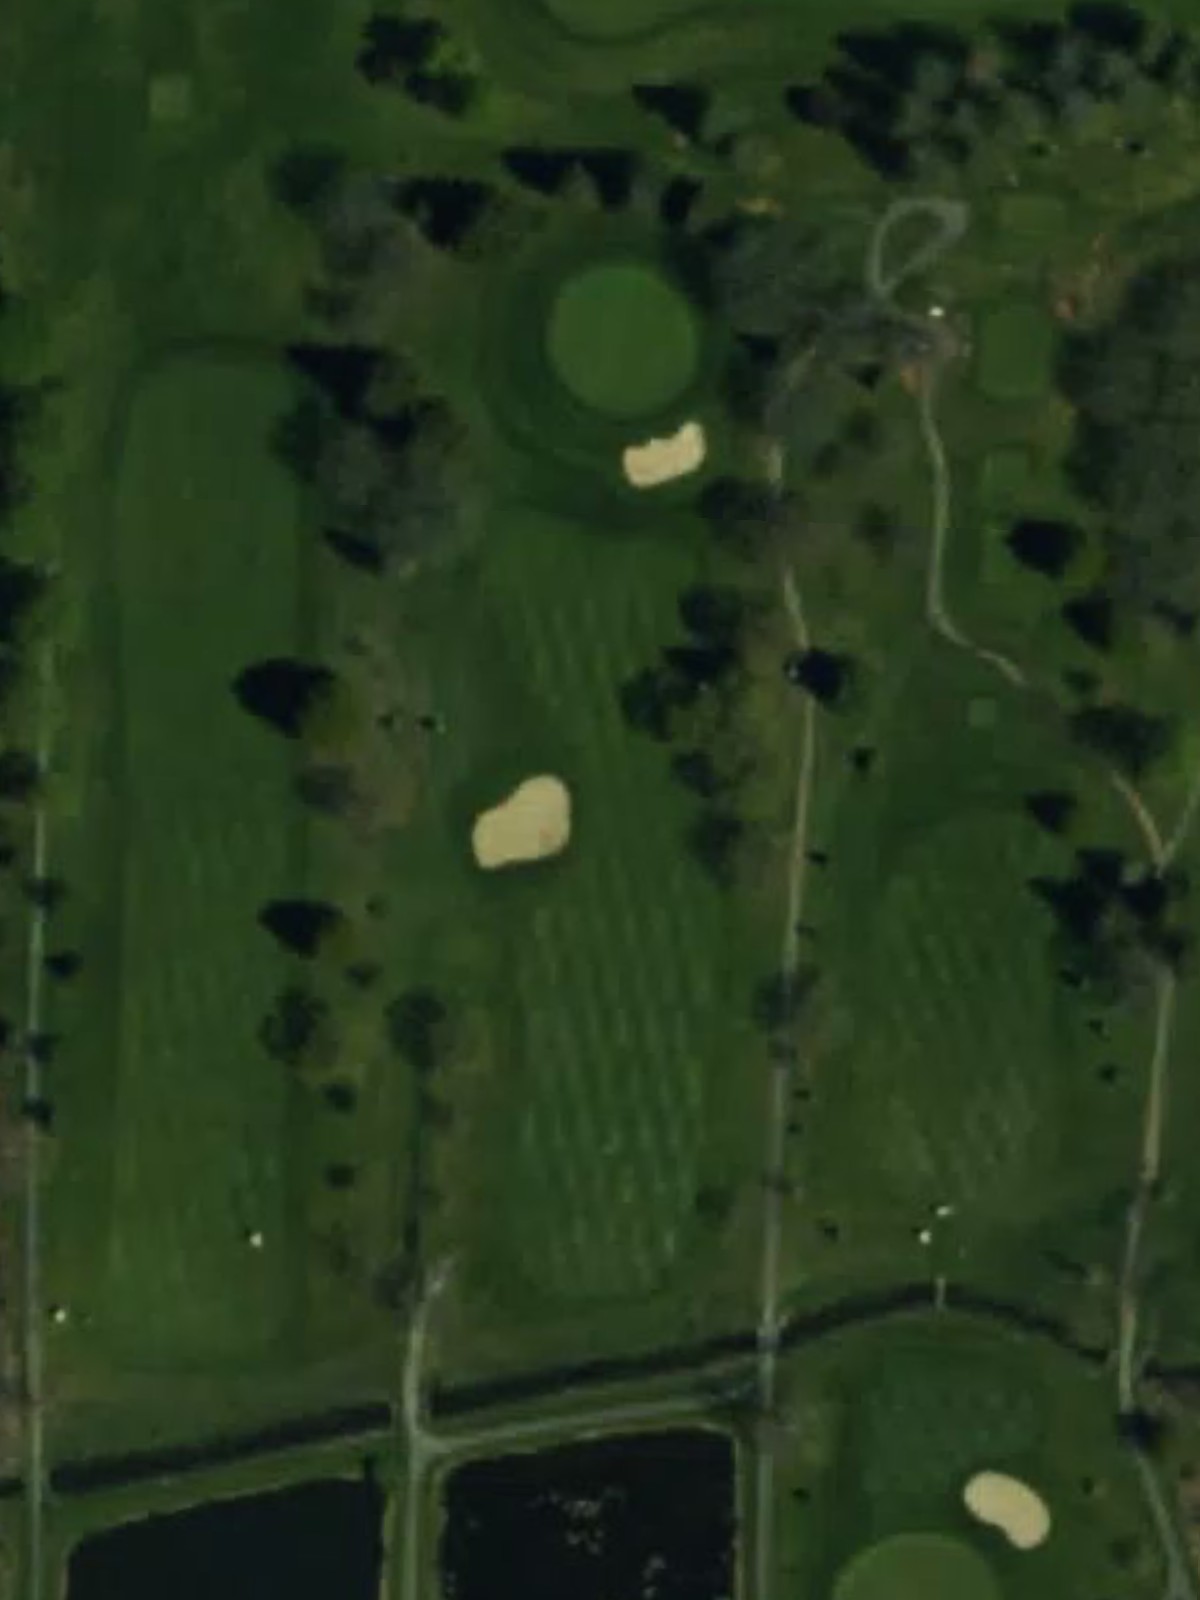
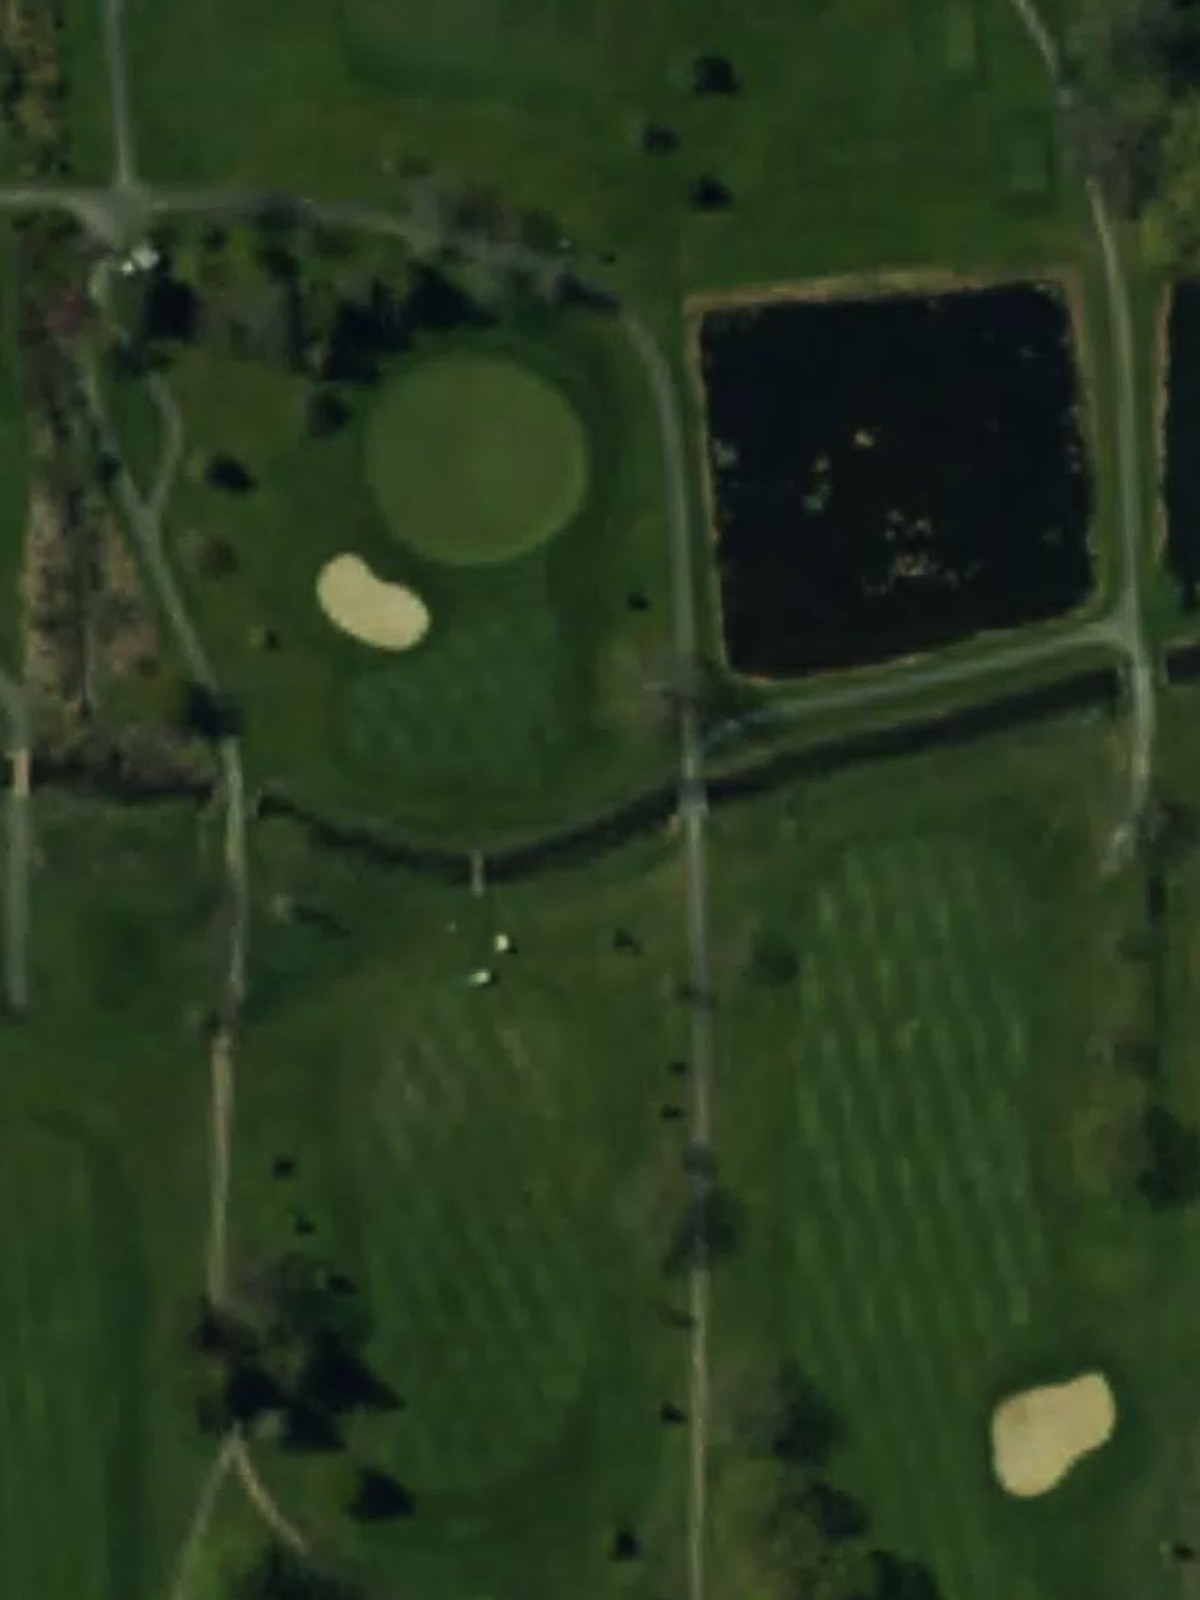
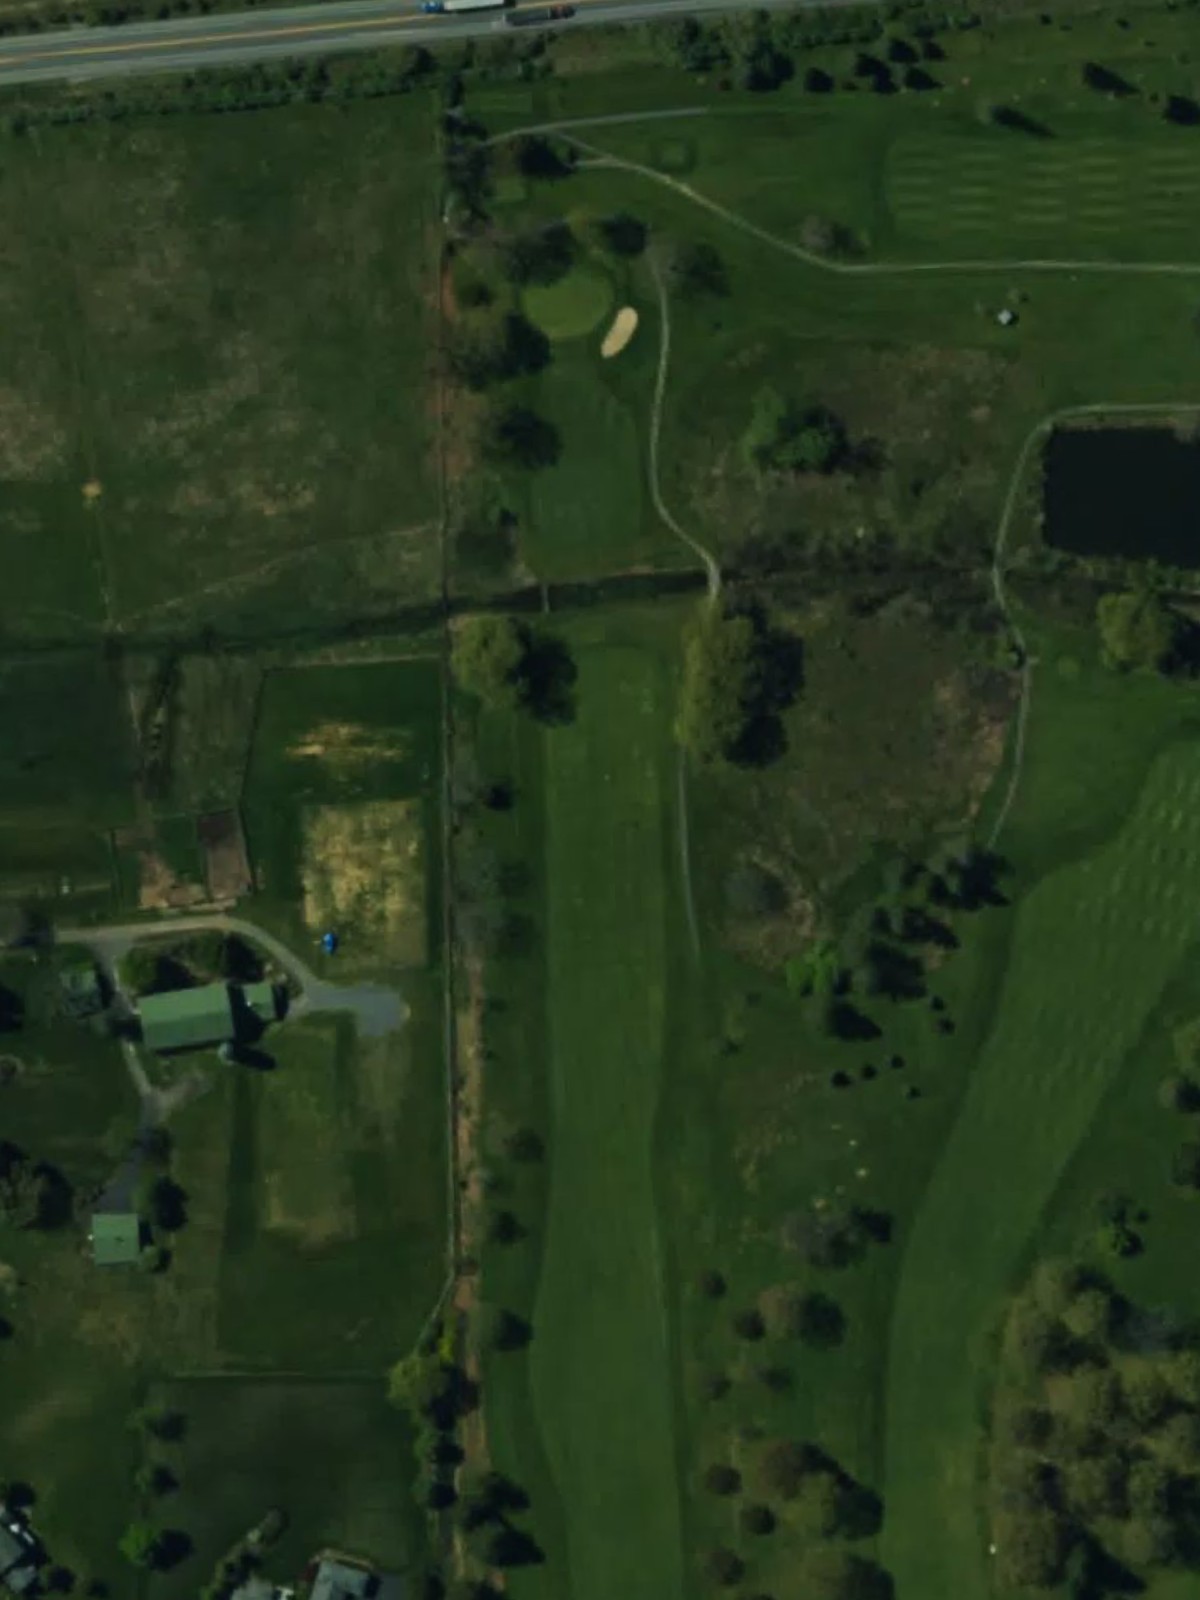
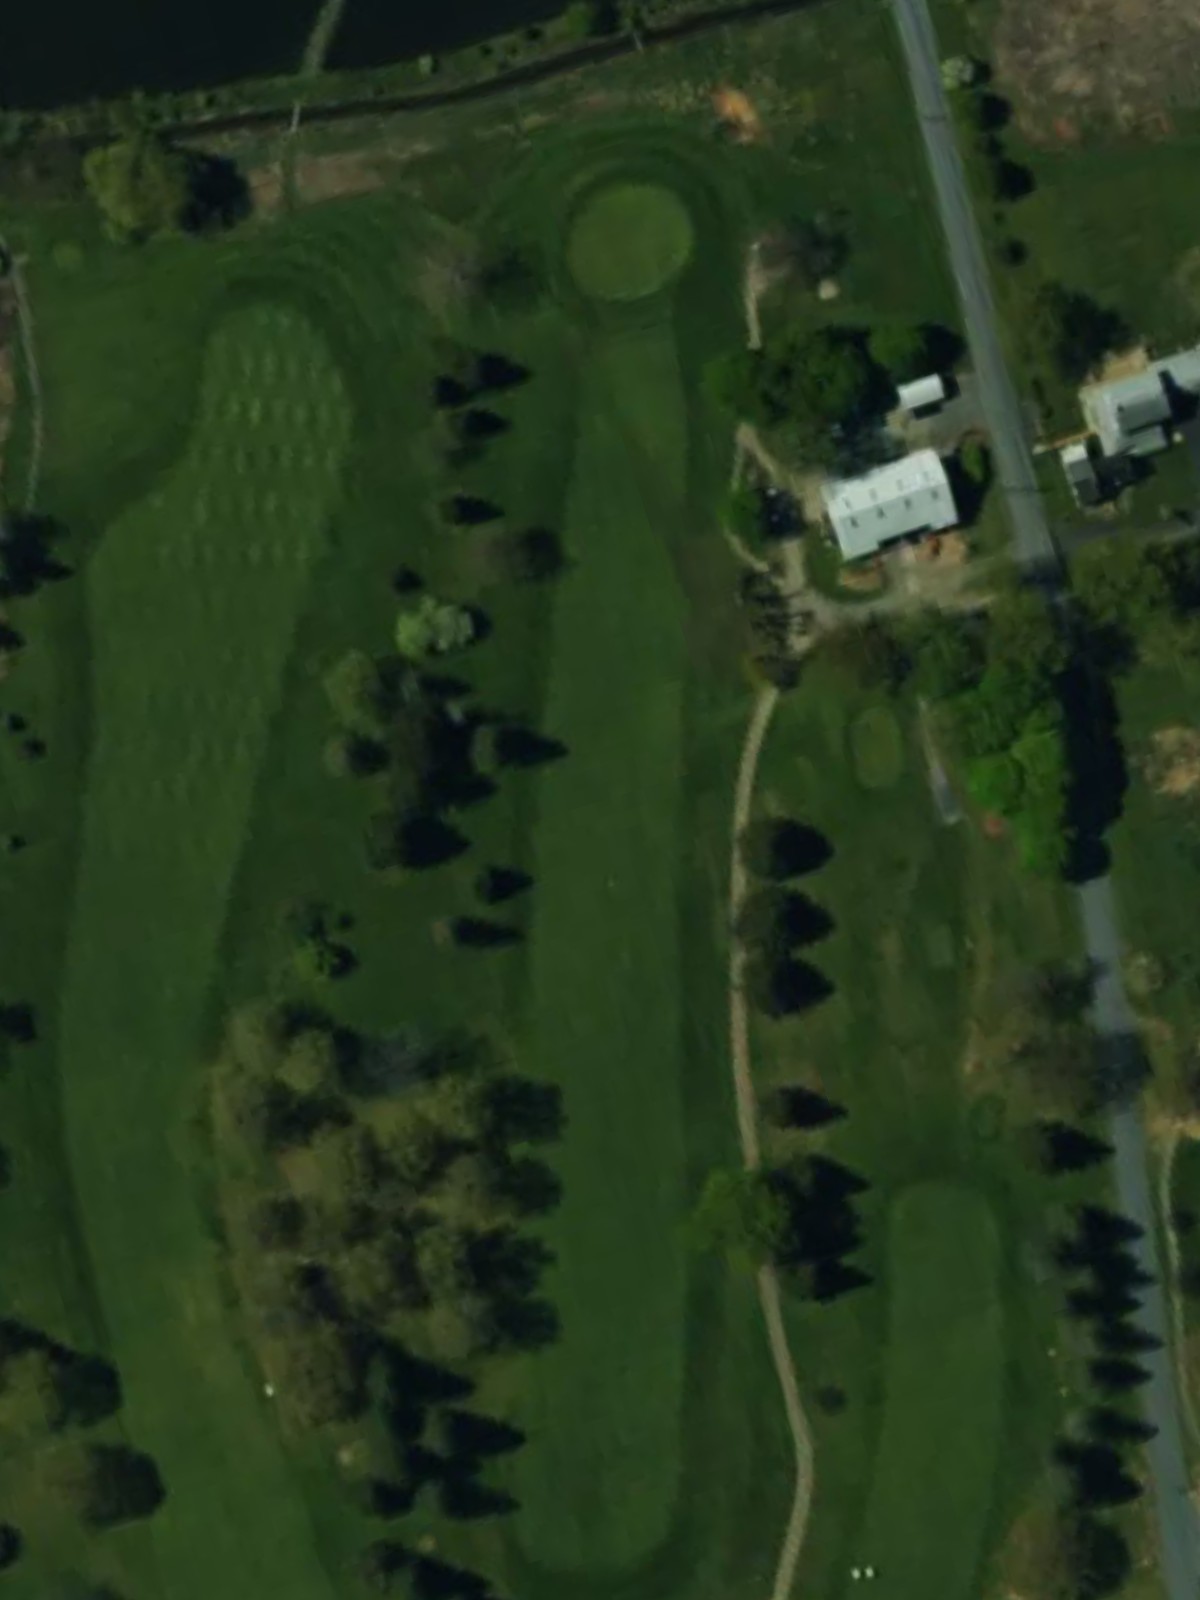
A lengthy par 5 that demands two solid strokes to reach scoring position. The hole's length and potential hazards around the green make it one of the course's most challenging three-shot holes.
A mid-length par 4 with a tight fairway that requires precision off the tee. Strategic bunkering near the green punishes wayward approaches on this straightforward hole.
The course's shortest par 4, this hole plays deceptively easy despite its reduced yardage. A well-positioned fairway and open green provide scoring opportunities for those who find the short grass.

A mid-range par 3 with an elevated tee shot to a well-bunkered green. The undulating putting surface and surrounding sand make club selection critical on this one-shot hole.
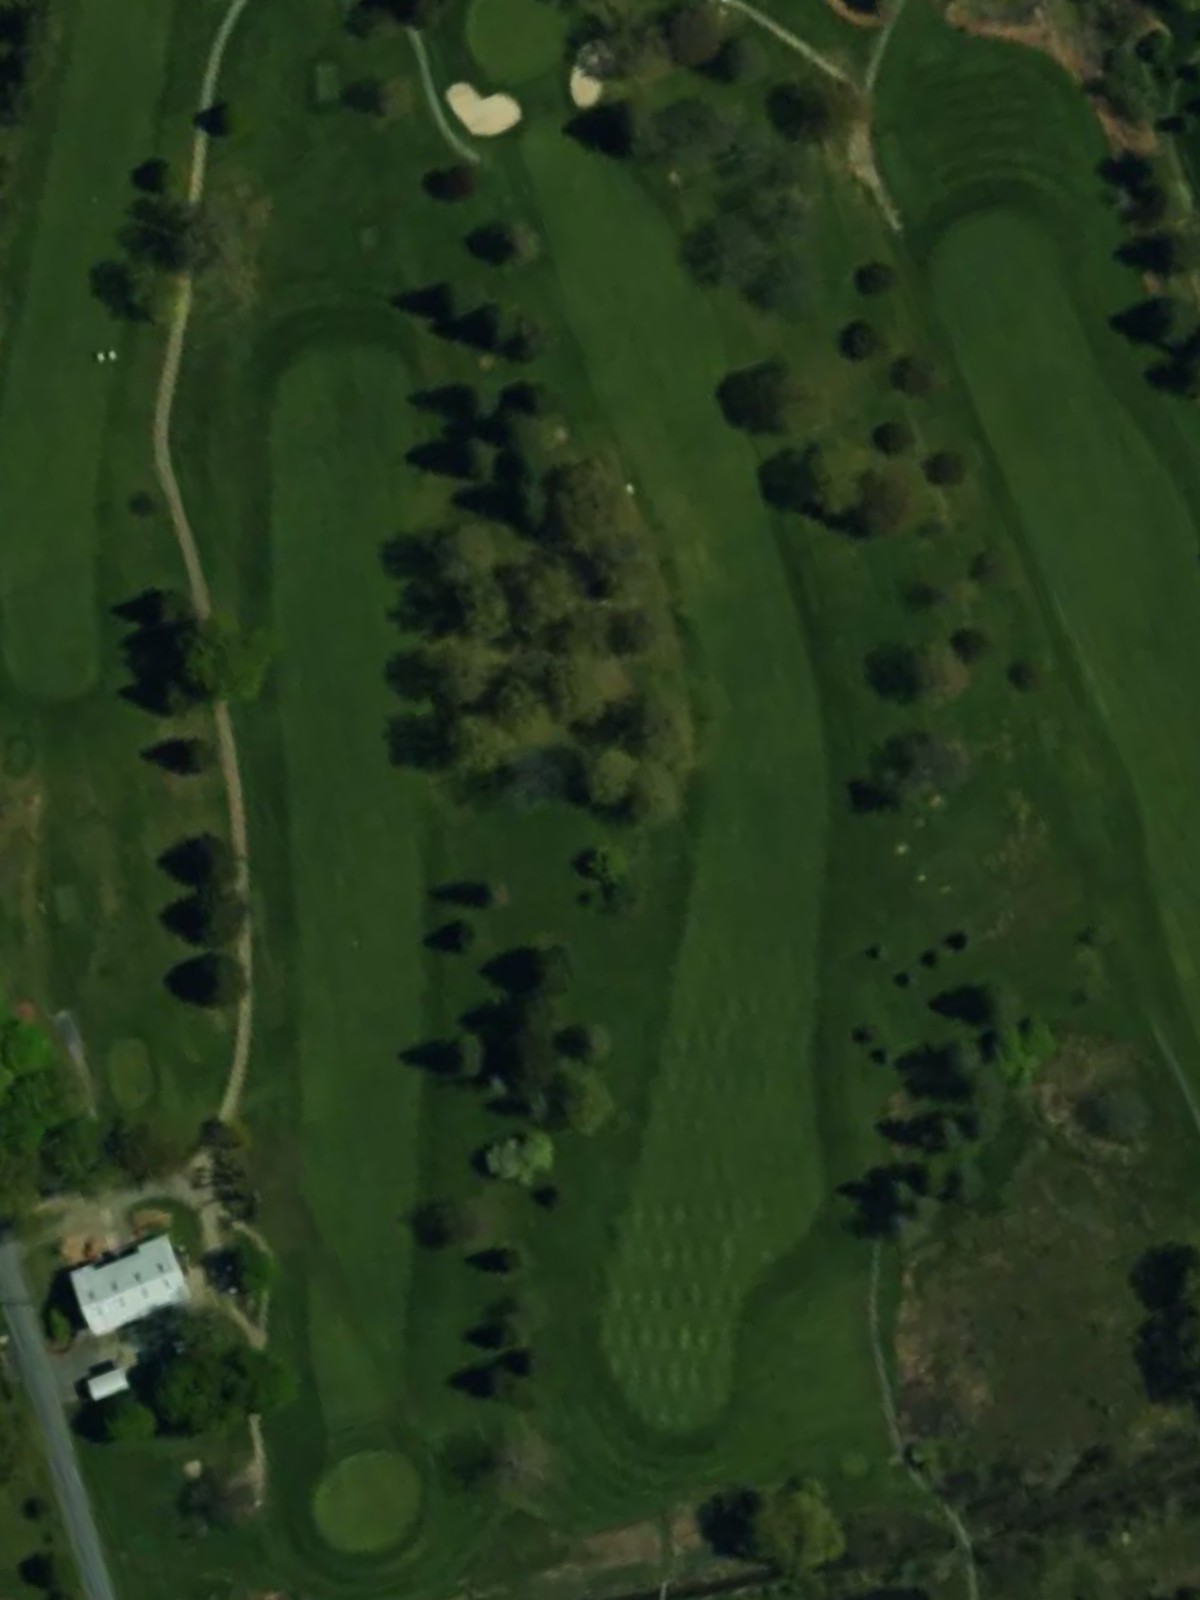
A dogleg par 5 that offers multiple routes to the green depending on length and position. Careful positioning throughout the hole is necessary to avoid hazards and set up a manageable third shot.
A short par 4 that emphasizes accuracy over distance on a relatively narrow fairway. The compact design and green-side trouble make this a tactical hole where position matters more than power.
A short par 3 with a straightforward shot to a modest-sized green. Minimal hazards make this an inviting one-shotter, though the green's slope can make putting tricky.
A mid-length par 3 played to a well-protected green with bunkers and rough surrounding the target. The elevated green and potential wind exposure make club selection the key challenge.
A compact par 4 with a tight playing corridor that demands straight hitting off the tee. The narrow fairway and quick green complex create a challenging risk-reward scenario.
A formidable par 4 and the second-hardest hole on the course, requiring two powerful, accurate strokes to reach the green in regulation. Significant hazards frame the fairway and green, leaving no room for error.
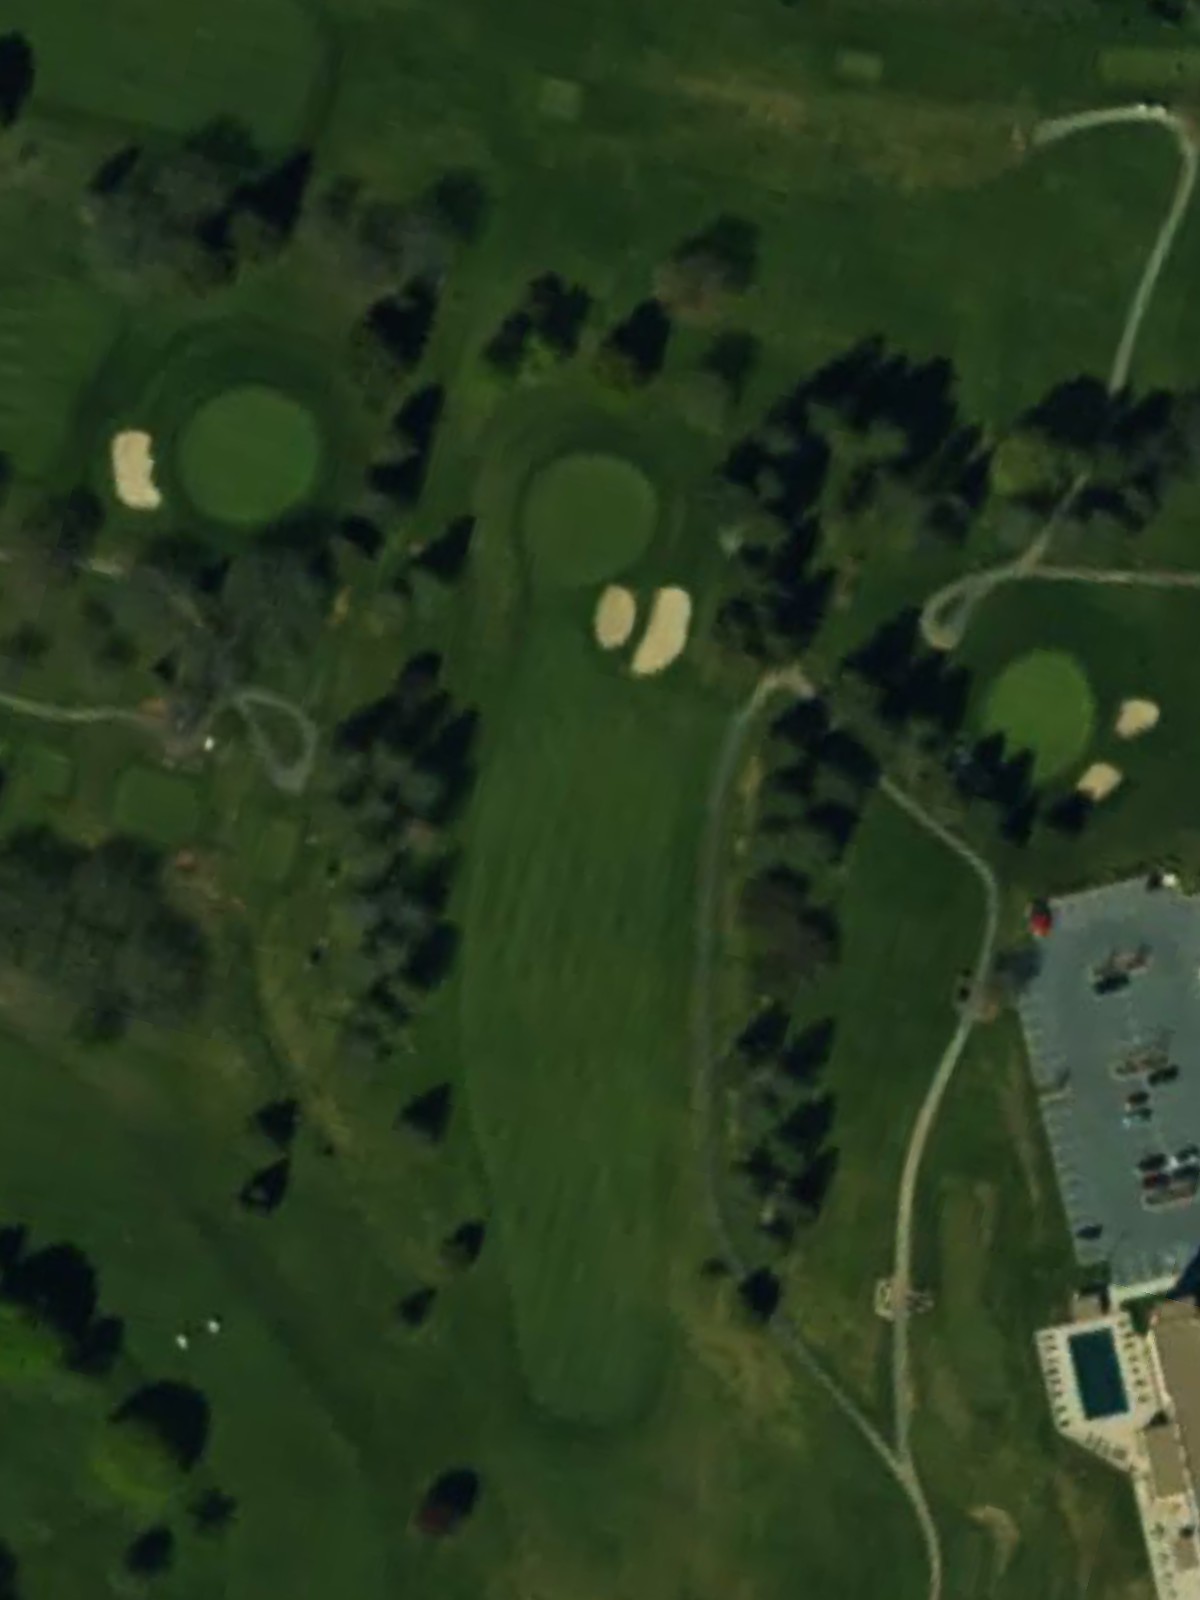
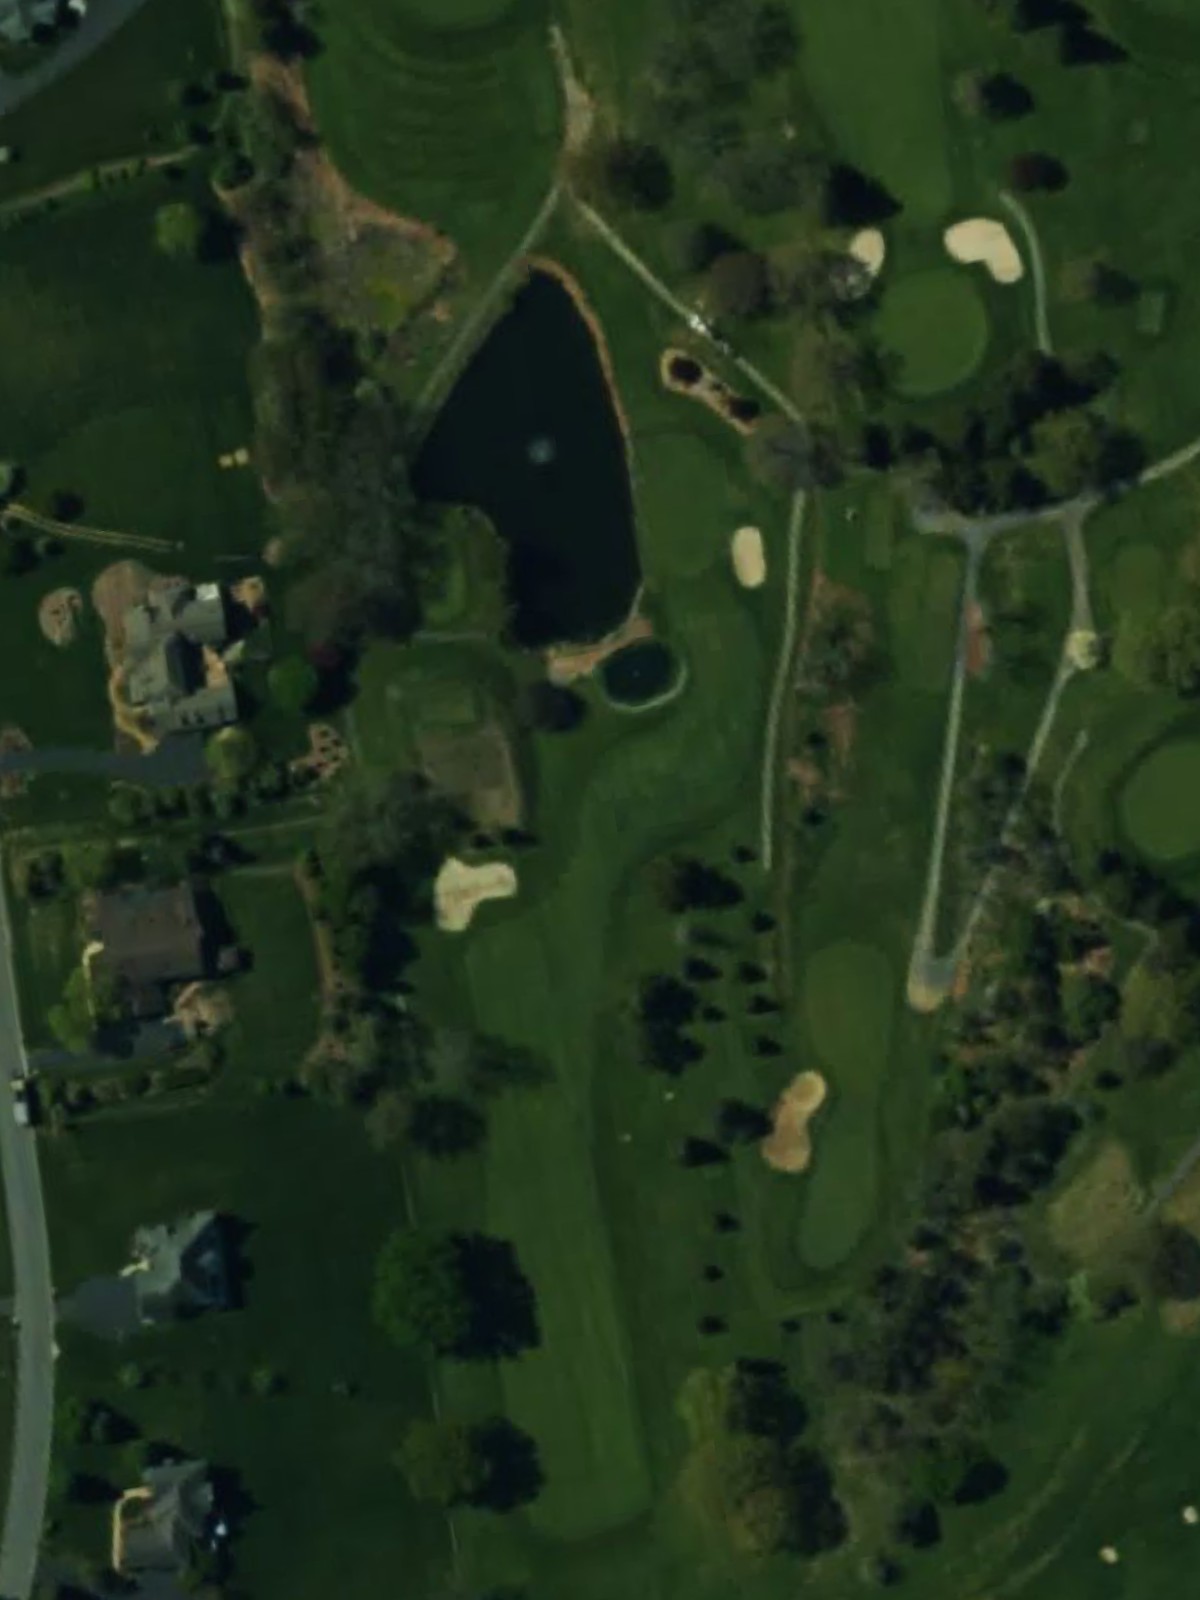
The most difficult hole on the course, this par 5 stretches over 550 yards from the back tees and features substantial hazards throughout. Three well-executed shots are required to navigate this punishing hole successfully.

A mid-length par 4 with a fairway that slopes and narrows toward the green. Strategic bunkering guards the approach, making placement off the tee essential for setting up a manageable second shot.
A strong par 5 with length and complexity, requiring two long strokes to put the green in range. Hazards positioned throughout the hole demand careful positioning on the way to the putting surface.
A mid-range par 3 with a green that sits at an awkward angle to the tee. The bunkers and rough surrounding the putting surface punish anything less than a well-executed tee shot.
A lengthy par 4 that plays as one of the longer 4s on the course, requiring distance and accuracy from the tee. The fairway narrows considerably near the green, where bunkers and hazards guard the final approach.
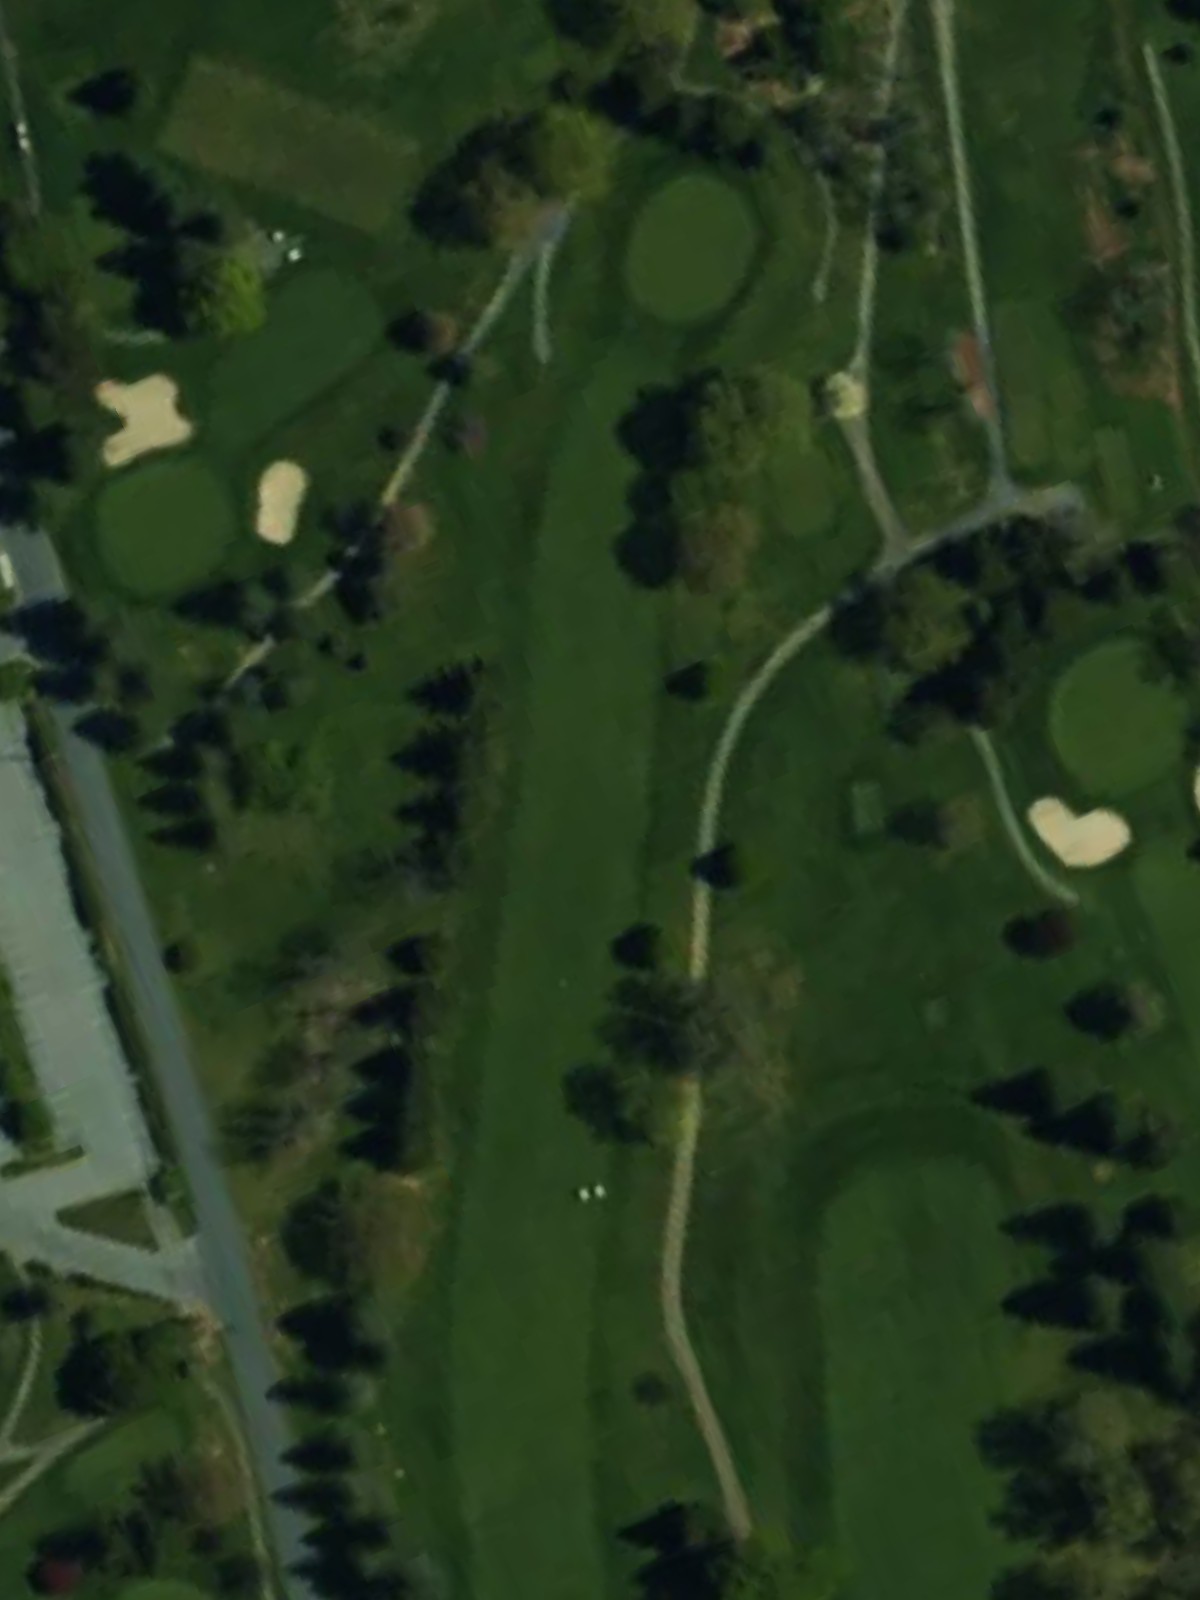
A challenging finishing par 4 with strategic bunkering throughout that tests precision and nerve down the stretch. The combination of length and hazard placement makes a solid closing score hard to achieve.
Scorecard
| Hole | 1 | 2 | 3 | 4 | 5 | 6 | 7 | 8 | 9 | Out | 10 | 11 | 12 | 13 | 14 | 15 | 16 | 17 | 18 | In | Tot |
|---|---|---|---|---|---|---|---|---|---|---|---|---|---|---|---|---|---|---|---|---|---|
| Par | 4 | 3 | 5 | 4 | 4 | 3 | 5 | 4 | 3 | 35 | 3 | 4 | 4 | 5 | 4 | 5 | 3 | 4 | 4 | 36 | 71 |
| HCP | 4 | 18 | 2 | 8 | 16 | 10 | 6 | 12 | 14 | 17 | 13 | 3 | 1 | 11 | 5 | 15 | 9 | 7 | |||
| blue | 399 | 115 | 581 | 352 | 258 | 195 | 478 | 311 | 144 | 2833 | 170 | 304 | 386 | 585 | 362 | 542 | 171 | 455 | 393 | 3368 | 6201 |
| white | 392 | 108 | 520 | 333 | 234 | 174 | 461 | 301 | 128 | 2651 | 156 | 293 | 376 | 556 | 355 | 531 | 159 | 450 | 386 | 3262 | 5913 |
| hybrid-green | 322 | 108 | 459 | 292 | 211 | 145 | 420 | 301 | 128 | 2386 | 156 | 293 | 330 | 447 | 355 | 400 | 159 | 341 | 302 | 2783 | 5169 |
| gold | 322 | 90 | 459 | 292 | 211 | 145 | 420 | 293 | 117 | 2349 | 135 | 249 | 330 | 447 | 302 | 400 | 147 | 341 | 302 | 2653 | 5002 |