Mountain Ranch Golf Club is an 18-hole golf course in Fairfield Bay, AR with a par of 72. It offers 4 tee sets: black (6,733 yards, slope 143, rating 73.8), blue (6,312 yards, slope 142, rating 71.3), white (6,023 yards, slope 137, rating 70.1), gold (5,478 yards, slope 126, rating 67.5). The hardest hole is #5, a par 4 playing 370 yards from the first tee.
Mountain Ranch Golf Club
Fairfield Bay, AR
Get PDF Yardage Book
We'll email you the PDF link. No spam, ever.
Create Your Game Plan
Pick your tees, enter your bag, and get a personalized shot-by-shot strategy for every hole.
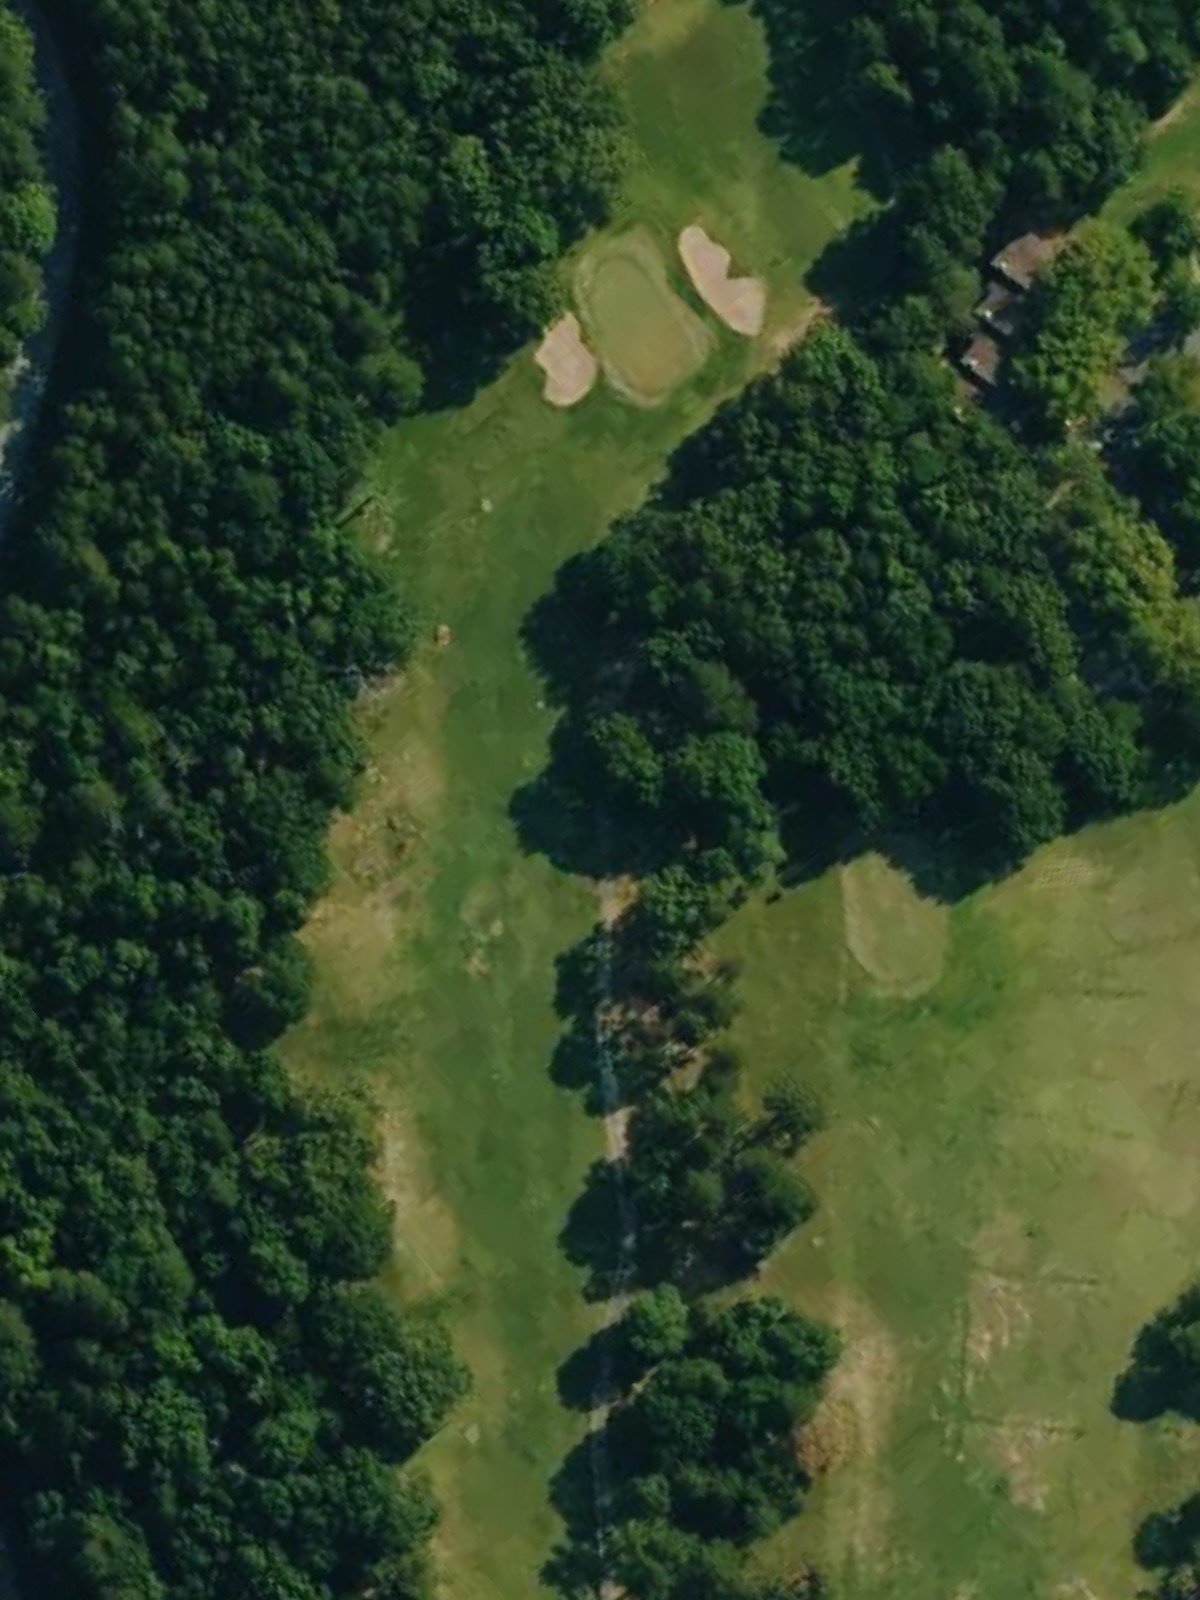
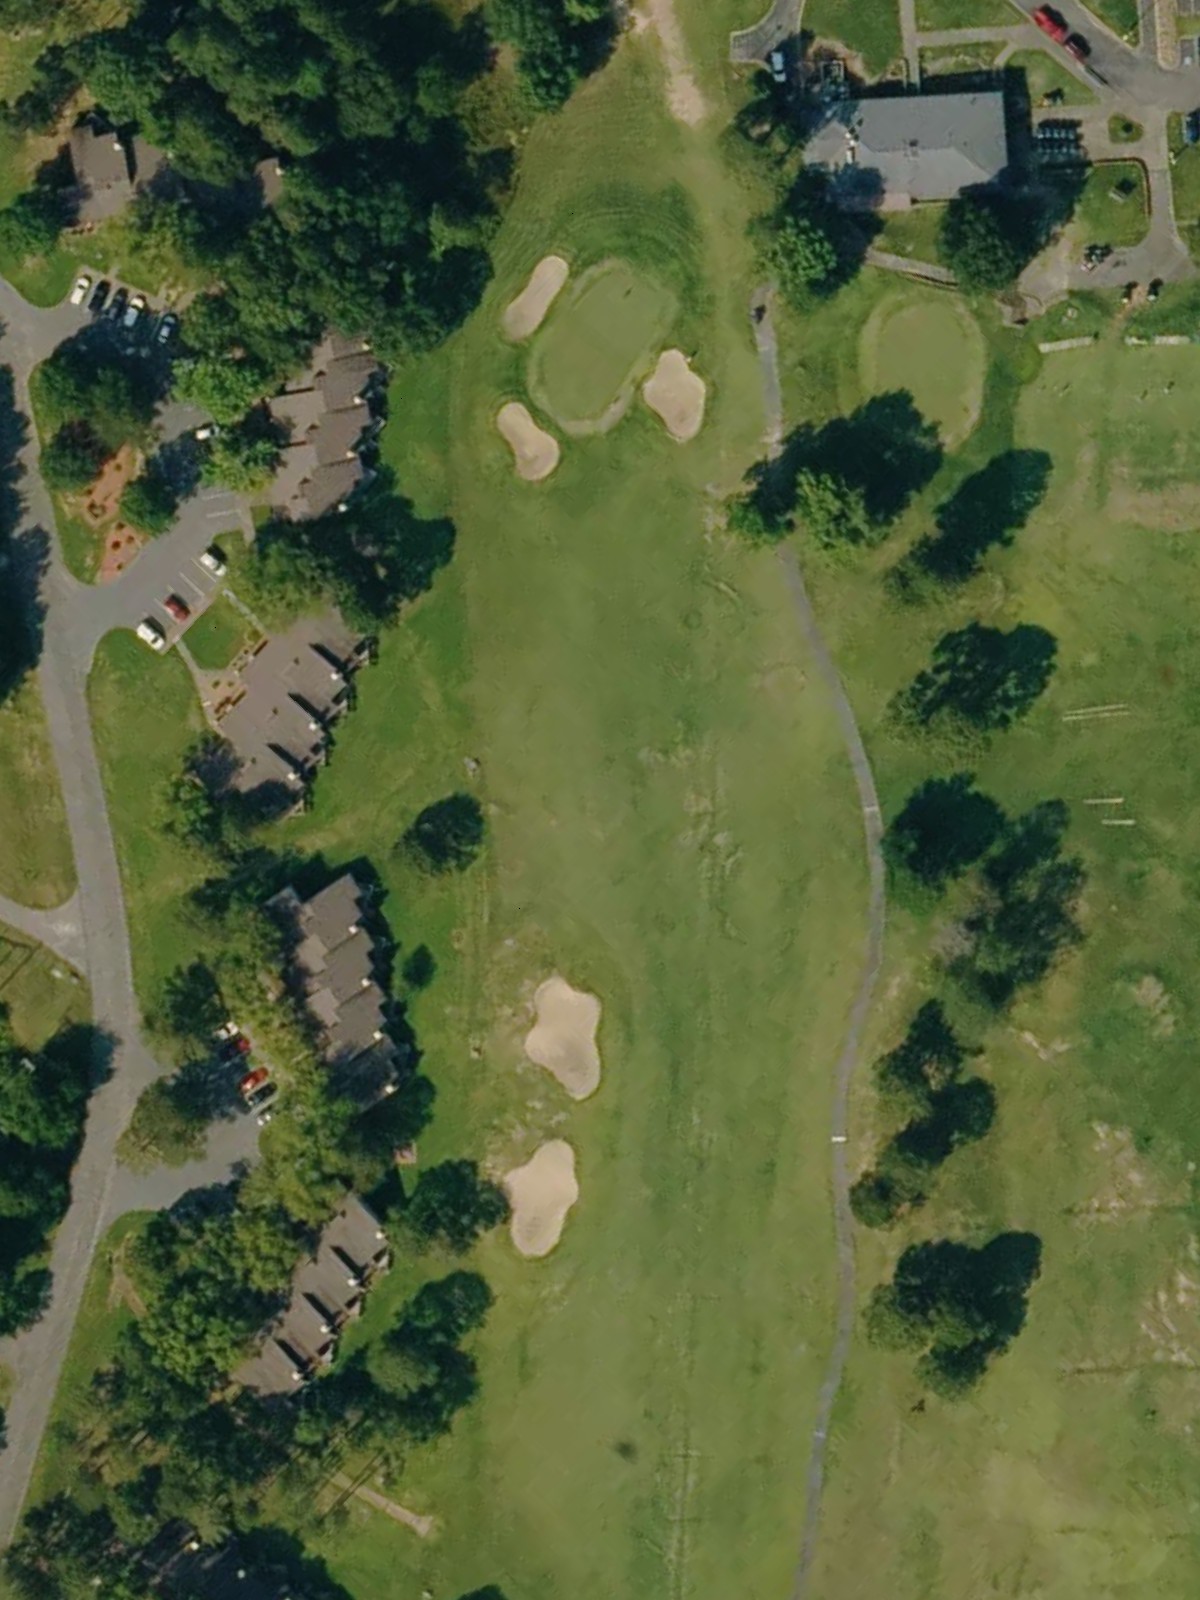
A straightforward par 4 with a wide fairway that gradually narrows as it approaches the green. Bunkers guard both sides of the green, requiring accuracy on the approach shot to avoid sand.
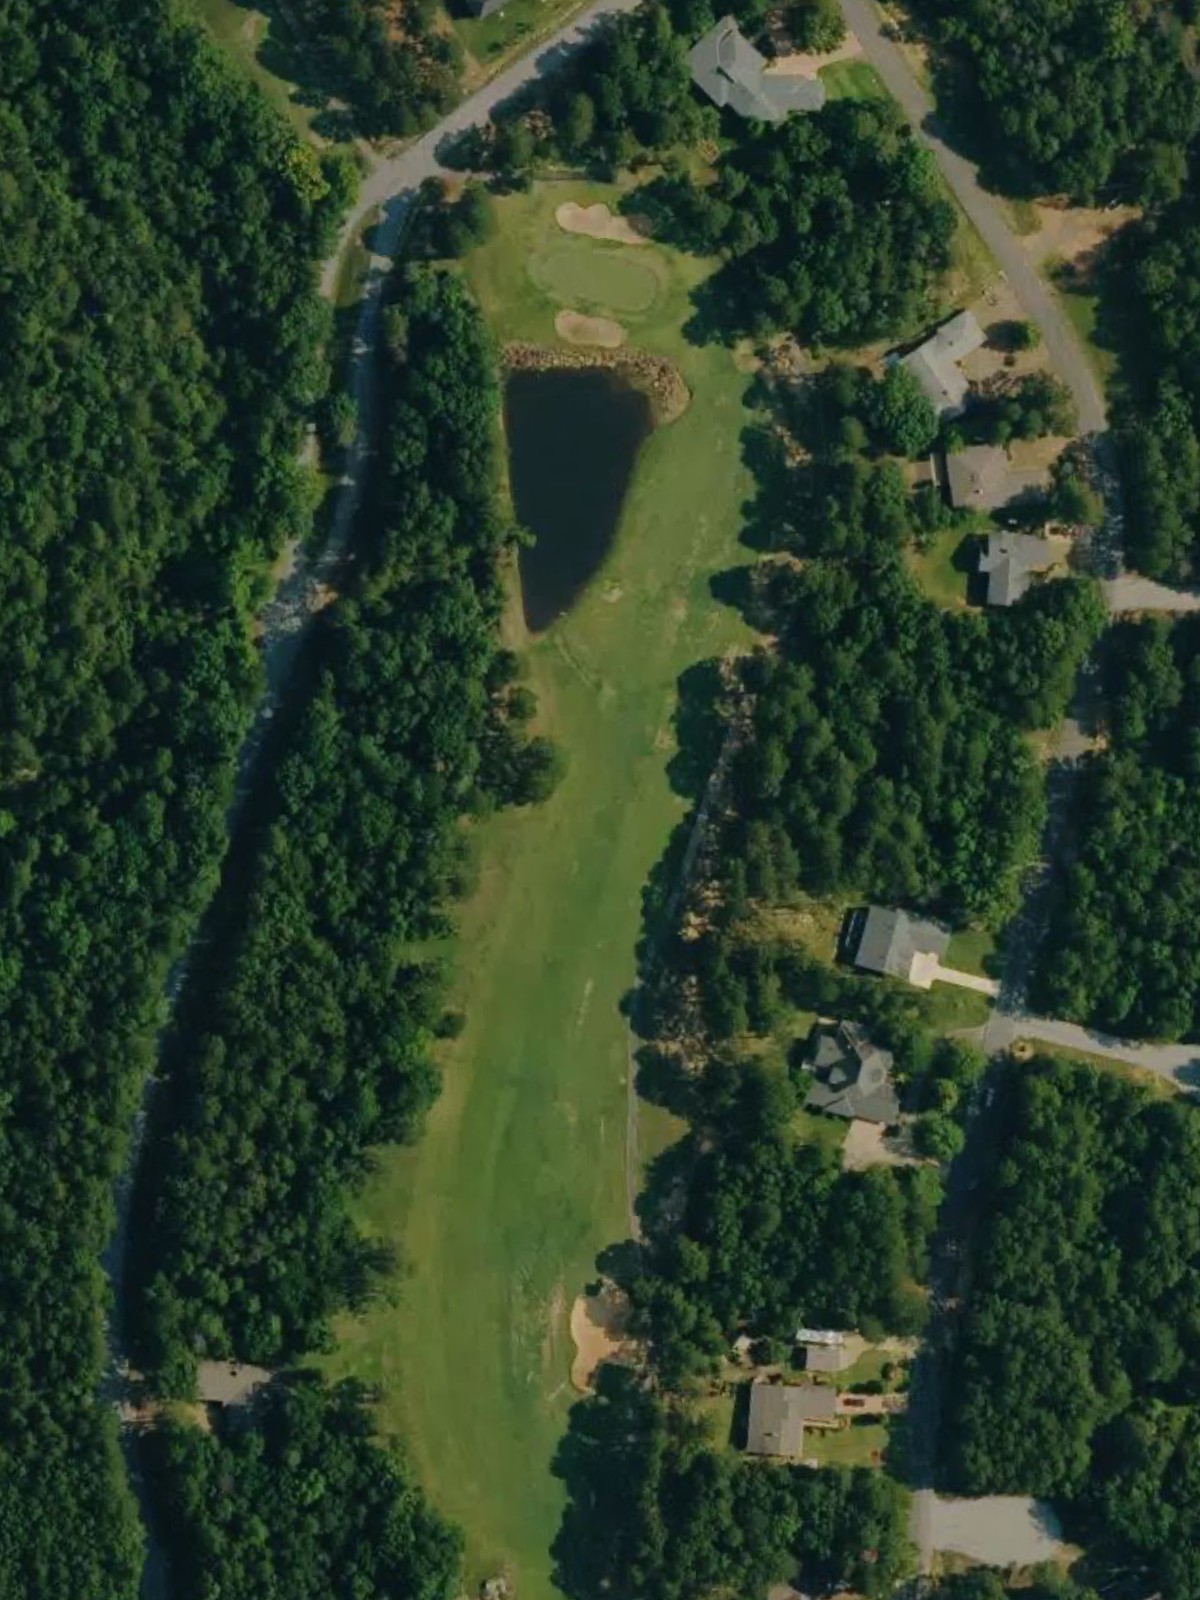
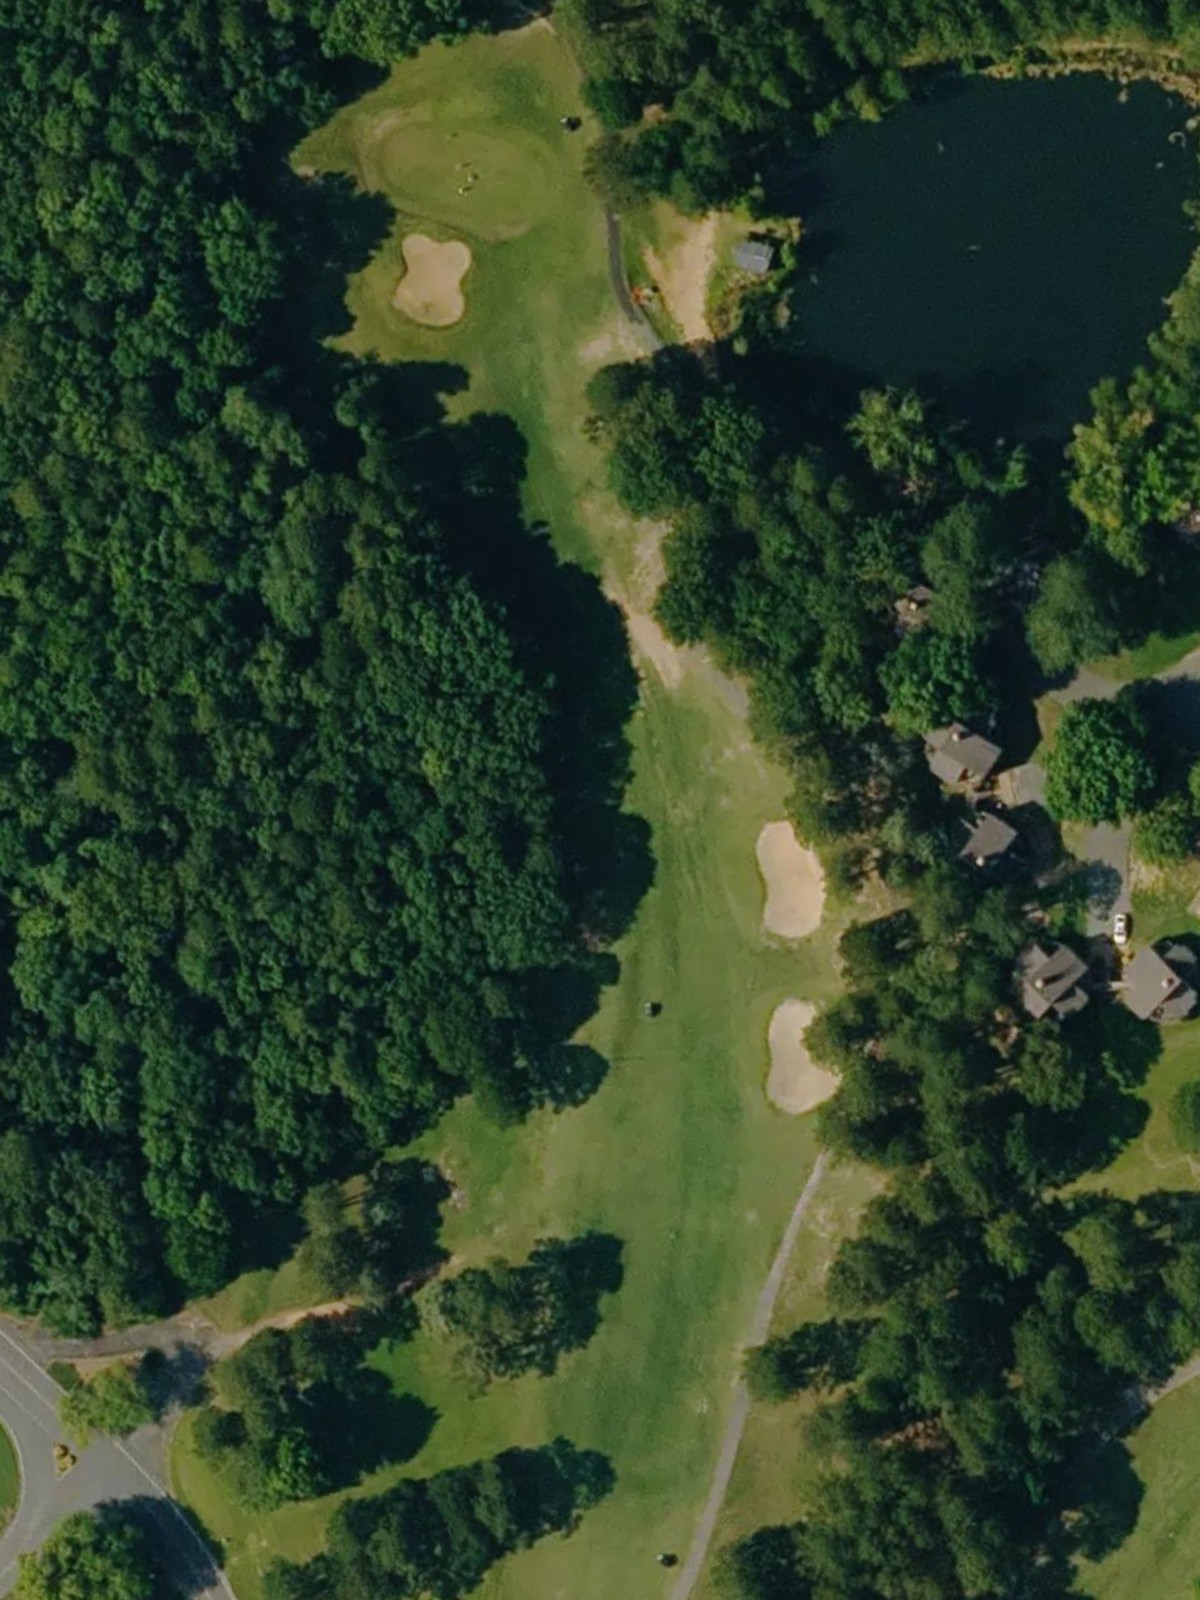
A reachable par 5 with a fairway that bends slightly right, offering birdie opportunities for longer hitters. Water hazards frame the left side throughout, while bunkers protect the right flank near the green.
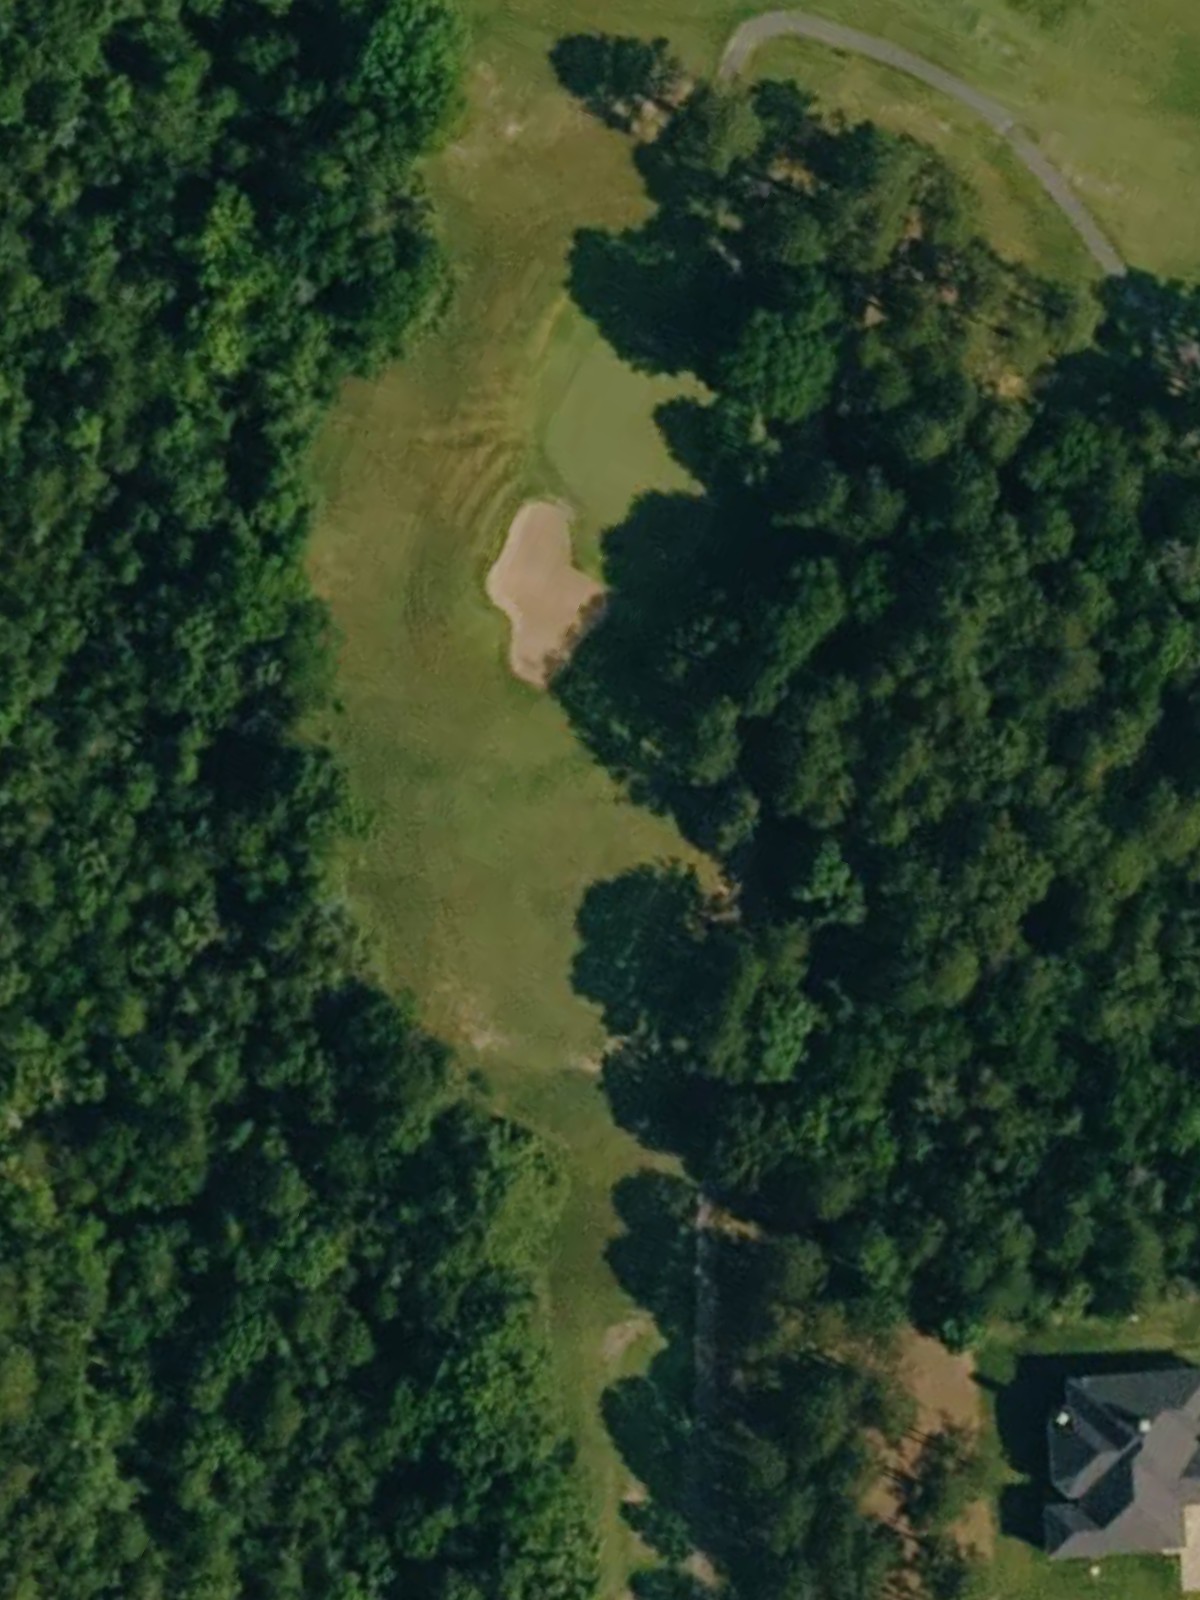
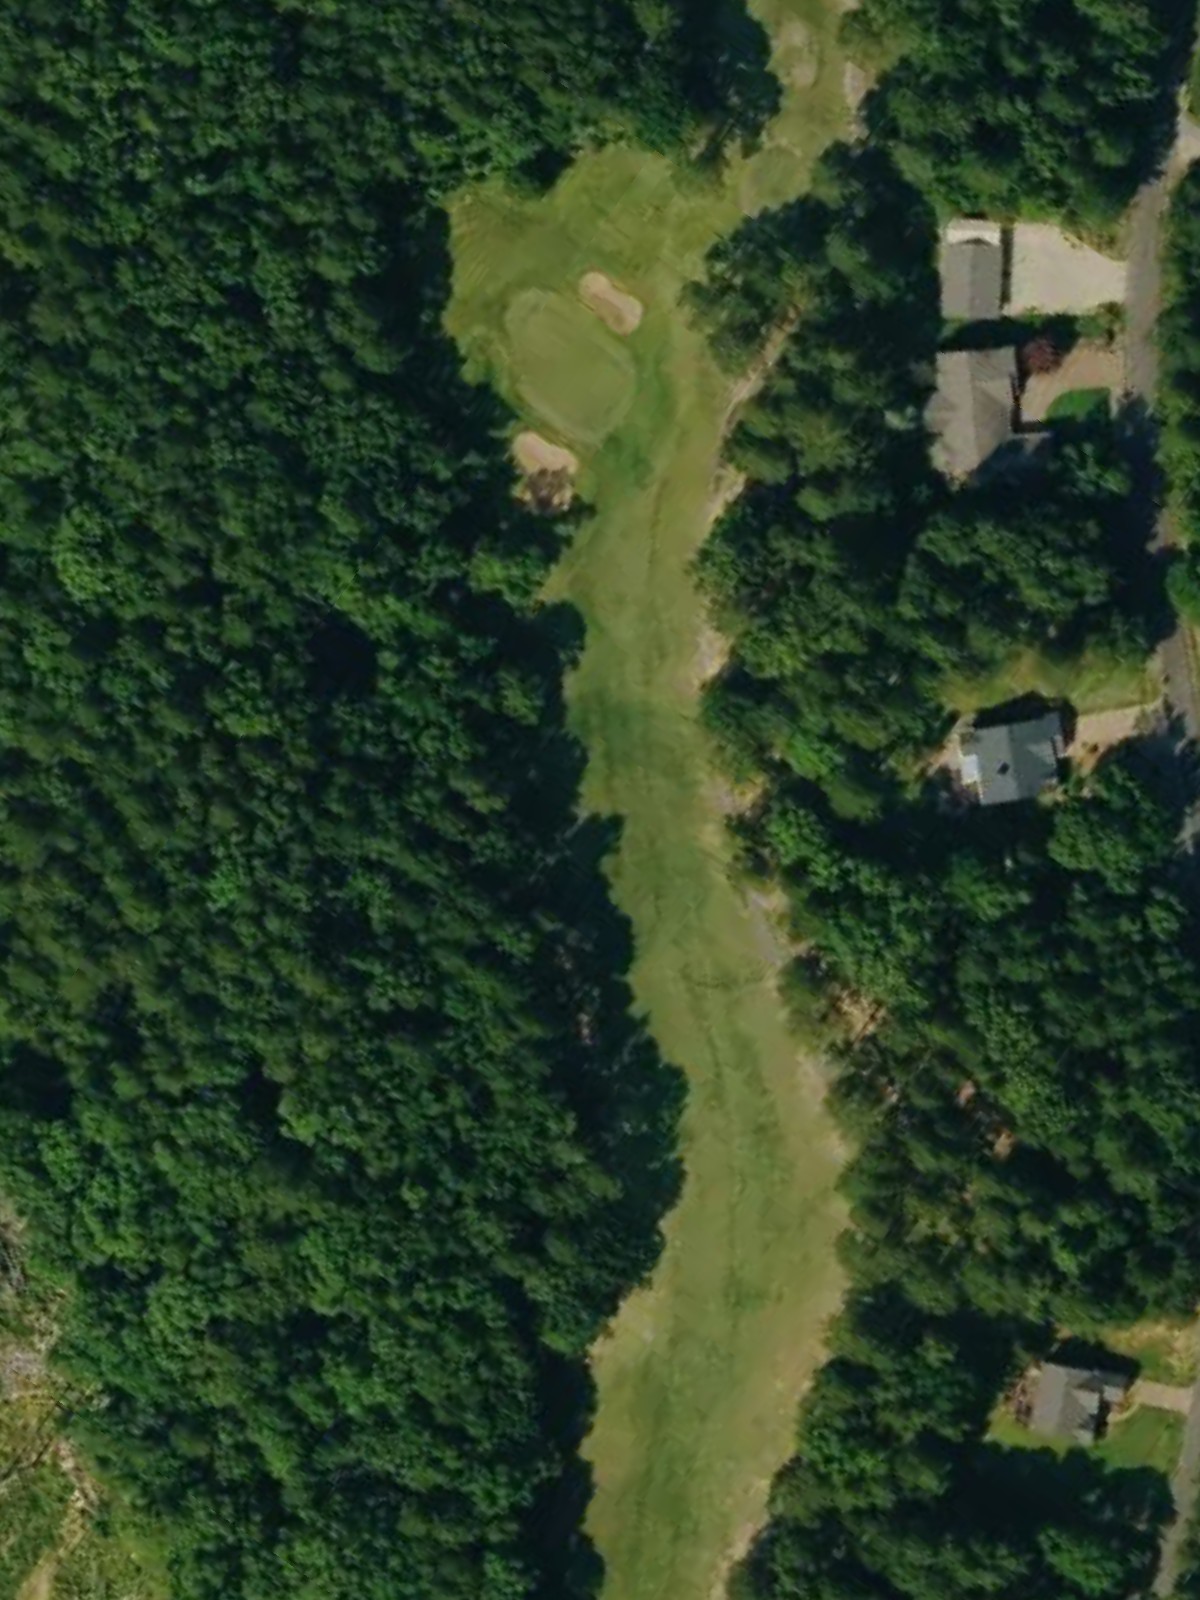
A short par 3 to a well-bunkered green with sand hazards front-left and right. The small target demands precision over distance, making club selection critical despite the modest yardage.
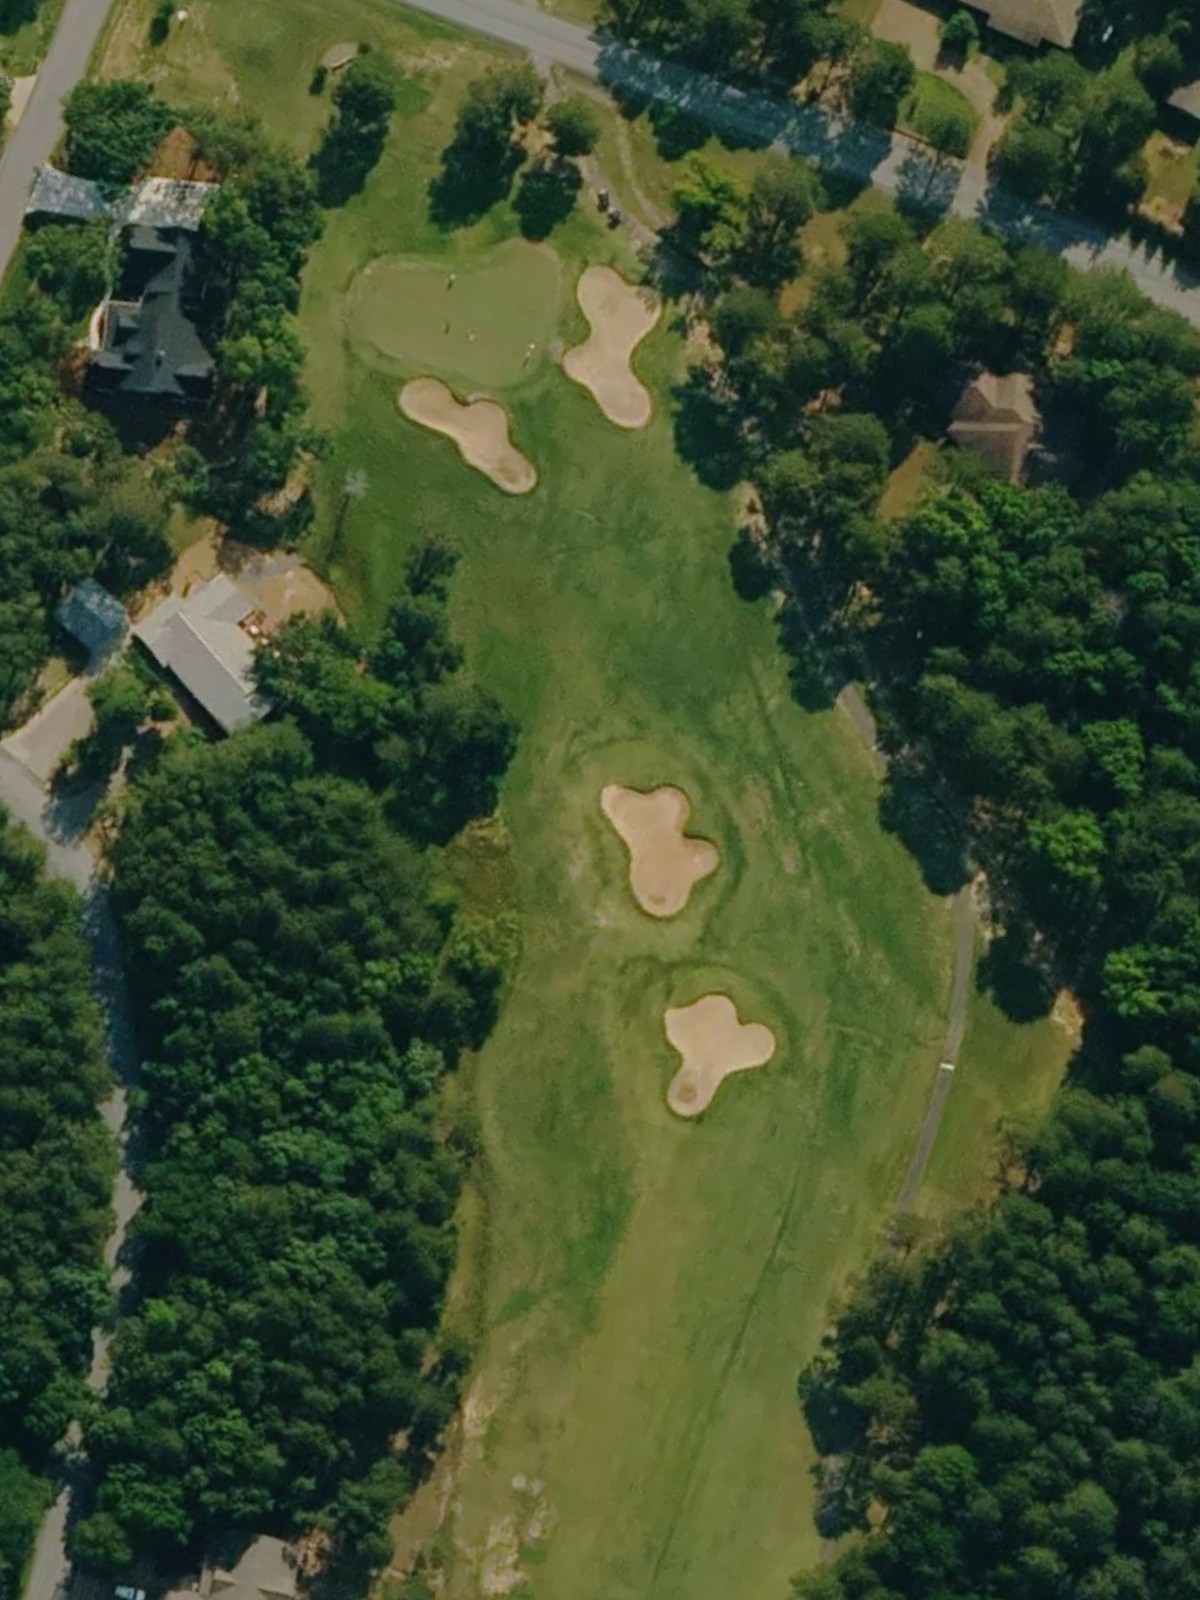
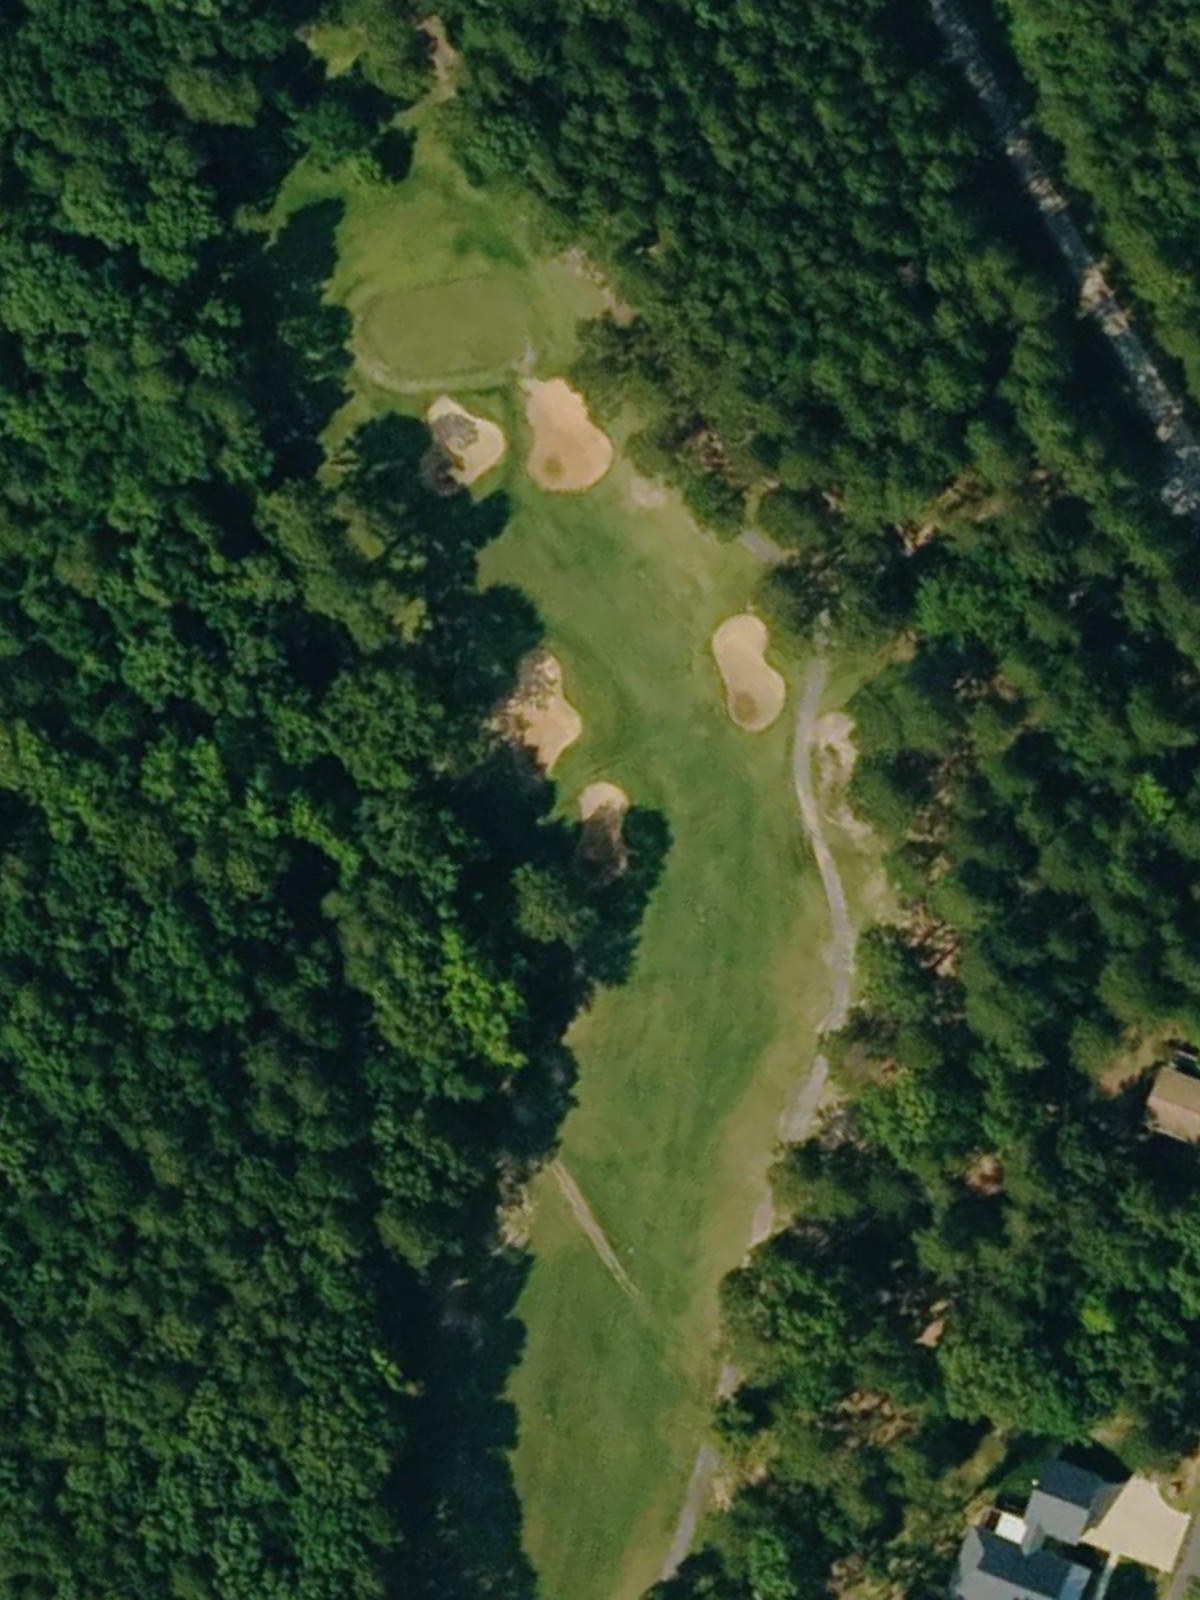
A dogleg right par 4 with strategic bunkering along the inside of the bend. The green sits elevated and is protected by bunkers on both sides, making the approach the defining shot.
The course's most difficult hole, this par 4 demands length and accuracy with out of bounds lurking right throughout. Bunkers frame the fairway and guard the green, leaving little margin for error.
A mid-length par 3 with an island green surrounded by water on the left and bunkers on the right. The narrow target and hazard placement on both sides make this a dramatic one-shot hole.
A gentle dogleg left par 4 with a fairway that widens in the driving zone. Bunkers protect the left side of the green, while the right side offers a slightly safer approach corridor.
A par 5 with a slight dogleg right that opens opportunities for aggressive players seeking a three-shot birdie. Water hazards guard the left side, while bunkers strategically defend the right approach.
A straightforward par 4 with a generous fairway and a relatively open green complex. Light bunkering allows for various approaches, making this a more forgiving hole on the back nine.
A par 4 with an uphill fairway that plays longer than the card indicates. Bunkers frame both sides of the green, and the elevated putting surface rewards accurate approach shots.
A challenging par 4 with bunkers right of the fairway that can dictate the line of play from the tee. The approach is uphill to a green protected by sand, demanding precision throughout.
A short par 4 with a narrow fairway flanked by hazards on both sides. The compact design makes accuracy more important than distance, creating a risk-reward dynamic for the tee shot.
The course's shortest par 3, this hole features a small green protected by bunkers left and right. Wind and elevation changes can have outsized impact on this deceptively challenging short hole.
A strong par 5 with a dogleg left that requires two solid shots to reach birdie range. Water hazards left of the fairway and bunkers around the green demand careful positioning throughout the hole.
The second-most difficult hole, this dramatic par 4 is heavily bunkered on both sides with out of bounds threatening the left. The narrow fairway and well-guarded green make this a premium test of shot-making.
A picturesque par 3 requiring a precise mid-iron to a well-bunkered green with sand front and sides. The moderate length and strategic hazard placement create a demanding short hole that looks deceptively simple.
A long par 4 with a fairway that doglegs right, with bunkers guarding the inside of the turn. Out of bounds right and bunkers near the green create a challenging risk-reward scenario for both the drive and approach.
A finishing par 5 that bends slightly left with water hazards guarding the left side throughout. Bunkers protect the green, and the length offers a dramatic closing hole requiring two quality shots to set up a birdie opportunity.
Scorecard
| Hole | 1 | 2 | 3 | 4 | 5 | 6 | 7 | 8 | 9 | Out | 10 | 11 | 12 | 13 | 14 | 15 | 16 | 17 | 18 | In | Tot |
|---|---|---|---|---|---|---|---|---|---|---|---|---|---|---|---|---|---|---|---|---|---|
| Par | 4 | 5 | 3 | 4 | 4 | 3 | 4 | 5 | 4 | 36 | 4 | 4 | 4 | 3 | 5 | 4 | 3 | 4 | 5 | 36 | 72 |
| HCP | 7 | 3 | 17 | 5 | 1 | 9 | 11 | 13 | 15 | 14 | 10 | 12 | 18 | 4 | 2 | 8 | 6 | 16 | |||
| black | 376 | 542 | 156 | 372 | 403 | 166 | 410 | 544 | 380 | 3349 | 382 | 407 | 315 | 156 | 560 | 386 | 196 | 442 | 540 | 3384 | 6733 |
| blue | 360 | 525 | 145 | 352 | 370 | 158 | 372 | 519 | 356 | 3157 | 362 | 381 | 307 | 139 | 497 | 370 | 173 | 409 | 517 | 3155 | 6312 |
| white | 347 | 509 | 136 | 329 | 352 | 148 | 356 | 499 | 345 | 3021 | 345 | 368 | 299 | 127 | 476 | 352 | 154 | 384 | 497 | 3002 | 6023 |
| gold | 301 | 443 | 129 | 303 | 334 | 117 | 339 | 456 | 327 | 2749 | 319 | 352 | 287 | 114 | 417 | 286 | 147 | 347 | 460 | 2729 | 5478 |