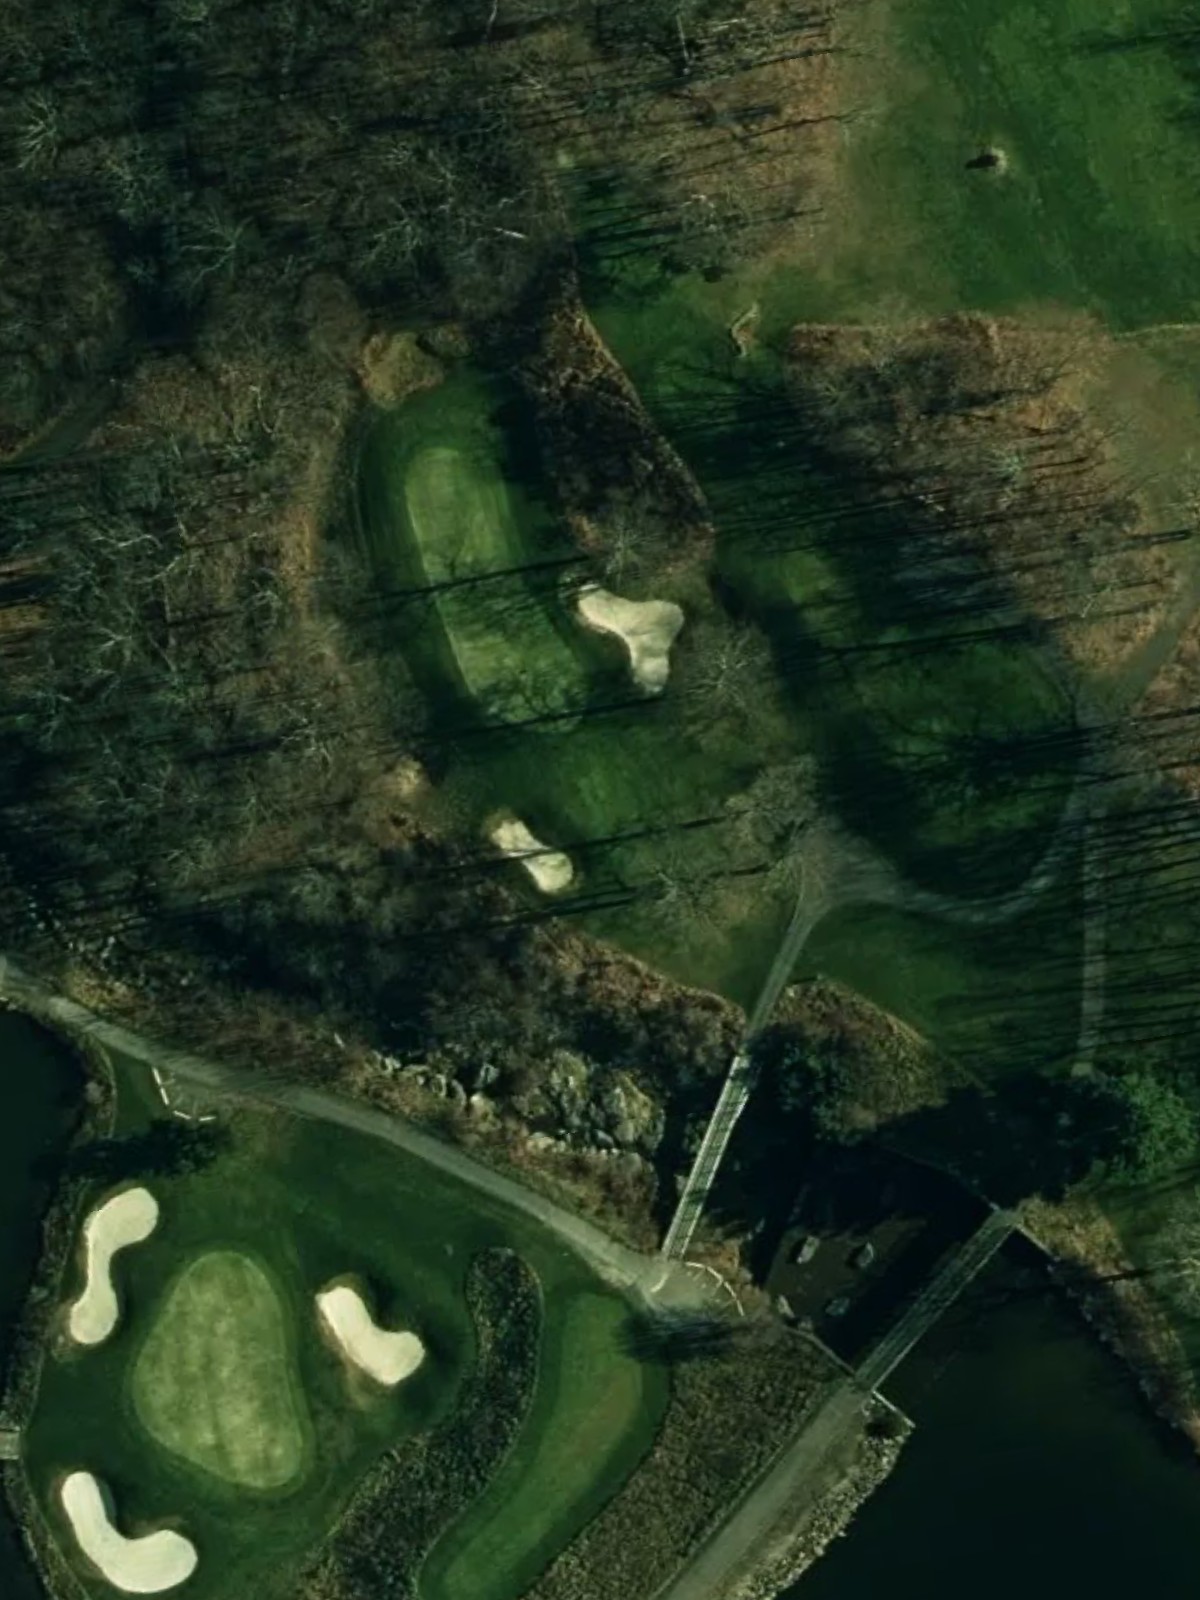
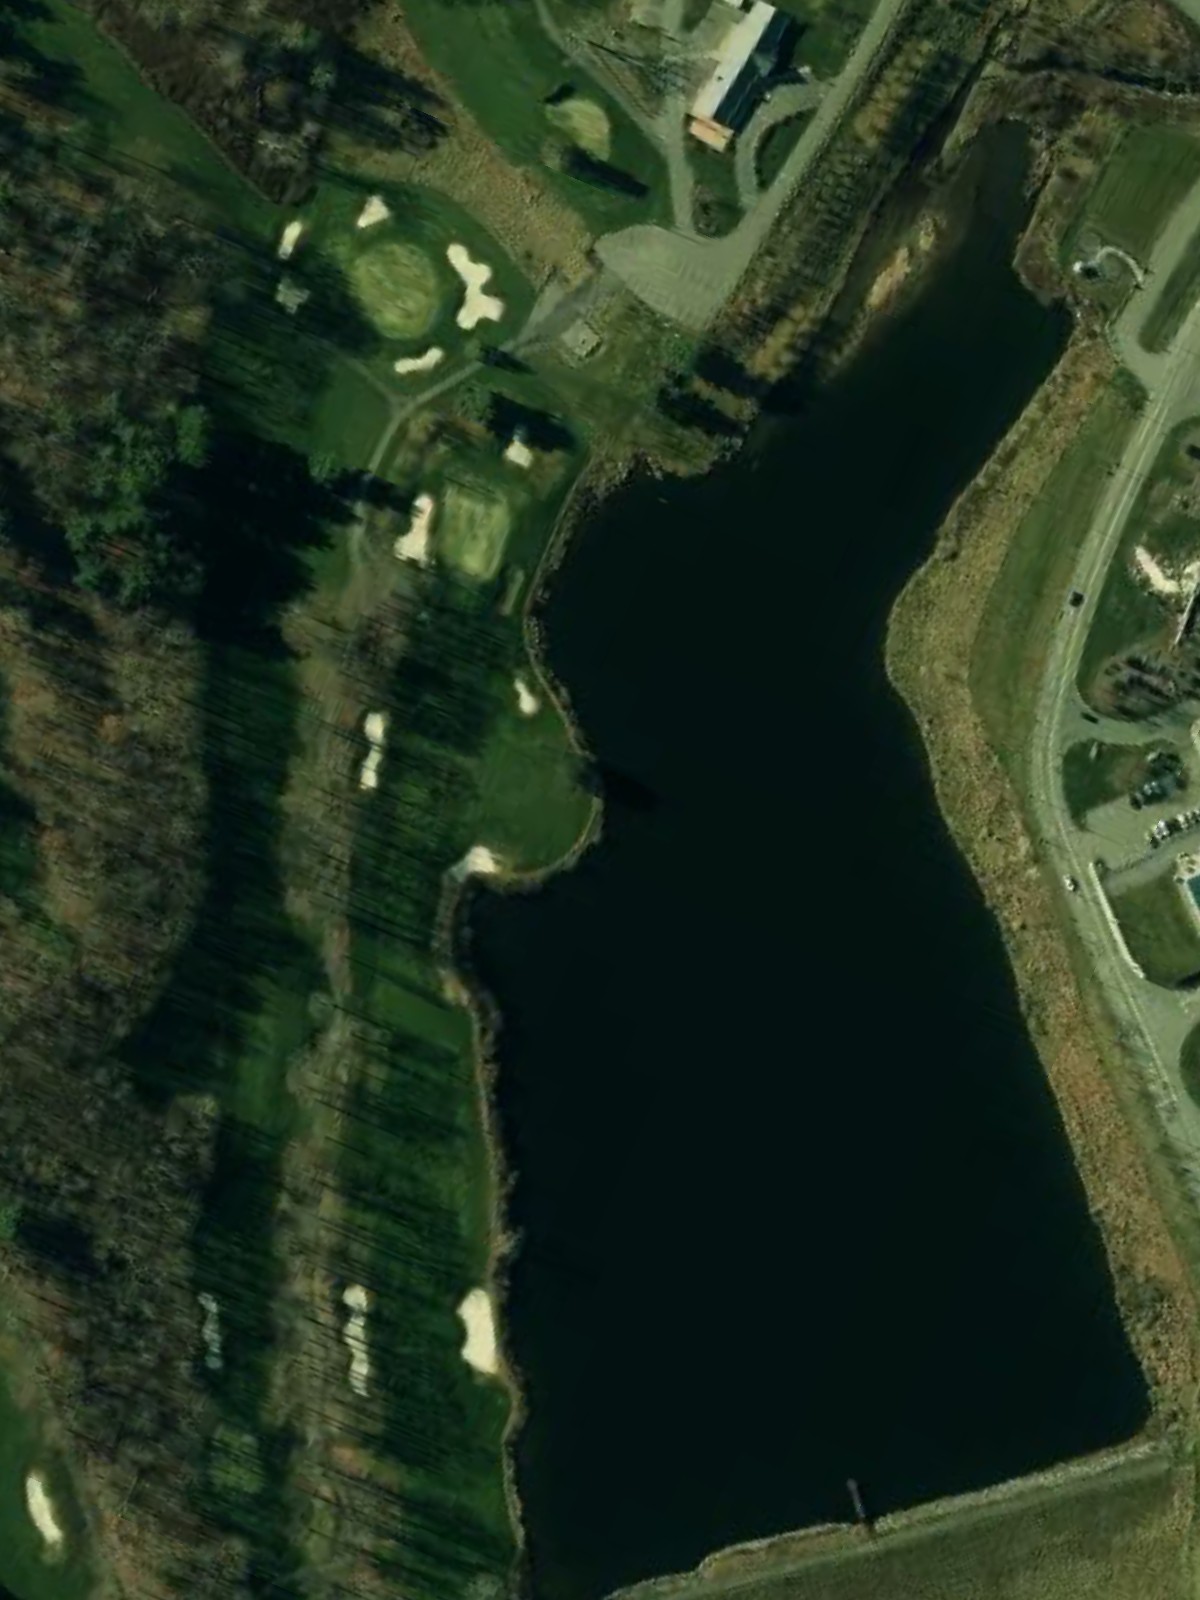
Mount Airy Golf Club is an 18-hole golf course in Mount Pocono, PA with a par of 71. It offers 3 tee sets: blue (6,367 yards, slope 132, rating 72.4), white (5,912 yards, slope 132, rating 70), gold (5,413 yards, slope 130, rating 68.2). The hardest hole is #7, a par 5 playing 562 yards from the first tee.
Mount Airy Golf Club
Mount Pocono, PA
Get PDF Yardage Book
We'll email you the PDF link. No spam, ever.
Create Your Game Plan
Pick your tees, enter your bag, and get a personalized shot-by-shot strategy for every hole.
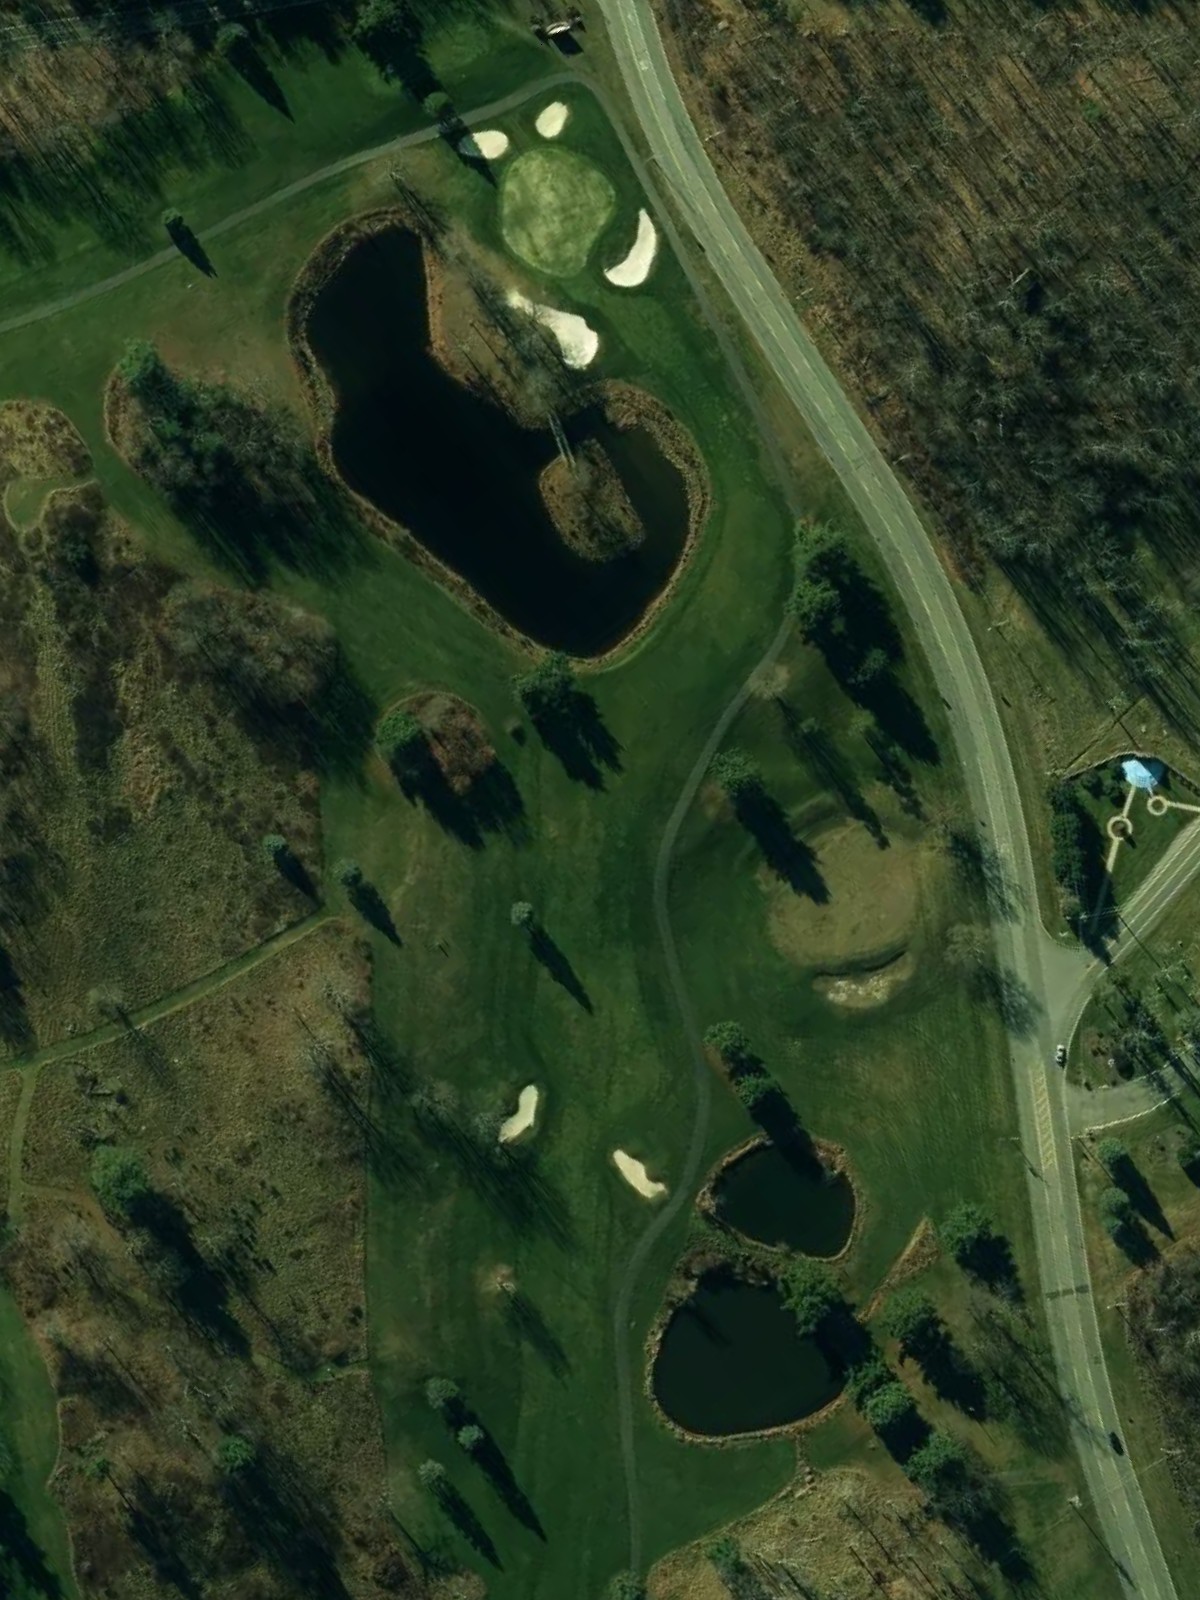
A long par 5 that plays relatively straight, offering birdie opportunity for those who can reach the green in two. The fairway is generous off the tee, but tightens as it approaches a well-bunkered green.

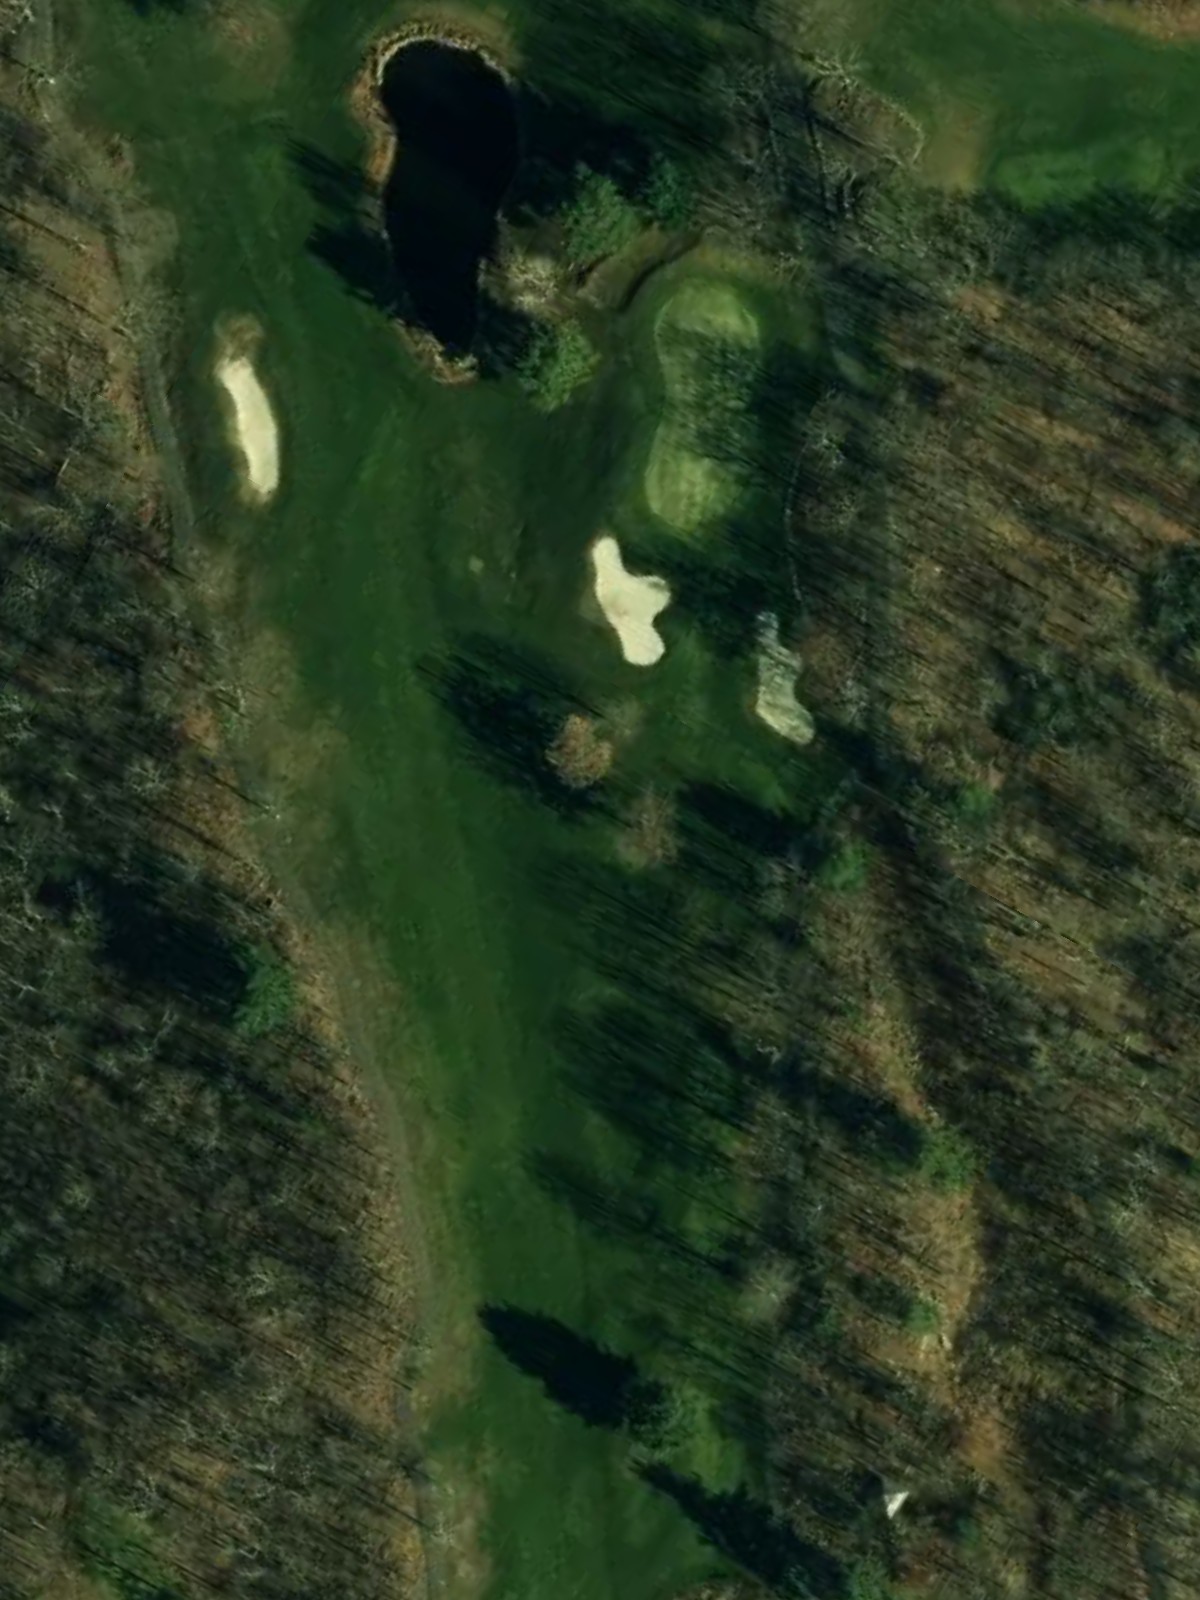
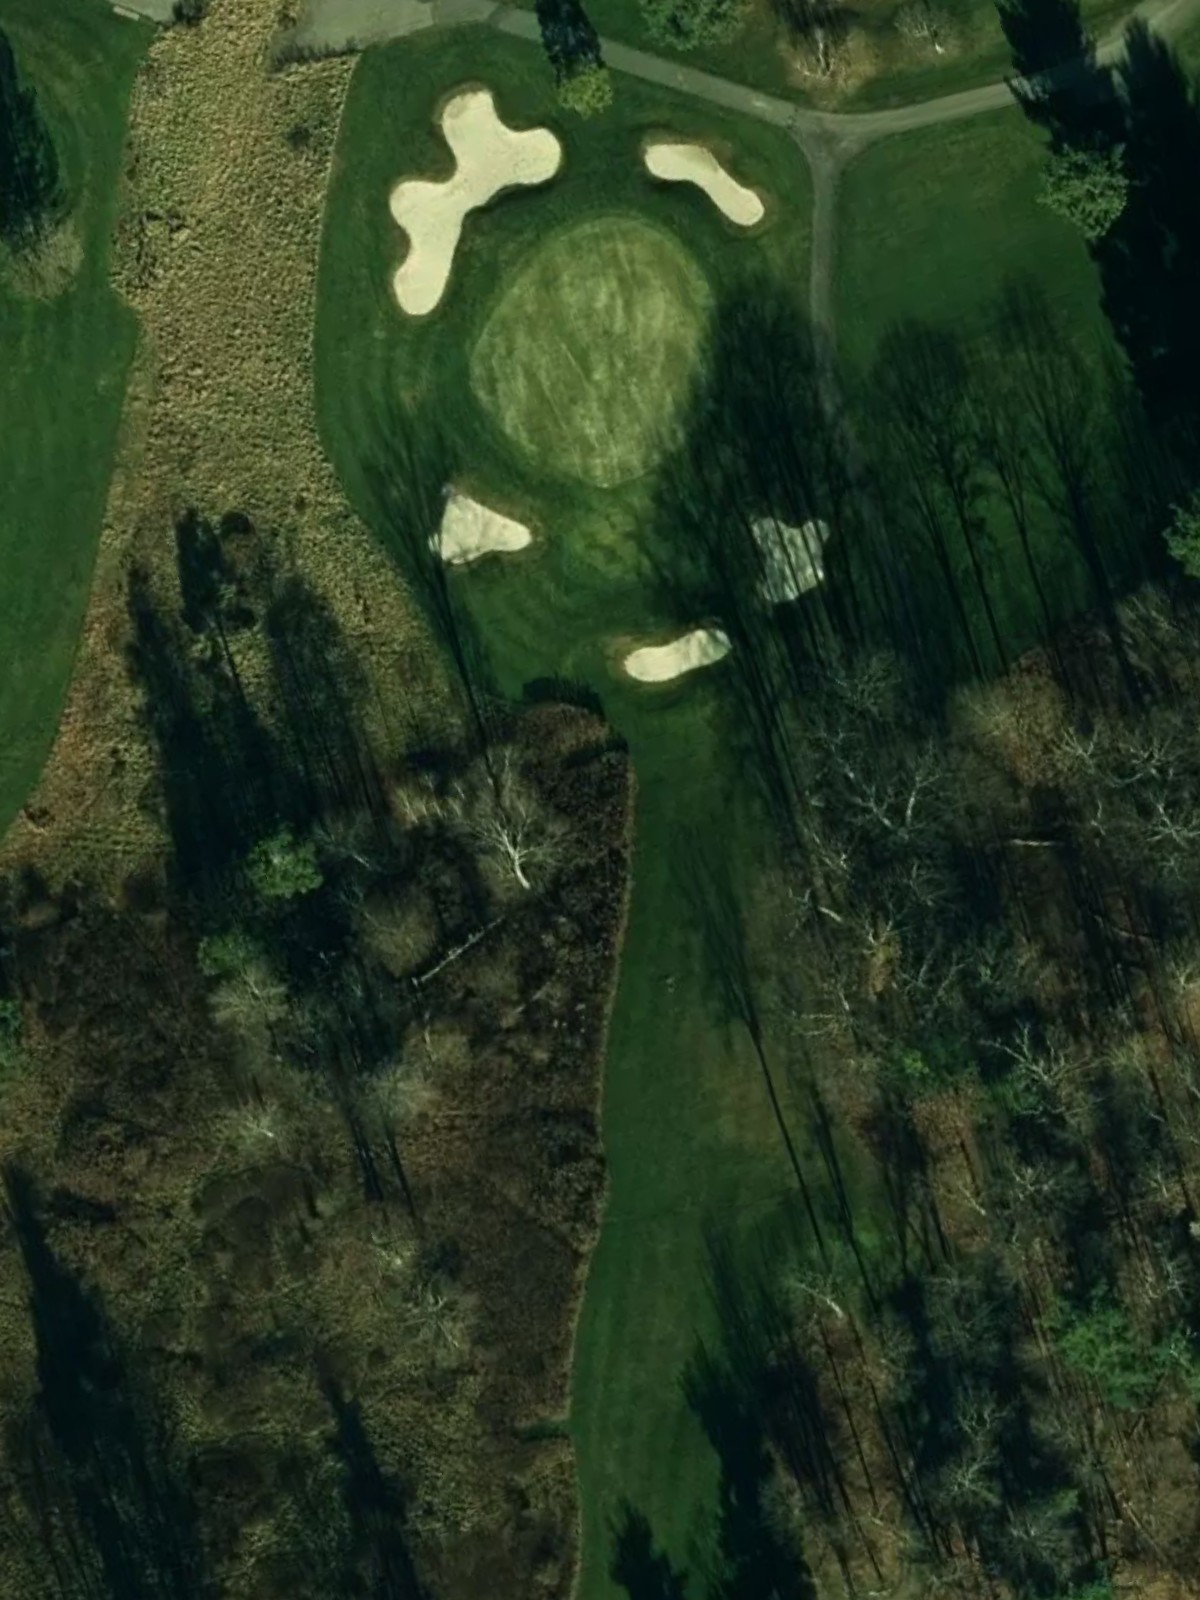
A demanding par 4 with a narrow, threatening fairway that requires accuracy from the tee. Out-of-bounds lurks along one side while bunkers guard the approach to the green, making this one of the course's most challenging holes.
A shorter par 4 that plays deceptively simple, with a wide fairway inviting an aggressive start. The green sits relatively open, making this a scoring opportunity despite its modest length.
A short par 3 with a straightforward approach and minimal hazard concern. The accessible green makes this an ideal birdie chance early in the round.

A solid par 4 with a fairway that demands a well-placed drive to set up a clean approach. Hazards frame the landing area and green, requiring controlled shotmaking throughout.
A short par 4 that appears inviting but requires precision rather than length. The compact design and strategic bunkering make accuracy off the tee essential for a stress-free approach.
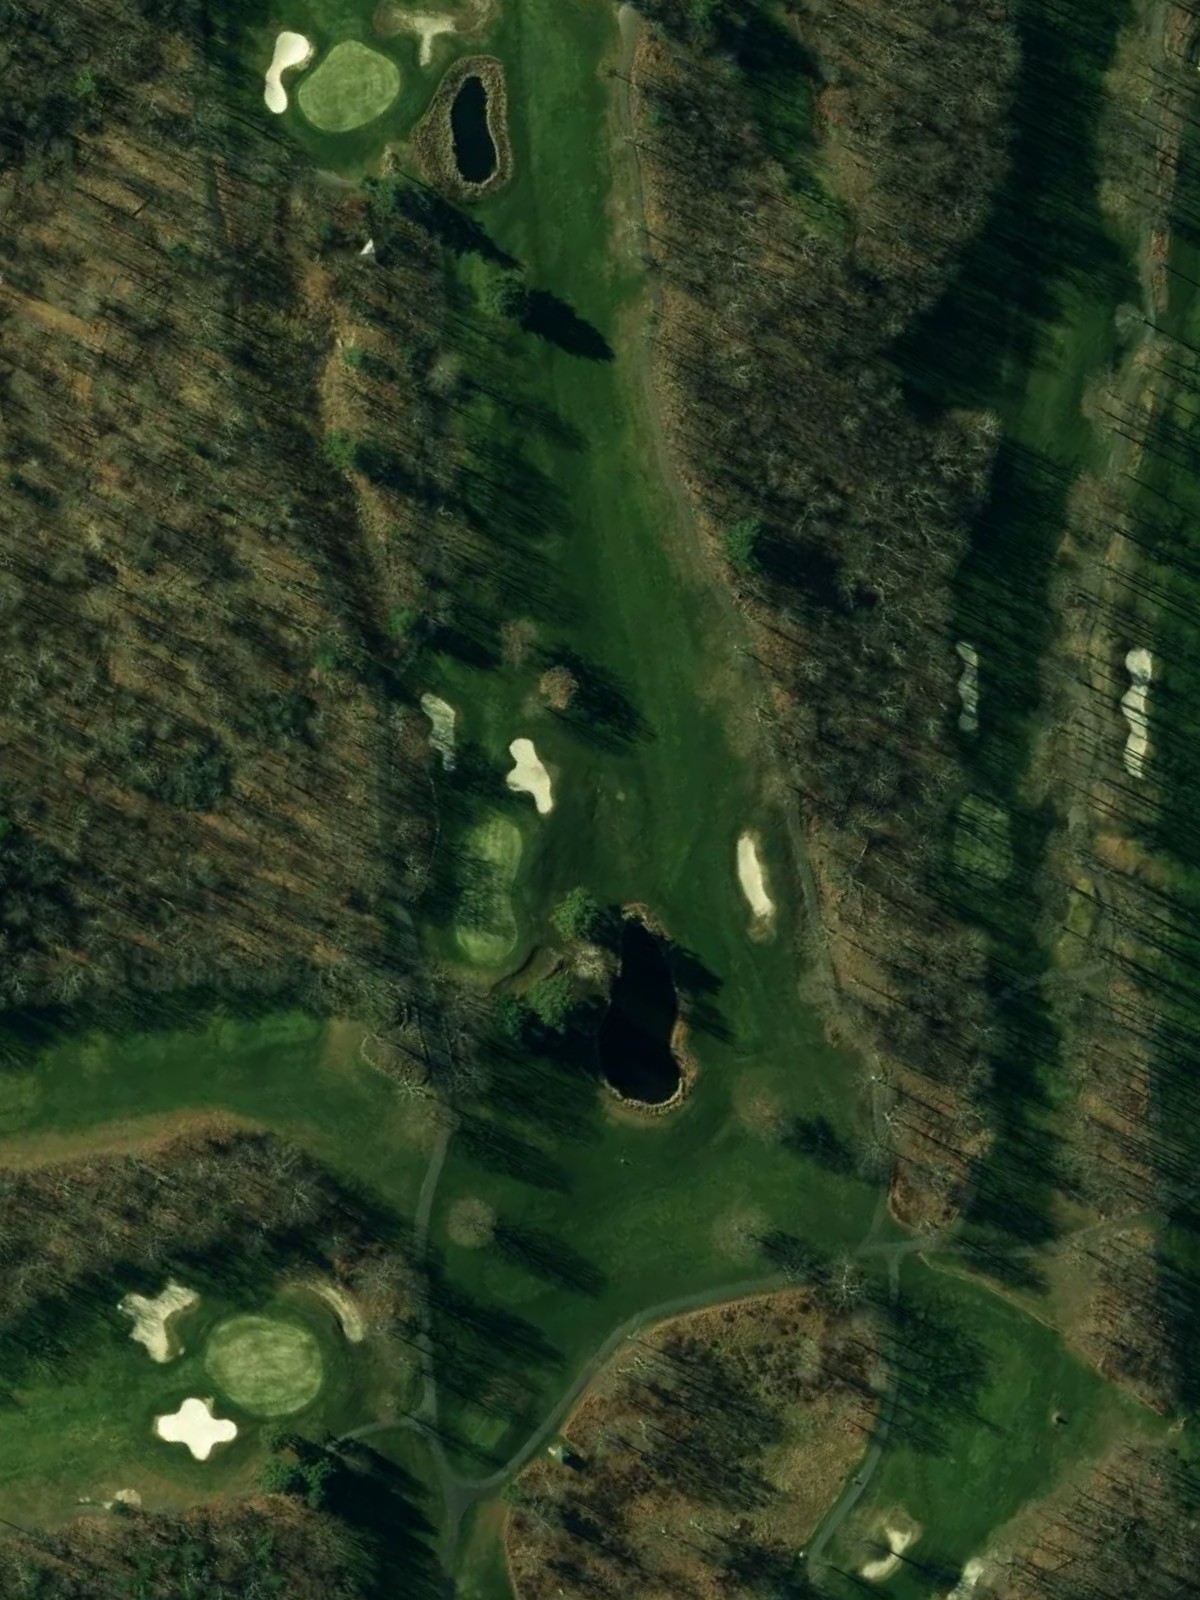
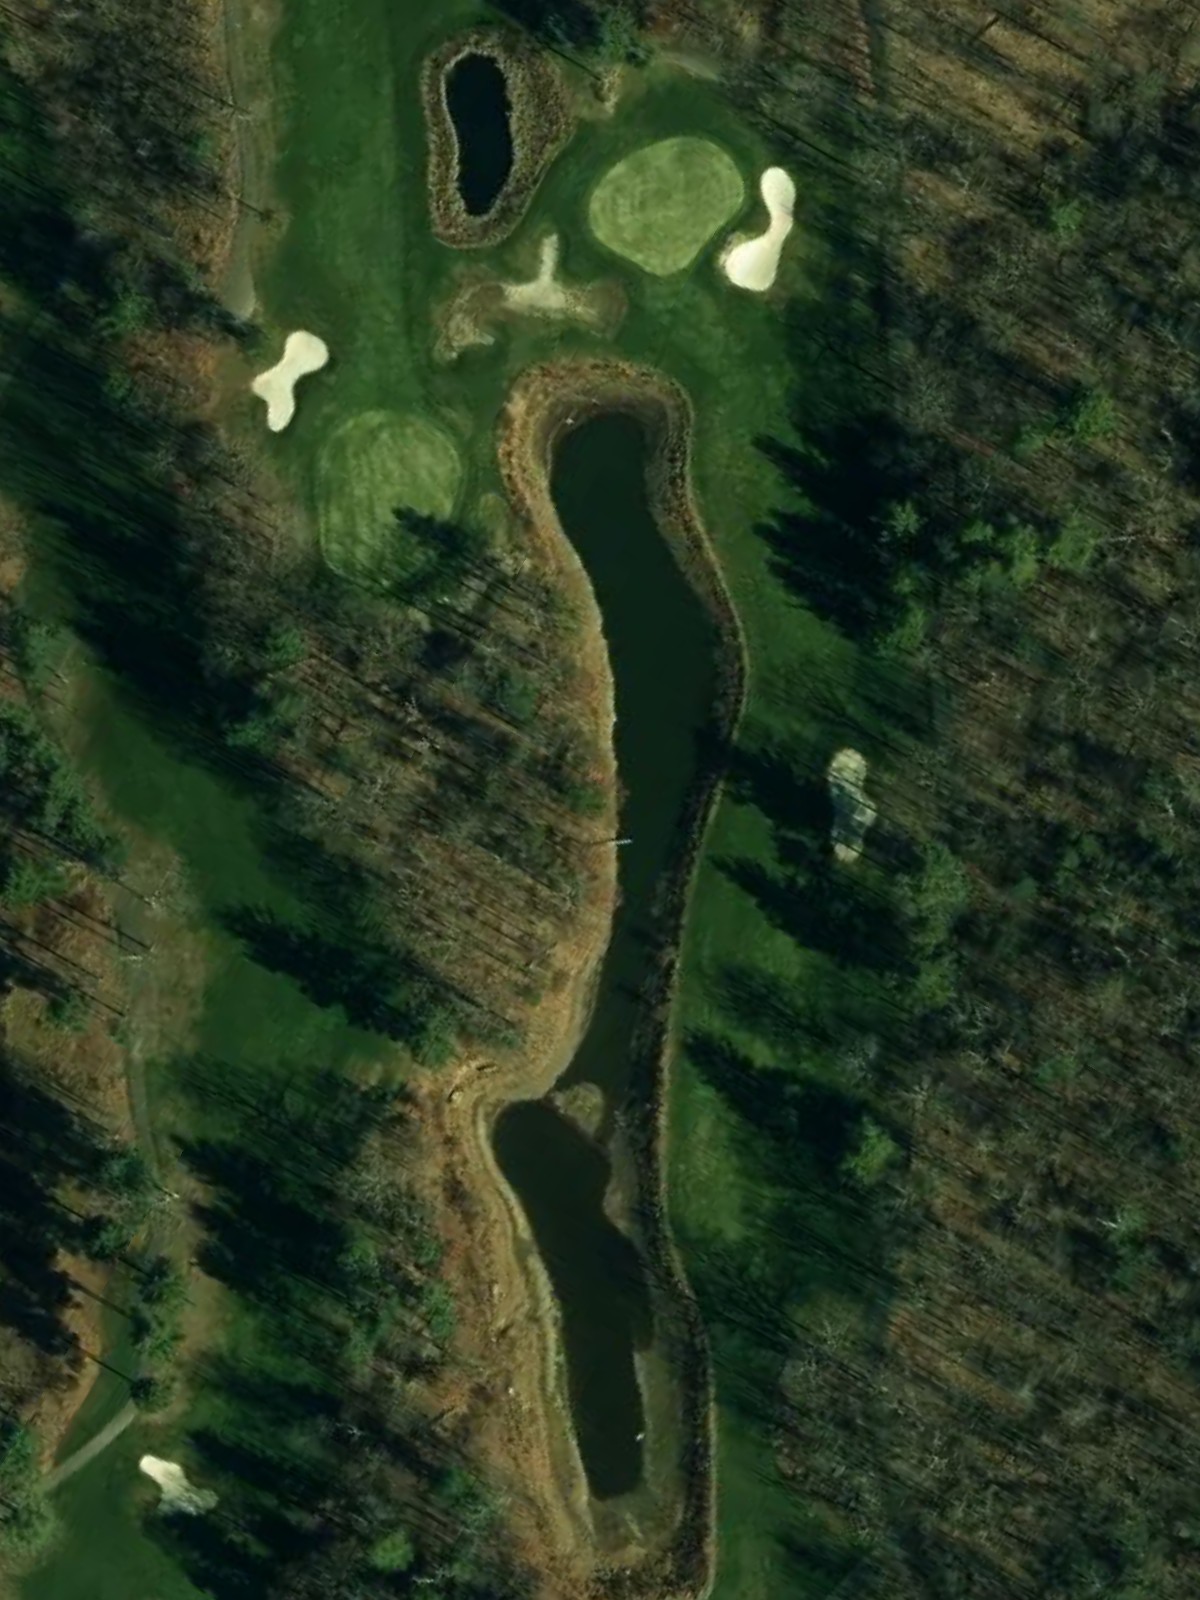
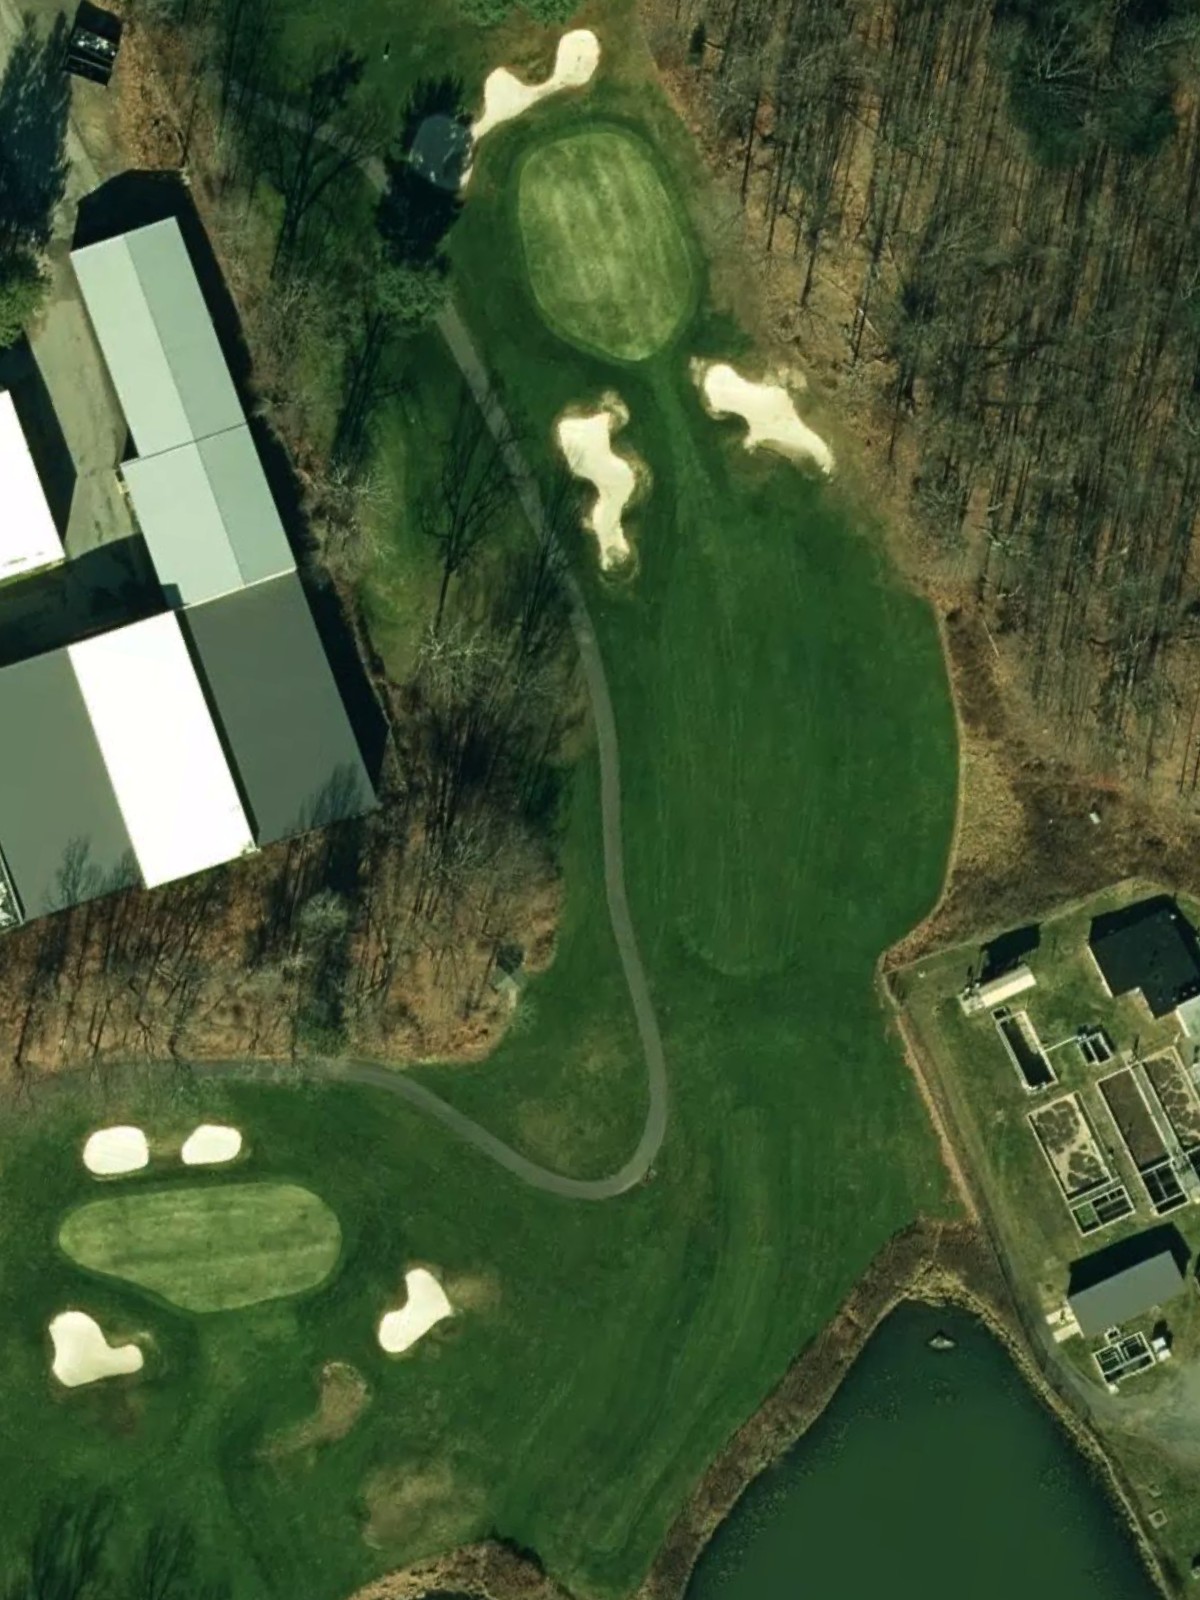
The course's most challenging hole, this lengthy par 5 demands power and accuracy from the tee box. The fairway presents a dramatic risk-reward opportunity, with hazards positioned to penalize aggressive play and reward patience.
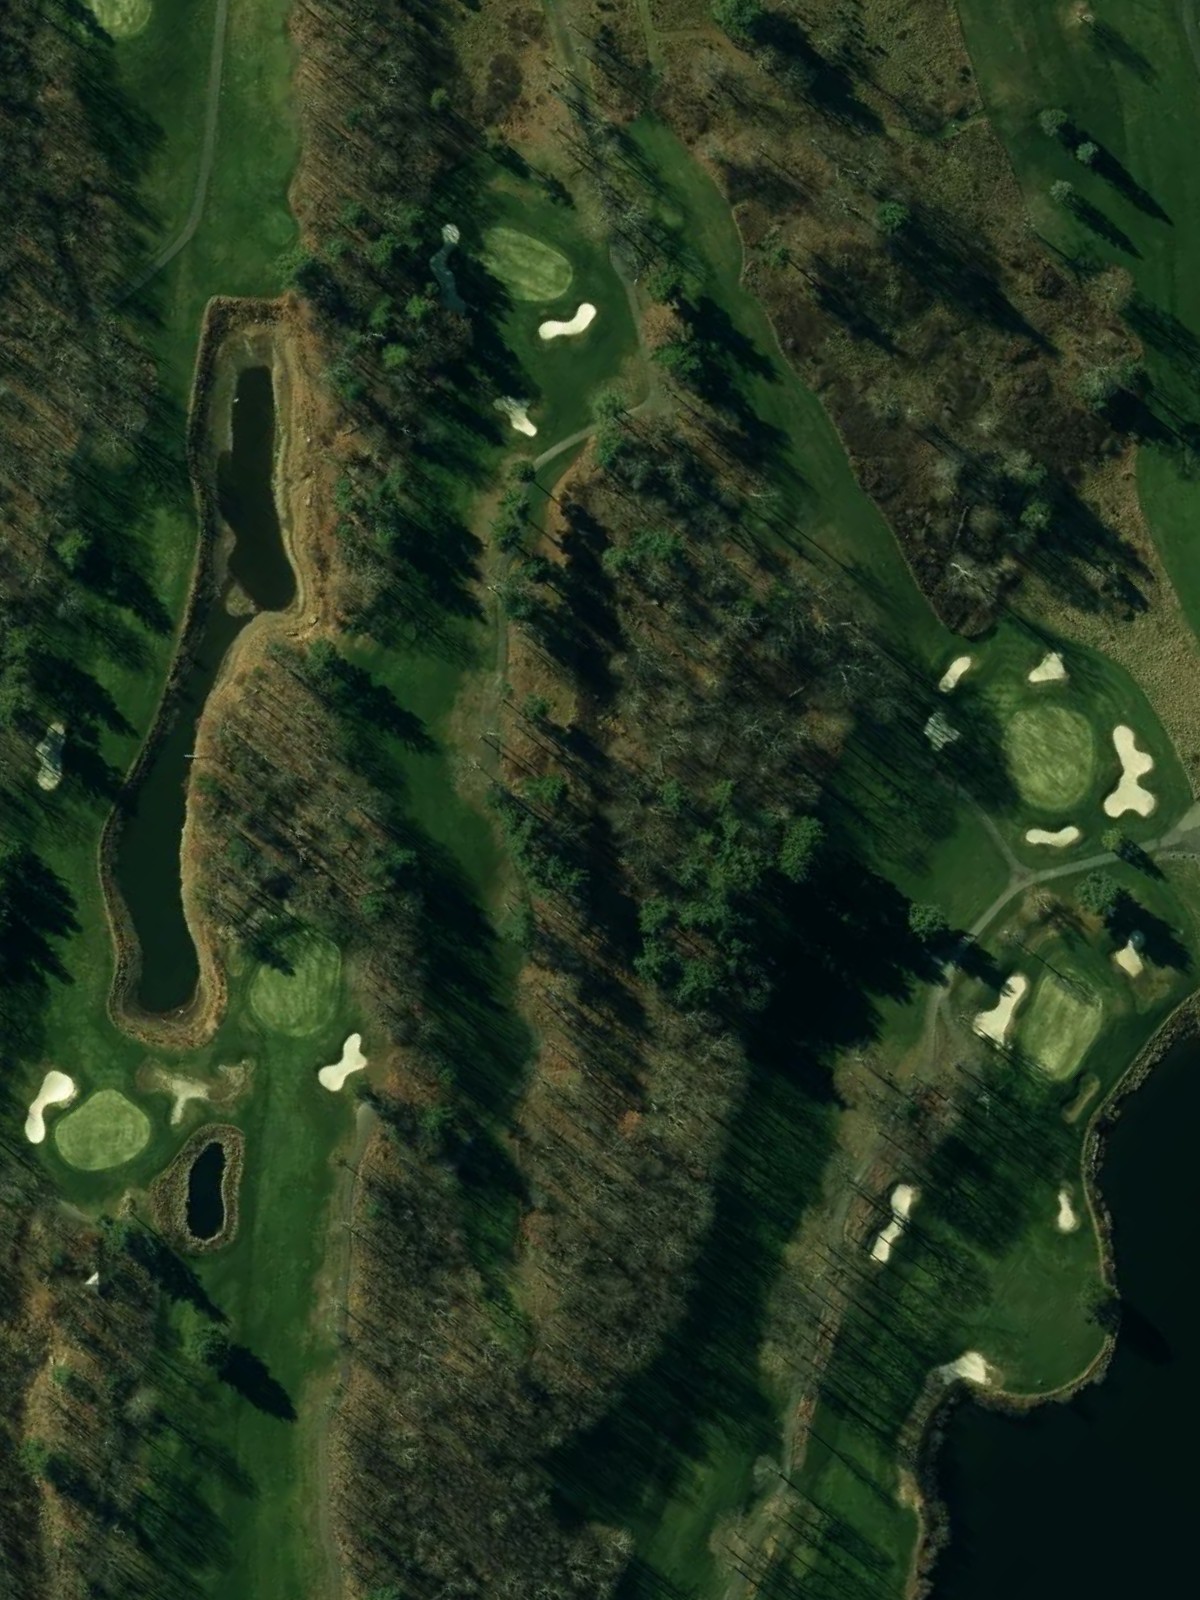
A picturesque mid-length par 4 with an elegant dogleg that frames the hole's character. Strategic bunkering and water hazards define the fairway and green complex, creating an engaging risk-reward test.
A dramatic par 3 with significant length from the back tees and an island green or water-surrounded approach. The elevated tee and hazard placement demand a confident, accurate strike to find the green.
A straightforward par 4 that opens the back nine with a balanced test of driving and approach play. Bunkers and fairway contours guide the strategic routing toward a receptive green.

A deceptively gentle-looking par 4 that provides relief from the round's more demanding tests. The open fairway and accessible green offer a birdie opportunity despite the hole's diminutive length.

A mid-length par 3 with a direct carry to the green and moderate hazard protection surrounding it. The hole's strategic bunkering requires thoughtful club selection and placement.
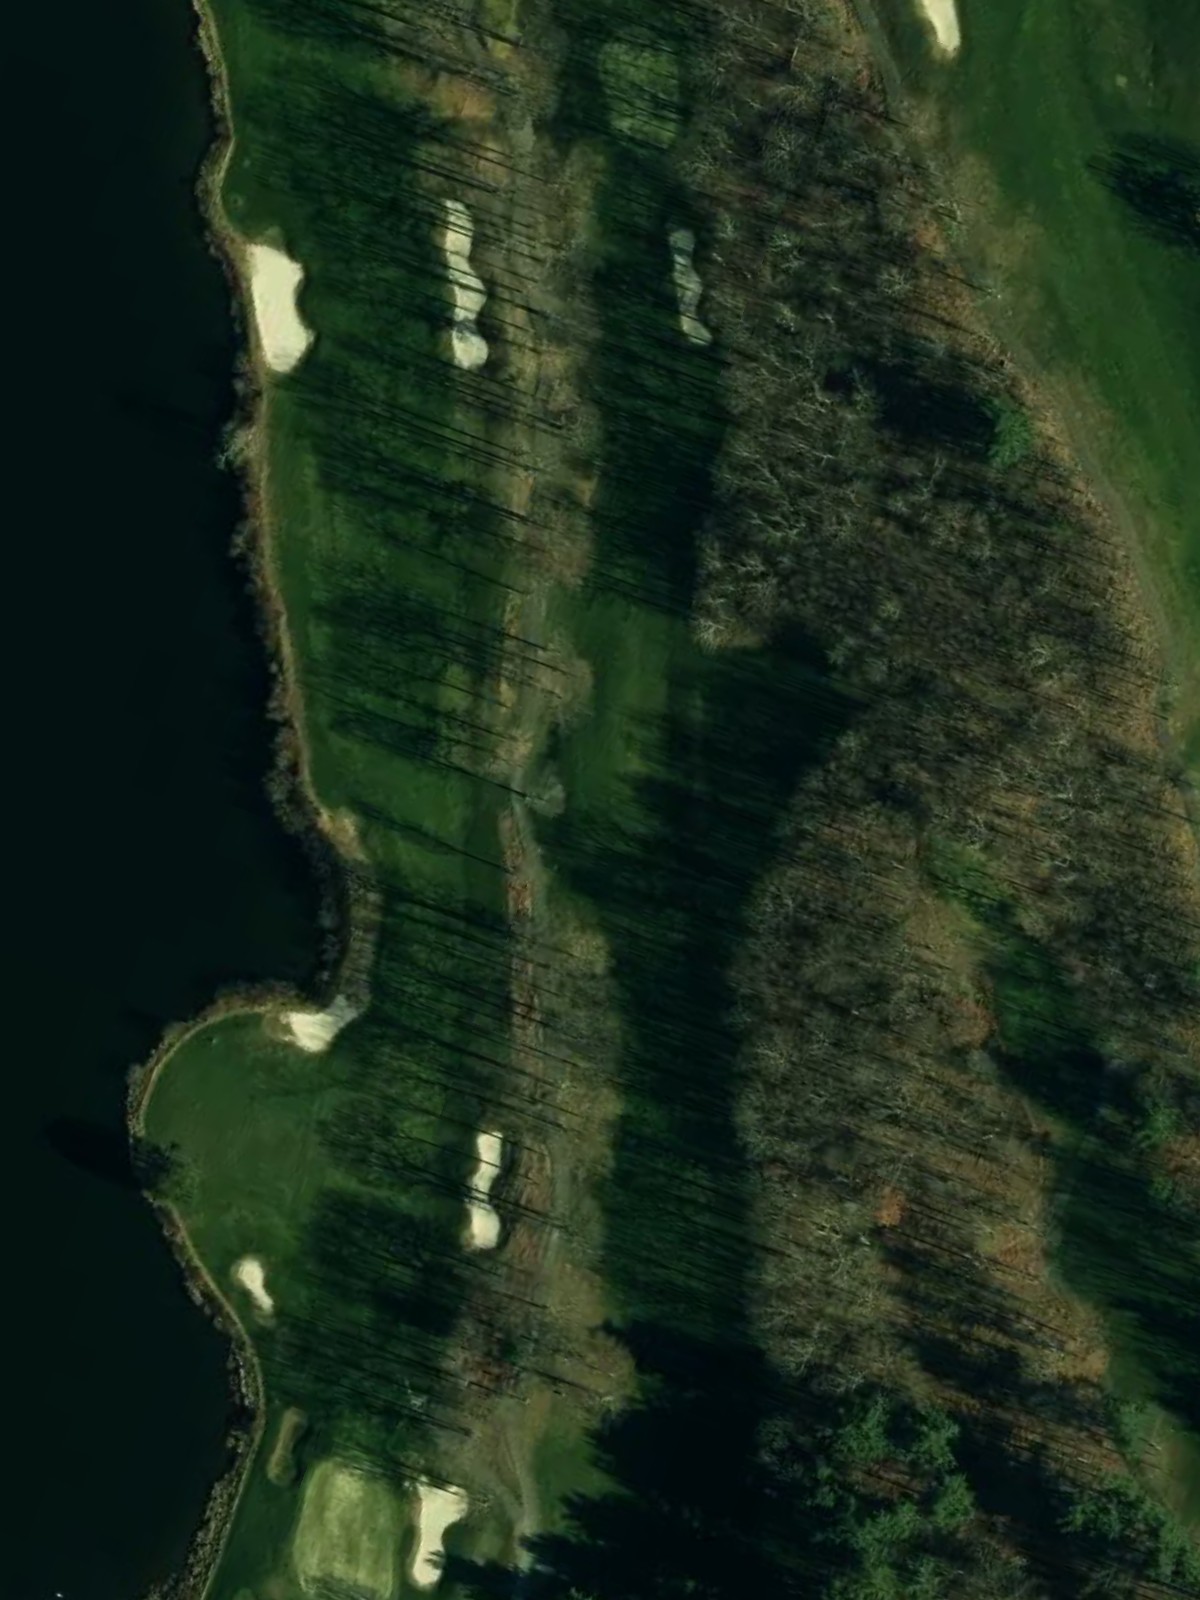
A reachable par 5 with a fairway that invites aggressive play for those seeking a birdie. Hazards narrow the corridor near the green, rewarding accuracy while punishing wayward shots.
A short par 3 offering a welcome scoring opportunity amid the back nine's stiffer challenges. The direct line and small target area make this a hole where precision is rewarded with birdies.
A solid par 4 that tests both driving accuracy and approach play with strategic hazard placement. The fairway narrows toward the green, requiring a controlled second shot to secure a good score.
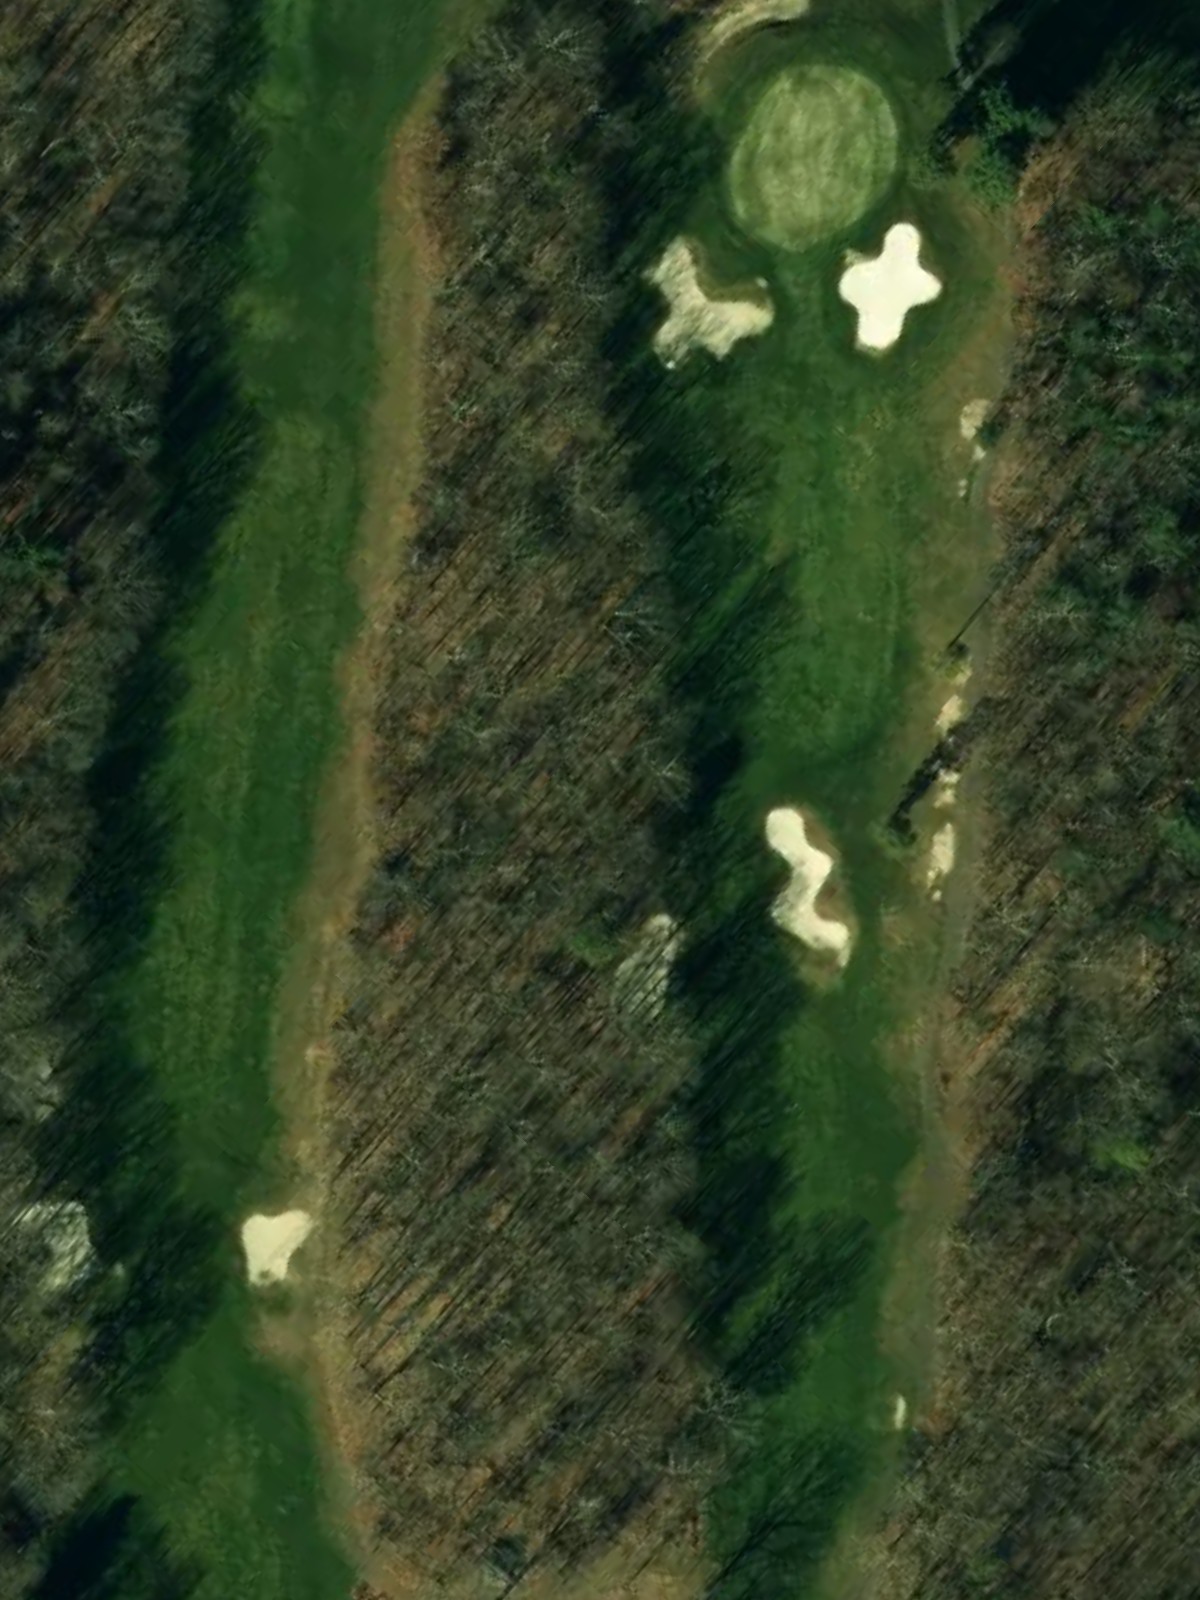
The second-most difficult hole, this short par 4 belies its length with severe strategic demands. Extremely tight fairway and green-side bunkers force precision off the tee and into the green.
A diminutive par 3 that serves as a brief respite before the demanding finish. The straightforward carry and accessible green make this an ideal momentum-building opportunity.
A climactic par 5 finishing hole that provides a final birdie opportunity and dramatic ending to the round. The fairway opens invitingly before tightening near the green, where bunkering frames the approach.
Scorecard
| Hole | 1 | 2 | 3 | 4 | 5 | 6 | 7 | 8 | 9 | Out | 10 | 11 | 12 | 13 | 14 | 15 | 16 | 17 | 18 | In | Tot |
|---|---|---|---|---|---|---|---|---|---|---|---|---|---|---|---|---|---|---|---|---|---|
| Par | 5 | 4 | 4 | 3 | 4 | 4 | 5 | 4 | 3 | 36 | 4 | 4 | 3 | 5 | 3 | 4 | 4 | 3 | 5 | 35 | 71 |
| HCP | 5 | 3 | 13 | 15 | 7 | 17 | 1 | 9 | 11 | 12 | 18 | 14 | 6 | 10 | 8 | 2 | 16 | 4 | |||
| blue | 538 | 439 | 376 | 185 | 411 | 341 | 562 | 362 | 213 | 3427 | 382 | 329 | 183 | 476 | 198 | 397 | 330 | 118 | 527 | 2940 | 6367 |
| white | 524 | 427 | 347 | 140 | 380 | 323 | 545 | 327 | 171 | 3184 | 346 | 296 | 155 | 460 | 170 | 371 | 318 | 109 | 503 | 2728 | 5912 |
| gold | 512 | 416 | 308 | 127 | 343 | 307 | 491 | 314 | 126 | 2944 | 334 | 284 | 130 | 443 | 153 | 342 | 223 | 98 | 462 | 2469 | 5413 |