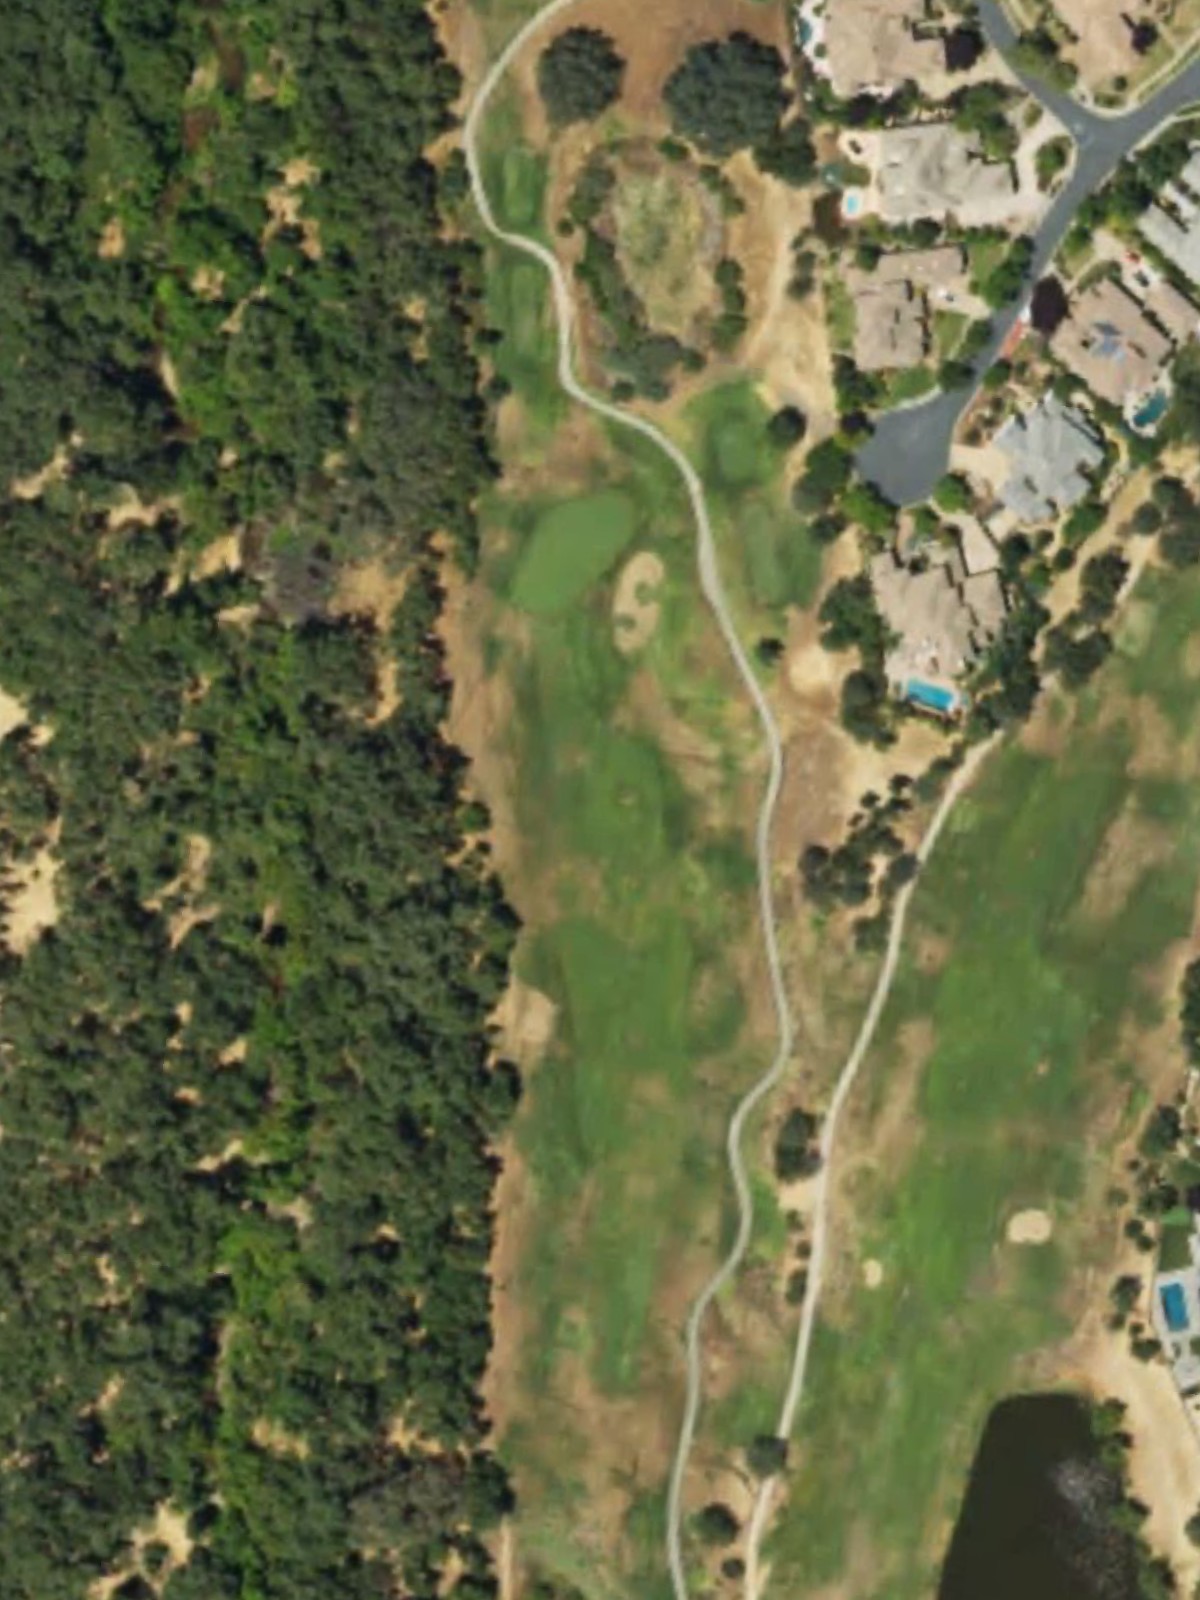
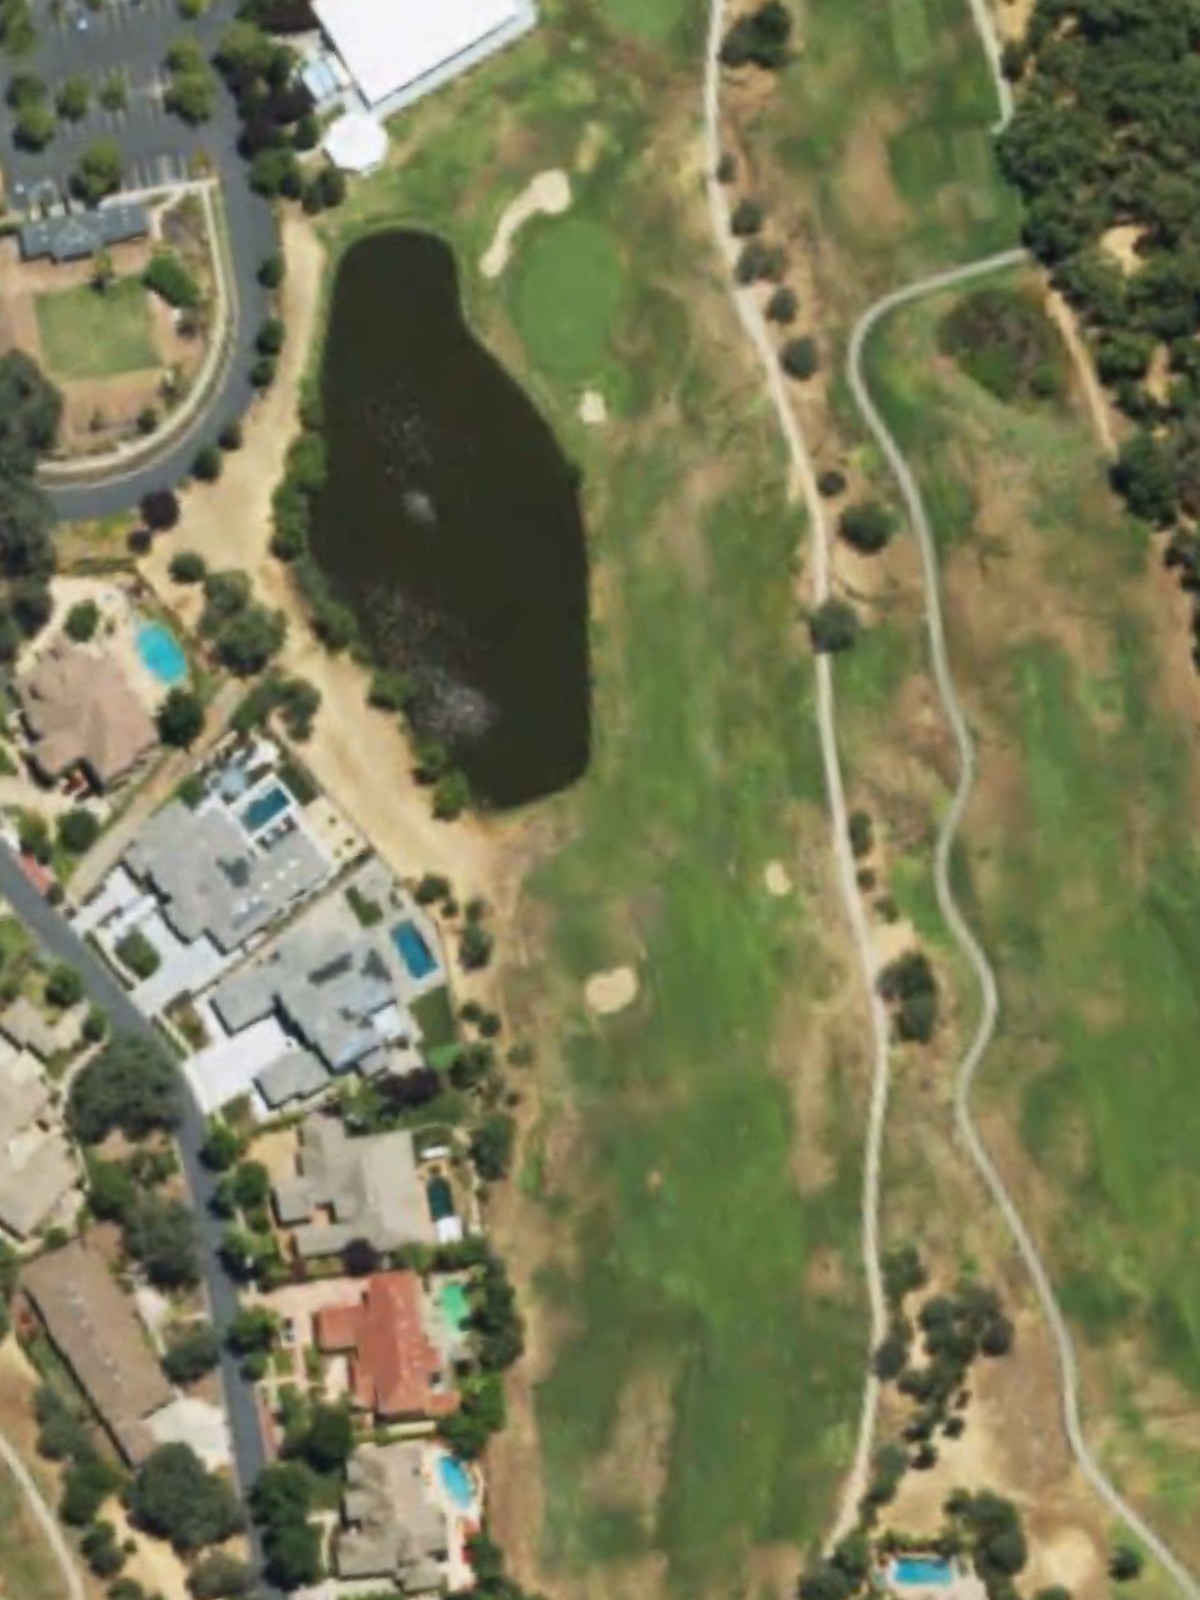
Morgan Creek Gc is an 18-hole golf course in Roseville, CA with a par of 72. It offers 6 tee sets: black (6,893 yards, slope 135, rating 73.4), gold (6,557 yards, slope 132, rating 71.9), blue (6,163 yards, slope 128, rating 70), b/w combo (5,800 yards, slope 126, rating 68.3), white (5,441 yards, slope 123, rating 66.6), green (5,309 yards, slope 121, rating 66.1). The hardest hole is #5, a par 4 playing 390 yards from the first tee.
Morgan Creek Gc
Roseville, CA
Get PDF Yardage Book
We'll email you the PDF link. No spam, ever.
Create Your Game Plan
Pick your tees, enter your bag, and get a personalized shot-by-shot strategy for every hole.
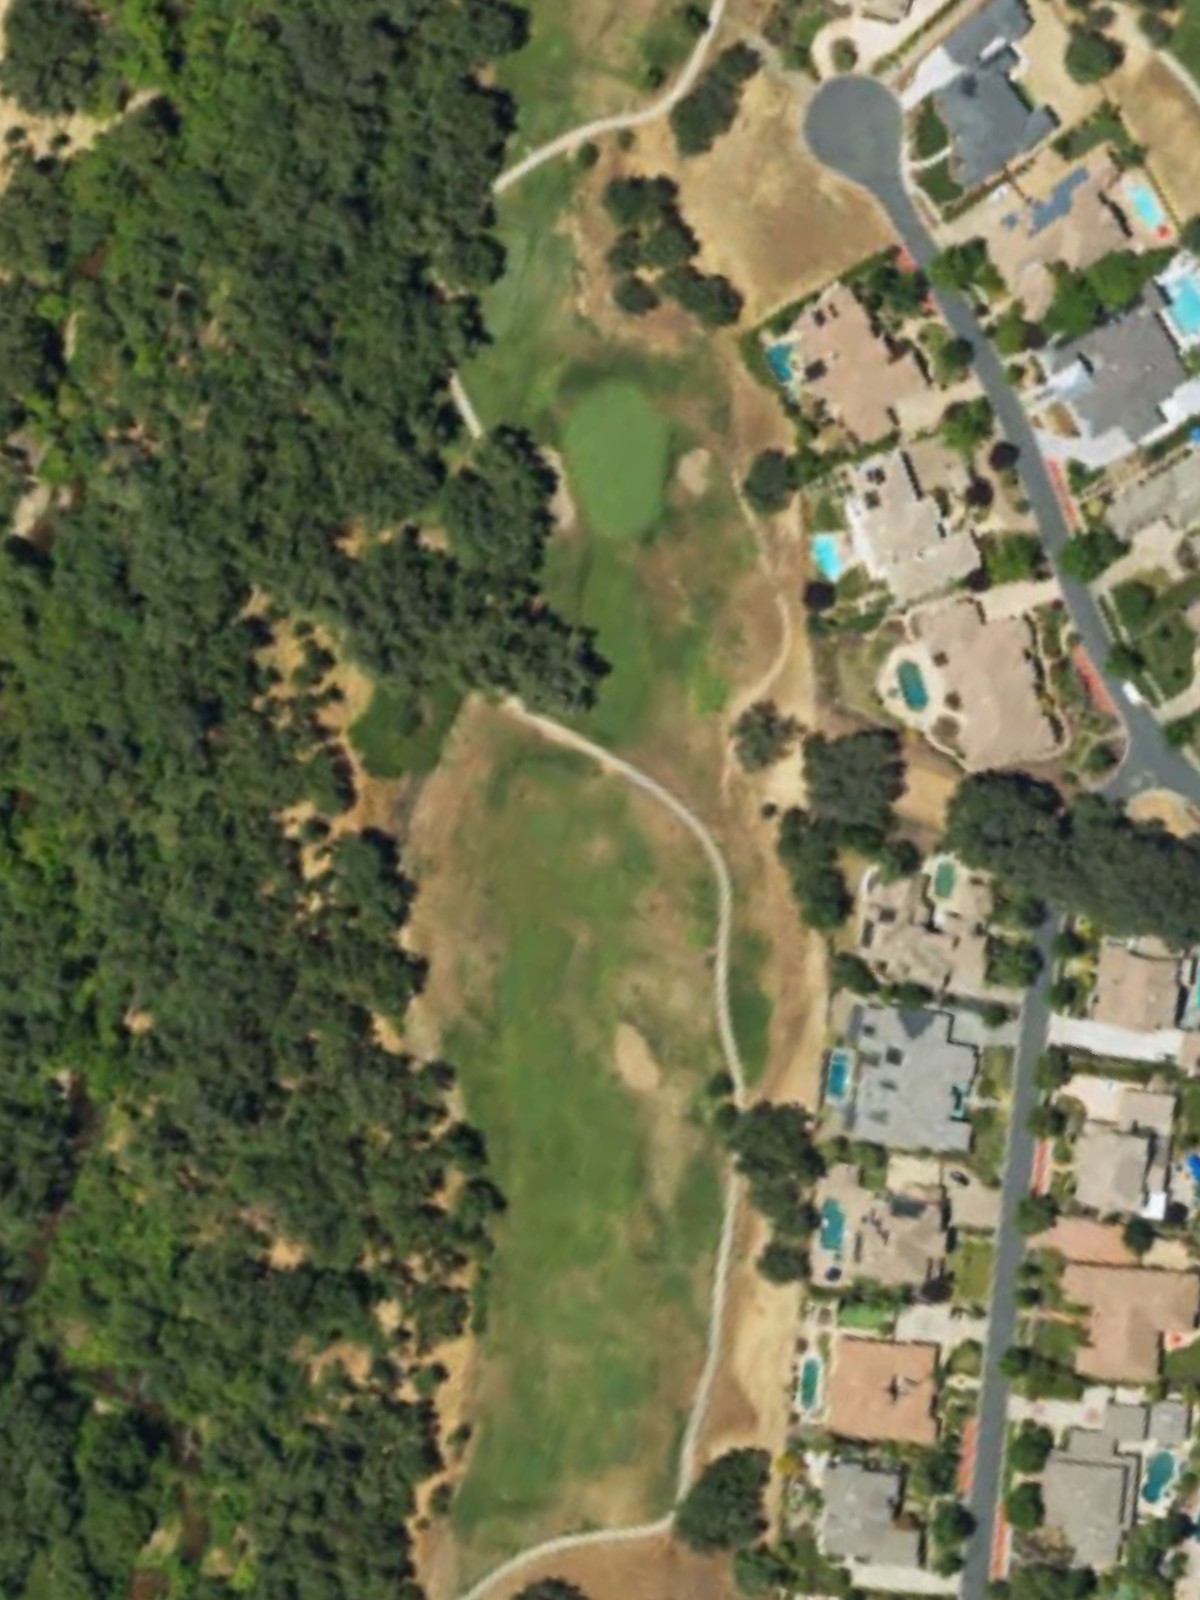
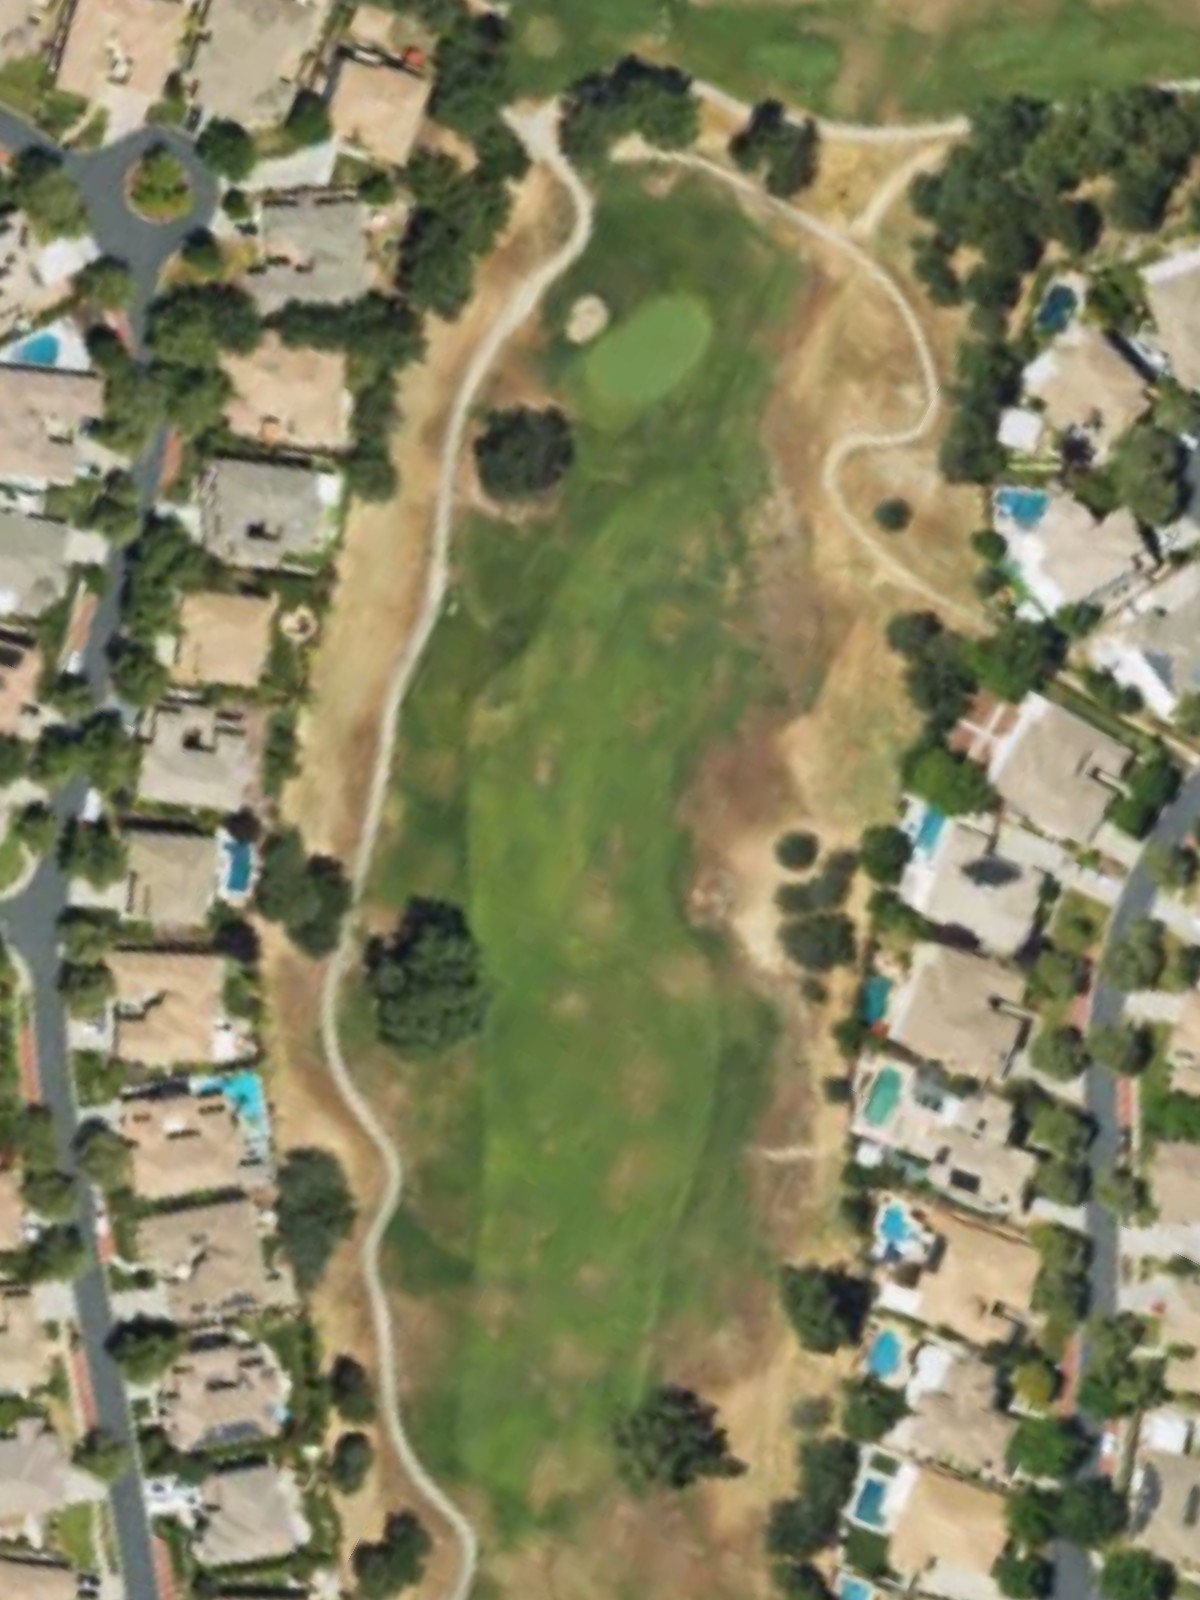
A short, straightforward par 4 with a wide fairway that gradually narrows as it approaches the green. The green is well-bunkered on both sides, demanding accuracy on the approach shot.
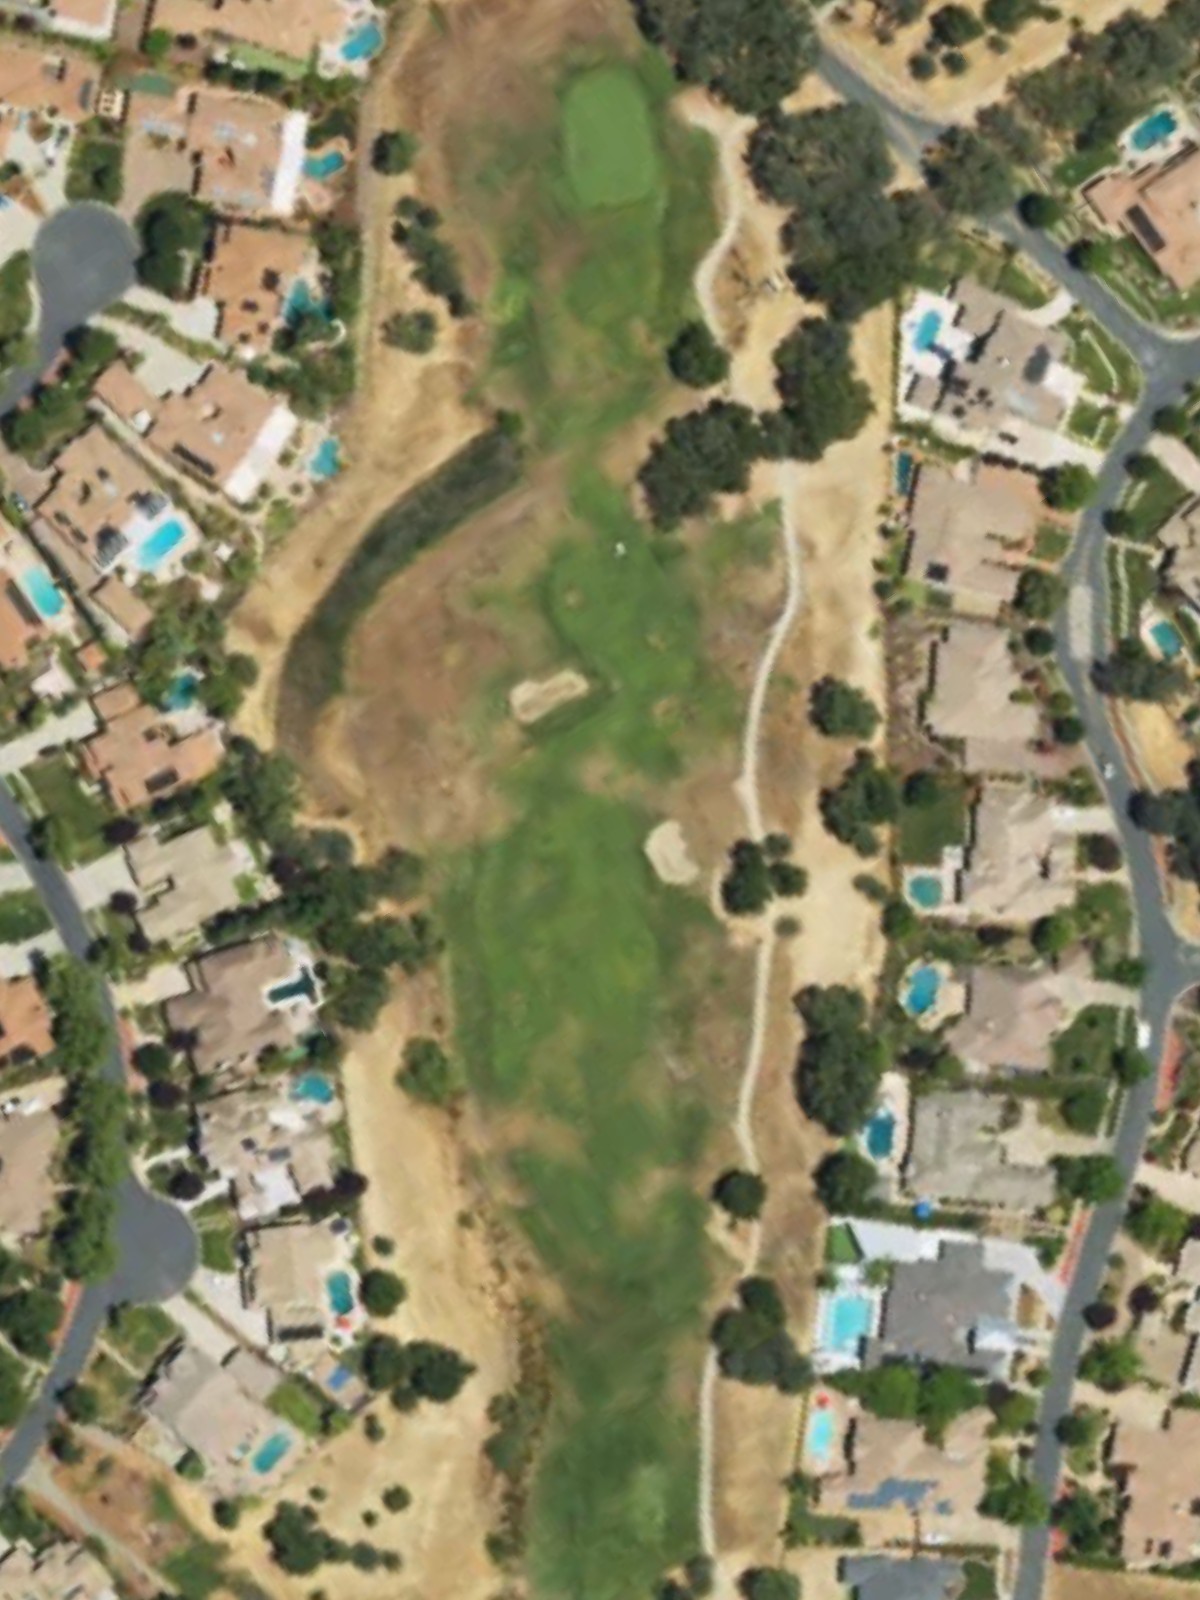
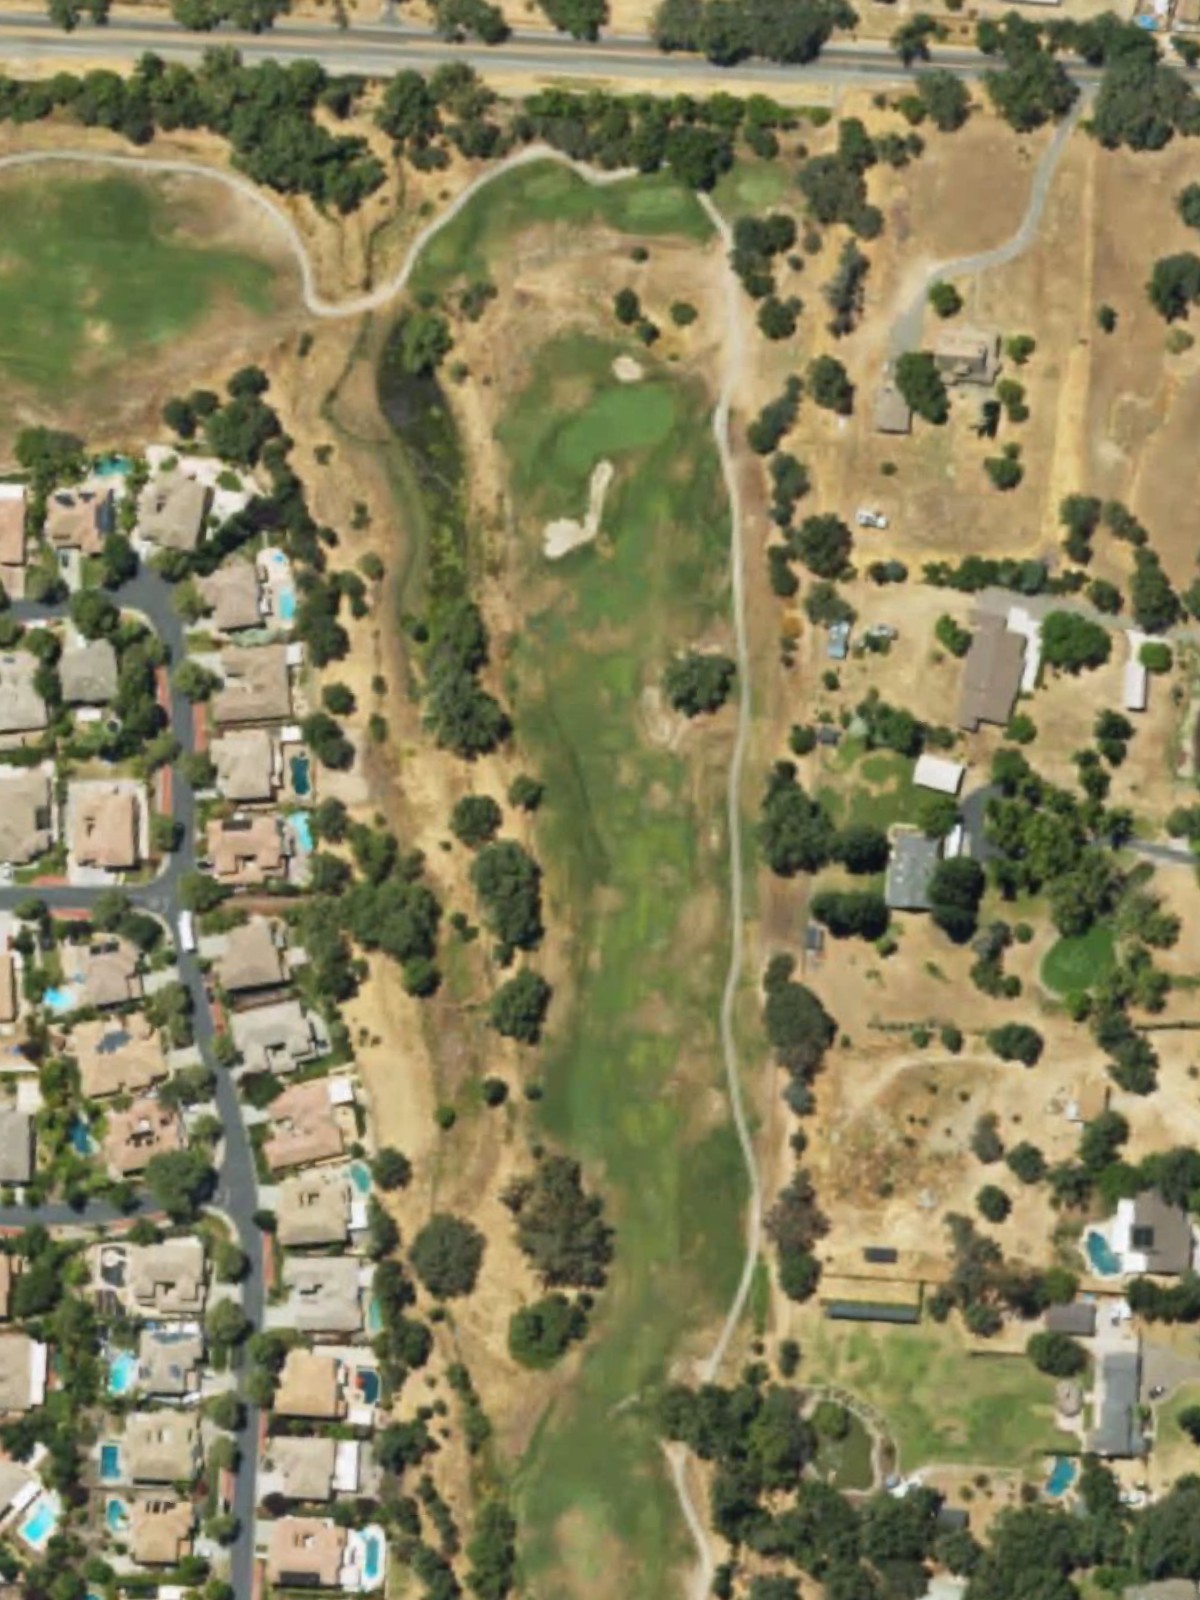
A demanding par 4 that plays as one of the course's most difficult holes, with a tight fairway that requires a precise tee shot. Strategic hazards frame the approach, making this a test of both length and accuracy.
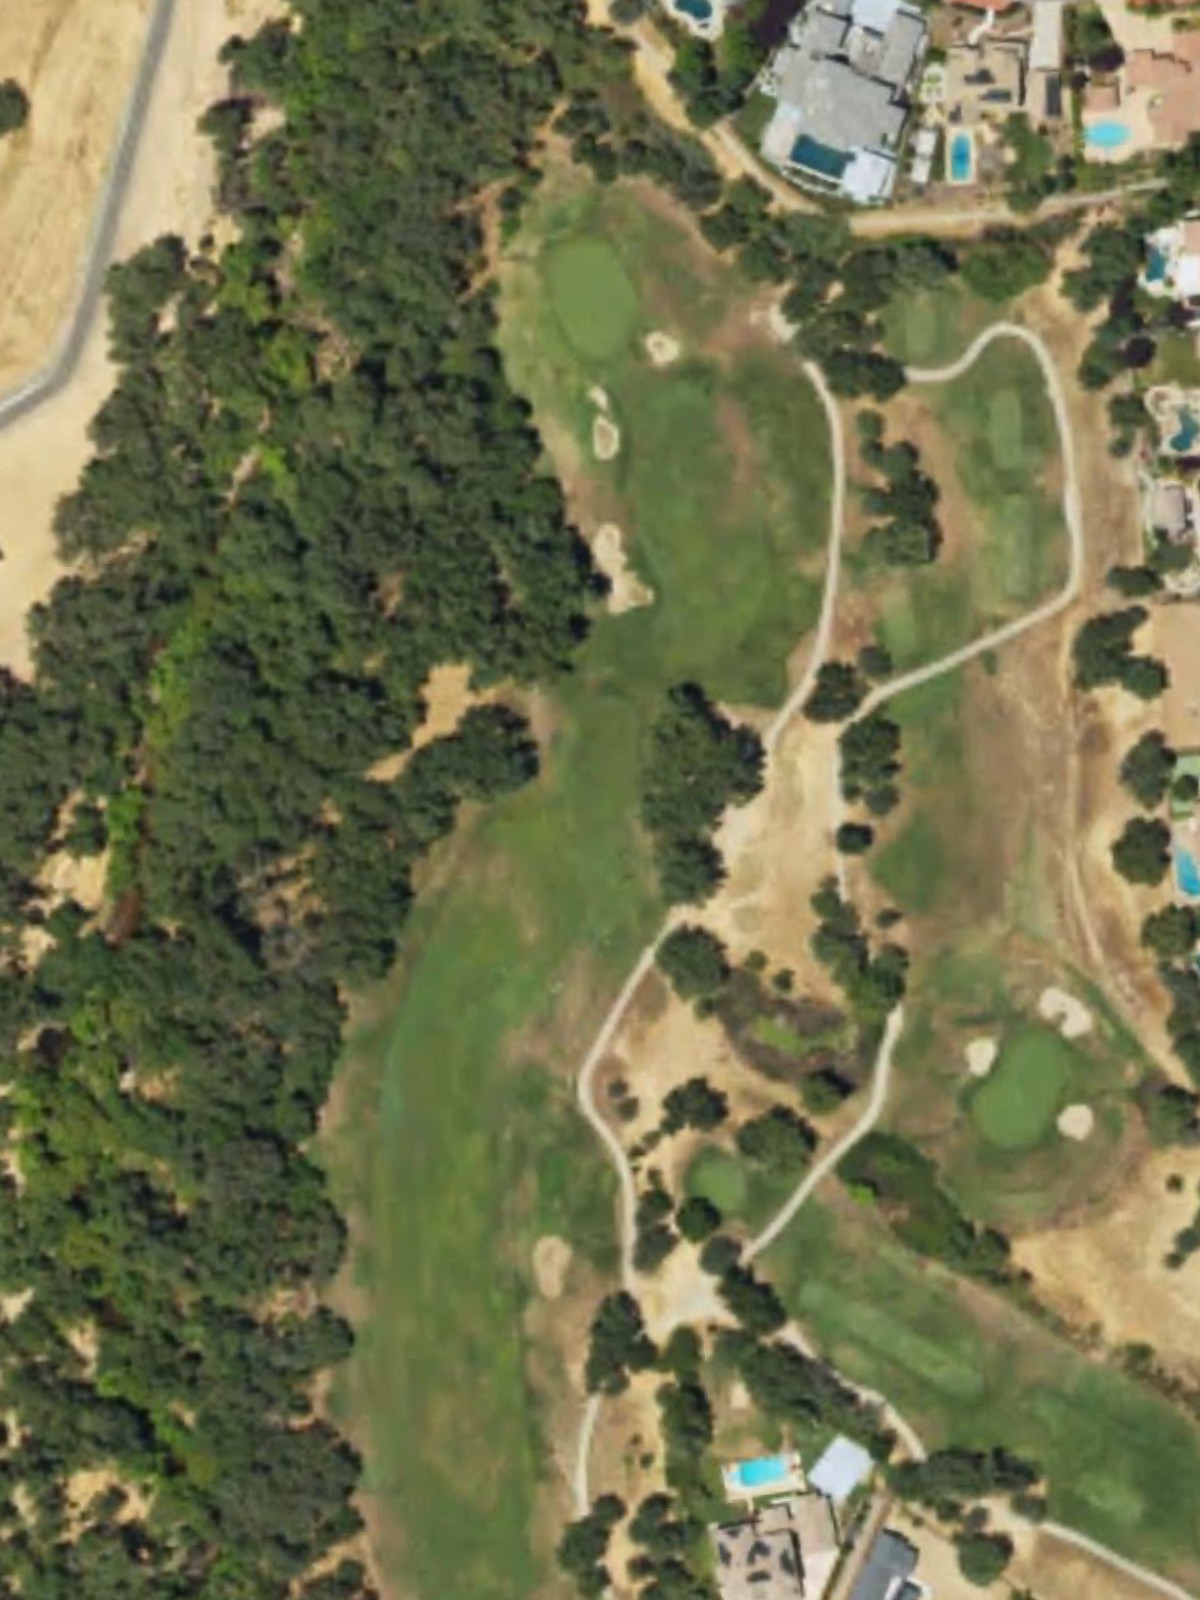
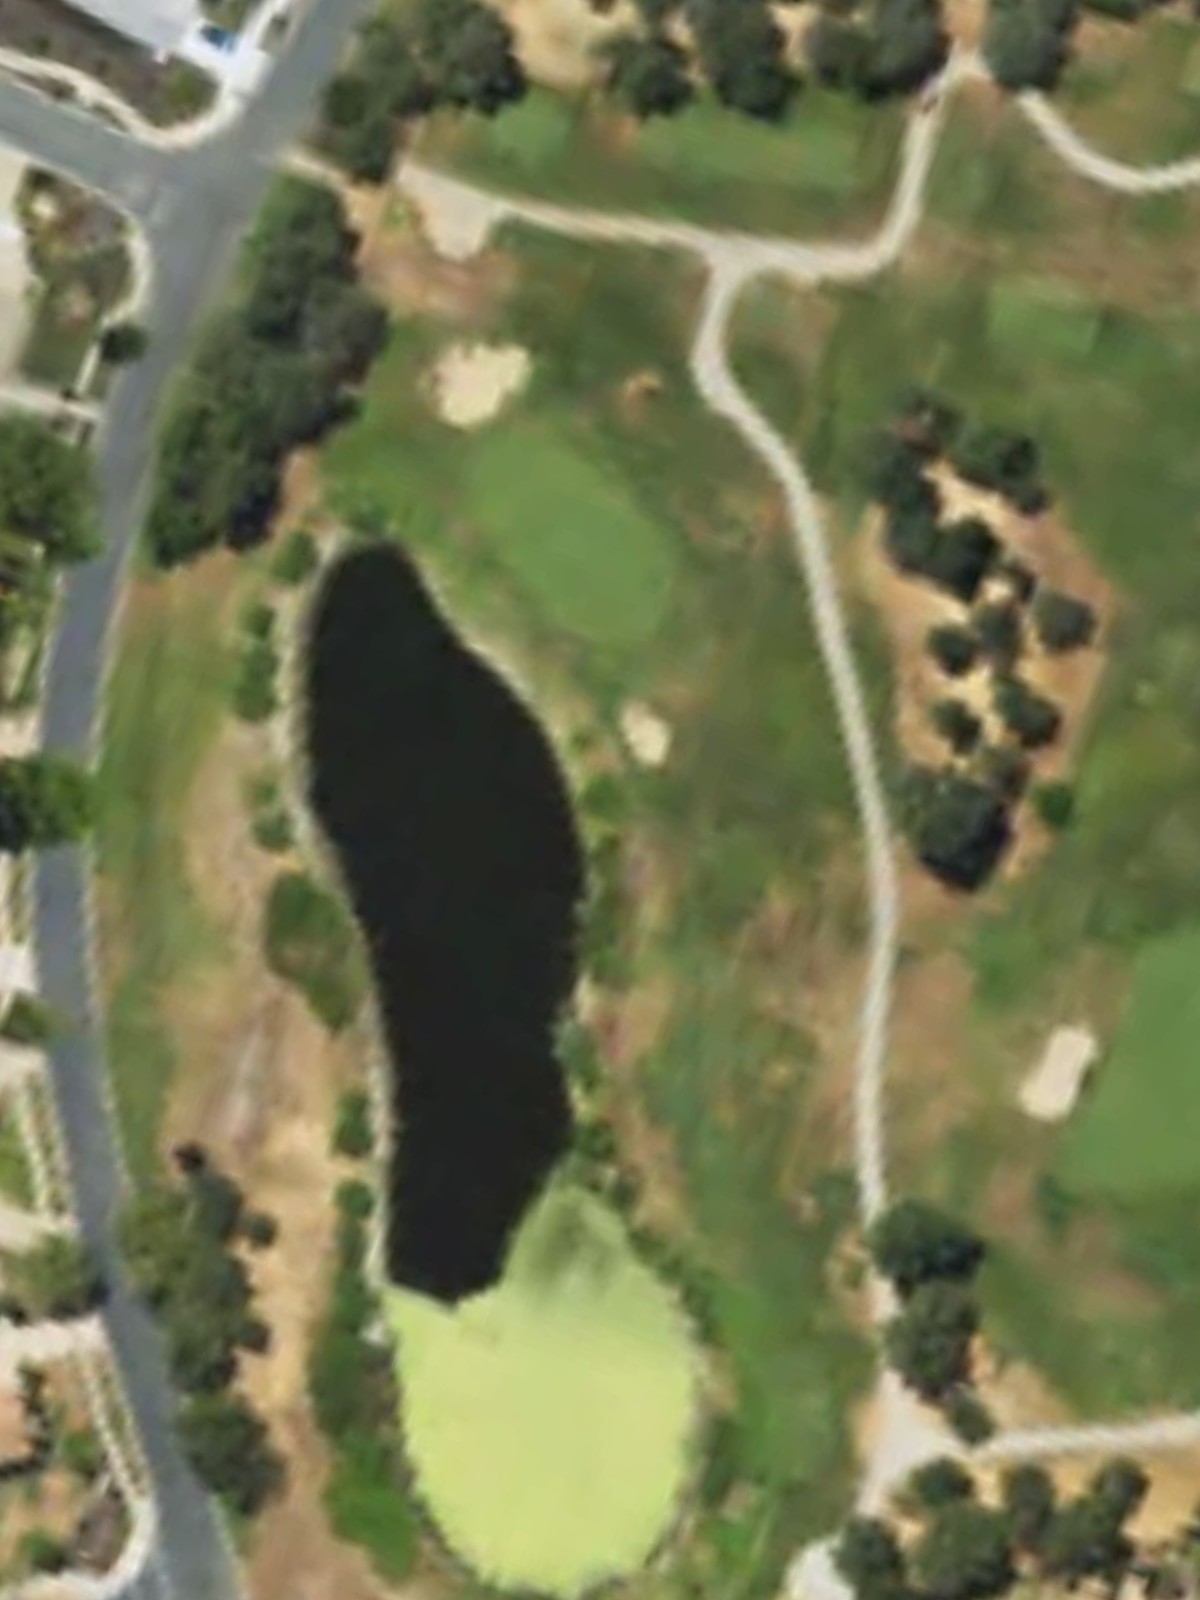
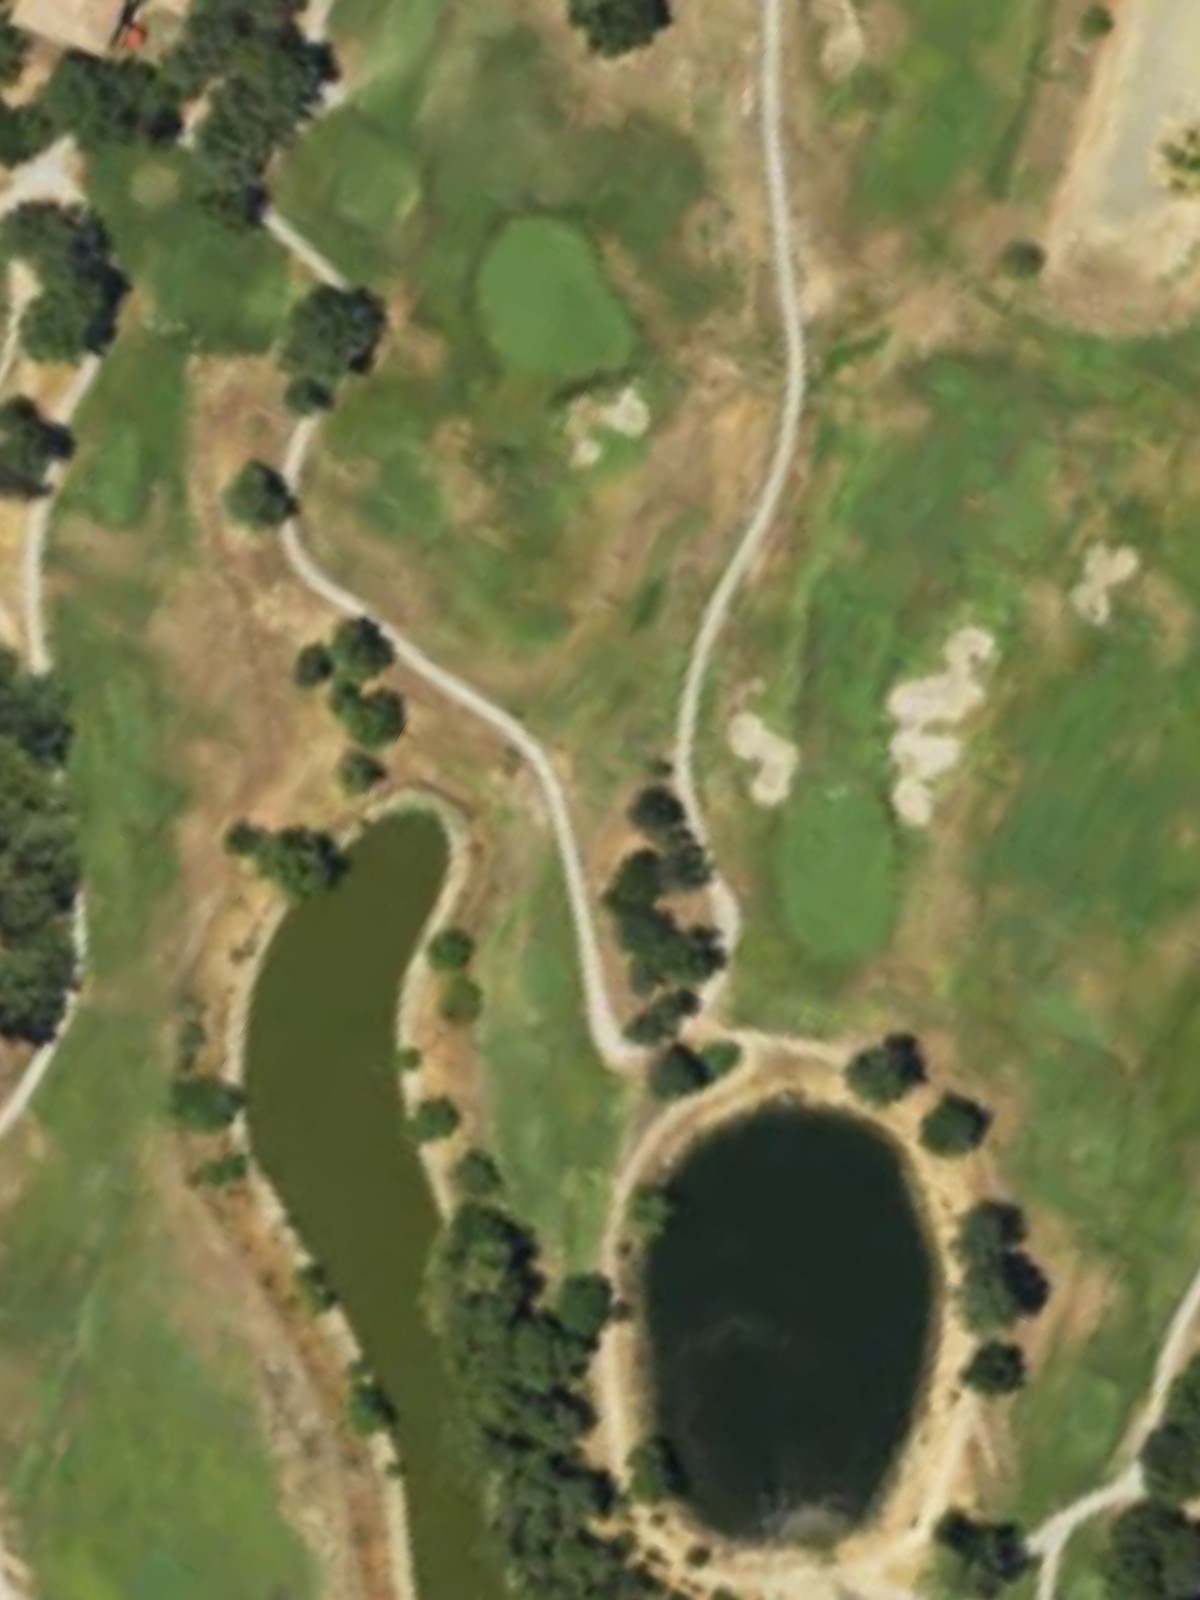
A reachable par 5 with a relatively straightforward routing that offers birdie opportunities for longer hitters. The fairway is fairly open, but hazards around the green demand care on the final approach.
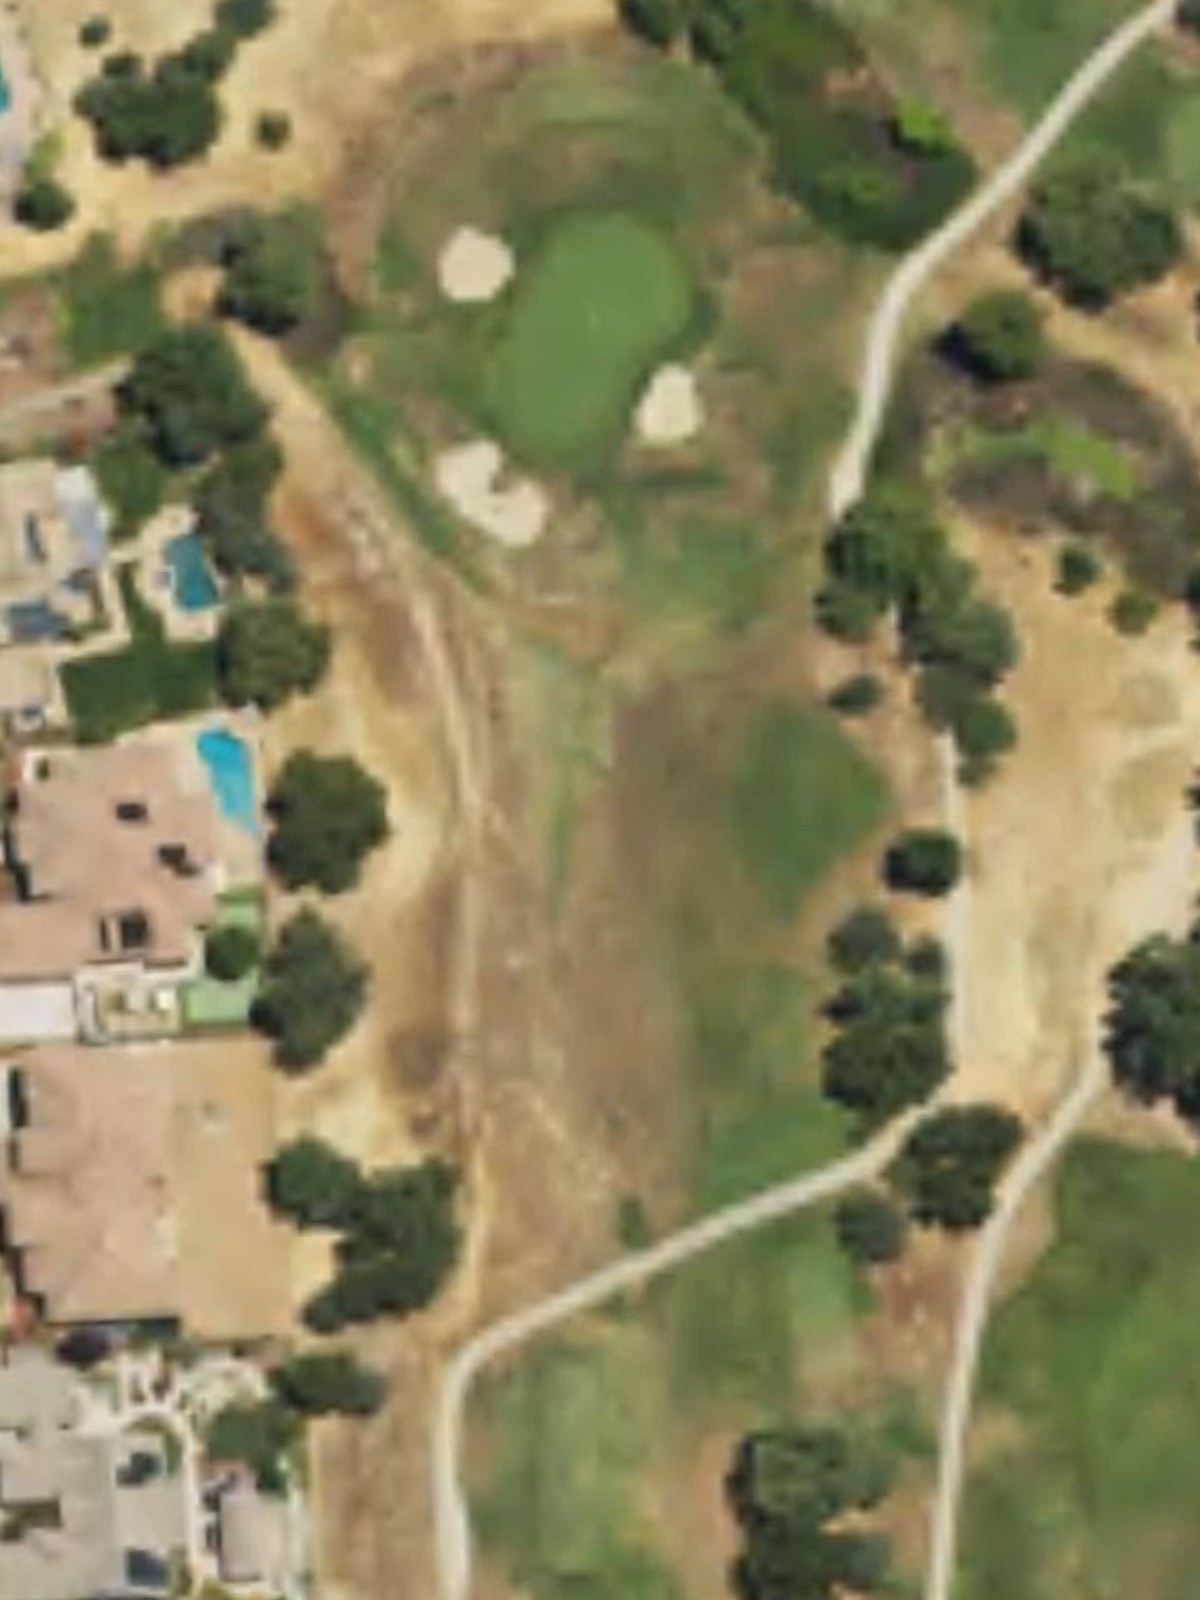
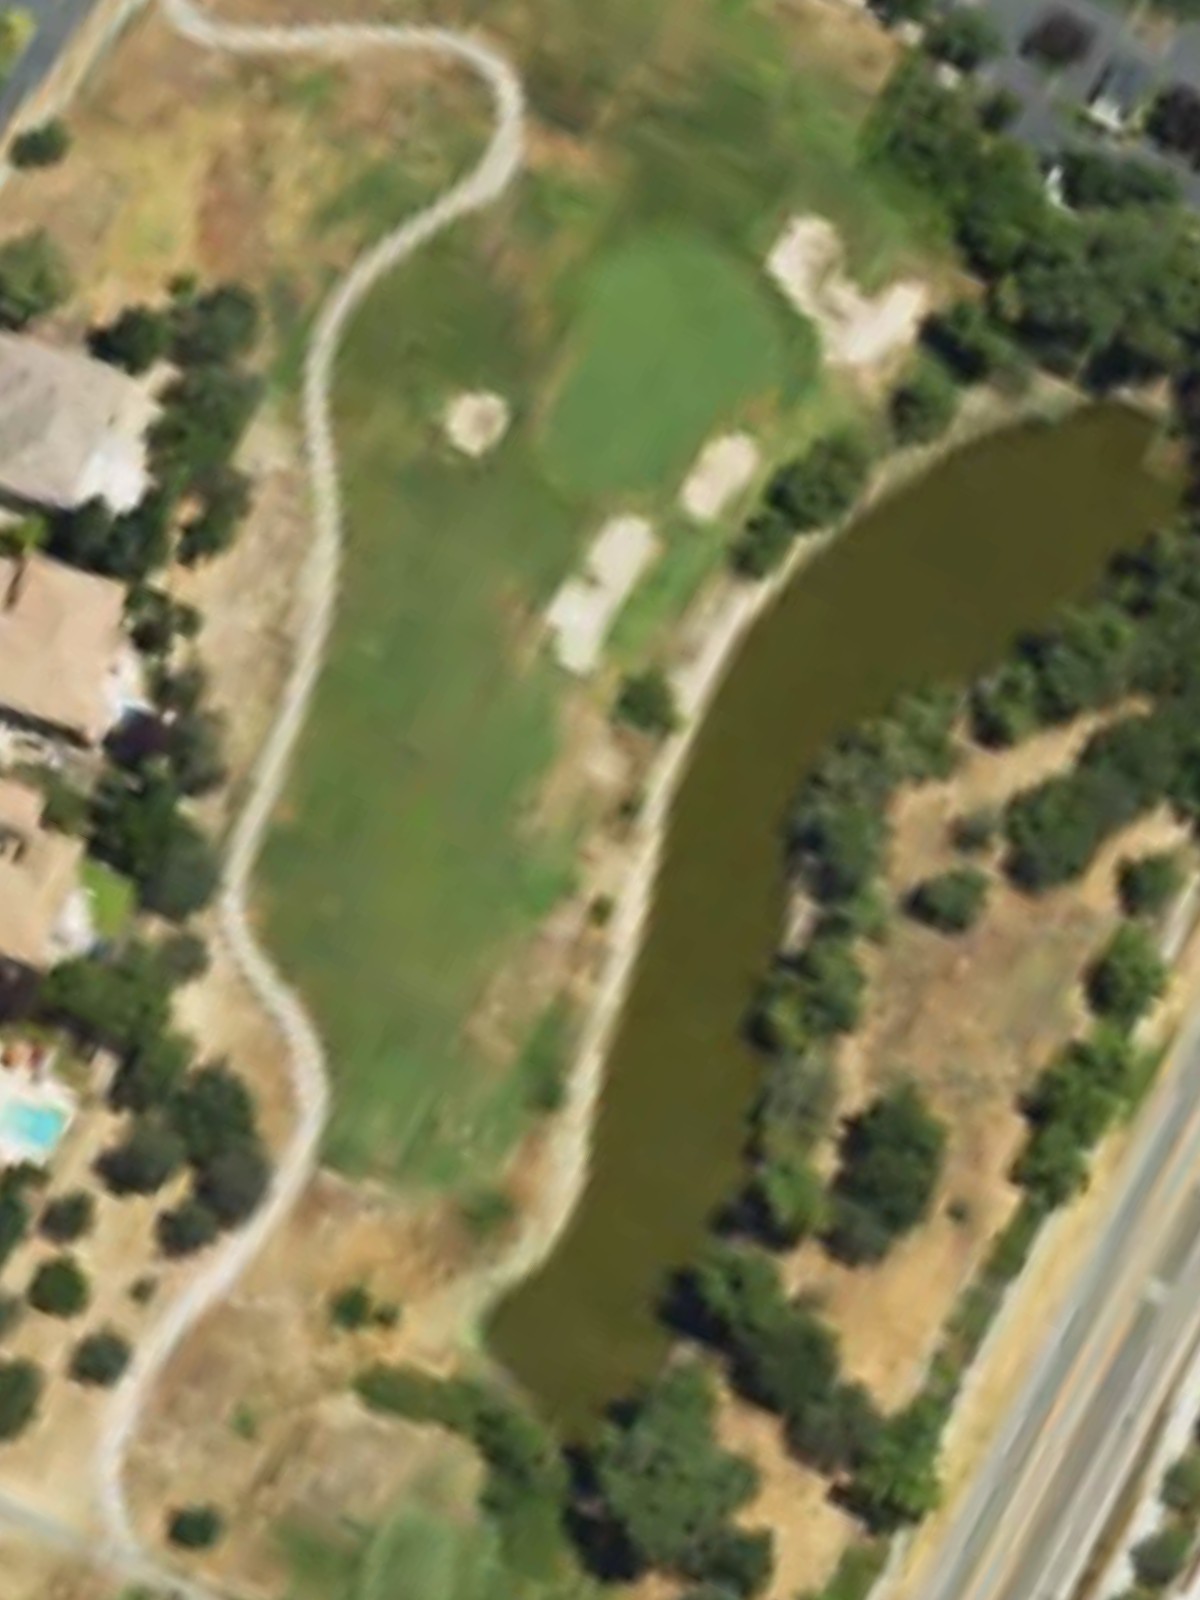
A short par 3 playing under 150 yards from the blue tees, presenting a relatively forgiving opening to the back nine. The small target area rewards precision more than length on this straightforward one-shotter.
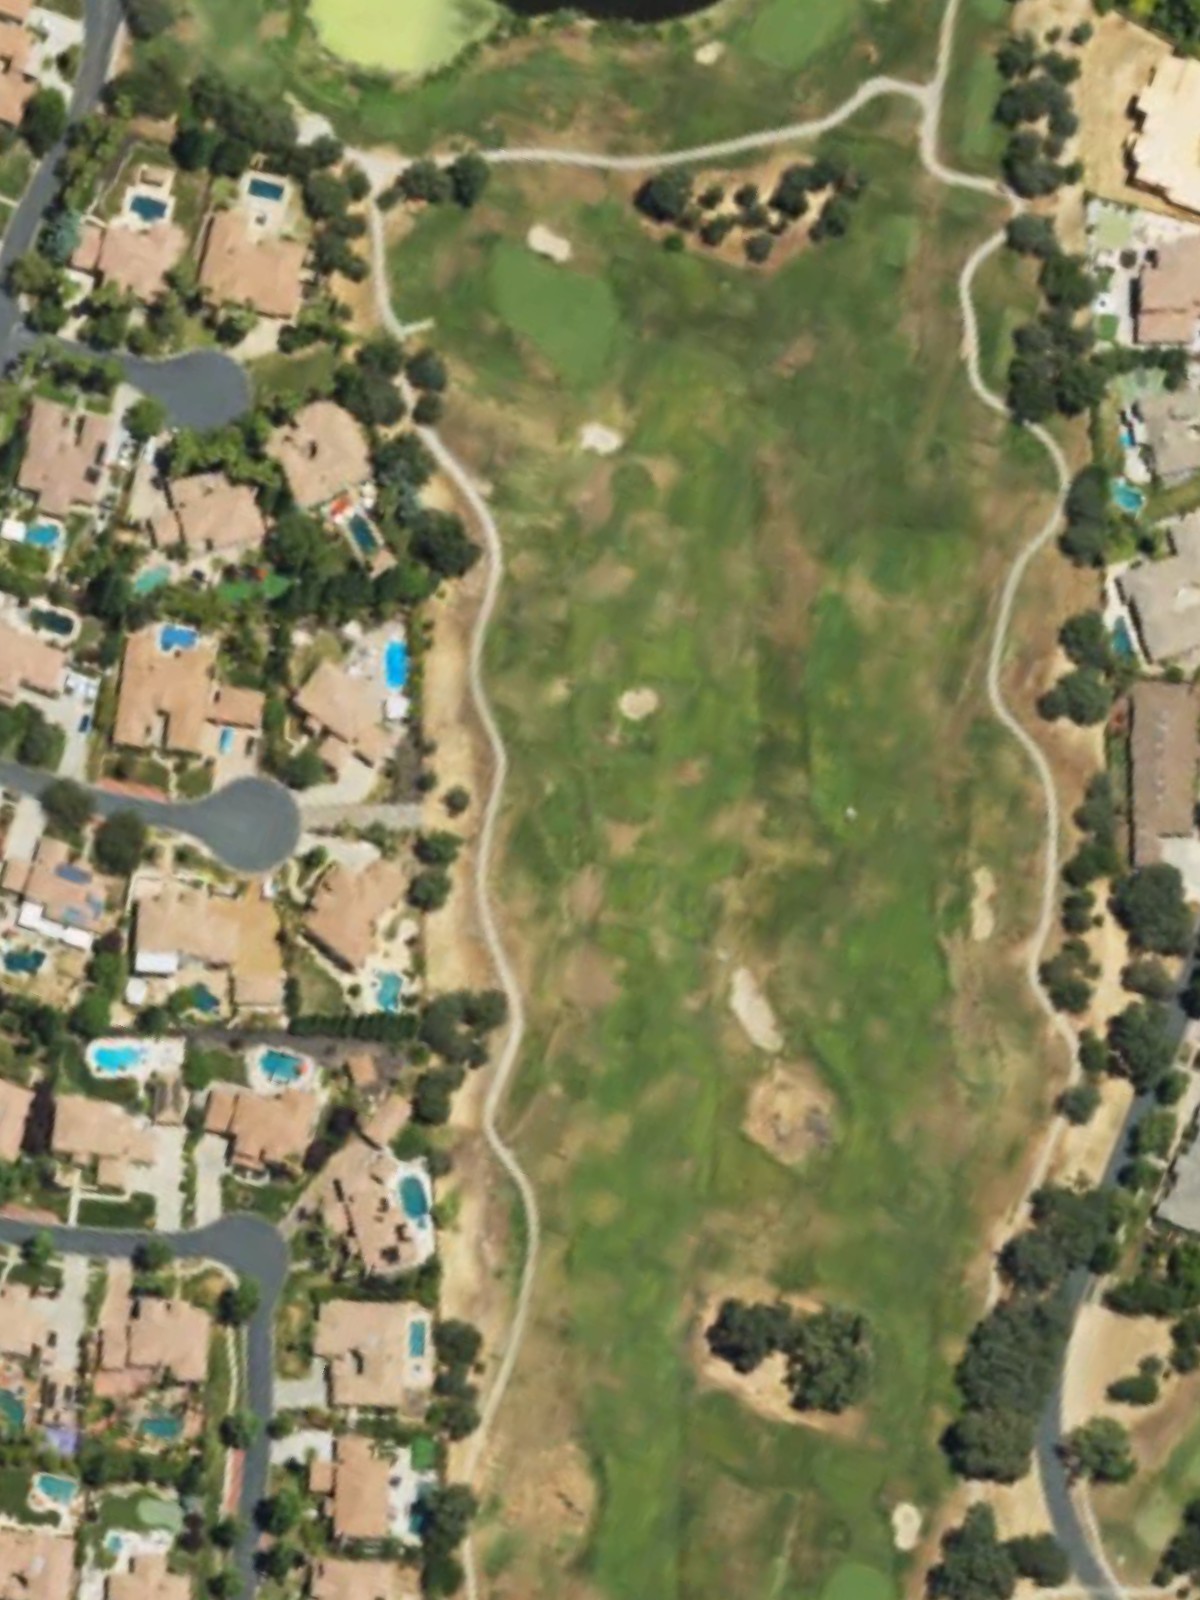
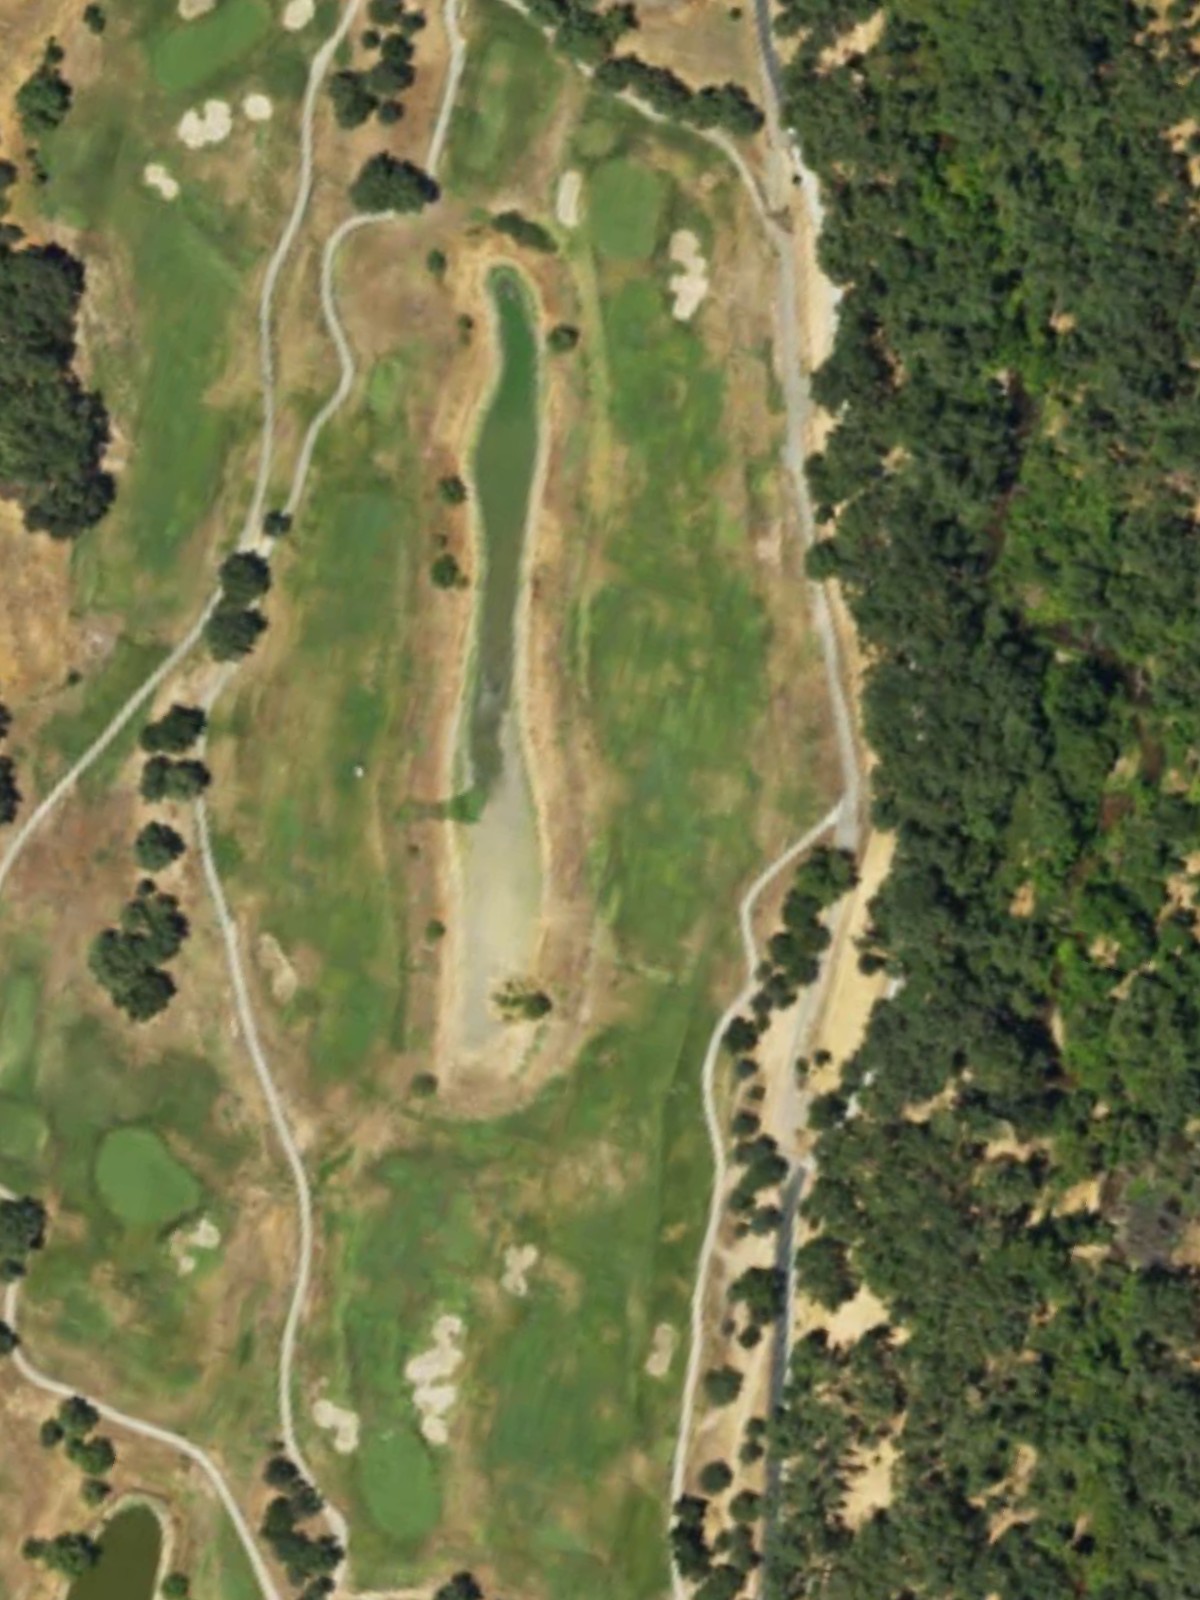
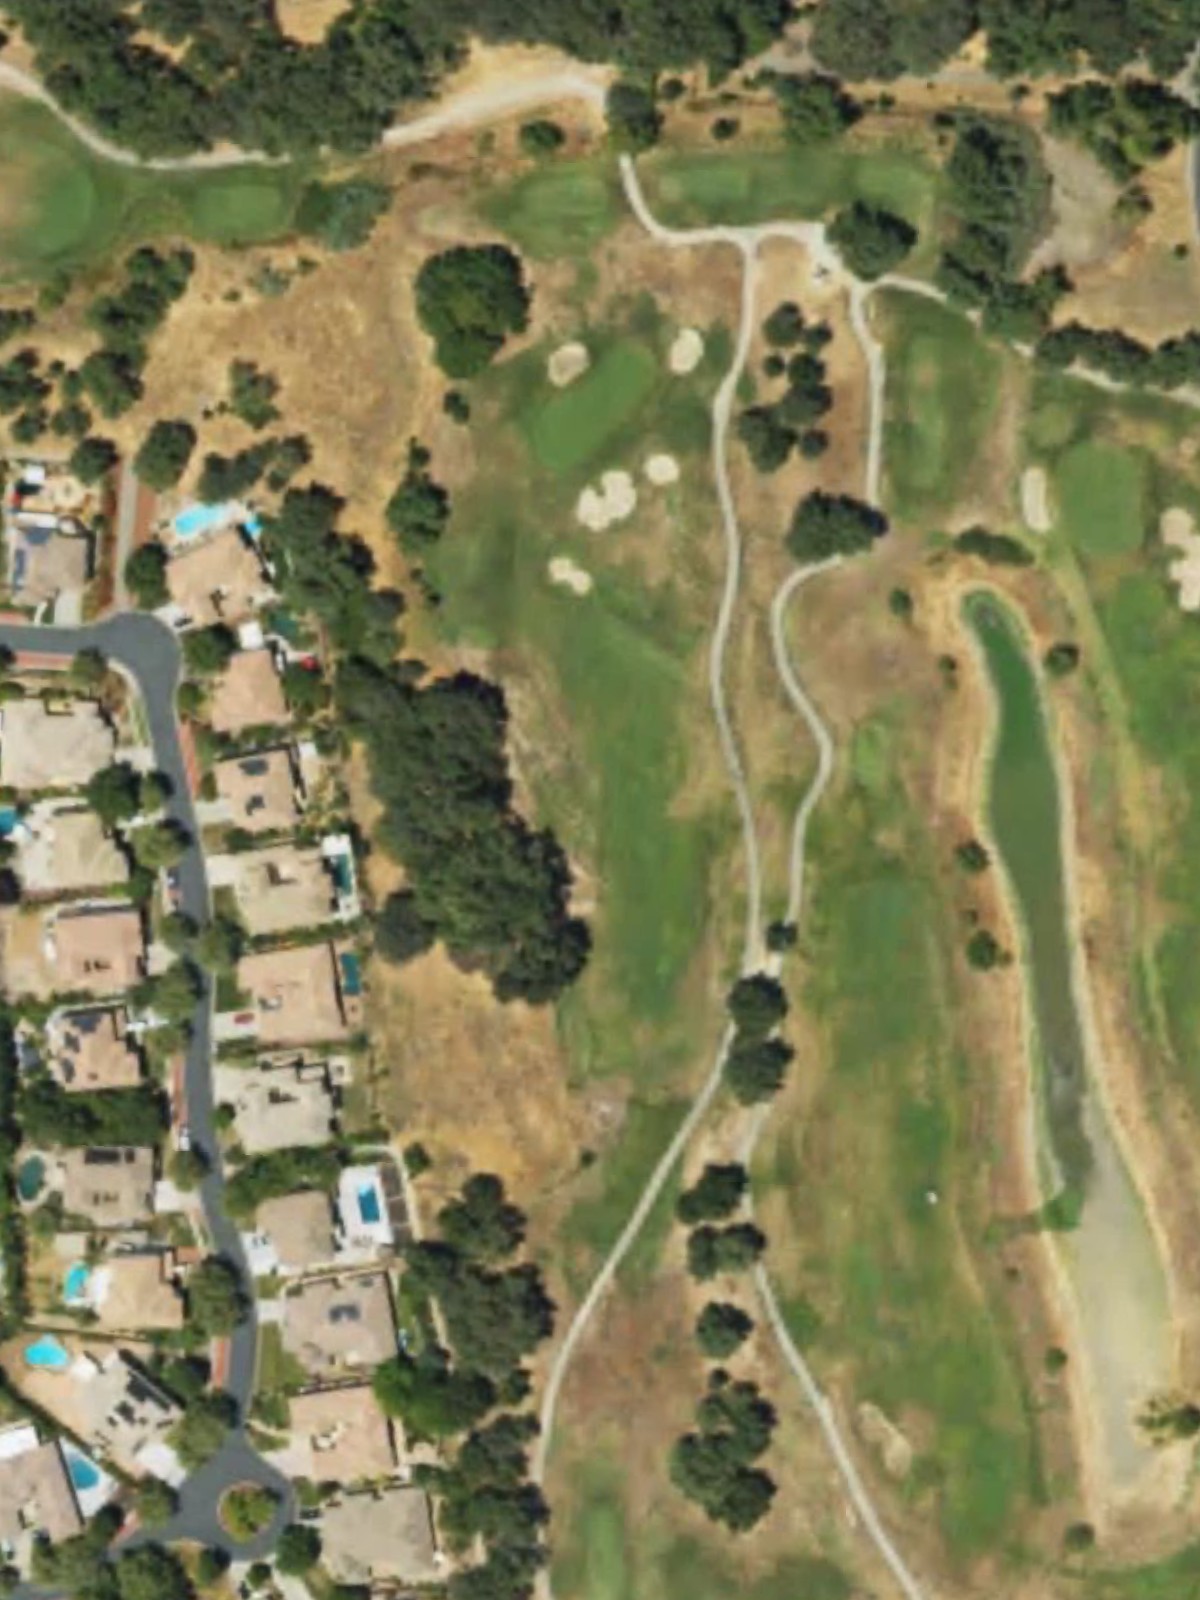
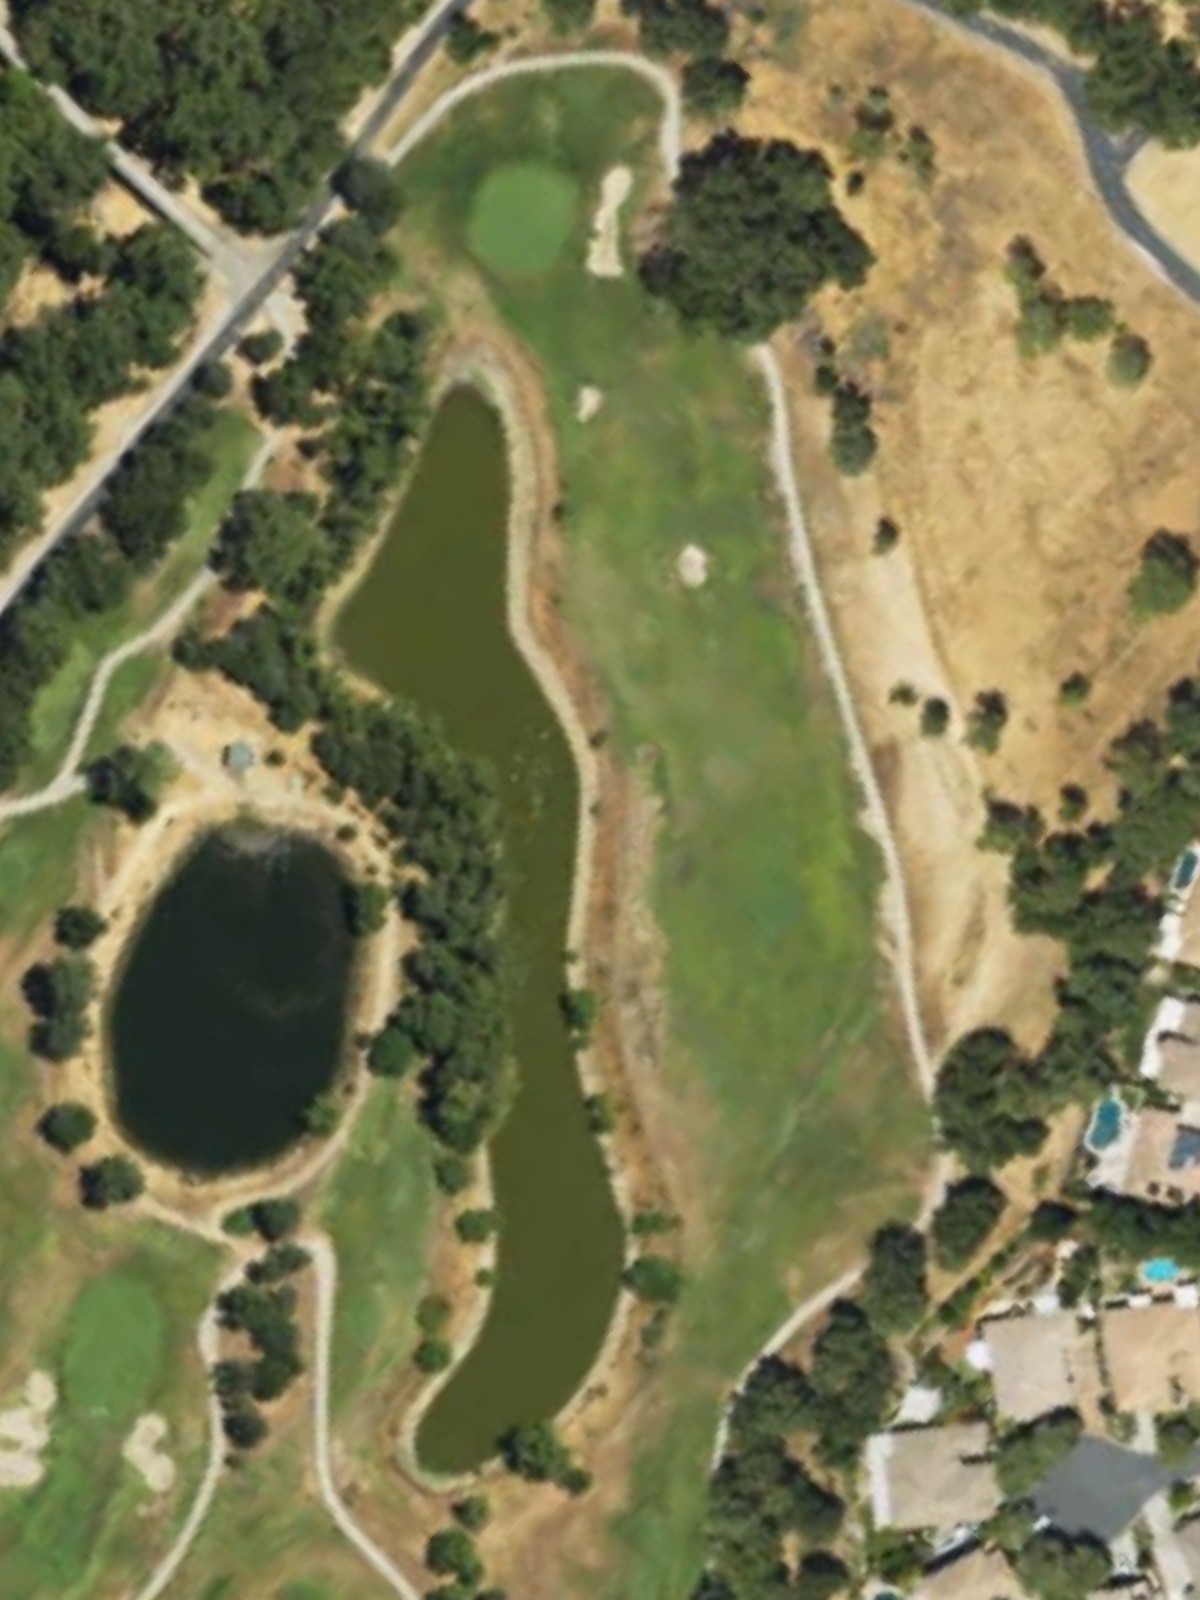
The course's most difficult hole, this par 4 demands length and accuracy off the tee with hazards positioned to penalize both wayward drives and approach shots. A narrow corridor to the green leaves little room for error.
A lengthy par 5 that provides multiple birdie chances despite its length, with a relatively open fairway for the first two shots. Hazards tighten around the green, requiring a controlled third shot for scoring opportunities.
The easiest hole on the course, this short par 3 under 120 yards from the forward tees offers a confident start to the second half. A compact green with minimal hazards makes this an excellent scoring opportunity.
A mid-length par 4 that plays as one of the course's stiffest tests, with strategic hazards that challenge both tee and approach shots. The fairway geometry rewards precision placement over pure distance.
A moderate par 4 with a fairway that maintains reasonable width throughout, presenting a balanced test of accuracy and length. Greenside hazards frame the approach, demanding a well-executed second shot.
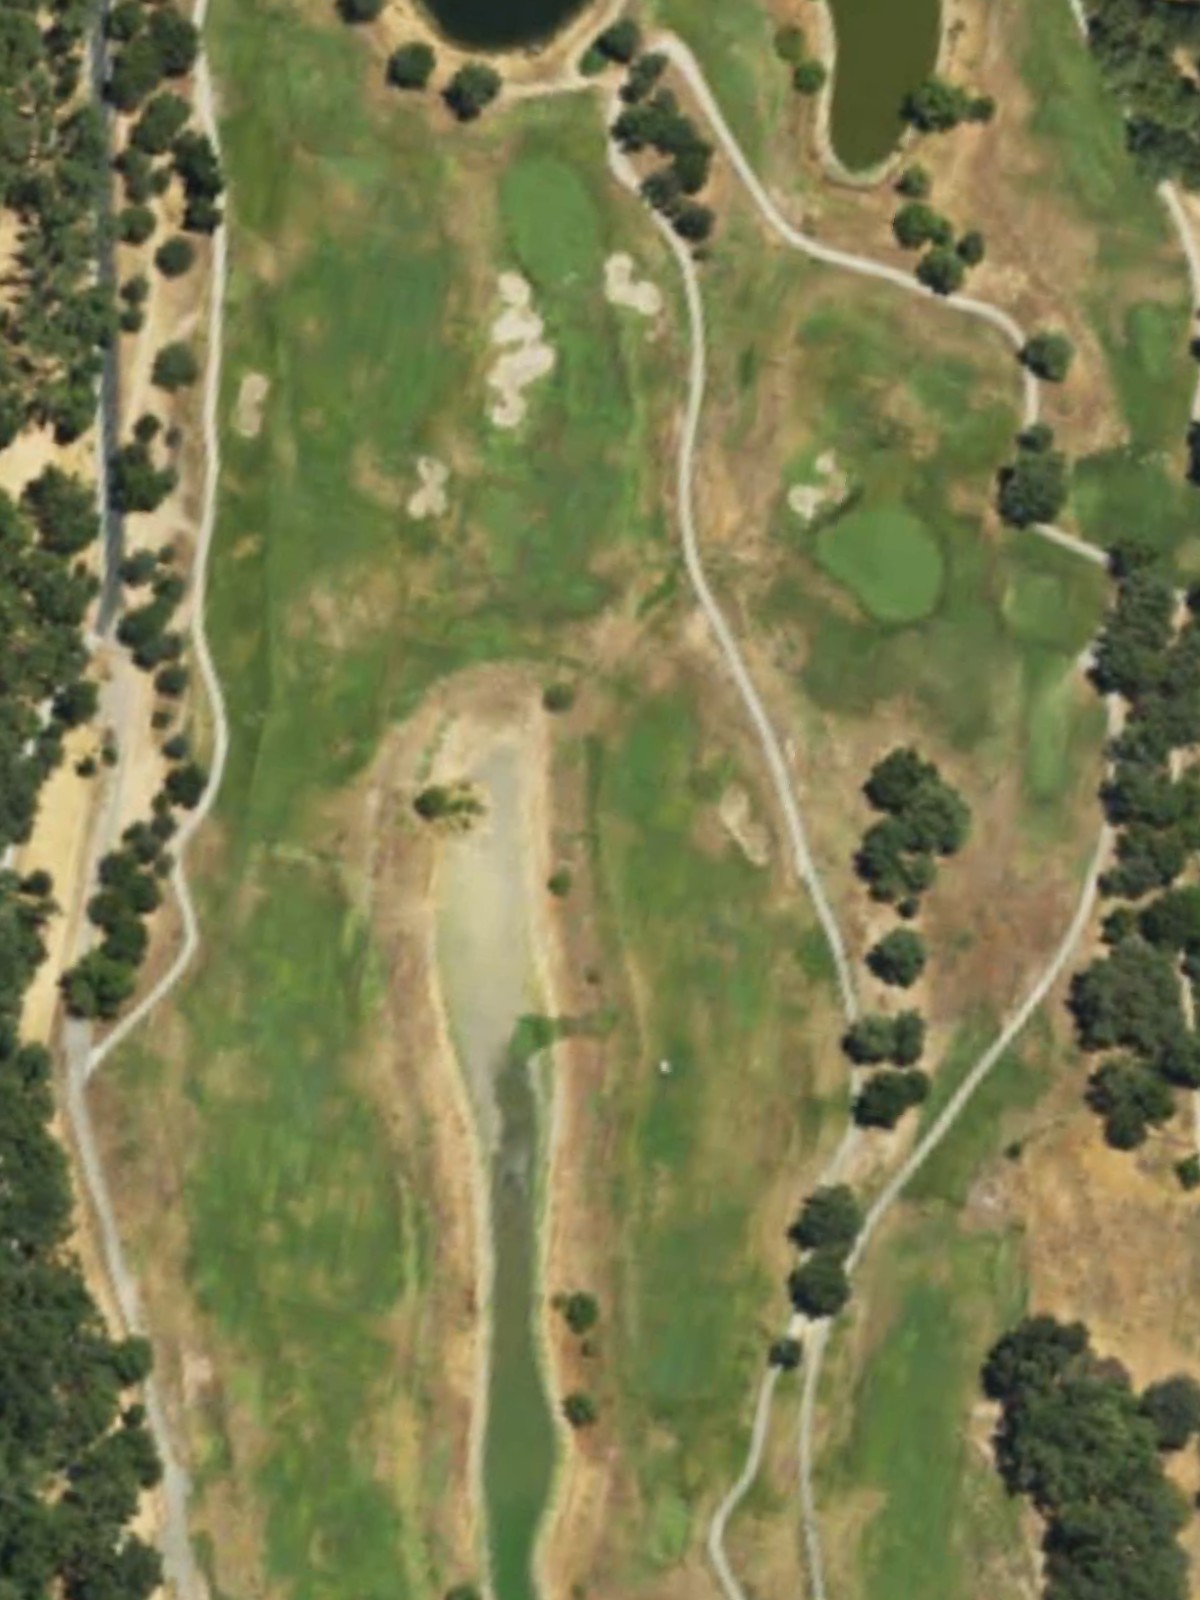
A substantial par 5 that ranks among the course's most challenging, requiring players to navigate a longer route with strategic hazards. The fairway corridor tightens as it approaches the green, testing both distance control and accuracy.
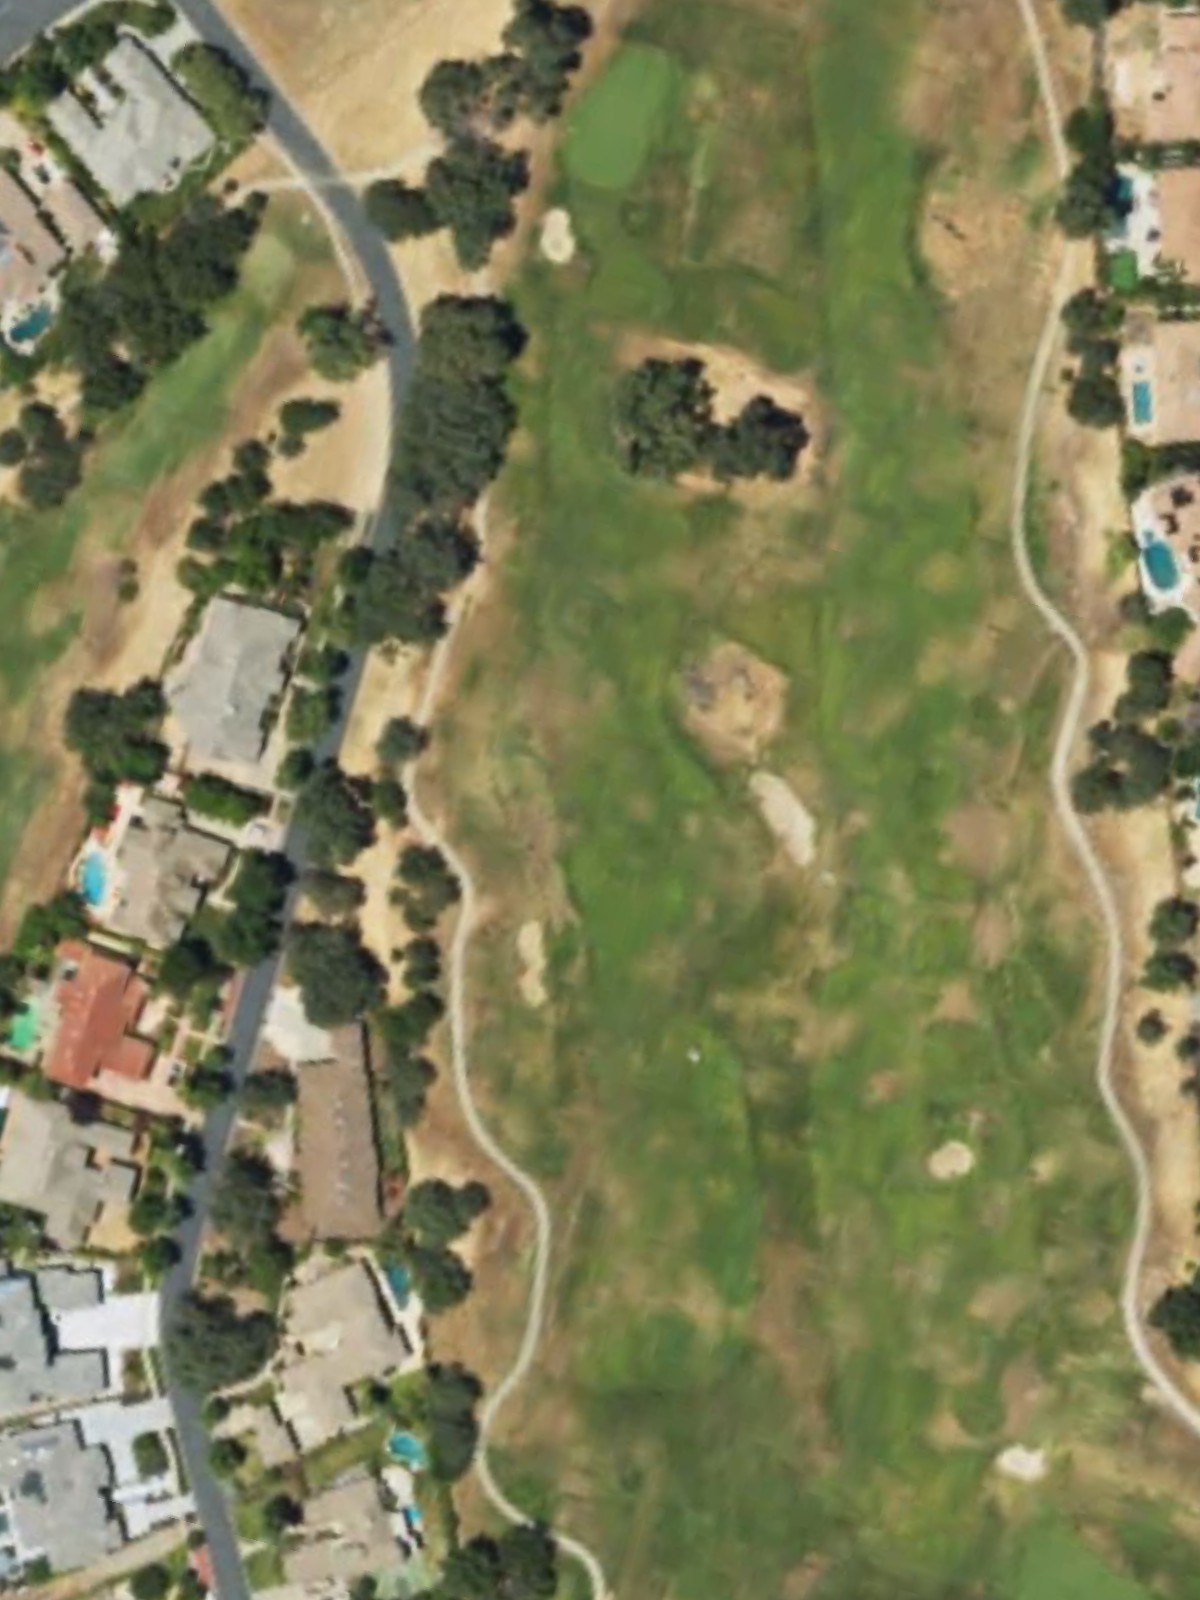
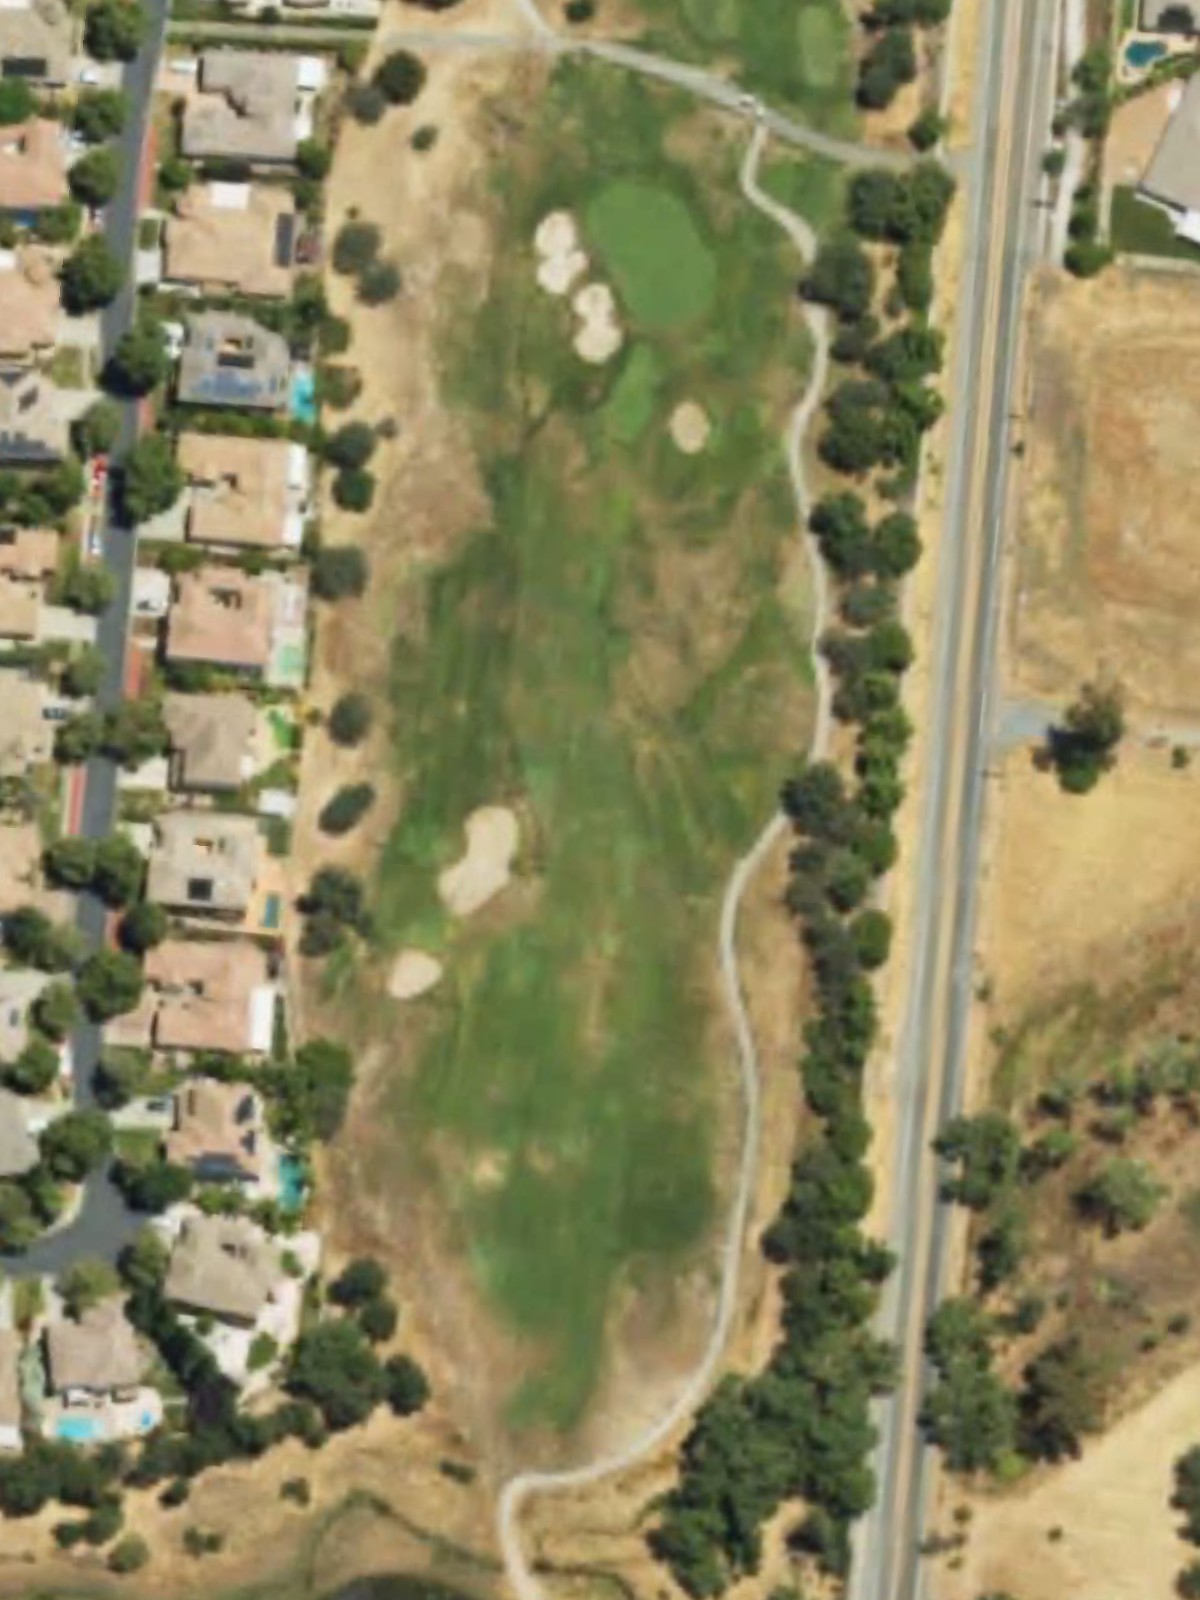
The second-most difficult par 4 on the course, this hole demands a powerful and precise tee shot through a narrow corridor. Hazards frame the entire hole, making consistency critical from tee to green.
A forgiving par 3 with generous dimensions that makes it the easiest short hole on the course. The simple layout and minimal hazards offer a welcome reprieve in the scoring opportunities.
The shortest par 4 on the course, this hole rewards aggressive play with a generous fairway and relatively short approach. The reduced length and difficulty tier make this an excellent birdie opportunity.
A long par 5 ranking fourth in course difficulty, presenting a significant challenge despite the three-shot routing. Strategic hazards throughout the hole test both distance and direction on each successive shot.
A mid-length par 4 with a relatively open fairway that plays fairly straightforward for its yardage. The approach is the key test, as hazards frame the green and demand an accurate second shot.
A short par 3 playing under 160 yards that presents a moderate challenge despite its length. The compact green requires accuracy, though the overall difficulty is approachable for most skill levels.
A moderate par 4 with a balanced layout that offers a fair test without extreme difficulty or hazards. The hole flows naturally from tee to green, presenting straightforward risk-reward decisions.
A finishing par 4 of moderate length with a fairway that widens toward the green, offering a balanced final challenge. Strategic hazards frame the approach, making a composed second shot essential for a strong finish.
Scorecard
| Hole | 1 | 2 | 3 | 4 | 5 | 6 | 7 | 8 | 9 | Out | 10 | 11 | 12 | 13 | 14 | 15 | 16 | 17 | 18 | In | Tot |
|---|---|---|---|---|---|---|---|---|---|---|---|---|---|---|---|---|---|---|---|---|---|
| Par | 4 | 4 | 5 | 3 | 4 | 5 | 3 | 4 | 4 | 36 | 5 | 4 | 3 | 4 | 5 | 4 | 3 | 4 | 4 | 36 | 72 |
| HCP | 11 | 3 | 7 | 15 | 1 | 13 | 17 | 5 | 9 | 6 | 2 | 18 | 16 | 4 | 10 | 14 | 12 | 8 | |||
| black | 372 | 440 | 481 | 182 | 429 | 524 | 167 | 429 | 397 | 3421 | 569 | 435 | 173 | 337 | 556 | 414 | 174 | 407 | 407 | 3472 | 6893 |
| gold | 362 | 409 | 476 | 172 | 416 | 497 | 161 | 415 | 384 | 3292 | 522 | 425 | 158 | 331 | 525 | 380 | 163 | 388 | 373 | 3265 | 6557 |
| blue | 332 | 365 | 467 | 149 | 390 | 481 | 150 | 380 | 363 | 3077 | 508 | 406 | 145 | 311 | 515 | 347 | 154 | 366 | 334 | 3086 | 6163 |
| b/w combo | 332 | 365 | 467 | 134 | 336 | 481 | 117 | 380 | 323 | 2935 | 474 | 333 | 145 | 311 | 438 | 310 | 154 | 366 | 334 | 2865 | 5800 |
| white | 270 | 330 | 432 | 134 | 336 | 442 | 117 | 355 | 323 | 2739 | 474 | 333 | 128 | 296 | 438 | 310 | 101 | 296 | 326 | 2702 | 5441 |
| green | 261 | 321 | 427 | 123 | 328 | 437 | 109 | 348 | 316 | 2670 | 466 | 325 | 119 | 290 | 428 | 310 | 93 | 296 | 312 | 2639 | 5309 |