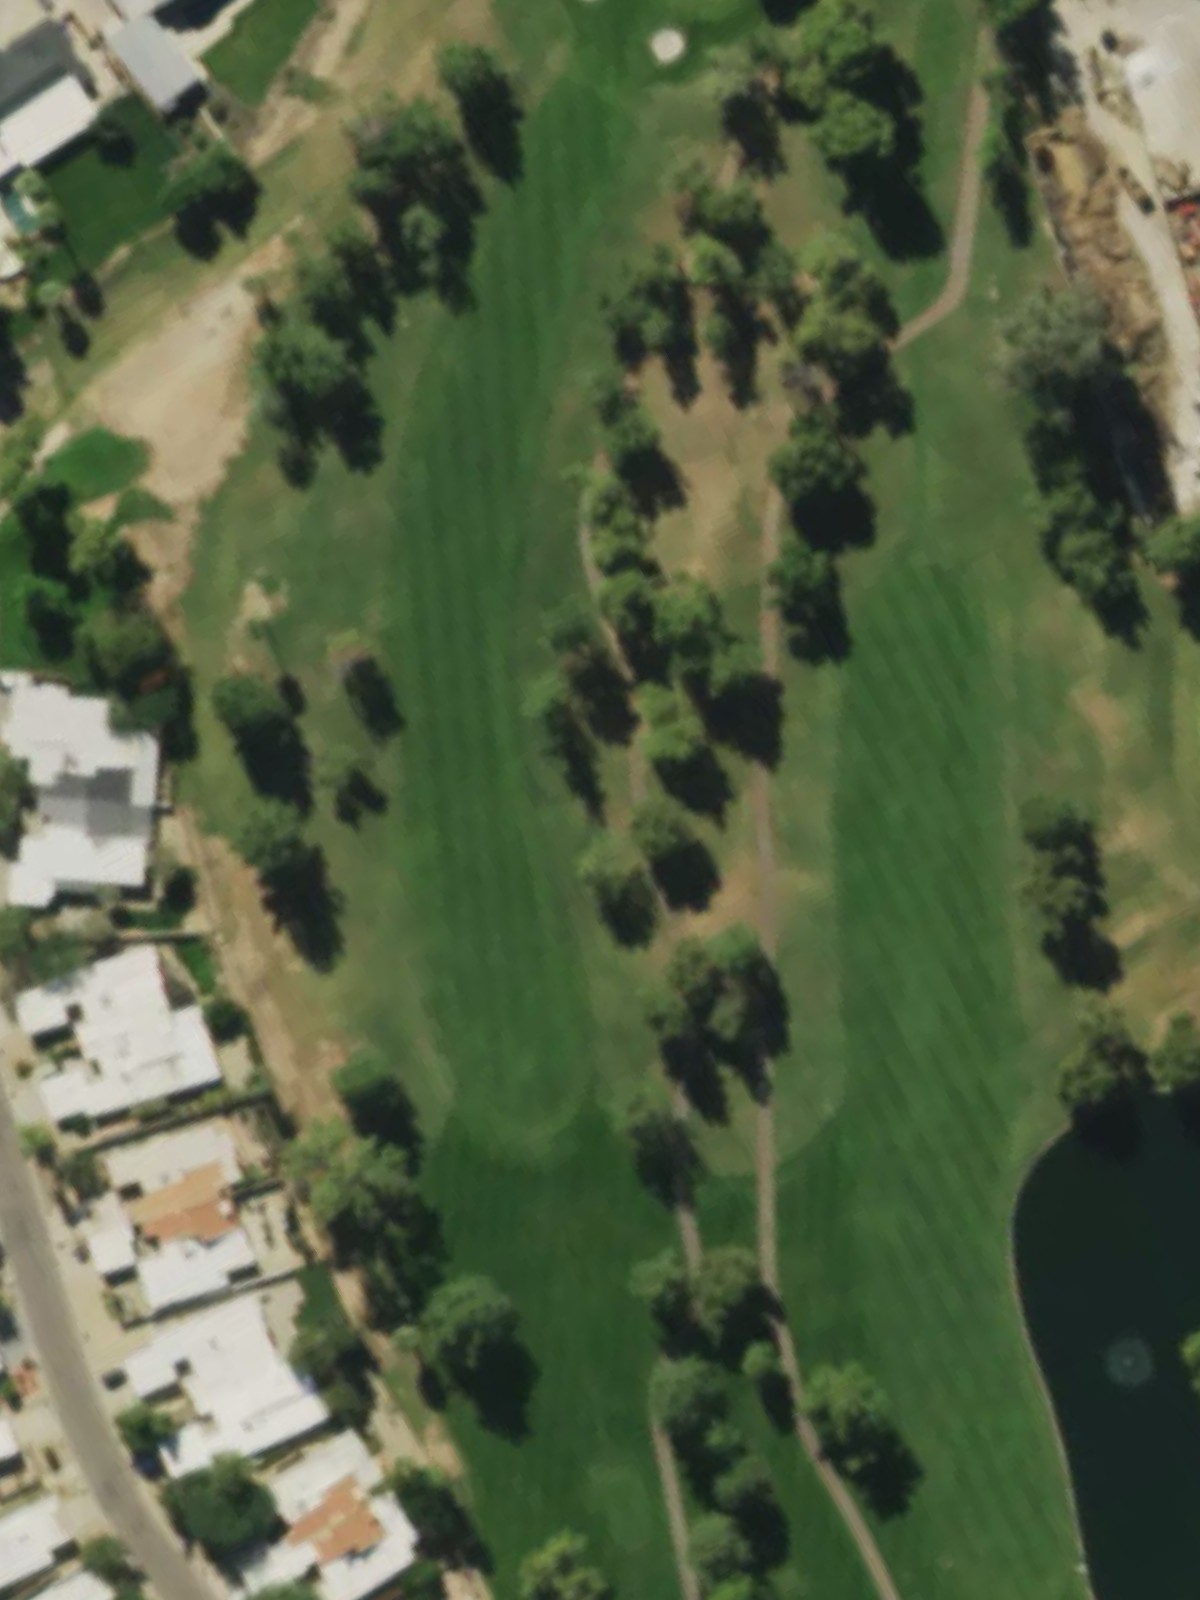
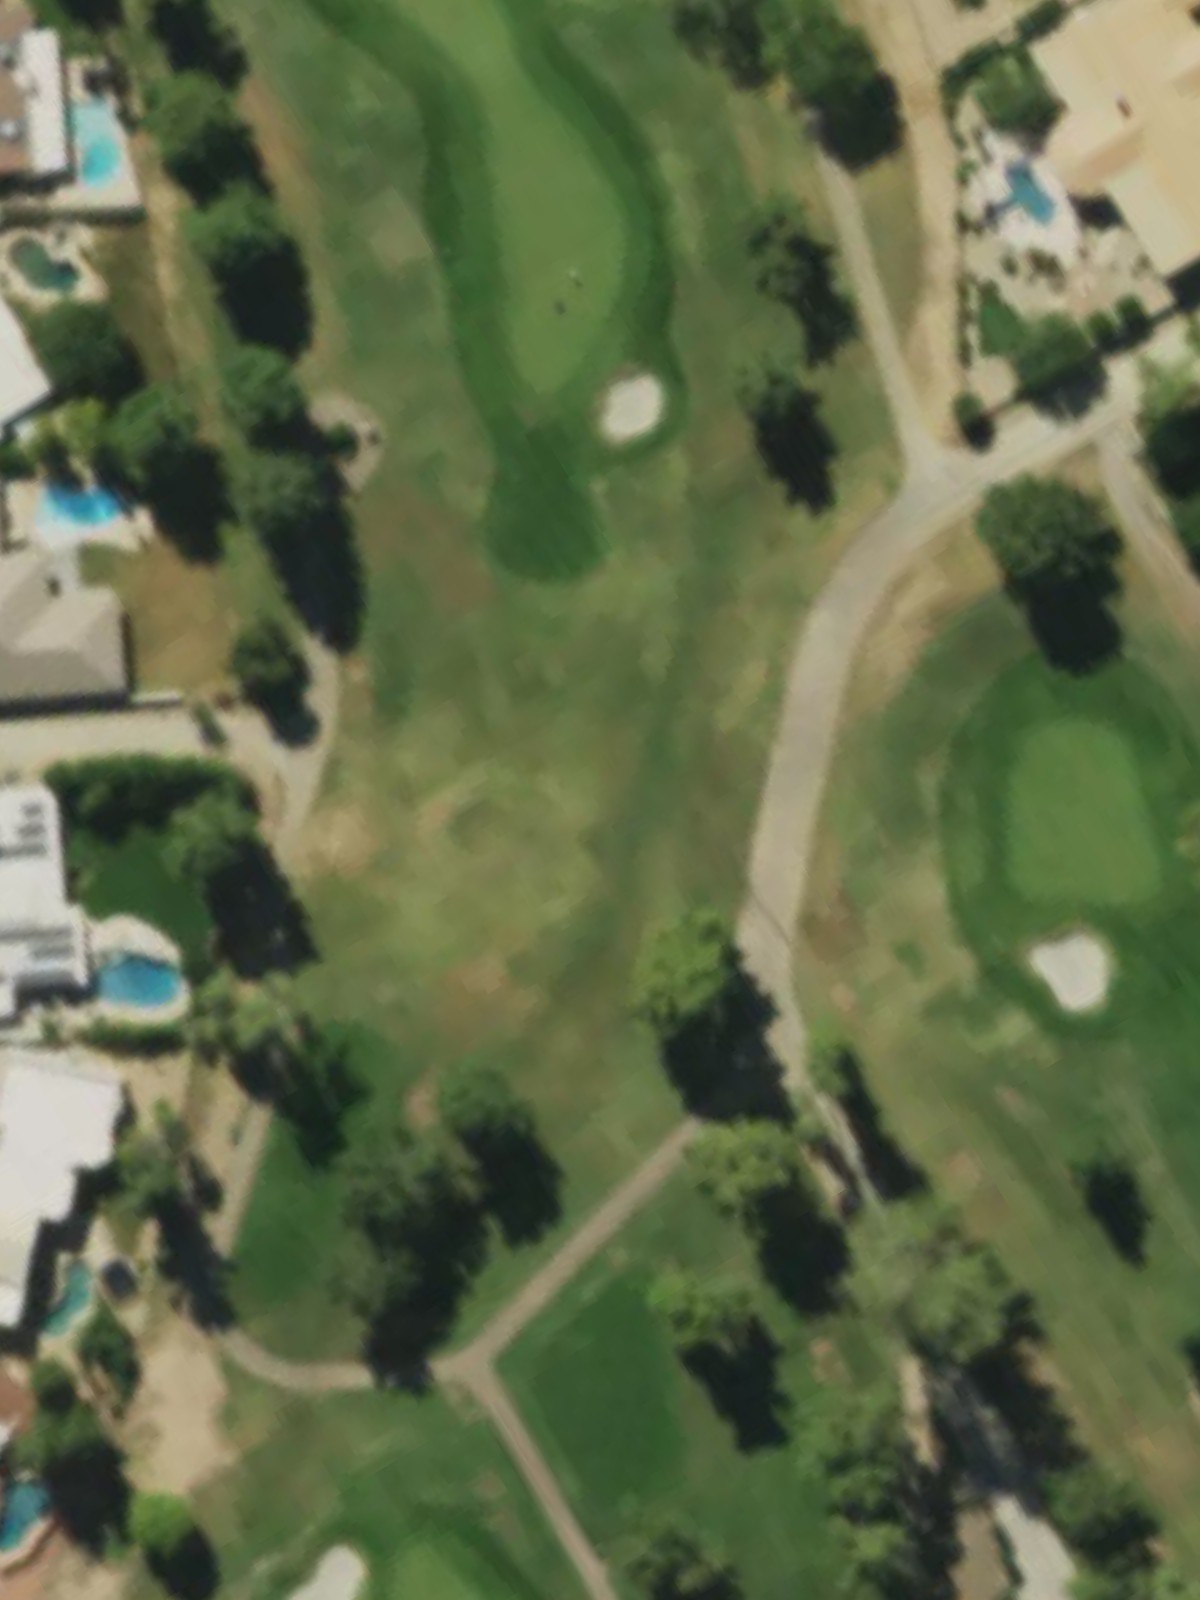
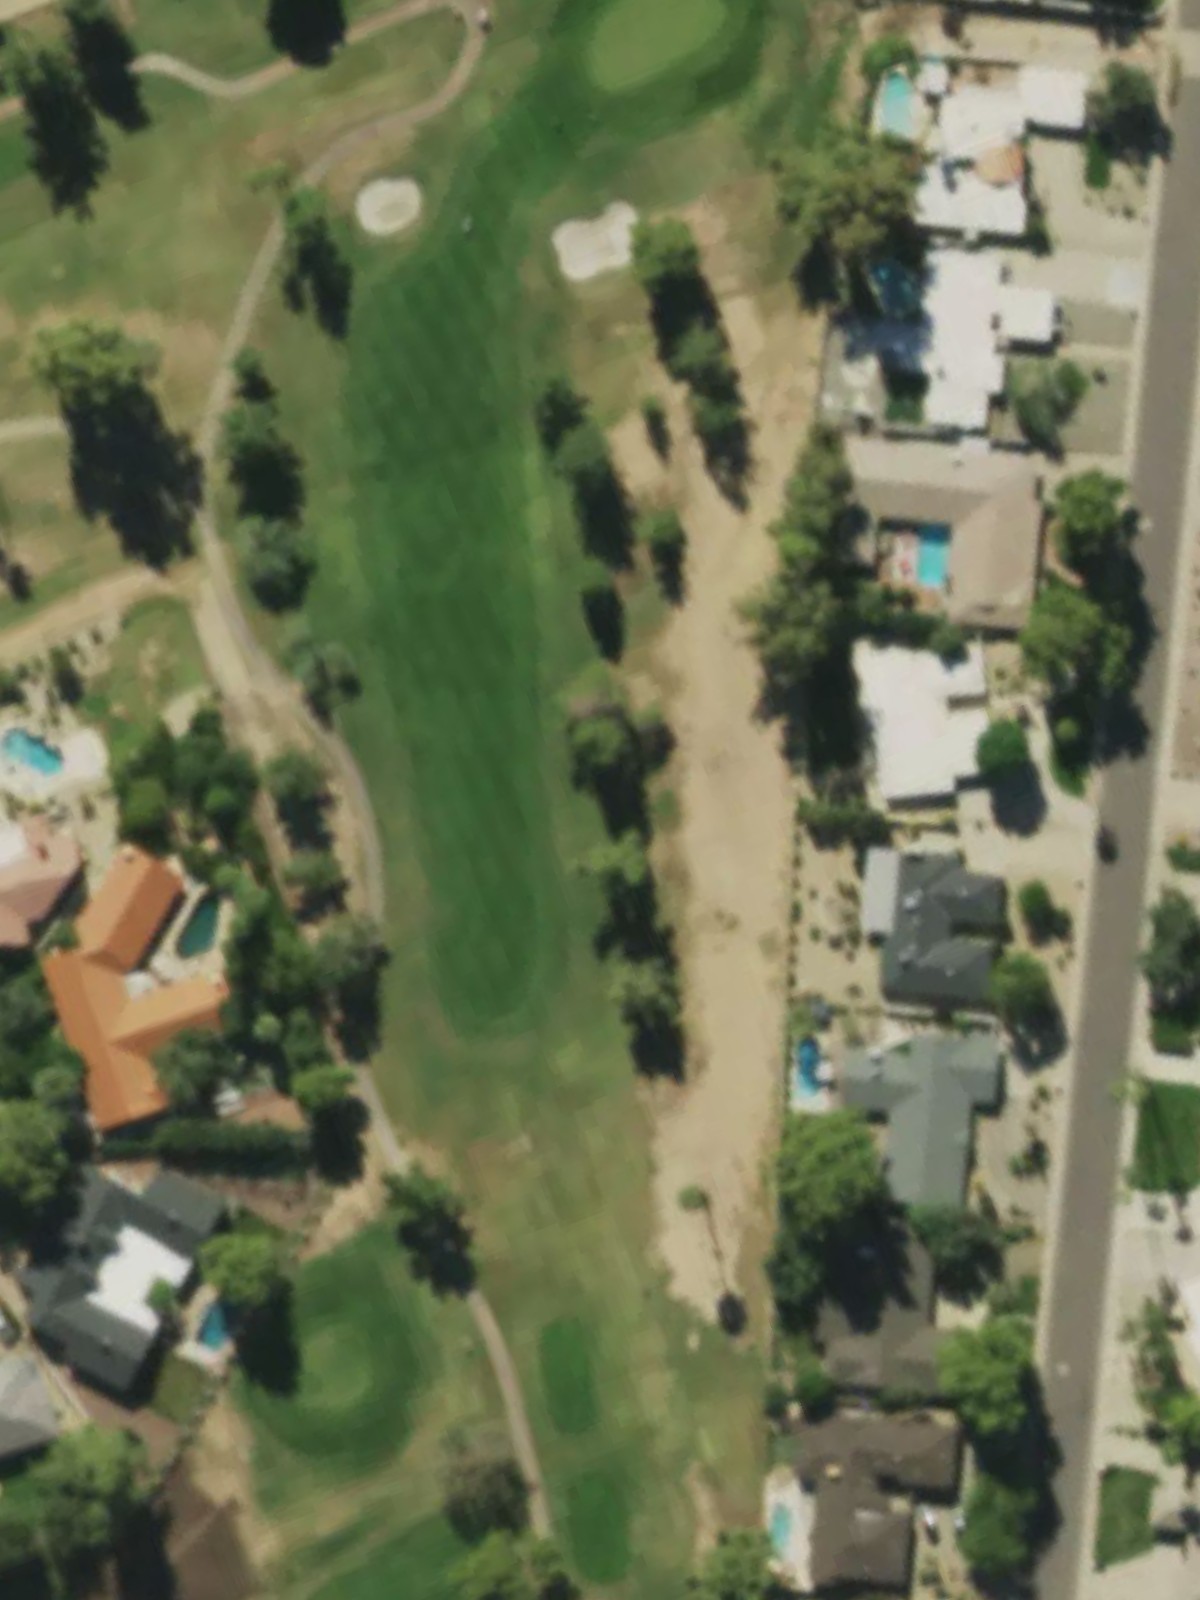
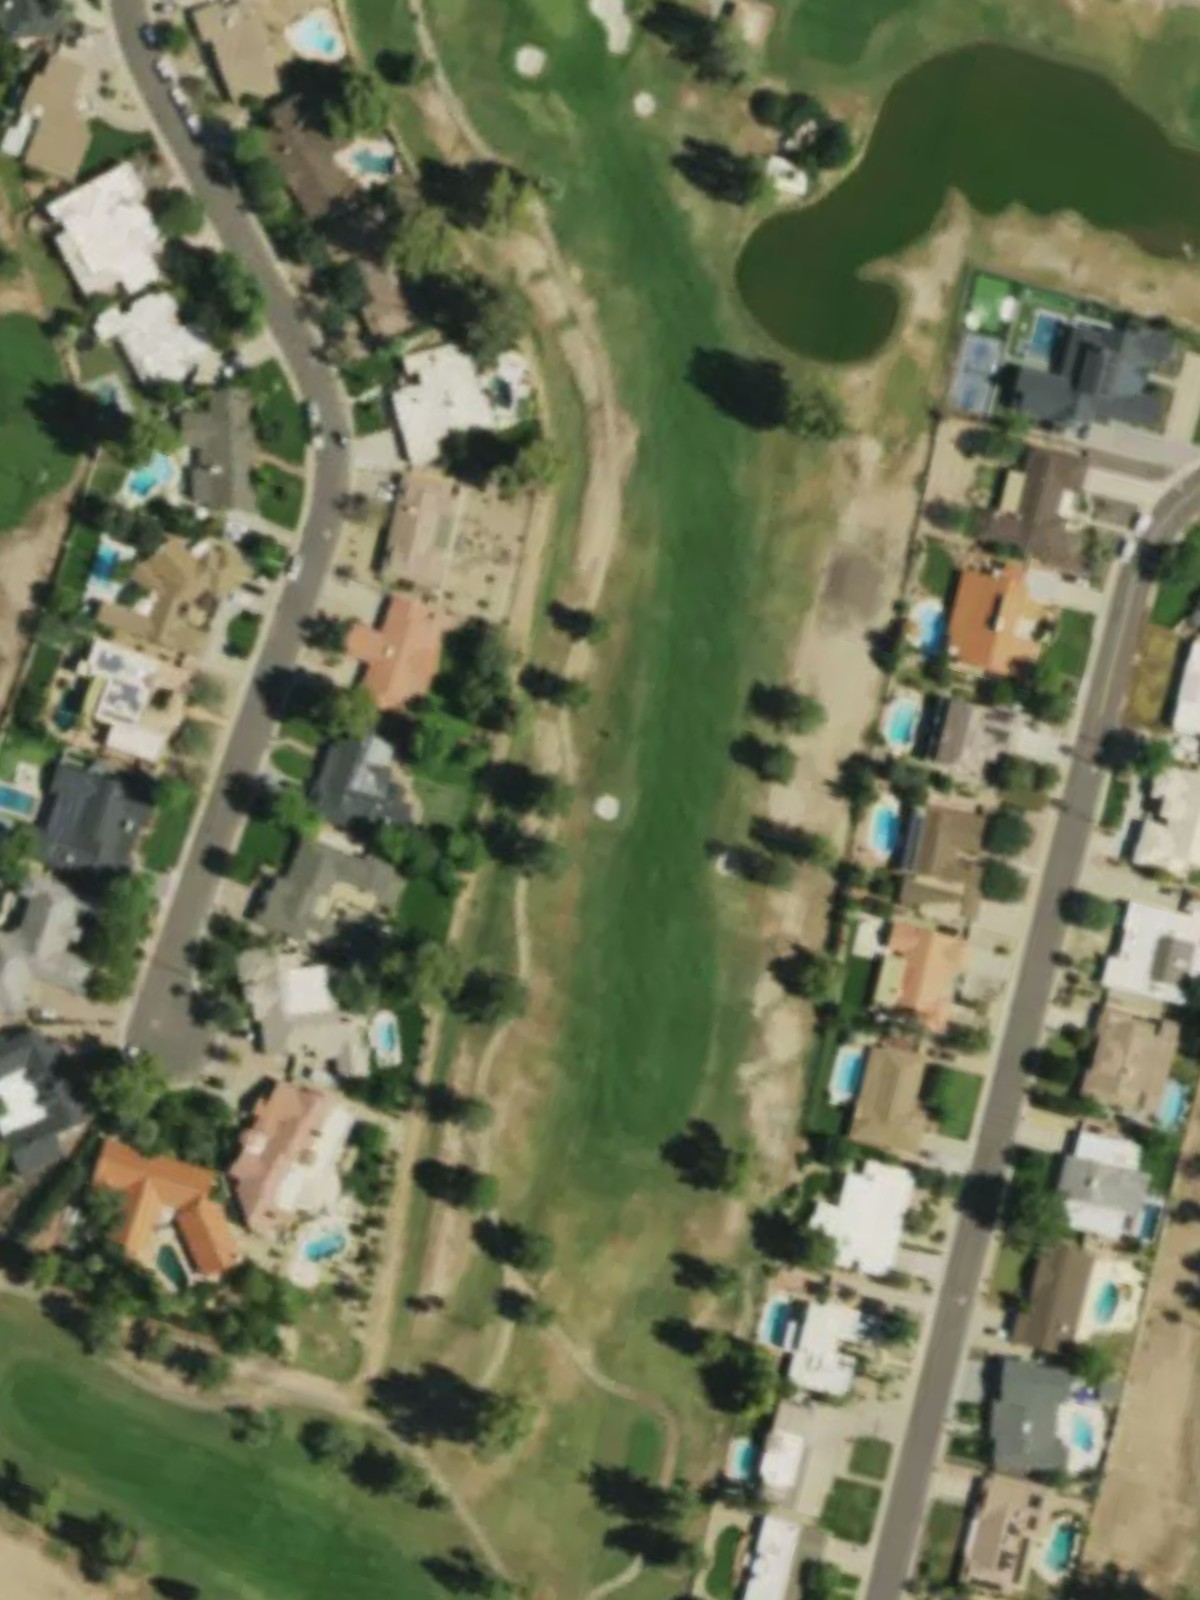
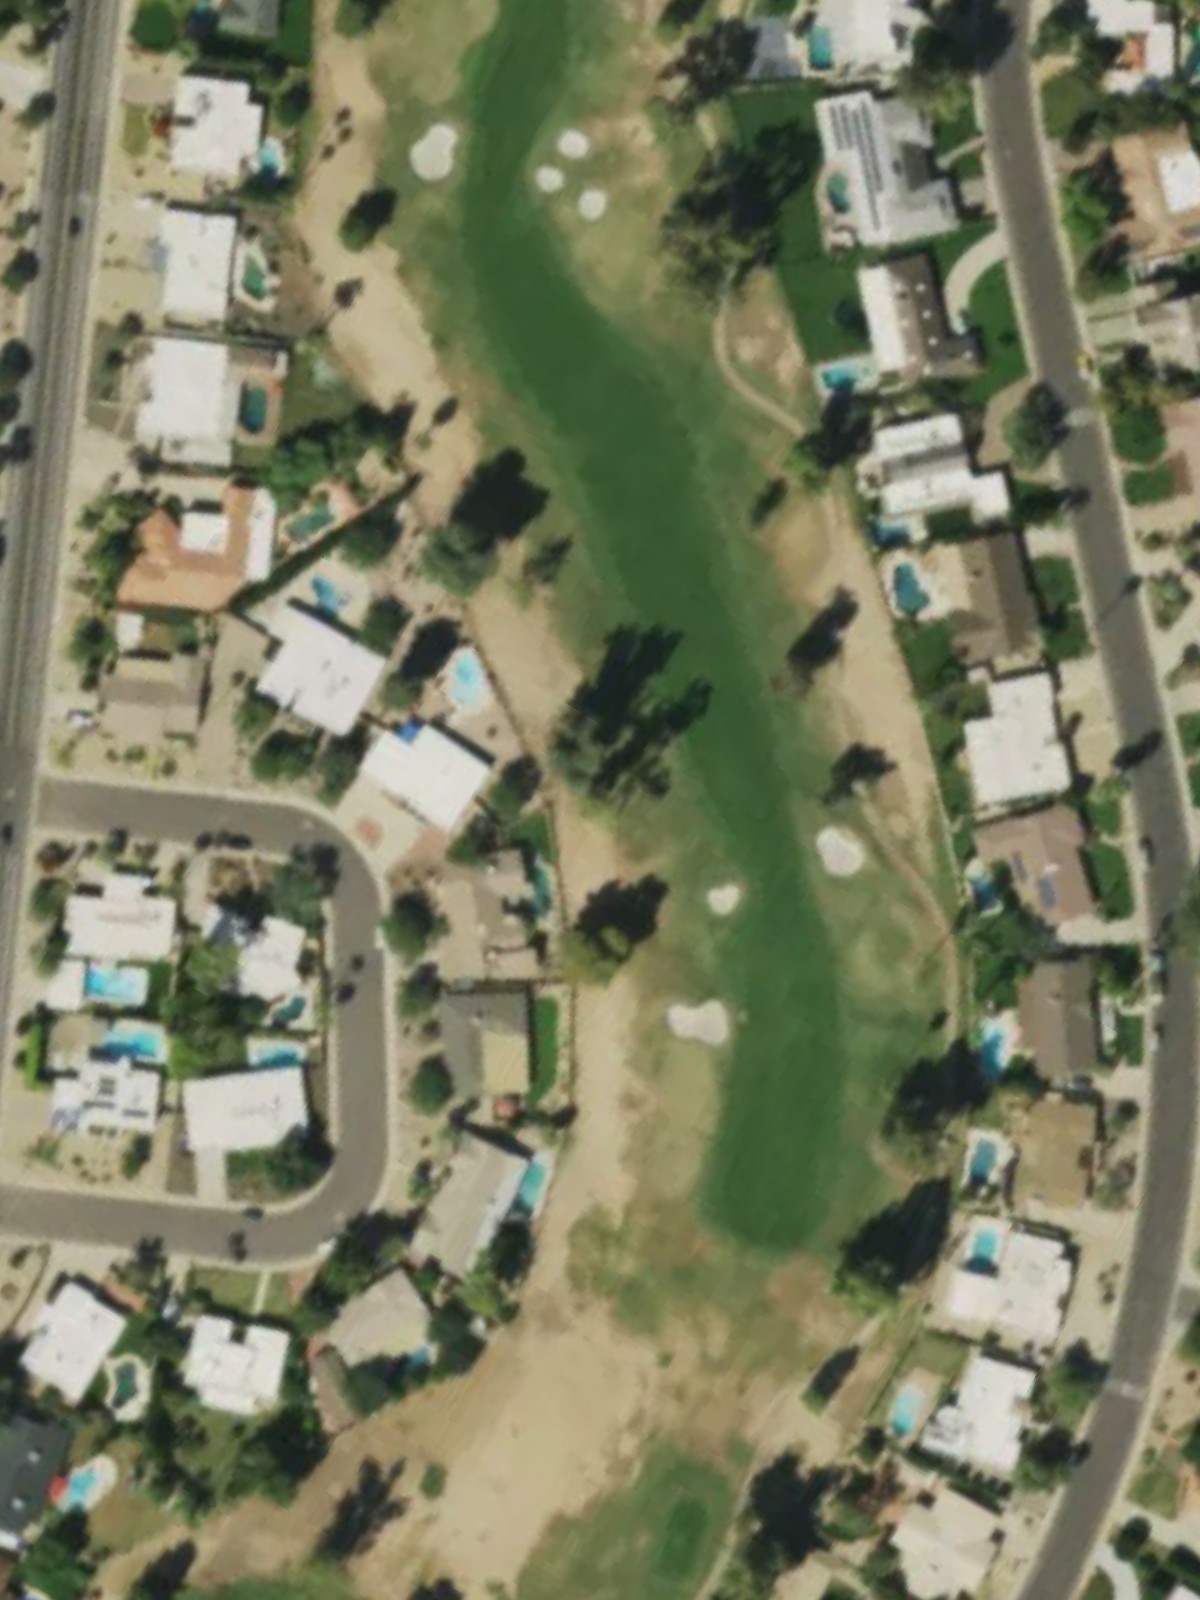
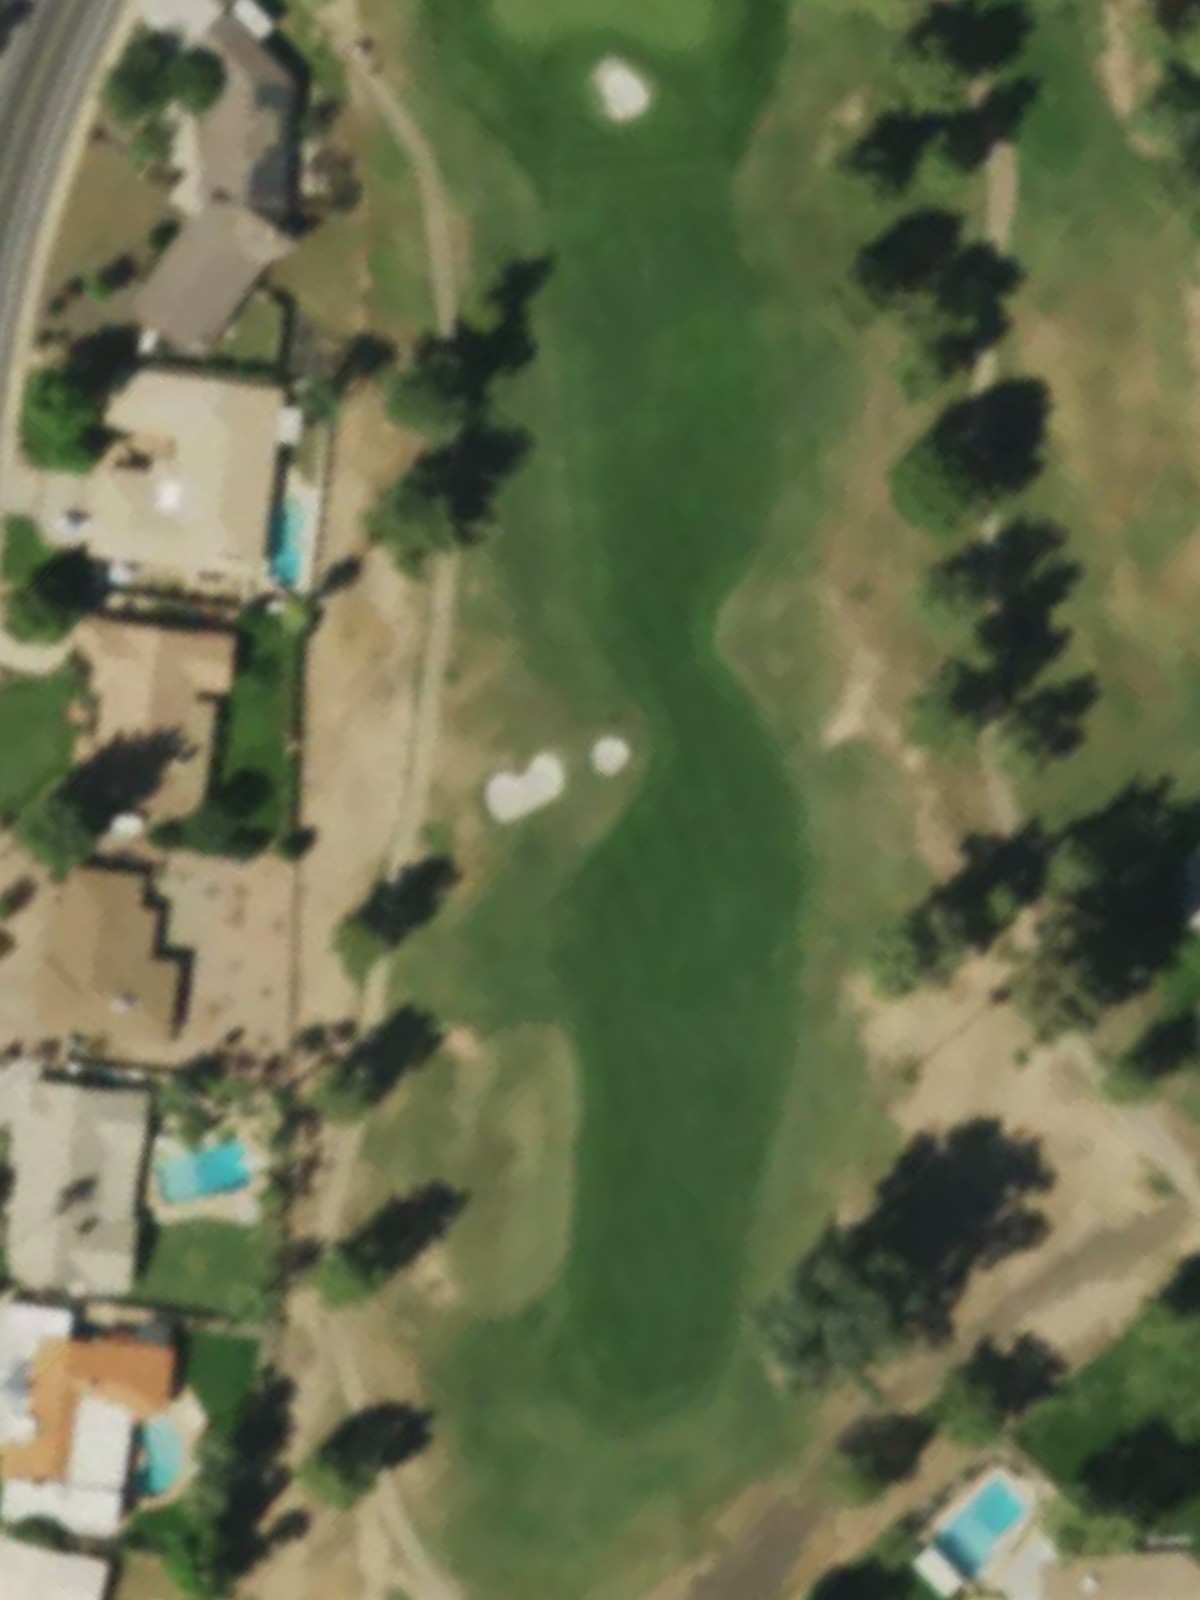
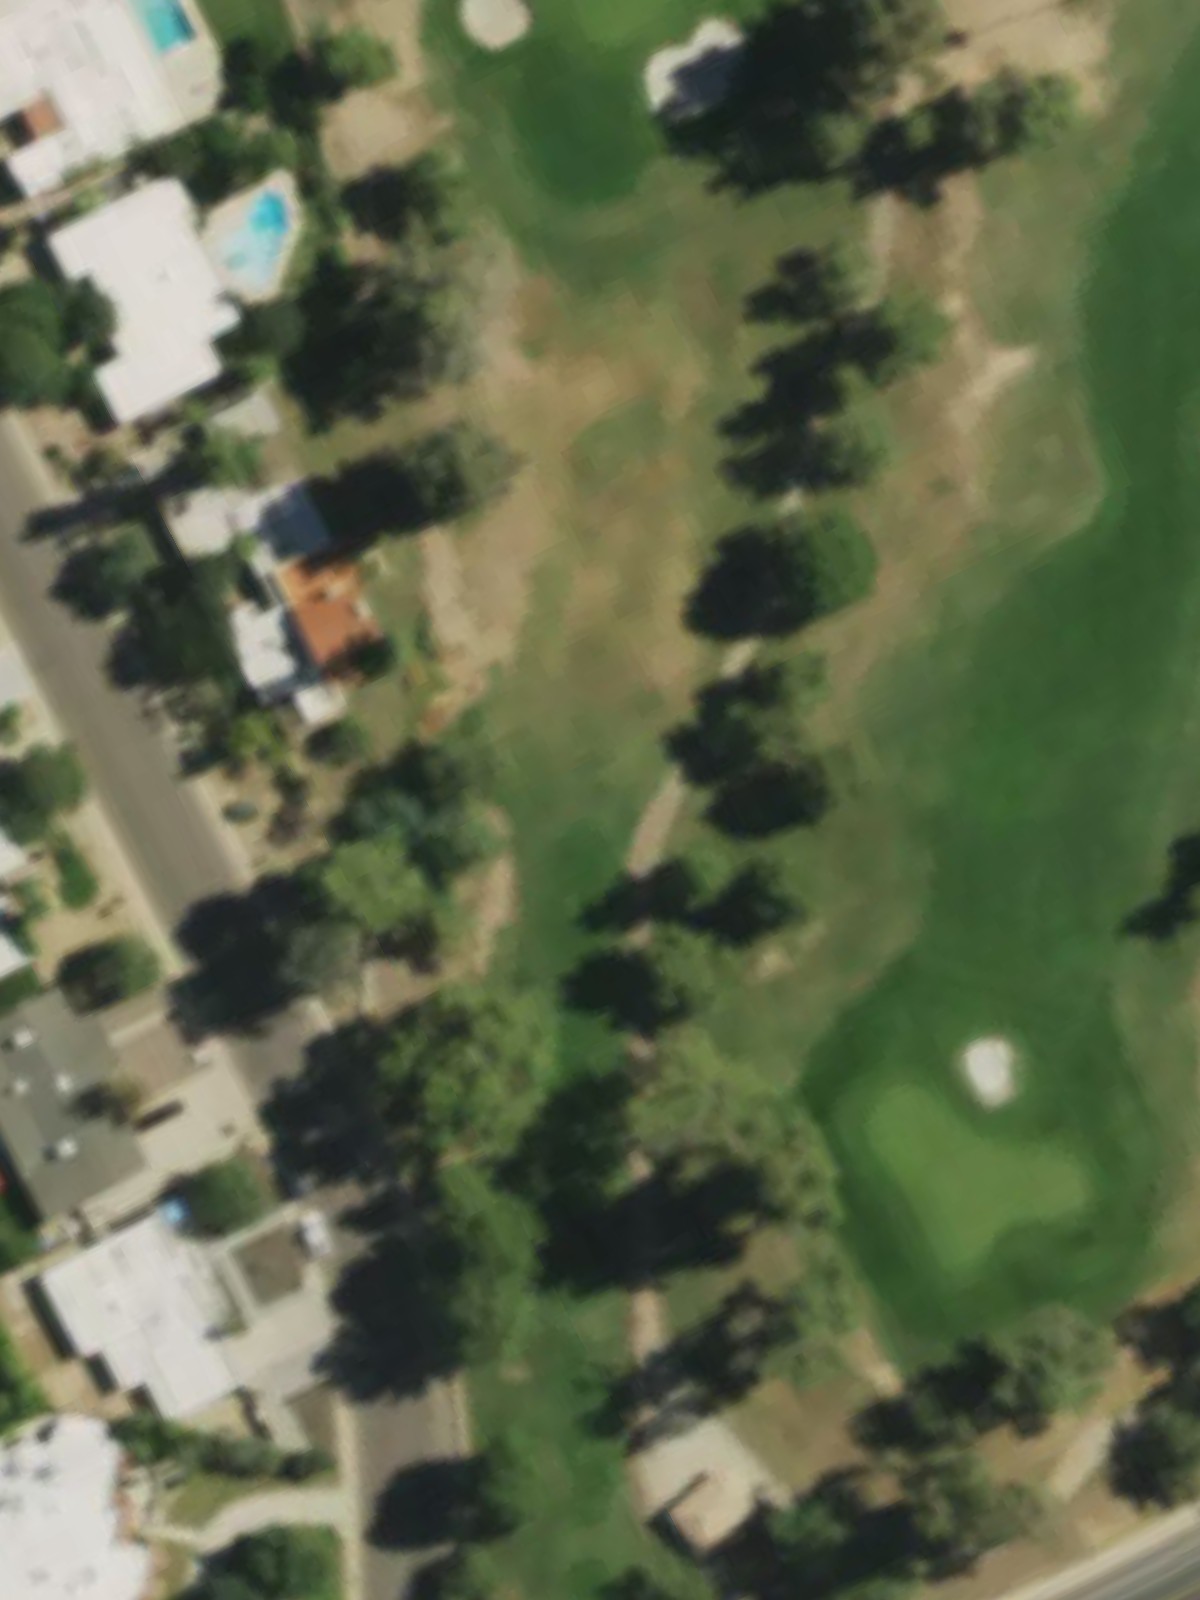
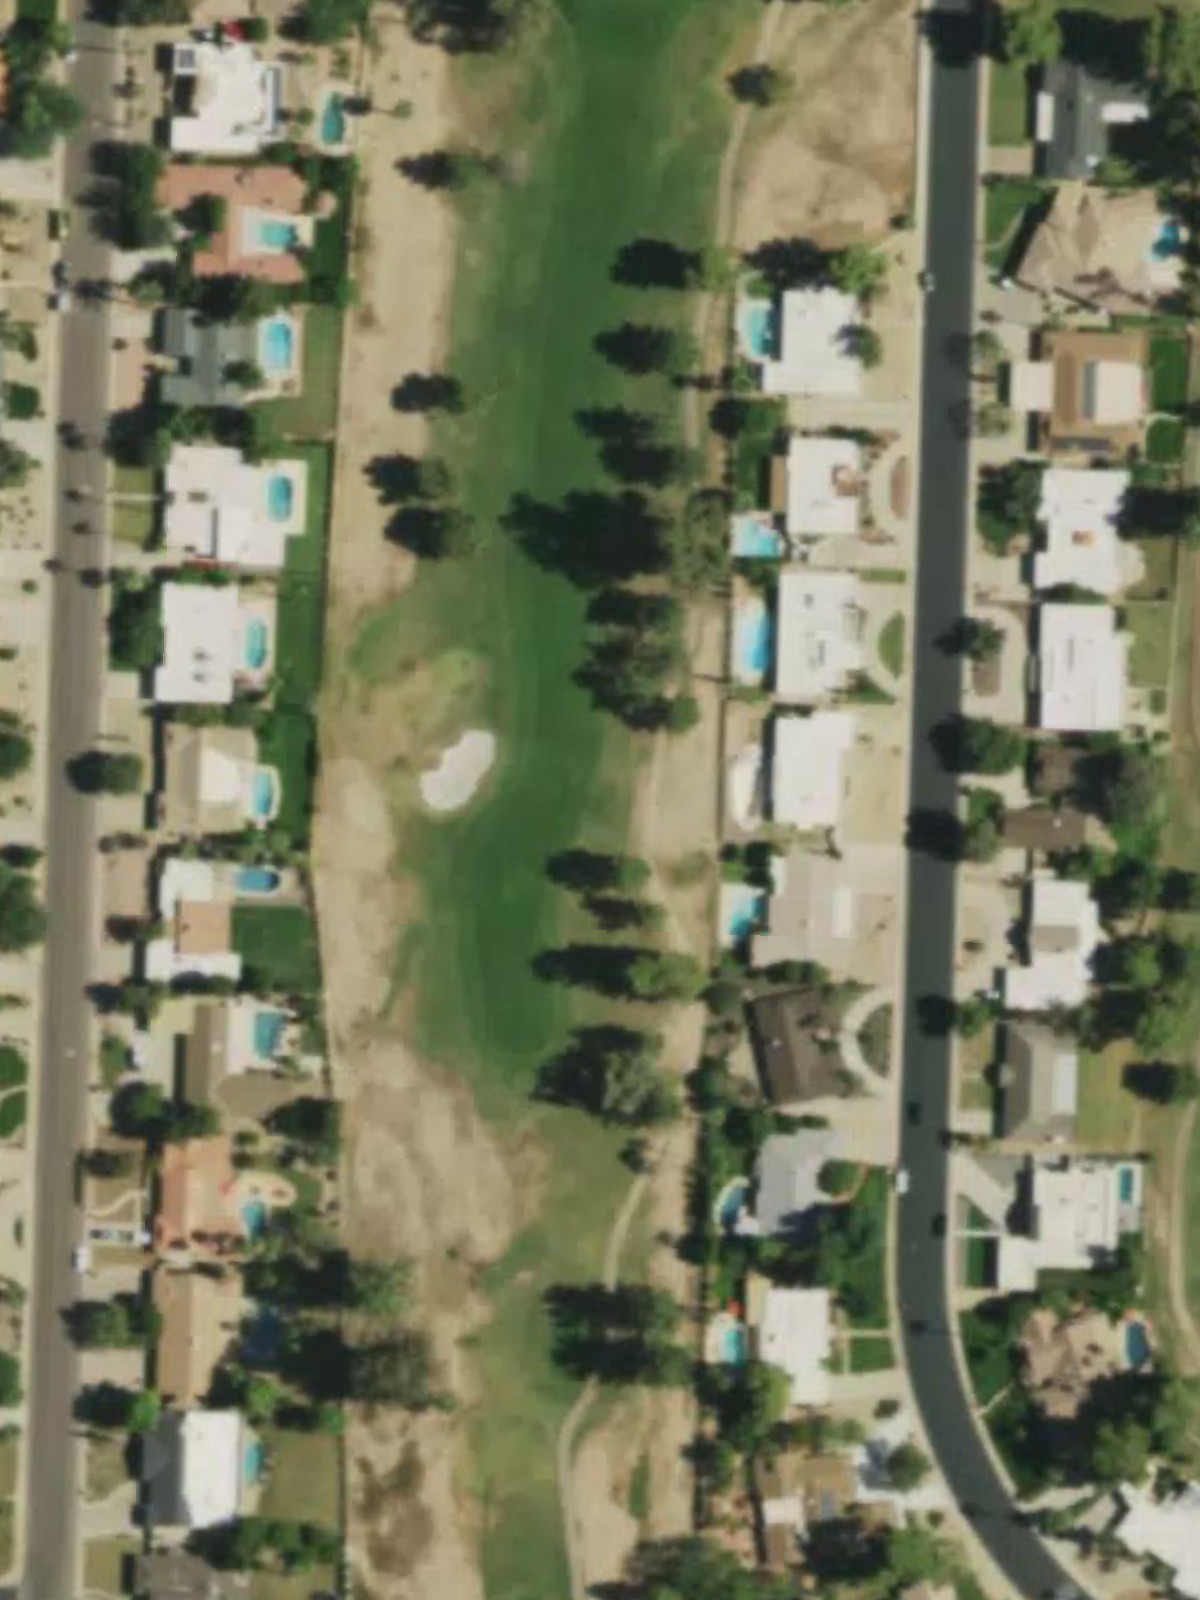
Moon Valley Country Club is an 18-hole golf course in Phoenix, AZ with a par of 72. It offers 8 tee sets: black (7,165 yards, slope 129, rating 73.9), black/blue (6,972 yards, slope 127, rating 72.8), blue (6,563 yards, slope 124, rating 71), blue/white (6,313 yards, slope 121, rating 69.7), white (5,999 yards, slope 119, rating 68.3), white/red (5,628 yards, slope 114, rating 67), red (5,271 yards, slope 109, rating 65.1), mini-moon (3,609 yards, slope 97, rating 59.3). The hardest hole is #16, a par 4 playing 354 yards from the first tee.
Moon Valley Country Club
Phoenix, AZ
Get PDF Yardage Book
We'll email you the PDF link. No spam, ever.
Create Your Game Plan
Pick your tees, enter your bag, and get a personalized shot-by-shot strategy for every hole.
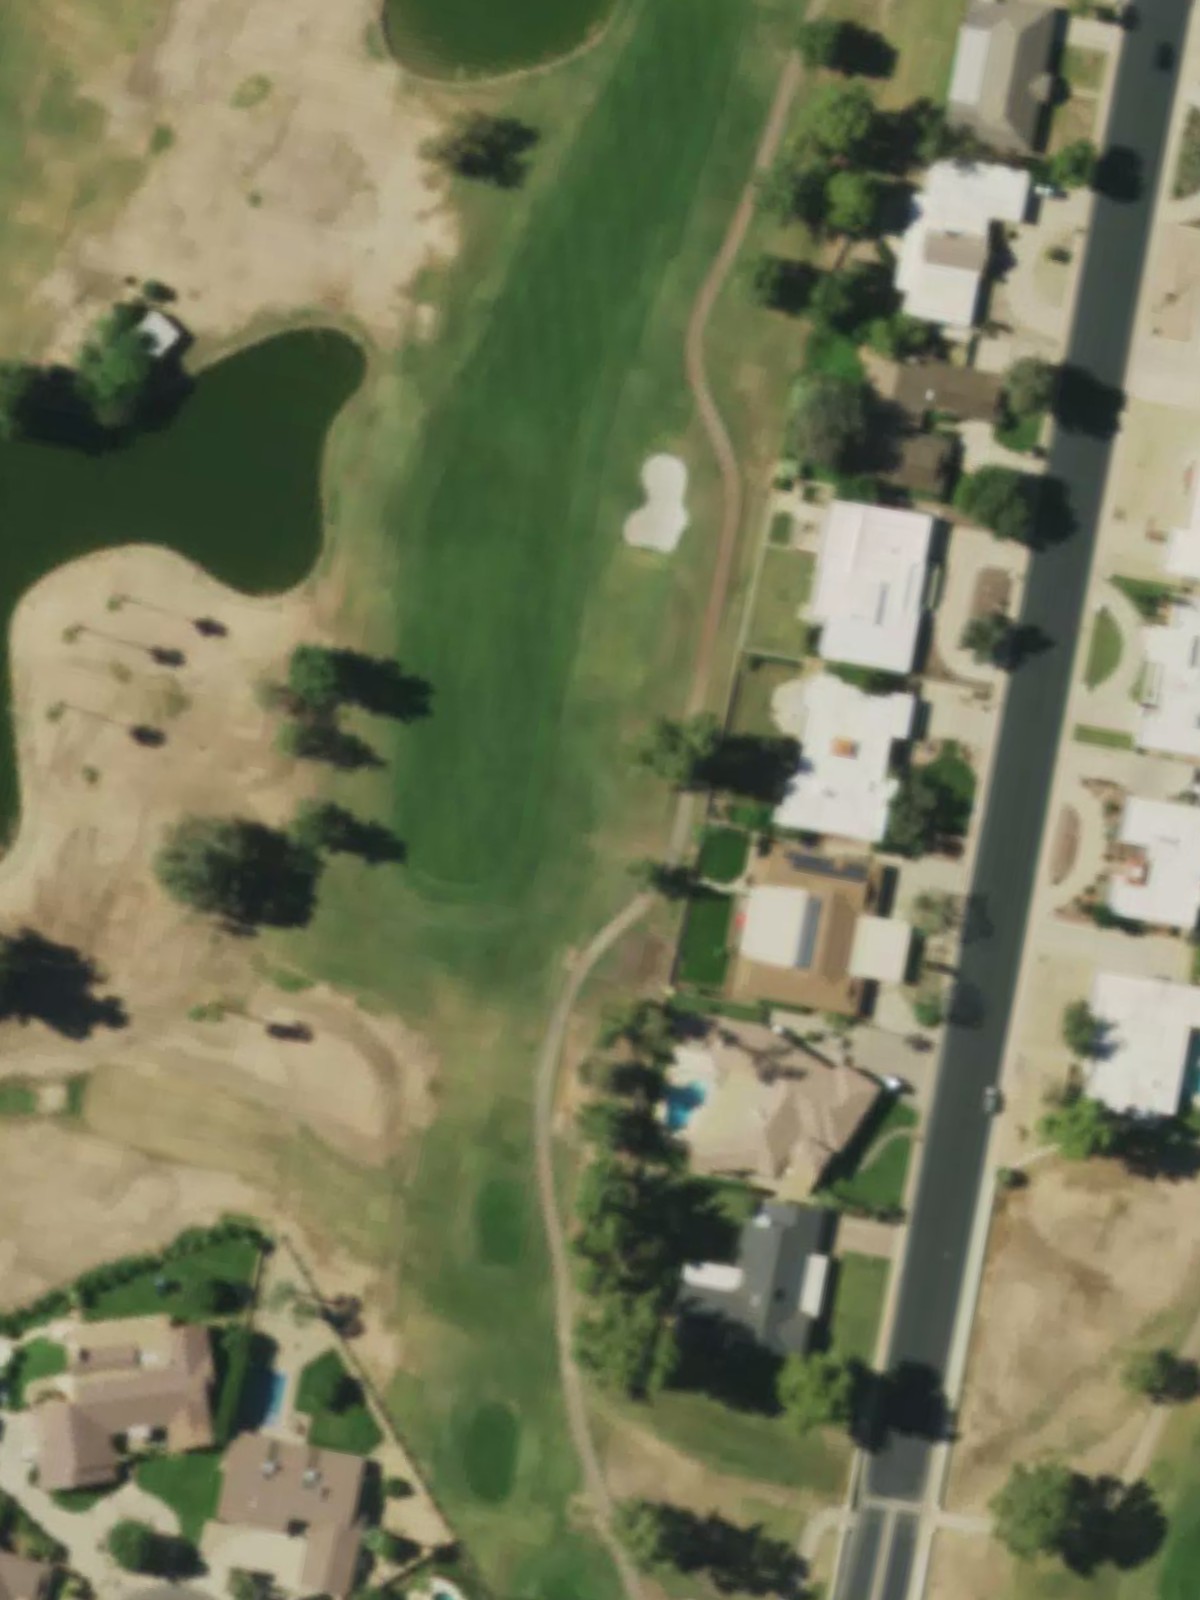
A demanding opening par 4 that plays relatively straightforward with a fairway that tightens as it approaches the green. Bunkers protect both sides of the putting surface, making accuracy off the tee and into the green essential on this stroke index 2 hole.
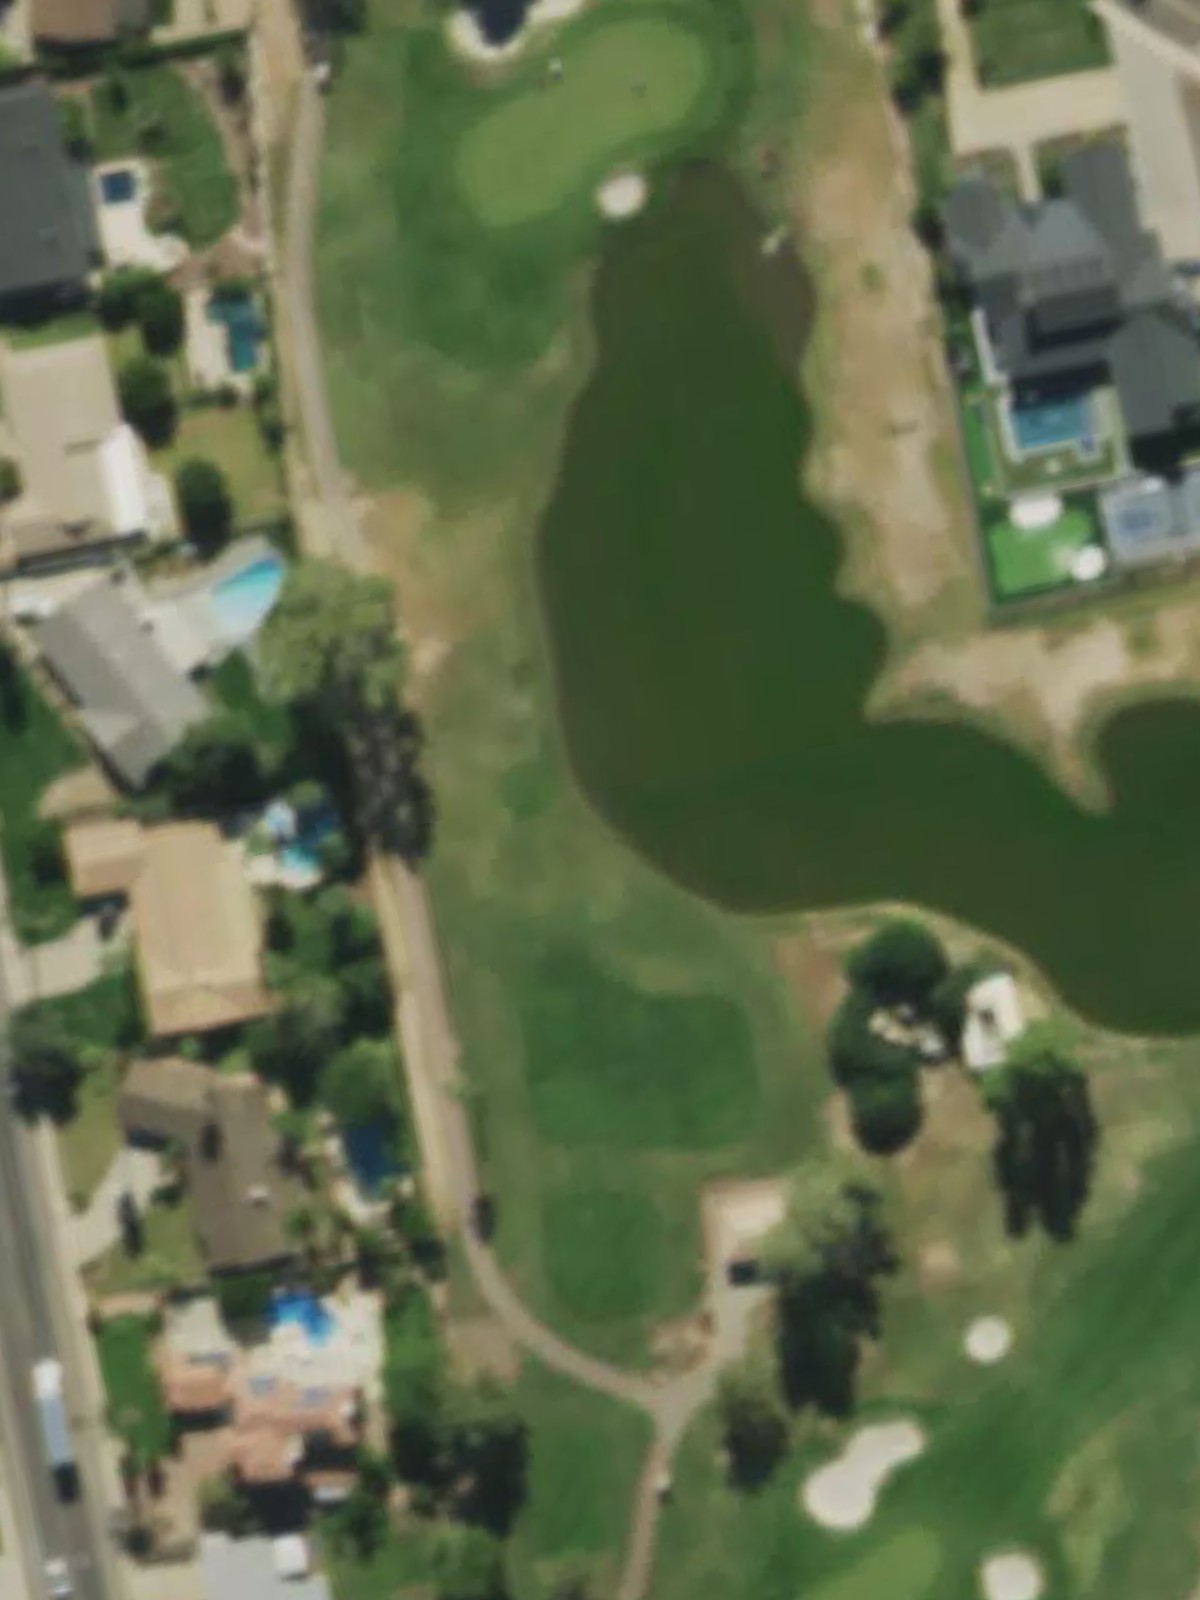
A short par 3 with a compact green that demands precision over distance. Water hazard left and bunkers guarding the right side of the green create a tight target that leaves little room for error.
A short par 4 with a relatively open fairway that allows aggressive play off the tee. The green sits slightly elevated with bunkers framing the left side, making the approach shot the key to scoring on this forgiving hole.
A long par 5 that bends gently and offers multiple routes for three-shot play. Water hazards border the right side of the hole, while bunkers are positioned at strategic distances to challenge distance management and positioning for the approach.
A short par 3 with a narrow, well-bunkered green that requires a precise tee shot. The small target and surrounding hazards make club selection and execution critical despite the modest yardage.
A well-bunkered par 4 that requires strategic positioning off the tee. Multiple bunkers line the fairway and guard the green, making this a thoughtful hole where placement is more important than pure distance.
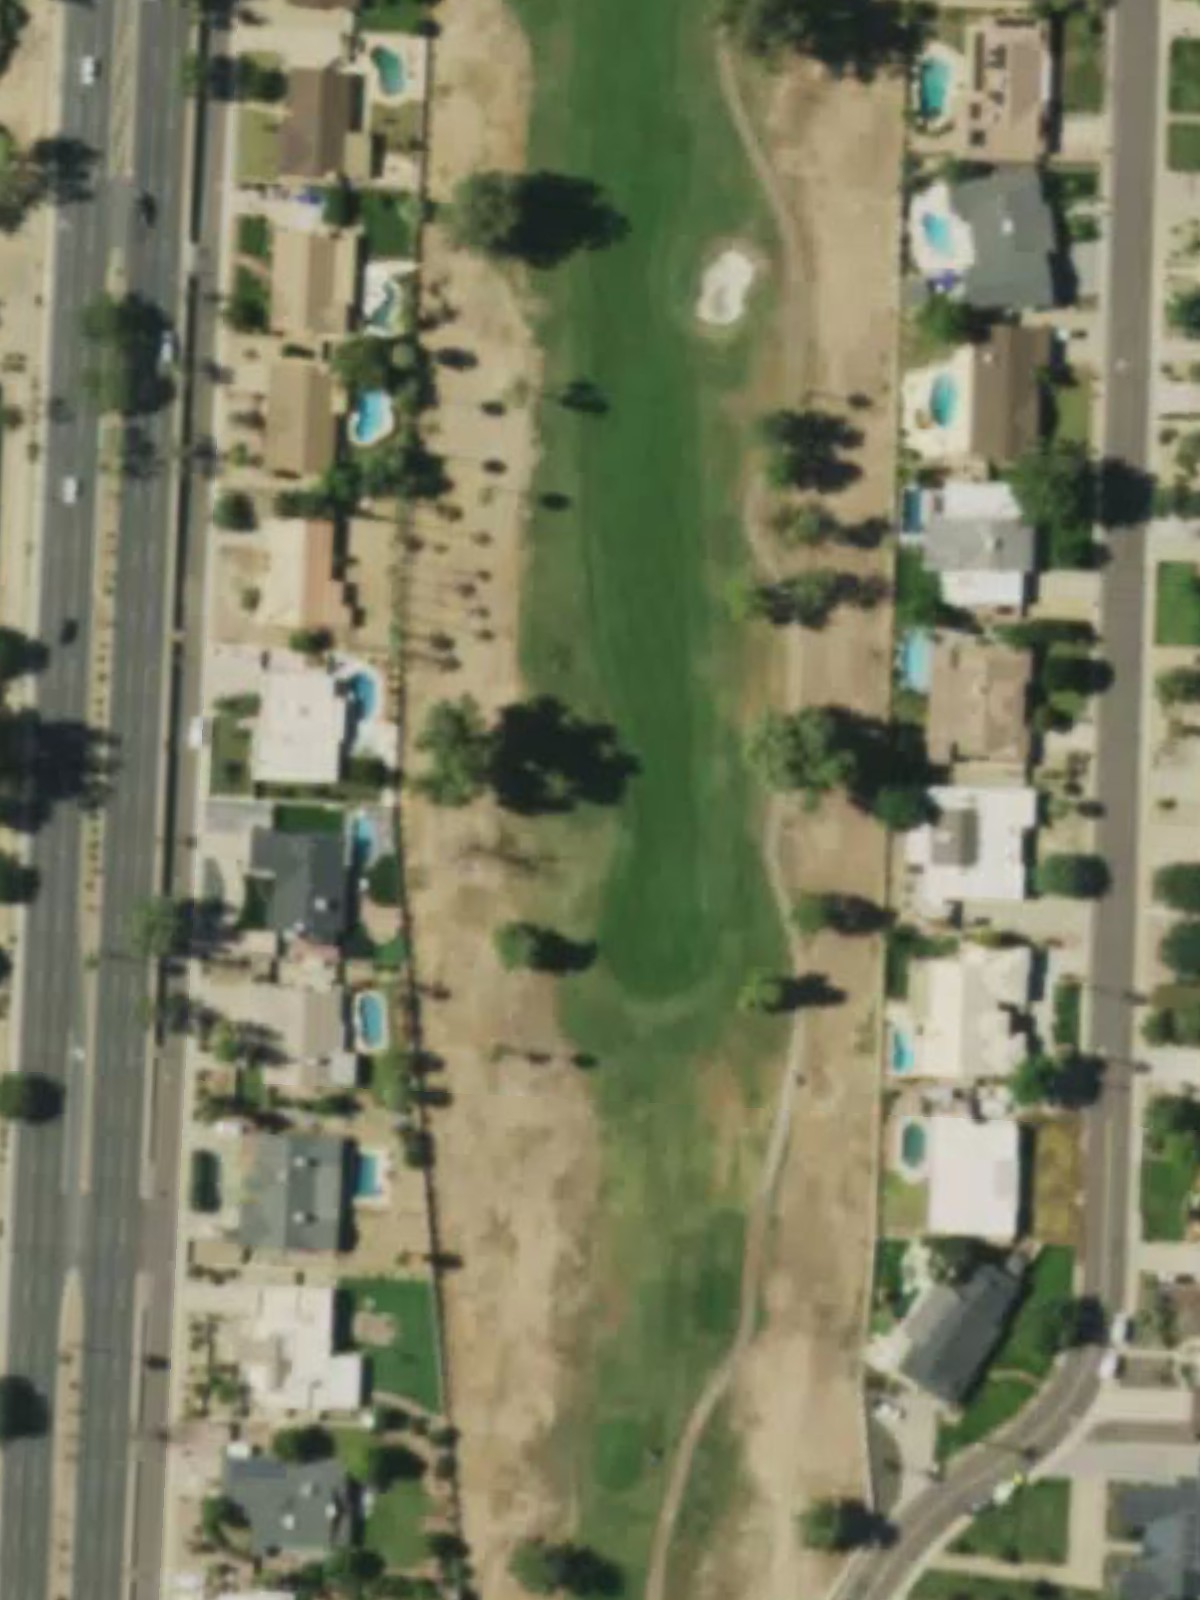
The course's third most difficult hole, this par 4 plays long and demands consistent striking. Strategic bunkering down the fairway and around the green tests both accuracy and the ability to hold the line under pressure.

A par 5 with a relatively open layout that provides multiple options for aggressive play. Despite its length and handicap ranking, the absence of severe hazards offers some reprieve in difficulty.

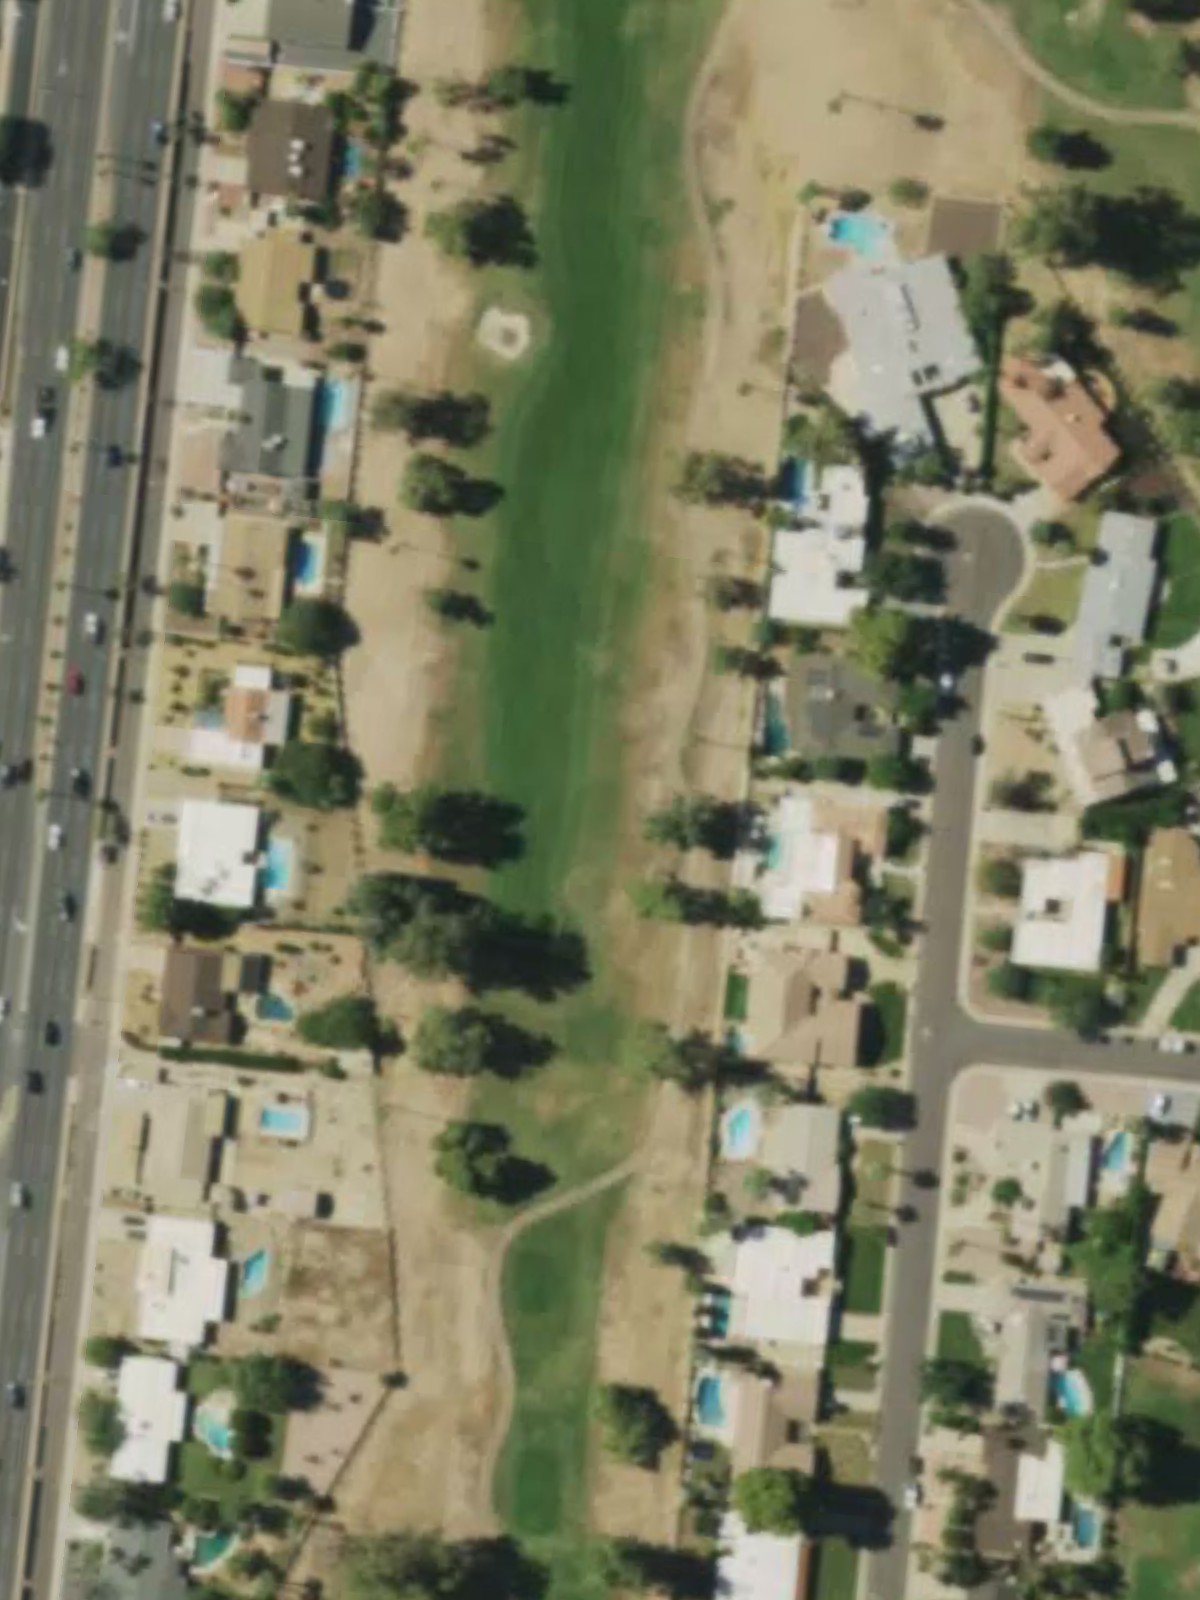
The second-most difficult par 4 on the course, this hole features a tight fairway corridor flanked by trouble on both sides. The demanding setup requires accurate driving and a controlled approach into a tightly defended green.
A lengthy par 5 that stretches across the back nine with hazards positioned to challenge layup zones and second shots. The expansive hole demands careful distance control and strategic positioning throughout.
A mid-length par 3 with a well-protected green that requires accuracy despite the moderate yardage. Bunkers frame the green on multiple sides, making this a pivotal hole on the back nine.
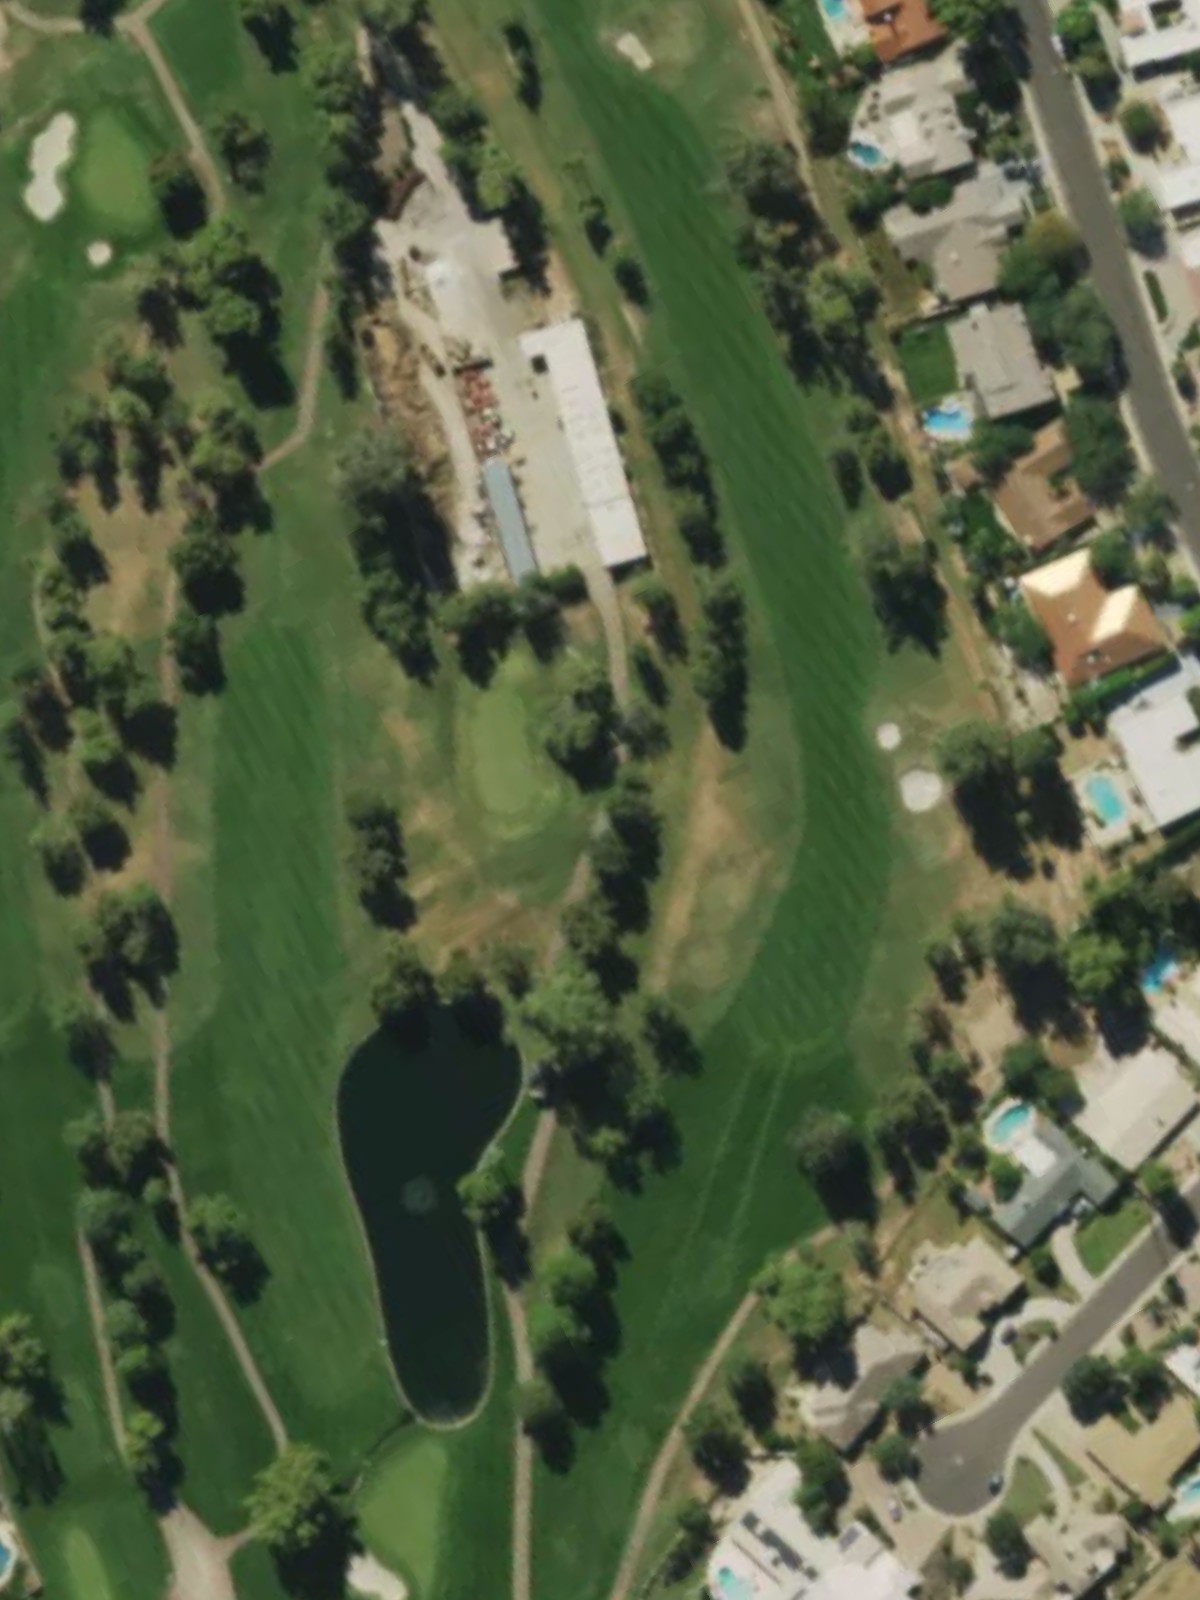
A strong par 4 that plays consistently challenging with strategic bunkering along the fairway and around the green. The hole rewards accurate positioning and demands a solid approach shot.
A long par 5 with a demanding layout that tests distance management and strategic decision-making. Hazards positioned throughout force golfers to think their way around the hole rather than simply power through it.
A short par 4 that plays deceptively difficult with its compact fairway and tightly bunker-protected green. The modest length masks the precision required to score well on this mid-handicap hole.
A par 3 of intermediate length with a multi-tiered green that punishes poor club selection. Strategic bunkering and the variable topography of the green make this a key scoring opportunity on the back nine.
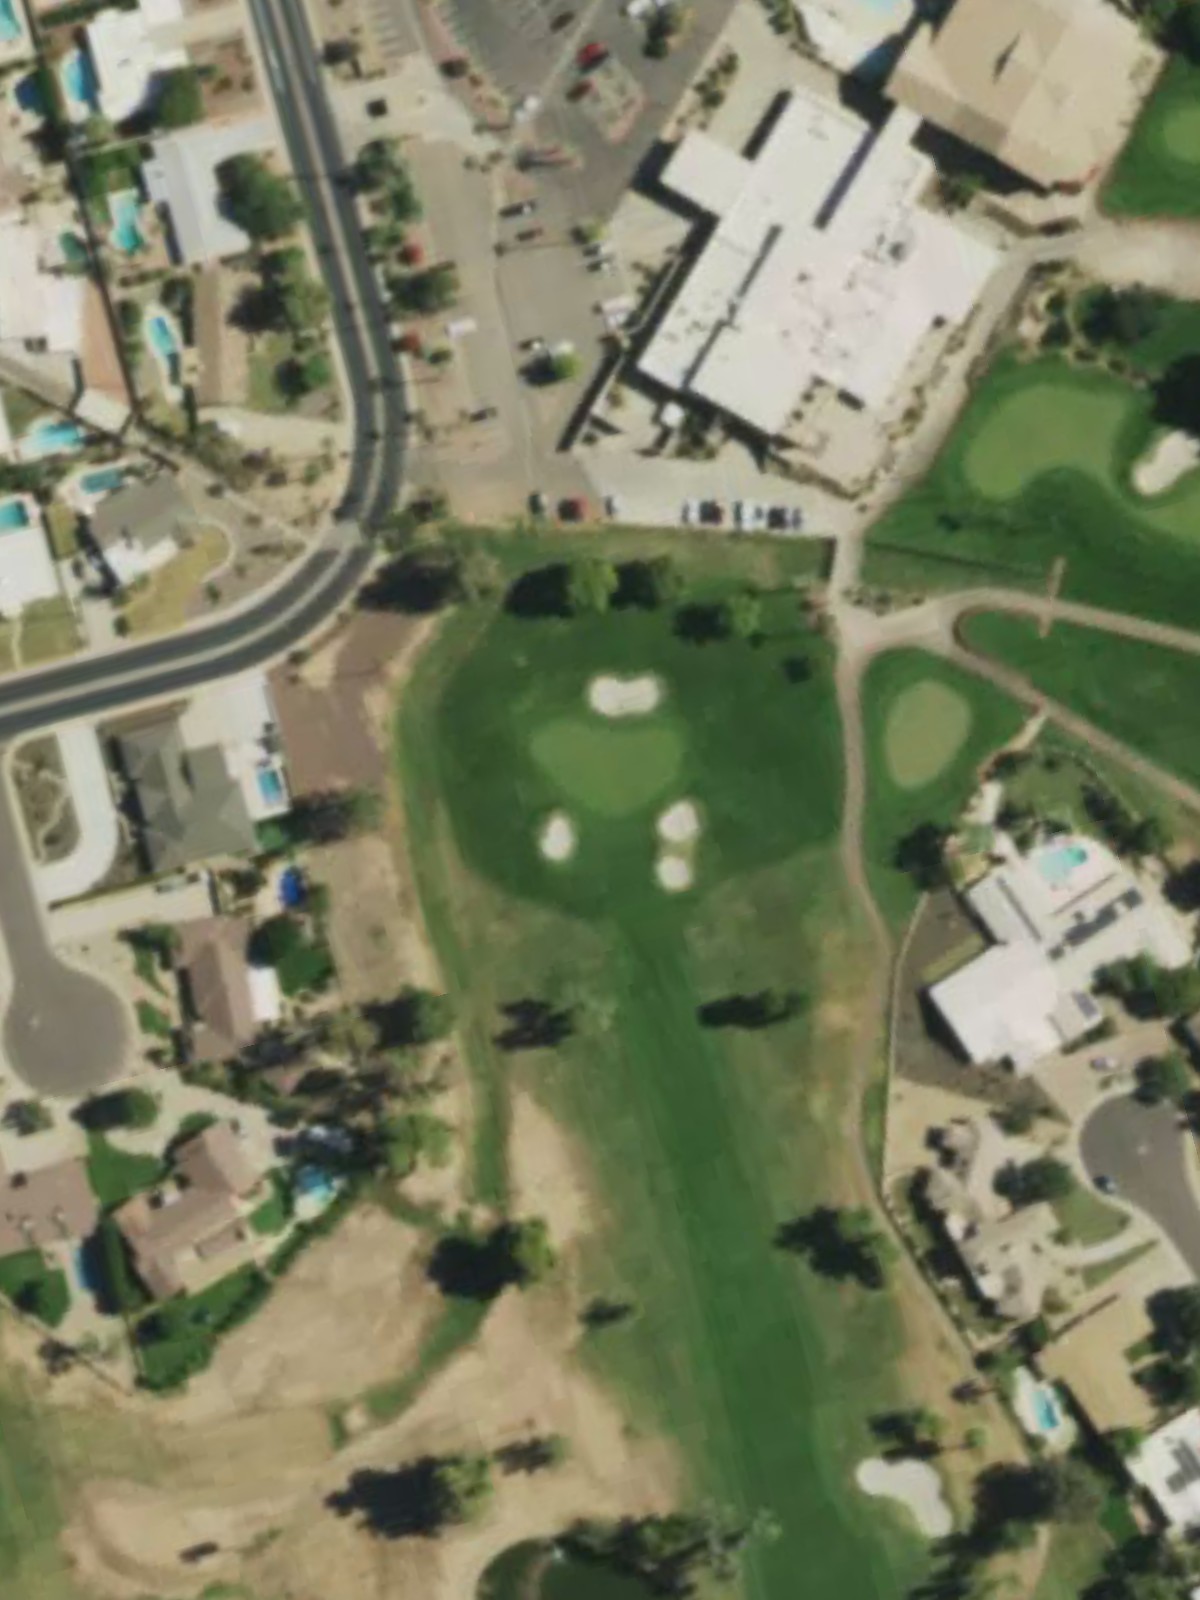
The most difficult hole on the course, this long par 4 demands excellence from tee to green with hazards strategically placed throughout. The challenging layout and length combine to make this stroke index 1 hole a true test of skill.
A mid-length par 4 with a relatively open fairway that allows confident play off the tee. Bunkers positioned near the green and potential water left require careful approach shot management.
A strong finishing par 4 that ranks among the course's most difficult, with strategic bunkering and hazards framing the fairway and green. The hole provides a fitting conclusion that demands both accuracy and composure under pressure.
Scorecard
| Hole | 1 | 2 | 3 | 4 | 5 | 6 | 7 | 8 | 9 | Out | 10 | 11 | 12 | 13 | 14 | 15 | 16 | 17 | 18 | In | Tot |
|---|---|---|---|---|---|---|---|---|---|---|---|---|---|---|---|---|---|---|---|---|---|
| Par | 4 | 3 | 4 | 5 | 3 | 4 | 4 | 5 | 4 | 36 | 5 | 3 | 4 | 5 | 4 | 3 | 4 | 4 | 4 | 36 | 72 |
| HCP | 2 | 14 | 16 | 12 | 10 | 8 | 6 | 18 | 4 | 15 | 5 | 7 | 17 | 13 | 9 | 1 | 11 | 3 | |||
| black | 402 | 165 | 328 | 554 | 187 | 440 | 463 | 519 | 409 | 3467 | 566 | 205 | 429 | 550 | 388 | 232 | 484 | 391 | 453 | 3698 | 7165 |
| black/blue | 402 | 165 | 328 | 554 | 187 | 392 | 428 | 519 | 409 | 3384 | 566 | 205 | 396 | 550 | 388 | 232 | 444 | 391 | 416 | 3588 | 6972 |
| blue | 372 | 152 | 303 | 514 | 158 | 392 | 428 | 477 | 380 | 3176 | 524 | 184 | 396 | 510 | 350 | 207 | 444 | 356 | 416 | 3387 | 6563 |
| blue/white | 372 | 152 | 303 | 514 | 158 | 361 | 386 | 477 | 380 | 3103 | 524 | 184 | 355 | 510 | 350 | 174 | 414 | 324 | 375 | 3210 | 6313 |
| white | 341 | 141 | 268 | 483 | 135 | 361 | 386 | 454 | 339 | 2908 | 481 | 168 | 355 | 475 | 325 | 174 | 414 | 324 | 375 | 3091 | 5999 |
| white/red | 341 | 141 | 268 | 410 | 121 | 324 | 341 | 454 | 339 | 2739 | 481 | 147 | 355 | 435 | 325 | 137 | 354 | 280 | 375 | 2889 | 5628 |
| red | 307 | 127 | 241 | 410 | 121 | 324 | 341 | 406 | 302 | 2579 | 424 | 147 | 316 | 435 | 277 | 137 | 354 | 280 | 322 | 2692 | 5271 |
| mini-moon | 132 | 81 | 160 | 250 | 94 | 195 | 207 | 235 | 184 | 1538 | 310 | 115 | 232 | 312 | 211 | 130 | 277 | 224 | 260 | 2071 | 3609 |