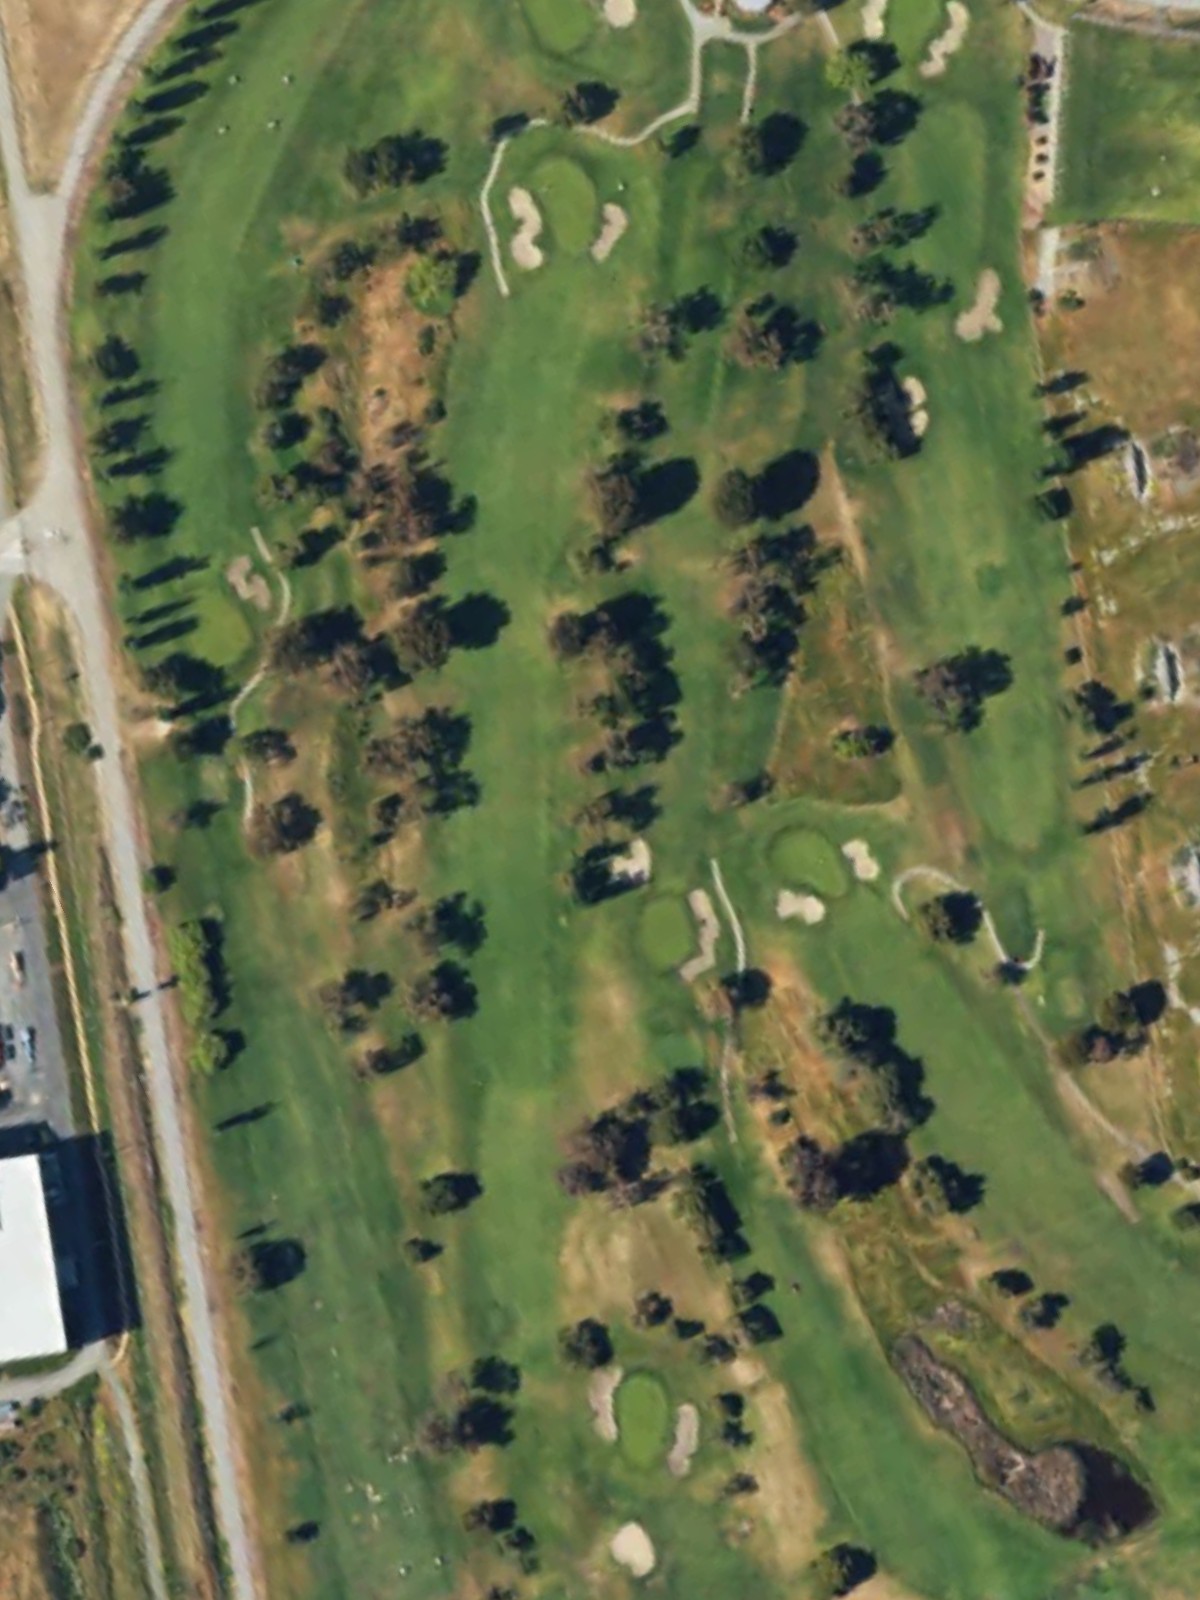
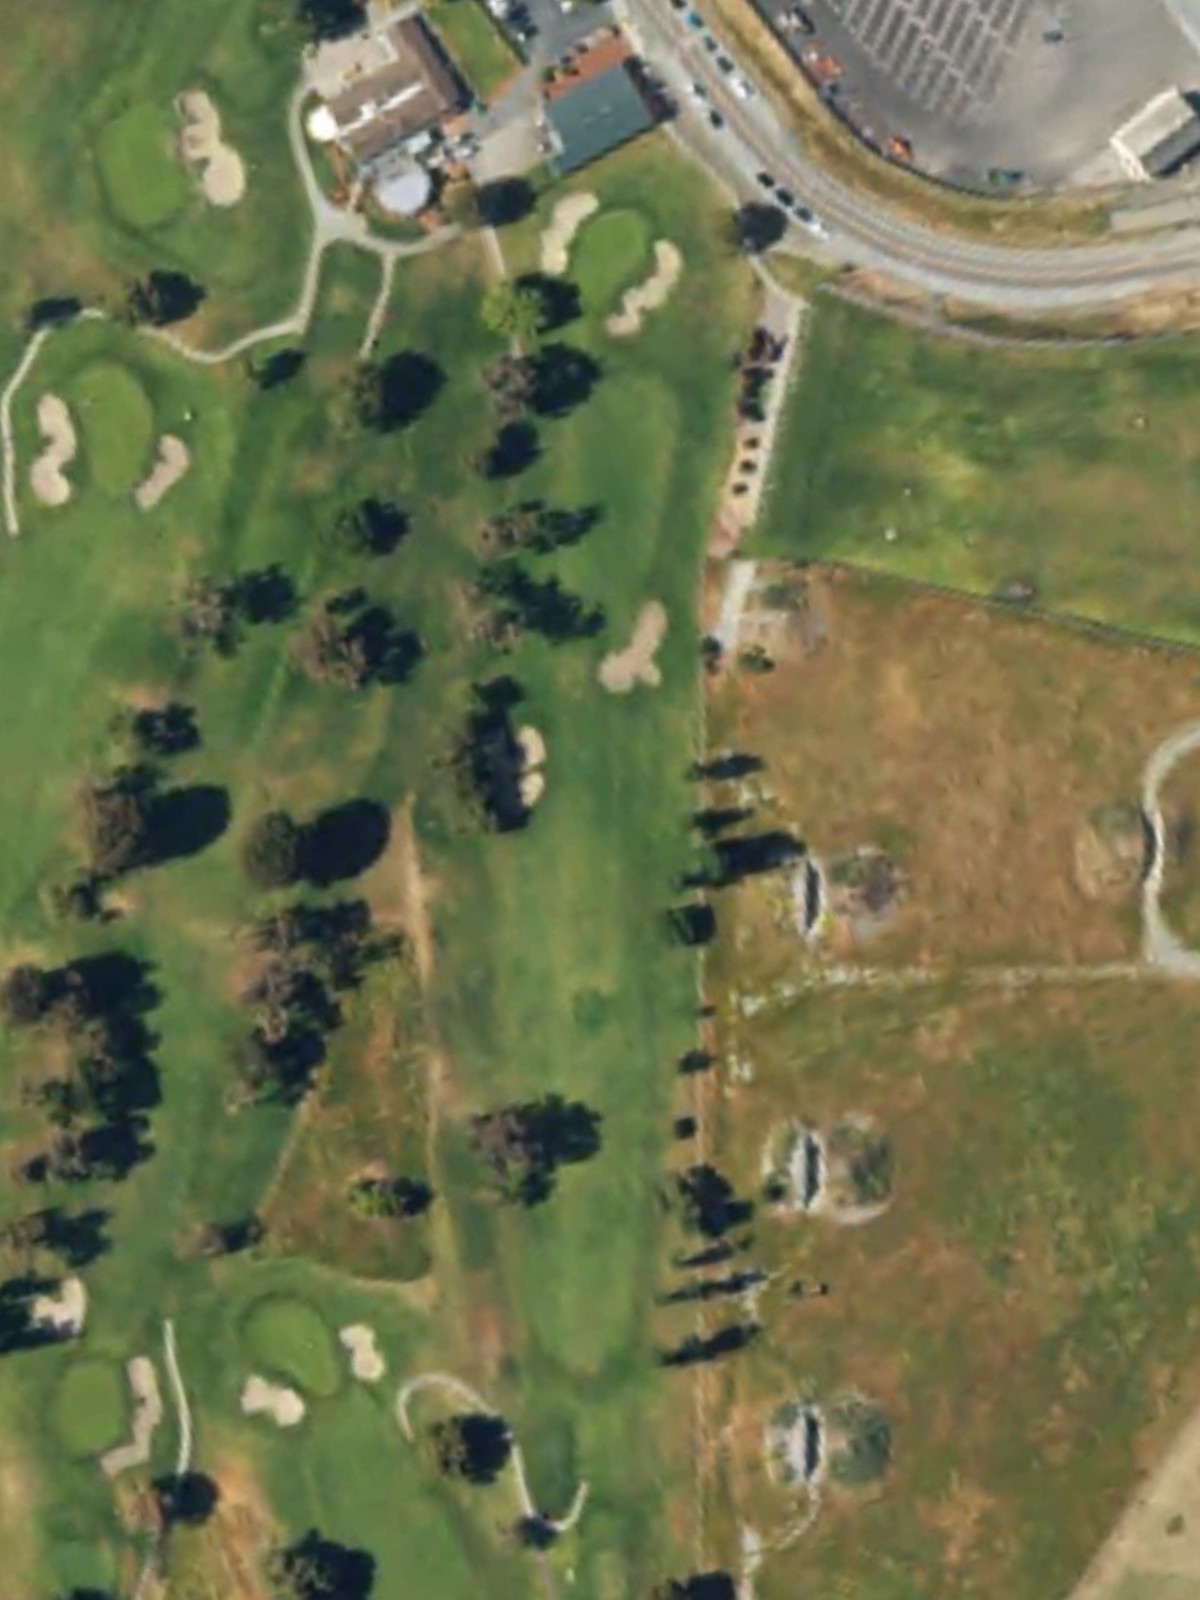
Moffett Field (Gc At) is an 18-hole golf course in Sunnyvale, CA with a par of 72. It offers 4 tee sets: blue (6,603 yards, slope 122, rating 71.6), white (6,338 yards, slope 119, rating 70.4), red (6,112 yards, slope 117, rating 69.5), gold (5,386 yards, slope 112, rating 66). The hardest hole is #3, a par 5 playing 527 yards from the first tee.
Moffett Field (Gc At)
Sunnyvale, CA
Get PDF Yardage Book
We'll email you the PDF link. No spam, ever.
Create Your Game Plan
Pick your tees, enter your bag, and get a personalized shot-by-shot strategy for every hole.
A straightforward par 4 that opens with a wide fairway before narrowing as it approaches the green. Bunkers guard the right side of the green, requiring accuracy on the approach shot to avoid sand.
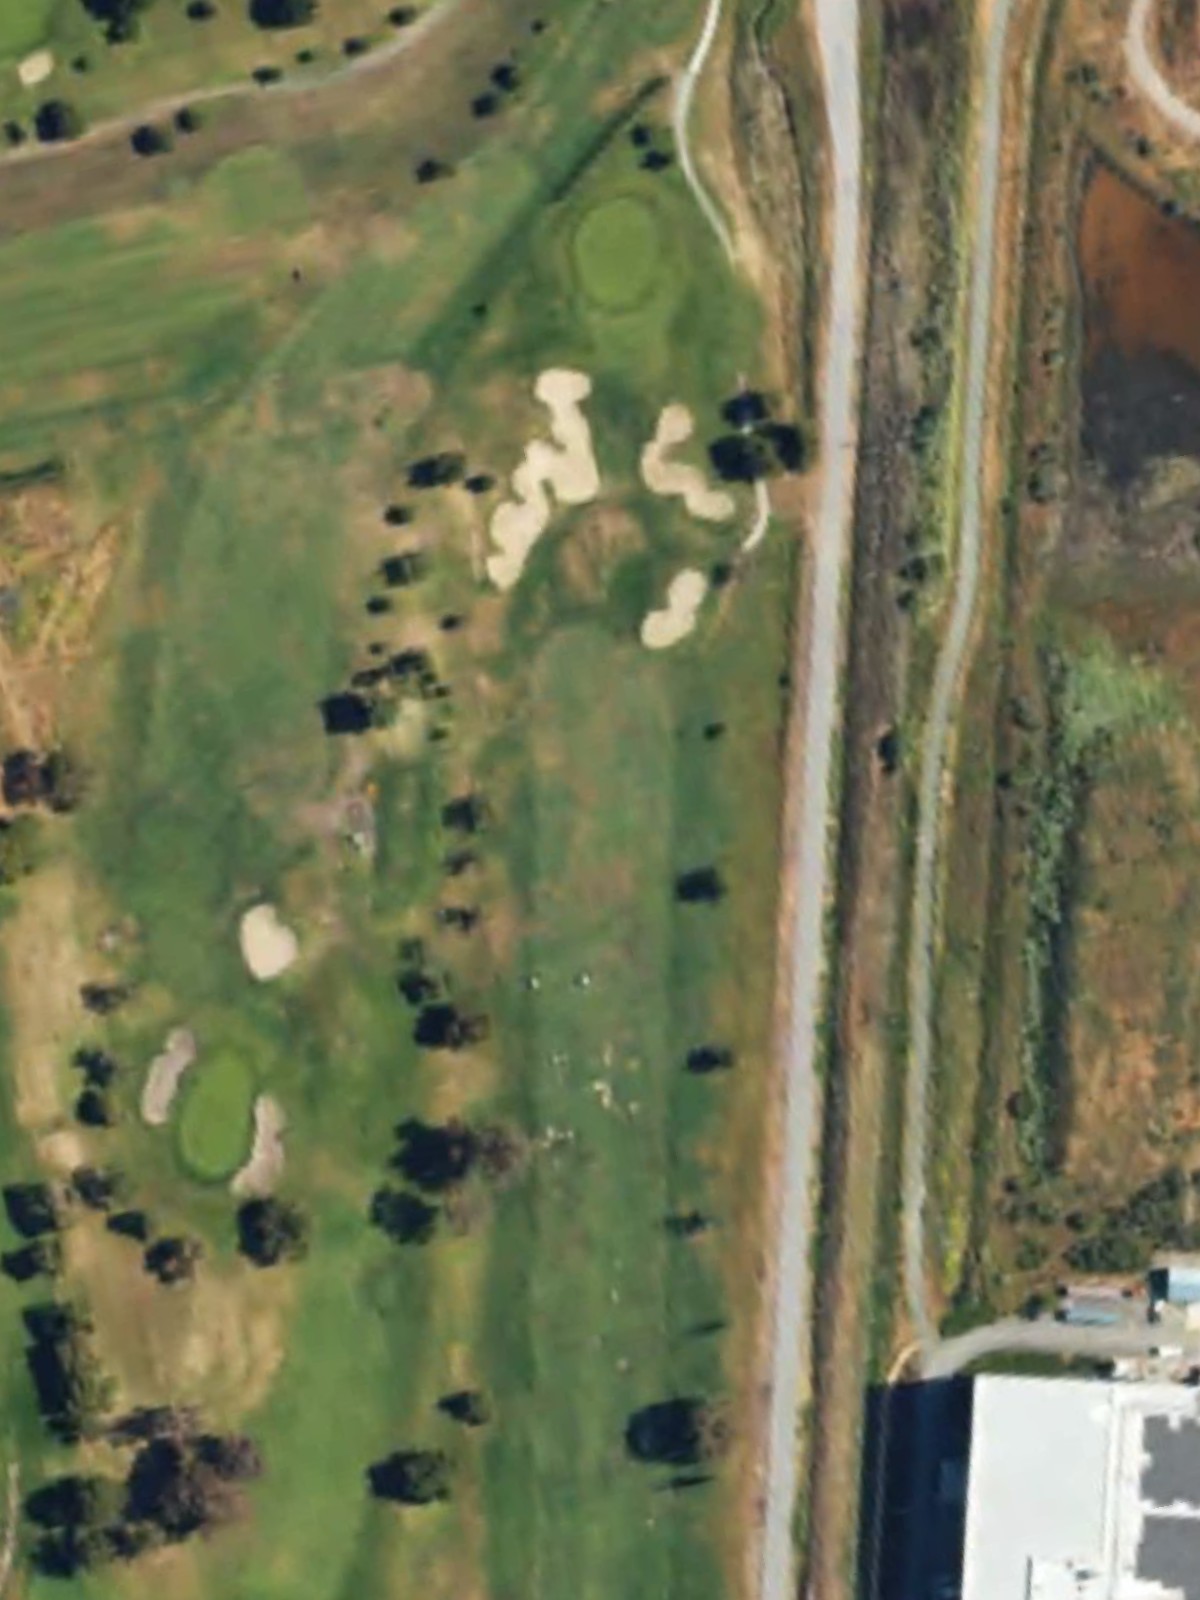
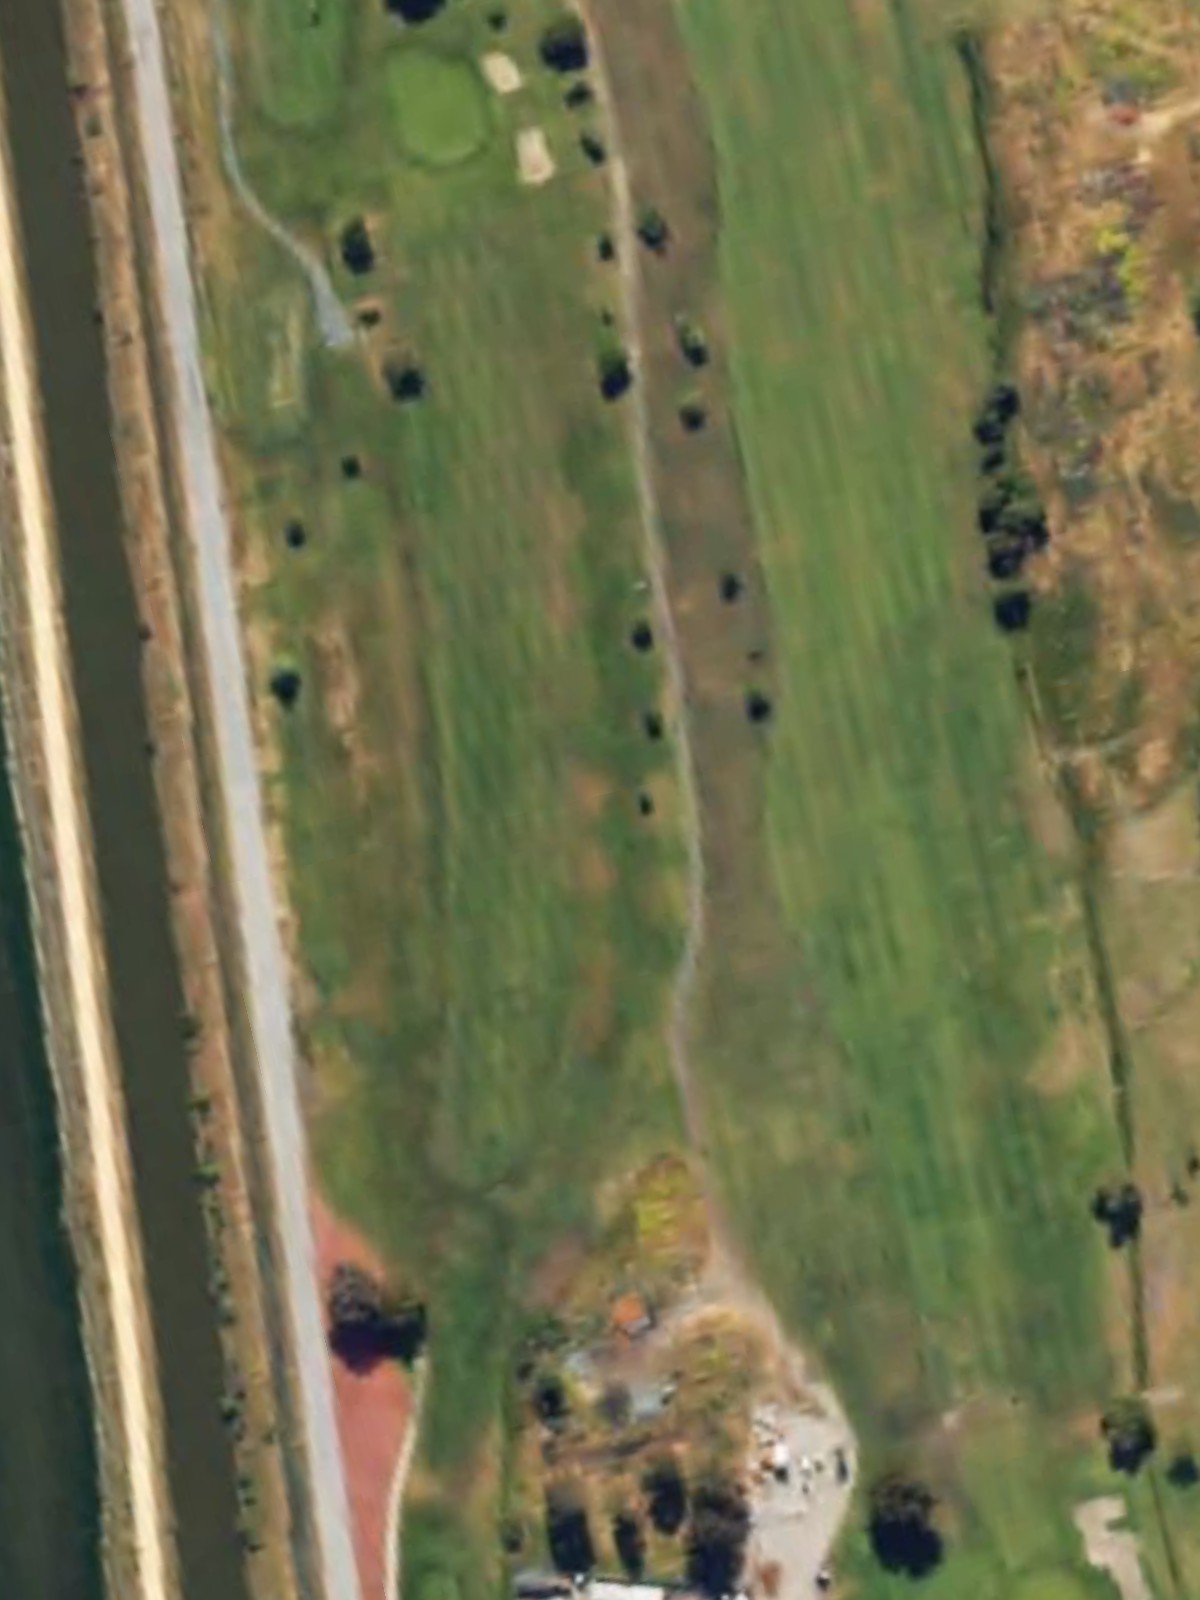
A reachable par 5 with a relatively open layout and fair width throughout. The hole's length and positioning of hazards make it a three-shot hole for most players, with the challenge lying in positioning rather than dodging major obstacles.
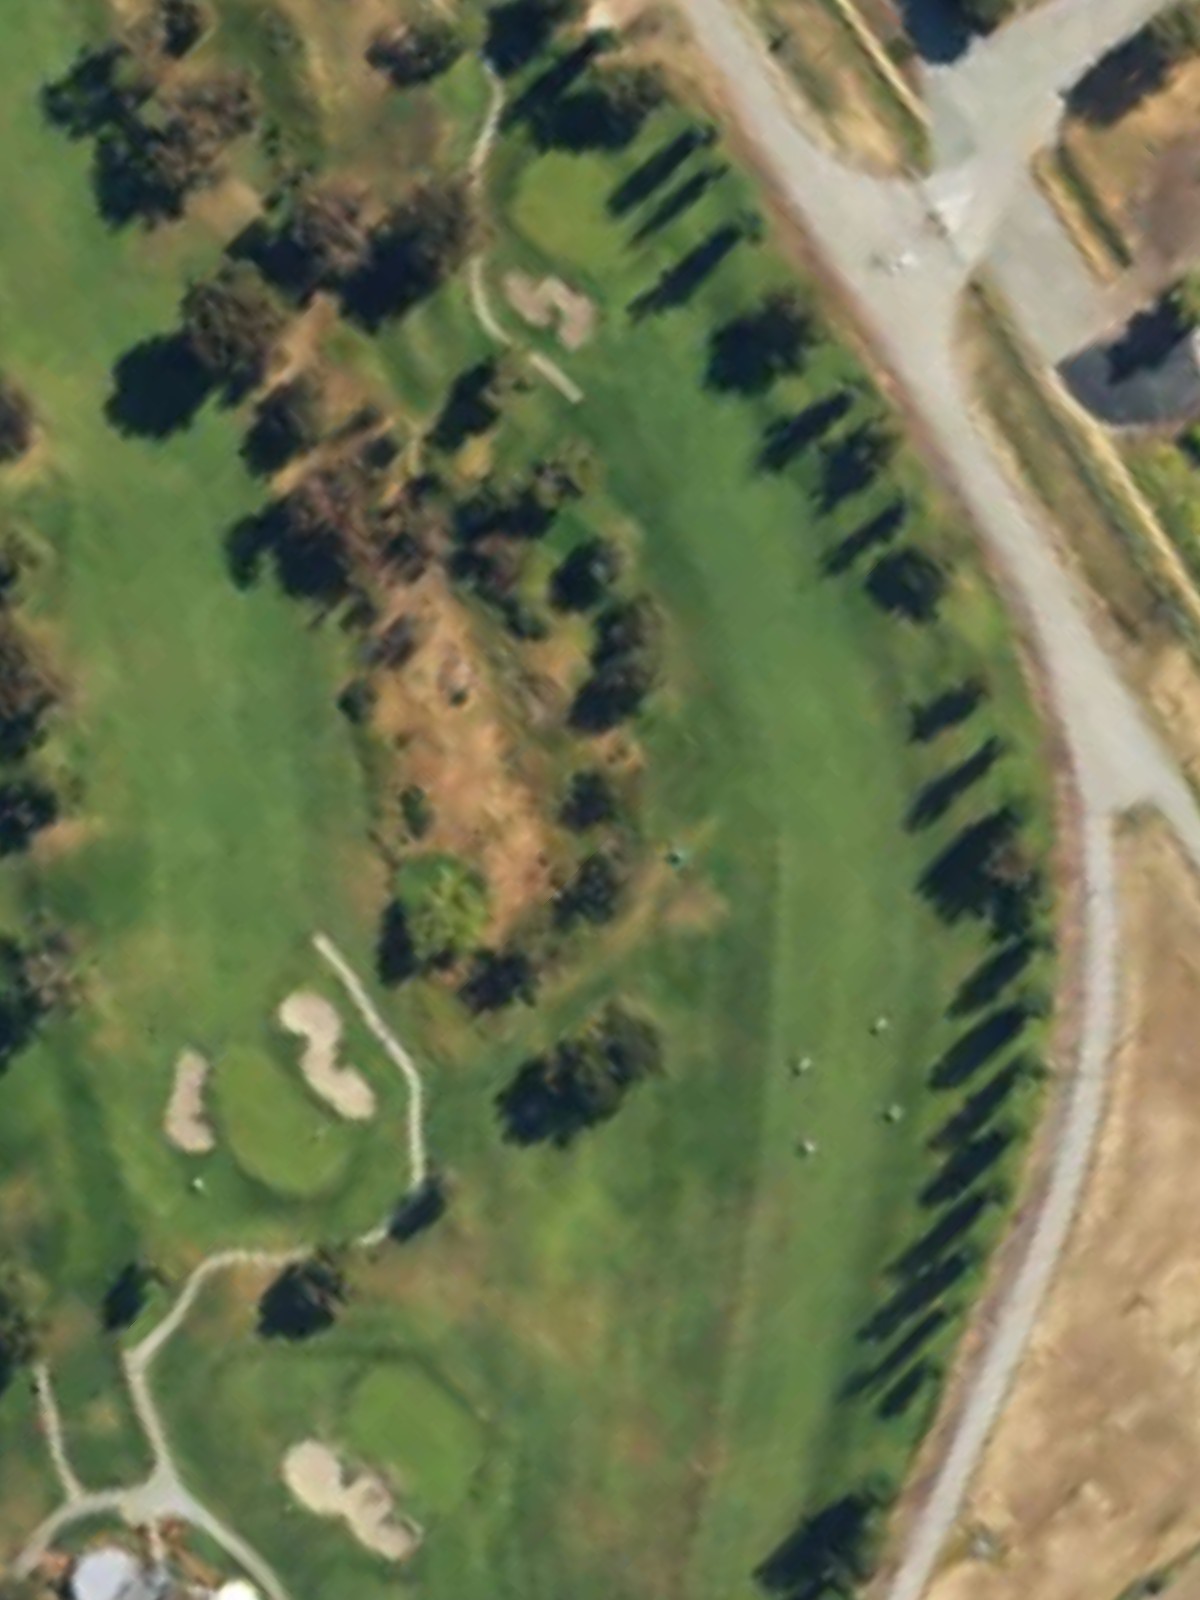
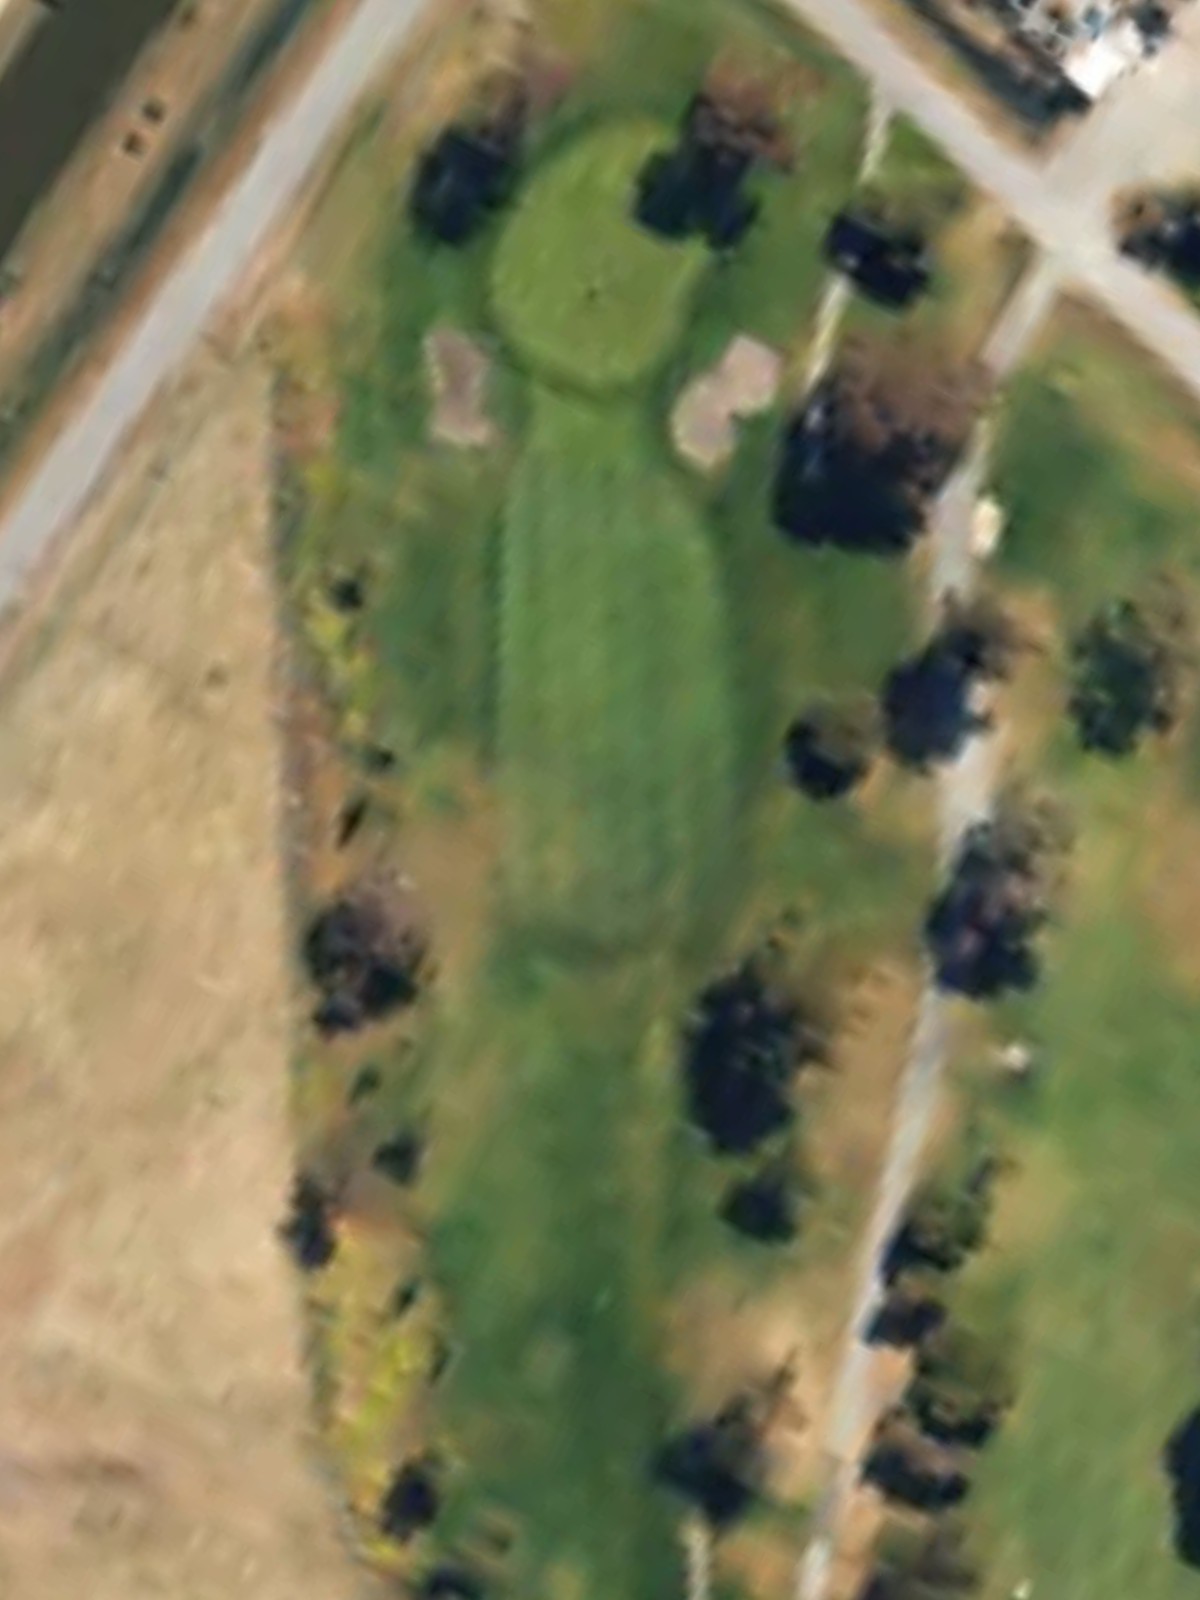
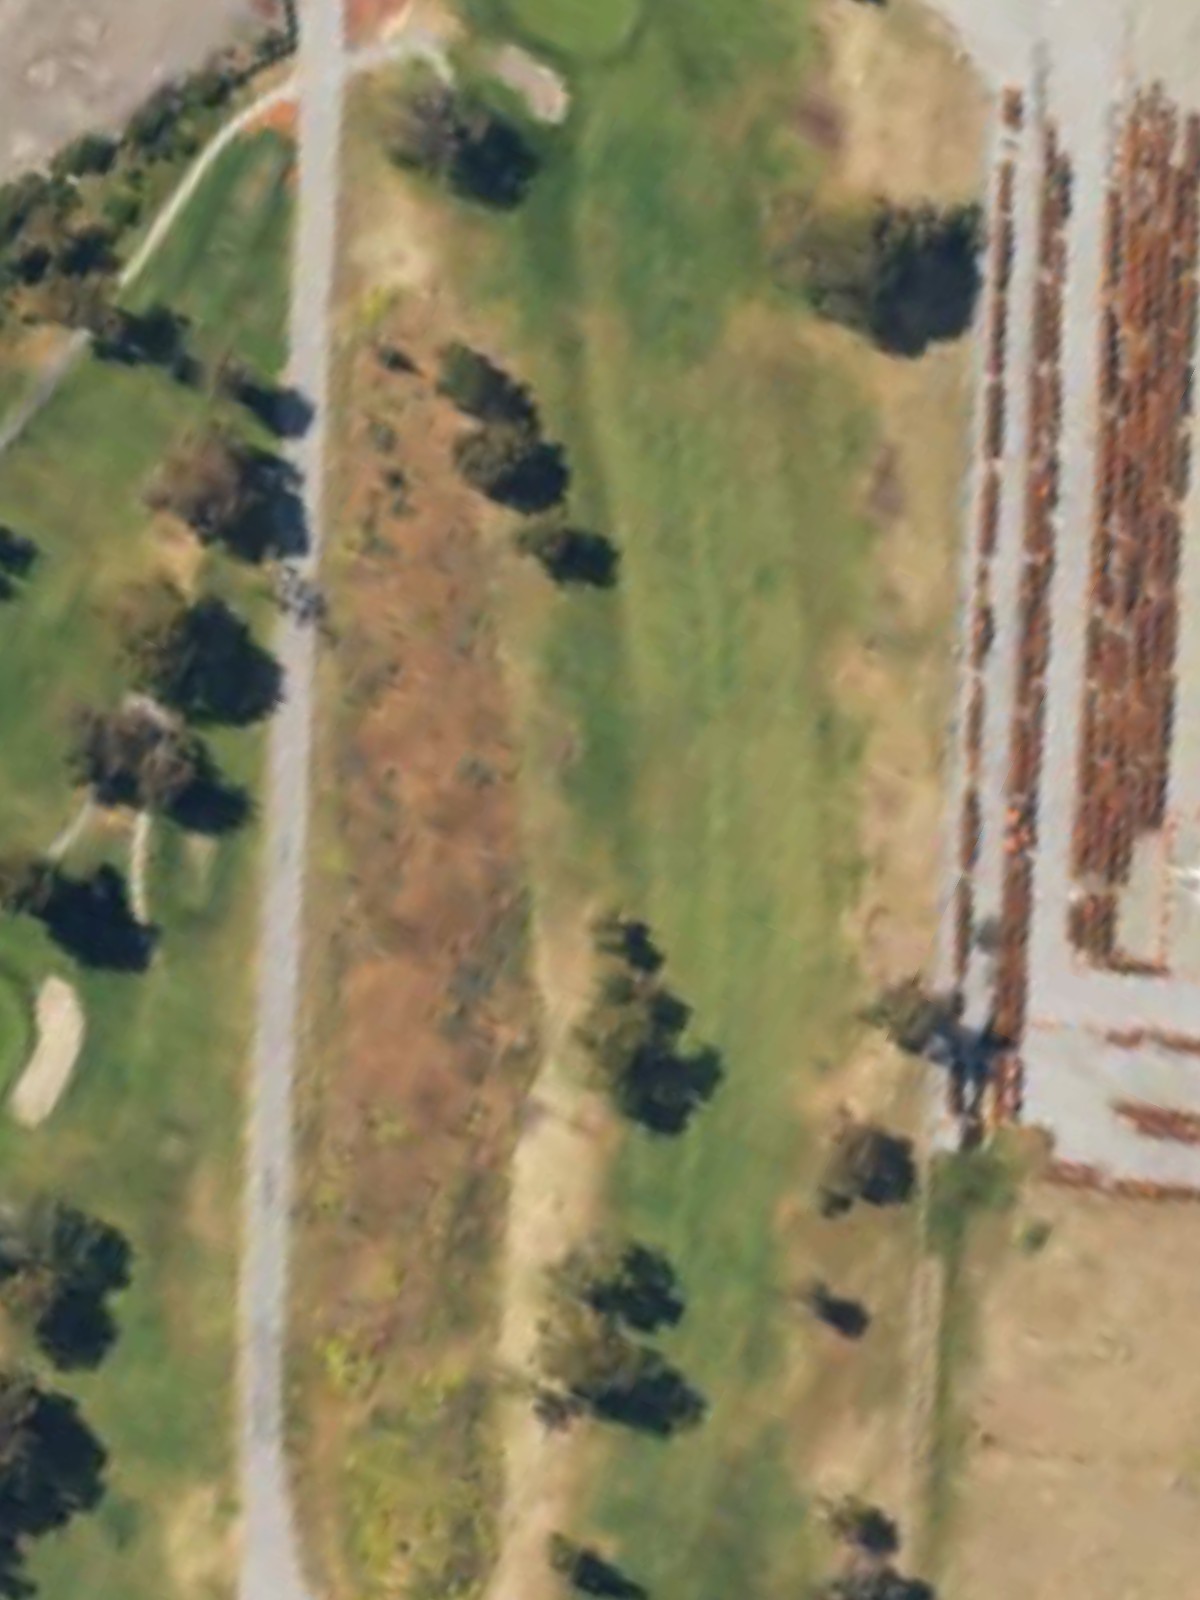
The course's longest par 5 and its most difficult hole, demanding three solid shots to reach the green. The extended yardage and likely hazards in scoring position make this a premium test that typically plays as the signature challenge hole.
A short par 4 that plays significantly downhill, reducing effective distance and offering scoring opportunity. The dramatic elevation change and compact yardage make this an inviting hole, though hazard placement around the green will demand precision.
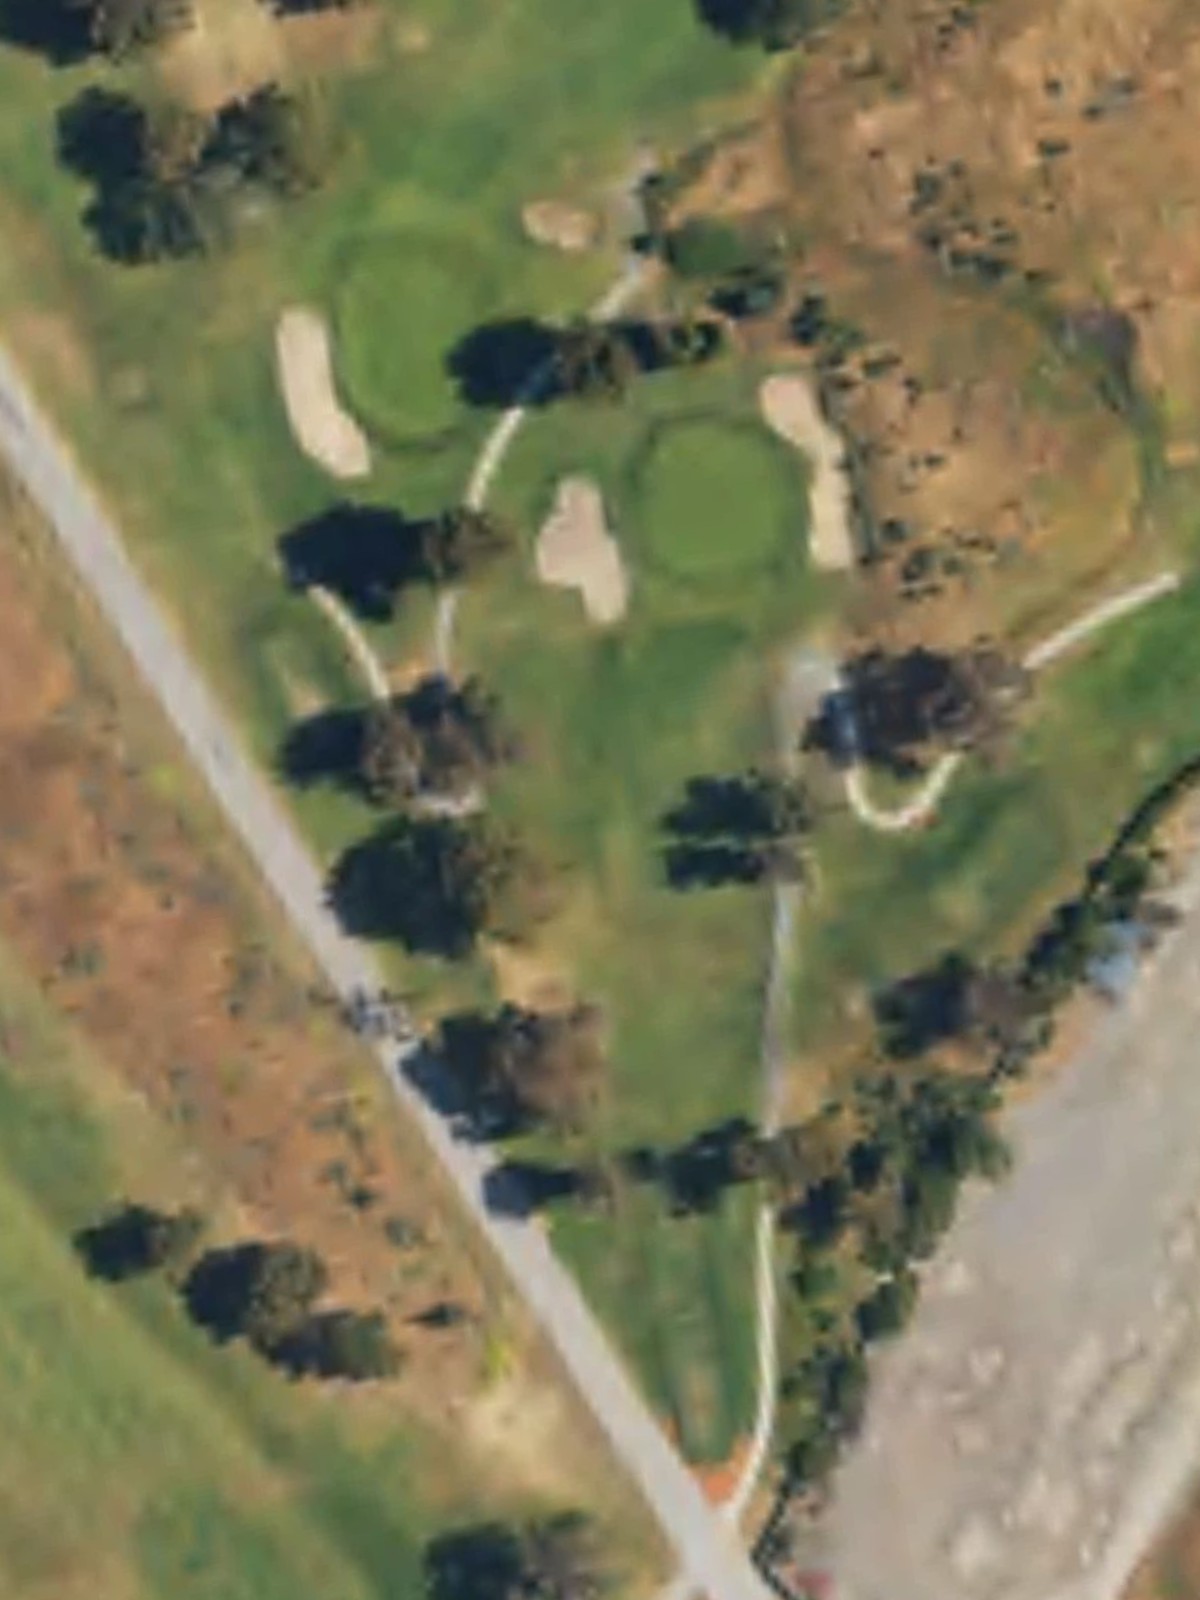
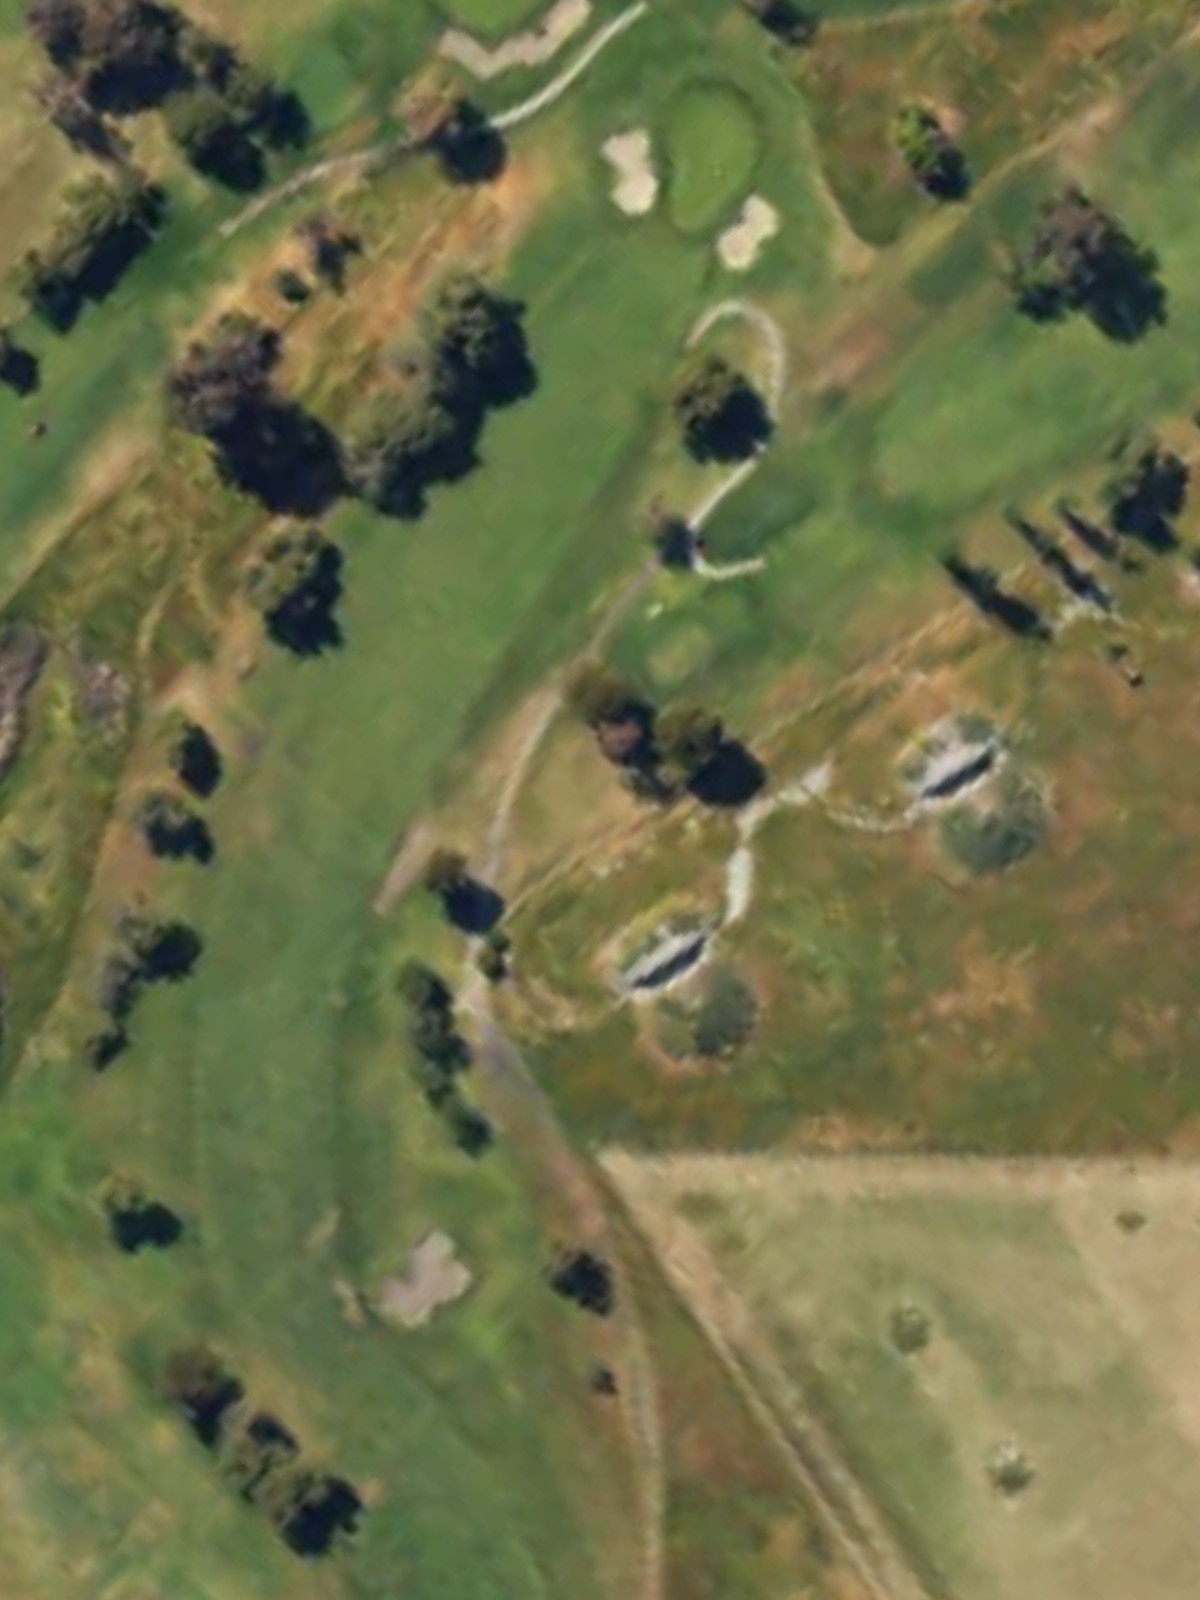
A modest par 3 with relatively straightforward conditions from tee to green. The short yardage and single-shot nature make this a birdie opportunity, provided the modest green is found cleanly.
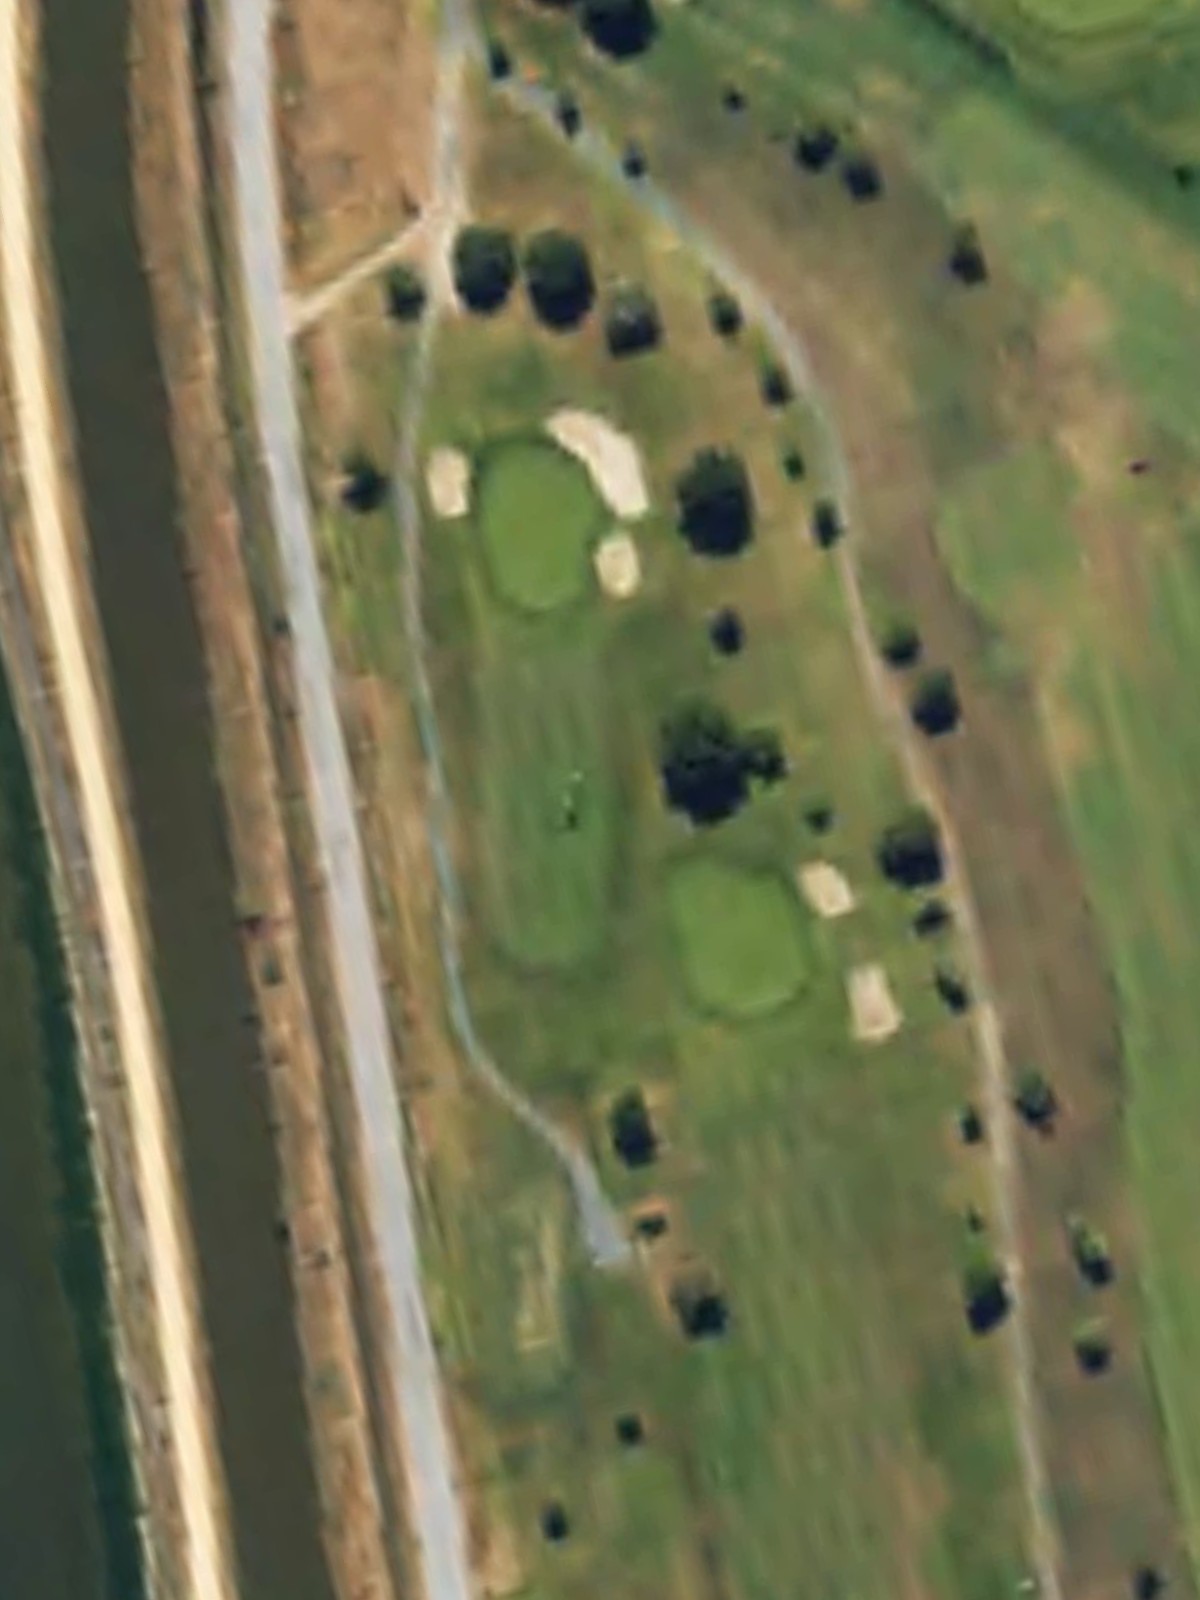
A medium par 4 with a fairly open character and reasonable fairway width. Strategic bunkering or water hazards likely guide play toward the green, creating a balanced risk-reward hole that tests accuracy more than length.
The course's shortest hole, a true one-shotter with minimal distance to the green. Despite its brevity, green-side hazards will protect the putting surface and demand a precise tee shot.
A compact par 4 with a short overall distance that favors position over power. The hole's intimacy suggests tight fairways or challenging green approaches that reward accuracy in a compressed playing corridor.
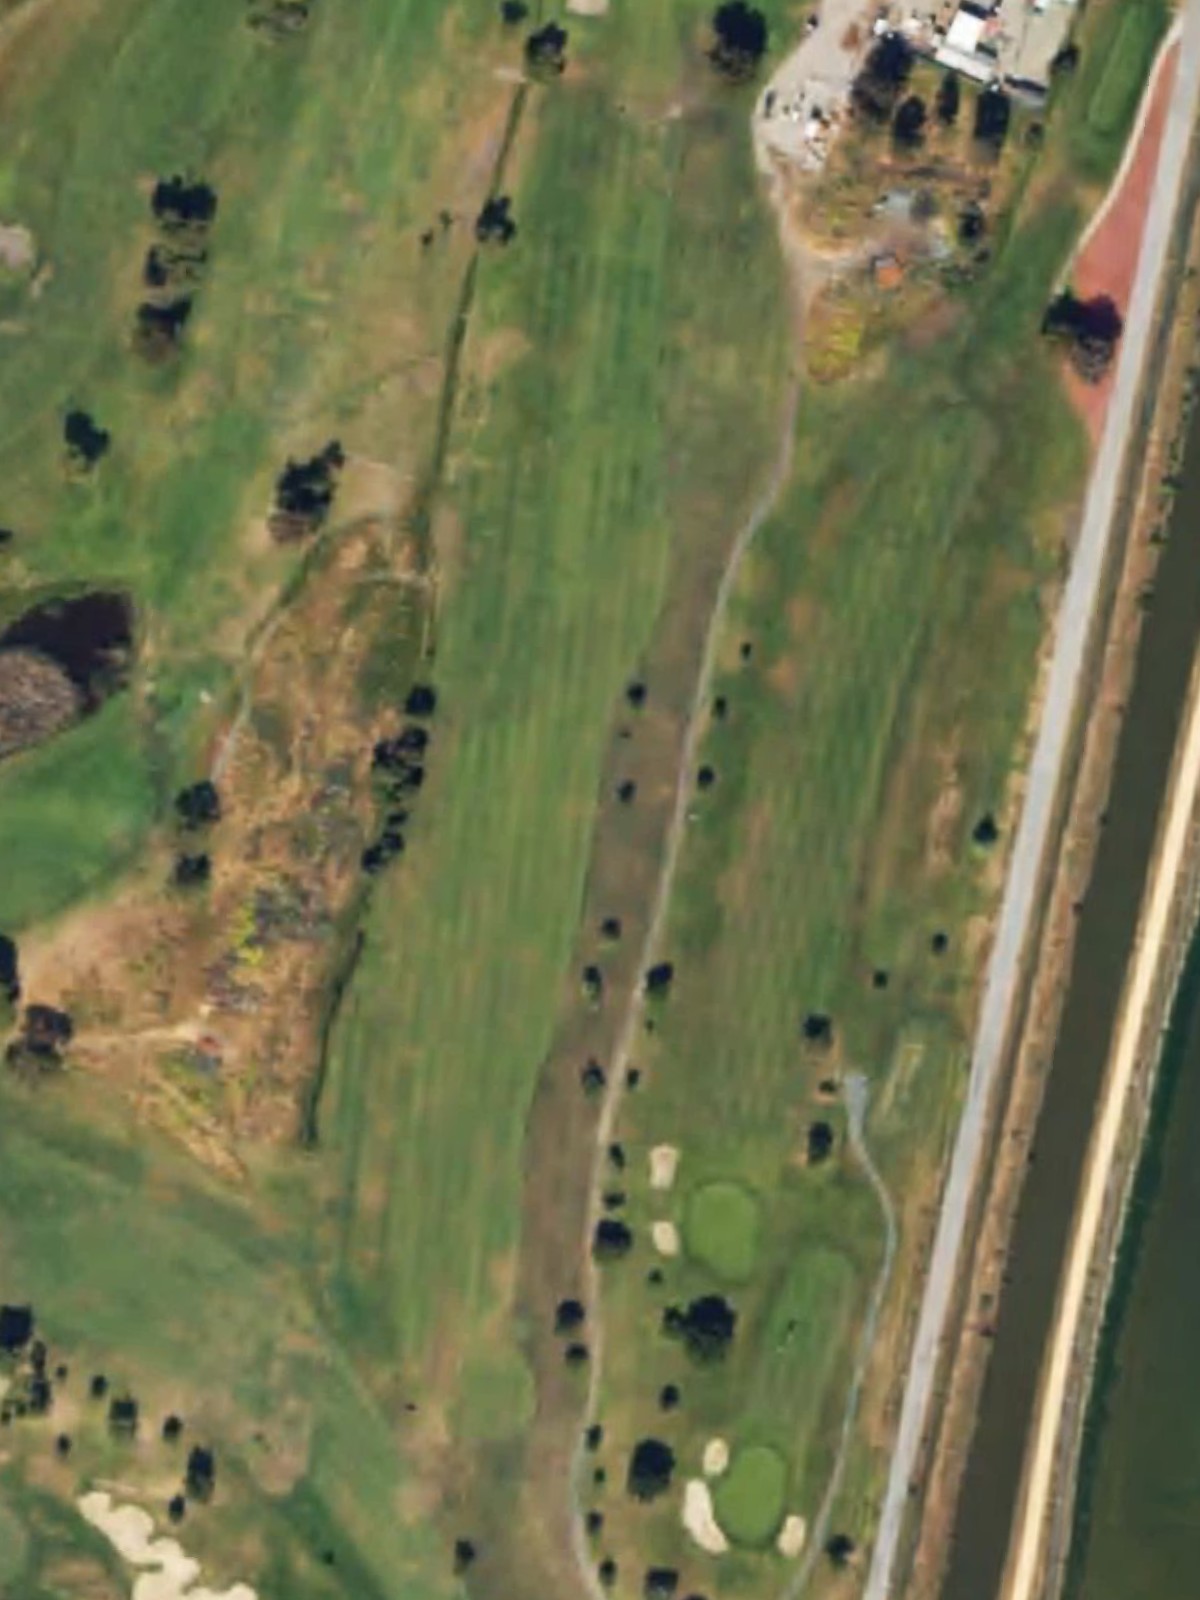
A formidable par 5 and the course's third-toughest hole, featuring substantial length and likely strategic hazards. The combination of yardage and difficulty in the scoring zone makes this a pivotal test during the front nine.

A short par 4 that opens the back nine with opportunity and accessibility. The reduced yardage and moderate handicap suggest a relatively forgiving hole, though fairway discipline will remain essential.
The second-hardest hole on the course and a dominant par 5 requiring three strong shots to reach in regulation. Length and likely hazards positioned strategically throughout define this back-nine challenge.
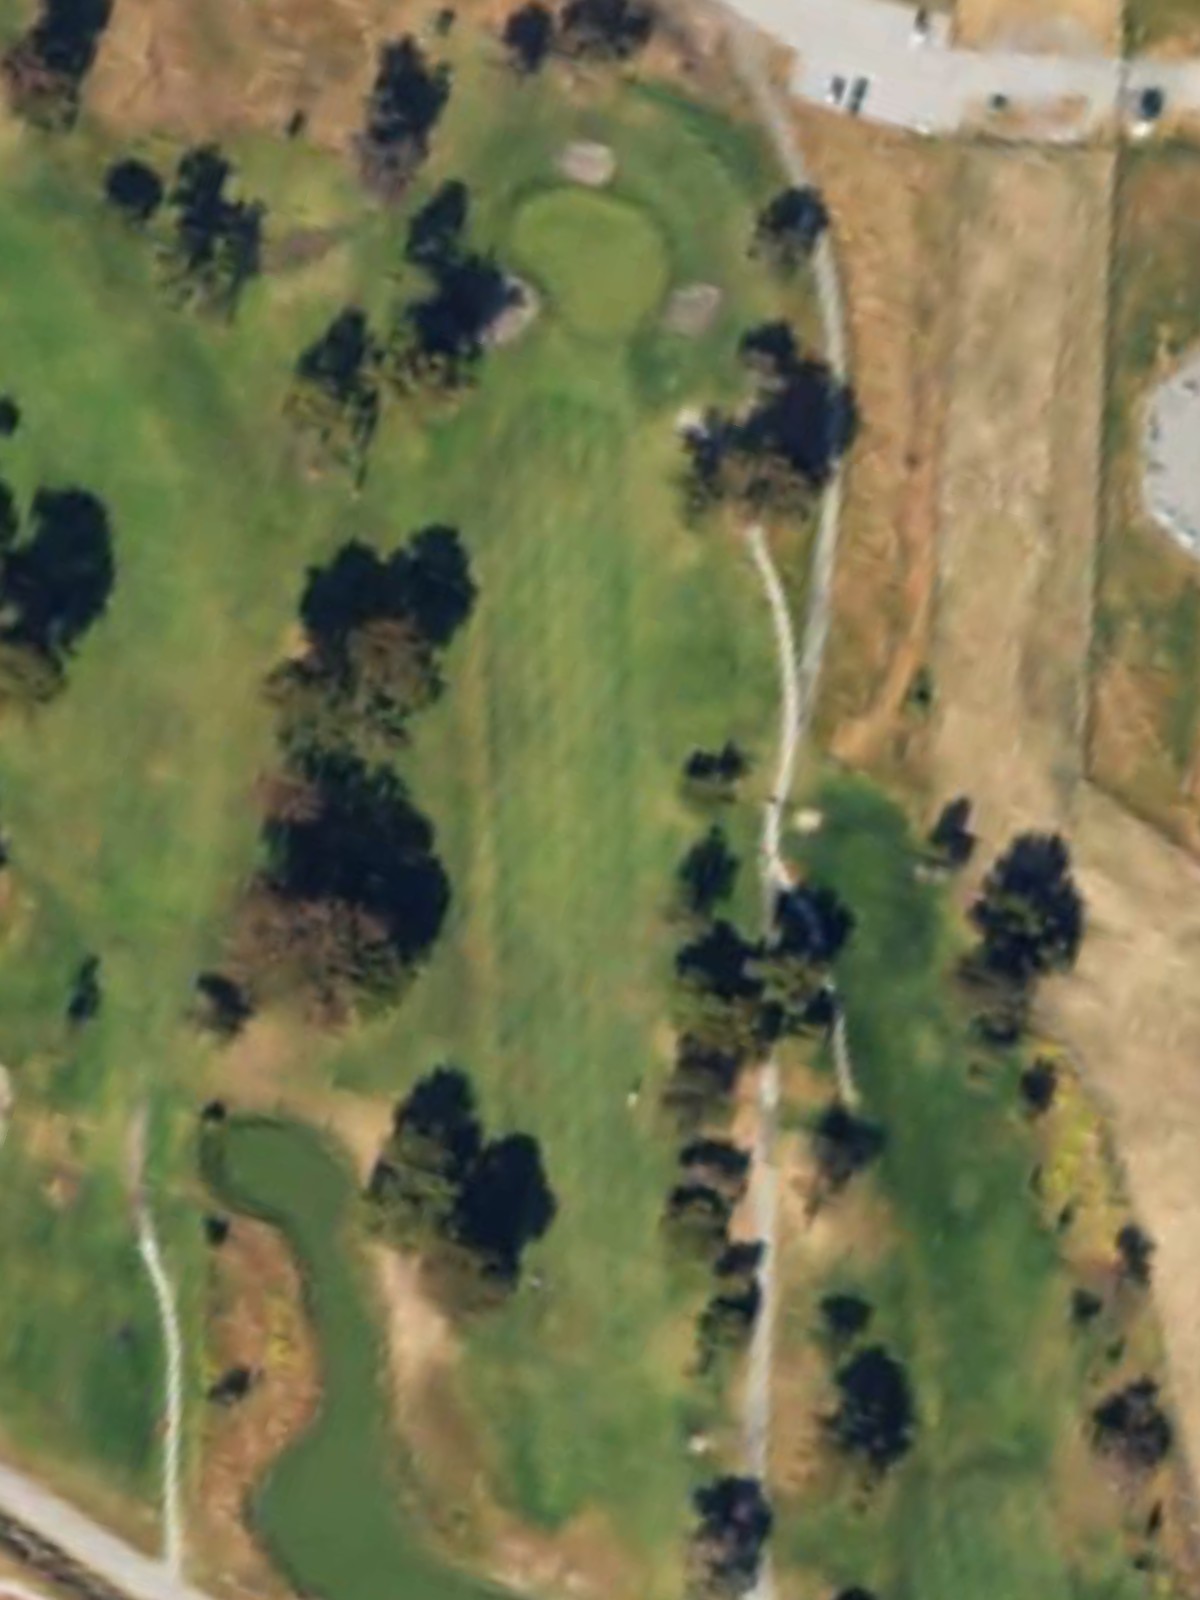
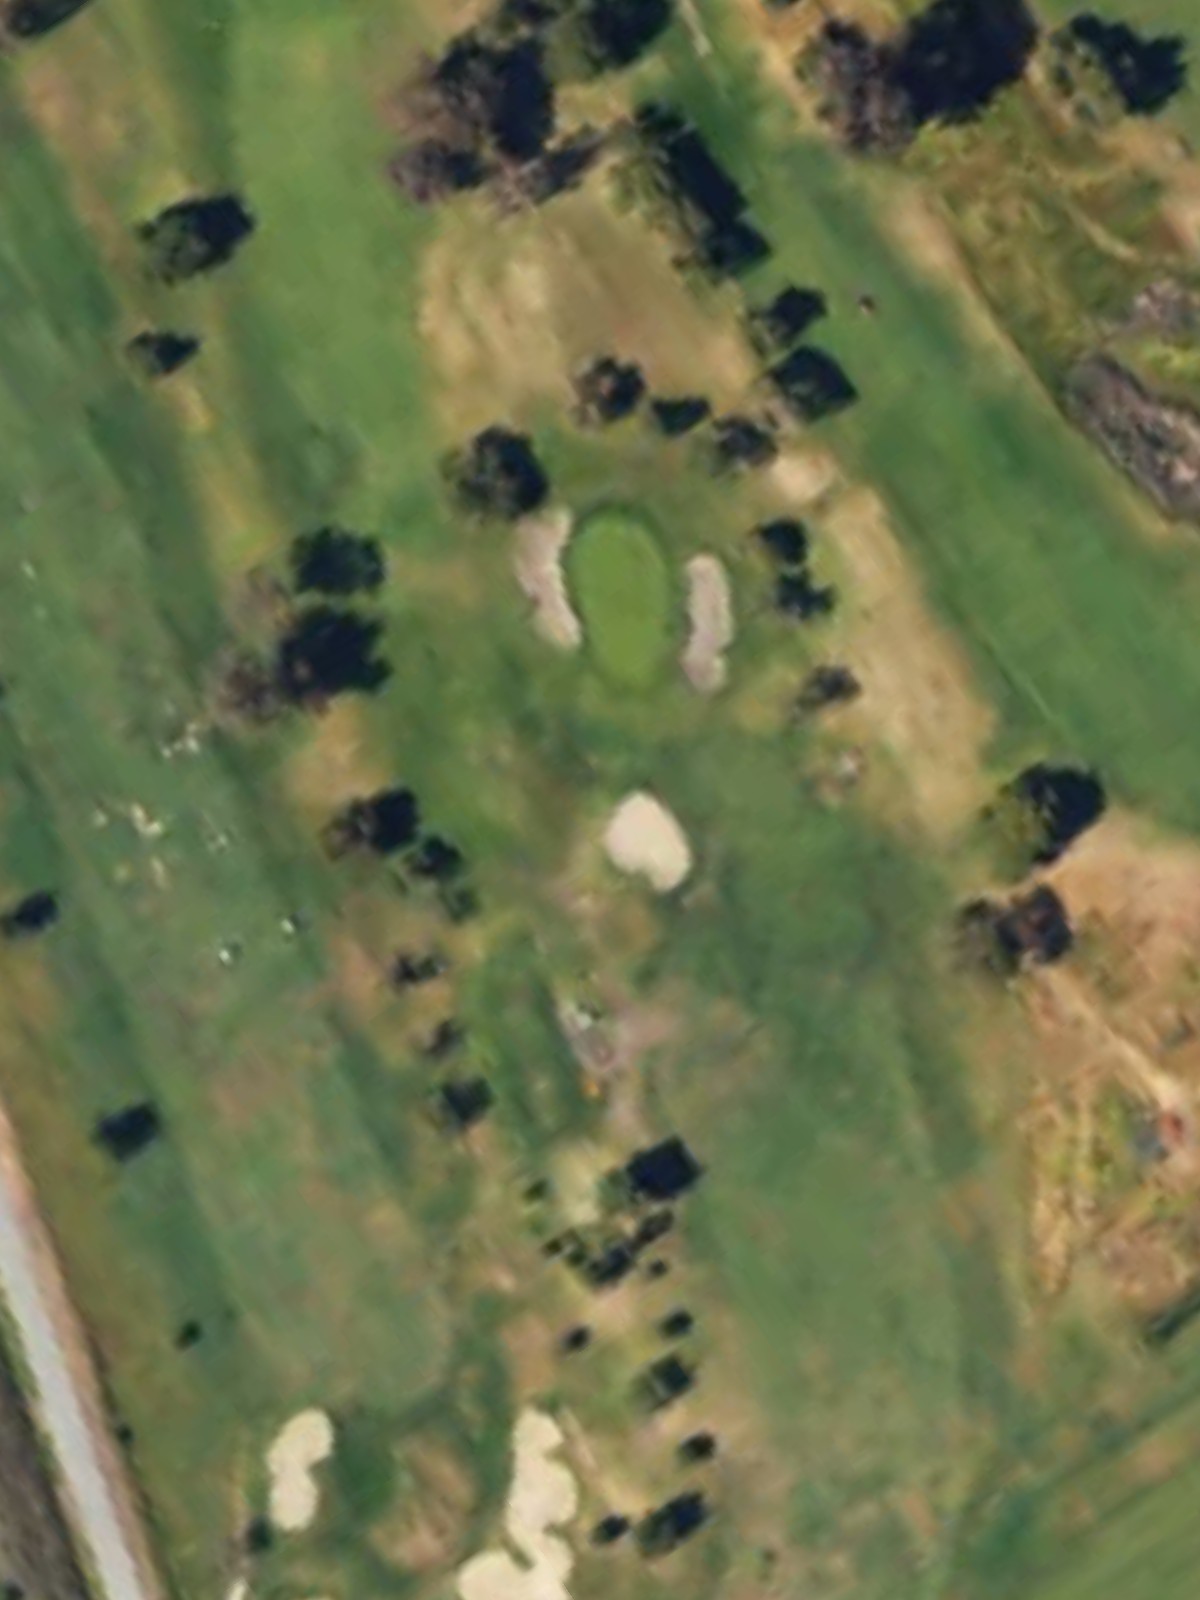
A solid mid-length par 4 rated as the course's sixth-toughest, indicating significant strategic demands in its design. Hazards placed strategically—likely in the fairway or guarding the green—will punish imprecise play.
A medium-length par 3 with fair yardage and approachable green in normal conditions. The single-shot nature and moderate difficulty rating suggest this is a more forgiving par 3 on the back nine.
A mid-length par 4 that ranks among the course's tougher holes, indicating it combines reasonable yardage with strategic complexity. Hazard placement and green approach angles likely create the primary difficulty rather than sheer distance.
The course's easiest hole, a very short par 3 that provides a definite birdie opportunity. The abbreviated distance and lowest handicap rating make this a scoring hole, with the main challenge being execution rather than challenge.
A manageable par 4 that ranks among the course's more reasonable challenges, featuring balanced length and strategic design. The hole likely offers reasonable scoring prospects with solid execution and fairway position.
A substantial par 4 and the fourth-toughest hole on the course, featuring above-average length and demanding conditions. This powerful hole tests skill and judgment, likely creating a significant moment during the closing stretch.
The closing par 4 provides a solid finishing challenge with moderate length and strategic interest. The final hole balances opportunity with enough character to create a memorable conclusion to the round.
Scorecard
| Hole | 1 | 2 | 3 | 4 | 5 | 6 | 7 | 8 | 9 | Out | 10 | 11 | 12 | 13 | 14 | 15 | 16 | 17 | 18 | In | Tot |
|---|---|---|---|---|---|---|---|---|---|---|---|---|---|---|---|---|---|---|---|---|---|
| Par | 4 | 5 | 5 | 4 | 3 | 4 | 3 | 4 | 5 | 37 | 4 | 5 | 4 | 3 | 4 | 3 | 4 | 4 | 4 | 35 | 72 |
| HCP | 5 | 7 | 1 | 11 | 15 | 9 | 17 | 13 | 3 | 14 | 2 | 6 | 16 | 12 | 18 | 8 | 4 | 10 | |||
| blue | 411 | 540 | 547 | 366 | 211 | 363 | 129 | 355 | 547 | 3469 | 312 | 517 | 404 | 226 | 372 | 151 | 348 | 446 | 358 | 3134 | 6603 |
| white | 402 | 483 | 537 | 344 | 201 | 354 | 122 | 340 | 527 | 3310 | 304 | 505 | 396 | 188 | 364 | 140 | 341 | 440 | 350 | 3028 | 6338 |
| red | 393 | 472 | 527 | 305 | 176 | 344 | 115 | 331 | 513 | 3176 | 296 | 483 | 388 | 182 | 348 | 129 | 334 | 434 | 342 | 2936 | 6112 |
| gold | 338 | 432 | 406 | 295 | 143 | 334 | 108 | 323 | 405 | 2784 | 288 | 462 | 316 | 126 | 340 | 118 | 310 | 318 | 324 | 2602 | 5386 |