Mirabel Club, The is an 18-hole golf course in Carefree, AZ with a par of 71. It offers 5 tee sets: black (7,147 yards, slope 136, rating 72.8), copper (6,564 yards, slope 131, rating 70.4), silver (6,142 yards, slope 123, rating 68.7), white (5,649 yards, slope 117, rating 66.1), green (4,985 yards, slope 110, rating 63.1). The hardest hole is #4, a par 4 playing 472 yards from the first tee.
Mirabel Club, The
Carefree, AZ
Get PDF Yardage Book
We'll email you the PDF link. No spam, ever.
Create Your Game Plan
Pick your tees, enter your bag, and get a personalized shot-by-shot strategy for every hole.
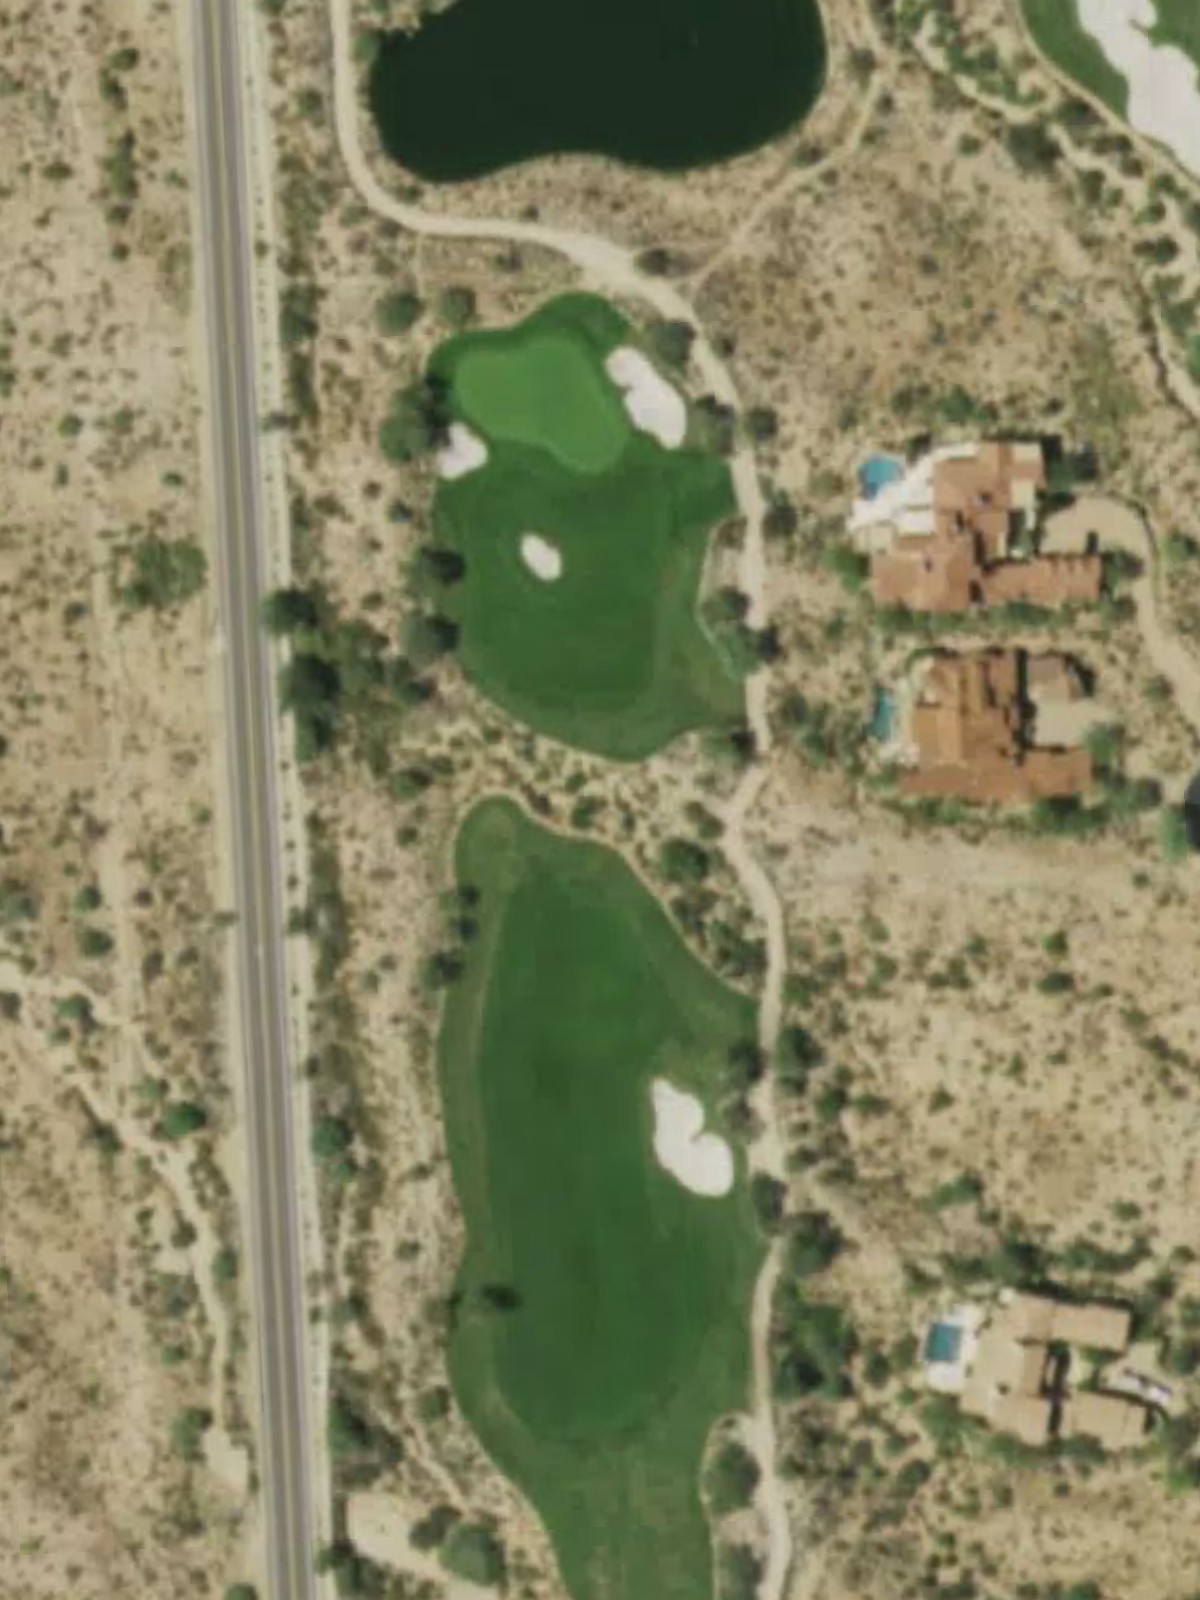
A straightforward par 4 that opens with a wide fairway before narrowing as it approaches the green. Bunkers protect the right side of the green, requiring accuracy on the approach shot to avoid sand.
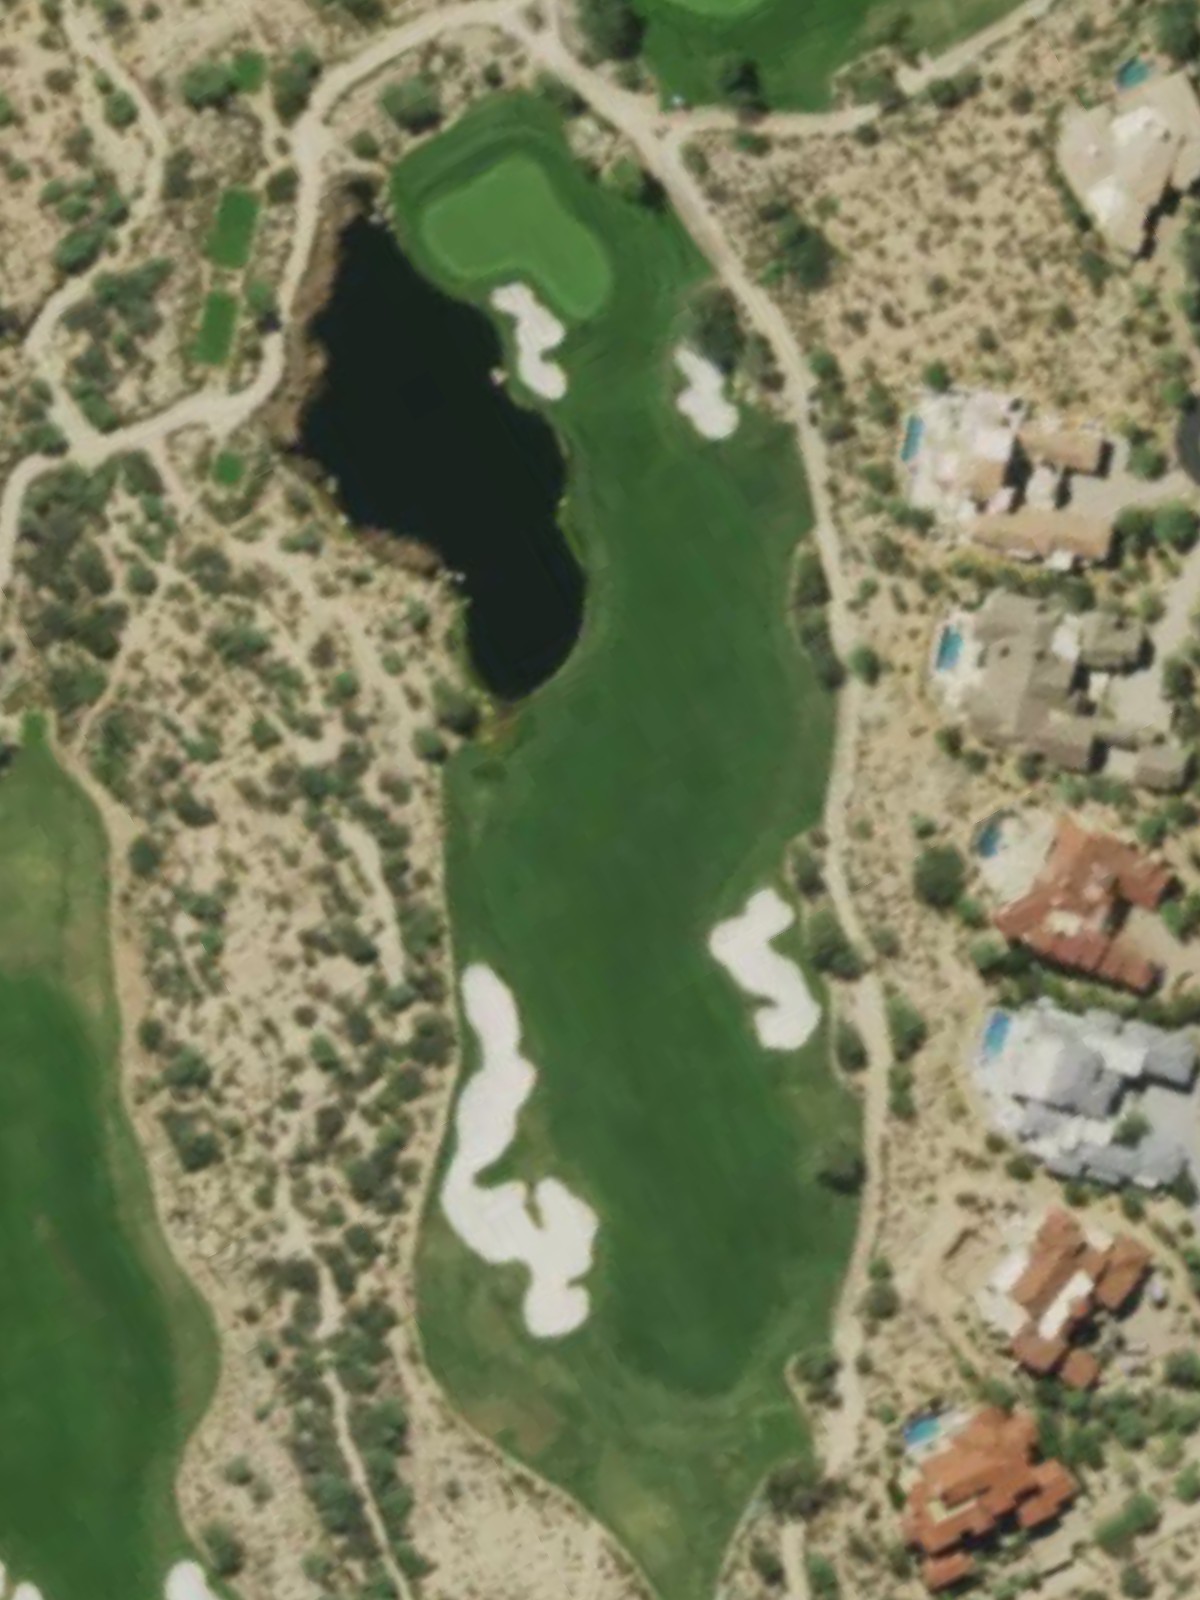
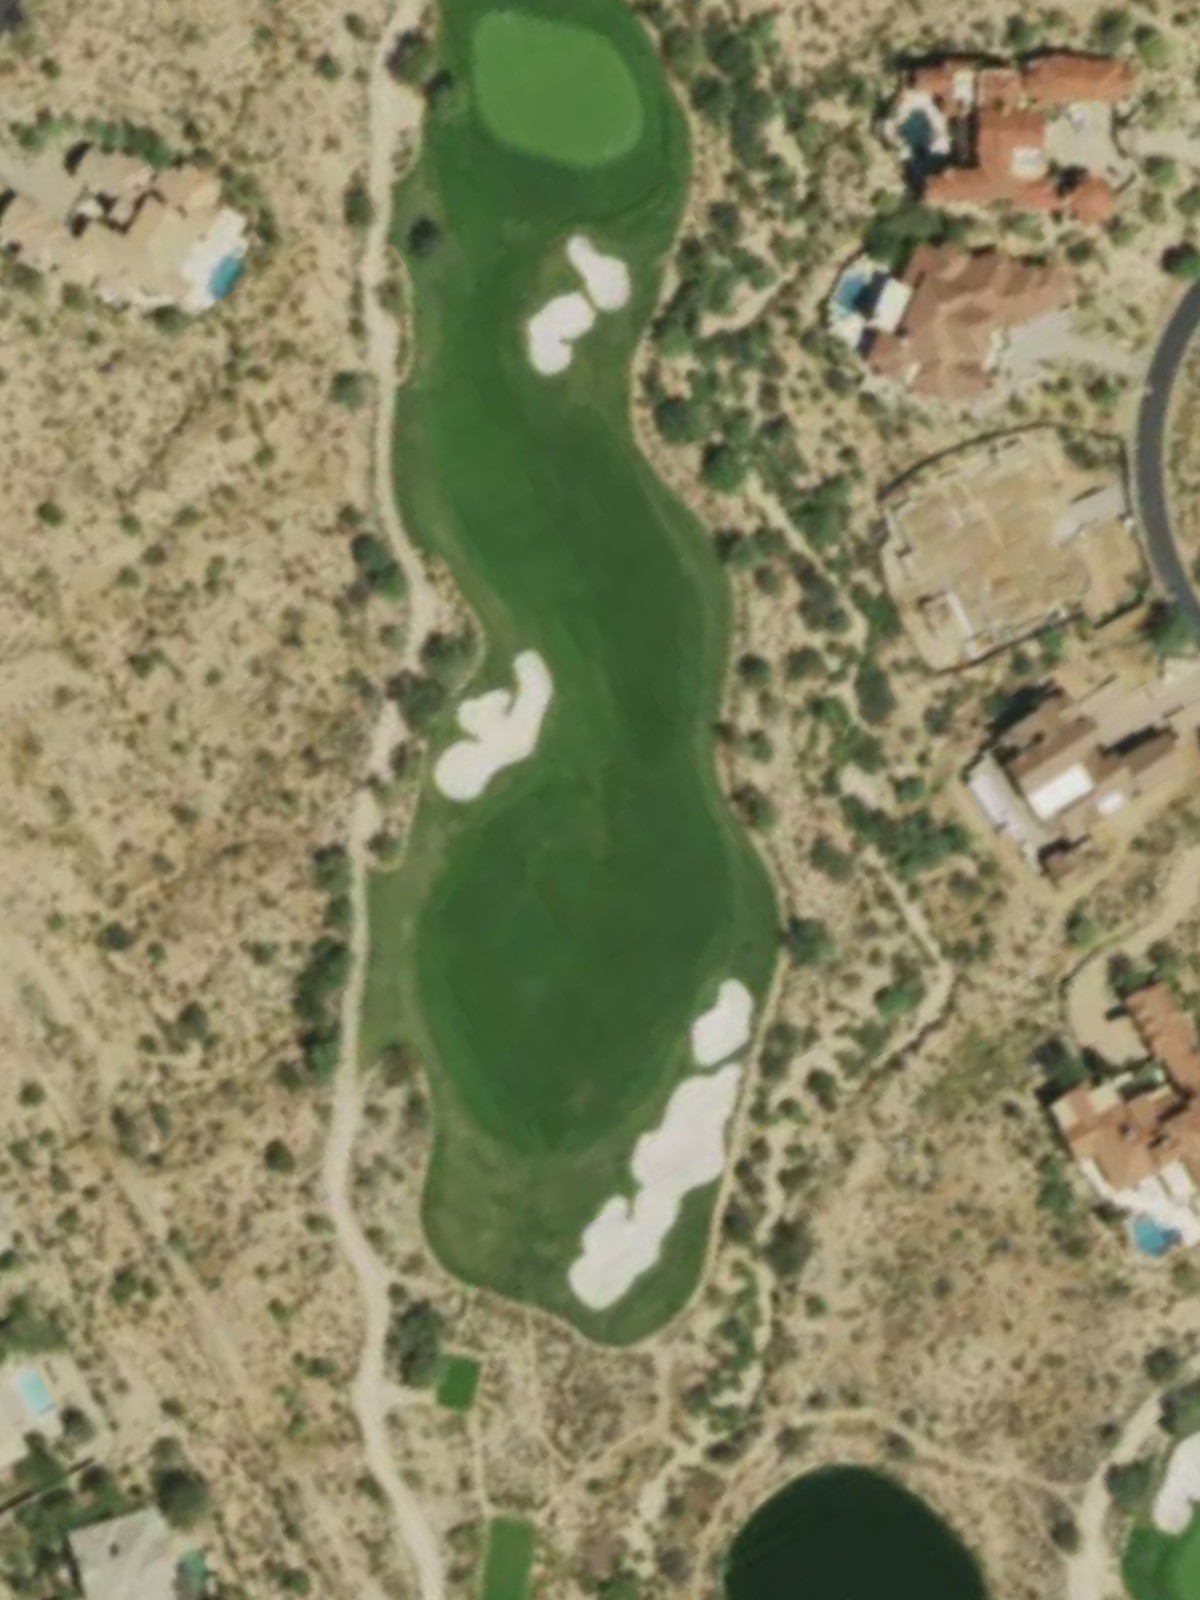
A lengthy par 5 that rewards aggressive play but demands precision off the tee. Water and rough rough hazards frame the sides, making positioning critical for those attempting to reach the green in two.
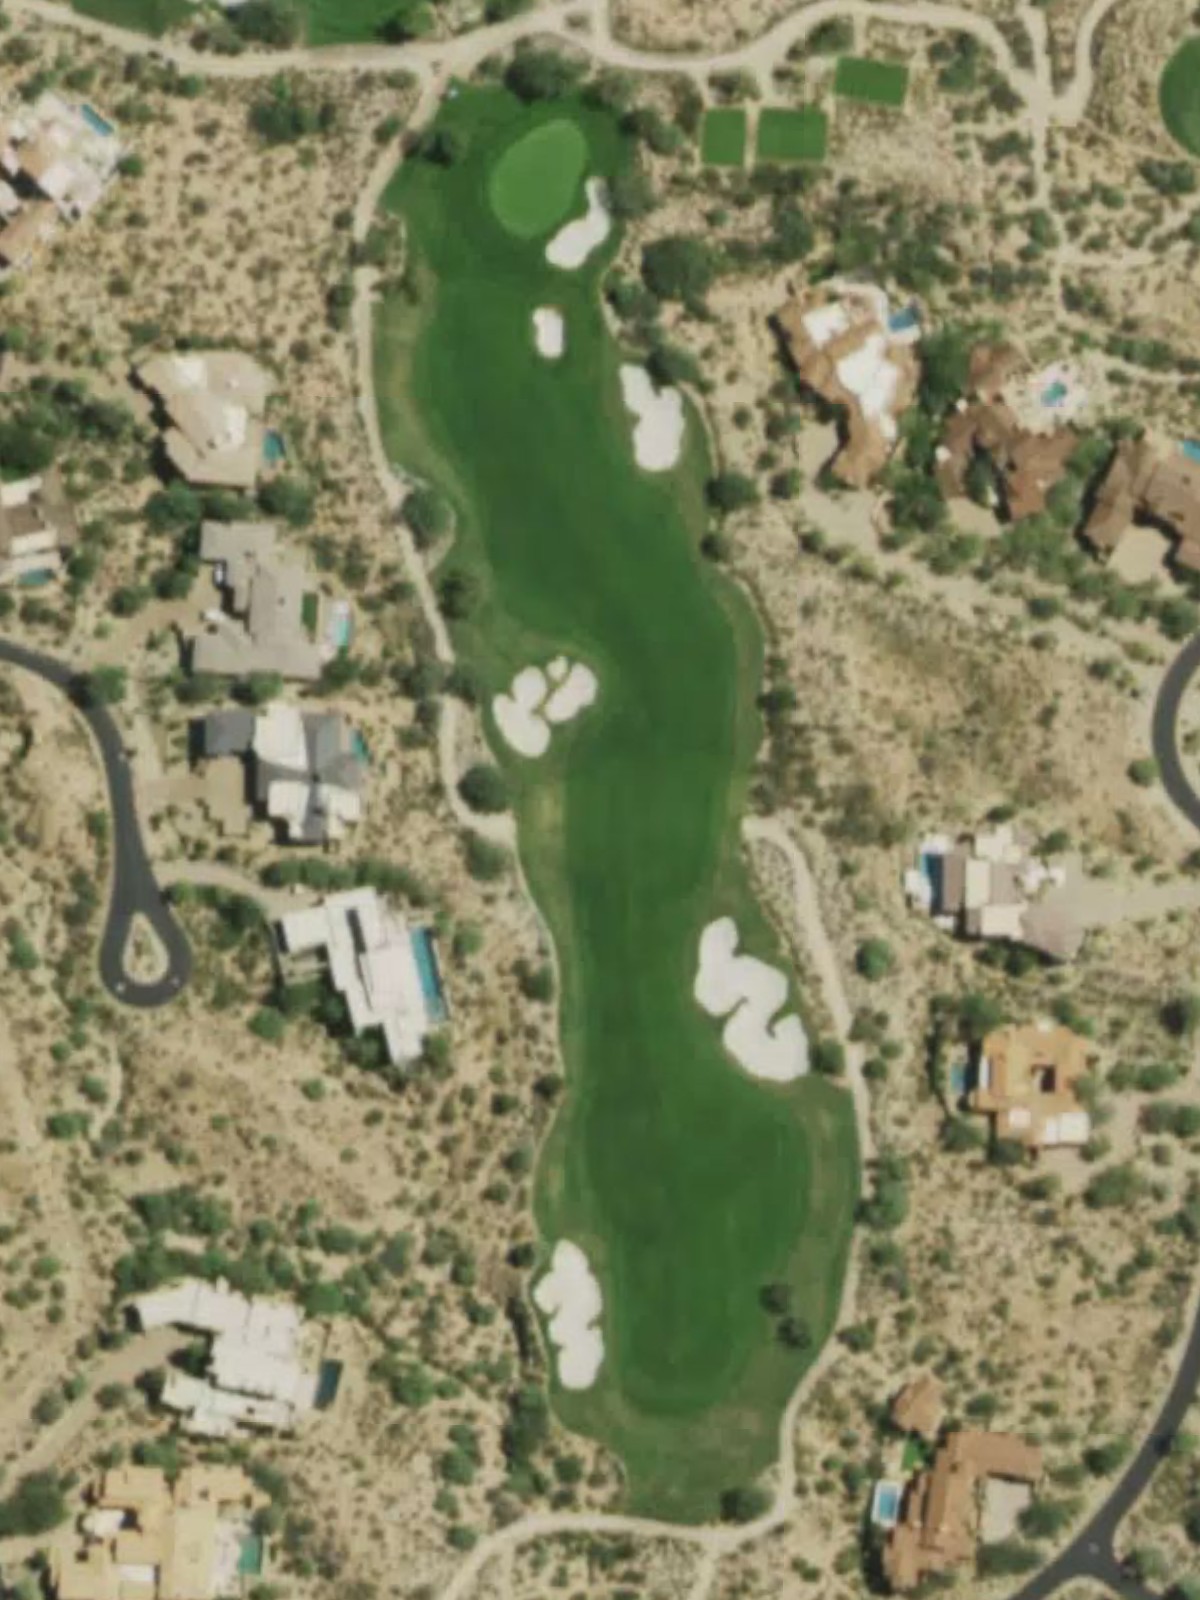
A mid-length par 4 with a slight dogleg character and a sloping fairway that can dictate ball position. Bunkers guard the green's approach, and the slope makes holding the putting surface challenging.
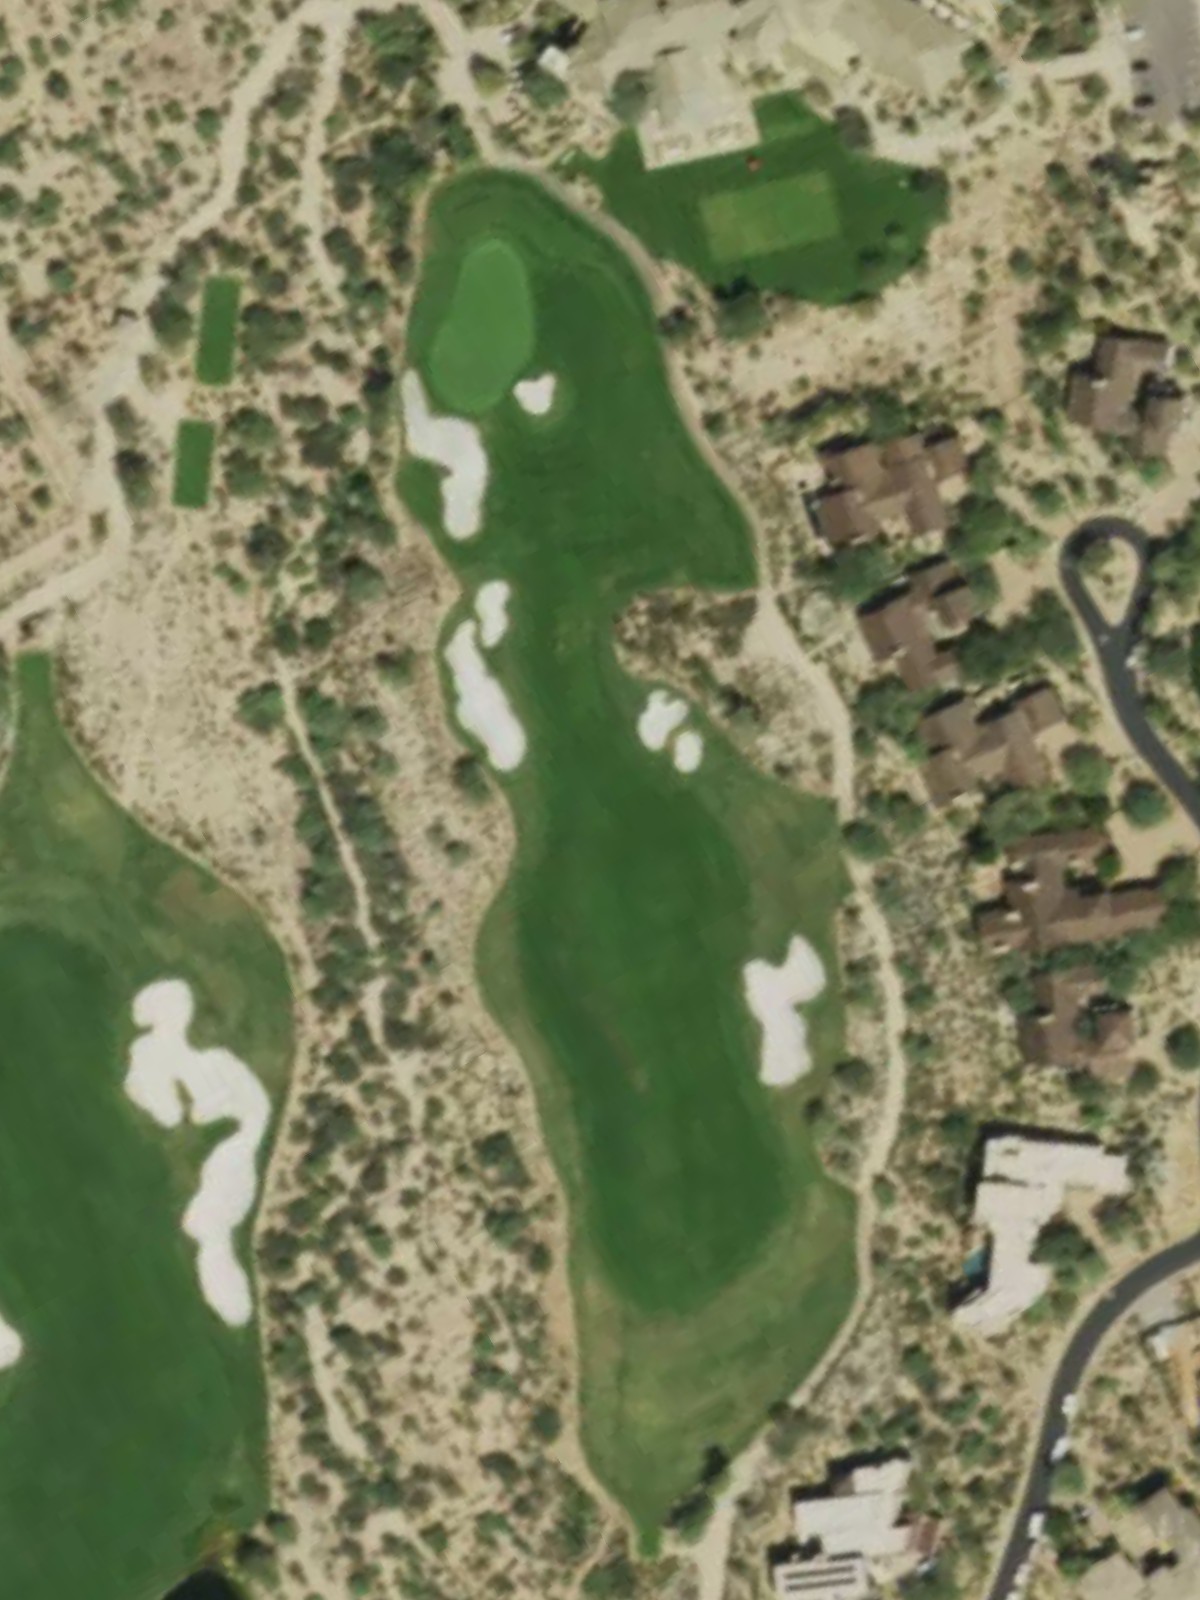
The course's most difficult hole, this par 4 stretches to demanding yardages with tight fairways and strategic bunkering around the green. Out-of-bounds danger lurks along one side, making accuracy paramount from tee to green.
A short par 4 that plays deceptively difficult despite reduced yardage, with hazards tightening the landing area and narrowing approaches to the green. The compact nature of the hole demands precise execution.
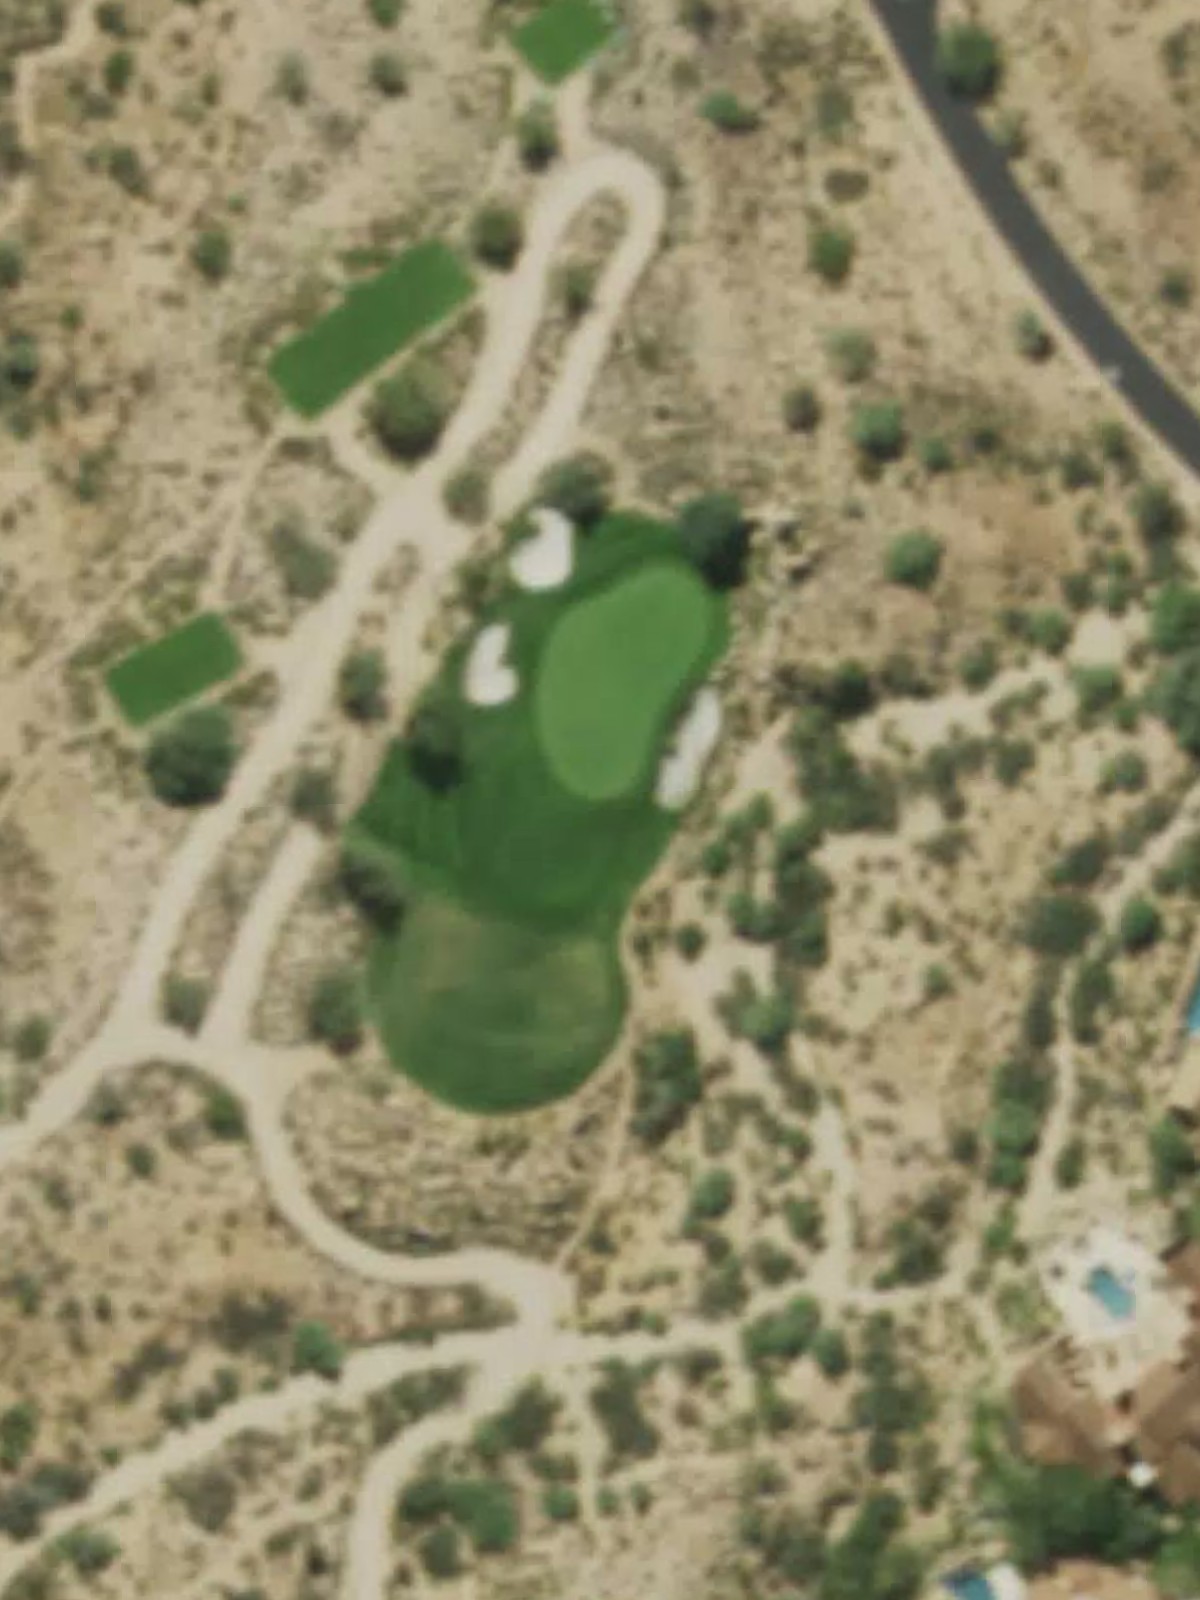
A short par 3 with a small, well-bunkered green that requires an accurate short iron or wedge. The elevated or sloped green makes distance control essential to avoid sand and stay close to the pin.
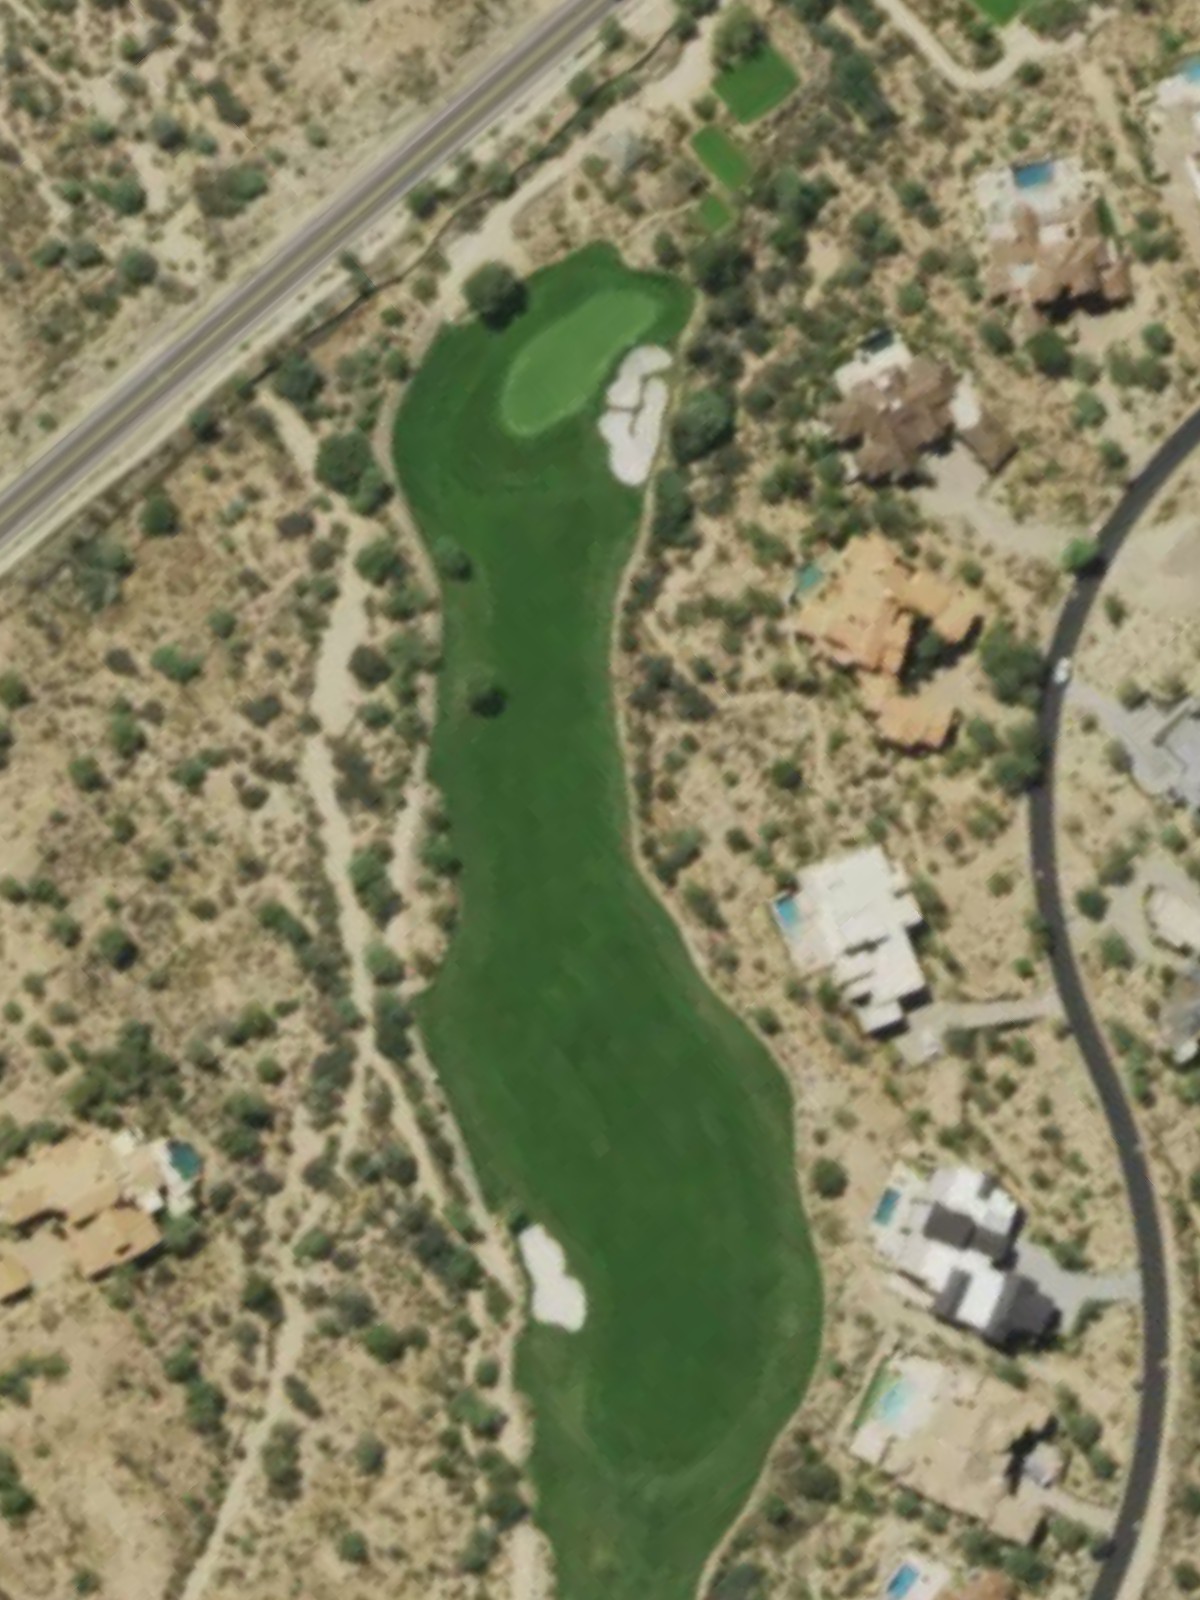
A strong par 5 with an interesting routing that may feature doglegs or elevation changes to add complexity. Strategic positioning off the tee opens options for the second shot, while hazards protect the approach to the green.
A mid-length par 3 with a green protected by bunkers and potentially elevated from the tee. The shot demands both distance and direction to avoid sand and find the putting surface.

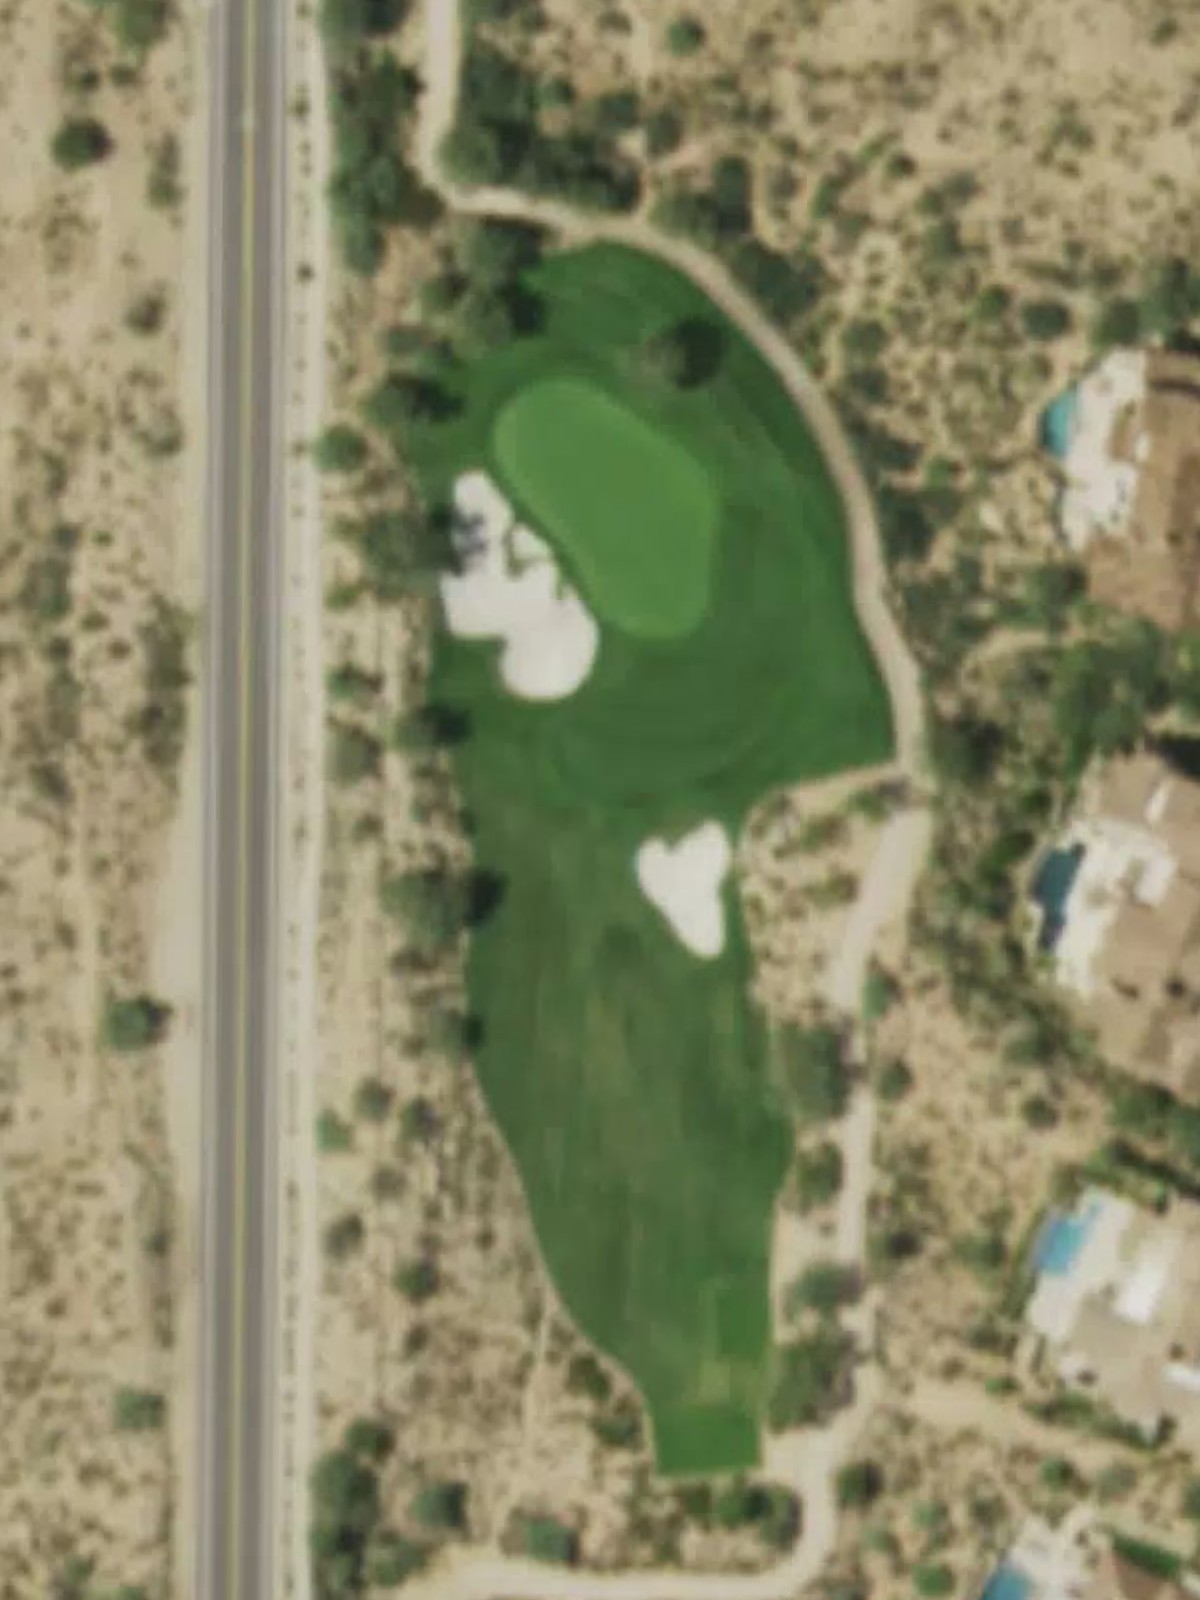
A challenging par 4 ranked third in difficulty, with a narrow fairway and demanding approach into a well-guarded green. Out-of-bounds or water hazards may frame the hole, requiring precision throughout.
A solid par 4 with a fairway that may narrow or feature bunkering in the driving zone. The approach to the green requires careful navigation of greenside hazards and slope.
A short par 3 featuring a relatively straightforward green complex with minimal bunkering. The smaller yardage allows for a tactical short-iron approach.

A mid-length par 4 with a fairway that tightens toward the green, demanding accuracy on both the tee and approach shots. Strategic bunkering frames the green's entrance.
A substantial par 4 ranked eighth in difficulty with a fairway that narrows or doglegs to create positioning challenges. Hazards protect the green, requiring a well-executed approach shot.
The easiest par 3 on the course, with a short yardage and generous green complex that offers more forgiveness than typical par 3s. The straightforward nature makes it an opportunity hole.
The second-most difficult hole, this par 4 features tight fairways and strategic bunkering that demands precision from tee to green. Out-of-bounds or water may frame the hole, creating risk throughout.
A mid-length par 4 with a fairway that may feature subtle doglegs or bunkering in the driving zone. Greenside hazards protect the approach, requiring thoughtful club selection and placement.
A strong par 5 with a routing that may include doglegs or elevation changes to create distinct scoring zones. Strategic hazards reward aggressive play while punishing poor positioning.
A finishing par 4 ranked fourth in difficulty with demanding yardages and a fairway that narrows toward the green. Bunkers and hazards frame the approach, making a composed final shot essential for a good score.
Scorecard
| Hole | 1 | 2 | 3 | 4 | 5 | 6 | 7 | 8 | 9 | Out | 10 | 11 | 12 | 13 | 14 | 15 | 16 | 17 | 18 | In | Tot |
|---|---|---|---|---|---|---|---|---|---|---|---|---|---|---|---|---|---|---|---|---|---|
| Par | 4 | 5 | 4 | 4 | 4 | 3 | 5 | 3 | 4 | 36 | 4 | 3 | 4 | 4 | 3 | 4 | 4 | 5 | 4 | 35 | 71 |
| HCP | 11 | 5 | 9 | 1 | 15 | 17 | 7 | 13 | 3 | 6 | 16 | 12 | 8 | 18 | 2 | 14 | 10 | 4 | |||
| black | 405 | 571 | 439 | 472 | 307 | 165 | 558 | 183 | 456 | 3556 | 449 | 178 | 390 | 466 | 217 | 433 | 423 | 561 | 474 | 3591 | 7147 |
| copper | 378 | 543 | 399 | 399 | 297 | 153 | 526 | 170 | 410 | 3275 | 414 | 162 | 350 | 417 | 206 | 402 | 392 | 531 | 415 | 3289 | 6564 |
| silver | 345 | 498 | 381 | 364 | 287 | 134 | 495 | 160 | 390 | 3054 | 399 | 150 | 335 | 388 | 183 | 393 | 369 | 487 | 384 | 3088 | 6142 |
| white | 331 | 467 | 361 | 364 | 272 | 126 | 460 | 140 | 308 | 2829 | 354 | 141 | 297 | 364 | 127 | 378 | 343 | 432 | 384 | 2820 | 5649 |
| green | 280 | 427 | 313 | 317 | 260 | 107 | 422 | 112 | 308 | 2546 | 307 | 132 | 242 | 335 | 112 | 290 | 303 | 405 | 313 | 2439 | 4985 |