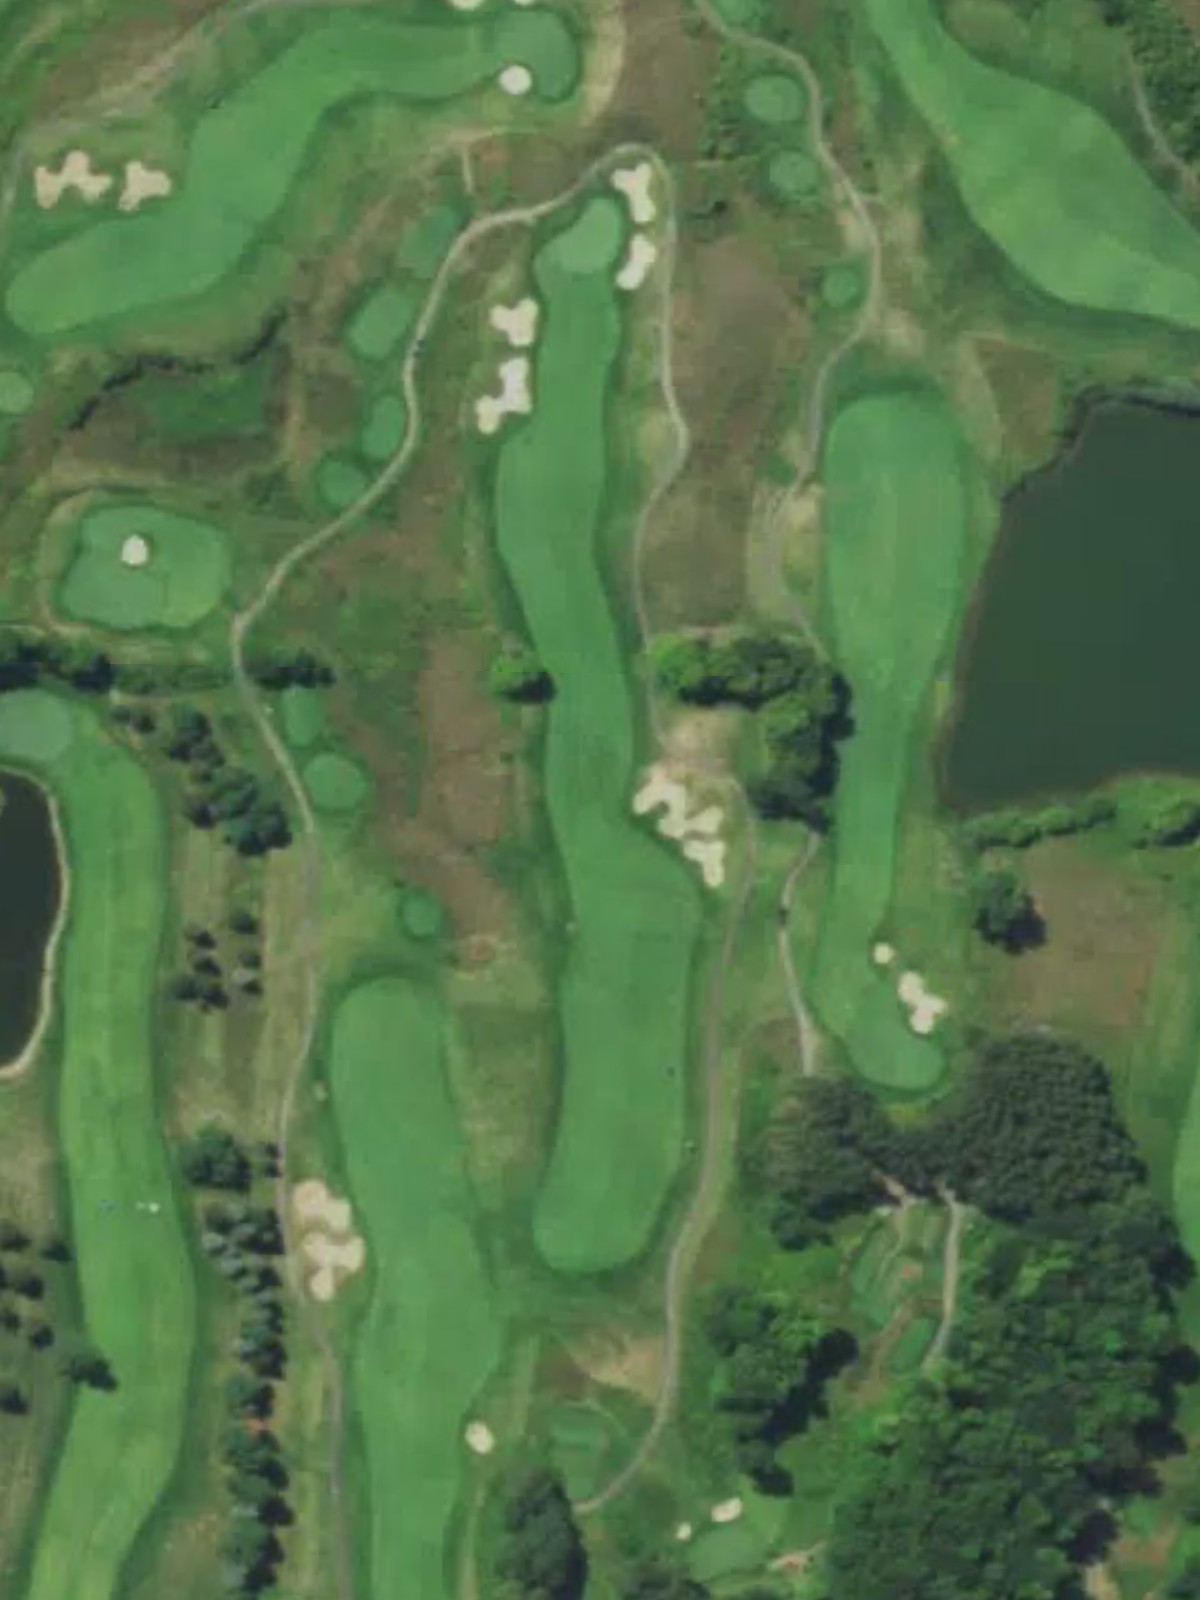
Mill Run Gc is an 18-hole golf course in Eau Claire, WI with a par of 70. It offers 3 tee sets: blue (5,962 yards, slope 116, rating 68.8), white (5,537 yards, slope 113, rating 67.1), red (4,762 yards, slope 100, rating 64.2). The hardest hole is #3, a par 5 playing 442 yards from the first tee.
Mill Run Gc
Eau Claire, WI
Get PDF Yardage Book
We'll email you the PDF link. No spam, ever.
Create Your Game Plan
Pick your tees, enter your bag, and get a personalized shot-by-shot strategy for every hole.
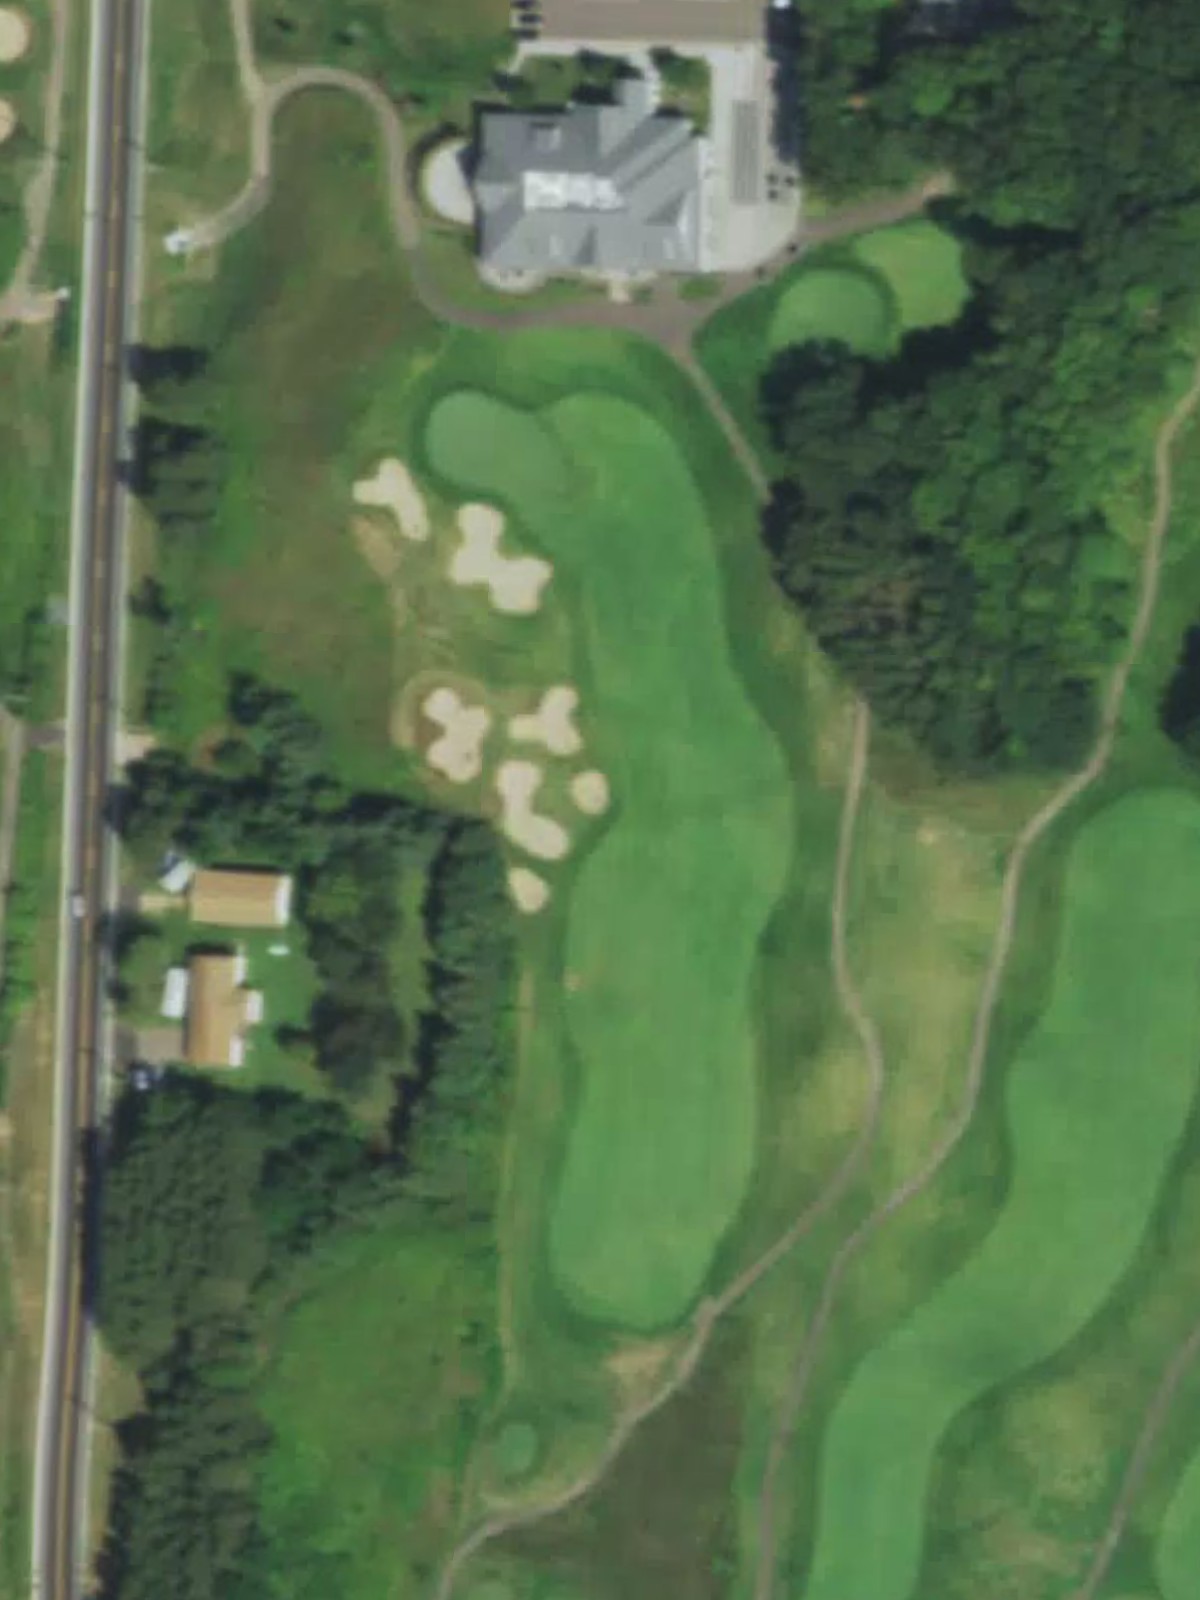
A straightforward par 4 that plays shorter than its yardage suggests, with a fairway that narrows as it approaches the green. Bunkers guard the right side of the putting surface, while the left side offers a safer approach route for the opening hole.
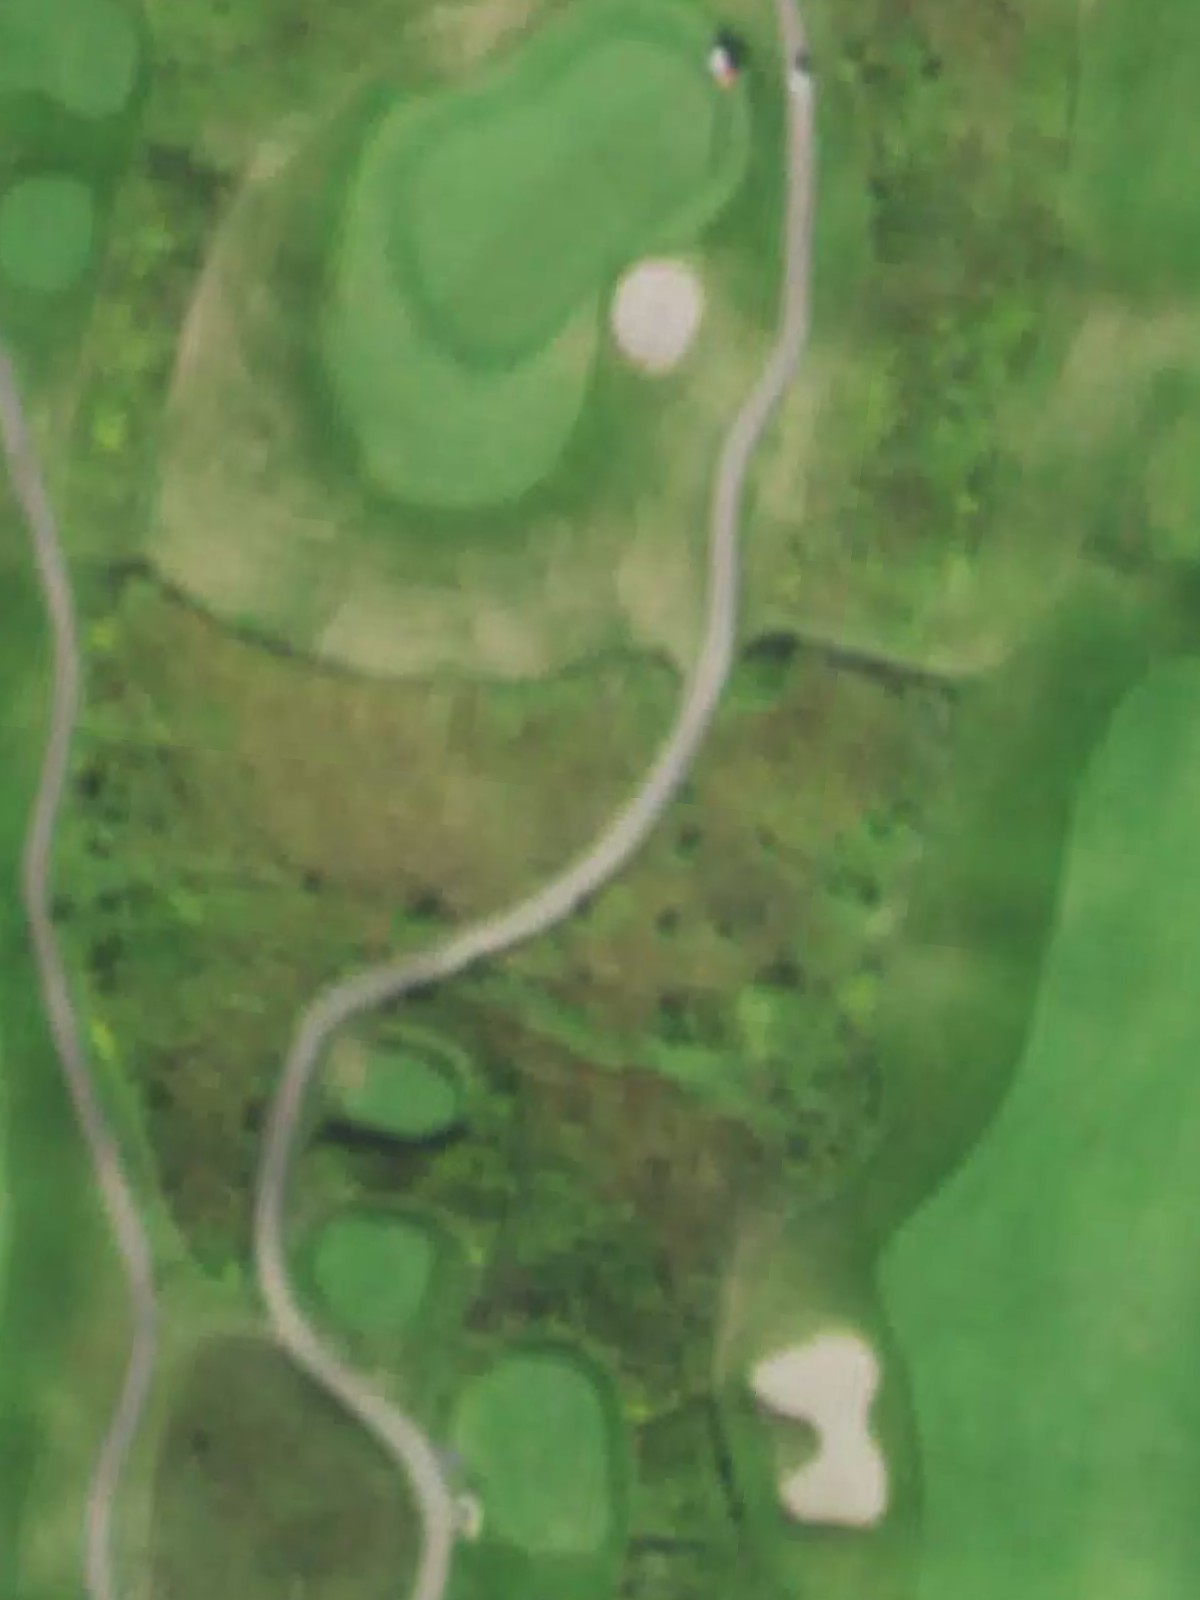
A short par 3 with a small, well-defined green that demands accuracy over distance. The green is surrounded by bunkers and rough, making precision on the tee shot critical to setting up a scoring opportunity.

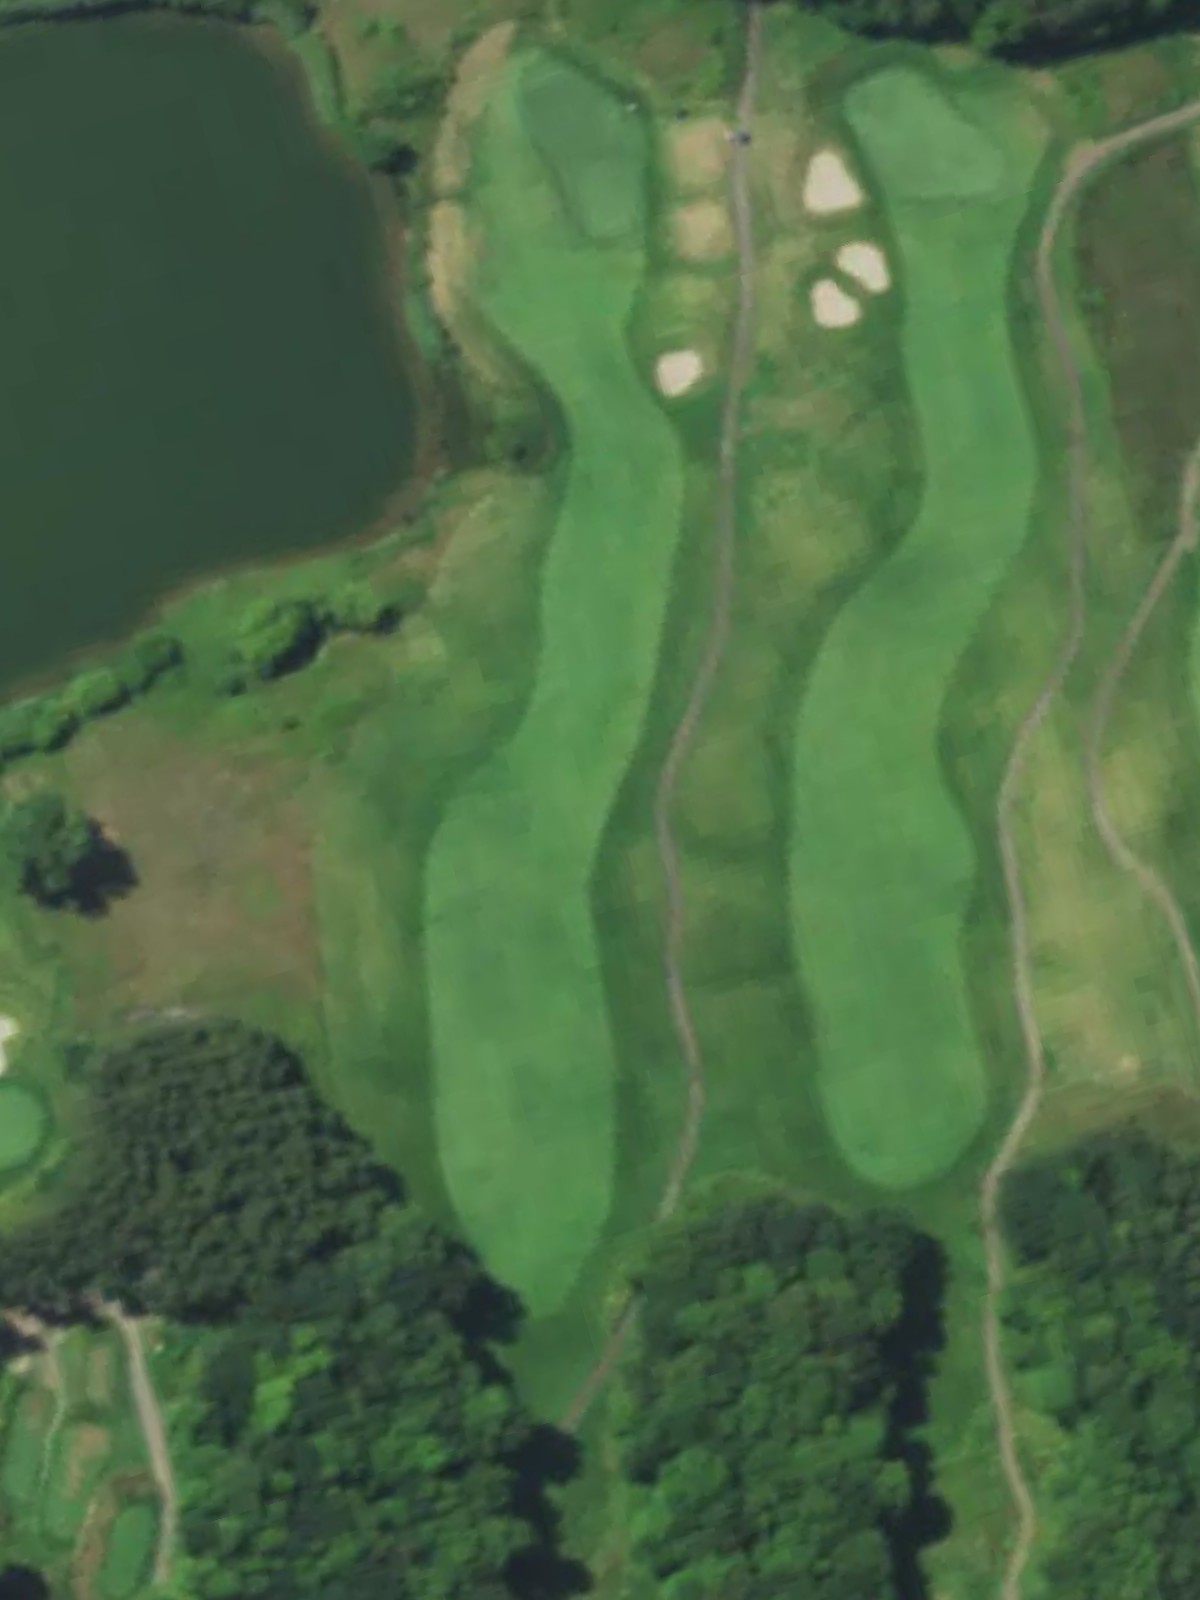
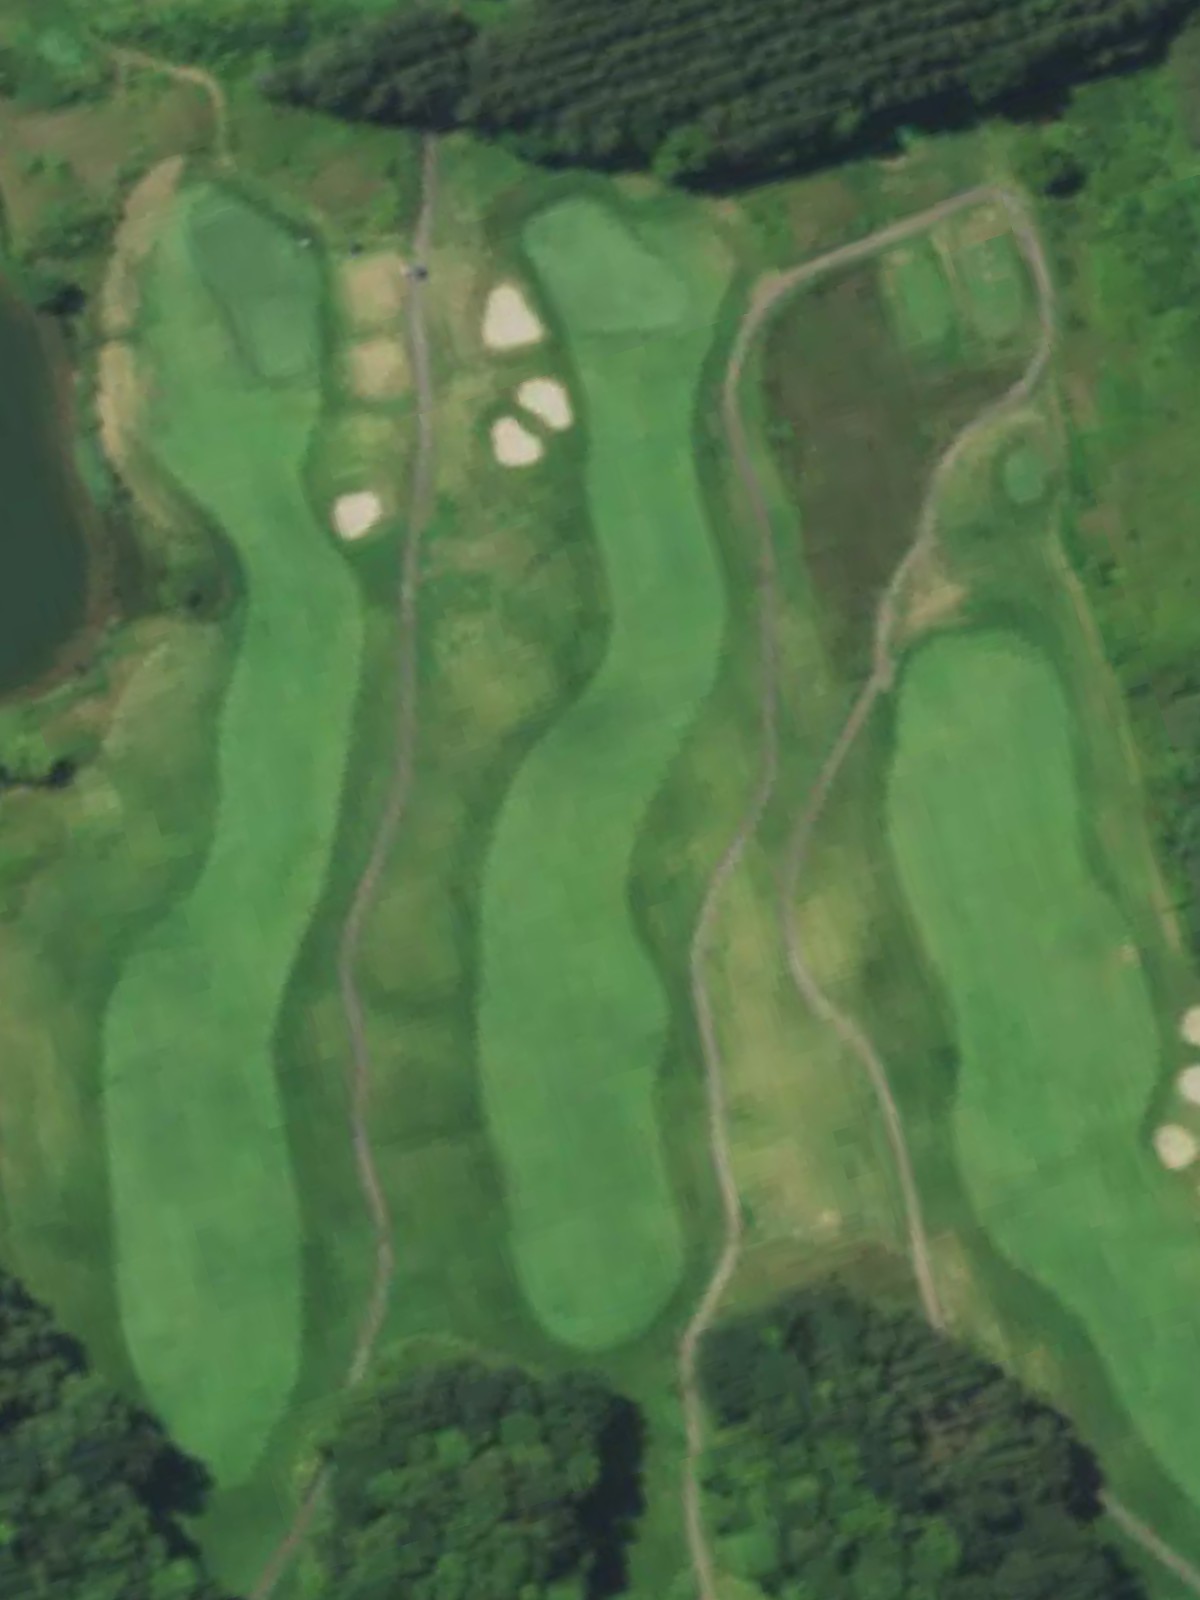
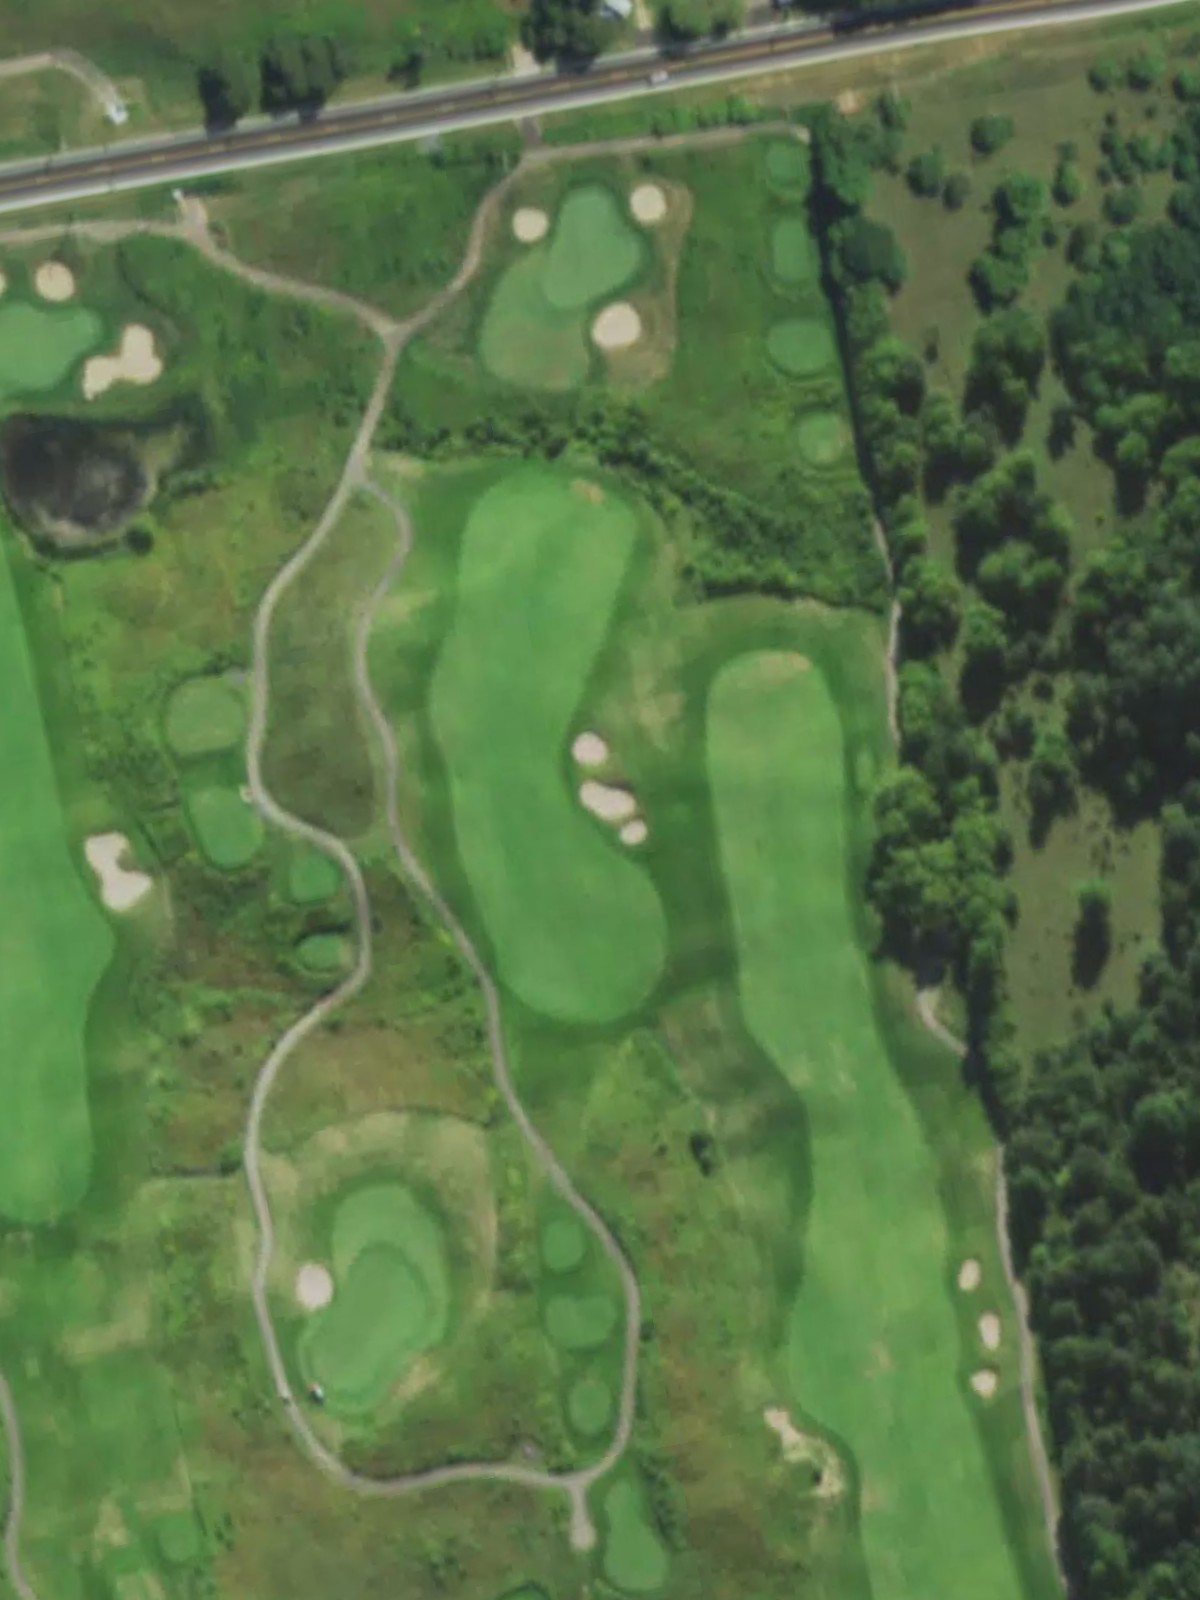
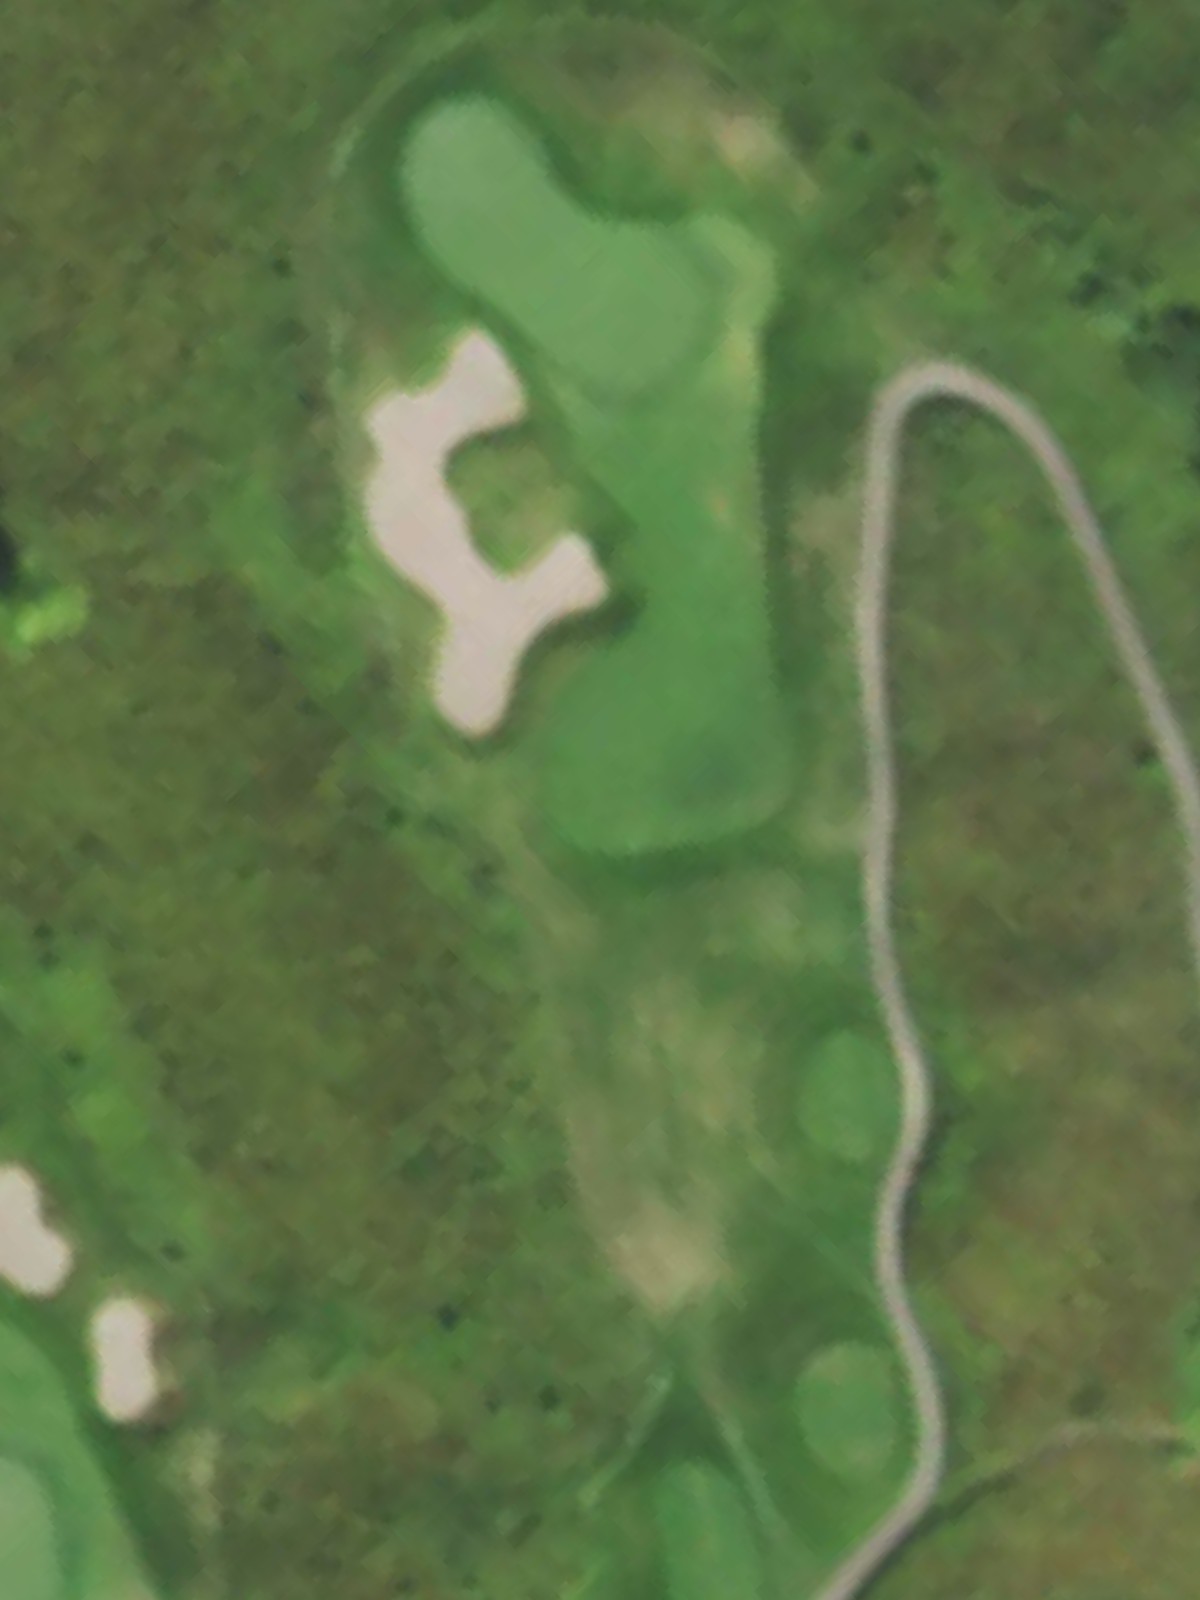
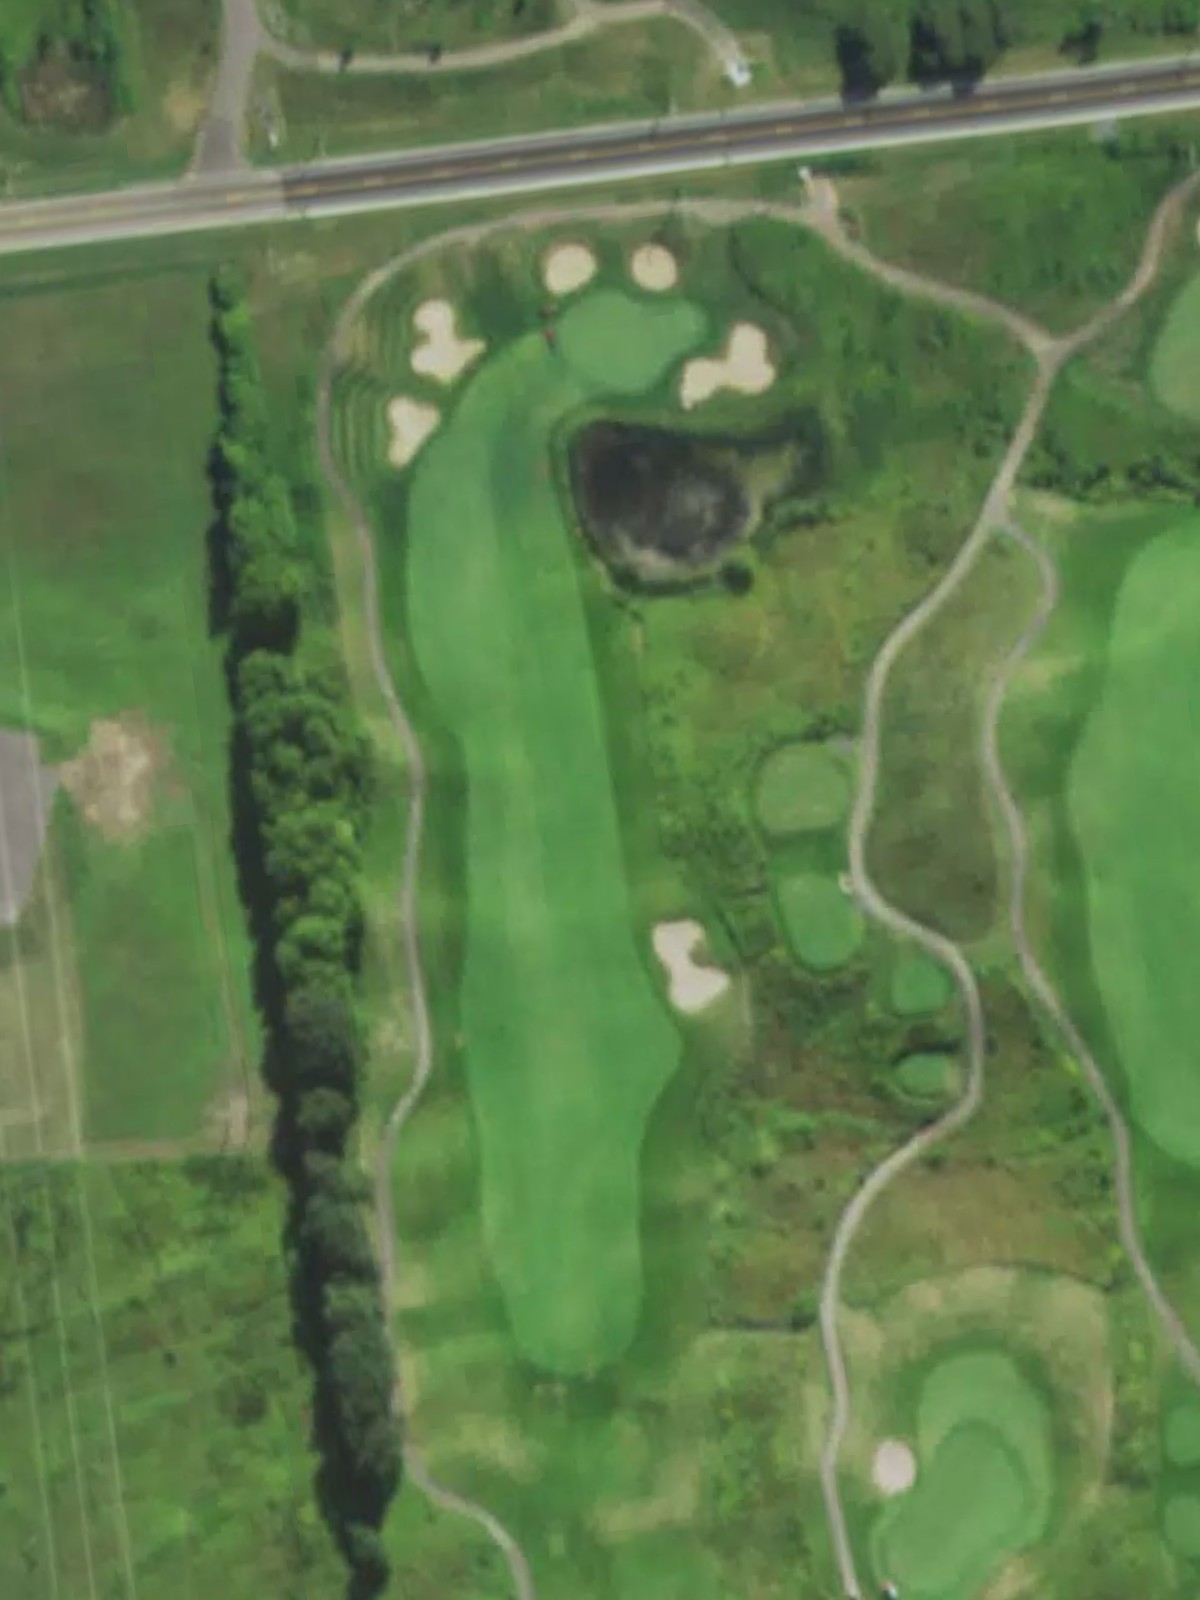
The course's most difficult hole, this par 5 requires two strong shots to set up a birdie opportunity. The fairway is relatively open but narrows slightly at the landing areas, and the large green is protected by bunkers on both sides.

A deceptive par 3 where yardage varies significantly between tees, creating different shot requirements depending on the setup. The green sits elevated and is fronted by bunkers, demanding a well-struck shot to find the putting surface.
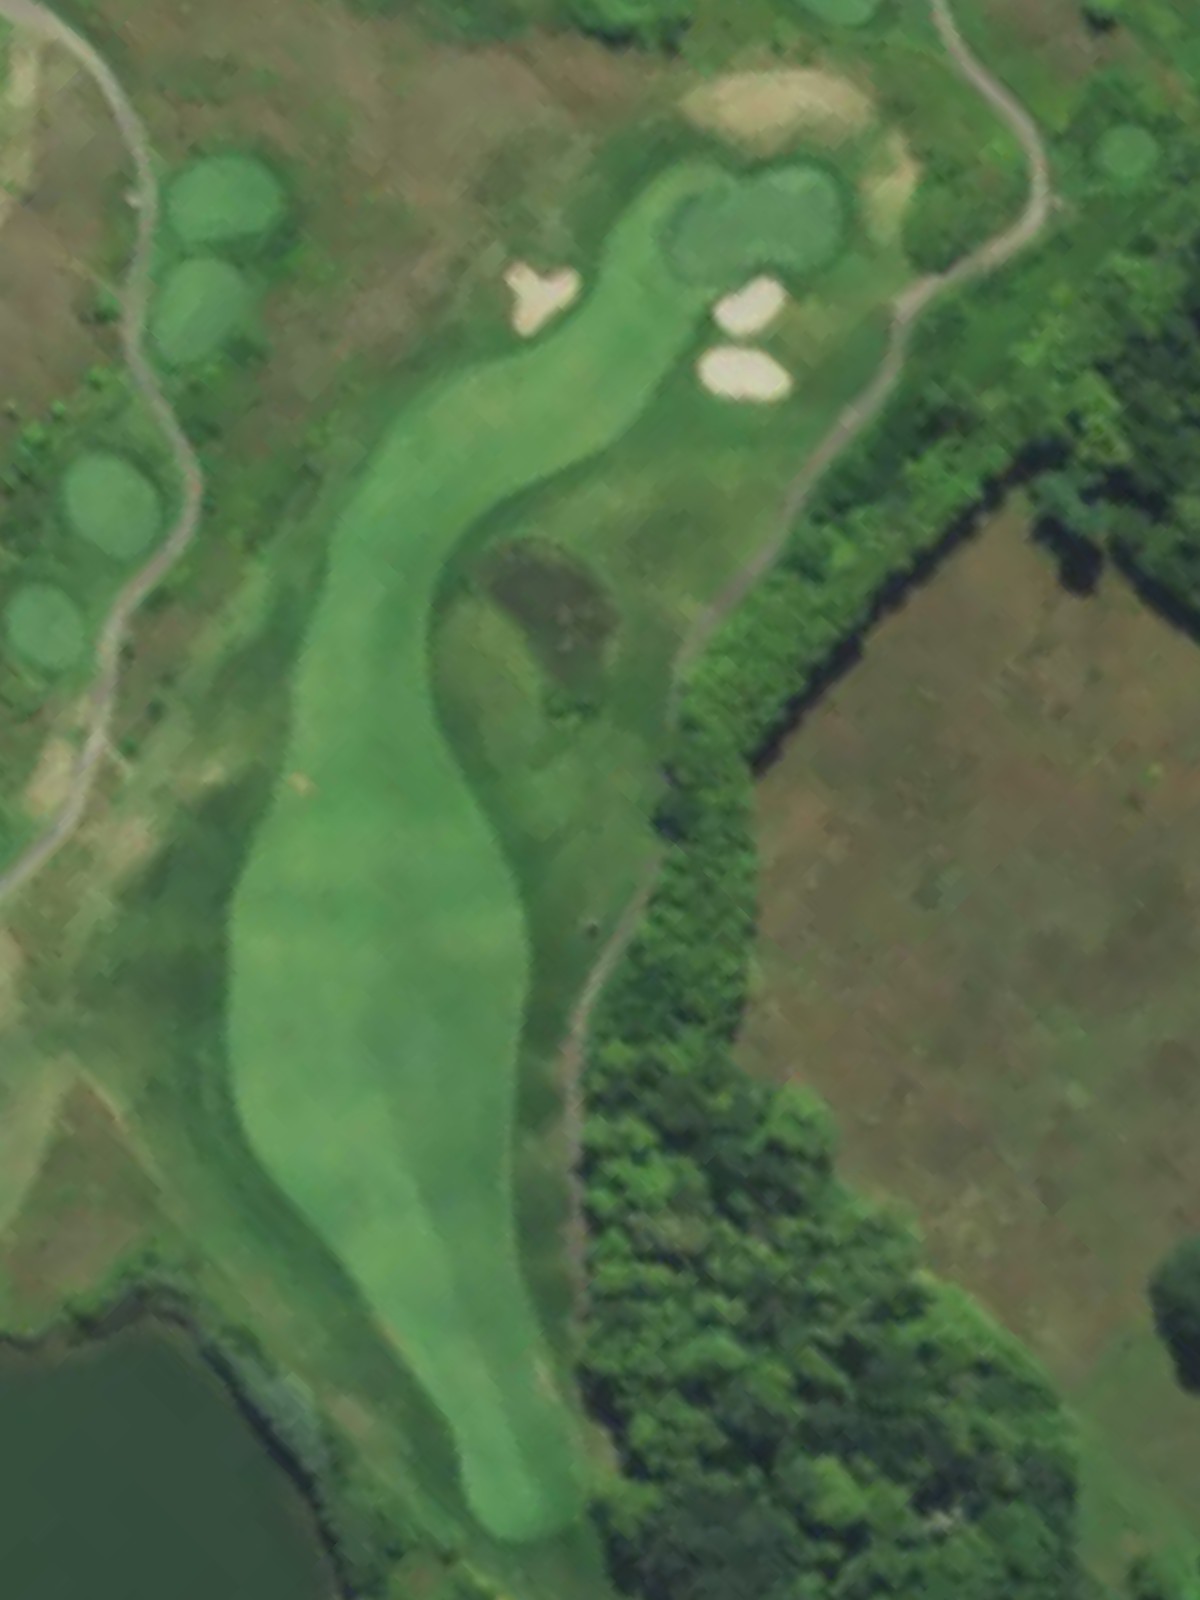
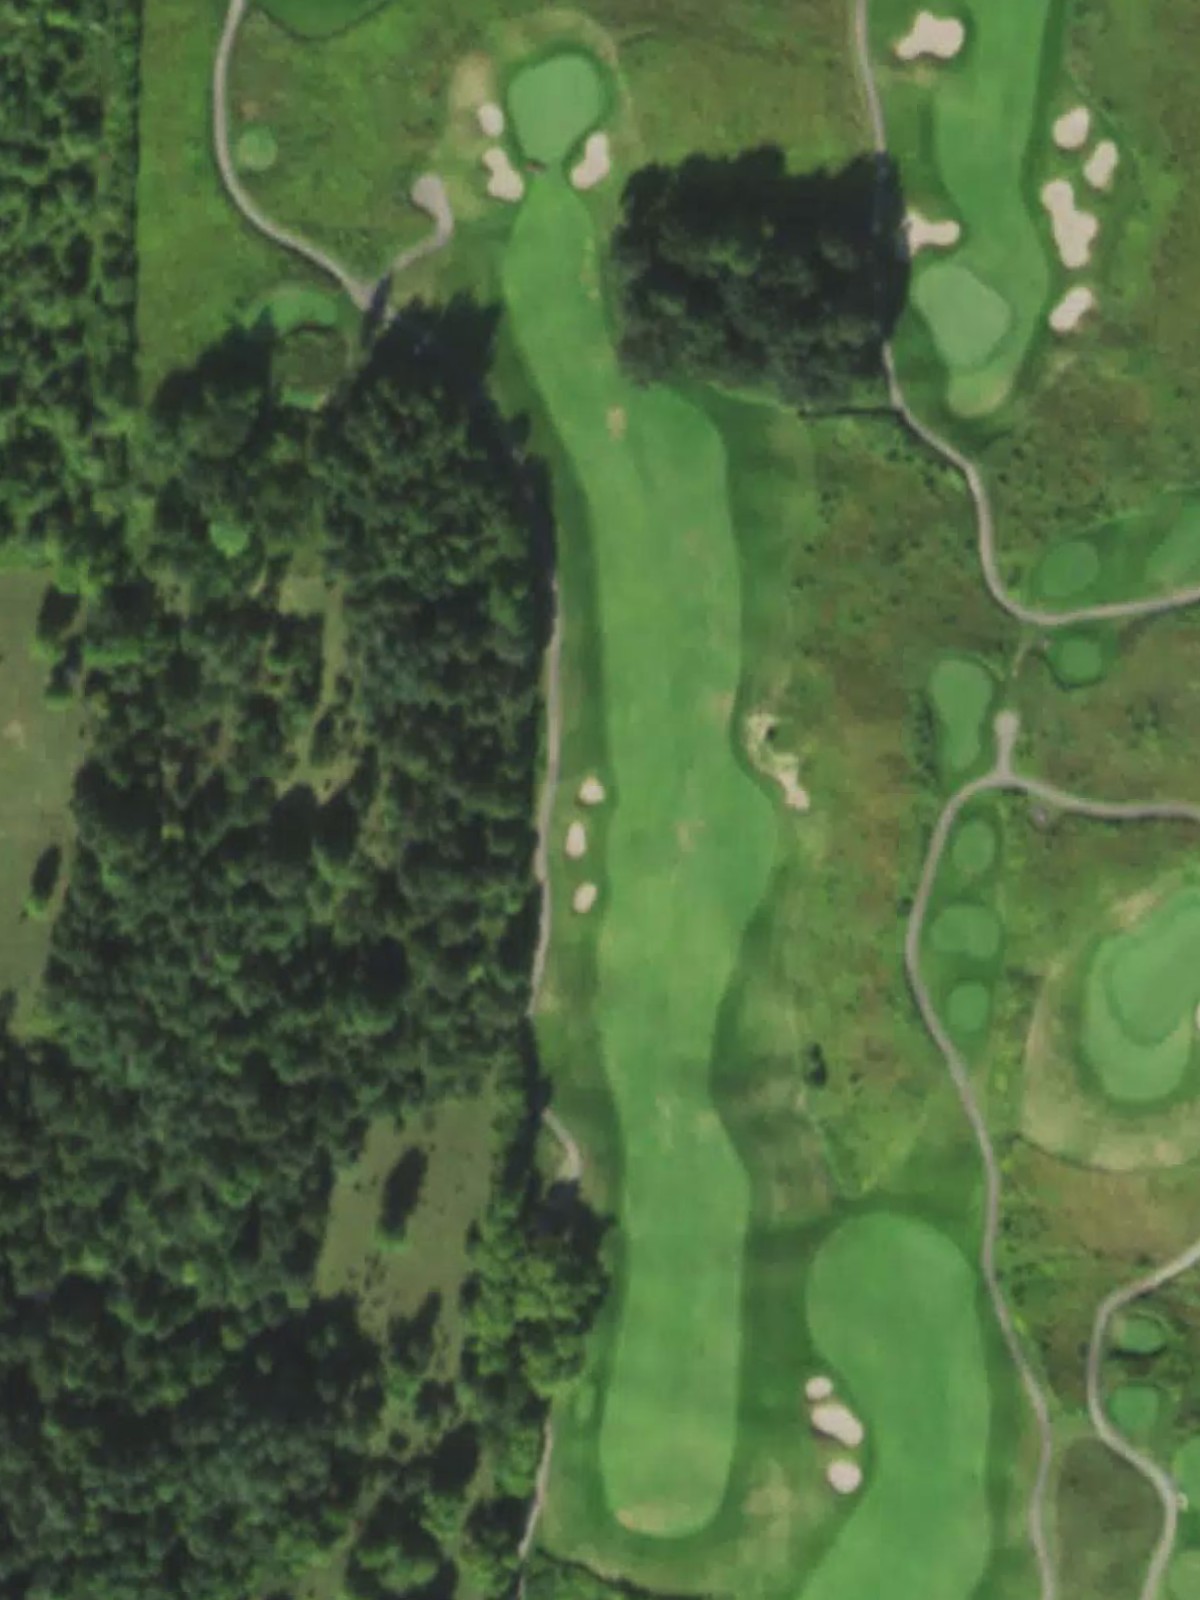
A strategic par 5 that offers multiple routes to the green depending on a player's length off the tee. Water hazards and bunker placement reward accurate positioning more than raw distance, making course management essential.
A short but treacherous par 3 where the small green is the primary target amid surrounding hazards. The compact nature of this hole makes it a birdie opportunity that can quickly turn into a bogey without a precise tee shot.
A challenging par 4 that ranks among the course's most difficult, with trouble lurking on both sides of the fairway. The approach shot into a well-bunkered green requires careful club selection and execution to avoid a big number.

A demanding par 4 with a fairway that offers limited room for error, particularly off the tee. Bunkers and rough line the approach to the green, making this a hole where position off the tee is crucial to setting up a manageable second shot.

One of the course's most difficult par 4s, this hole plays long and features hazards that penalize both conservative and aggressive play. The narrow fairway and well-guarded green make this a stern test that requires two solid, accurate shots.
A relatively straightforward par 4 that serves as a good scoring opportunity early in the back nine. The fairway is receptive, and while the green has some protection, the hole's modest handicap suggests a chance to make a birdie.
A very short par 3 that plays to a compact green surrounded by bunkers and rough ground. Despite its brief length, this hole demands precision and can punish an off-center tee shot with a difficult recovery.
A mid-length par 4 with an interesting routing that may feature doglegs or elevation changes affecting play. Bunkers guard key areas of the fairway and green, rewarding players who find the proper angles and approaches.
A strong par 4 that presents a stiff challenge with hazards positioned to catch both wayward drives and poor approach shots. The fairway narrows in the landing area, and the green's defenses require a well-executed second shot.
A moderate par 4 that offers reasonable scoring potential with a fairway that provides good landing areas off the tee. The green is approachable, though greenside bunkers and rough around the perimeter demand accuracy on the approach shot.
The second-most difficult hole on the course, this par 4 is a formidable test that plays longer than its yardage with strategic hazards throughout. Both the fairway and green require precise positioning to avoid costly mistakes on this punishing hole.
A tough par 4 with a fairway that narrows at critical points, forcing players to be strategic with their tee shots. Bunkers protect the approach into the green, and any miss in the wrong direction can lead to an uphill battle for par.
A brief par 3 that appears benign but demands accuracy due to its small green and surrounding hazards. The short distance can lull players into complacency, but precision is required to capitalize on this birdie opportunity.
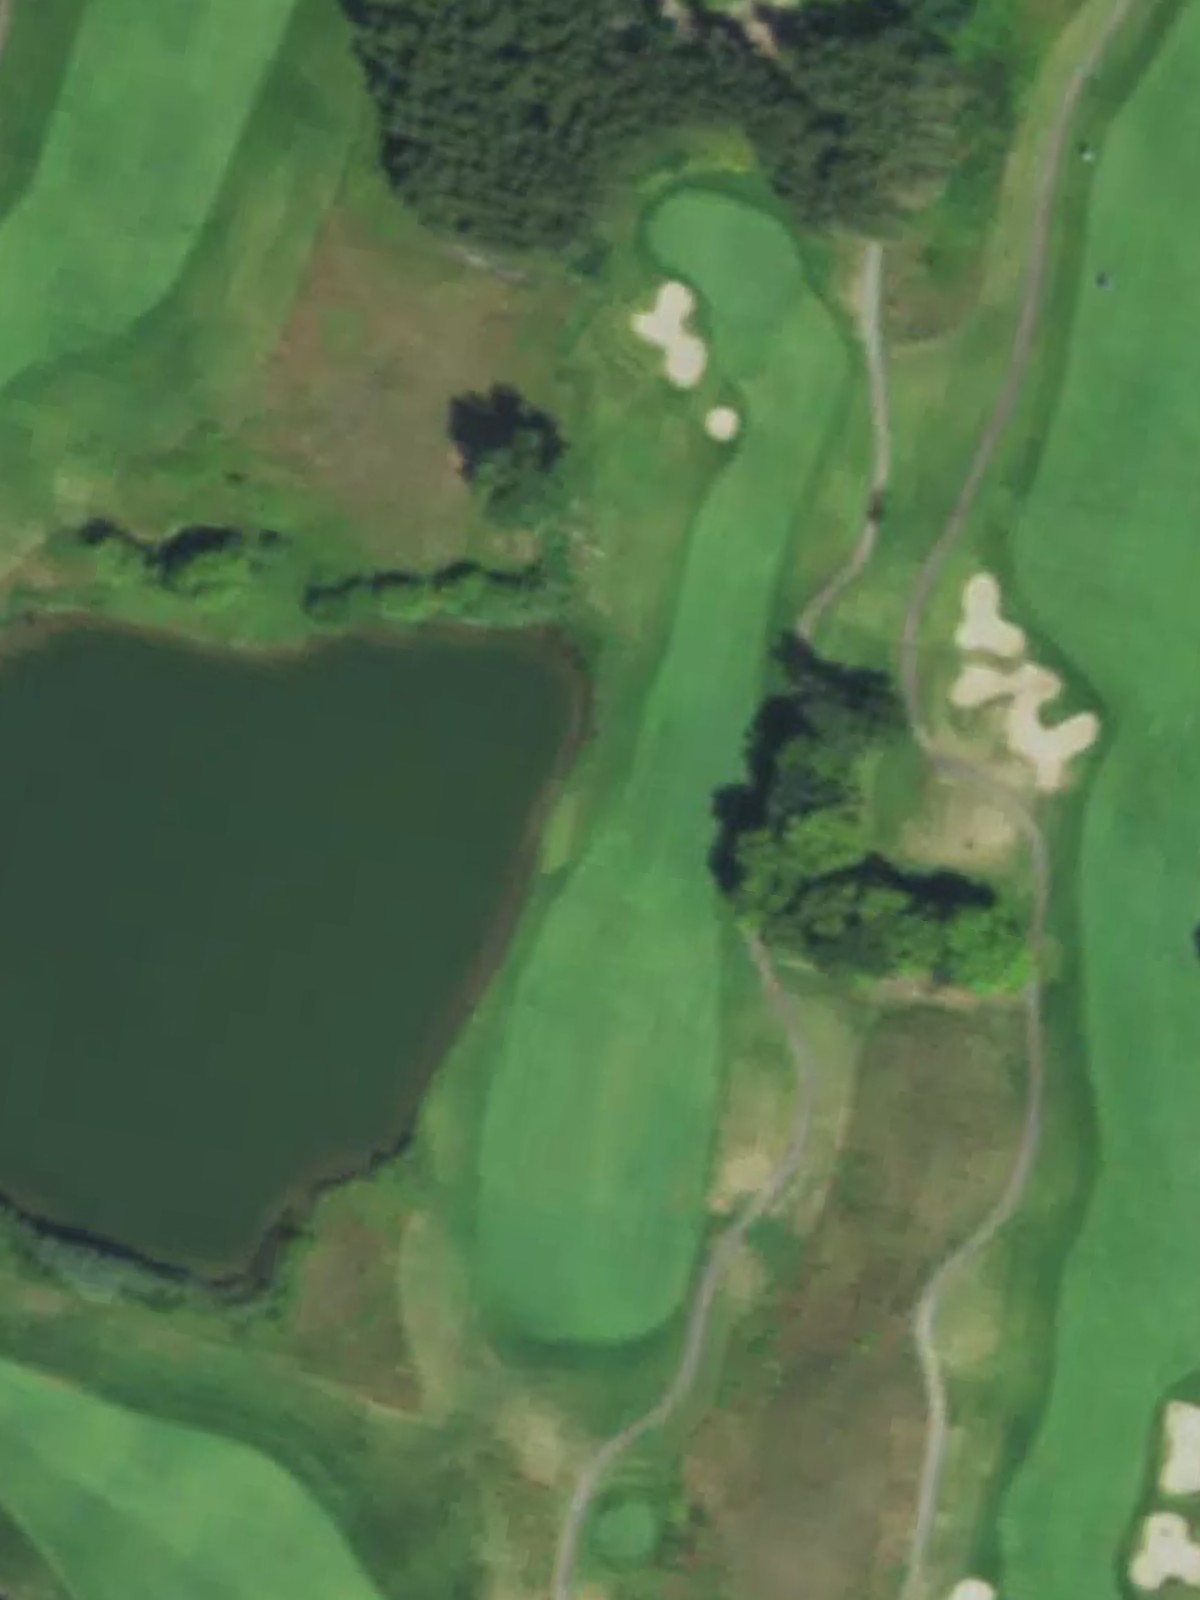
A strong finishing par 5 that can reward aggressive play with two big shots, or punish mistakes with water and bunkers positioned throughout. The hole's strategic layout allows for multiple paths to the green, making course management and decision-making essential to ending the round well.
Scorecard
| Hole | 1 | 2 | 3 | 4 | 5 | 6 | 7 | 8 | 9 | Out | 10 | 11 | 12 | 13 | 14 | 15 | 16 | 17 | 18 | In | Tot |
|---|---|---|---|---|---|---|---|---|---|---|---|---|---|---|---|---|---|---|---|---|---|
| Par | 4 | 3 | 5 | 3 | 5 | 3 | 4 | 4 | 4 | 35 | 4 | 3 | 4 | 4 | 4 | 4 | 4 | 3 | 5 | 35 | 70 |
| HCP | 13 | 17 | 1 | 15 | 9 | 11 | 5 | 7 | 3 | 16 | 12 | 10 | 6 | 14 | 2 | 8 | 18 | 4 | |||
| blue | 292 | 148 | 543 | 181 | 497 | 139 | 365 | 415 | 389 | 2969 | 306 | 182 | 382 | 325 | 291 | 434 | 388 | 126 | 559 | 2993 | 5962 |
| white | 278 | 126 | 498 | 273 | 484 | 139 | 355 | 378 | 348 | 2879 | 293 | 145 | 314 | 286 | 271 | 383 | 334 | 114 | 518 | 2658 | 5537 |
| red | 213 | 112 | 442 | 230 | 421 | 112 | 307 | 335 | 315 | 2487 | 232 | 102 | 280 | 258 | 225 | 336 | 283 | 103 | 456 | 2275 | 4762 |