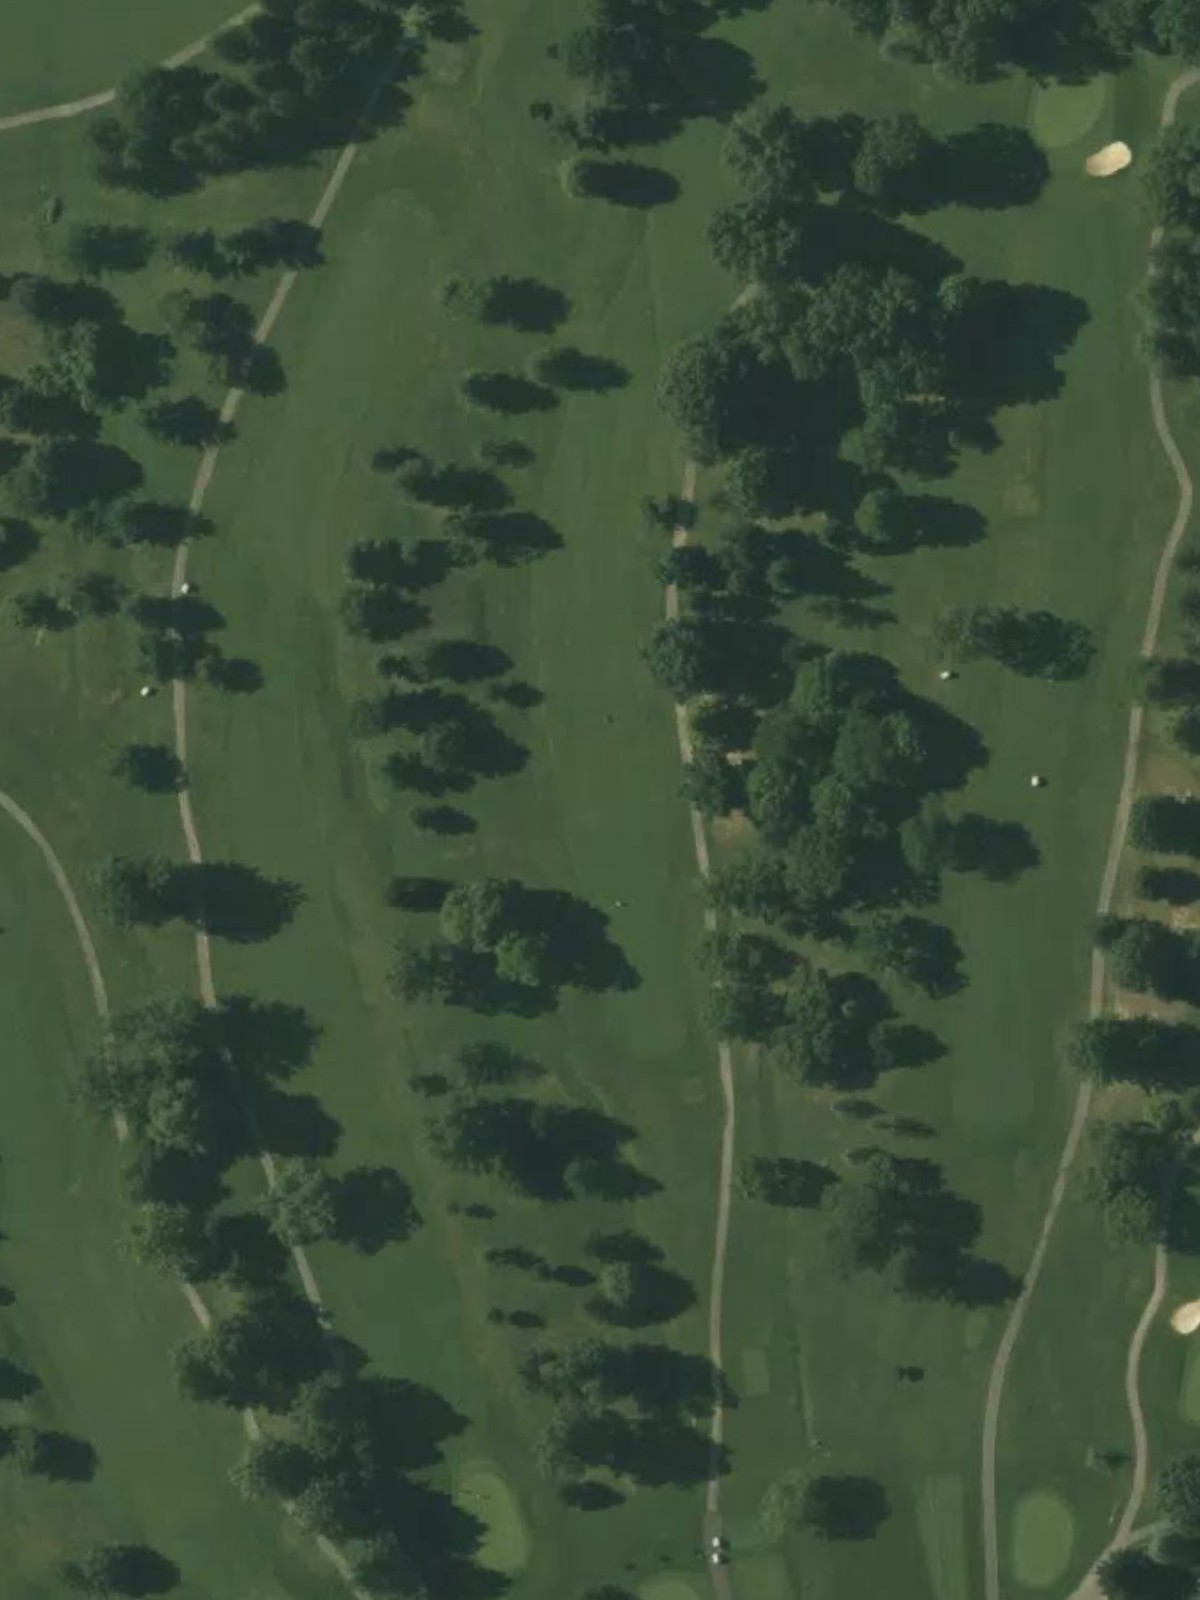
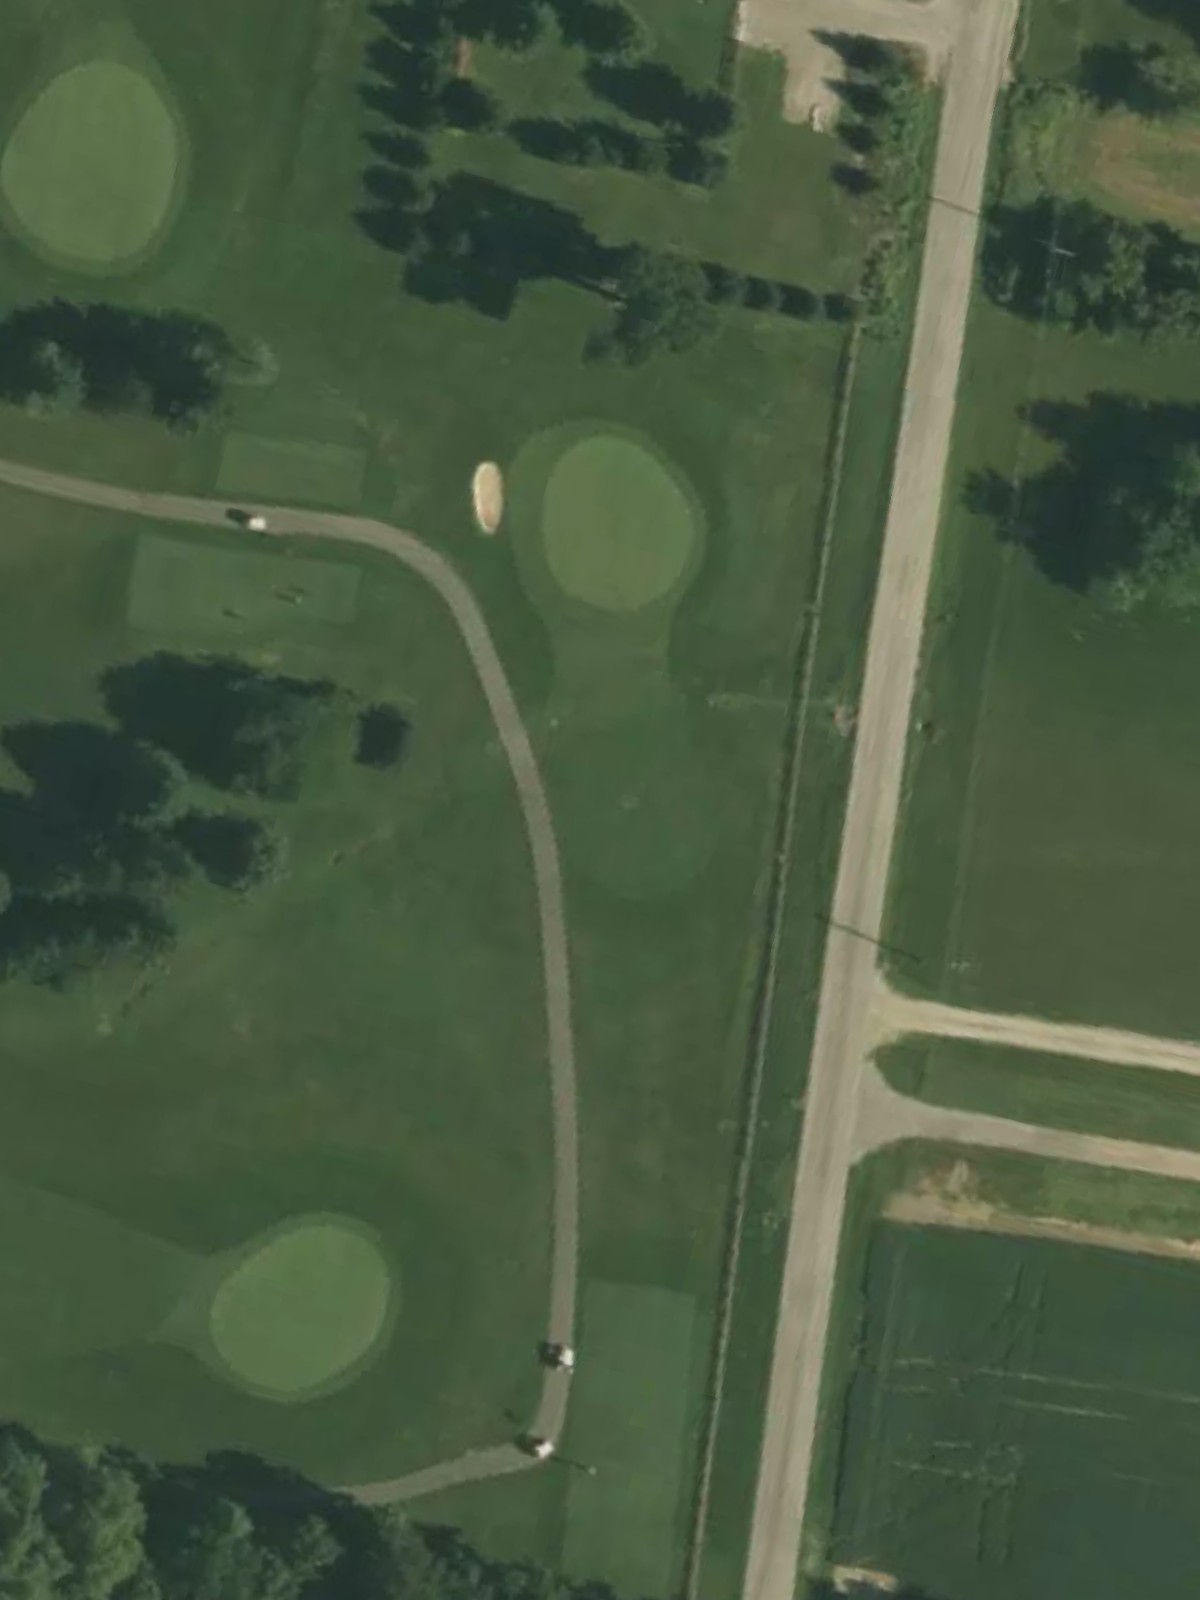
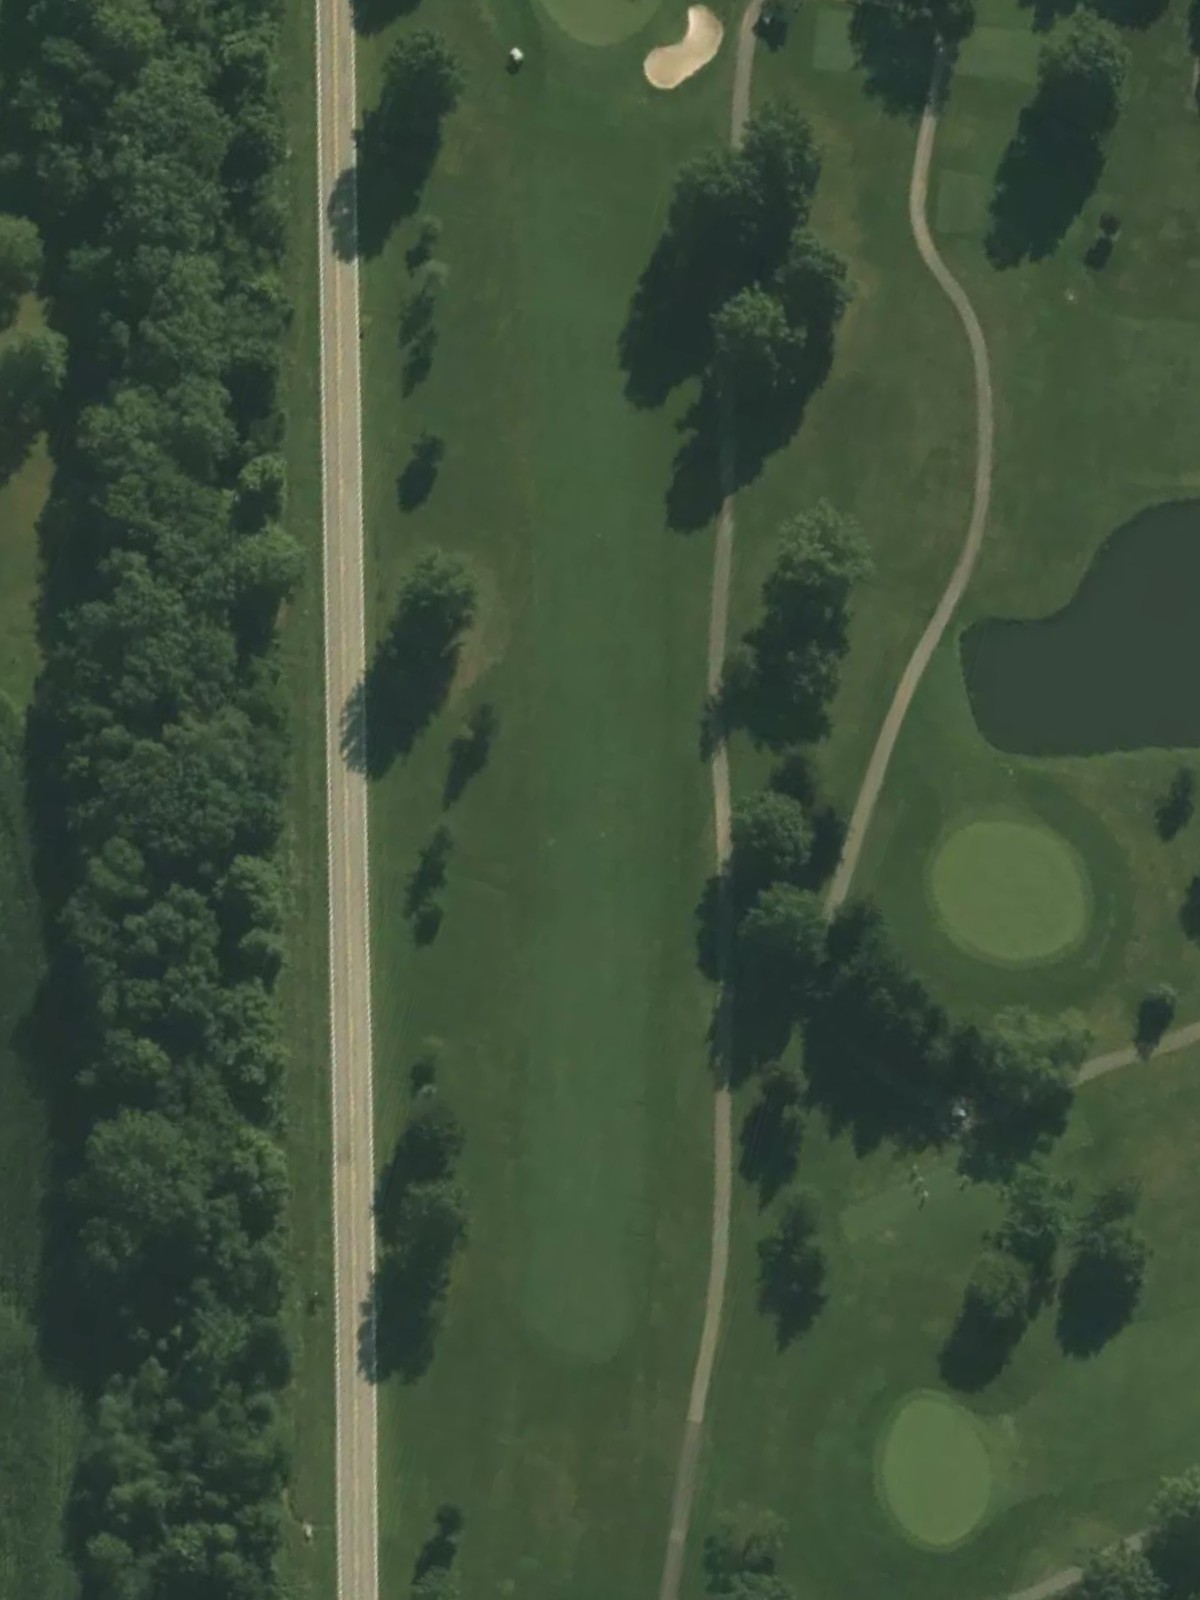
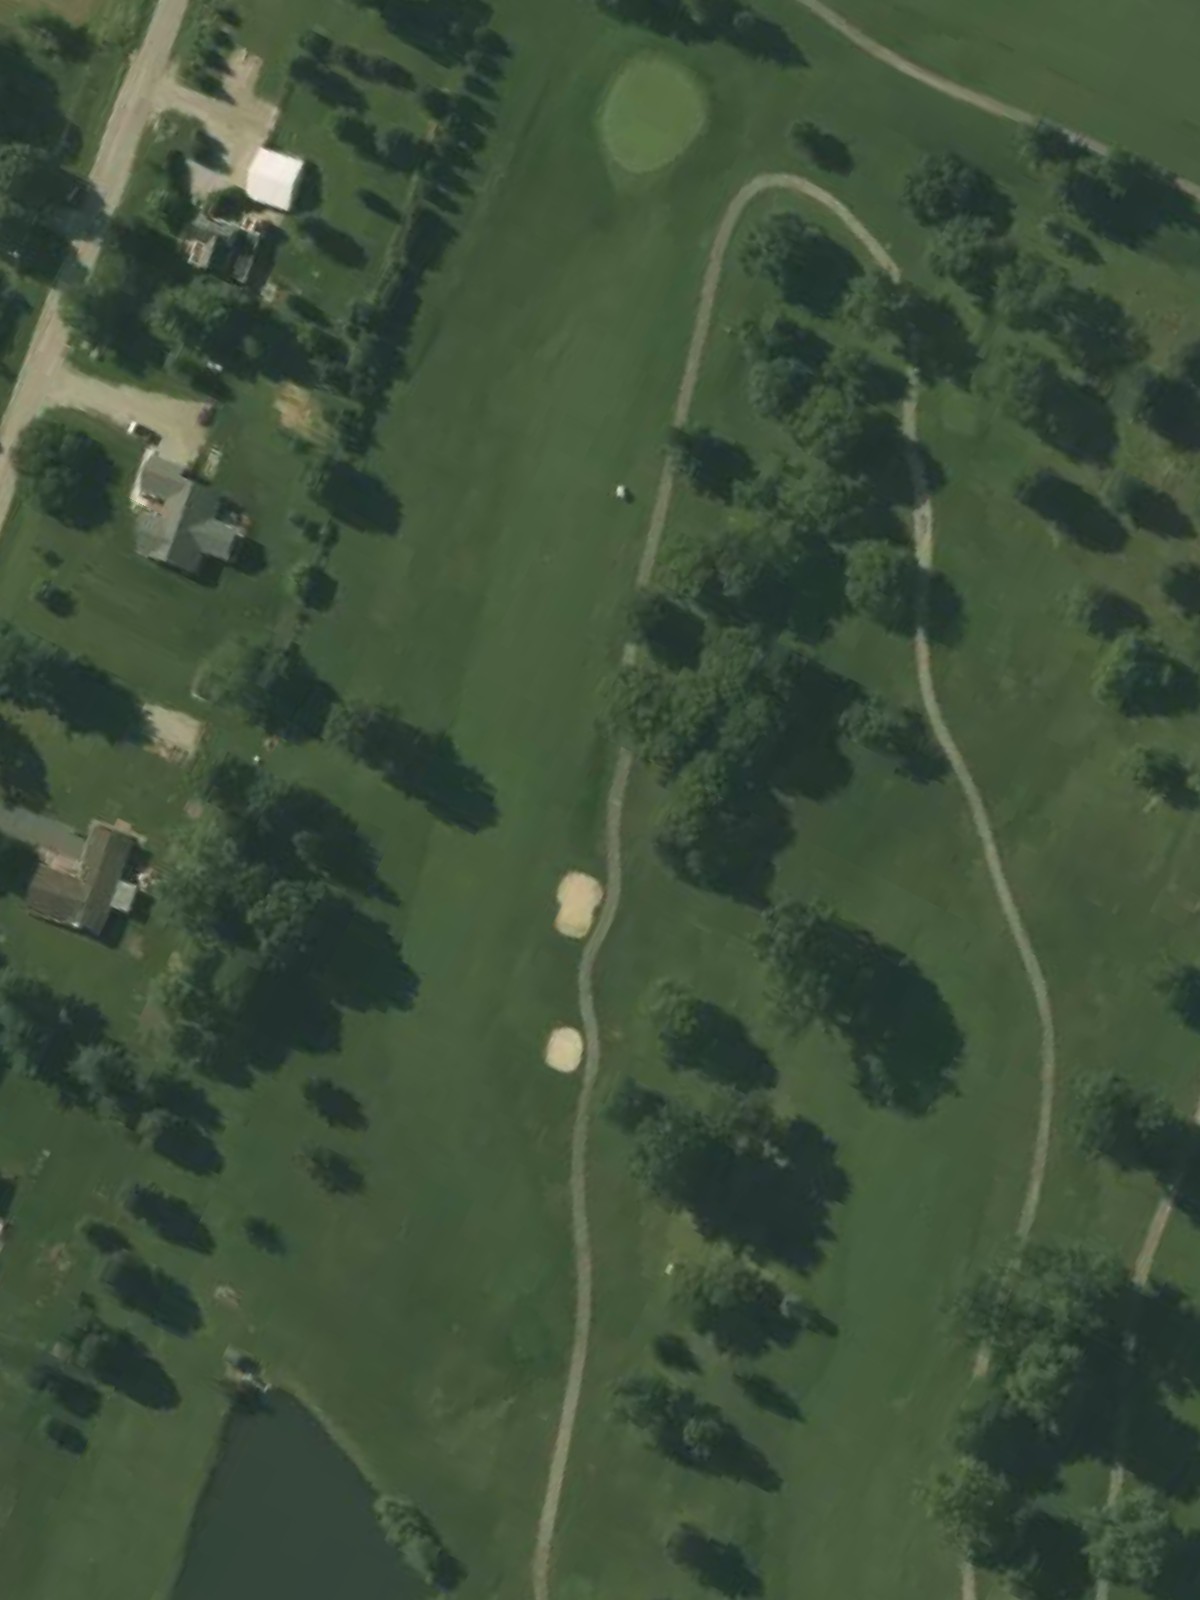
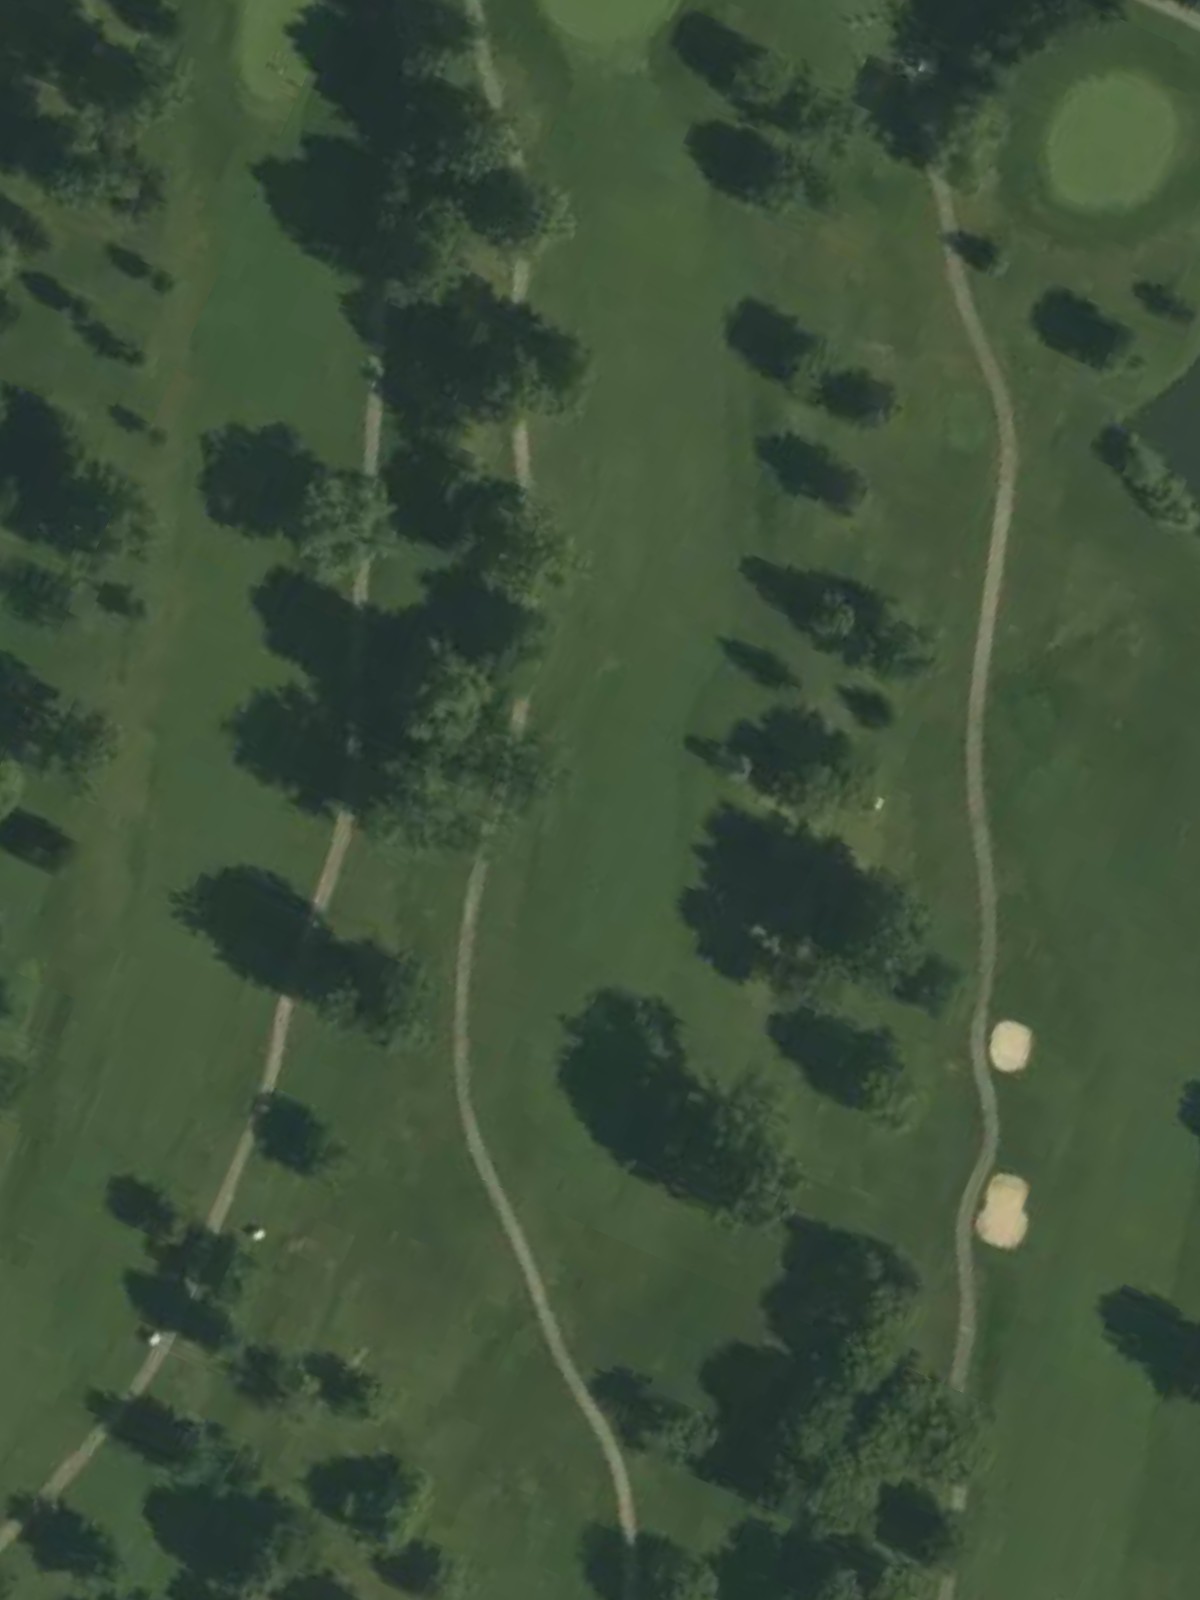
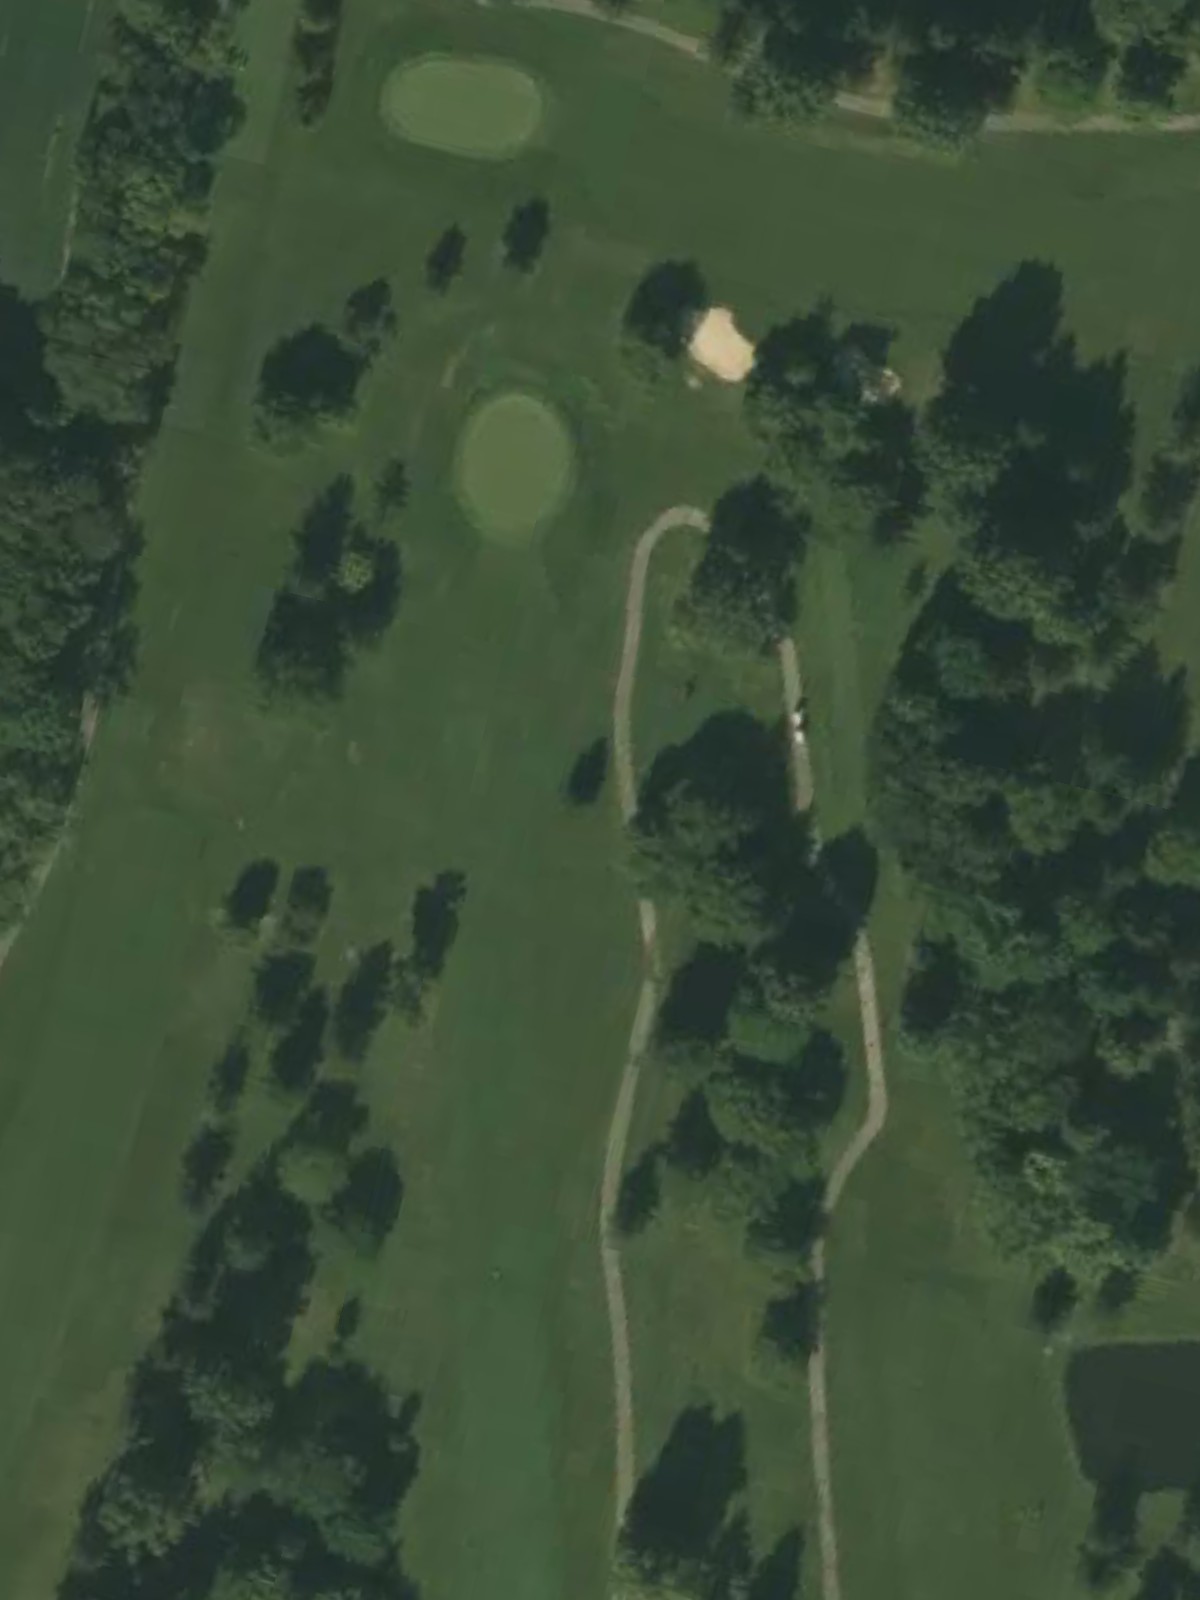
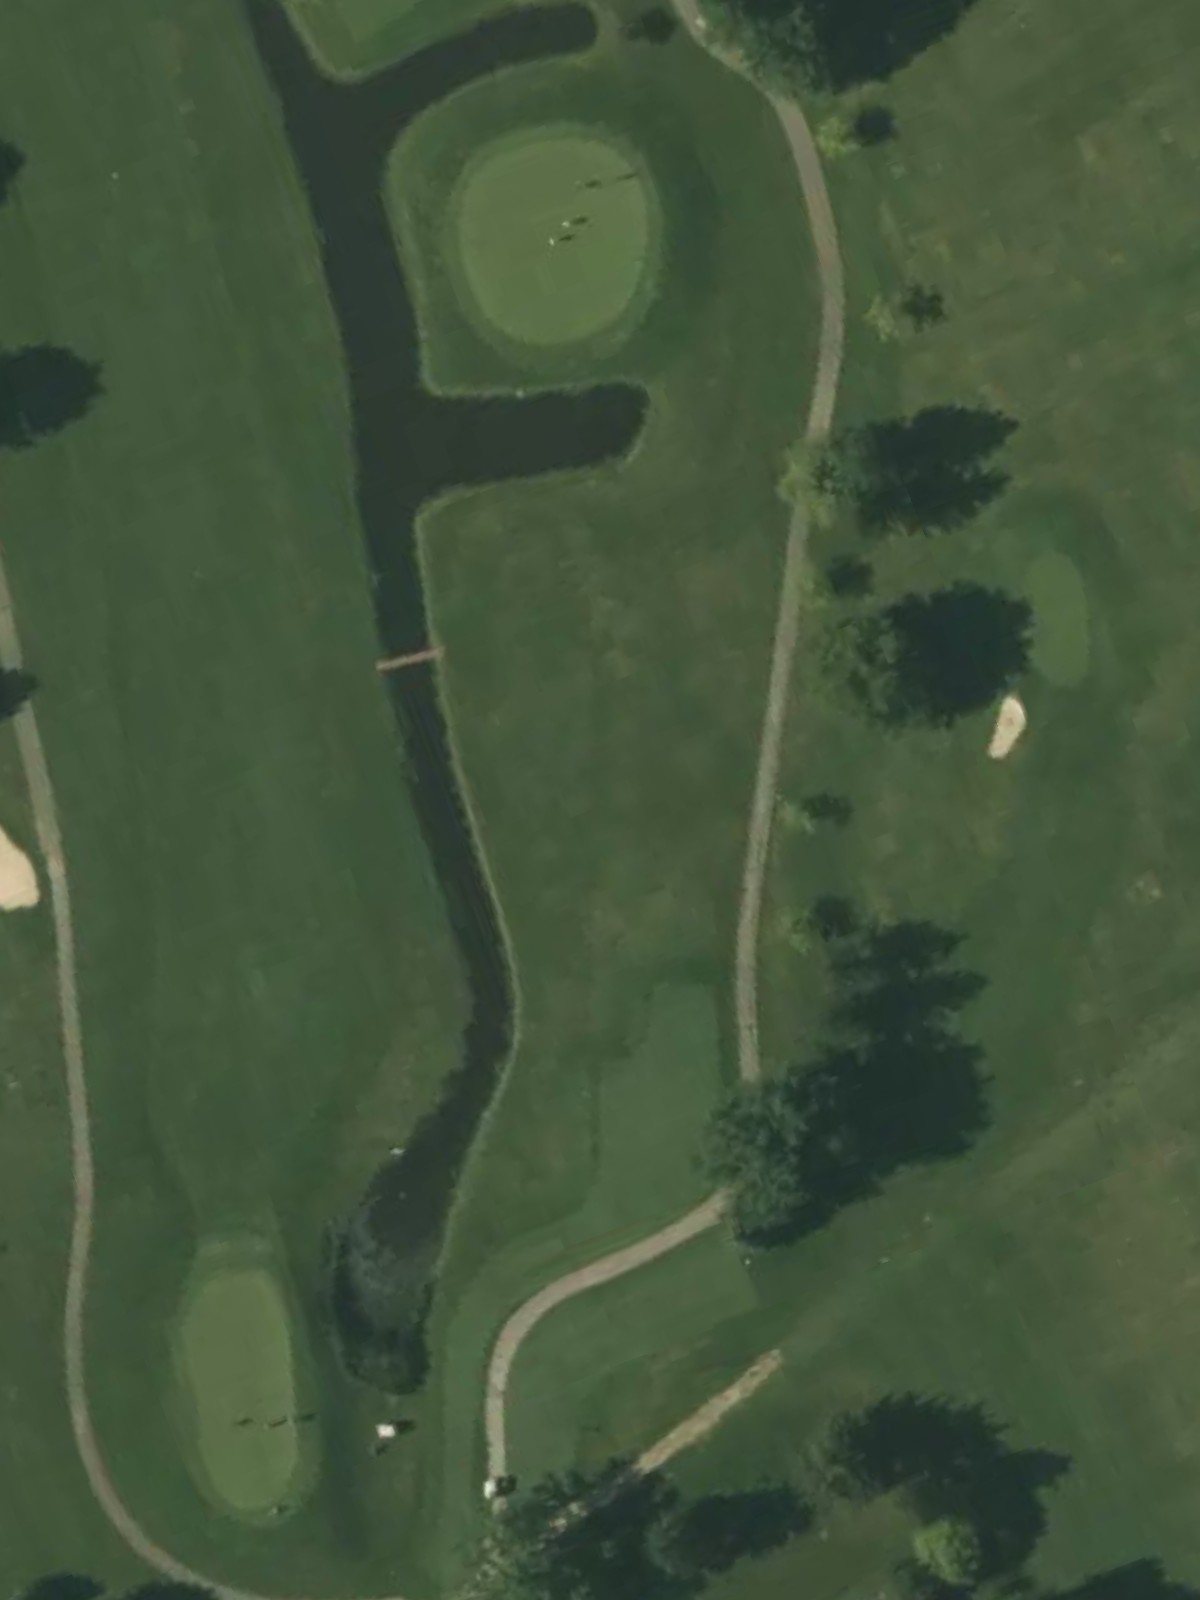
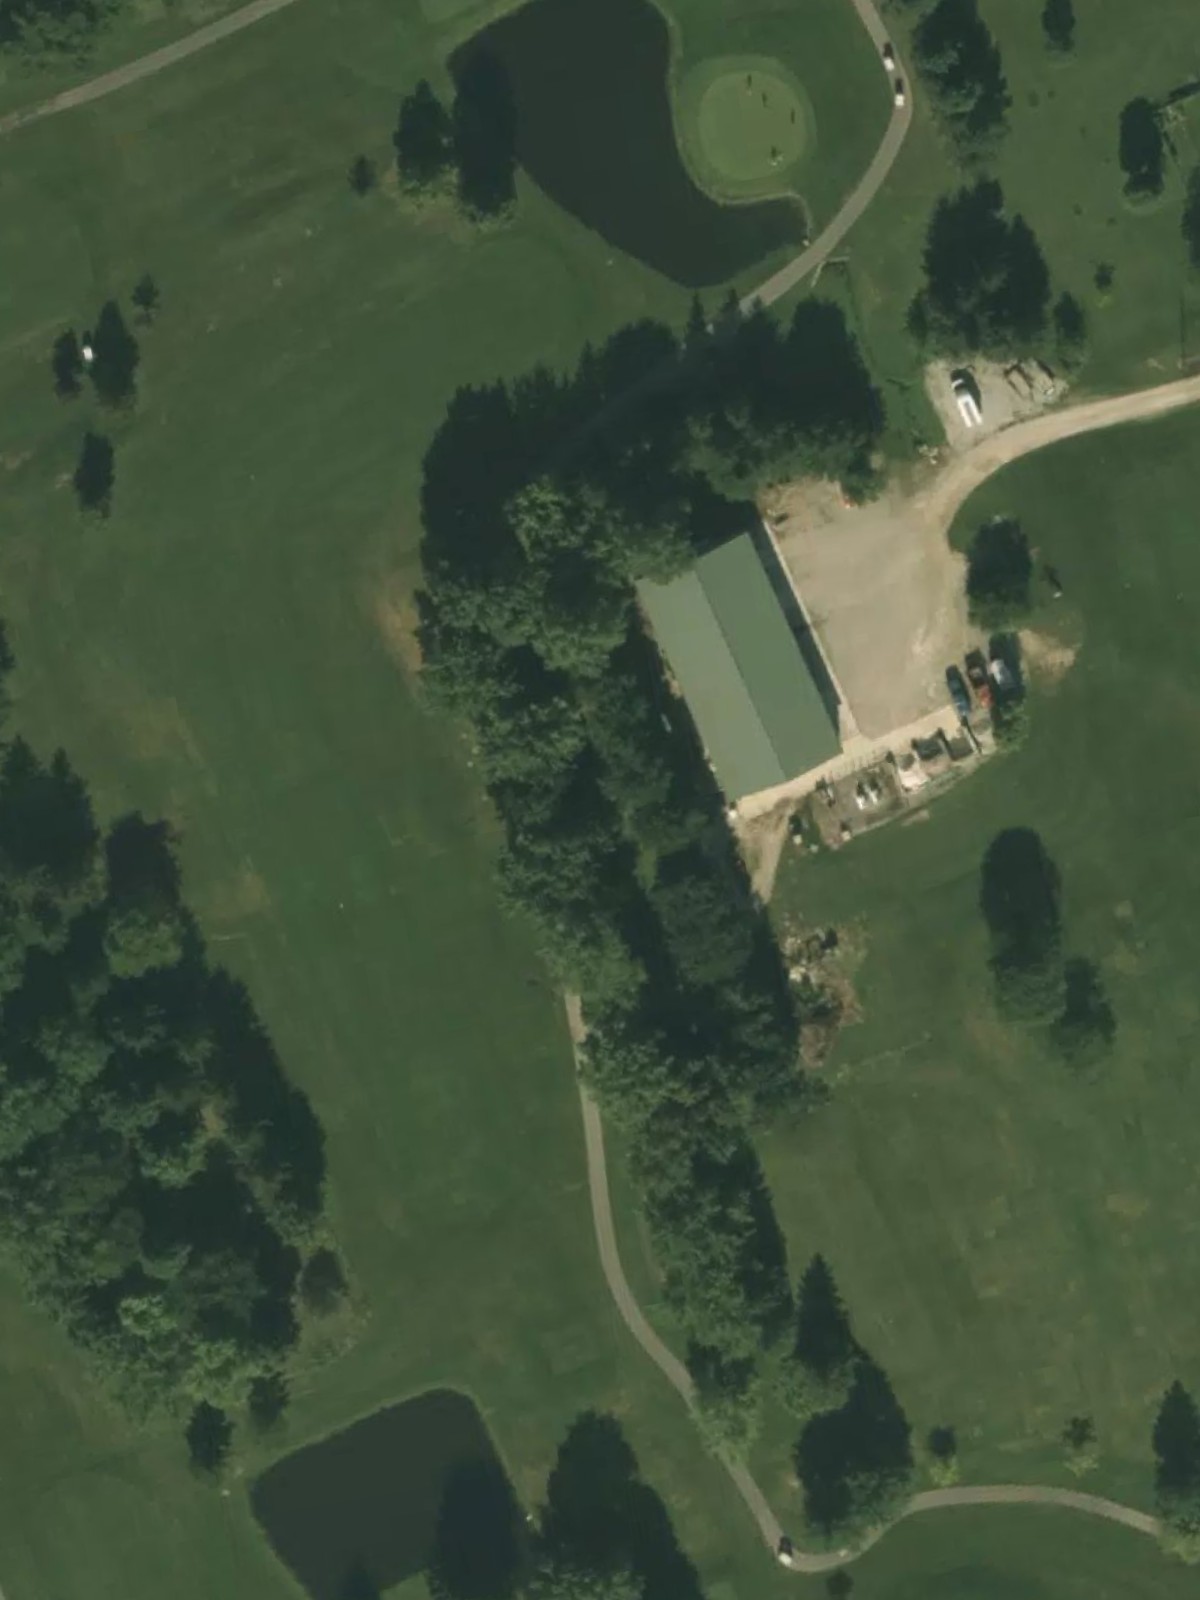
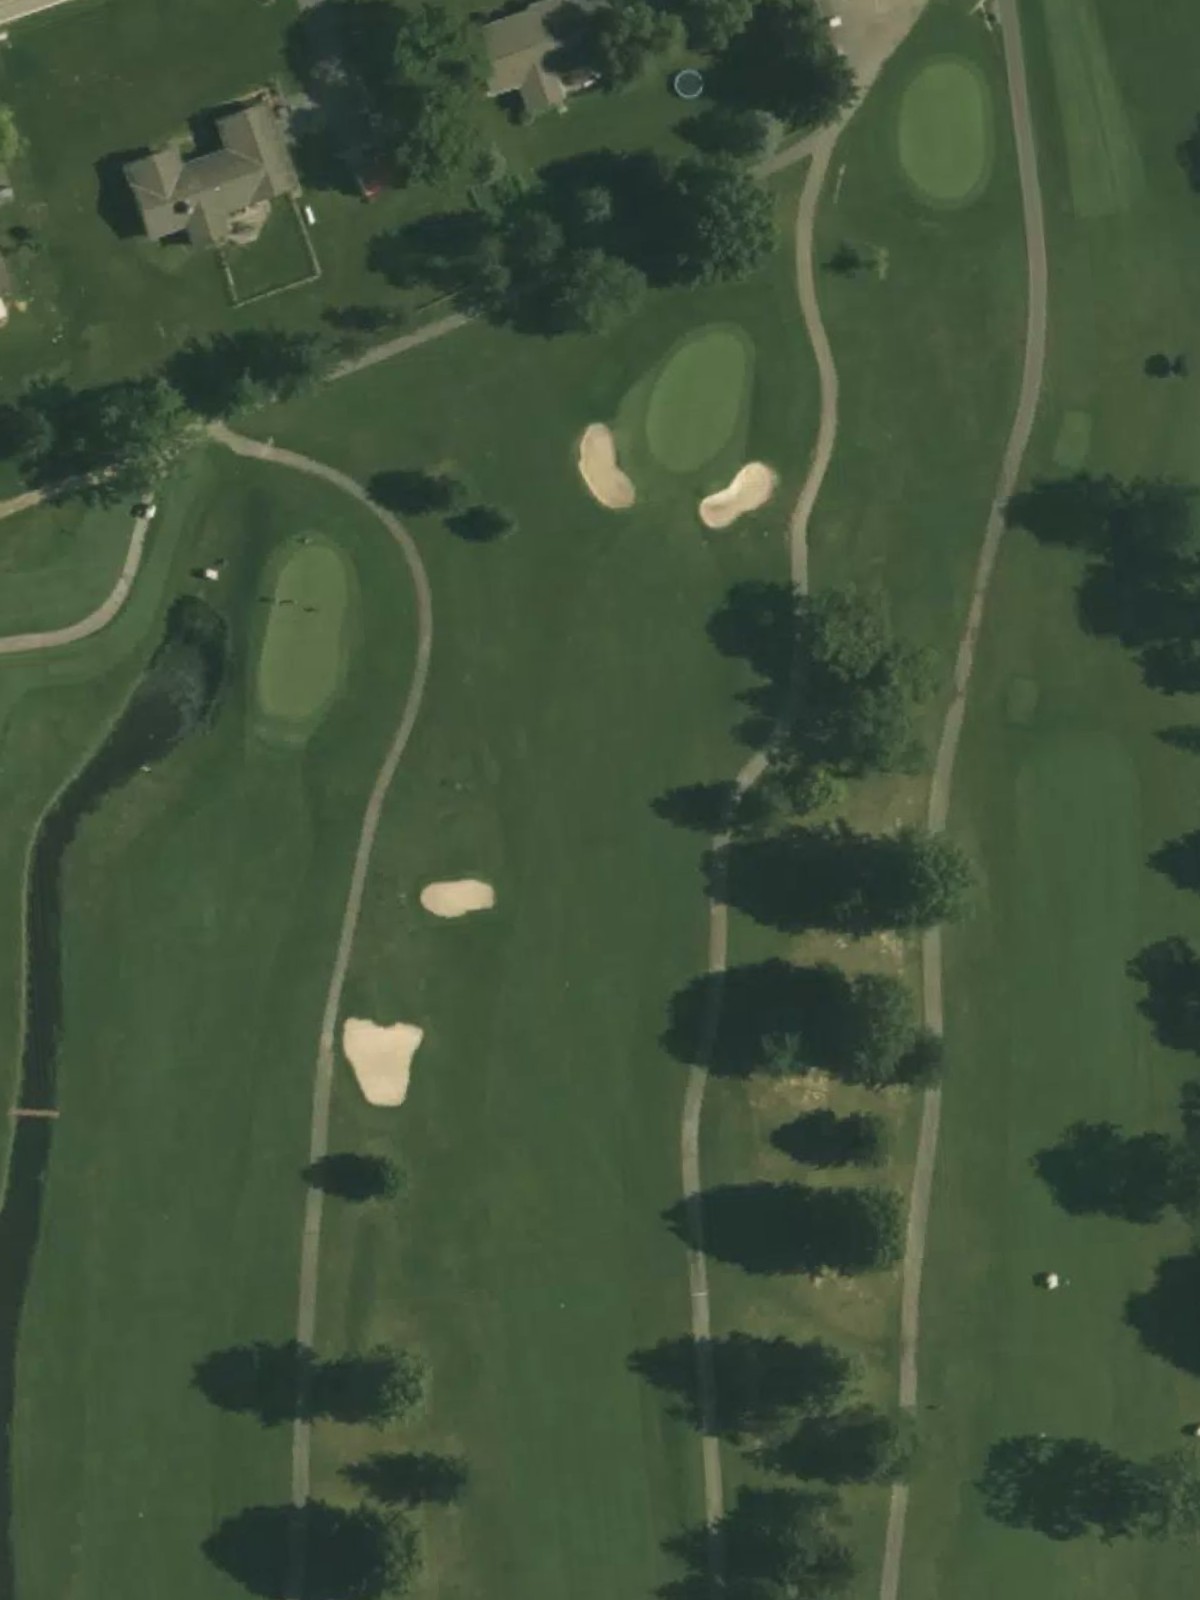
Mill Creek Golf Club is an 18-hole golf course in Ostrander, OH with a par of 72. It offers 3 tee sets: black (6,310 yards, slope 120, rating 70), white (5,960 yards, slope 116, rating 68.7), gold (5,090 yards, slope 102, rating 64.6). The hardest hole is #8, a par 4 playing 330 yards from the first tee.
Mill Creek Golf Club
Ostrander, OH
Get PDF Yardage Book
We'll email you the PDF link. No spam, ever.
Create Your Game Plan
Pick your tees, enter your bag, and get a personalized shot-by-shot strategy for every hole.
A demanding par 5 that plays longer from the back tees, this hole features a relatively straight routing with fairway bunkers positioned to catch wayward drives. Water hazards and strategic bunkering near the green require precision on the approach shot.

A short par 4 with a narrow landing area that demands accuracy off the tee. Bunkers and rough frame both sides of the fairway, making this a precision hole rather than a power hole.
A short par 3 that plays downhill to a receptive green with minimal hazards. This straightforward hole provides an opportunity to make a birdie early in the round.

A short par 4 with a tight, tree-lined corridor from tee to green. The narrow fairway and close quarters make this an accuracy test despite the modest length.

A long par 5 that bends through the course with strategic bunkering along the fairway. The hole's length and potential water hazards make reaching the green in regulation a worthy achievement.
A mid-length par 4 with a straightforward layout but demanding approach. Greenside bunkers and rough frame the putting surface, penalizing inaccurate approach shots.
A mid-length par 3 with a significant elevation change and a well-bunkered green. The hole's varying yardages from different tees reflect the challenge of finding the correct distance.
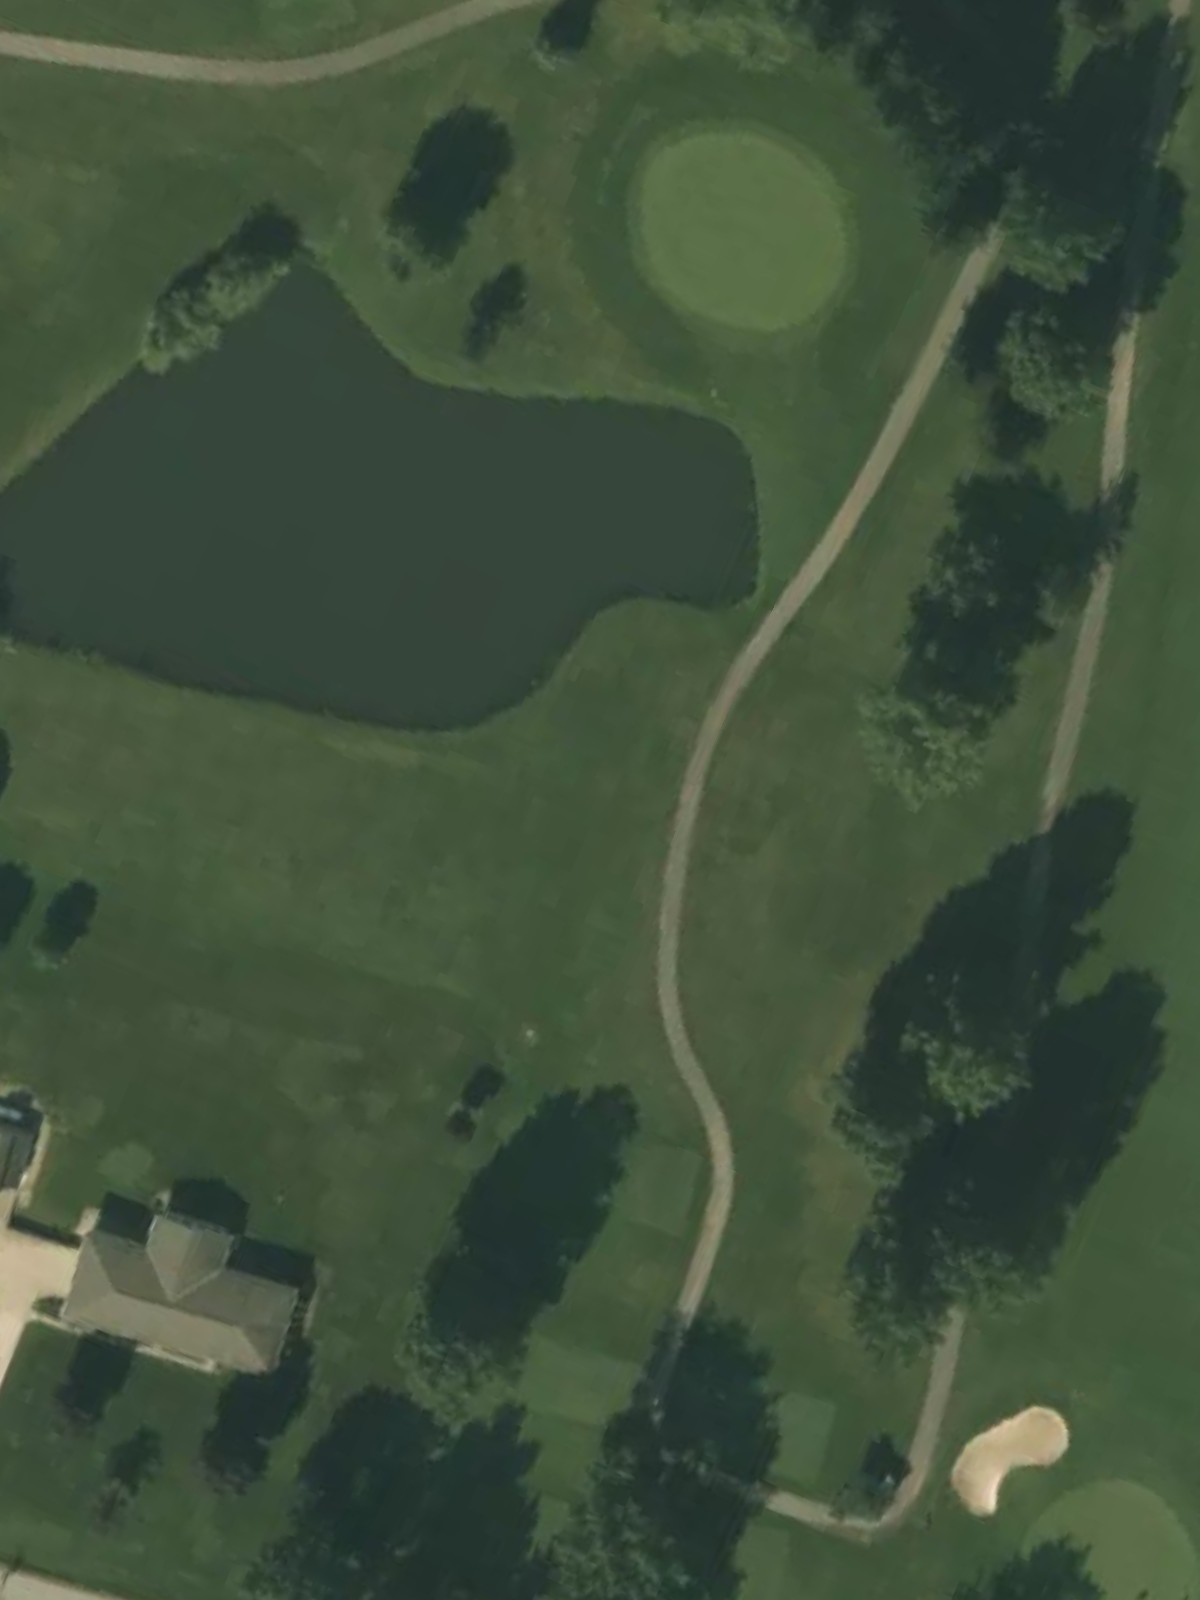
Mill Creek's signature hole, this difficult par 4 features a dramatic dogleg or significant hazard that dominates the routing. Water and bunkers combine to make this the course's most challenging test of skill.
A tough par 4 with strategic bunkering and potential water hazards that come into play on the approach. The hole's difficulty ranking reflects a combination of length, hazard placement, and green complexity.

The second-most difficult hole on the course, this par 4 presents a significant challenge with hazards guarding the fairway and green. Length and accuracy are both essential to score well here.
A mid-length par 4 with a relatively open fairway but a well-protected green. Bunkers and surrounding rough demand a precise approach shot to access scoring opportunities.

A long par 5 that provides opportunities for aggressive play, though bunkers and potential hazards reward strategic positioning. The hole's layout encourages varied approaches depending on player ability.
A very short par 3 with a generous green and minimal hazards. This hole offers the best birdie opportunity on the back nine for accurate tee shots.
A mid-length par 4 that features a dramatic shape—likely a dogleg or severe bend—that influences club selection and strategy. Fairway bunkers and green-side hazards reward solid, well-positioned shots.

A short par 4 that plays easier than its yardage might suggest, making it an opportunity hole despite its high handicap ranking. The hole's design creates challenges that may not be immediately obvious from the tee.

The fourth-most difficult hole on the course, this long par 5 demands distance and precision throughout. Water, bunkers, and rough combine to make this an intimidating test over the course's full length.

A mid-length par 3 with strategic hazard placement that requires careful club selection. The bunkering and green complex create a satisfying short par test.
A finishing par 4 with moderate length but strategic complexity that provides a memorable conclusion to the round. Bunkers, rough, and potential hazards combine to test the golfer's mettle down the stretch.
Scorecard
| Hole | 1 | 2 | 3 | 4 | 5 | 6 | 7 | 8 | 9 | Out | 10 | 11 | 12 | 13 | 14 | 15 | 16 | 17 | 18 | In | Tot |
|---|---|---|---|---|---|---|---|---|---|---|---|---|---|---|---|---|---|---|---|---|---|
| Par | 5 | 4 | 3 | 4 | 5 | 4 | 3 | 4 | 4 | 36 | 4 | 4 | 5 | 3 | 4 | 4 | 5 | 3 | 4 | 36 | 72 |
| HCP | 3 | 7 | 15 | 17 | 9 | 13 | 11 | 1 | 5 | 2 | 12 | 14 | 10 | 6 | 18 | 4 | 8 | 16 | |||
| black | 510 | 400 | 135 | 310 | 520 | 340 | 185 | 420 | 375 | 3195 | 410 | 340 | 505 | 170 | 345 | 315 | 515 | 175 | 340 | 3115 | 6310 |
| white | 490 | 365 | 125 | 300 | 470 | 315 | 165 | 400 | 360 | 2990 | 390 | 330 | 485 | 150 | 330 | 310 | 485 | 160 | 330 | 2970 | 5960 |
| gold | 425 | 325 | 105 | 285 | 400 | 300 | 125 | 330 | 315 | 2610 | 325 | 310 | 415 | 100 | 270 | 245 | 400 | 130 | 285 | 2480 | 5090 |