Mid South Club is an 18-hole golf course in Pinehurst, NC with a par of 71. It offers 9 tee sets: gold tees (6,916 yards, slope 146, rating 73.8), blue tees (6,584 yards, slope 139, rating 72.1), blue/white hybrid (6,281 yards, slope 134, rating 70.8), white tees (6,115 yards, slope 132, rating 70), white/green hybrid (5,866 yards, slope 127, rating 69.1), green tees (5,591 yards, slope 122, rating 67.8), green/red hybrid (5,215 yards, slope 119, rating 66.1), red tees (4,731 yards, slope 113, rating 63.9), purple tees (4,136 yards, slope 109, rating 61.5). The hardest hole is #12, a par 4 playing 345 yards from the first tee.
Mid South Club
Pinehurst, NC
Get PDF Yardage Book
We'll email you the PDF link. No spam, ever.
Create Your Game Plan
Pick your tees, enter your bag, and get a personalized shot-by-shot strategy for every hole.
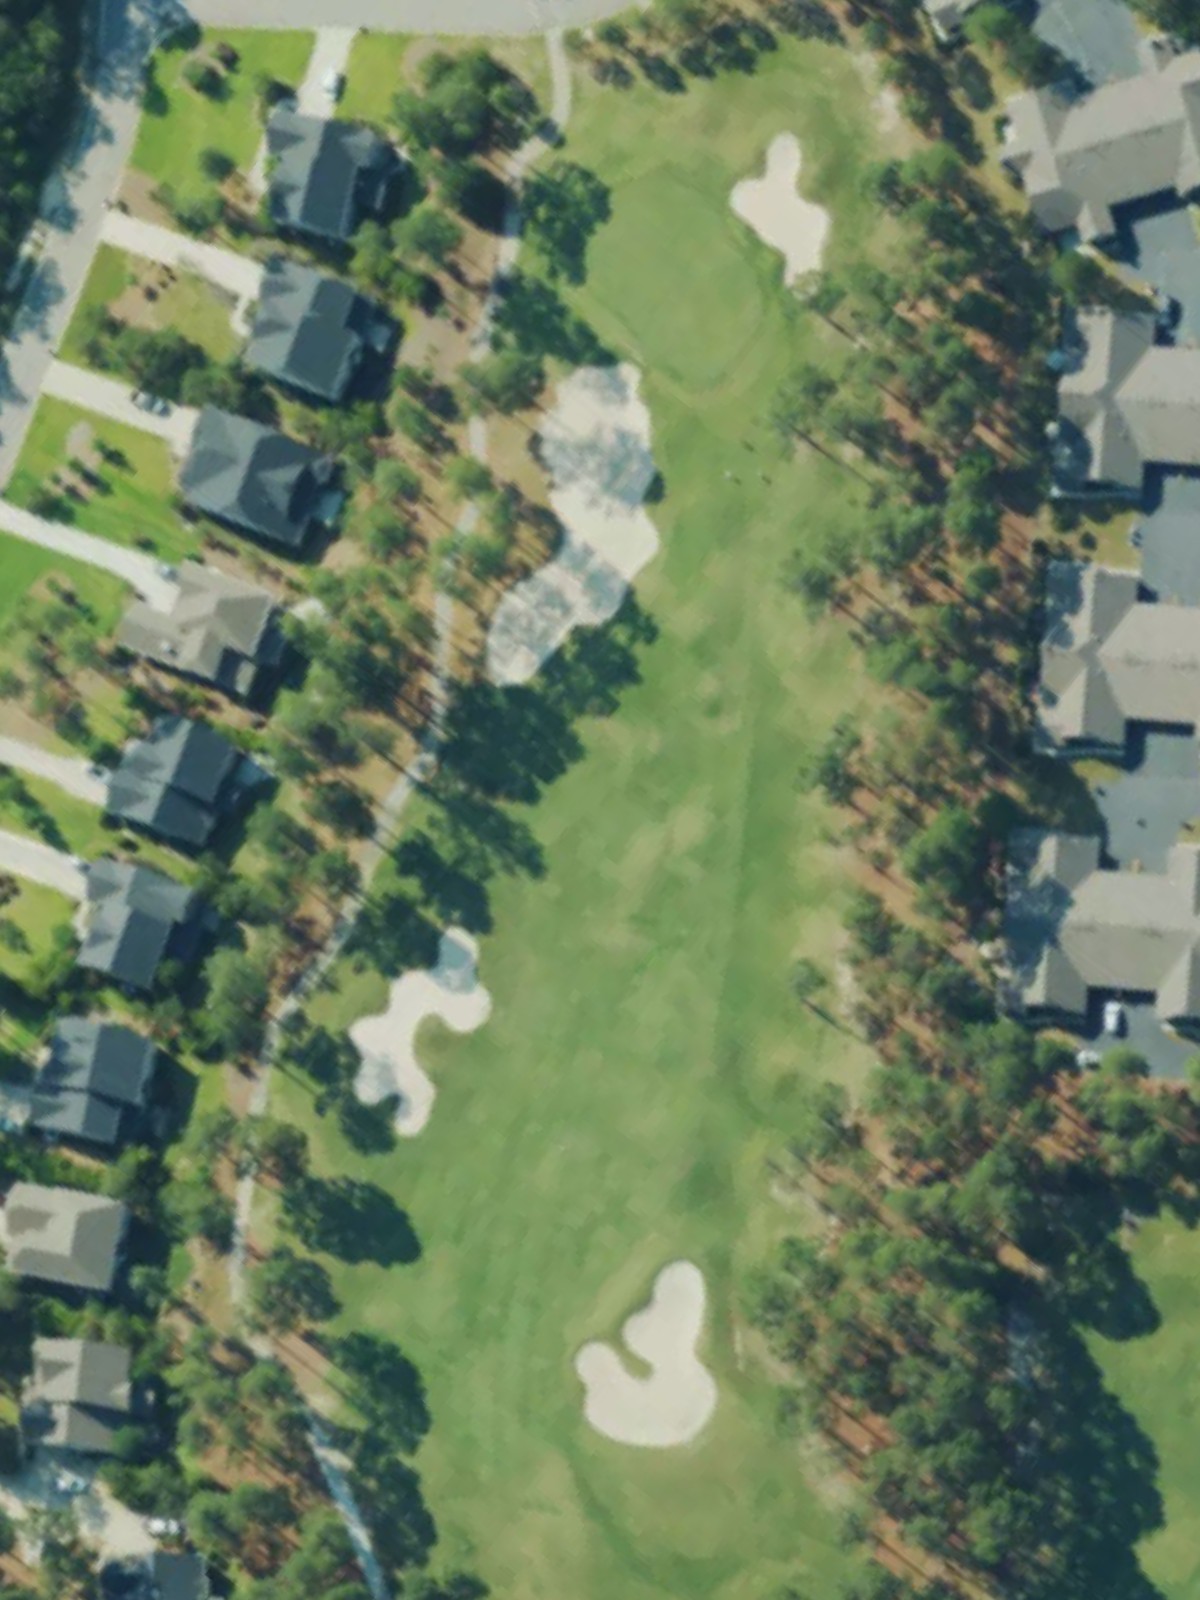
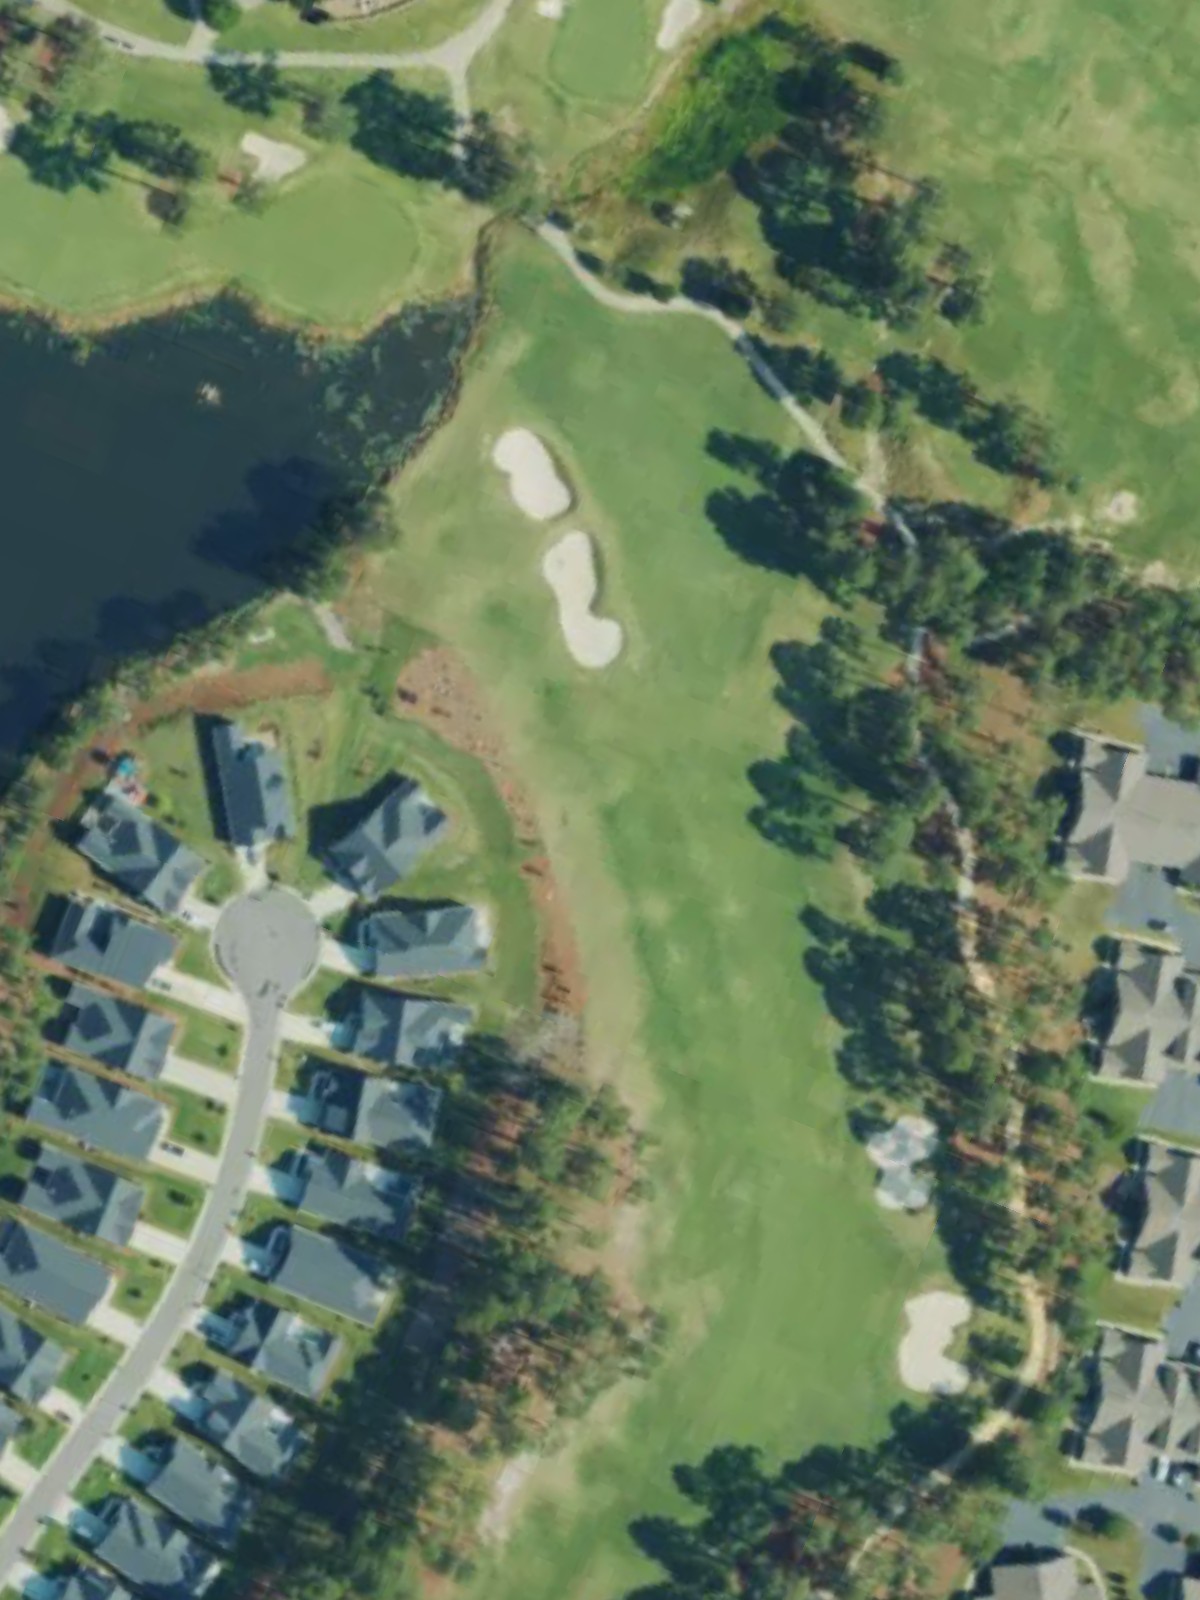
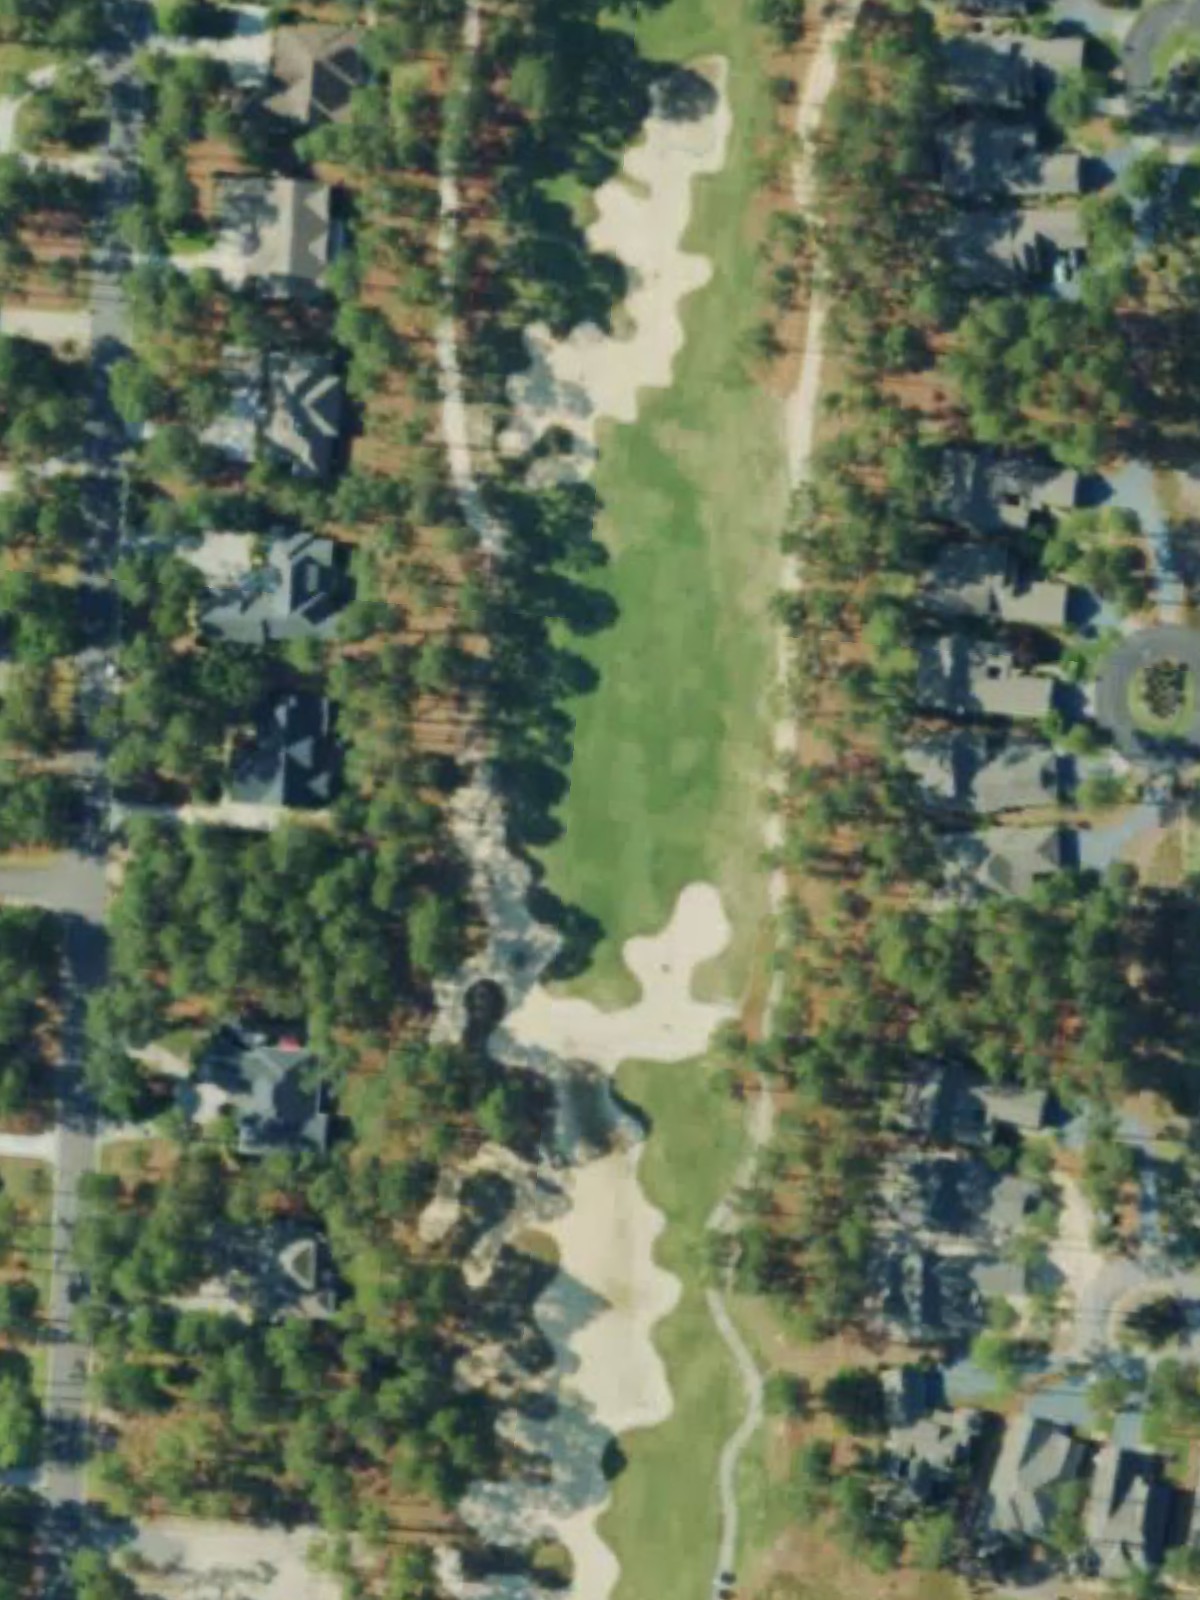
A straightforward par 4 with a wide-open fairway that invites an aggressive start. The green is well-guarded by bunkers on the right, making accuracy on the approach shot critical to securing par.
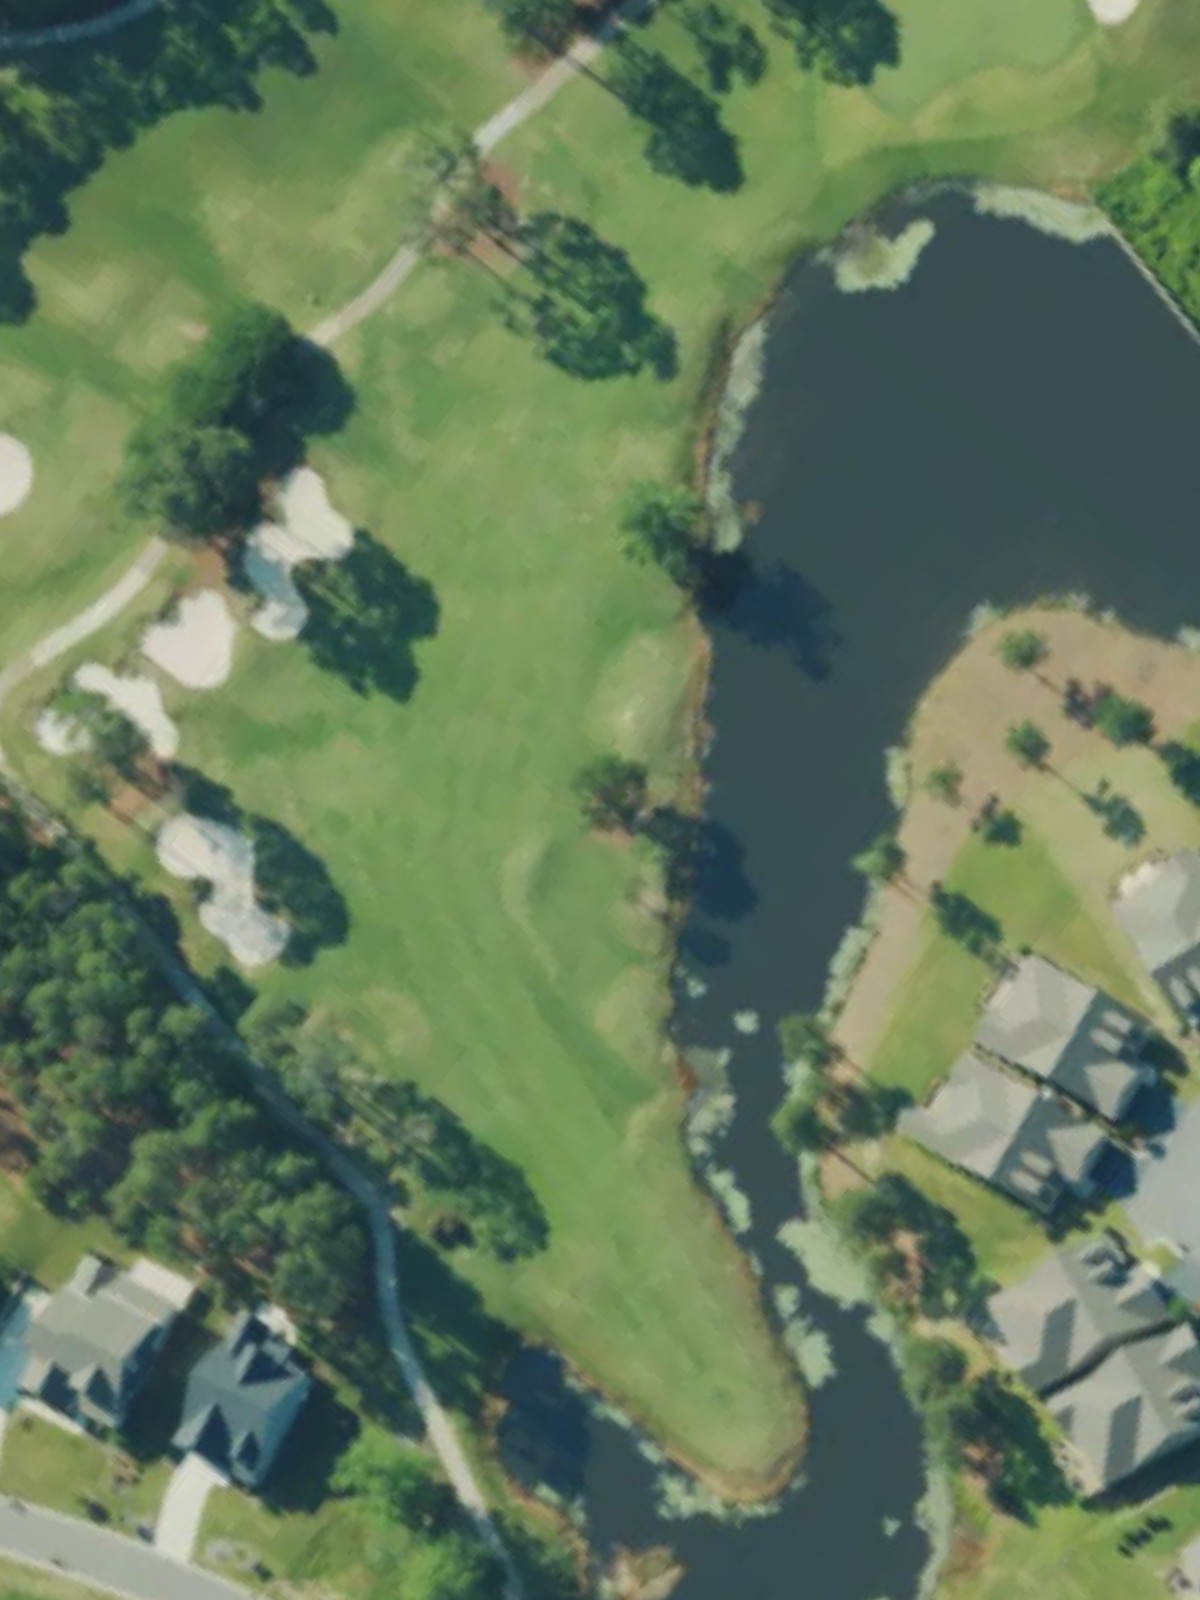
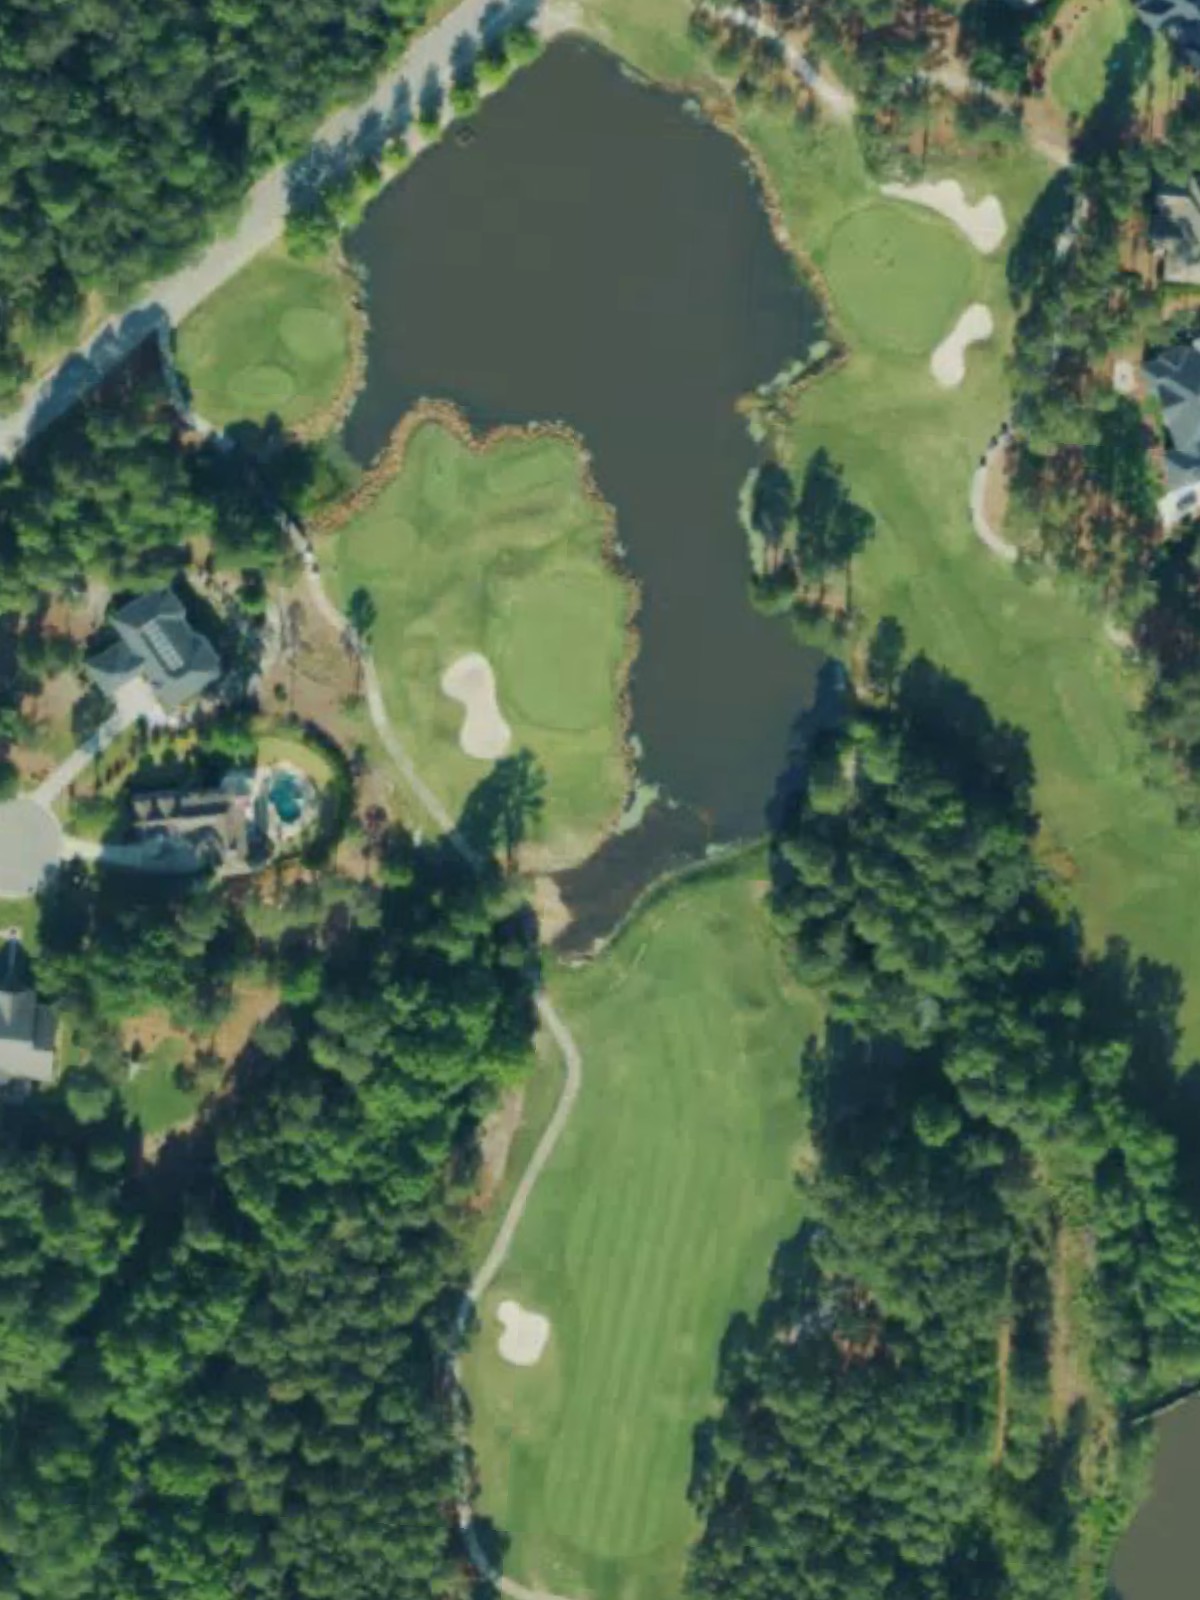
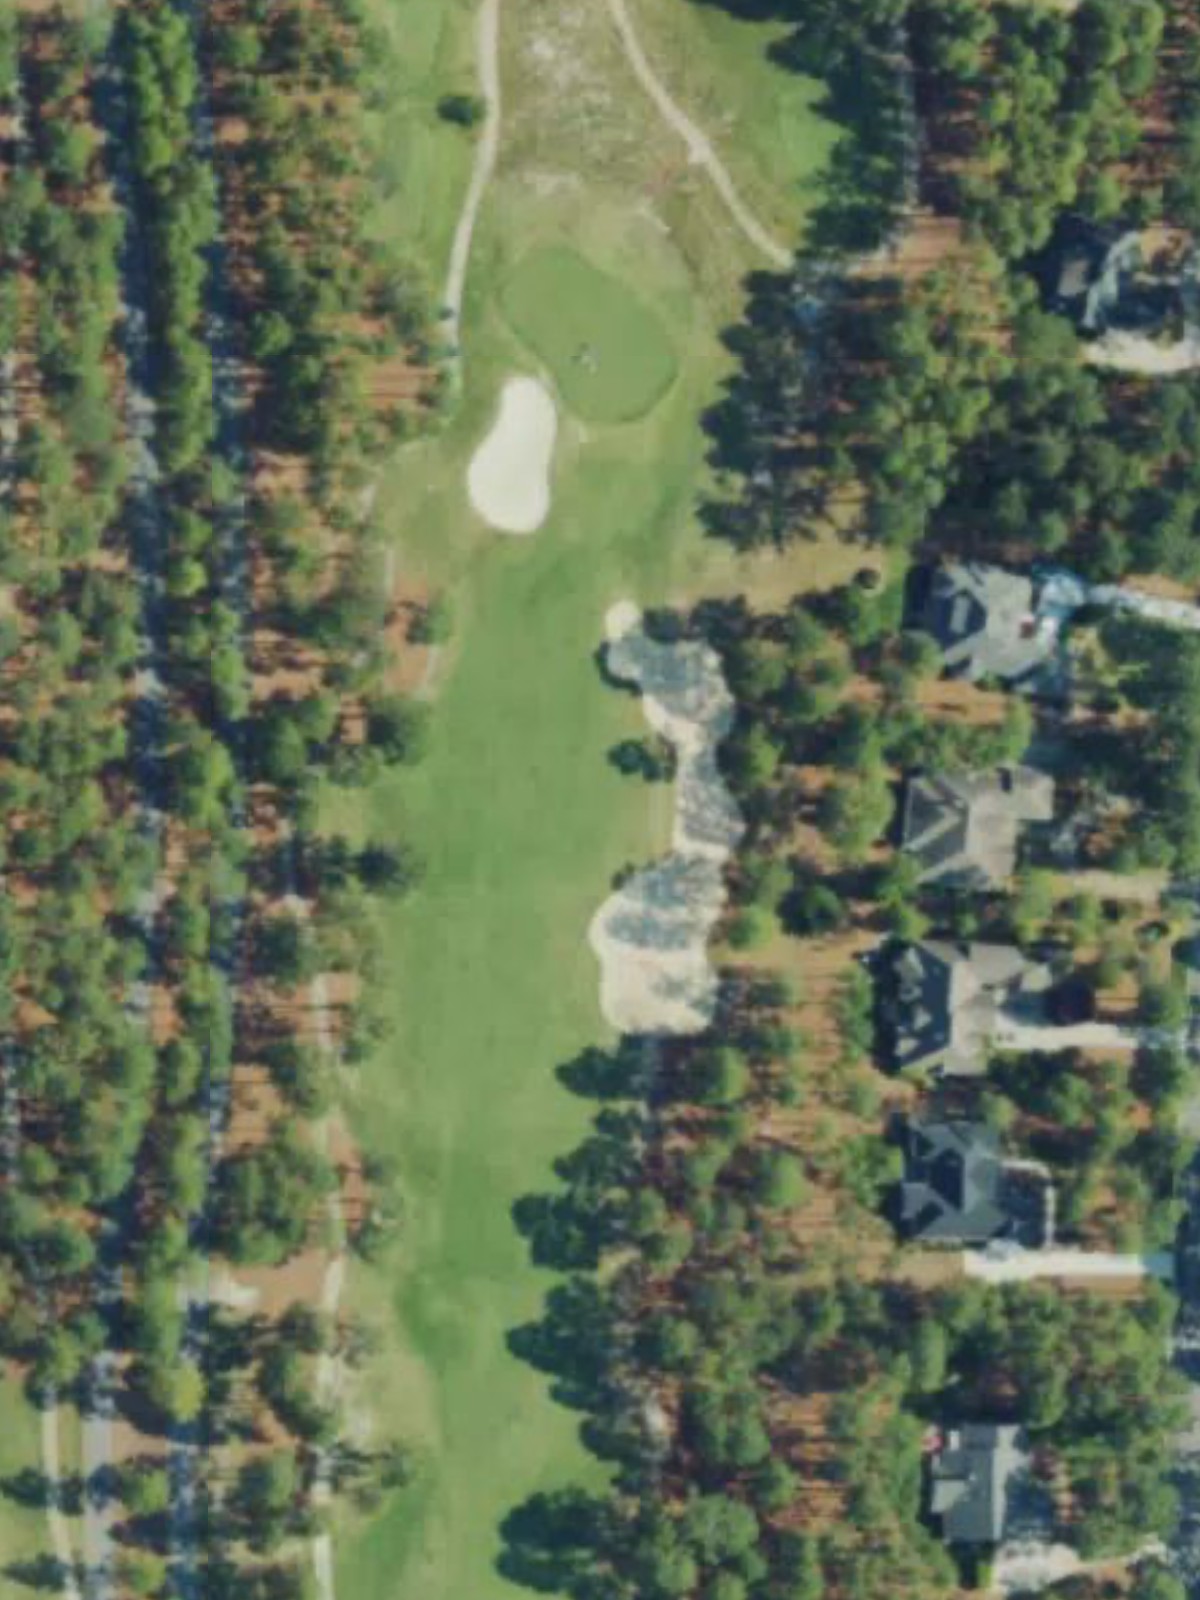
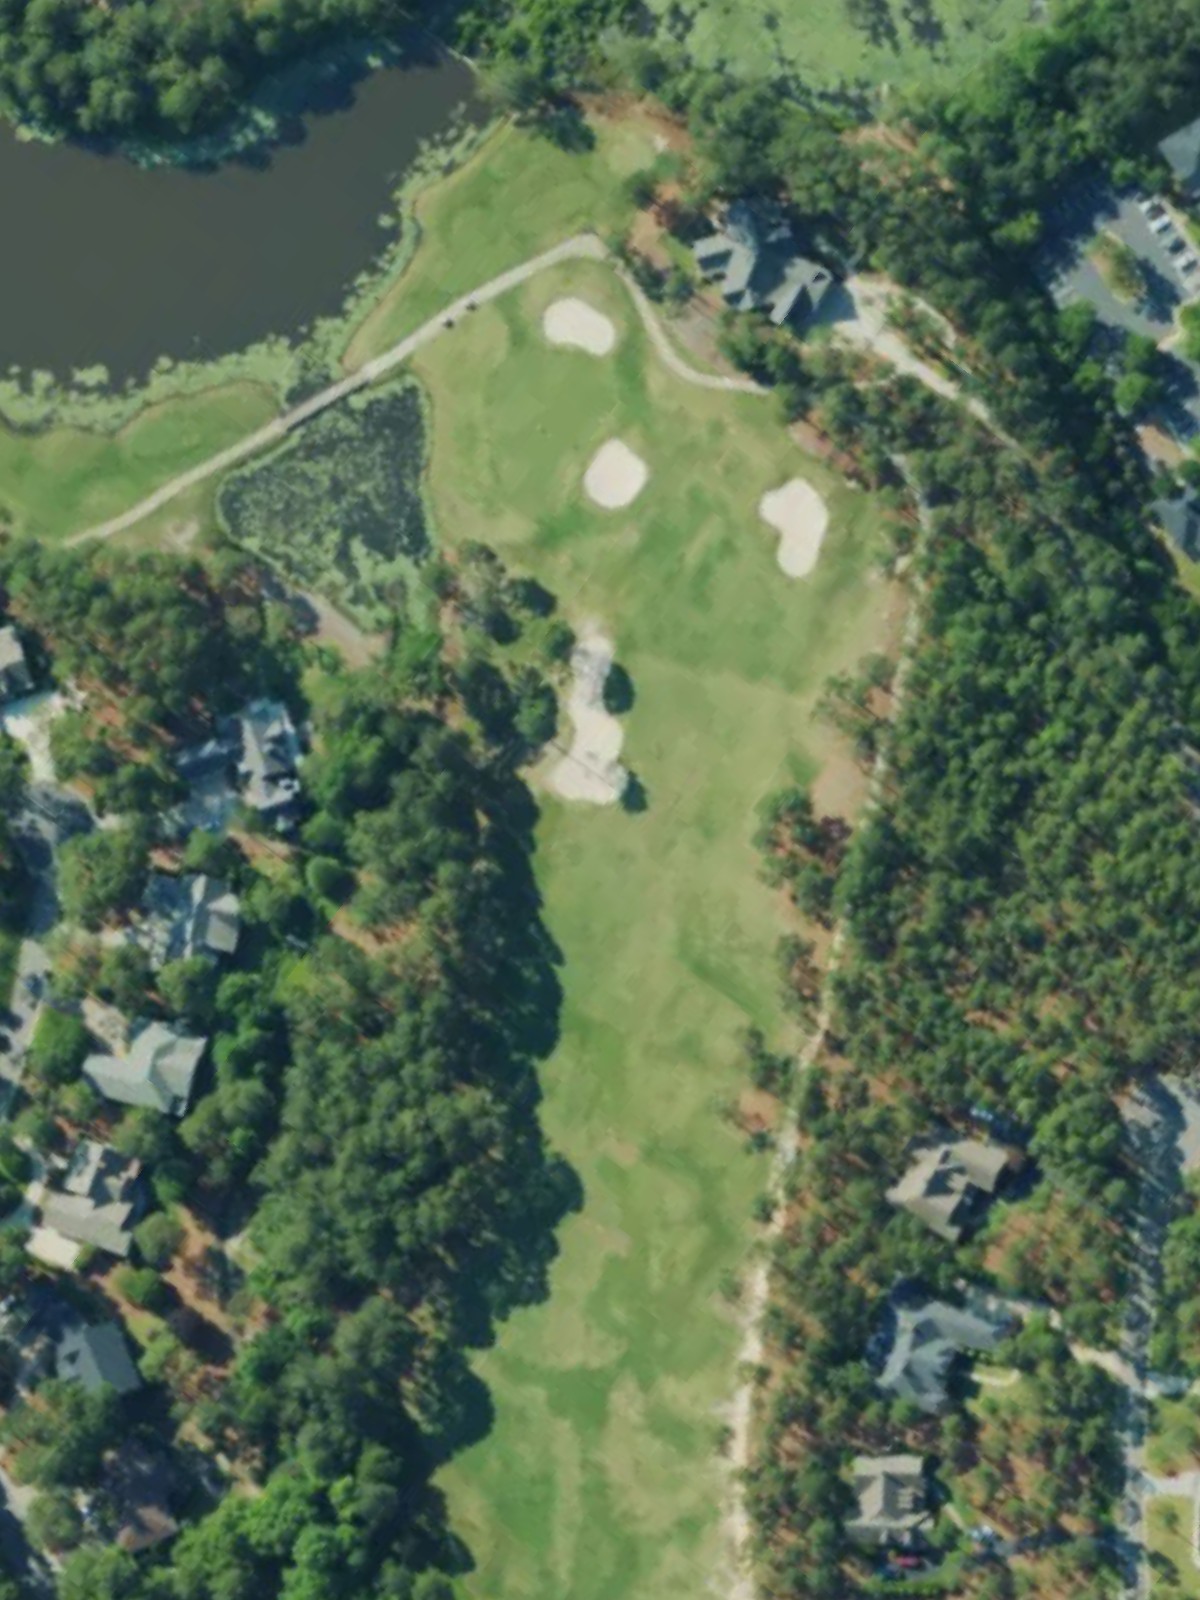
A demanding par 4 that ranks among the course's most difficult holes. Water and hazards threaten the left side throughout, requiring a precise tee shot to set up a manageable approach to a well-protected green.
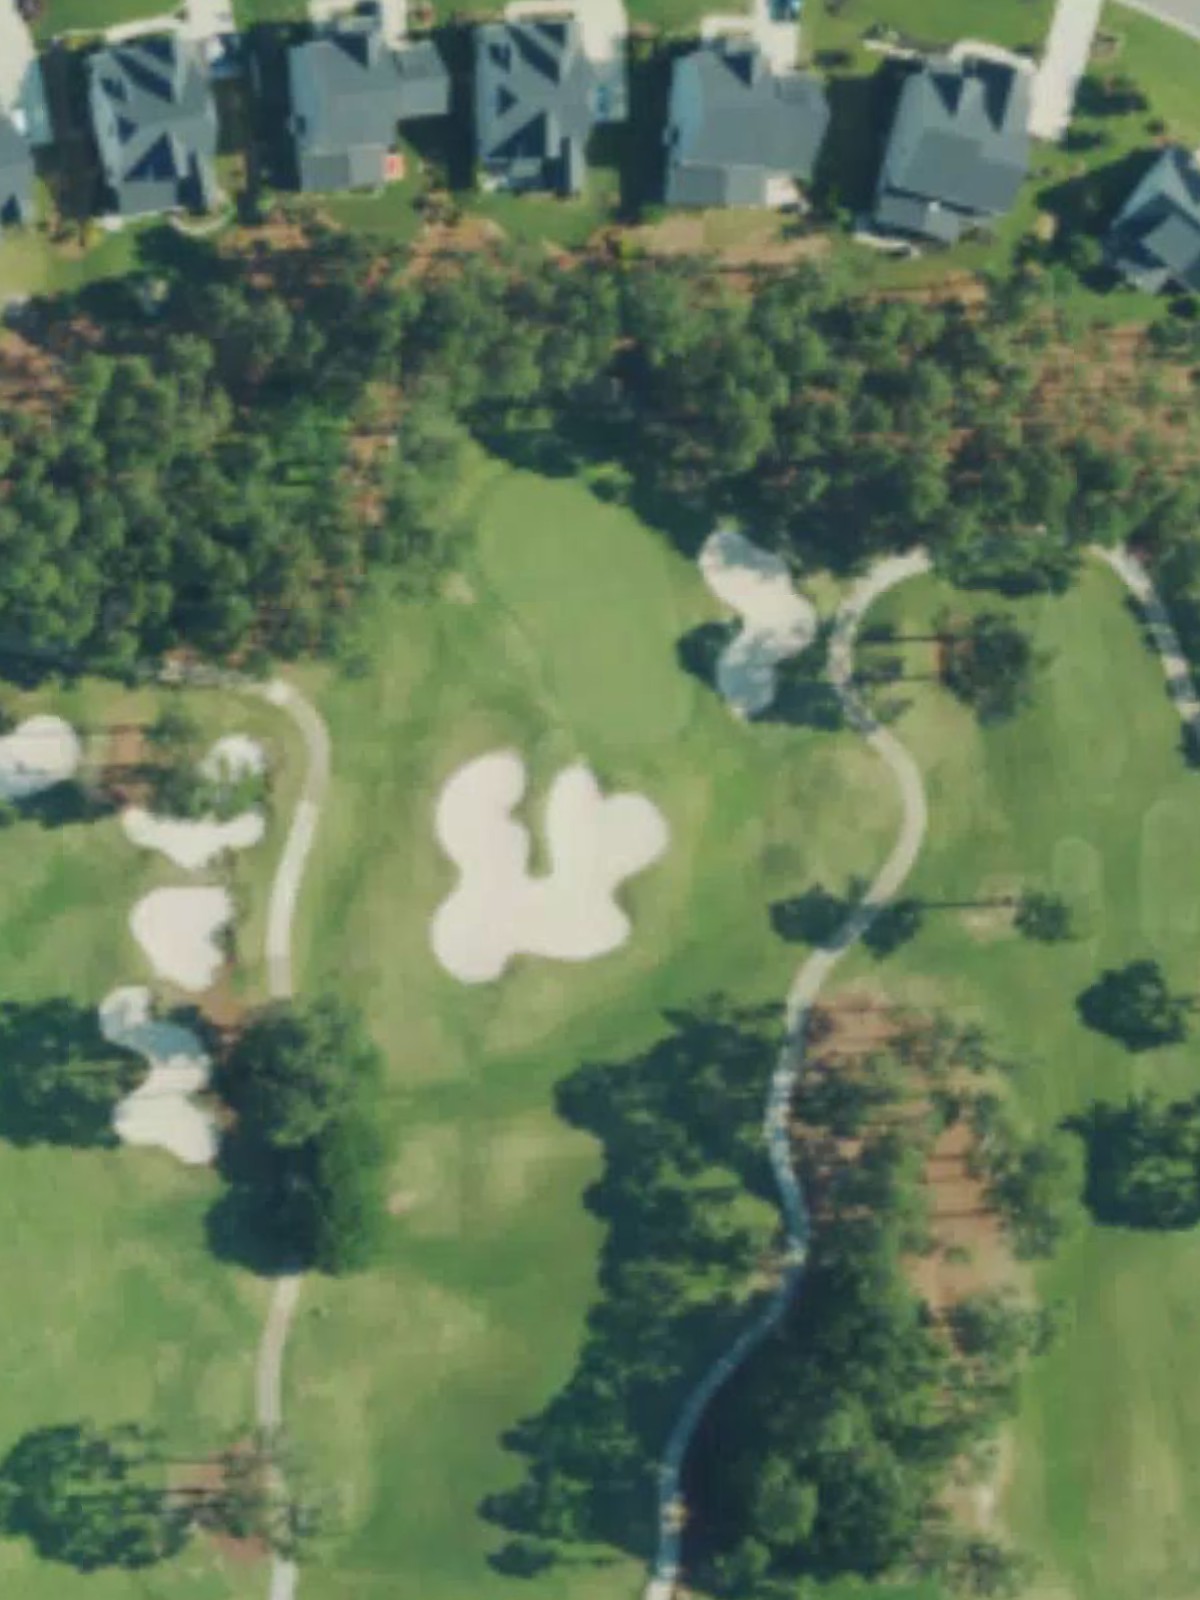
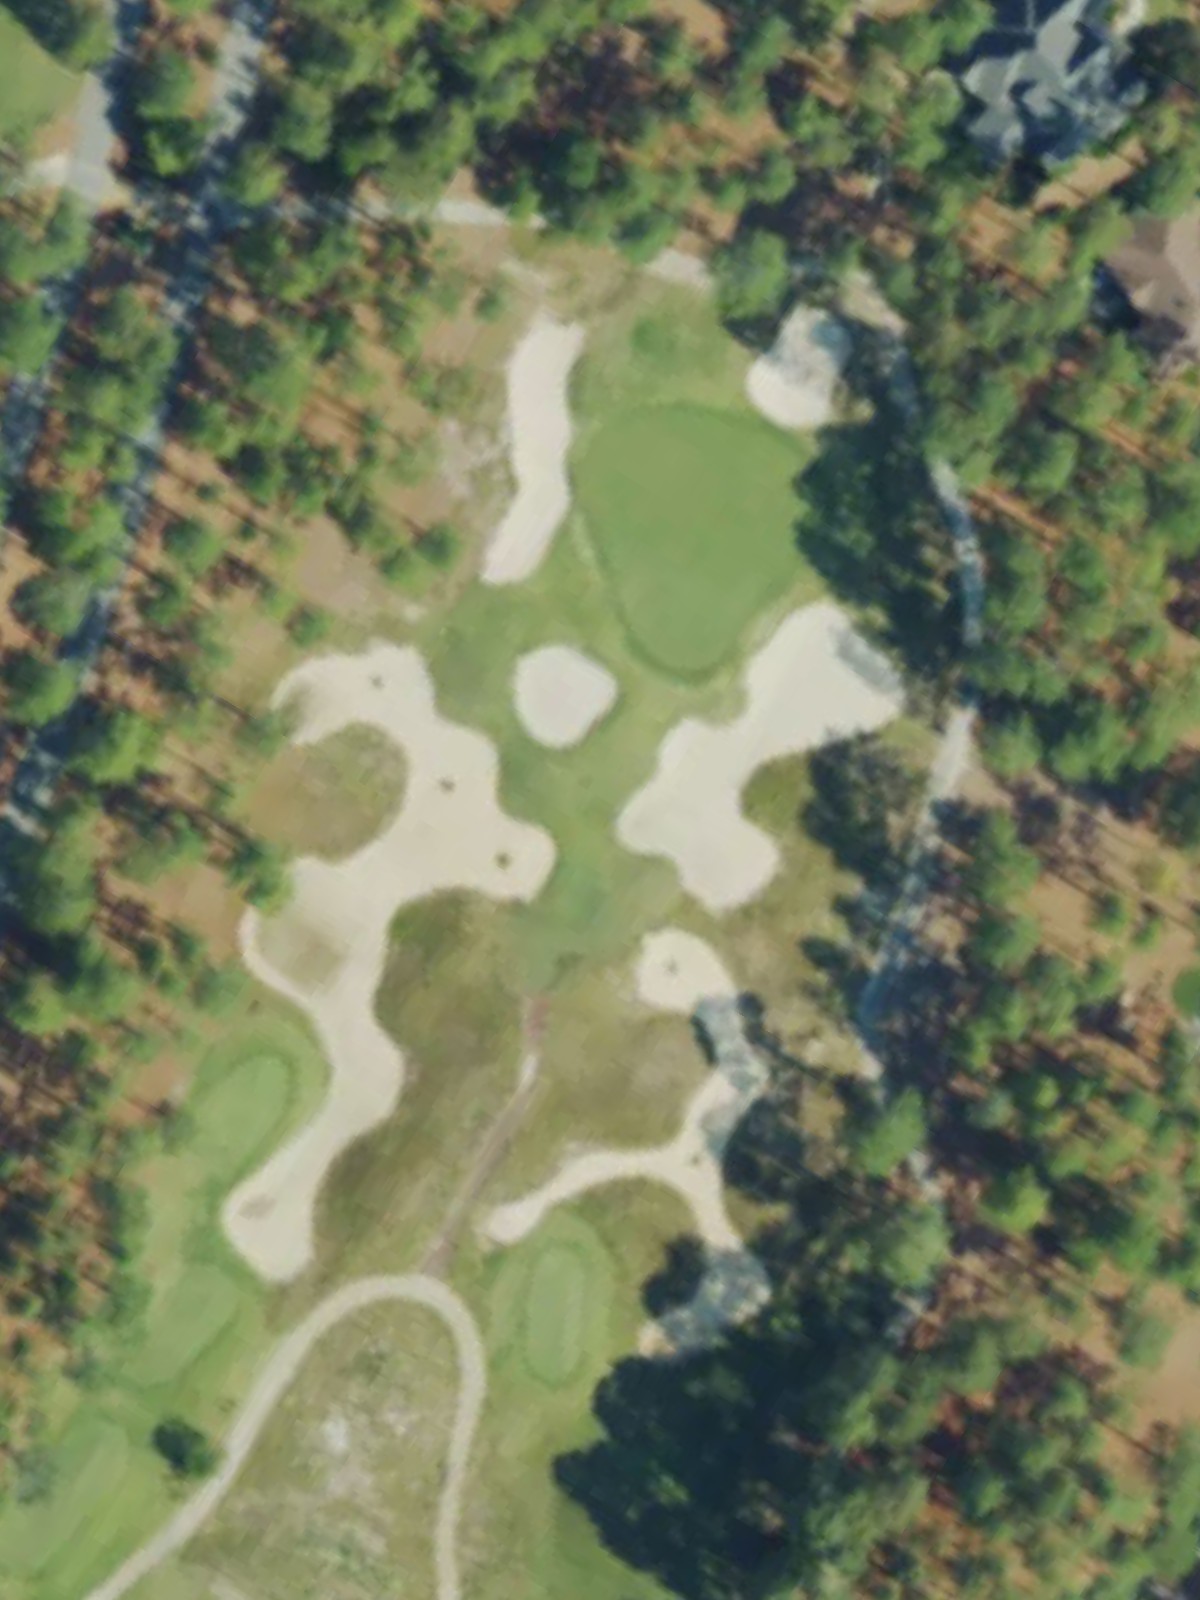
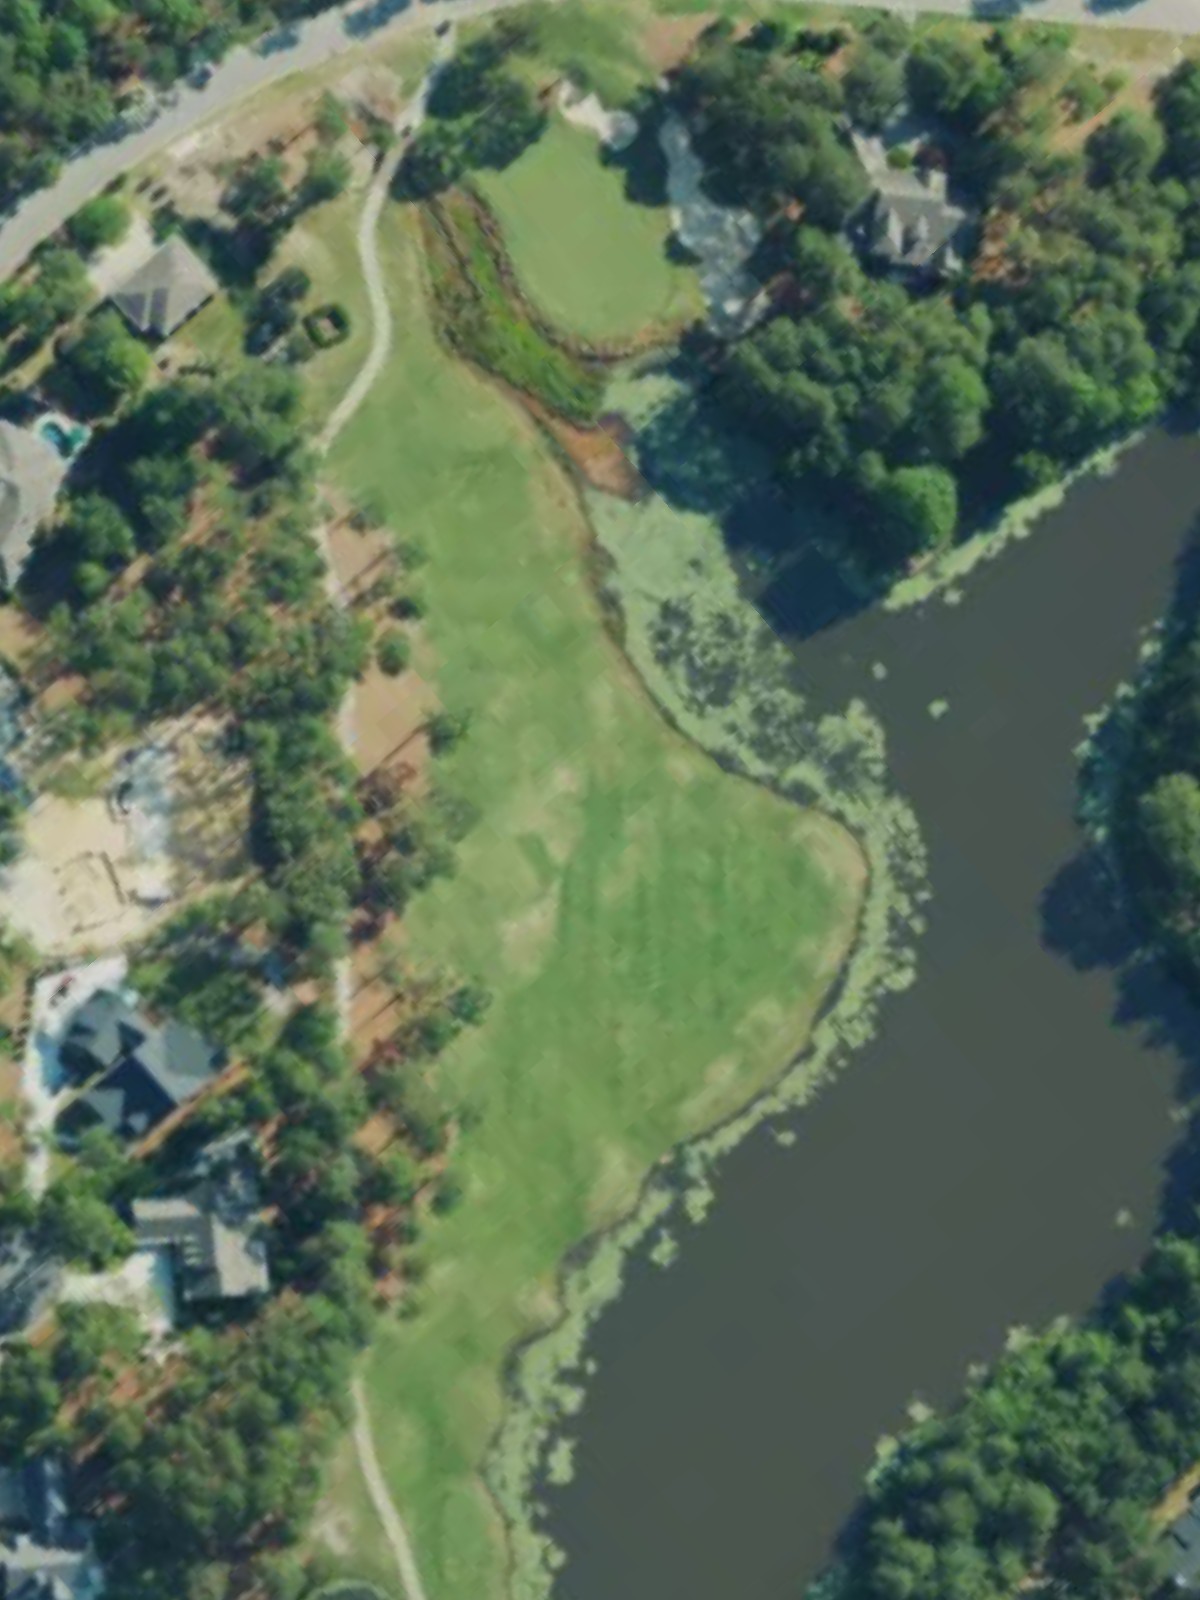
A short par 3 that plays deceptively simple from the tee. Despite its modest length, the small green demands accuracy, with limited margin for error on either side.
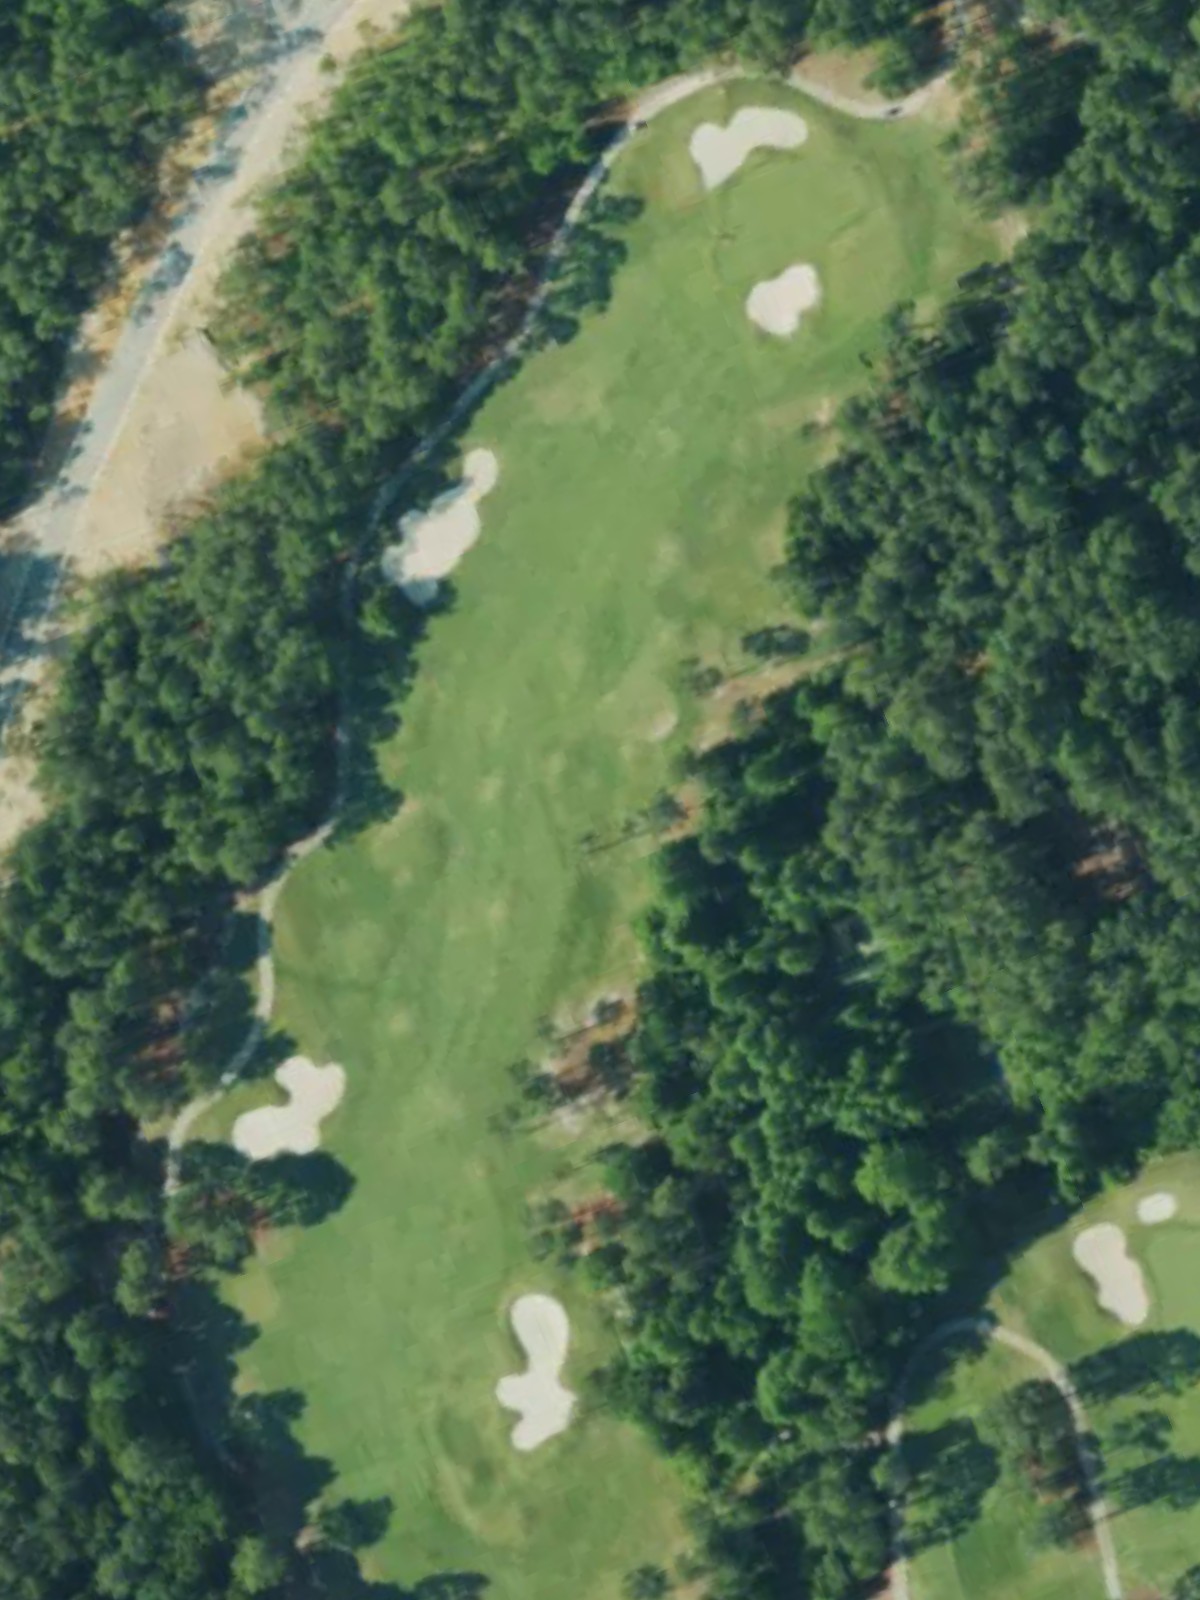
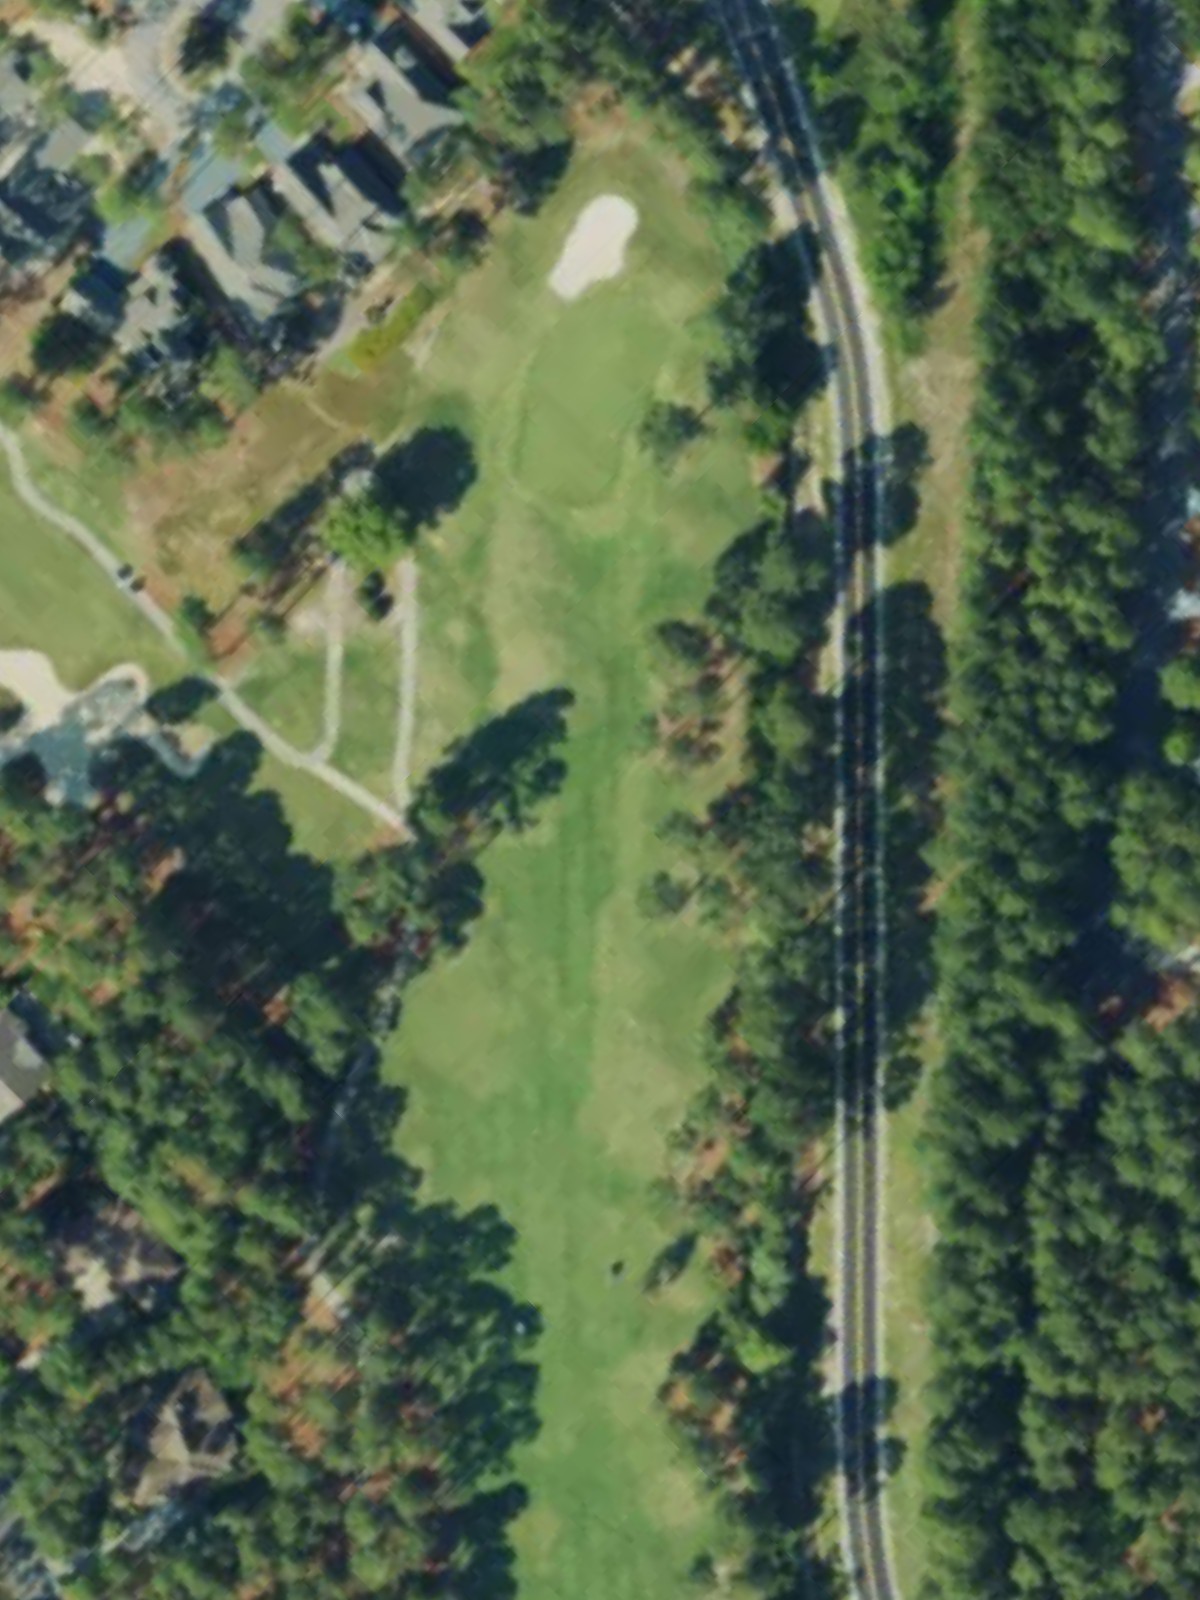
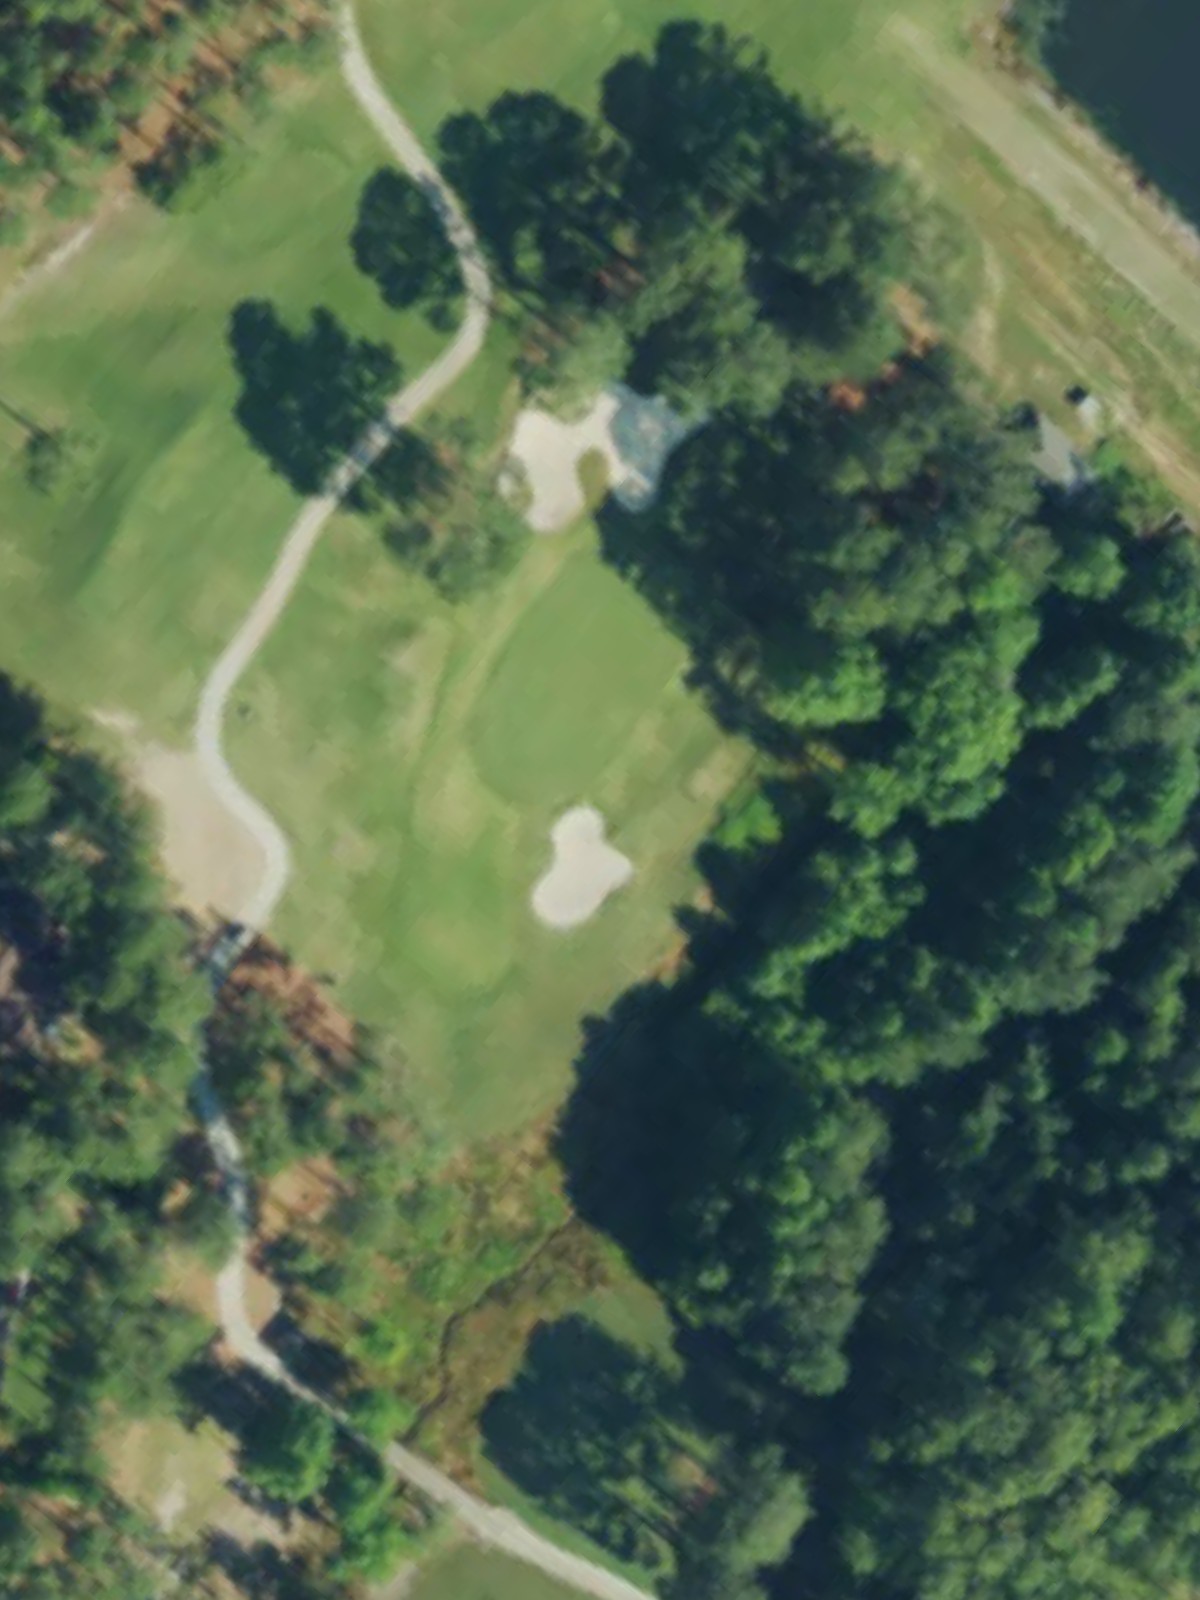
A reachable par 5 that offers birdie opportunities for longer hitters. The fairway is relatively open, allowing aggressive play, though hazards come into play for those pushing for the green in two.
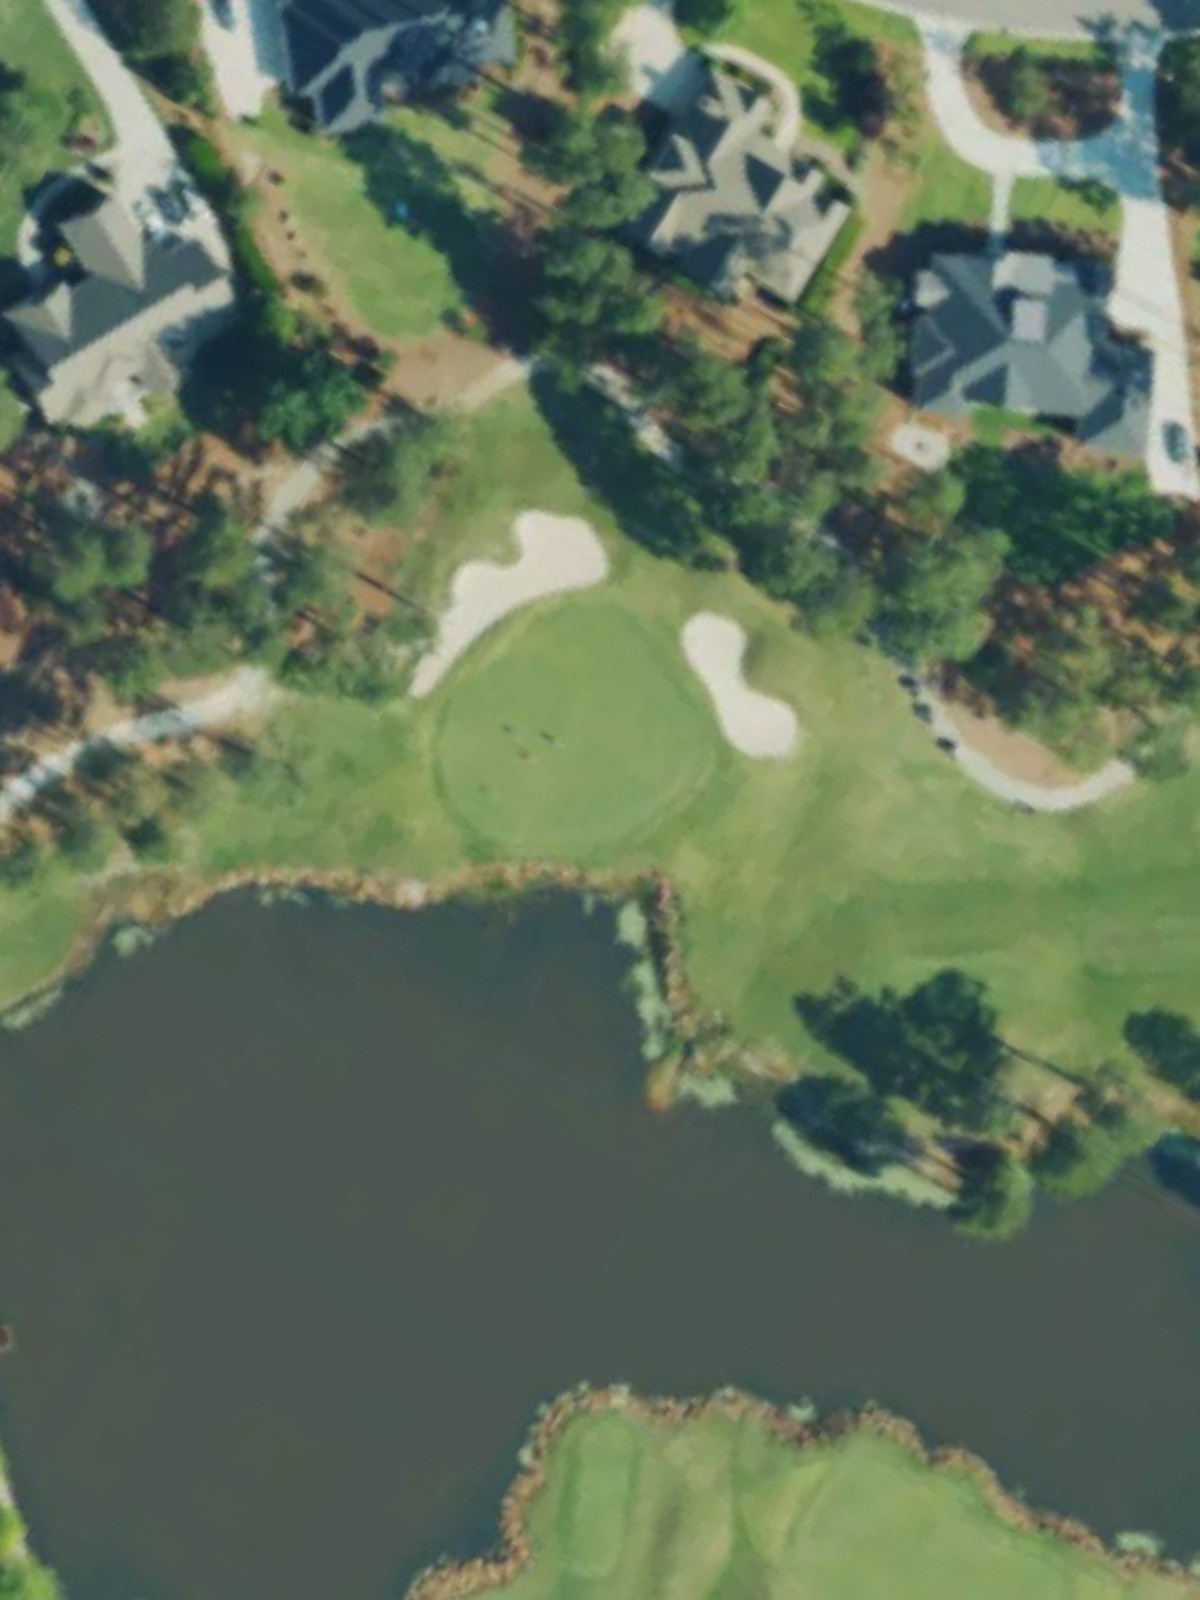
A stern par 4 that ranks as the second-most difficult hole on the course. Trouble flanks both sides of the fairway, and the green is tightly bunkered, making this hole a stern test of precision and distance control.
A modest par 3 with a forgiving layout and generous green. The hole's brevity and minimal hazards make it a welcome scoring opportunity within the round.
A mid-length par 4 with a straightforward design and relatively open approach. Bunkers guard the green area, but the fairway provides ample landing space off the tee.
A solid par 4 that presents a fair challenge with strategic bunker placement around the green. The hole's design rewards controlled iron play into the landing area and a precise approach shot.
A lengthy par 5 that demands power and placement to reach scoring position. The fairway provides good width, but hazards can punish wayward shots, particularly on attempts to reach in two.
A straightforward par 4 with a balanced design and moderate difficulty. The green is well-defined, and the approach shot is the key to achieving par on this back-nine opener.
The easiest par 3 on the course, offering a genuine birdie opportunity. The green is receptive and relatively unencumbered, making this a confidence-building hole in the round.

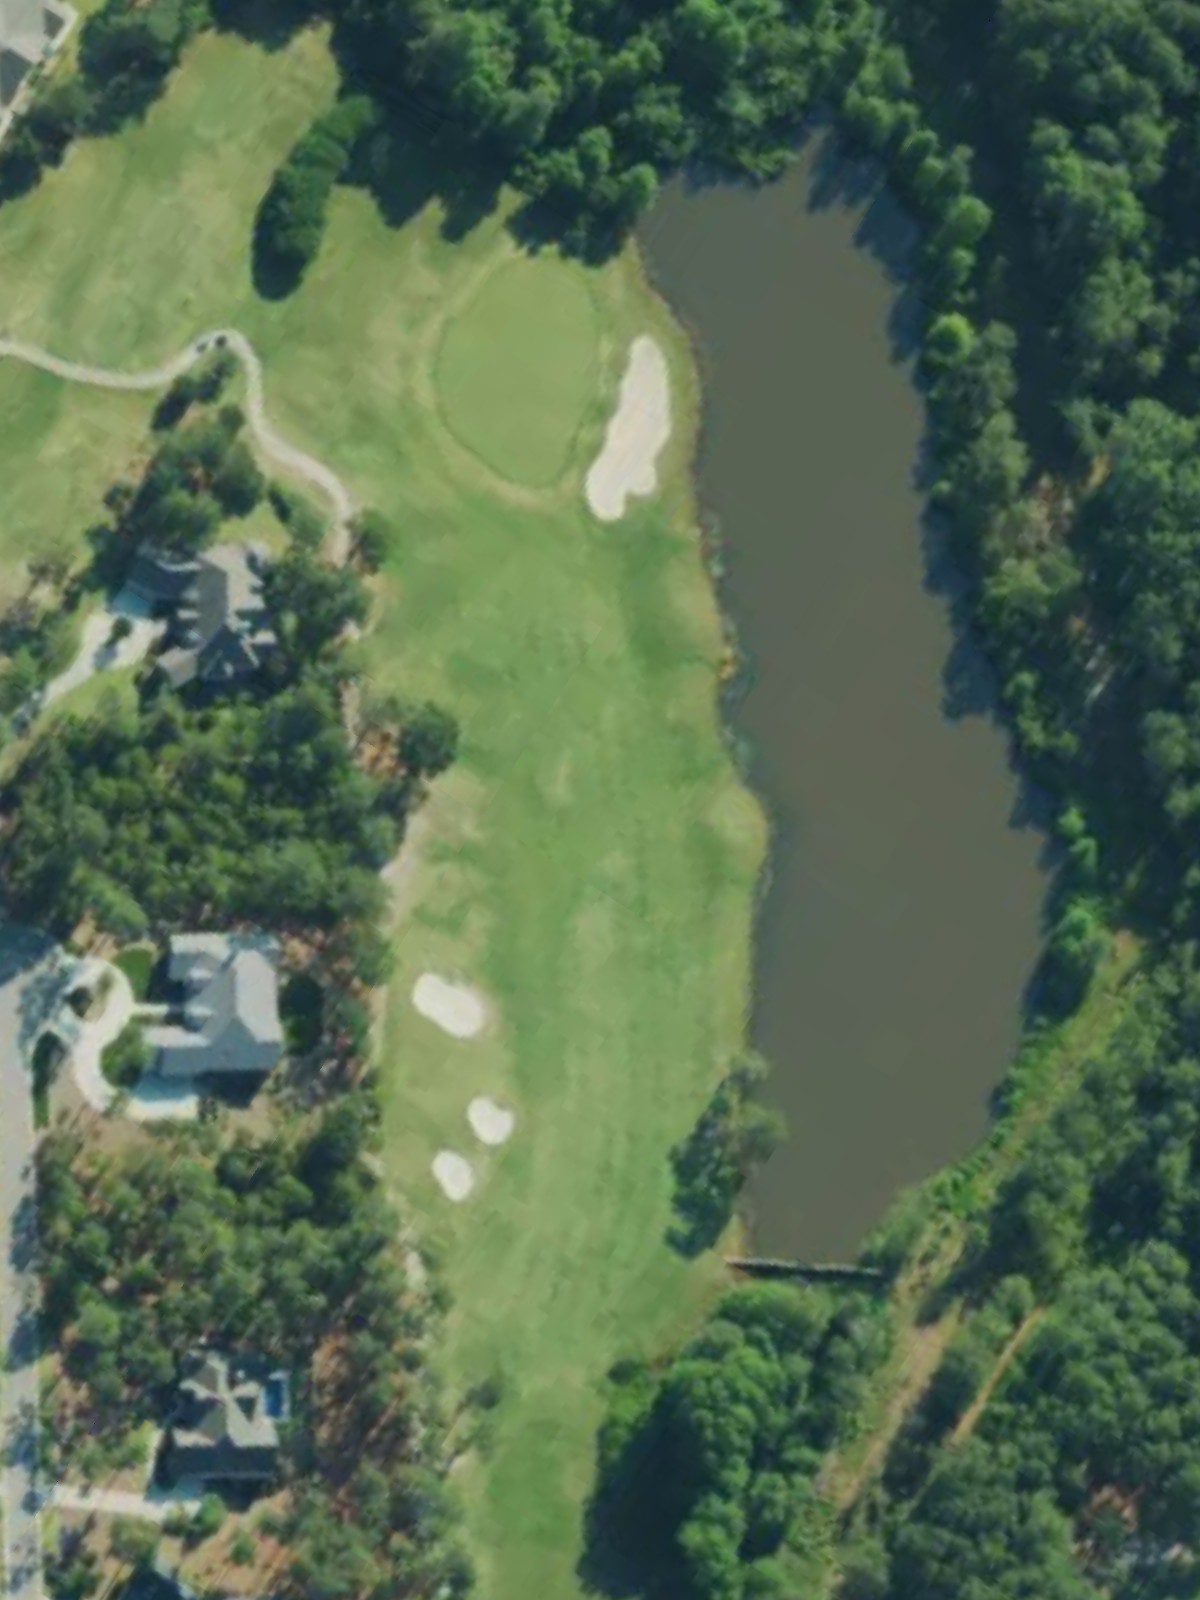
The most difficult hole on the course, ranking as a formidable par 4. Length and strategic hazard placement combine to create a punishing test that demands two excellent shots just to reach the green.
A challenging par 4 with demanding length and strategic difficulty. Bunkers and hazards frame the fairway and green, requiring both distance and precision to score well.
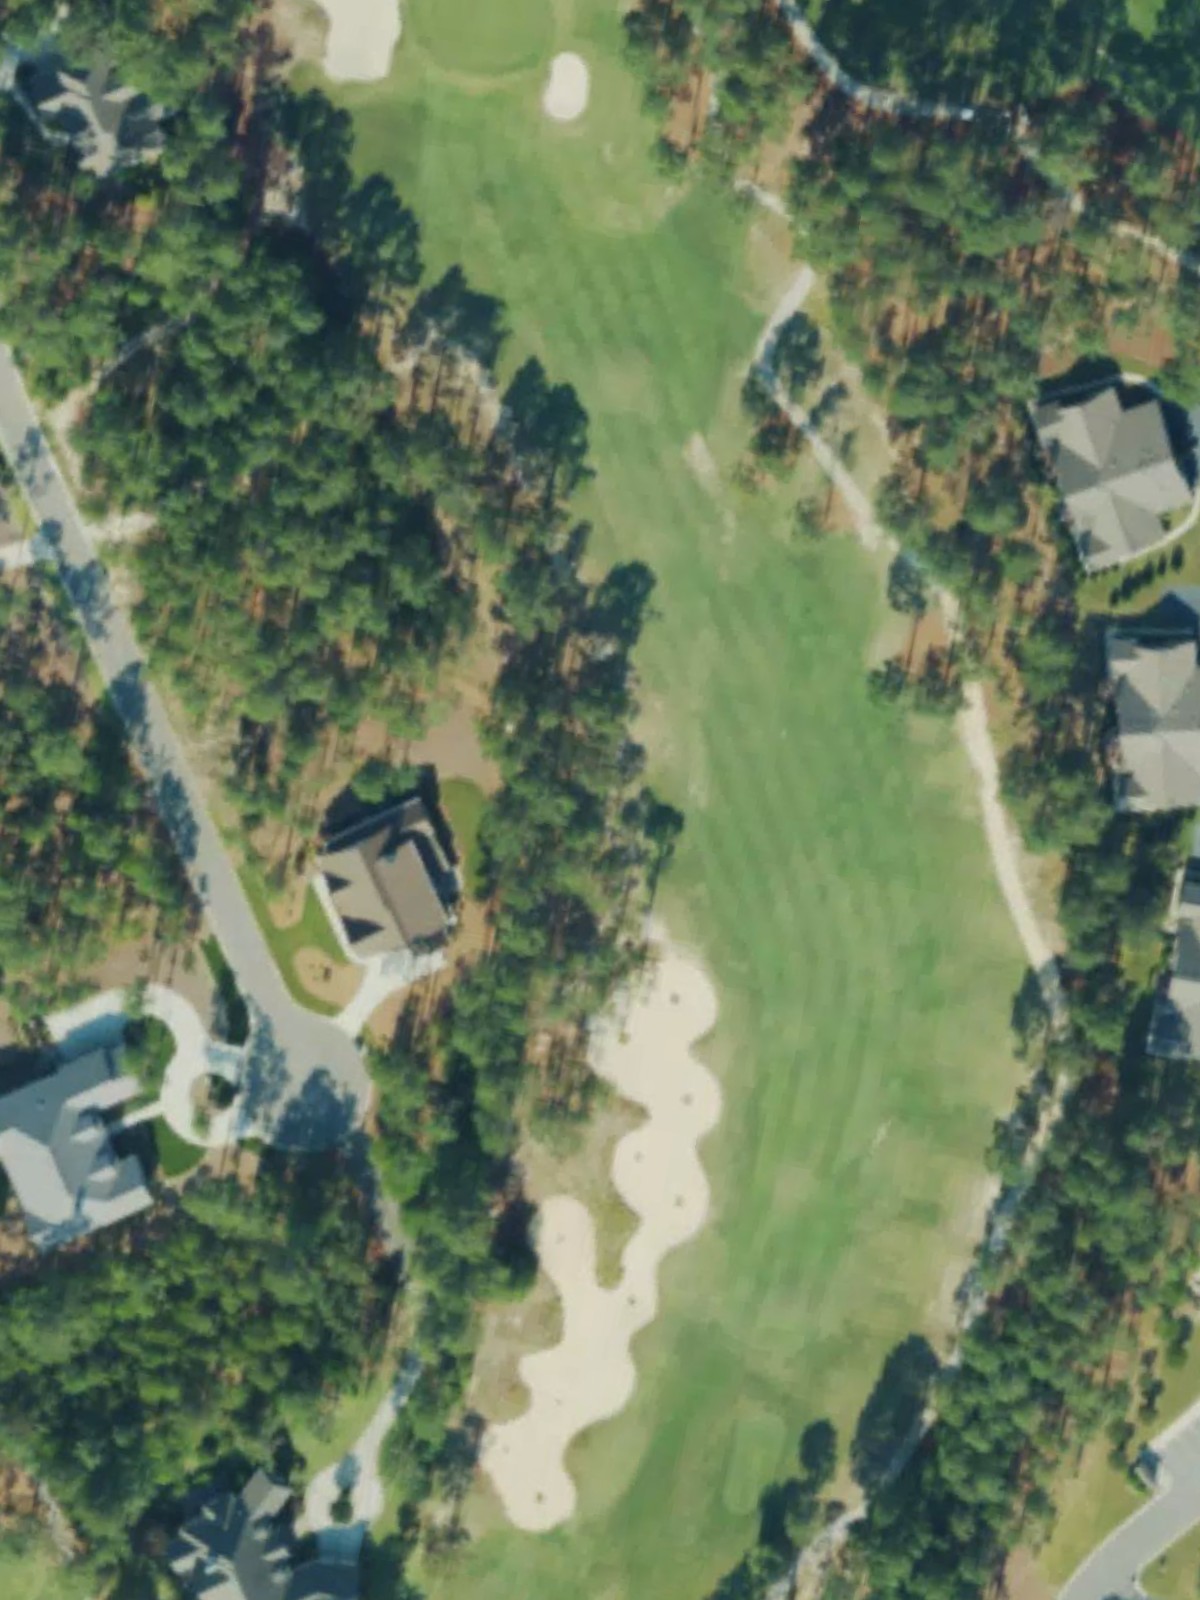
A significant par 4 ranked third in difficulty that tests multiple aspects of the game. Strategic hazards force careful positioning off the tee, and the approach to the green leaves little room for error.
A lengthy par 5 that rewards strategic play and distance management. The fairway opens up for aggressive hitters, though hazards punish poor positioning and overshoots toward the well-bunkered green.
A mid-length par 4 with a risk-reward design that invites strategic positioning. The fairway tightens as it approaches the green, where bunkers and hazards protect the scoring area.
A picturesque par 3 of moderate length with a well-defined green complex. The hole presents a straightforward one-shot opportunity without excessive hidden trouble.
A fitting closing par 4 that combines length and strategic challenge to create a memorable finish. The fairway demands solid striking off the tee, and the green's bunkering makes the final approach a decisive moment in the round.
Scorecard
| Hole | 1 | 2 | 3 | 4 | 5 | 6 | 7 | 8 | 9 | Out | 10 | 11 | 12 | 13 | 14 | 15 | 16 | 17 | 18 | In | Tot |
|---|---|---|---|---|---|---|---|---|---|---|---|---|---|---|---|---|---|---|---|---|---|
| Par | 4 | 4 | 3 | 5 | 4 | 3 | 4 | 4 | 5 | 36 | 4 | 3 | 4 | 4 | 4 | 5 | 4 | 3 | 4 | 35 | 71 |
| HCP | 12 | 4 | 18 | 10 | 2 | 16 | 14 | 8 | 6 | 11 | 17 | 1 | 9 | 3 | 13 | 7 | 15 | 5 | |||
| gold tees | 391 | 405 | 178 | 535 | 384 | 176 | 414 | 424 | 537 | 3444 | 400 | 172 | 464 | 439 | 448 | 533 | 394 | 193 | 429 | 3472 | 6916 |
| blue tees | 370 | 393 | 166 | 523 | 374 | 159 | 387 | 412 | 523 | 3307 | 383 | 159 | 429 | 417 | 422 | 521 | 371 | 179 | 396 | 3277 | 6584 |
| blue/white hybrid | 344 | 364 | 149 | 523 | 374 | 144 | 387 | 382 | 500 | 3167 | 362 | 130 | 405 | 417 | 367 | 507 | 371 | 159 | 396 | 3114 | 6281 |
| white tees | 344 | 364 | 149 | 502 | 362 | 144 | 353 | 382 | 500 | 3100 | 362 | 130 | 405 | 384 | 367 | 507 | 345 | 159 | 356 | 3015 | 6115 |
| white/green hybrid | 317 | 328 | 149 | 468 | 331 | 144 | 353 | 325 | 500 | 2915 | 362 | 130 | 386 | 384 | 351 | 507 | 345 | 153 | 333 | 2951 | 5866 |
| green tees | 317 | 328 | 120 | 468 | 331 | 125 | 340 | 325 | 439 | 2793 | 311 | 125 | 386 | 348 | 351 | 465 | 326 | 153 | 333 | 2798 | 5591 |
| green/red hybrid | 317 | 328 | 120 | 421 | 331 | 125 | 285 | 286 | 439 | 2652 | 311 | 125 | 345 | 308 | 276 | 465 | 265 | 153 | 315 | 2563 | 5215 |
| red tees | 257 | 265 | 109 | 421 | 249 | 102 | 285 | 286 | 379 | 2353 | 294 | 97 | 345 | 308 | 276 | 369 | 265 | 109 | 315 | 2378 | 4731 |
| purple tees | 257 | 241 | 83 | 304 | 241 | 102 | 204 | 240 | 332 | 2004 | 268 | 97 | 255 | 256 | 276 | 310 | 256 | 106 | 308 | 2132 | 4136 |