Meriwether National Golf Club is an 18-hole golf course in Hillsboro, OR with a par of 72. It offers 4 tee sets: blue (6,719 yards, slope 126, rating 71.9), white (6,364 yards, slope 124, rating 70.5), gold (5,414 yards, slope 110, rating 65.7), red (5,001 yards, slope 106, rating 63.6). The hardest hole is #6, a par 4 playing 283 yards from the first tee.
Meriwether National Golf Club
Hillsboro, OR
Get PDF Yardage Book
We'll email you the PDF link. No spam, ever.
Create Your Game Plan
Pick your tees, enter your bag, and get a personalized shot-by-shot strategy for every hole.

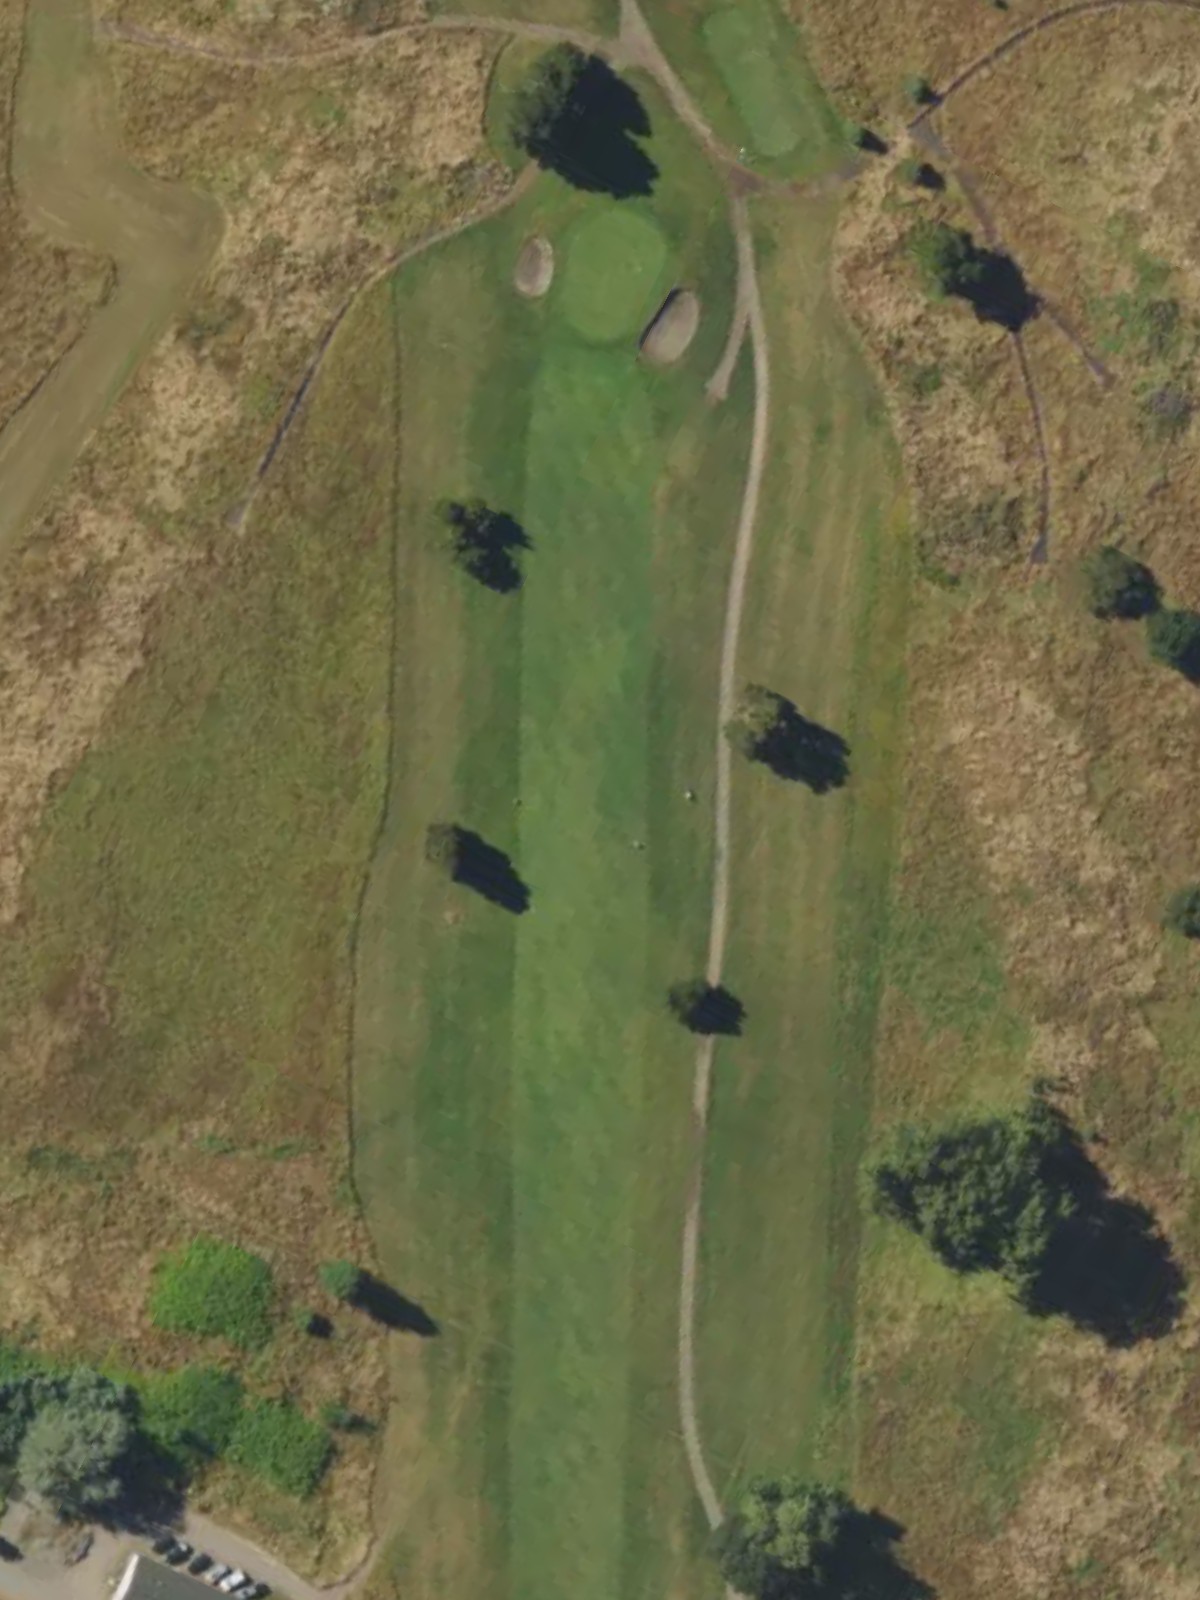
A welcoming opening hole playing as a straightforward par 4 with a wide fairway that gradually narrows as it approaches the green. Greenside bunkers protect the right side of the putting surface, rewarding accurate approach play.
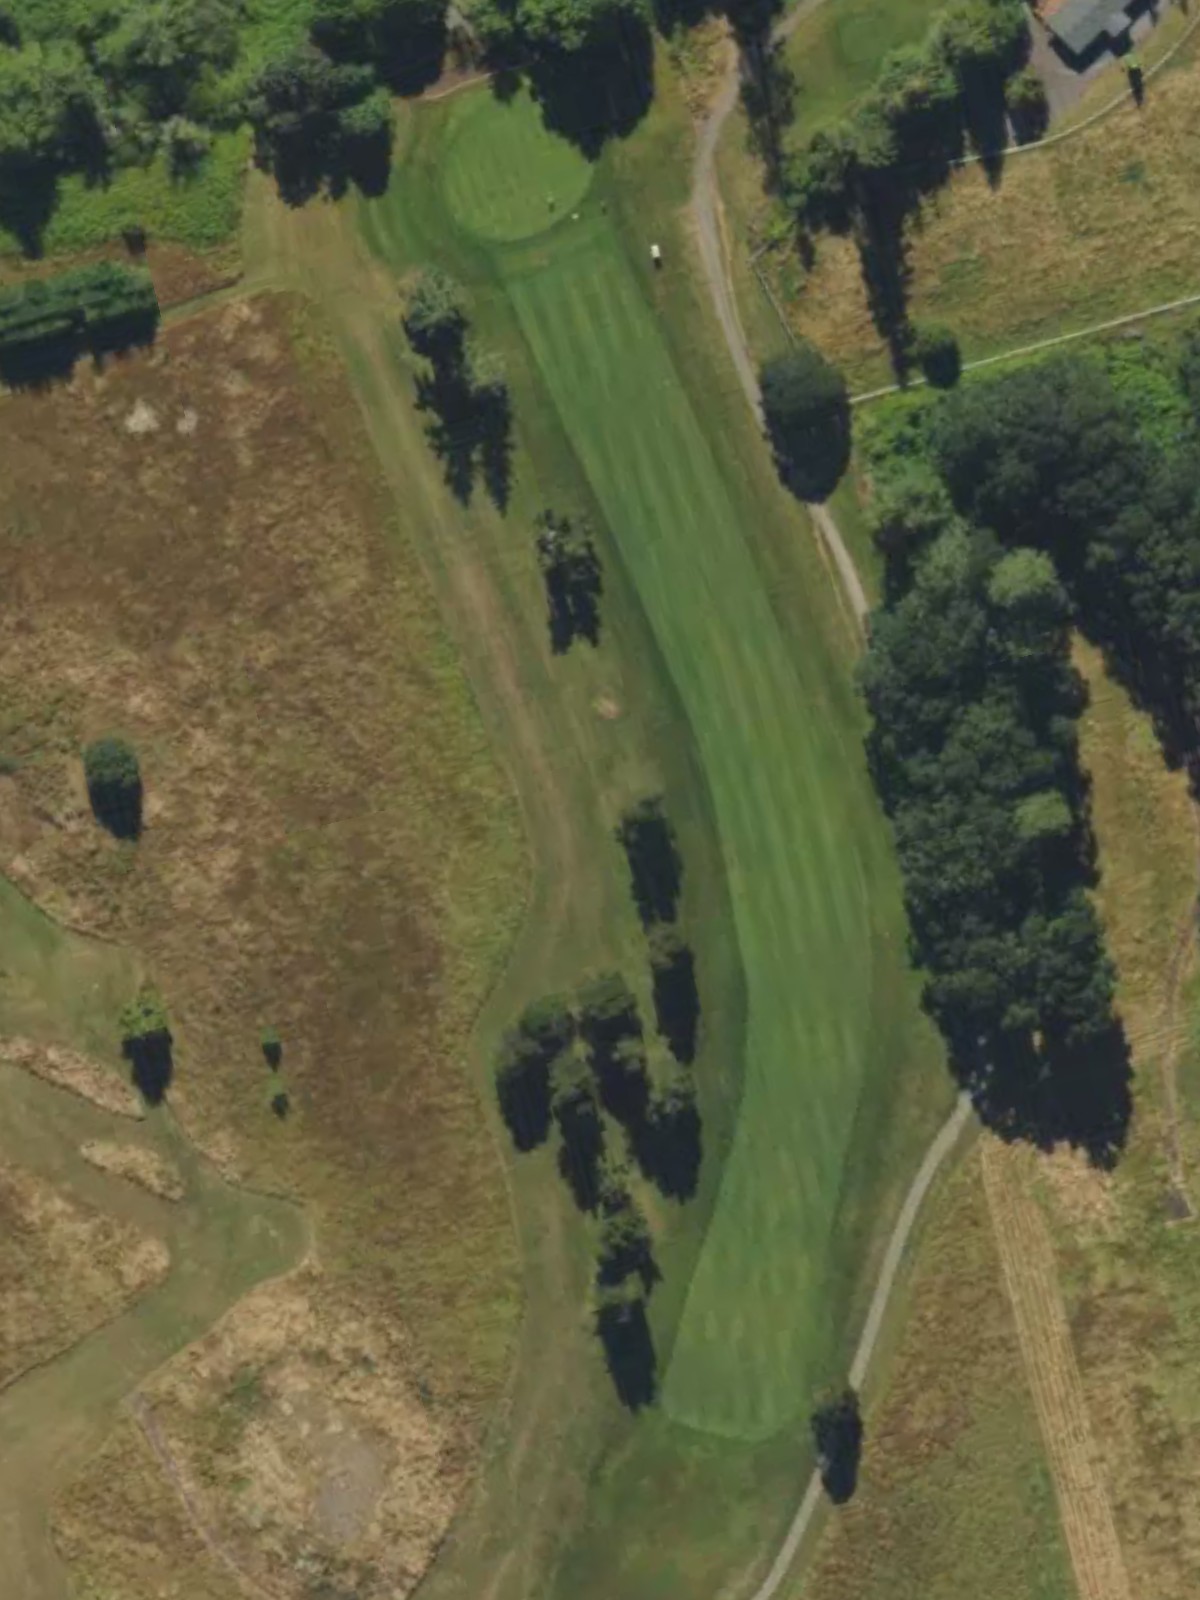
The course's most difficult hole, this par 4 demands precision from tee to green with a tight fairway that tests both distance and accuracy. Strategic bunkering and a well-defended green make this a stern challenge early in the round.
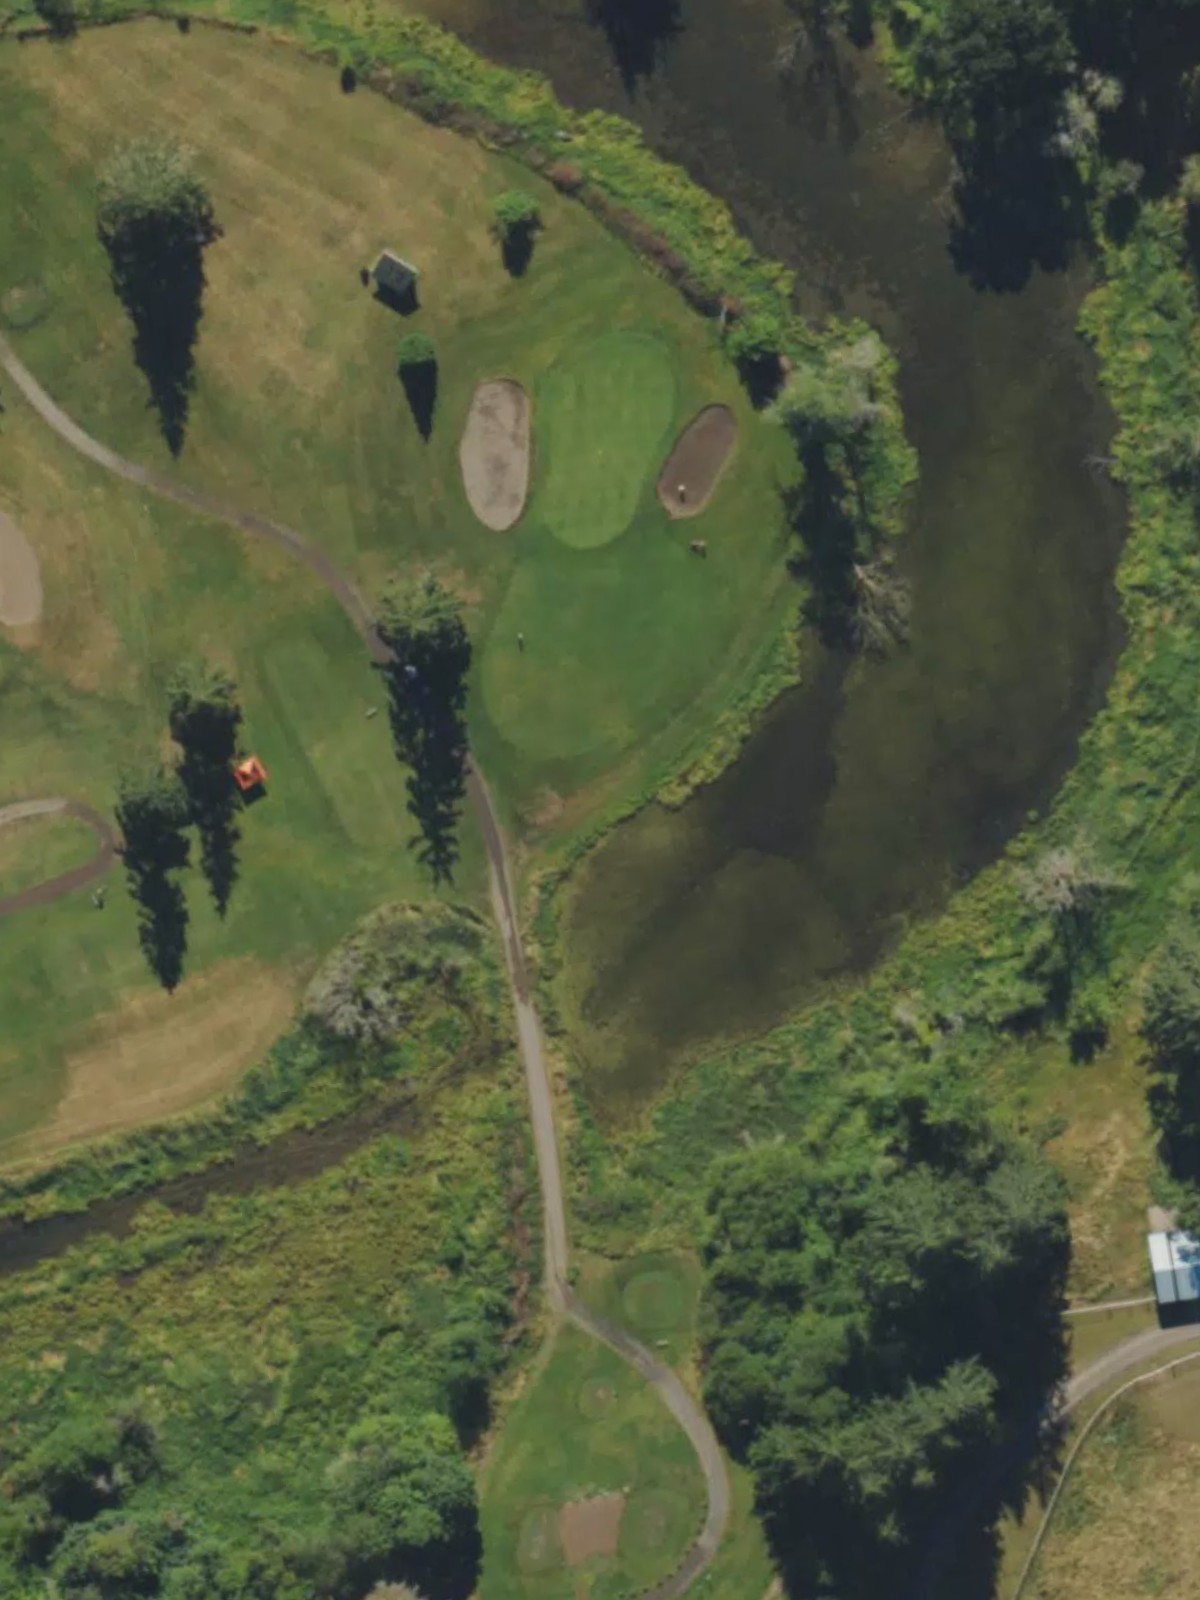
A shorter par 4 that belies its difficulty through a narrow corridor of play and demanding green complex. The compact length is offset by the need for accuracy rather than length off the tee.
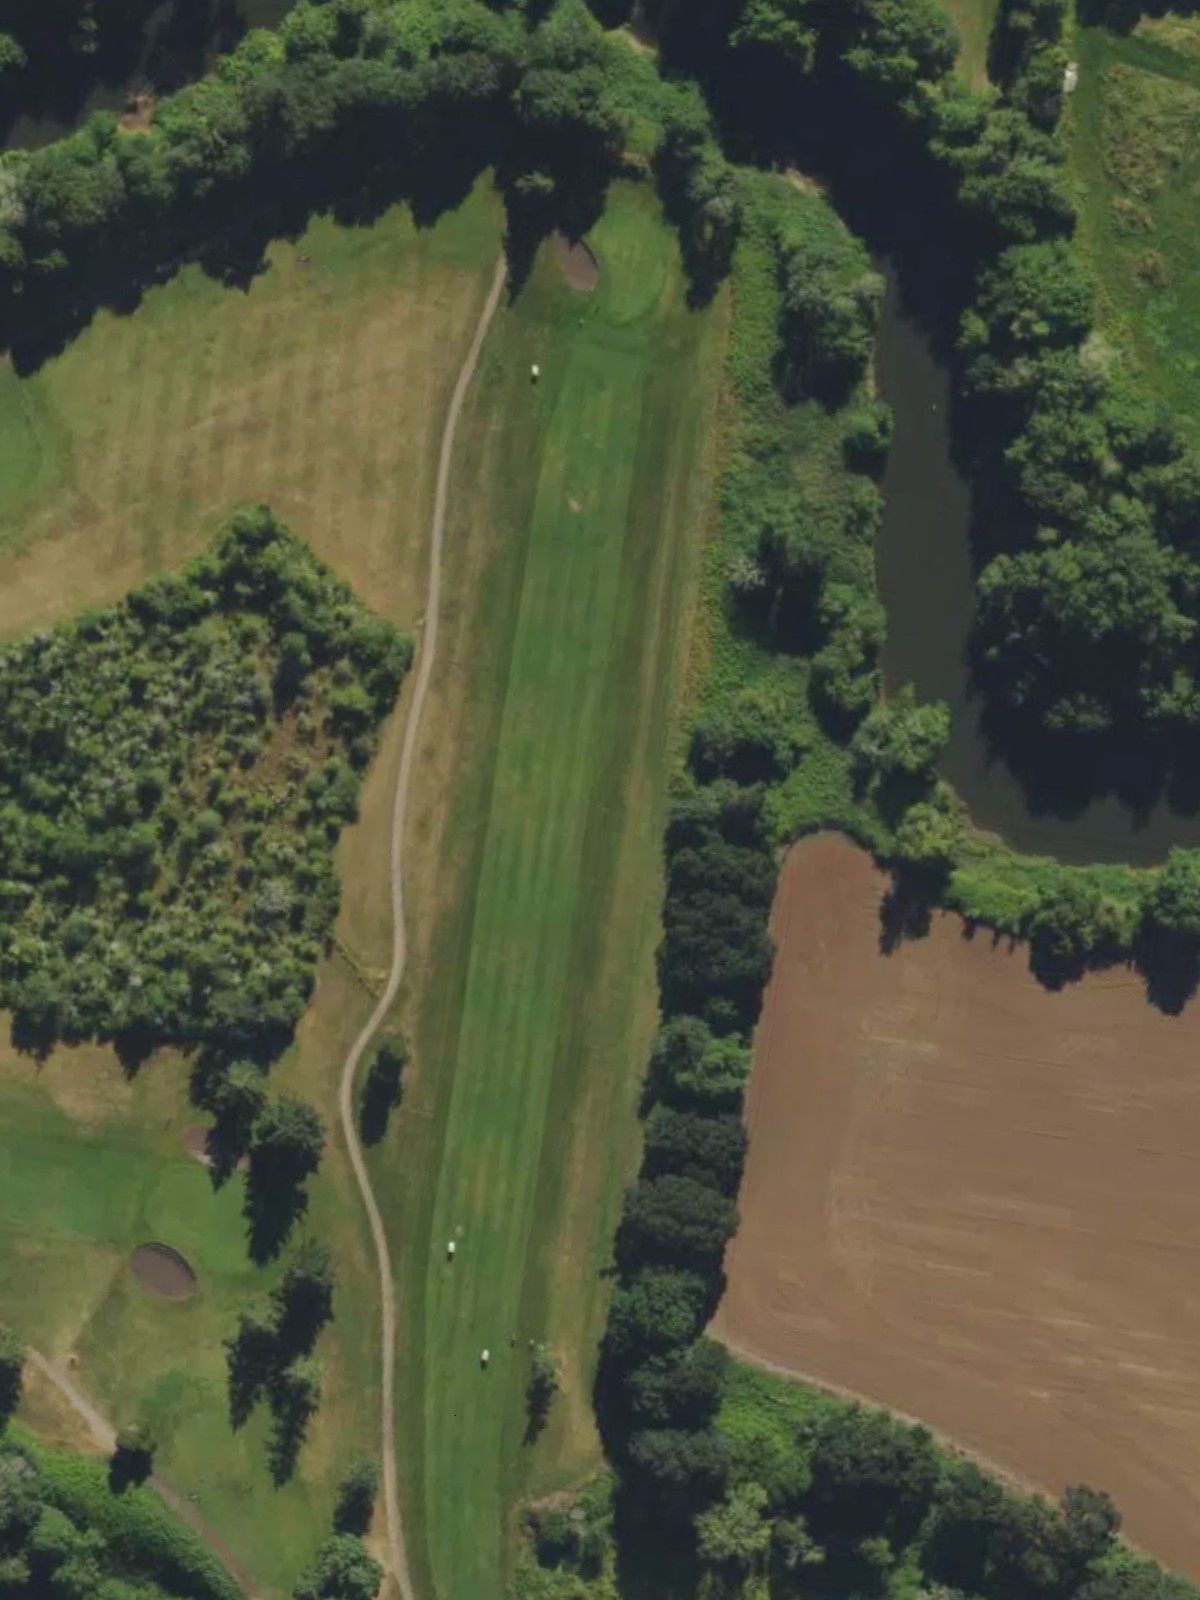
A short par 3 with a modest green that provides a brief respite from the opening stretch. Despite its length, strategic bunkering and elevation changes keep the hole interesting.
A reachable par 5 that offers birdie opportunities for those who can navigate its length with control. The hole's character unfolds through the middle and closing sections with strategic hazards rewarding patience and placement.
The second-hardest hole on the course, this formidable par 4 stretches well over 400 yards from the back tees and demands two strong, accurate shots to reach a well-protected green. Precision is paramount on this unforgiving test.
A relatively generous par 4 that provides a psychological lift after the gauntlet of earlier holes. The fairway offers good width, making this one of the more approachable scoring opportunities on the front nine.
The shortest hole on the course, this par 3 plays downhill to a modest green surrounded by minimal hazards. Its brevity makes it an ideal scoring hole if executed cleanly.
A strong finishing par 5 for the front nine with substantial length that requires two well-struck shots to set up a birdie chance. The hole's layout opens up opportunities for aggressive players while penalizing wayward tee shots.
The back nine begins with a stout par 4 where the fairway narrows significantly past the landing area, demanding accuracy on the second shot. Strategic hazards defend the approach and complicate the final assault on the green.

The second-hardest hole on the course, this imposing par 4 requires two powerful, precise shots to conquer its length and complexity. The green is well-bunkered and demands a committed approach to secure par.
A short par 3 that offers respite with a modest length and straightforward design. Despite its apparent simplicity, strategic bunkering and green contours provide enough interest to demand respect.
A substantial par 5 that ranks among the course's toughest holes due to its length and strategic complexity throughout the hole. The hole requires precision and good decision-making from tee to green to score well.
A mid-length par 4 that plays shorter than its yardage suggests, offering solid birdie potential for accurate play. The hole's character is defined more by the finesse required than by extreme length.
A compact par 4 where accuracy trumps distance, with a fairway that rewards placement and penalizes poor positioning. The green is relatively modest but well-bunkered to protect against careless approaches.
The easiest hole on the course, this short par 4 presents a genuine birdie opportunity with modest length and an open approach. The generous layout makes this an ideal scoring hole late in the round.
A short par 3 that plays to a compact green with minimal fanfare but enough strategic bunkering to demand accuracy. The hole's brevity makes it ideal for salvaging the round late in the back nine.
A strong par 5 finisher that offers a birdie opportunity for those who navigate its length with control and precision. The closing hole's character builds through its progression, rewarding well-executed play with a potential scoring chance.
Scorecard
| Hole | 1 | 2 | 3 | 4 | 5 | 6 | 7 | 8 | 9 | Out | 10 | 11 | 12 | 13 | 14 | 15 | 16 | 17 | 18 | In | Tot |
|---|---|---|---|---|---|---|---|---|---|---|---|---|---|---|---|---|---|---|---|---|---|
| Par | 4 | 4 | 4 | 3 | 5 | 4 | 4 | 3 | 5 | 36 | 4 | 4 | 3 | 5 | 4 | 4 | 4 | 3 | 5 | 36 | 72 |
| HCP | 11 | 3 | 5 | 7 | 9 | 1 | 15 | 17 | 13 | 6 | 2 | 14 | 4 | 12 | 8 | 18 | 10 | 16 | |||
| blue | 366 | 418 | 391 | 215 | 518 | 429 | 366 | 149 | 494 | 3346 | 396 | 447 | 210 | 540 | 384 | 377 | 325 | 199 | 495 | 3373 | 6719 |
| white | 349 | 399 | 376 | 185 | 500 | 412 | 350 | 129 | 478 | 3178 | 375 | 428 | 184 | 523 | 369 | 364 | 308 | 180 | 455 | 3186 | 6364 |
| gold | 293 | 375 | 309 | 141 | 411 | 364 | 267 | 116 | 396 | 2672 | 355 | 356 | 147 | 438 | 323 | 266 | 308 | 139 | 410 | 2742 | 5414 |
| red | 293 | 375 | 262 | 141 | 411 | 283 | 267 | 116 | 396 | 2544 | 252 | 356 | 147 | 438 | 265 | 266 | 274 | 139 | 320 | 2457 | 5001 |