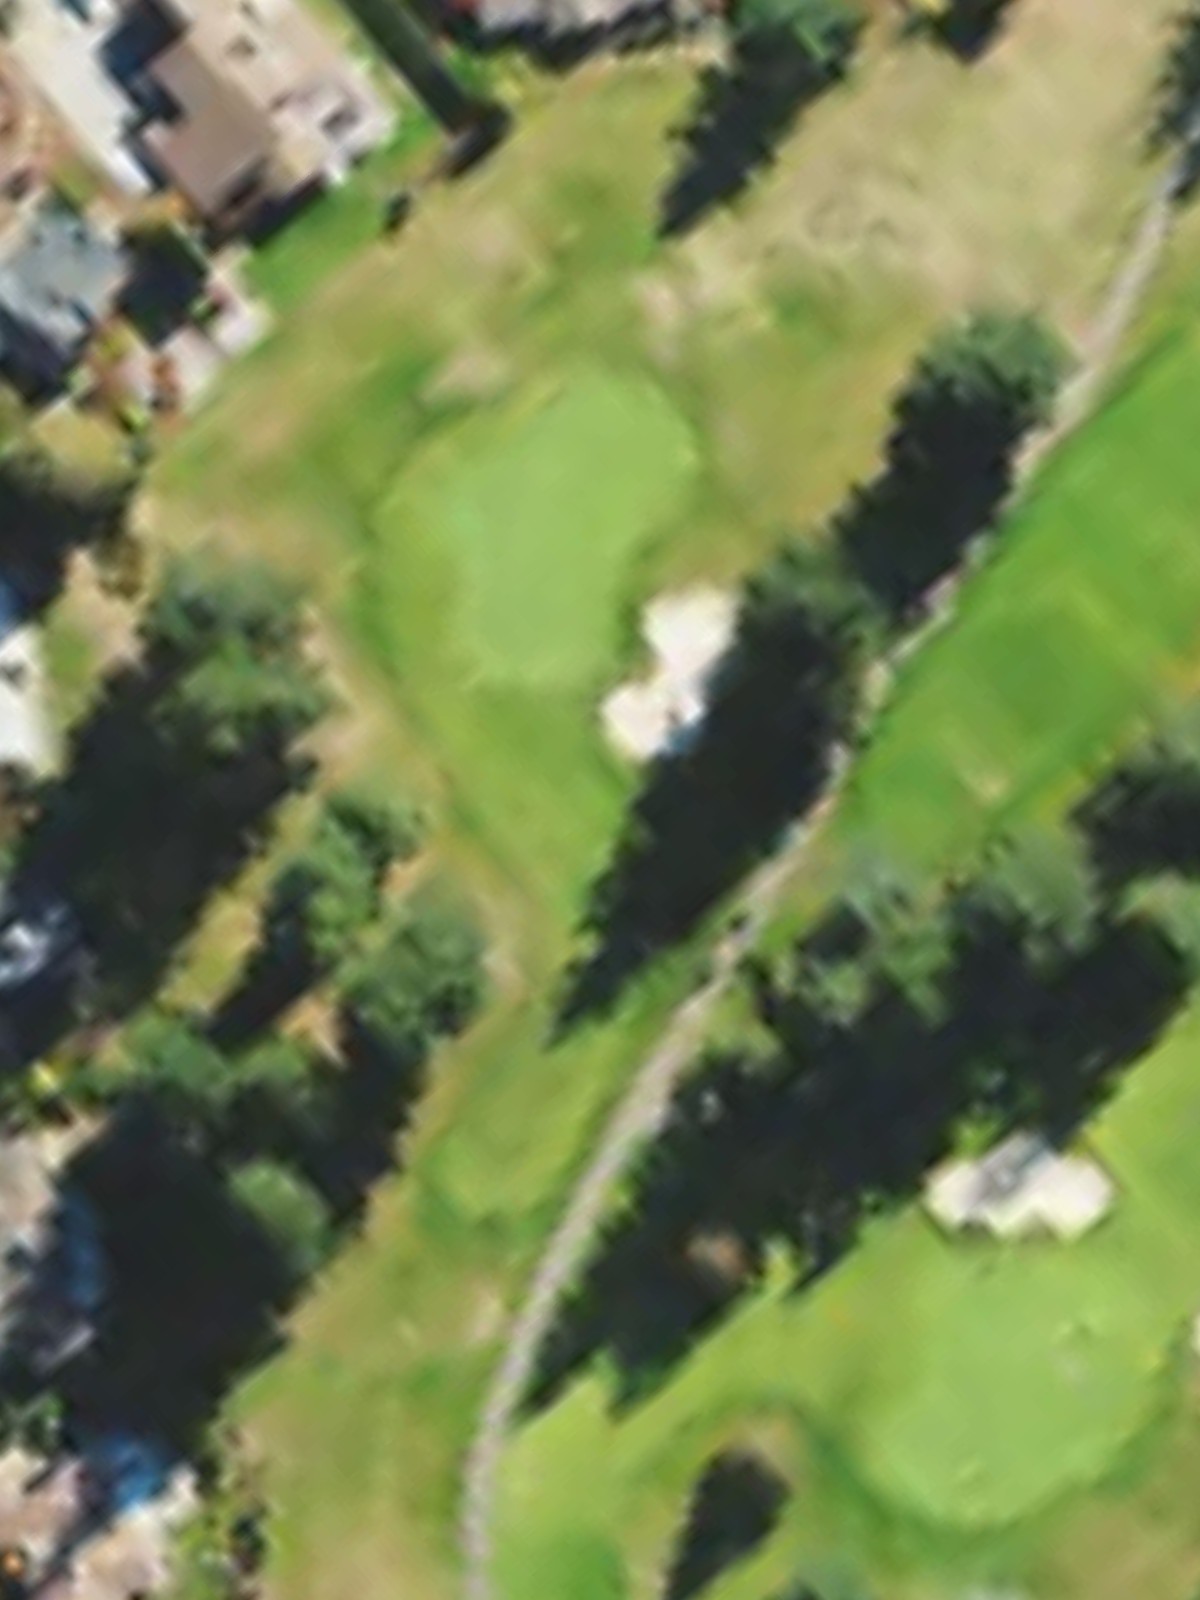
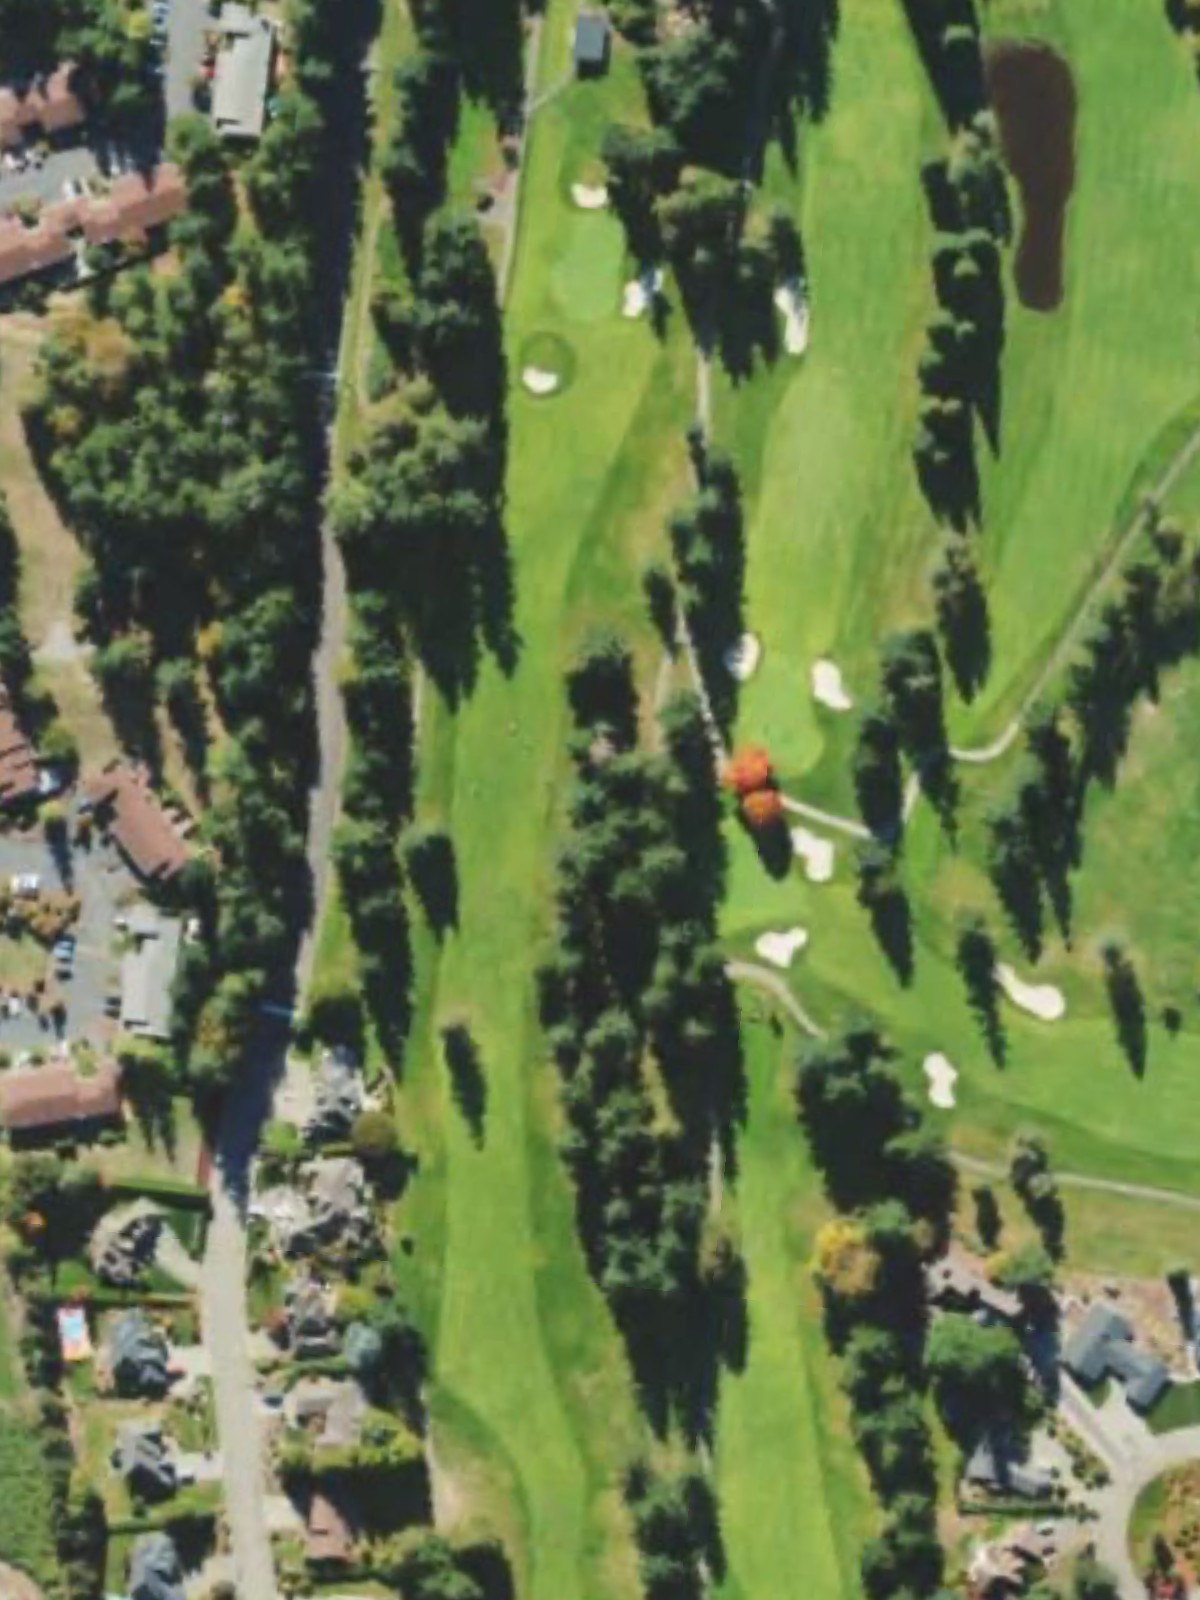
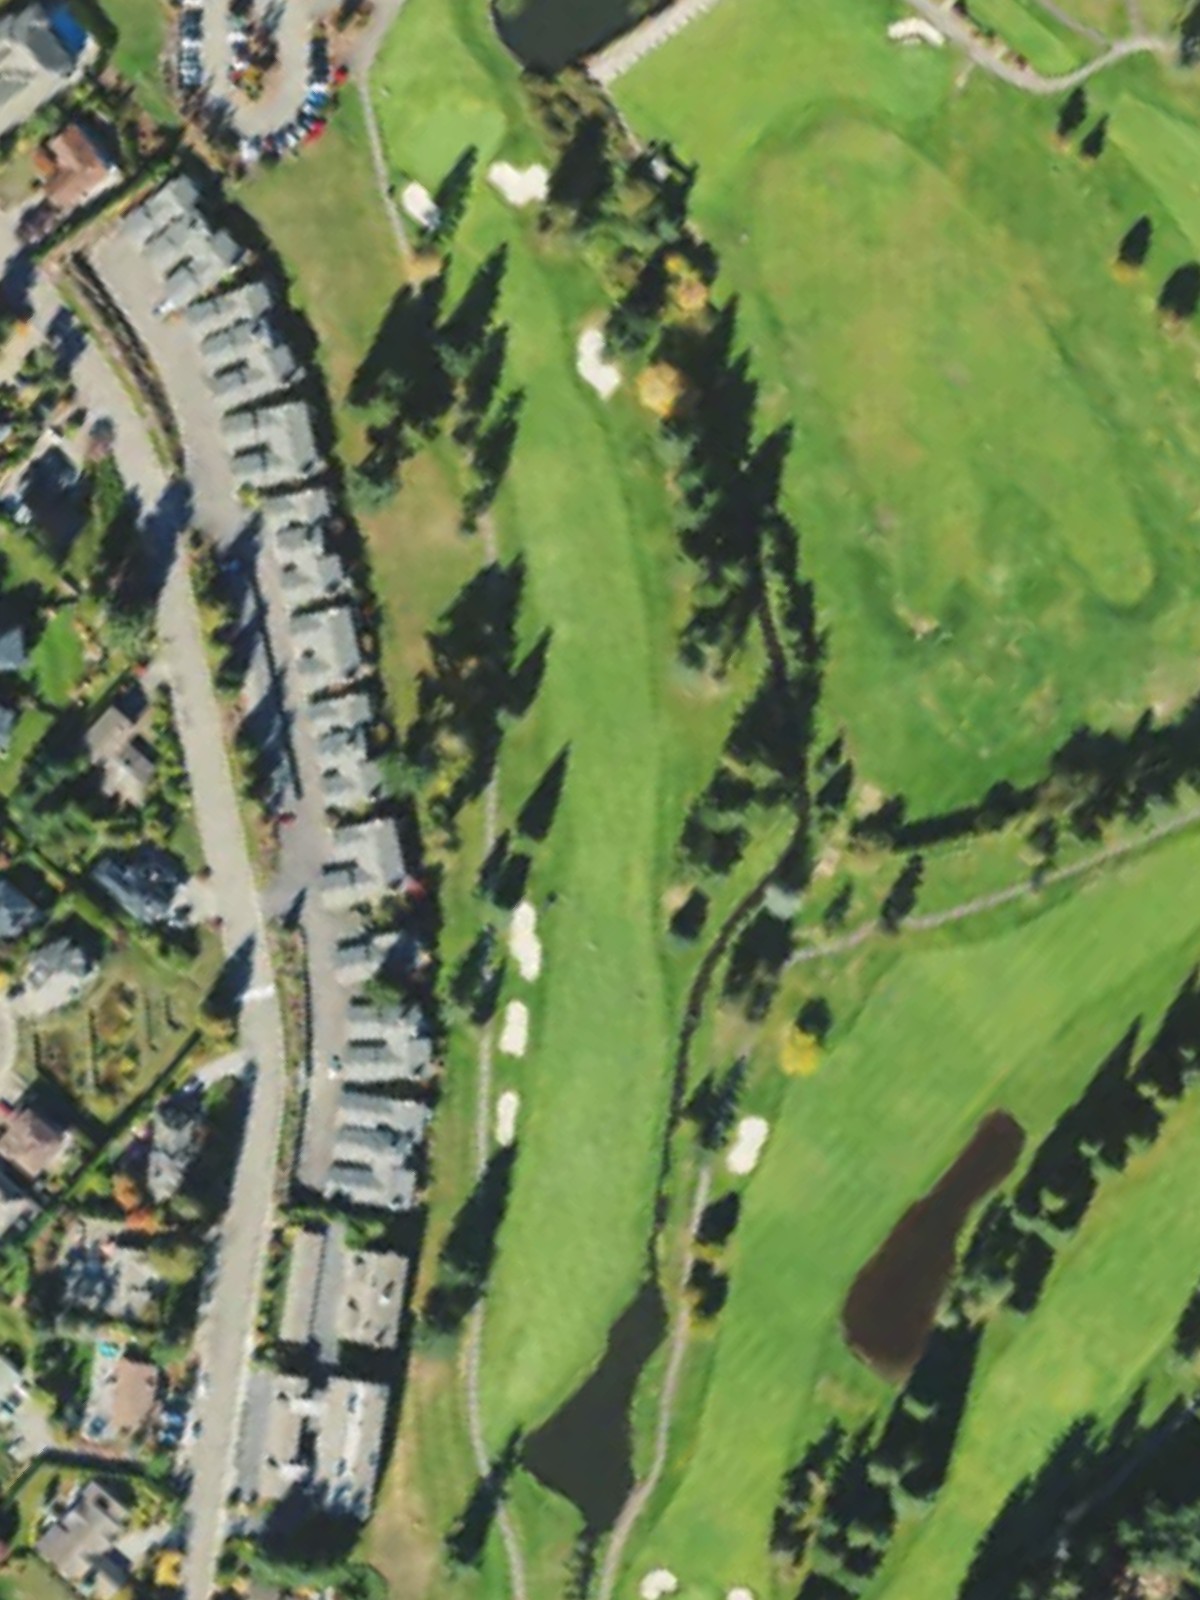
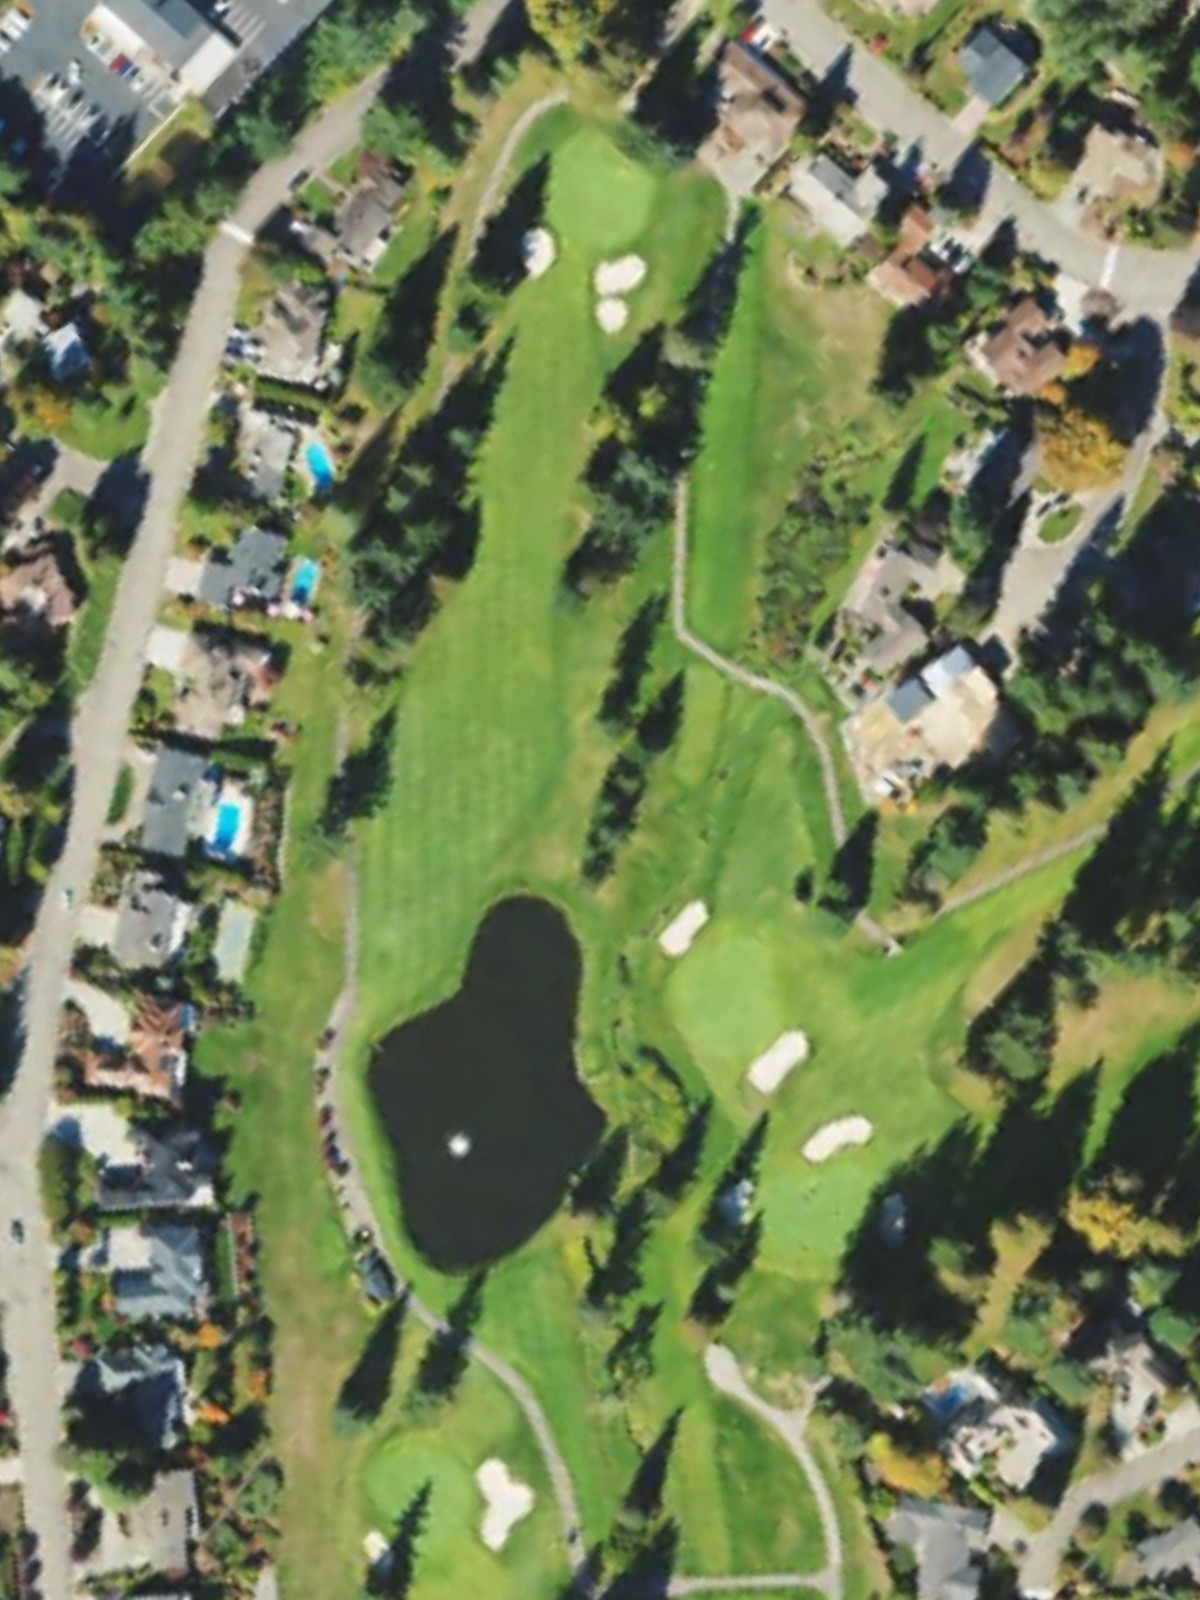
Meridian Valley Country Club is an 18-hole golf course in Kent, WA with a par of 72. It offers 8 tee sets: blue (6,703 yards, slope 134, rating 72.4), blue/white (6,423 yards, slope 134, rating 71.2), white (6,233 yards, slope 134, rating 70.3), gold/white (6,059 yards, slope 132, rating 69.4), gold (5,940 yards, slope 130, rating 69), red (5,498 yards, slope 122, rating 66.8), green/red (4,649 yards, slope 110, rating 62.9), green (4,053 yards, slope 106, rating 60.8). The hardest hole is #5, a par 4 playing 338 yards from the first tee.
Meridian Valley Country Club
Kent, WA
Get PDF Yardage Book
We'll email you the PDF link. No spam, ever.
Create Your Game Plan
Pick your tees, enter your bag, and get a personalized shot-by-shot strategy for every hole.

A straightforward par 4 with a fairway that gradually narrows as it approaches the green. Bunkers protect the right side of the putting surface, demanding accuracy on the approach shot.

A solid par 4 that plays as a key scoring opportunity with relatively open fairway corridors. The green is well-defined but requires a clean approach to avoid missing left or right.
A short par 3 with a modest green that offers straightforward target golf. Water or bunkers frame the approach, making distance control the primary challenge.
A long par 5 that presents a three-shot hole for most players, with a fairway that provides reasonable width off the tee. Strategic bunkering around the green rewards placement and penalizes errant approach shots.

The stroke index 1 hole, a demanding par 4 where length and hazard placement combine to create a stern test. Key bunkers or water hazards likely guard critical areas, making this the course's most challenging four.

A short par 3 with minimal margin for error despite its length. The green is tight and protected, requiring precision to find the putting surface.

A strong par 4 with notable length and strategic hazards placed to penalize poor positioning. The hole's character—whether dogleg, elevated, or protected by water—demands both power and accuracy.

A well-balanced par 4 that plays moderately difficult with hazards positioned to test both tee and approach shots. The fairway width and green accessibility remain fair but unforgiving.
A reachable par 5 that can yield birdies for solid ballstrikers while offering par opportunities for others. Fairway width and green-side hazards define the risk-reward balance on this scoring hole.

The back nine opener, a strong par 4 with notable length and hazards in play. Key bunkers or water likely challenge both the drive and approach, making this a significant test early in the closing stretch.
A solid par 4 with moderate length and strategic bunkering that defines the hole's character. The fairway provides reasonable room off the tee, but approach shot placement is critical to avoid hazards.

A mid-length par 3 with a well-protected green and hazards that punish misses. Distance variation from the back tees presents a meaningful challenge compared to forward markers.

The stroke index 2 hole, a formidable par 4 where length combines with strategic hazard placement to create a severe examination. Bunkers or water likely guard the approach, and accuracy is paramount.

A par 5 that plays moderately long and offers birdie chances for quality ballstrikers. Fairway width and green-side protection work together to define the proper strategic approach to this three-shot hole.

A substantial par 4 with length that demands solid striking and accurate placement. Hazards positioned around the green or along the fairway increase the degree of difficulty throughout the hole.

A mid-length par 4 that plays as a reasonable scoring opportunity with a relatively open character. The fairway offers decent width, though the green and its defenses require a precise approach.

The course's easiest par 3, a short hole that allows birdie opportunities for all skill levels. The green is relatively accessible, though subtle slopes and modest hazards still demand competent execution.

The closing par 5 provides a dramatic finish with length and strategic bunkering that frames the climax of the round. The fairway's character and green-side protection make this a fitting finale that rewards aggression and punishes carelessness.
Scorecard
| Hole | 1 | 2 | 3 | 4 | 5 | 6 | 7 | 8 | 9 | Out | 10 | 11 | 12 | 13 | 14 | 15 | 16 | 17 | 18 | In | Tot |
|---|---|---|---|---|---|---|---|---|---|---|---|---|---|---|---|---|---|---|---|---|---|
| Par | 4 | 4 | 3 | 5 | 4 | 3 | 4 | 4 | 5 | 36 | 4 | 4 | 3 | 4 | 5 | 4 | 4 | 3 | 5 | 36 | 72 |
| HCP | 13 | 9 | 15 | 5 | 1 | 17 | 3 | 7 | 11 | 4 | 6 | 12 | 2 | 14 | 8 | 10 | 18 | 16 | |||
| blue | 353 | 355 | 176 | 553 | 417 | 186 | 392 | 395 | 531 | 3358 | 393 | 373 | 214 | 382 | 491 | 444 | 351 | 173 | 524 | 3345 | 6703 |
| blue/white | 353 | 340 | 158 | 553 | 368 | 170 | 392 | 395 | 495 | 3224 | 393 | 338 | 180 | 382 | 491 | 378 | 351 | 162 | 524 | 3199 | 6423 |
| white | 333 | 340 | 158 | 523 | 368 | 170 | 373 | 365 | 495 | 3125 | 365 | 338 | 180 | 372 | 476 | 378 | 338 | 162 | 499 | 3108 | 6233 |
| gold/white | 333 | 325 | 158 | 523 | 340 | 170 | 360 | 355 | 470 | 3034 | 345 | 338 | 150 | 360 | 476 | 370 | 325 | 162 | 499 | 3025 | 6059 |
| gold | 315 | 325 | 145 | 520 | 340 | 145 | 360 | 355 | 470 | 2975 | 345 | 315 | 150 | 360 | 470 | 370 | 325 | 155 | 475 | 2965 | 5940 |
| red | 294 | 255 | 125 | 501 | 338 | 125 | 346 | 340 | 454 | 2778 | 325 | 295 | 119 | 269 | 450 | 355 | 289 | 146 | 472 | 2720 | 5498 |
| green/red | 286 | 255 | 120 | 354 | 217 | 120 | 234 | 340 | 356 | 2282 | 240 | 216 | 87 | 269 | 444 | 279 | 230 | 142 | 460 | 2367 | 4649 |
| green | 230 | 215 | 80 | 354 | 217 | 90 | 234 | 235 | 356 | 2011 | 240 | 216 | 87 | 245 | 325 | 279 | 230 | 100 | 320 | 2042 | 4053 |