Meadows Golf Course is an 18-hole golf course in Moorhead, MN with a par of 72. It offers 5 tee sets: black (6,862 yards, slope 136, rating 73.3), blue (6,490 yards, slope 131, rating 71.4), white (6,162 yards, slope 129, rating 69.8), green (5,577 yards, slope 124, rating 67.2), red (5,150 yards, slope 118, rating 65.2). The hardest hole is #7, a par 5 playing 448 yards from the first tee.
Meadows Golf Course
Moorhead, MN
Get PDF Yardage Book
We'll email you the PDF link. No spam, ever.
Create Your Game Plan
Pick your tees, enter your bag, and get a personalized shot-by-shot strategy for every hole.
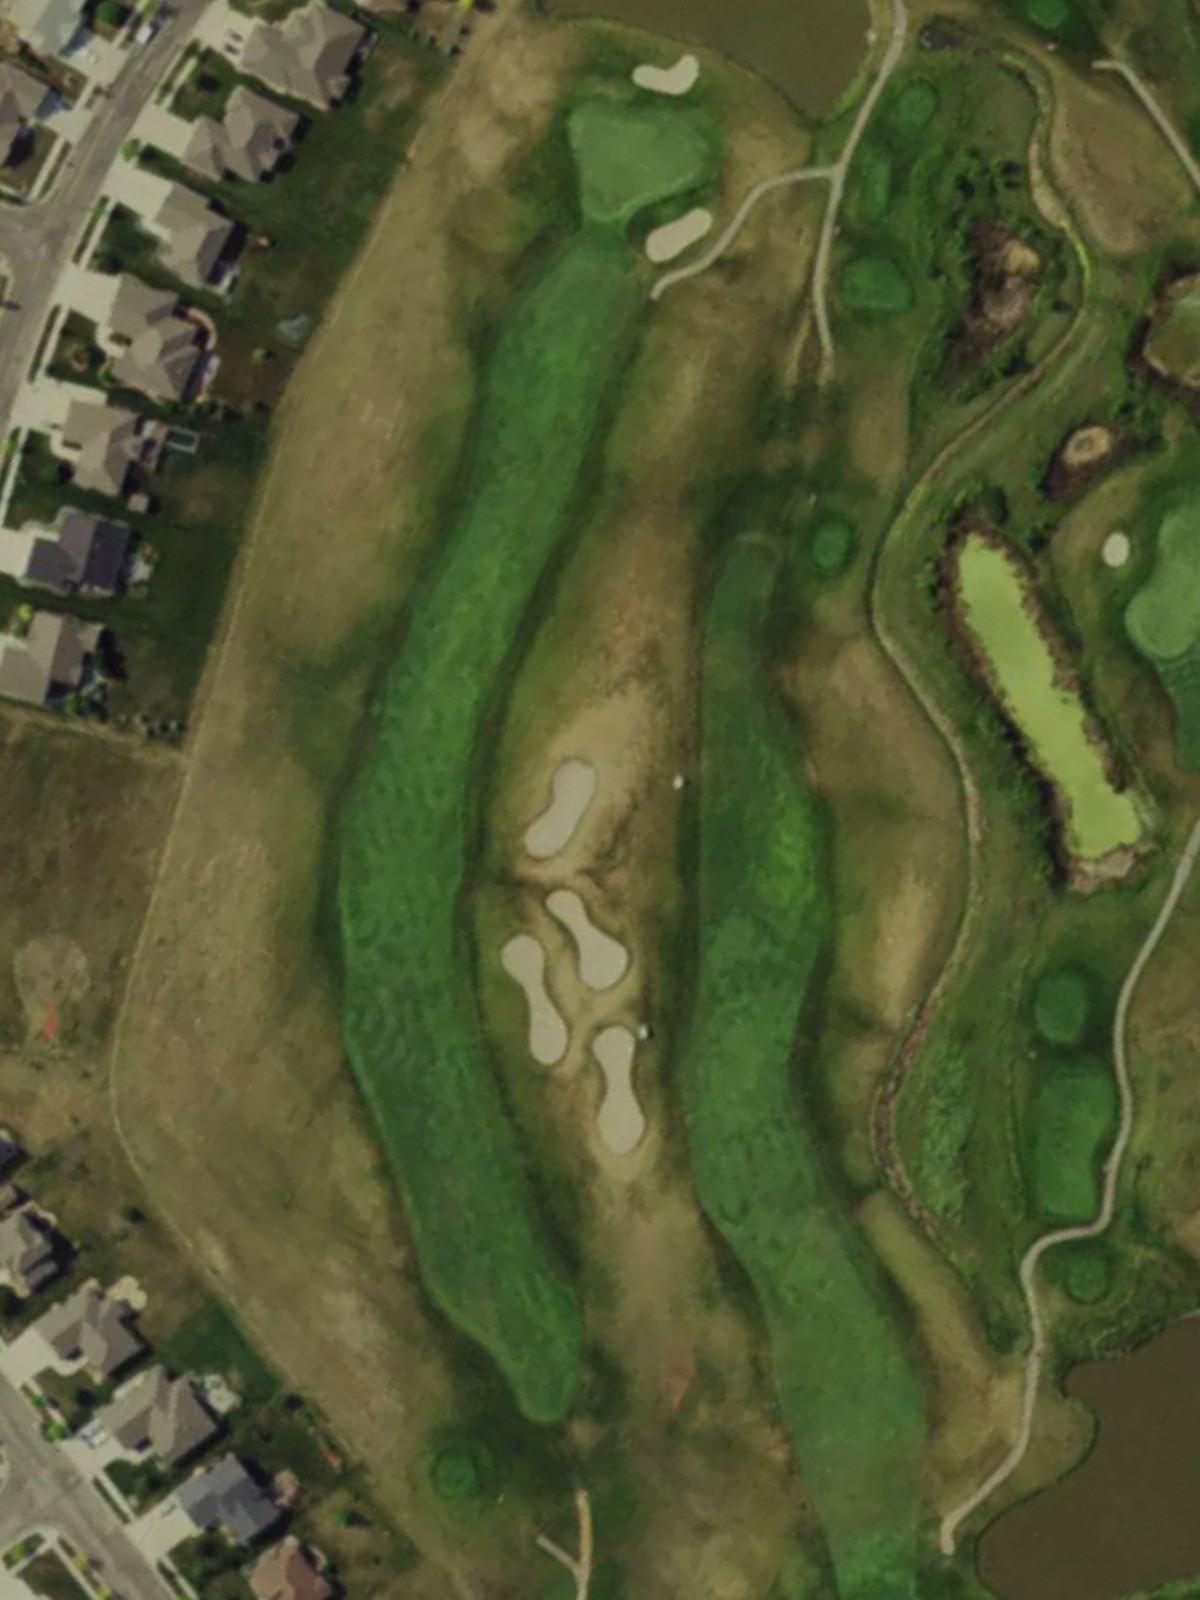
A long par 5 with a relatively open fairway that allows room for positioning on the second shot. The green is well-bunkered and presents a three-shot challenge for most players, making accuracy on the approach more critical than distance off the tee.

A short par 4 that rewards accuracy over length, with a narrow approach into the green. Bunkers and rough frame the landing areas, making this a deceptively tricky opening hole where precision is essential.
A demanding par 4 ranked among the course's most difficult, with a tight fairway that requires placement rather than power. The green is small and well-defended, punishing wayward approaches severely.
A shorter par 4 that offers an opportunity for scoring but demands an accurate approach shot. The green is tight with little margin for error on the second shot.
A straightforward par 3 of modest length with a relatively open green complex. Water or rough hazards frame the sides, requiring a solid tee shot to a receptive target.
The third-most difficult hole on the course, this par 4 features a challenging layout with hazards positioning the fairway and guarding the approach. A long, well-struck second shot is required to reach a demanding green.
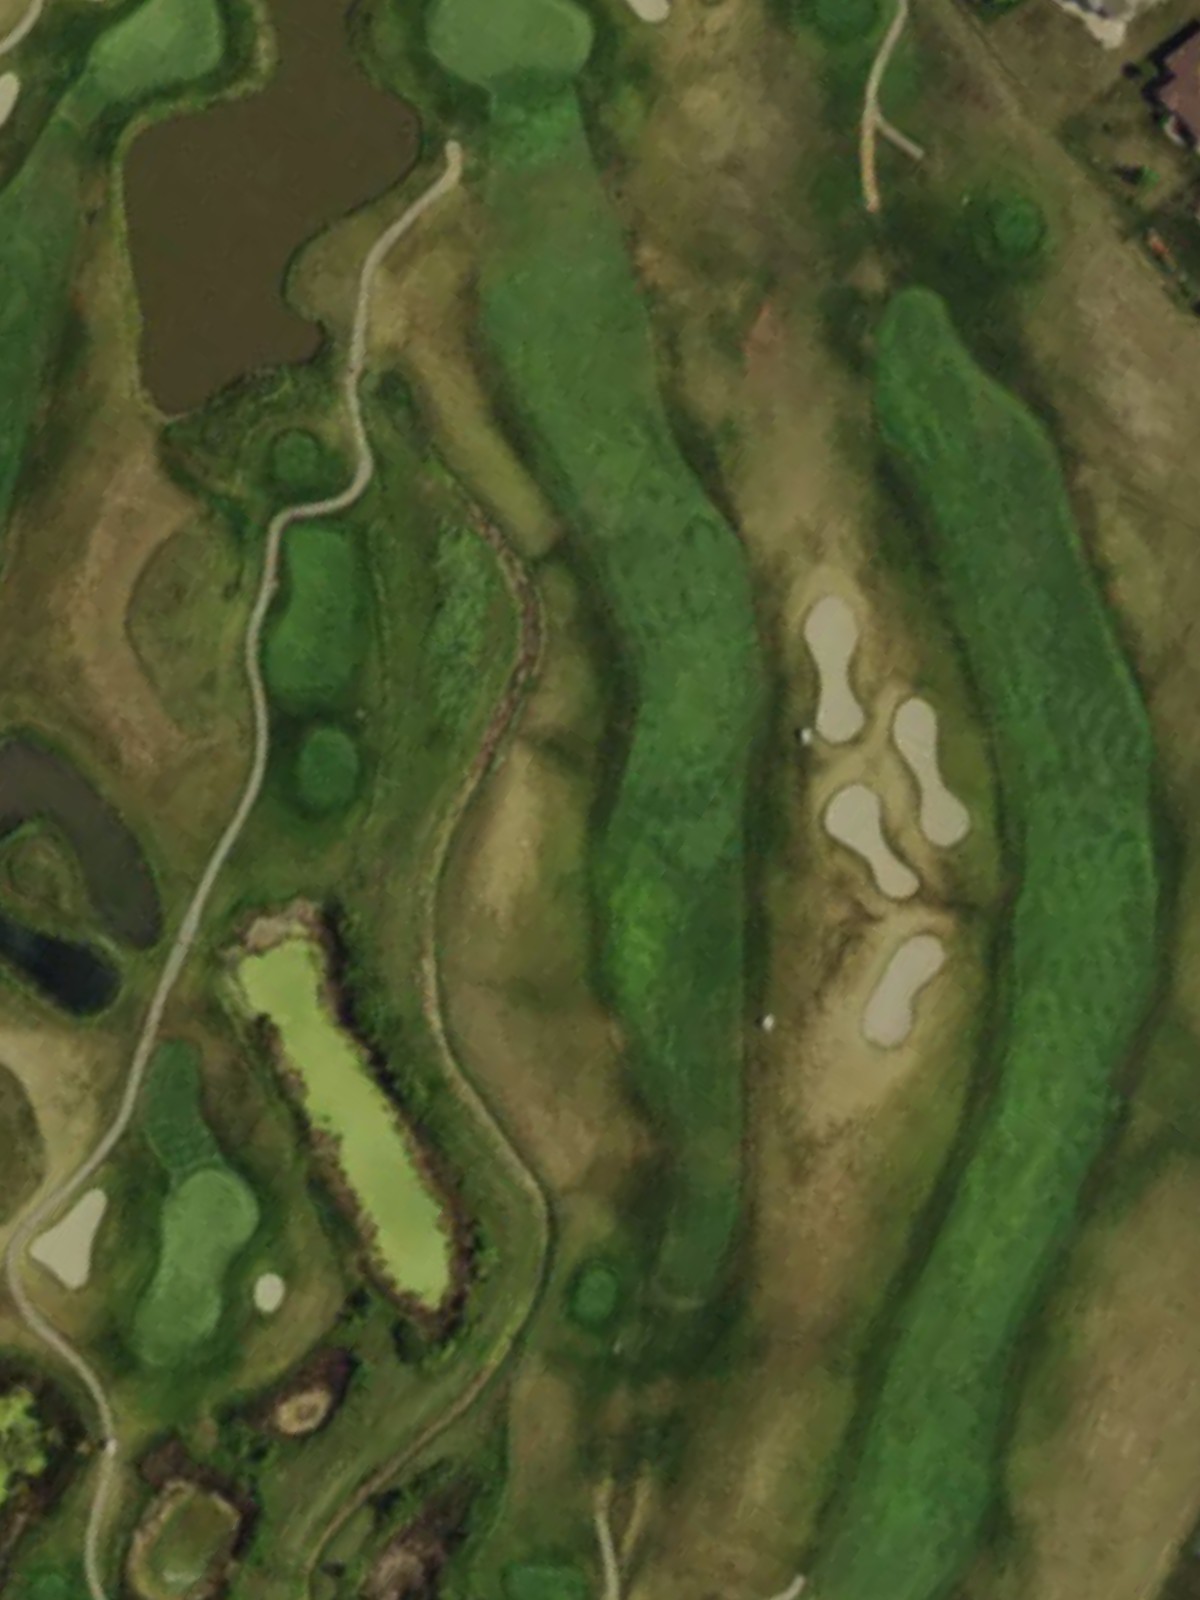
The signature hole and most difficult on the course, this long par 5 demands two precise shots to set up a manageable approach. Strategic positioning off the tee and on the second shot is critical due to hazards throughout the hole.
A short par 3 with a straightforward design and accessible green. This par 3 provides a scoring opportunity despite its modest yardage.
A well-balanced par 4 with a fairway that narrows as it approaches the green. Bunkers and hazards frame the landing area, requiring both distance and accuracy for a solid second shot.
A mid-length par 4 with a relatively open fairway that tightens near the green. Accurate positioning is needed to avoid hazards guarding the approach.
The shortest par 3 on the course, offering a genuine birdie opportunity with a straightforward green. This brief hole provides relief before the back nine intensifies.
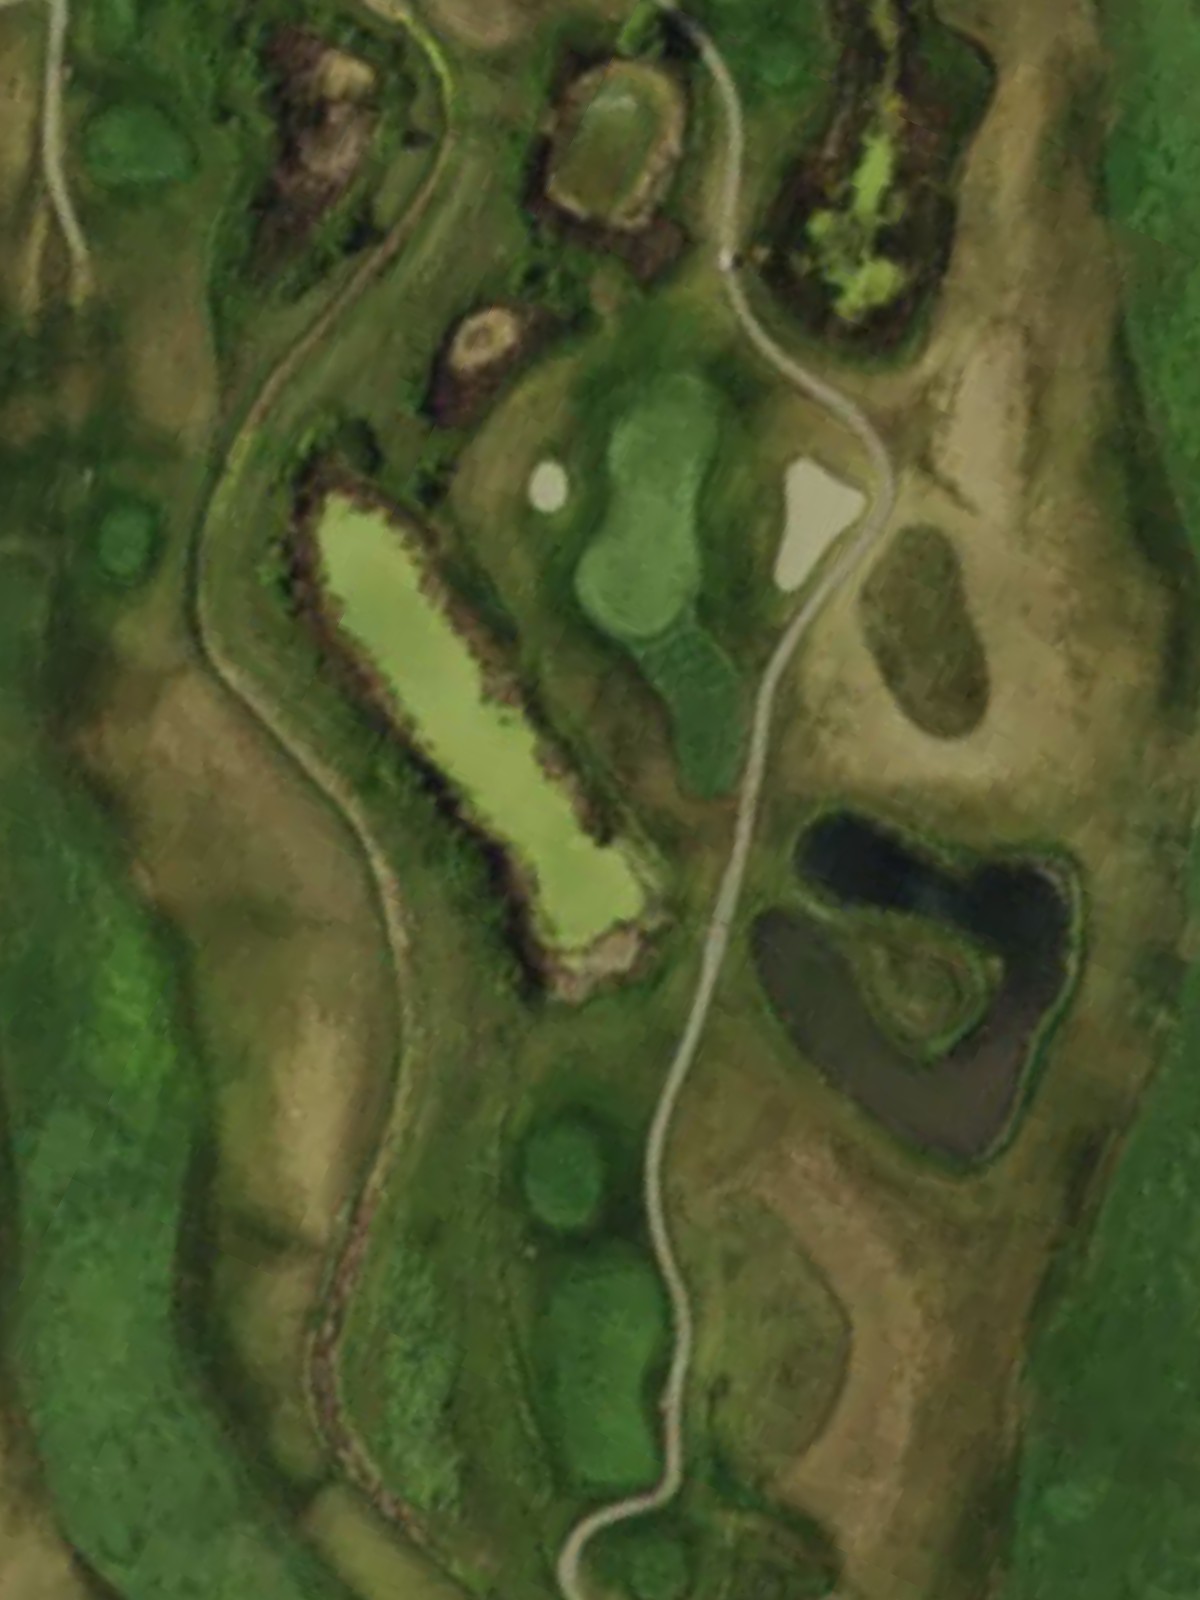
A challenging par 5 with a complex layout requiring strategic shot placement on both the second and third shots. Hazards throughout the hole punish both distance and accuracy mistakes.
A moderate par 4 with a playable fairway that tightens near the green. The approach shot requires precision to avoid bunkers or rough surrounding the putting surface.

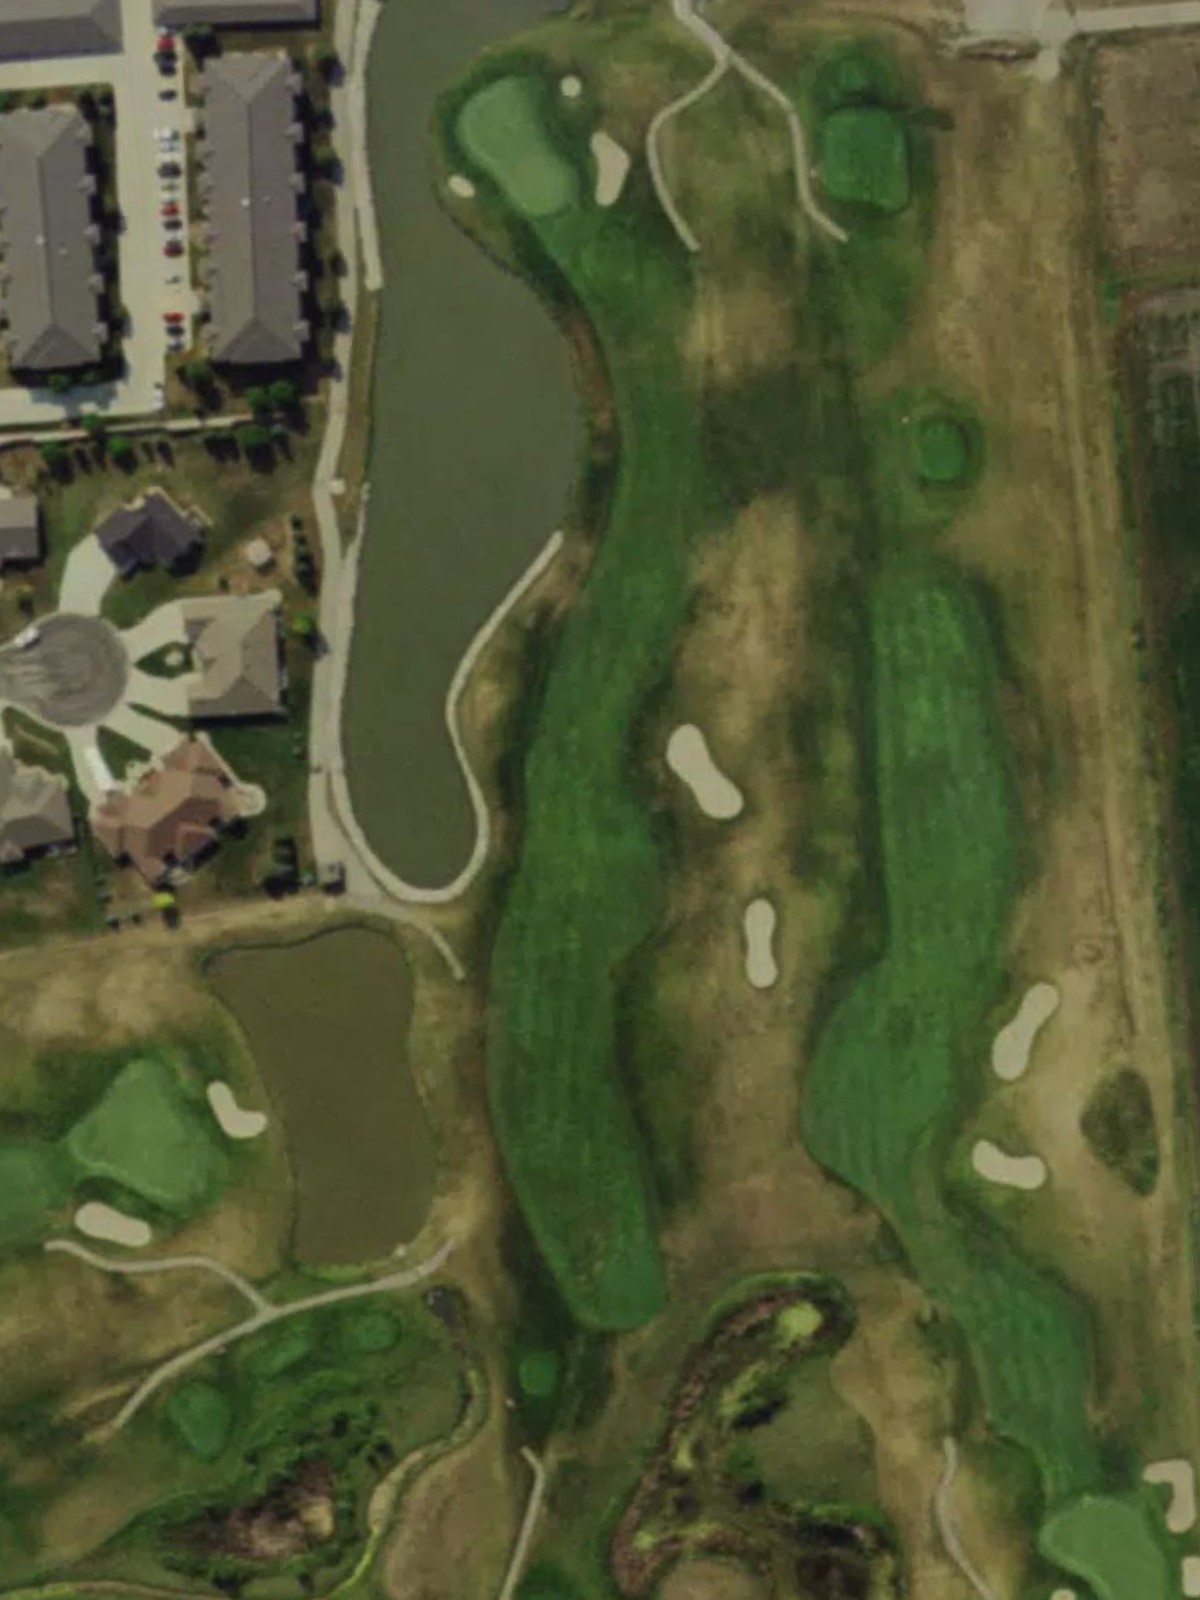
A long par 5 with a fairway that offers options for positioning on the second shot. Strategic placement is crucial as hazards guard various landing areas and the green.
The second-most difficult hole on the course, this par 4 features a tight fairway and a well-defended green. Both the drive and approach require precision, with little forgiveness for errant shots.
A mid-length par 4 with a straightforward fairway that demands an accurate approach to a moderately-sized green. Bunkers and rough frame the landing areas strategically.
A mid-range par 3 with a green that is accessible but requires a committed tee shot to a well-defined target. Hazards surrounding the green demand accuracy from the tee.
A finishing par 4 ranked fourth in difficulty, featuring a tight fairway and a well-bunkered green that demands a precise approach. This challenging closer provides a fitting conclusion to the round.
Scorecard
| Hole | 1 | 2 | 3 | 4 | 5 | 6 | 7 | 8 | 9 | Out | 10 | 11 | 12 | 13 | 14 | 15 | 16 | 17 | 18 | In | Tot |
|---|---|---|---|---|---|---|---|---|---|---|---|---|---|---|---|---|---|---|---|---|---|
| Par | 5 | 4 | 4 | 4 | 3 | 4 | 5 | 3 | 4 | 36 | 4 | 3 | 5 | 4 | 5 | 4 | 4 | 3 | 4 | 36 | 72 |
| HCP | 9 | 17 | 5 | 13 | 15 | 3 | 1 | 11 | 7 | 12 | 18 | 6 | 16 | 10 | 2 | 8 | 14 | 4 | |||
| black | 514 | 368 | 417 | 332 | 205 | 440 | 563 | 201 | 437 | 3477 | 386 | 136 | 512 | 385 | 513 | 454 | 408 | 184 | 407 | 3385 | 6862 |
| blue | 504 | 338 | 392 | 303 | 196 | 422 | 538 | 187 | 400 | 3280 | 361 | 125 | 496 | 370 | 496 | 426 | 384 | 163 | 389 | 3210 | 6490 |
| white | 494 | 317 | 366 | 288 | 175 | 402 | 517 | 165 | 388 | 3112 | 336 | 117 | 475 | 360 | 480 | 410 | 360 | 143 | 369 | 3050 | 6162 |
| green | 494 | 317 | 307 | 288 | 147 | 344 | 448 | 165 | 332 | 2842 | 277 | 117 | 475 | 292 | 480 | 351 | 293 | 143 | 307 | 2735 | 5577 |
| red | 406 | 257 | 307 | 228 | 147 | 344 | 448 | 132 | 332 | 2601 | 277 | 84 | 415 | 292 | 414 | 351 | 293 | 116 | 307 | 2549 | 5150 |