Meadowbrook At Clayton is an 18-hole golf course in Clayton, OH with a par of 72. It offers 4 tee sets: blue (6,577 yards, slope 131, rating 71.9), white (6,242 yards, slope 128, rating 70.4), grey (5,431 yards, slope 121, rating 66.7), red (5,294 yards, slope 119, rating 66.2). The hardest hole is #4, a par 4 playing 343 yards from the first tee.
Meadowbrook At Clayton
Clayton, OH
Get PDF Yardage Book
We'll email you the PDF link. No spam, ever.
Create Your Game Plan
Pick your tees, enter your bag, and get a personalized shot-by-shot strategy for every hole.
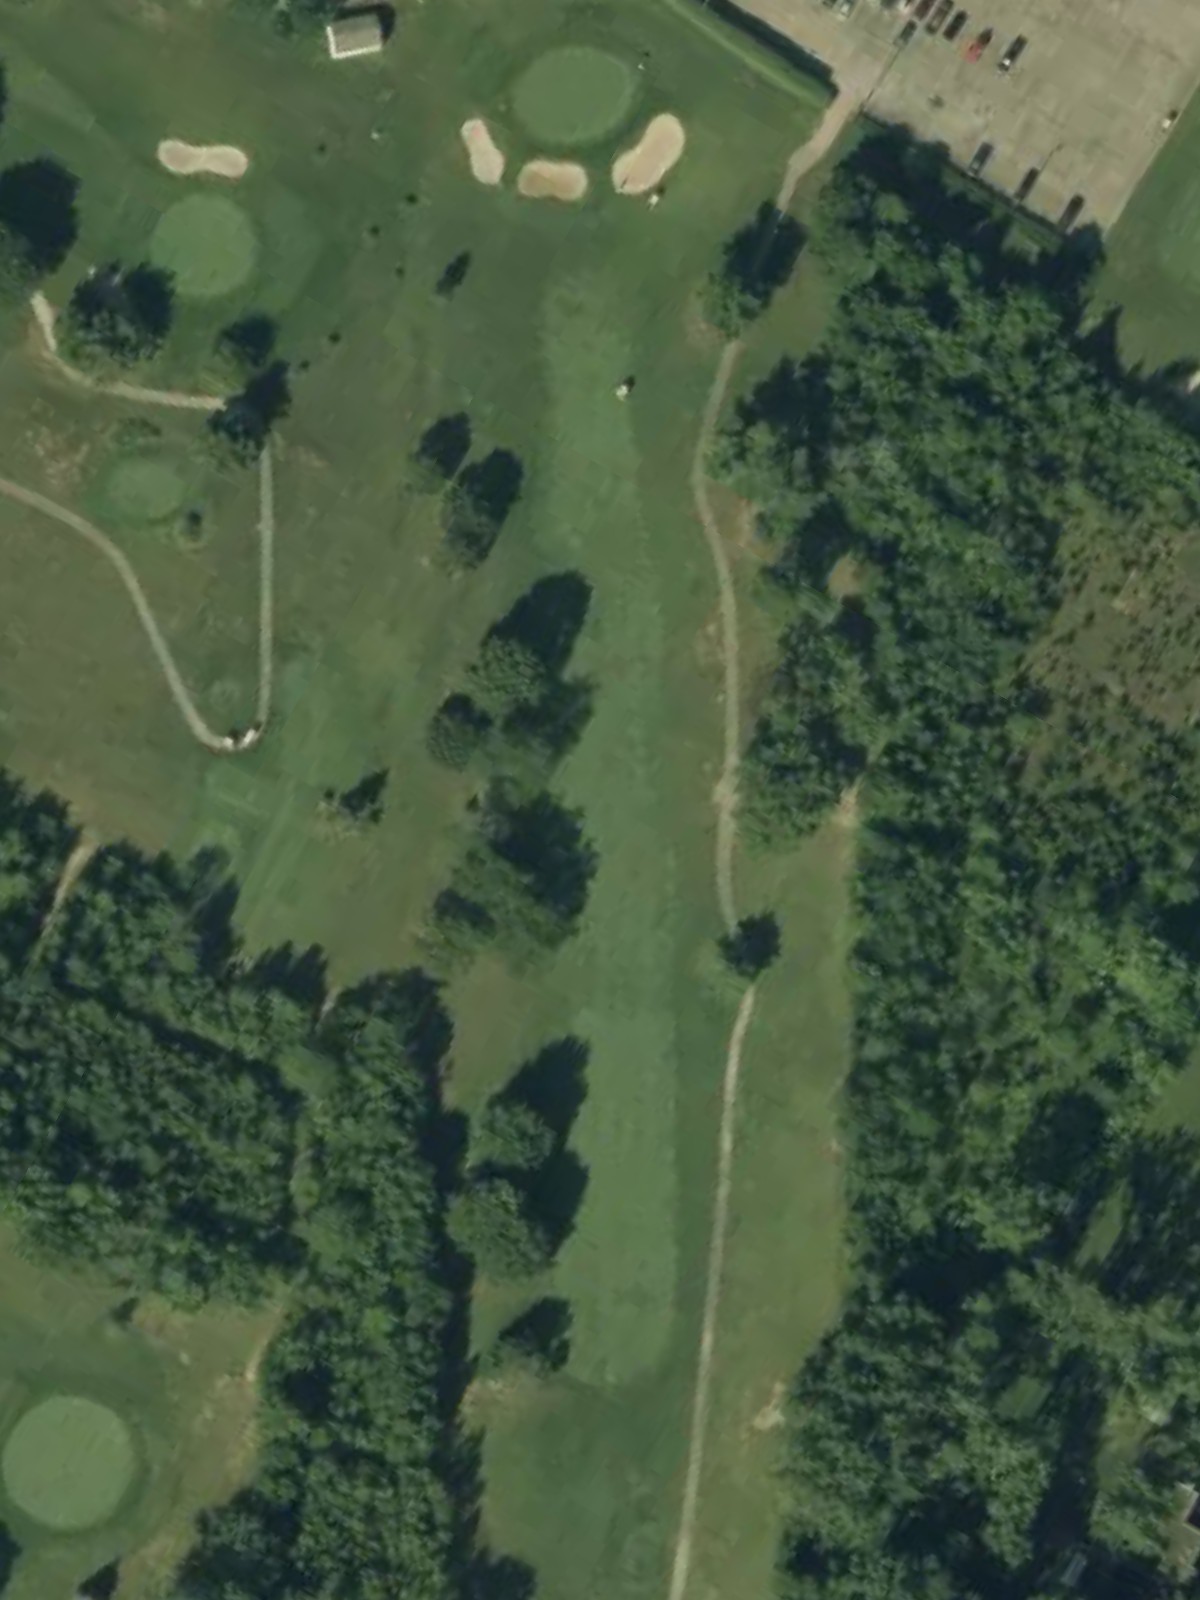
A welcoming opening par 4 that plays relatively short and straightforward. The fairway is wide off the tee but narrows as it approaches the green, with bunkers guarding the right side that demand accuracy on the approach shot.
A lengthy par 5 that rewards aggressive play for longer hitters. The hole features a generous fairway corridor, though positioning is key for reaching the green in three strokes or setting up a manageable approach.
A short par 3 with a modest target that plays downhill to the green. The compact hole provides a birdie opportunity but demands accuracy, with trouble surrounding the putting surface.
The most difficult hole on the course, this par 4 presents a stern test with its length and demanding approach. Strategic positioning off the tee is critical, as the fairway tightens significantly near the well-guarded green.
A mid-length par 4 with a fairway that offers room for the tee shot before narrowing into the green. The approach requires precision, with hazards framing both sides of the final approach zone.
A solid par 4 that balances length with playability. The fairway corridor is defined by trouble on both sides, particularly as the hole doglegs slightly and funnels toward a well-protected green.
A substantial par 5 that provides multiple routes to the green depending on the player's length and accuracy. The fairway widens off the tee but gradually tightens, with strategic positioning important for avoiding hazards on the approach.
A mid-length par 3 requiring a confident tee shot to a green that is relatively open but surrounded by trouble. Wind and elevation can significantly affect club selection on this one-shot hole.
A shorter par 4 that plays more open than it appears, offering a birdie opportunity for well-struck shots. The fairway is receptive off the tee, with the principal challenge coming in the approach to a modestly sized green.
A dramatic par 4 that shortens considerably for shorter-hitting players while stretching significantly for those playing from the back tees. Strategic bunkering and hazards force careful positioning throughout the hole.
A mid-length par 3 with a straightforward tee shot to a moderately sized green. The hole's challenge lies in the hazards surrounding the target and the precision required to avoid them.
A strong par 5 early on the back nine that demands respect due to its length and complexity. The fairway provides a clear path for the first shot, but hazards tighten around the green and complicate the approach.
The second-most difficult hole on the course, this par 4 is both long and tightly bunkered. The fairway pinches near the green, leaving little margin for error on the approach shot to a well-defended target.
A straightforward par 3 that plays to a generously sized green with minimal framing hazards. This shorter one-shotter provides a mental break in the round before the closing stretch.
A manageable par 4 with a receptive fairway off the tee and a relatively open approach to the green. The hole's moderate length and cleaner lines make it an opportunity for a strong score.
A compact par 4 with multiple strategic options depending on the player's strengths and the wind conditions. The fairway narrows as it approaches the green, which is guarded by bunkers and surrounded by trouble.
A powerful par 5 that concludes the back nine with a substantial challenge, offering aggressive players a chance to reach in two but rewarding conservative play with good positioning. The fairway is relatively open but pinches near the green.
A finishing par 4 of moderate length that plays more difficult than its yardage suggests due to strategic bunkering and a narrowing fairway. The approach to the green requires precision, with hazards framing the final shot.
Scorecard
| Hole | 1 | 2 | 3 | 4 | 5 | 6 | 7 | 8 | 9 | Out | 10 | 11 | 12 | 13 | 14 | 15 | 16 | 17 | 18 | In | Tot |
|---|---|---|---|---|---|---|---|---|---|---|---|---|---|---|---|---|---|---|---|---|---|
| Par | 4 | 5 | 3 | 4 | 4 | 4 | 5 | 3 | 4 | 36 | 4 | 3 | 5 | 4 | 3 | 4 | 4 | 5 | 4 | 36 | 72 |
| HCP | 17 | 3 | 11 | 1 | 9 | 7 | 5 | 15 | 13 | 10 | 14 | 4 | 2 | 18 | 16 | 8 | 6 | 12 | |||
| blue | 318 | 566 | 164 | 418 | 389 | 380 | 574 | 187 | 343 | 3339 | 390 | 204 | 503 | 393 | 194 | 352 | 372 | 467 | 363 | 3238 | 6577 |
| white | 306 | 523 | 146 | 409 | 375 | 366 | 564 | 175 | 324 | 3188 | 380 | 196 | 458 | 379 | 182 | 331 | 362 | 435 | 331 | 3054 | 6242 |
| grey | 299 | 459 | 120 | 343 | 318 | 331 | 480 | 133 | 265 | 2748 | 343 | 160 | 424 | 321 | 170 | 310 | 298 | 377 | 280 | 2683 | 5431 |
| red | 299 | 419 | 120 | 343 | 318 | 331 | 480 | 133 | 265 | 2708 | 246 | 160 | 424 | 321 | 170 | 310 | 298 | 377 | 280 | 2586 | 5294 |