Mccormick Woods Golf Club is an 18-hole golf course in Port Orchard, WA with a par of 72. It offers 9 tee sets: black (6,997 yards, slope 135, rating 74.6), blue (6,608 yards, slope 132, rating 72.6), blue/white (6,358 yards, slope 130, rating 71.2), white (6,110 yards, slope 126, rating 70.2), white/green (5,922 yards, slope 124, rating 69.5), green (5,692 yards, slope 119, rating 68.5), green/red (5,335 yards, slope 118, rating 66.6), red (5,218 yards, slope 116, rating 66.1), gold (3,571 yards, slope 100, rating 60). The hardest hole is #16, a par 4 playing 358 yards from the first tee.
Mccormick Woods Golf Club
Port Orchard, WA
Get PDF Yardage Book
We'll email you the PDF link. No spam, ever.
Create Your Game Plan
Pick your tees, enter your bag, and get a personalized shot-by-shot strategy for every hole.
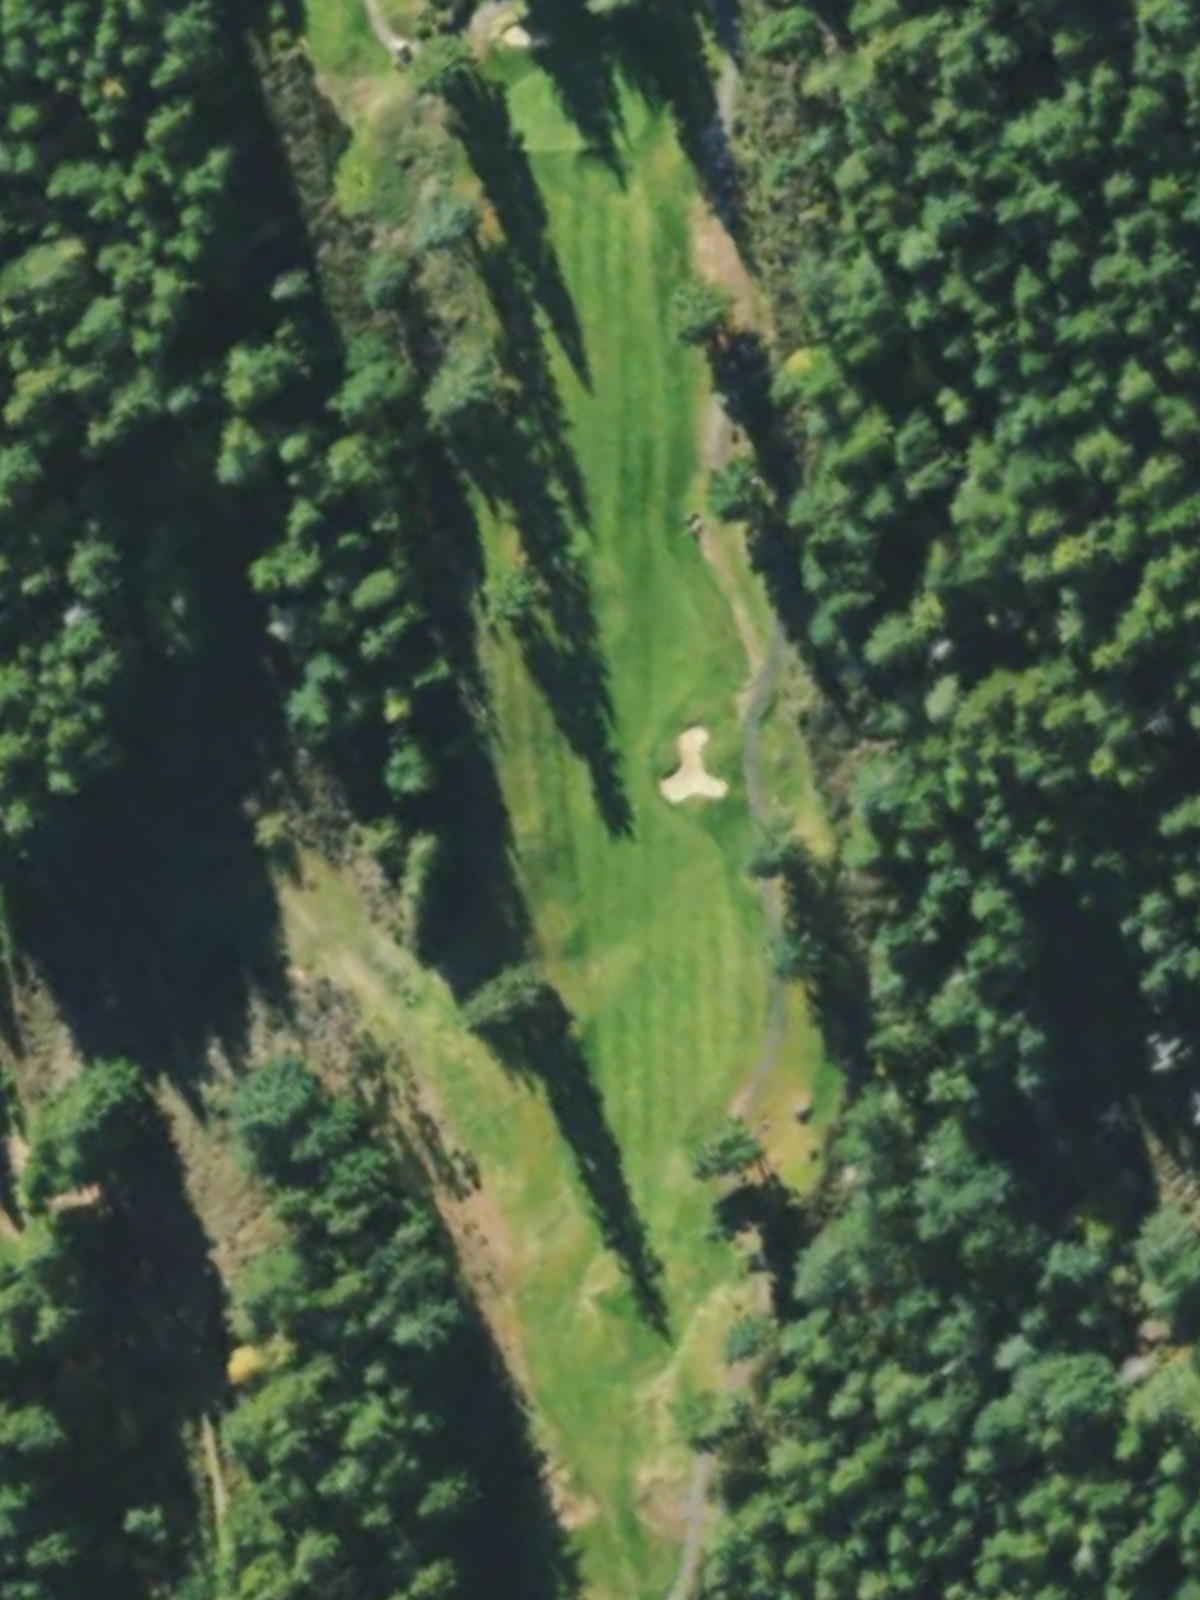
A straightforward par 4 with a fairway that gradually narrows approaching the green. Bunkers protect the right side of the green, demanding accuracy on the approach shot to avoid sand.
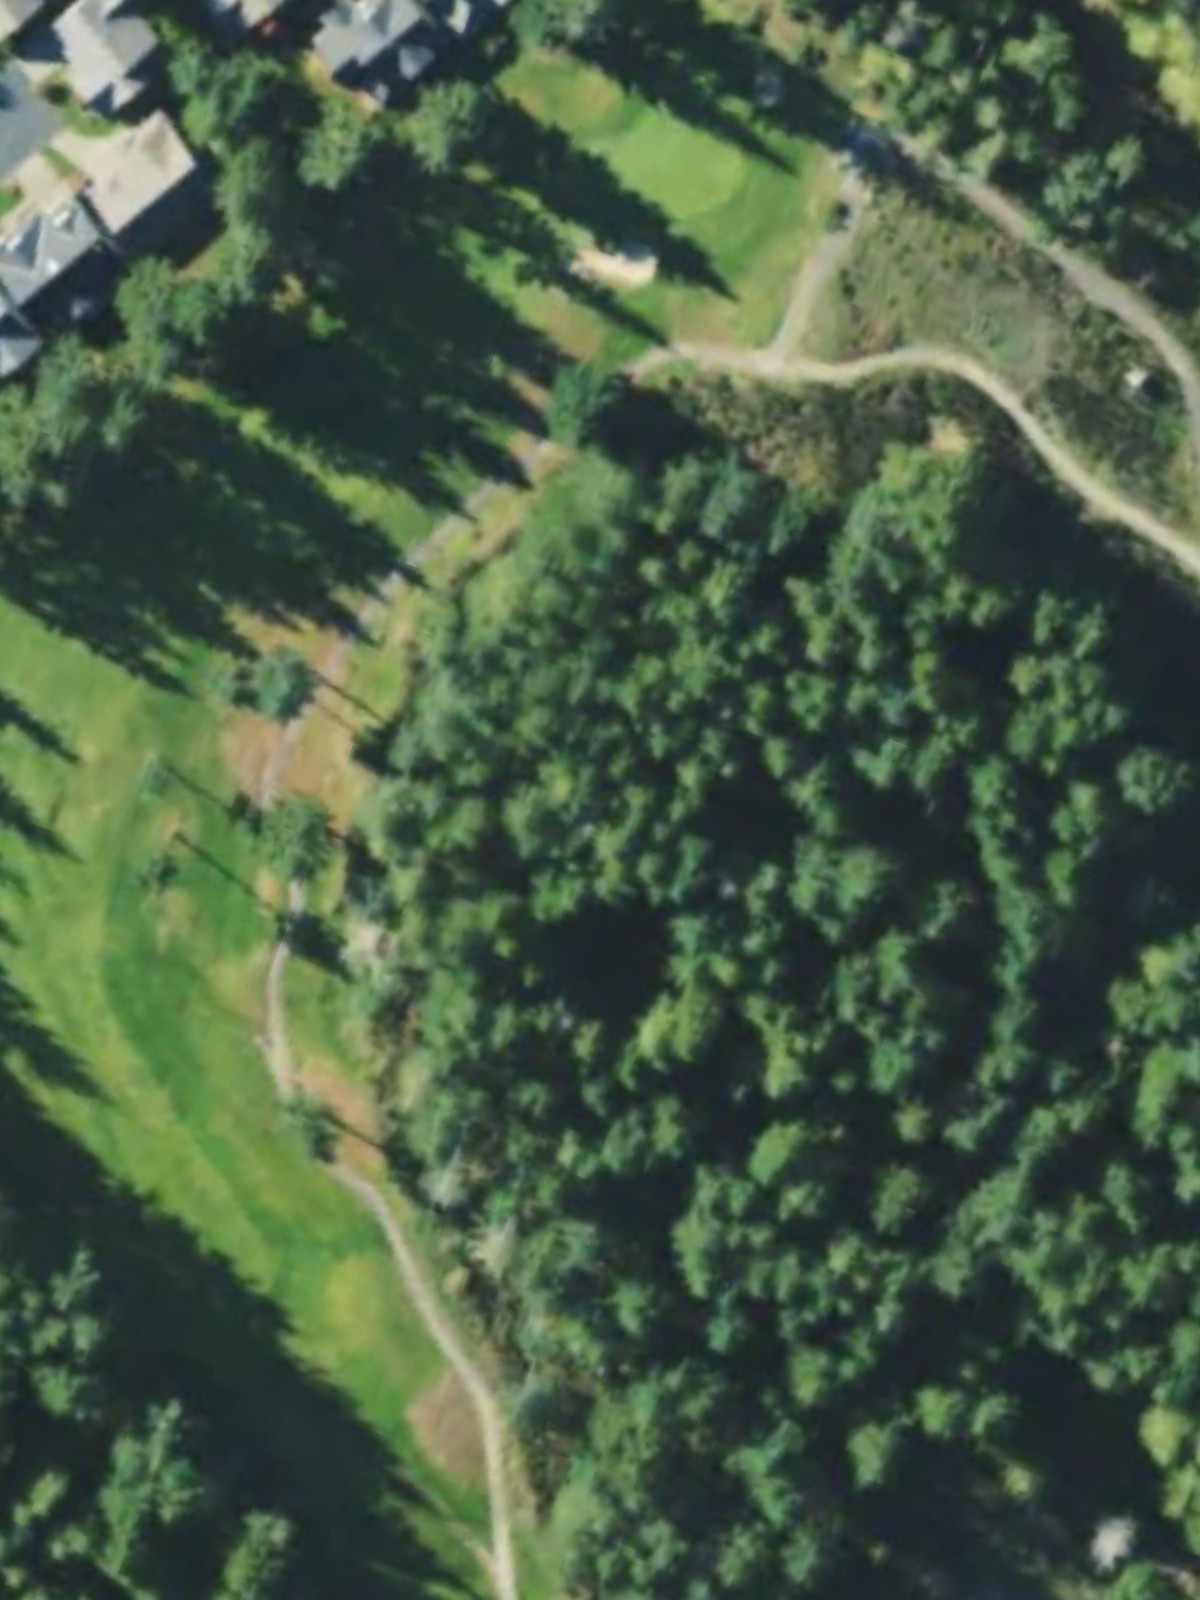
A lengthy par 5 offering multiple routes to the green for players of varying distances. The hole's primary challenge lies in positioning the ball for a manageable final approach rather than hazards blocking the way.

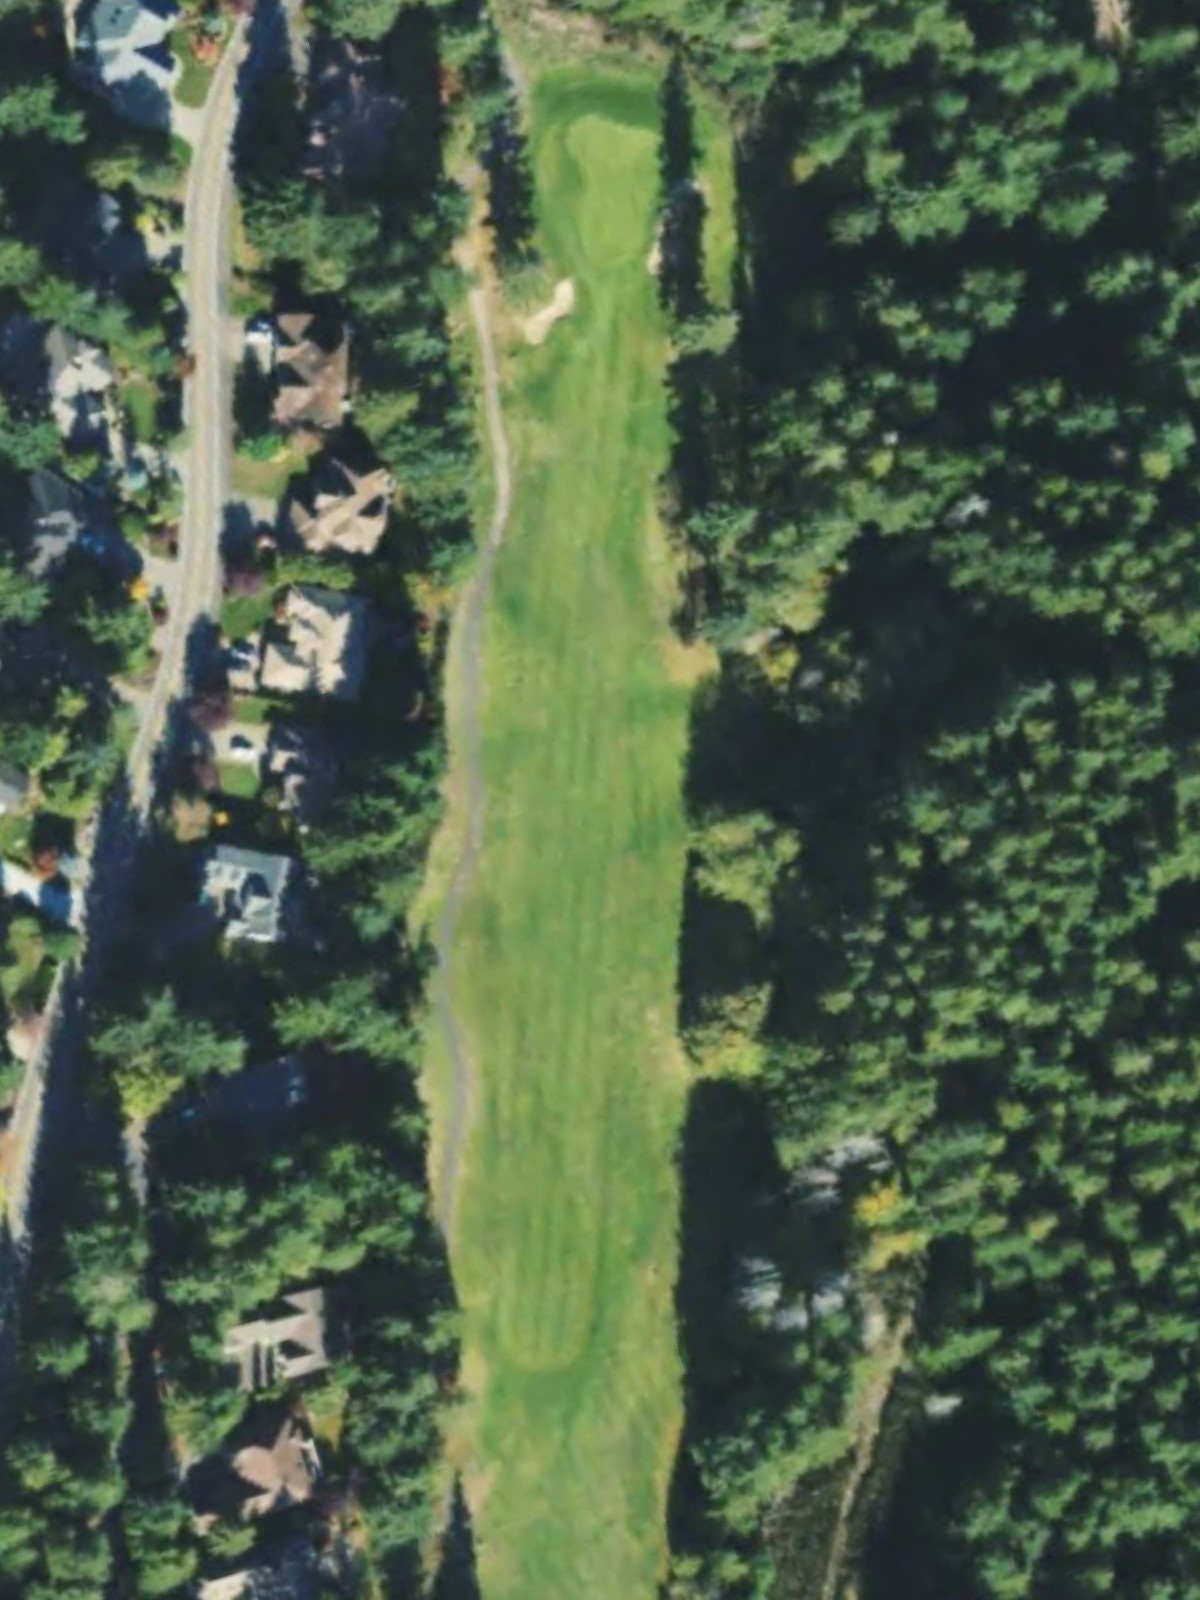
A demanding par 4 that plays as one of the course's most difficult holes. The fairway requires a precise tee shot, with bunkers and hazards positioned to penalize both wayward drives and poor approach shots.
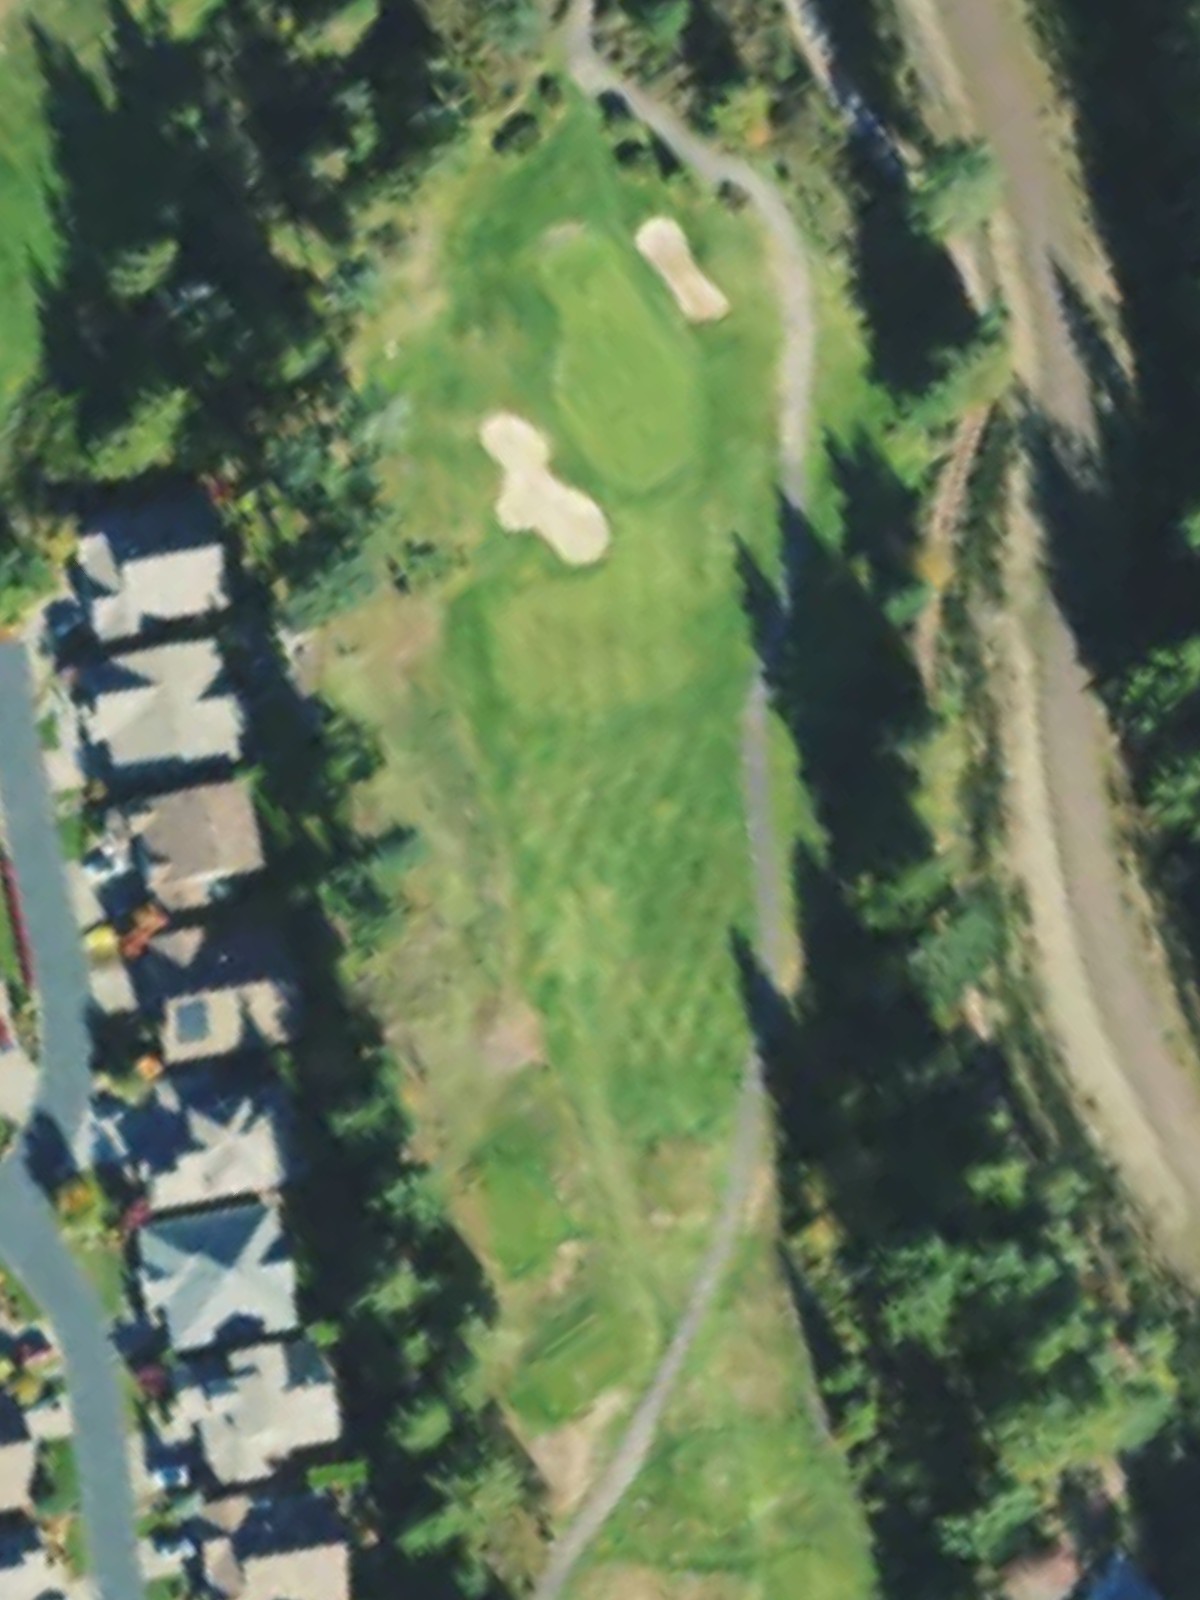
A short par 3 that offers the most generous scoring opportunity on the course. The hole plays downhill to a receptive green with minimal hazards, making it an ideal birdie chance.
A mid-length par 4 with a relatively open fairway and a straightforward approach to the green. The hole's moderate difficulty is offset by its manageable length and lack of severe hazards.
One of the course's most challenging par 4s with a demanding layout that penalizes imprecision throughout. Hazards and strategic bunkering require careful positioning on both tee and approach shots.
A short par 3 playing to a small green surrounded by minimal hazards. The hole's brevity and straightforward nature provide a welcome respite among longer, more complex holes.
A short par 4 that rewards aggressive play from tee to green. The hole's compact length and relatively open design make it an excellent scoring opportunity despite its mid-course placement.
A substantial par 5 featuring length as its primary challenge. The hole stretches significantly from the back tees, requiring well-executed shots to reach the green in regulation.
A mid-length par 4 with a balanced layout that tests accuracy without excessive hazard placement. The hole's moderate difficulty reflects its mid-handicap rating among the course's par 4s.
A short par 3 that plays to a small, accessible green with minimal surrounding hazards. The hole provides another birdie opportunity and continues a pattern of shorter, more forgiving par 3s.
A short par 4 playing downhill with a relatively open fairway and straightforward approach. The hole's brevity and manageable hazards make it another good scoring opportunity on the back nine.
A long par 5 ranking among the course's most difficult holes, demanding power and precision from the tee. Strategic positioning is critical throughout the hole, with hazards and bunkers penalizing poor execution.
A challenging par 4 that ranks fifth among the course's most difficult holes. The fairway and green demand careful navigation, with hazards positioned to test both tee and approach shots.
A moderate-length par 4 with a relatively balanced layout. The hole presents a fair test without excessive difficulty, offering a solid scoring opportunity in the correct position on the course.
The course's most difficult par 4, playing to nearly 440 yards from the back tees. Every shot requires precision, with hazards and strategic bunkering positioned to challenge even accomplished players throughout the hole.
A short par 3 with a modest green and minimal hazard protection. The hole provides another accessible scoring opportunity and continues the course's pattern of well-spaced par 3s.
A long par 5 that concludes the round with a substantial test of distance and accuracy. The hole's length and strategic hazard placement demand solid execution to finish the course on a positive note.
Scorecard
| Hole | 1 | 2 | 3 | 4 | 5 | 6 | 7 | 8 | 9 | Out | 10 | 11 | 12 | 13 | 14 | 15 | 16 | 17 | 18 | In | Tot |
|---|---|---|---|---|---|---|---|---|---|---|---|---|---|---|---|---|---|---|---|---|---|
| Par | 4 | 5 | 4 | 3 | 4 | 4 | 3 | 4 | 5 | 36 | 4 | 3 | 4 | 5 | 4 | 4 | 4 | 3 | 5 | 36 | 72 |
| HCP | 12 | 6 | 4 | 18 | 10 | 2 | 14 | 16 | 8 | 7 | 17 | 15 | 3 | 5 | 13 | 1 | 11 | 9 | |||
| black | 391 | 529 | 436 | 236 | 388 | 448 | 142 | 373 | 576 | 3519 | 432 | 217 | 338 | 501 | 403 | 421 | 435 | 223 | 508 | 3478 | 6997 |
| blue | 378 | 512 | 415 | 222 | 372 | 407 | 133 | 351 | 541 | 3331 | 395 | 192 | 331 | 483 | 390 | 387 | 415 | 192 | 492 | 3277 | 6608 |
| blue/white | 378 | 482 | 388 | 142 | 372 | 407 | 133 | 351 | 541 | 3194 | 395 | 192 | 331 | 483 | 368 | 354 | 389 | 160 | 492 | 3164 | 6358 |
| white | 357 | 482 | 388 | 142 | 350 | 382 | 121 | 313 | 502 | 3037 | 369 | 180 | 318 | 455 | 368 | 354 | 389 | 160 | 480 | 3073 | 6110 |
| white/green | 357 | 409 | 388 | 142 | 350 | 354 | 121 | 313 | 472 | 2906 | 369 | 160 | 318 | 455 | 348 | 354 | 372 | 160 | 480 | 3016 | 5922 |
| green | 348 | 409 | 382 | 135 | 323 | 354 | 117 | 288 | 472 | 2828 | 344 | 160 | 304 | 430 | 348 | 333 | 372 | 122 | 451 | 2864 | 5692 |
| green/red | 316 | 409 | 359 | 117 | 296 | 292 | 103 | 288 | 445 | 2625 | 323 | 103 | 304 | 418 | 329 | 333 | 358 | 122 | 420 | 2710 | 5335 |
| red | 316 | 367 | 359 | 117 | 296 | 292 | 103 | 265 | 445 | 2560 | 323 | 103 | 278 | 418 | 329 | 313 | 358 | 116 | 420 | 2658 | 5218 |
| gold | 191 | 204 | 180 | 107 | 131 | 266 | 95 | 167 | 392 | 1733 | 197 | 90 | 167 | 309 | 232 | 203 | 226 | 89 | 325 | 1838 | 3571 |