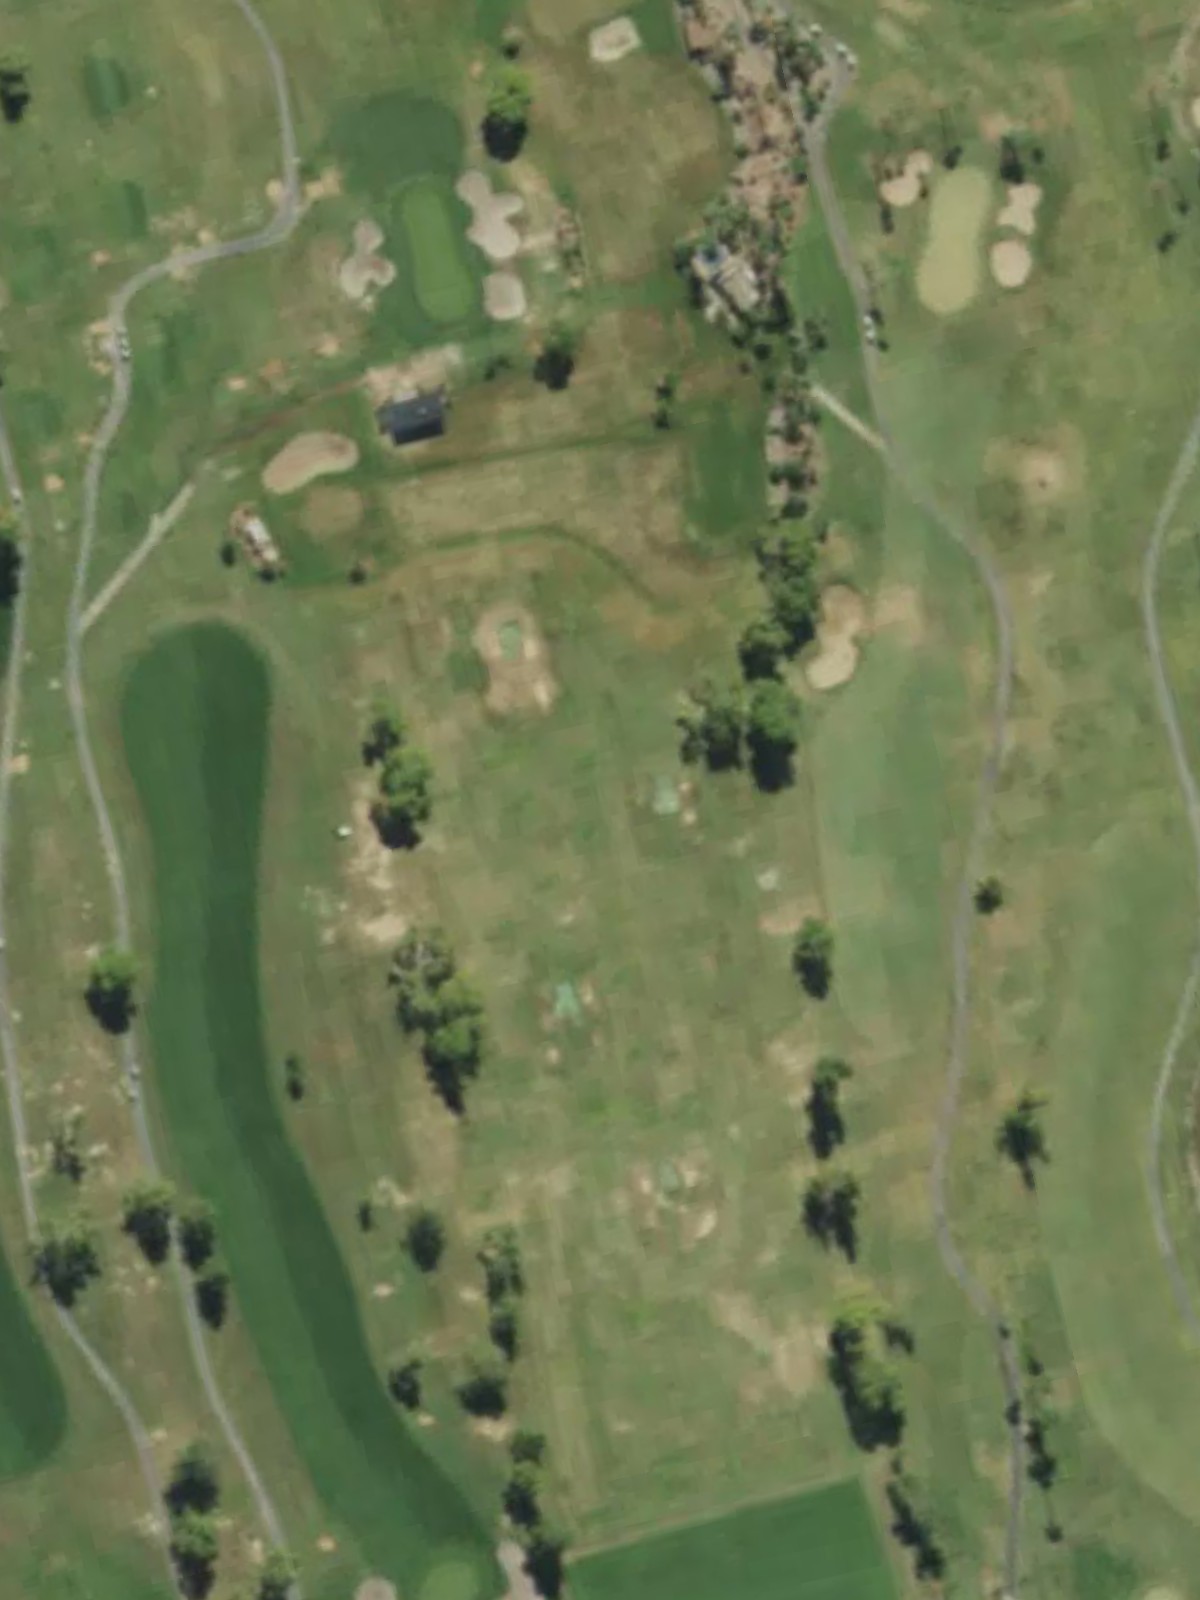
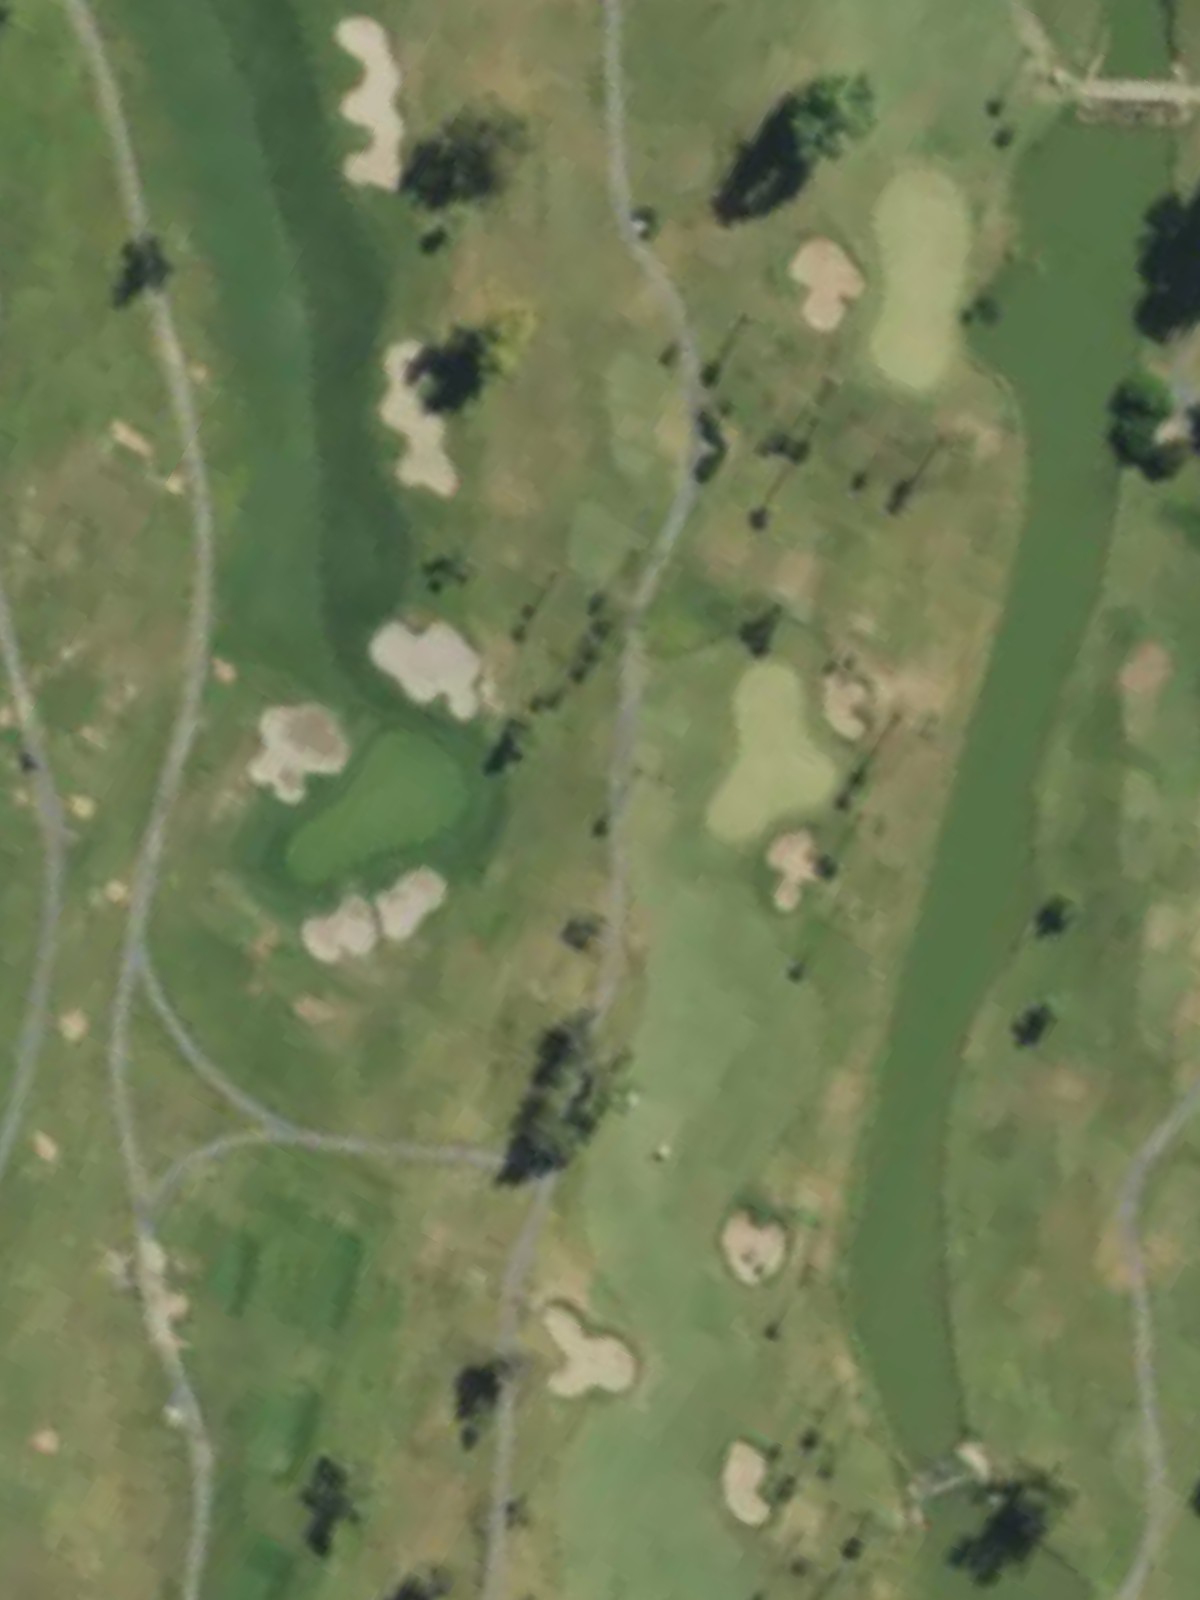
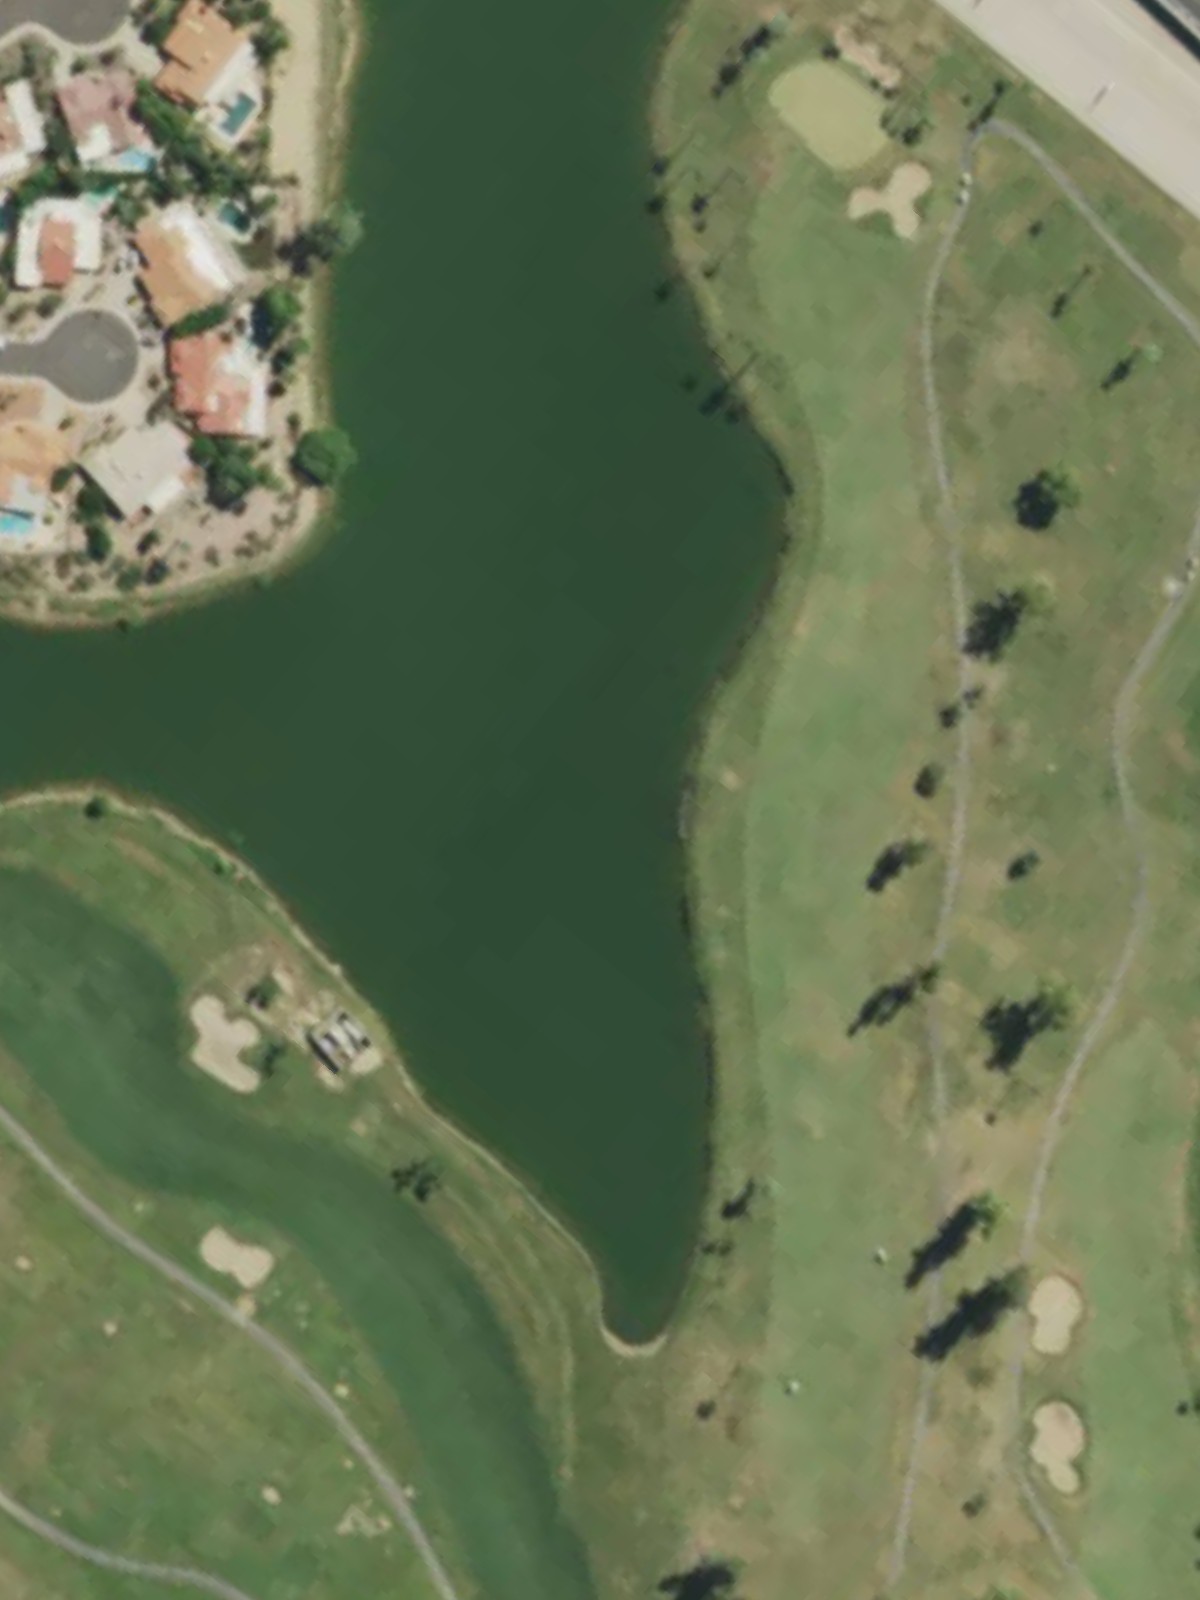
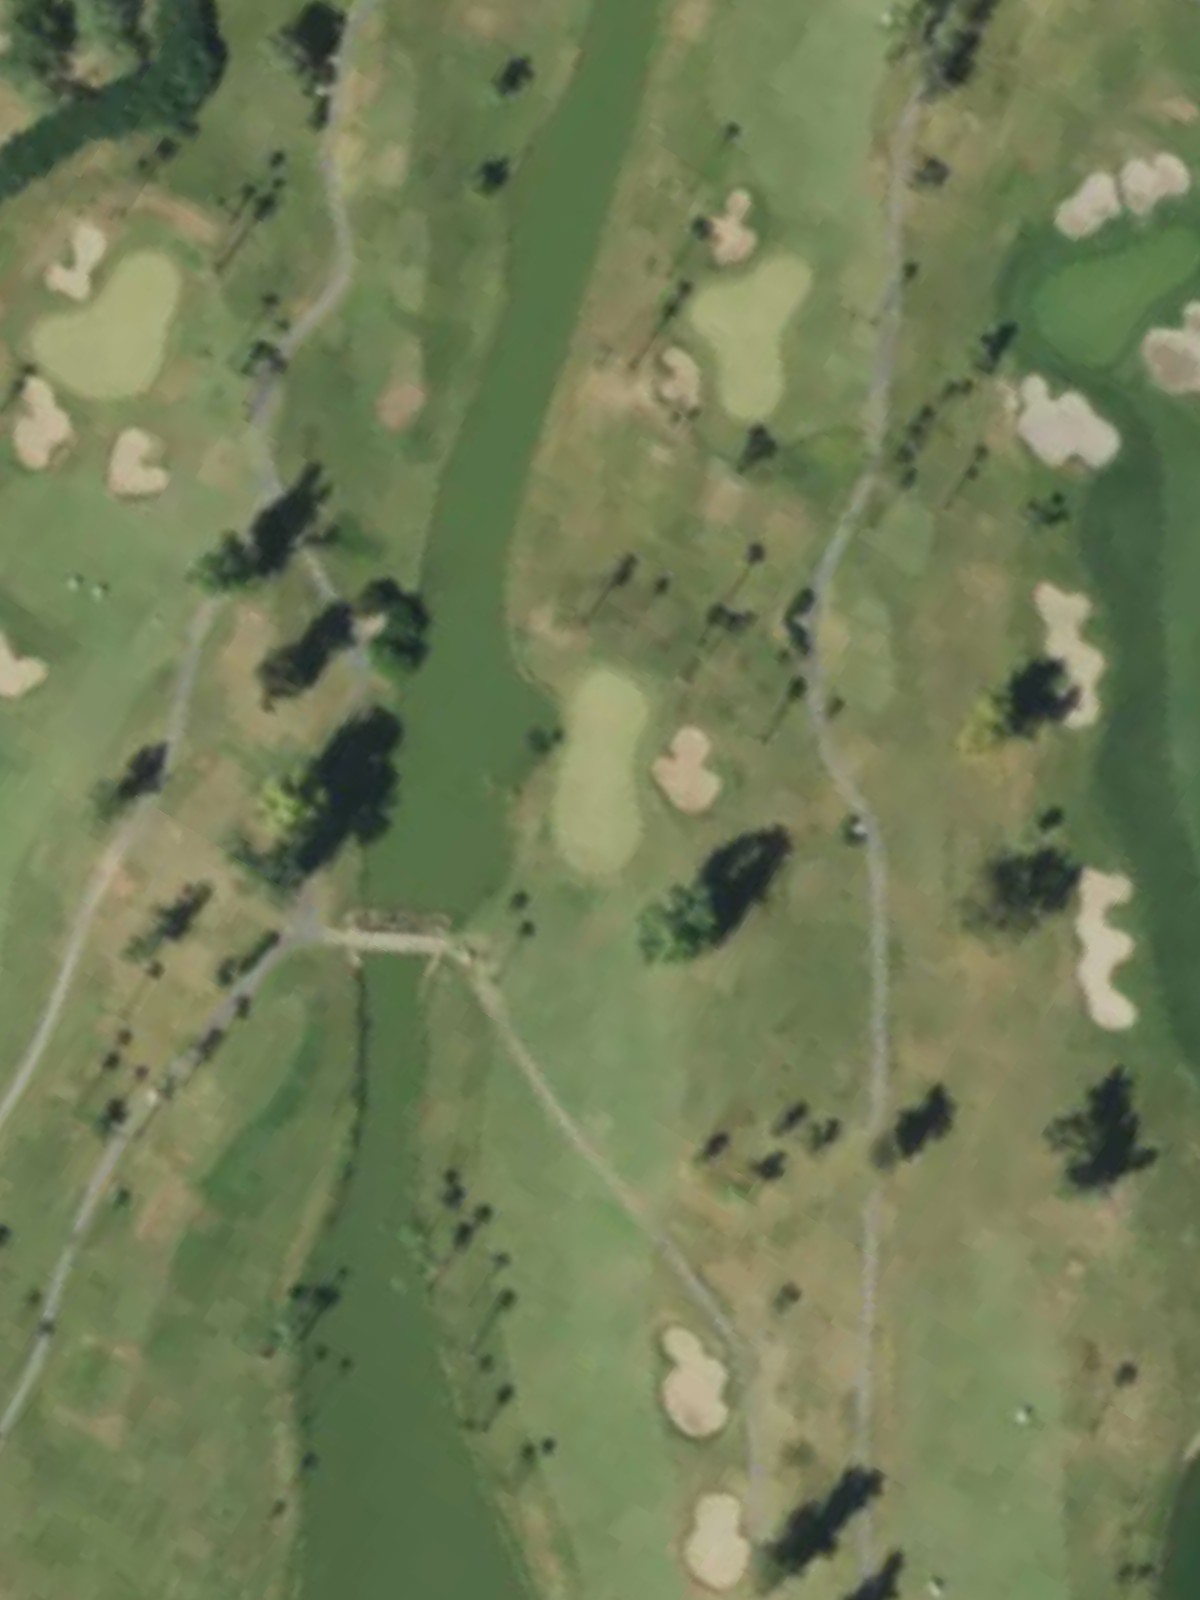
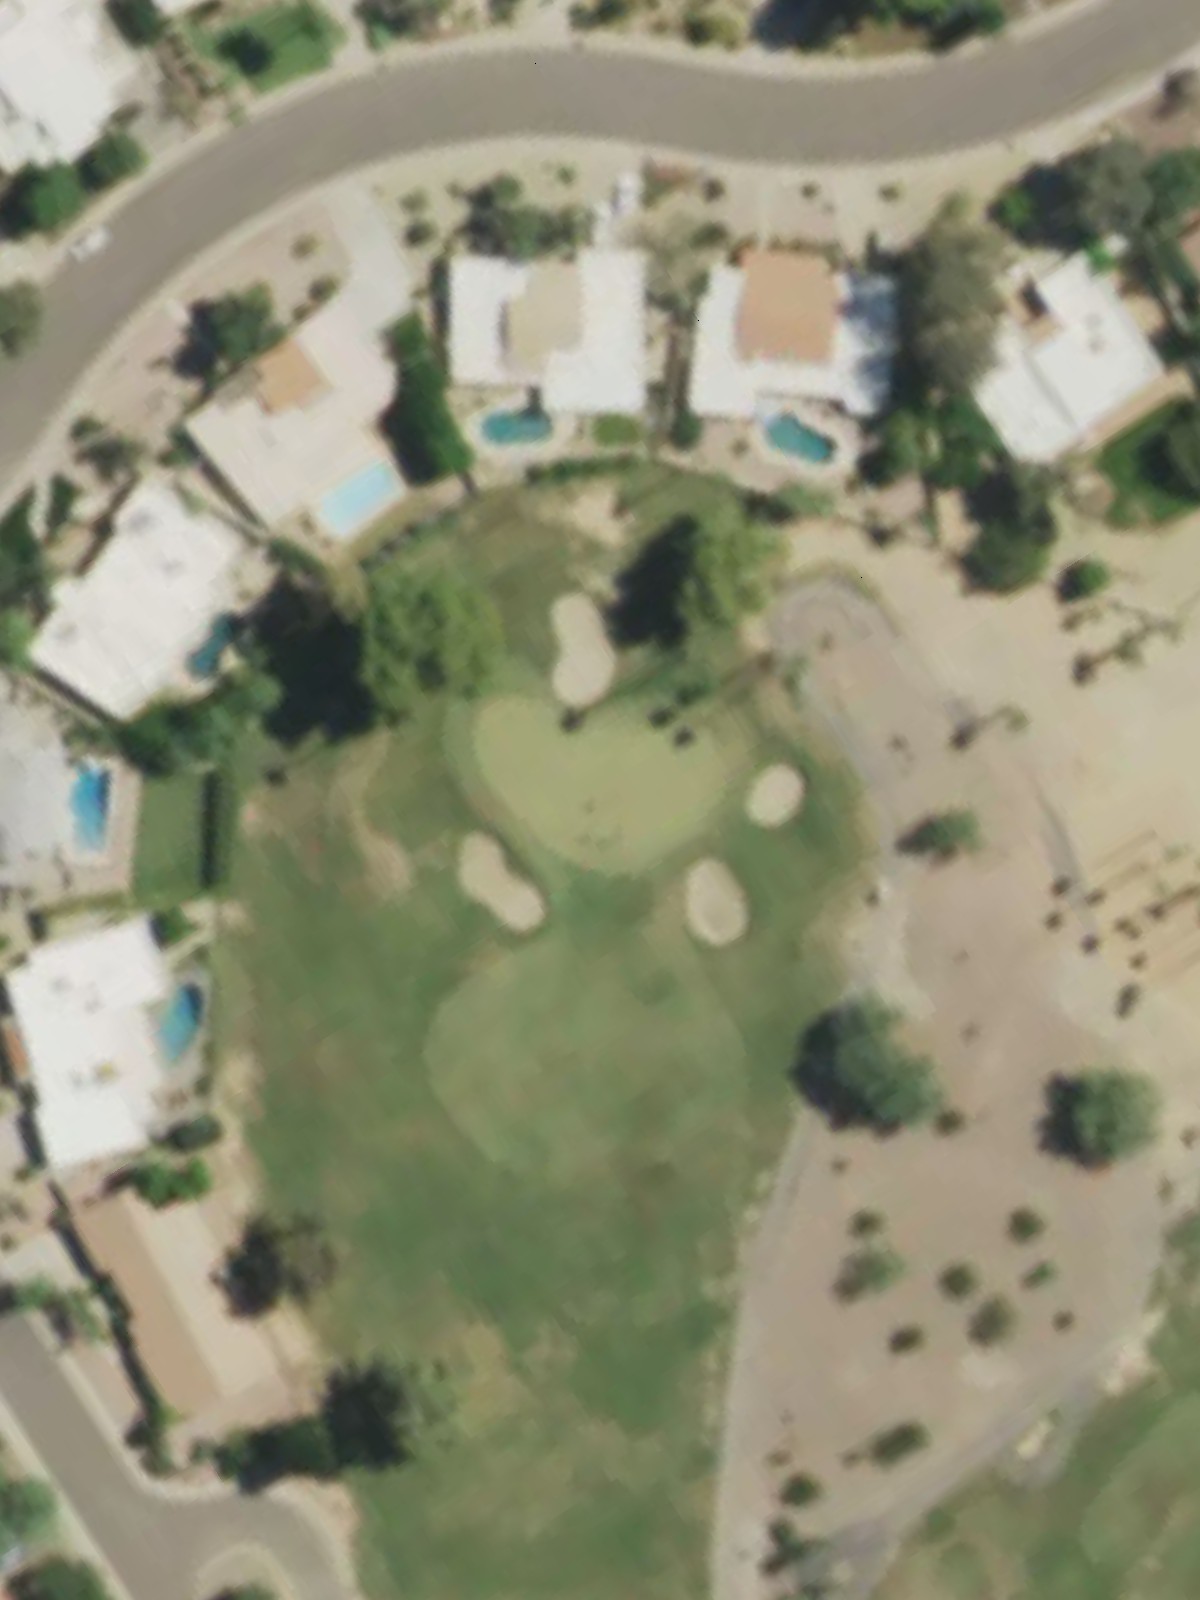
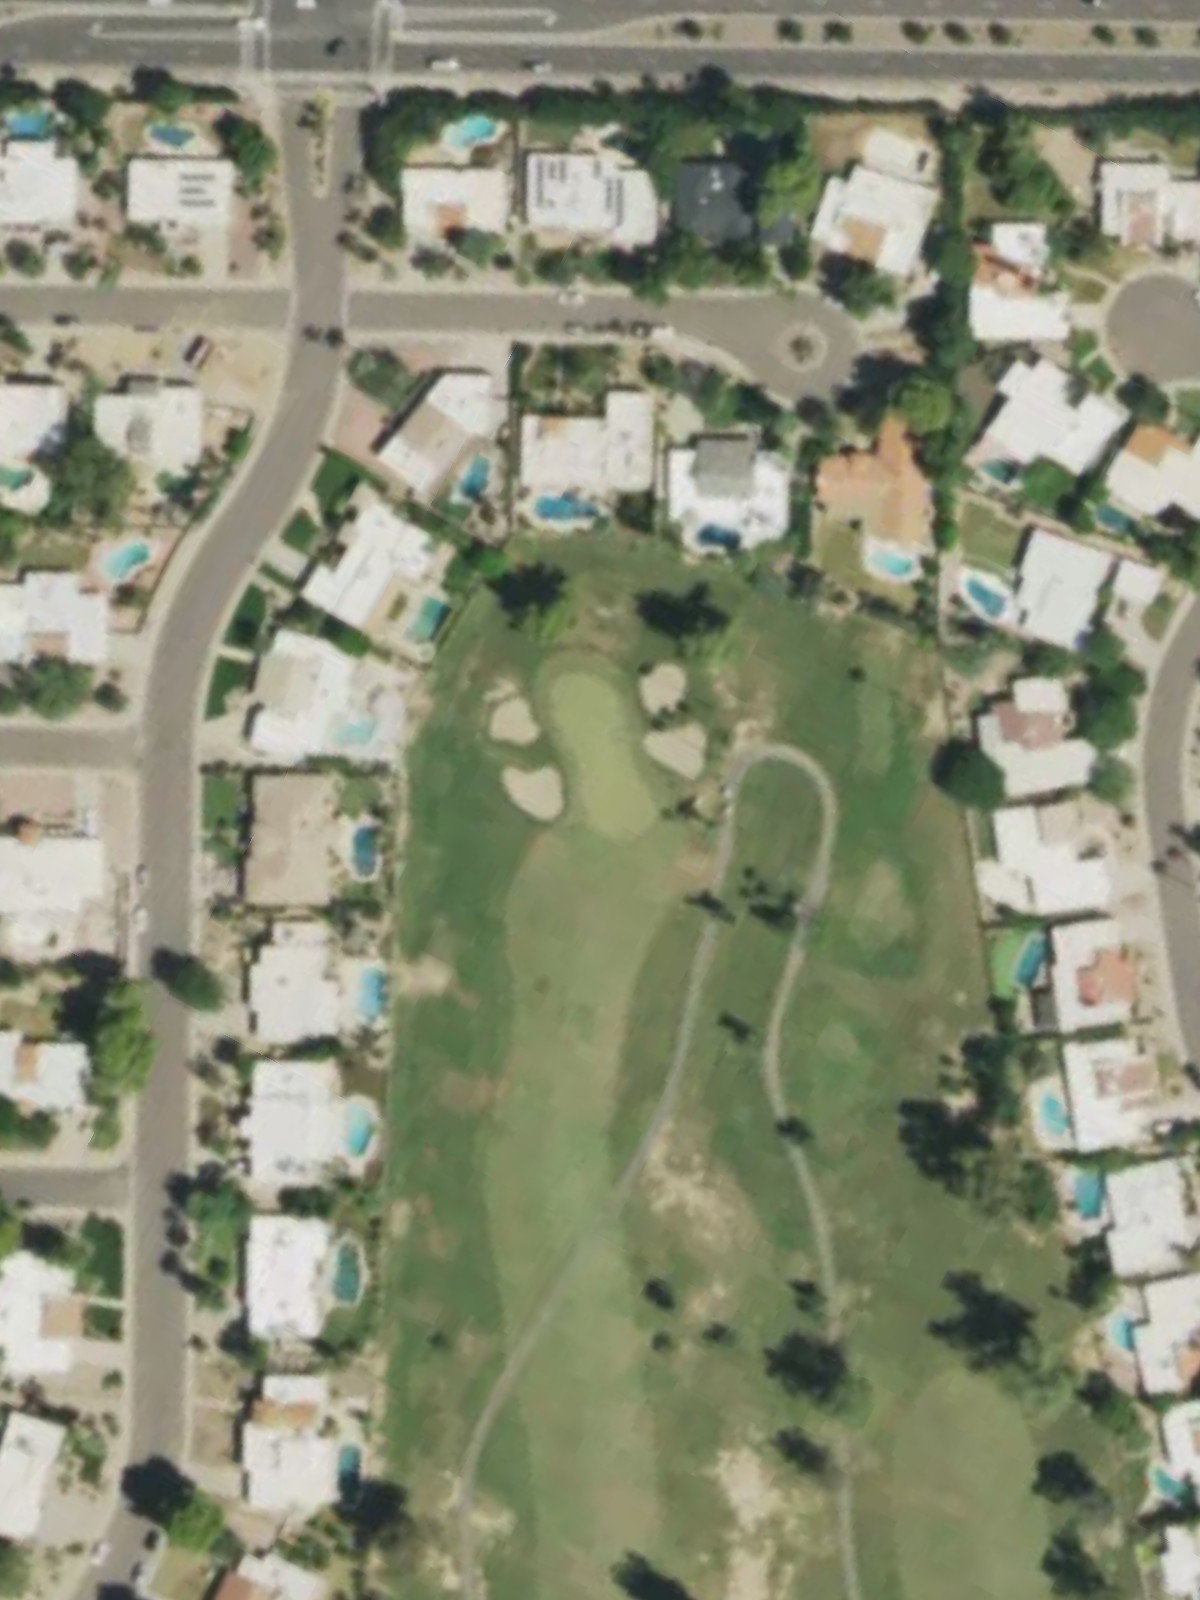
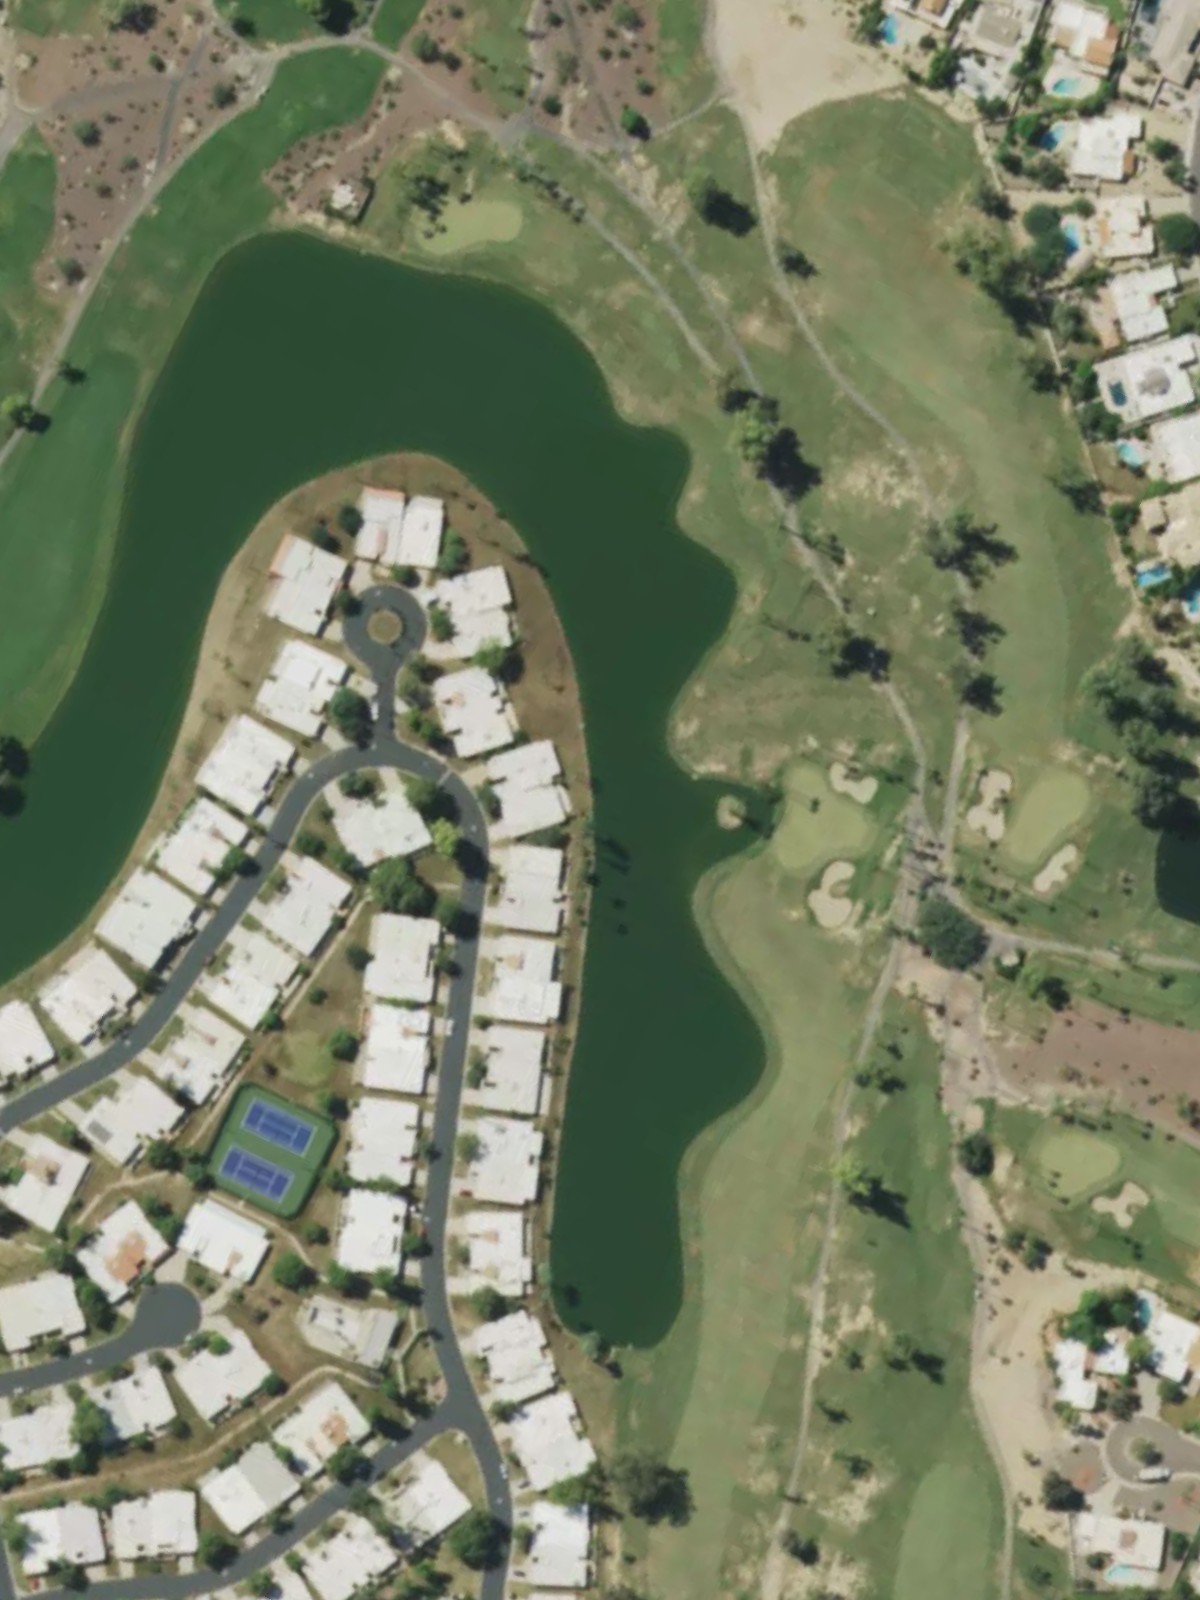
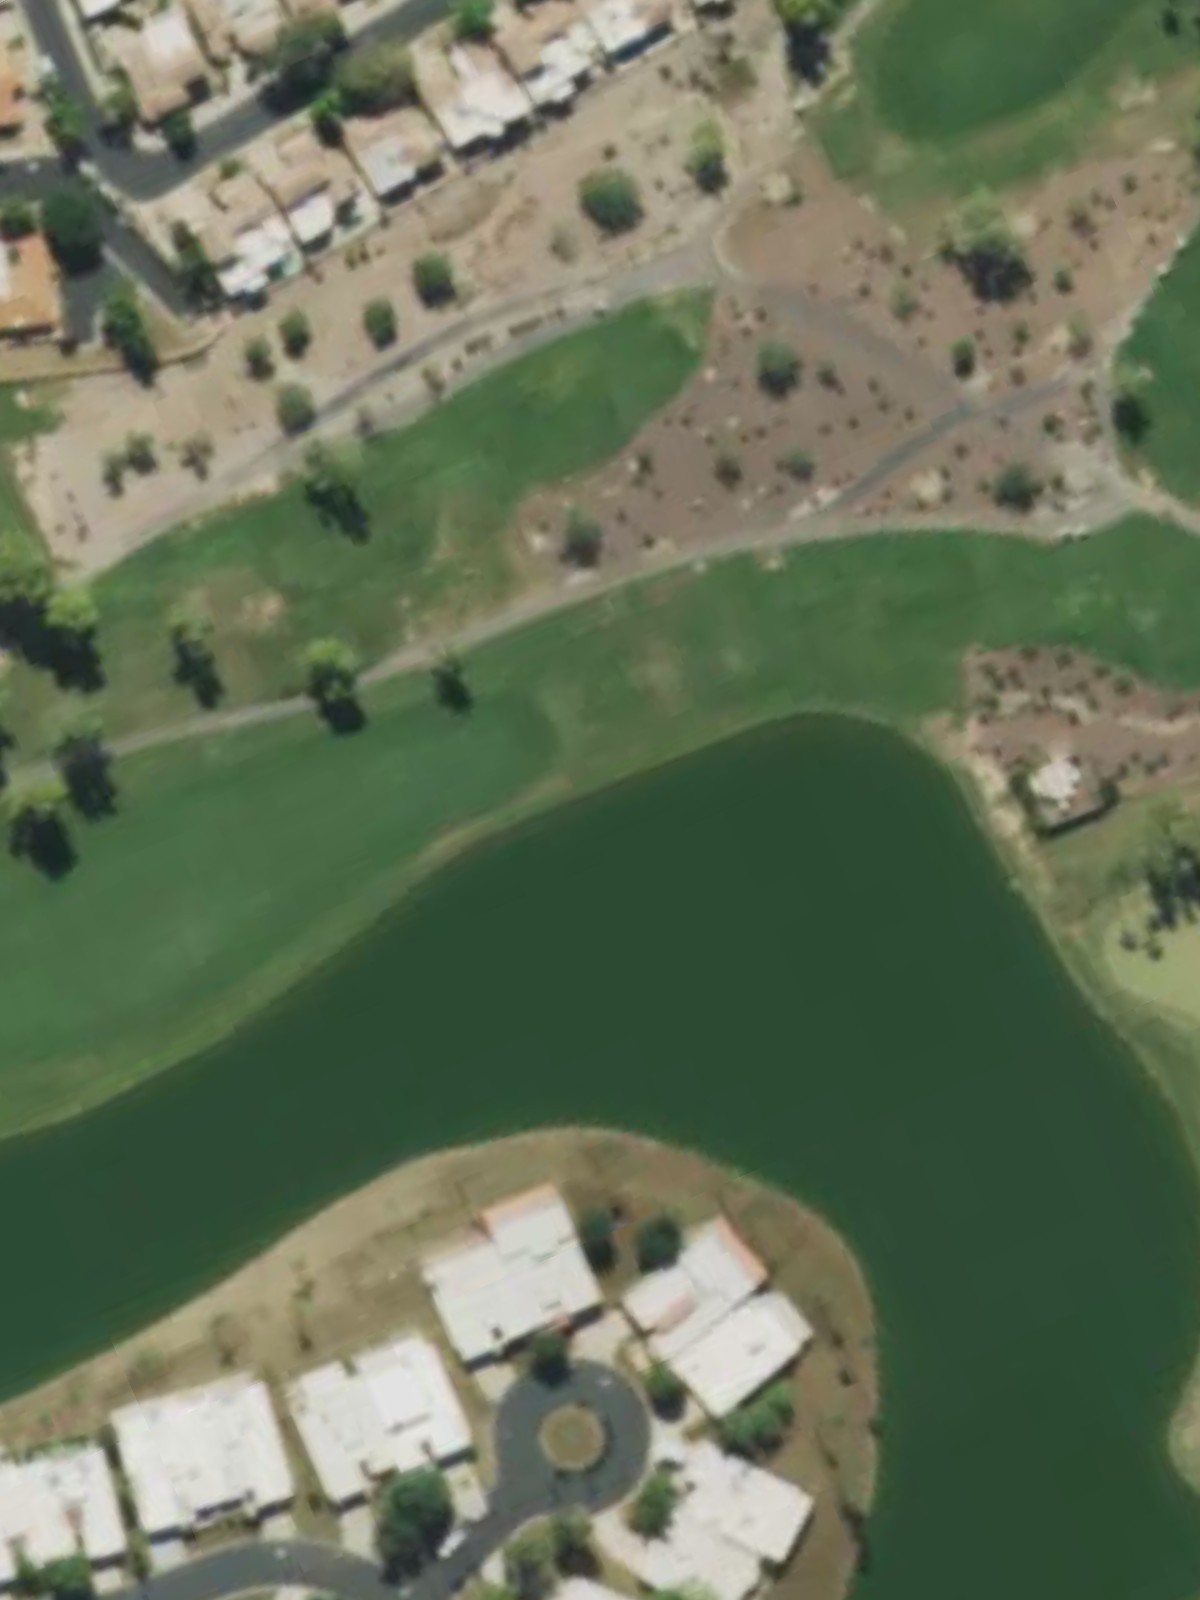
Mccormick Ranch is an 18-hole golf course in Scottsdale, AZ with a par of 72. It offers 5 tee sets: blue (6,951 yards, slope 132, rating 73.2), blue/white combo (6,628 yards, slope 129, rating 71.5), white (6,281 yards, slope 127, rating 70.1), brown (5,794 yards, slope 120, rating 67.7), red (5,042 yards, slope 110, rating 63.6). The hardest hole is #7, a par 5 playing 386 yards from the first tee.
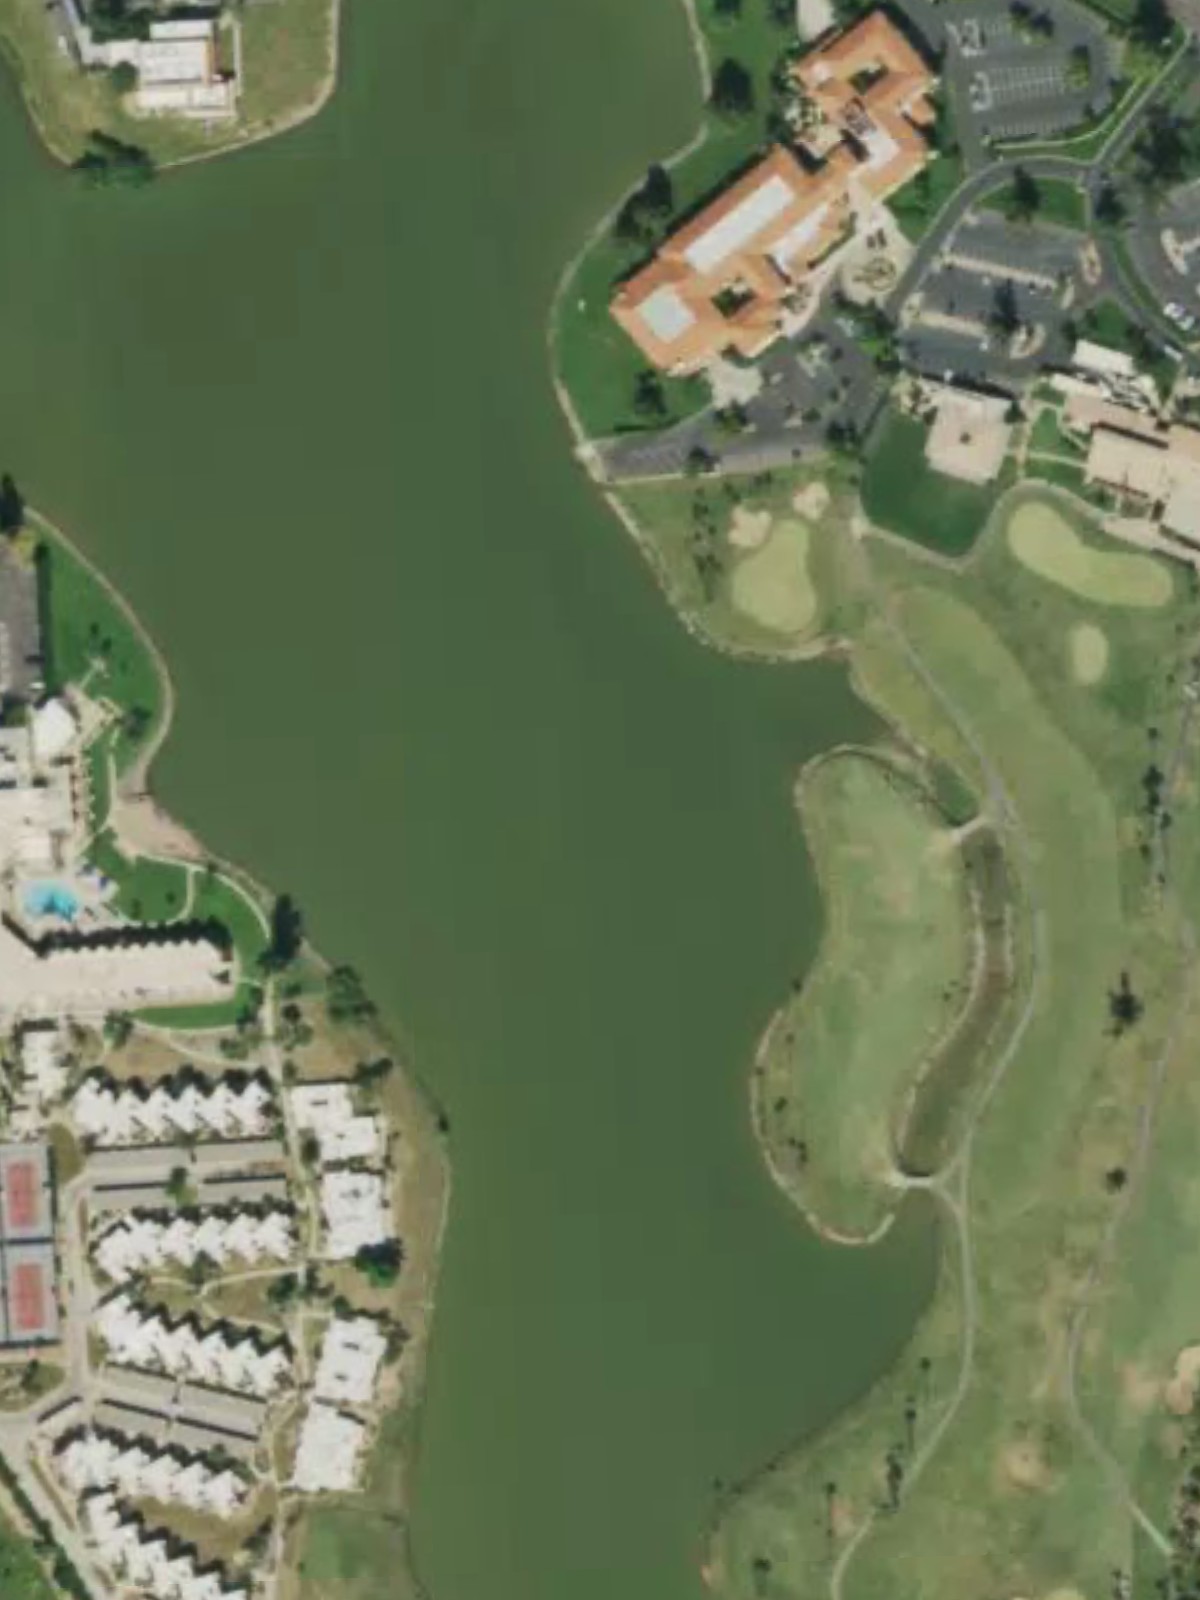
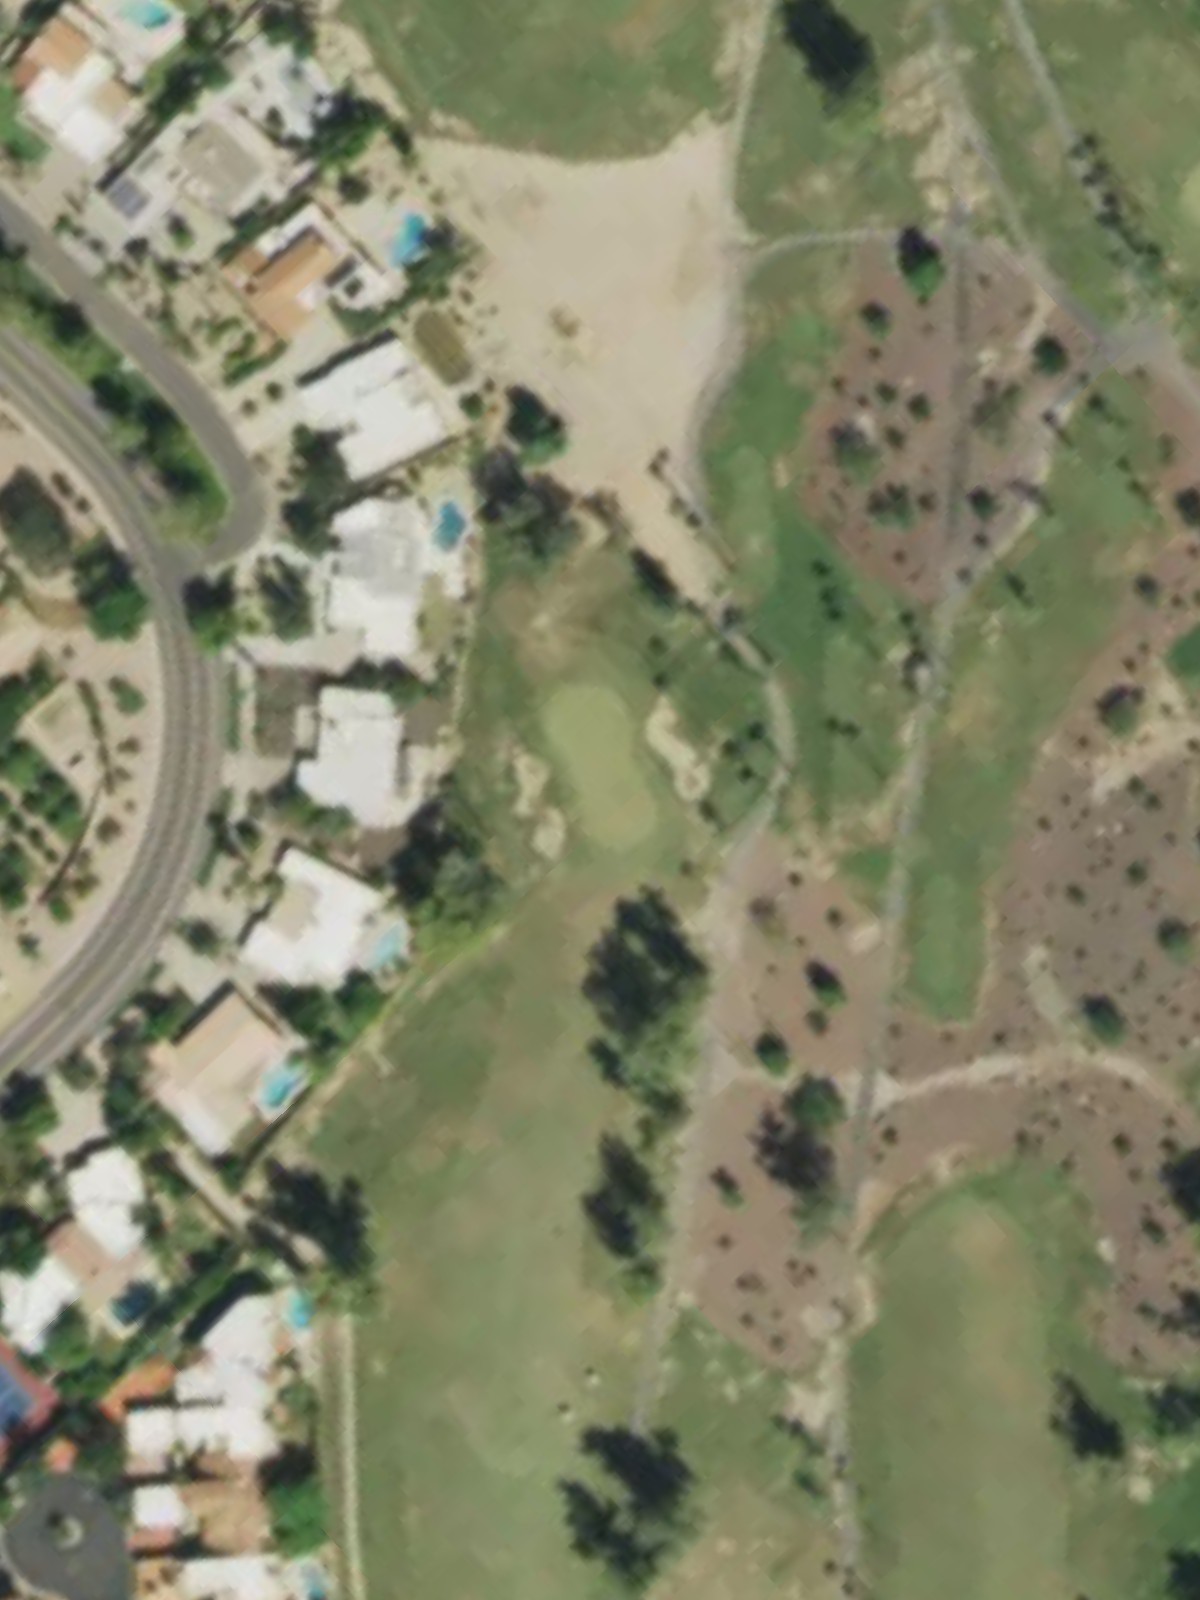
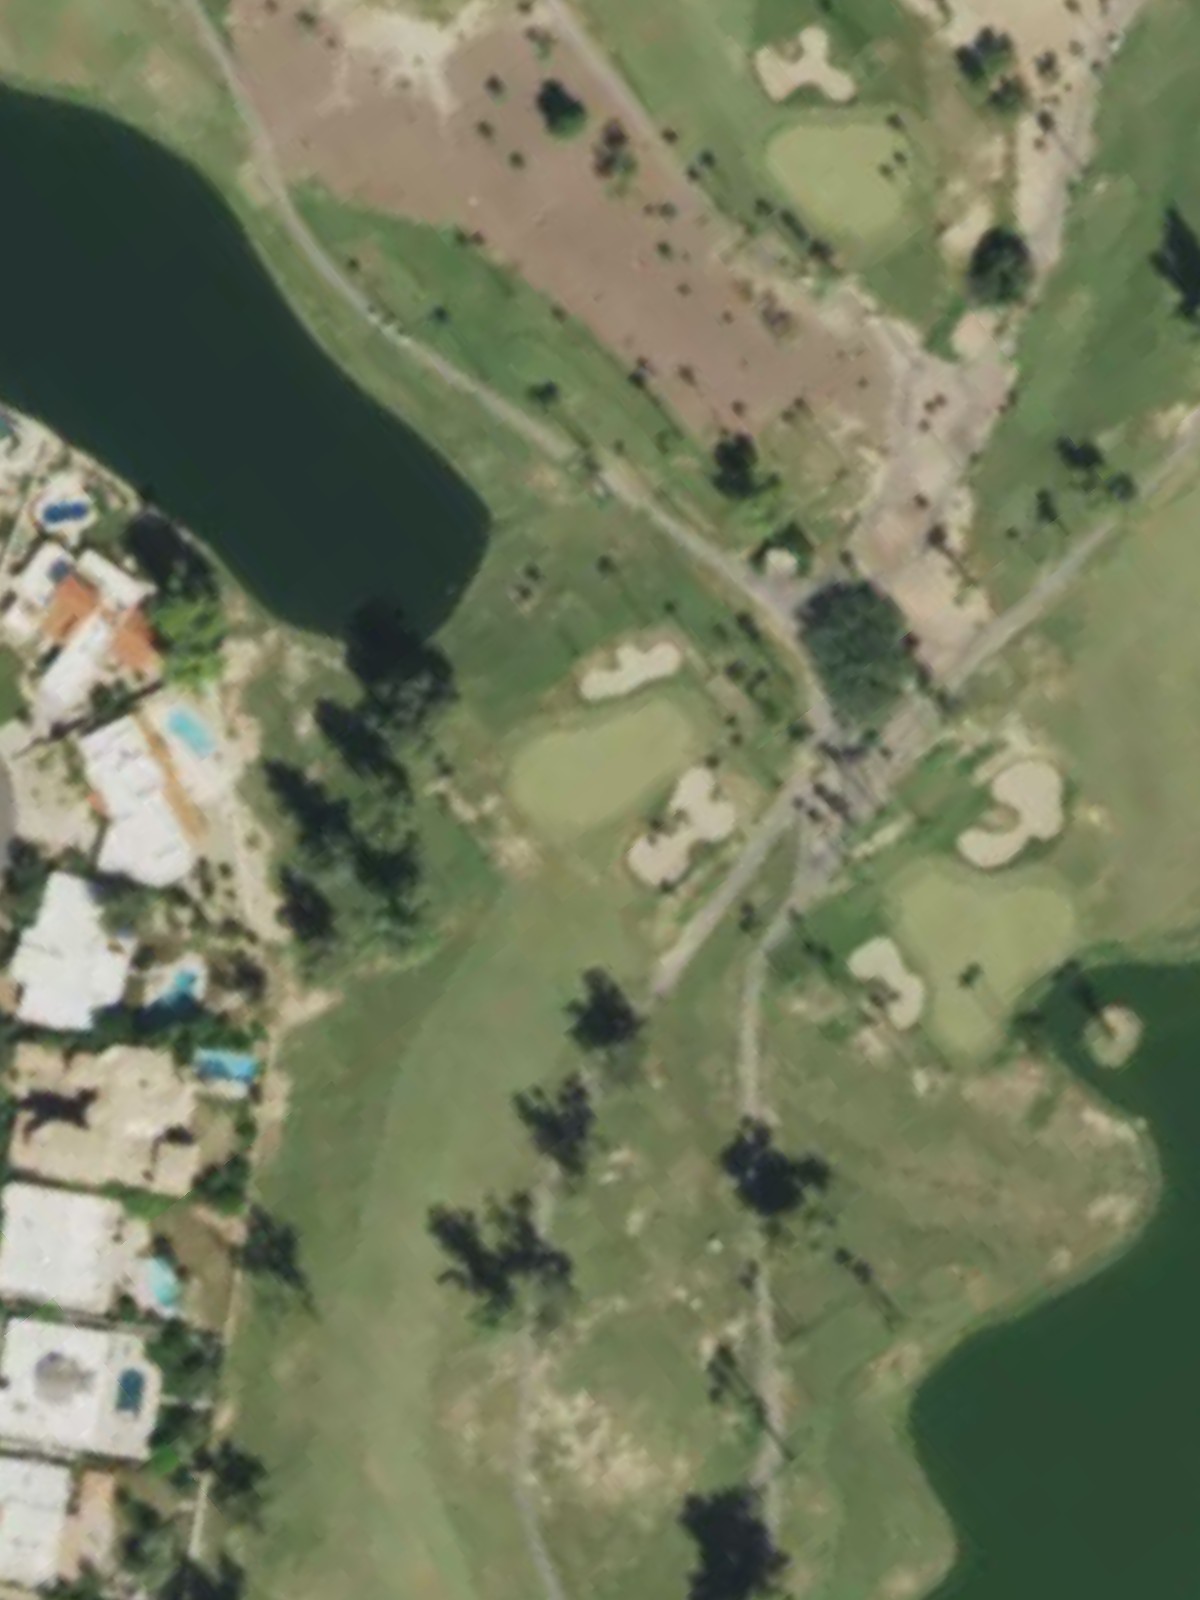
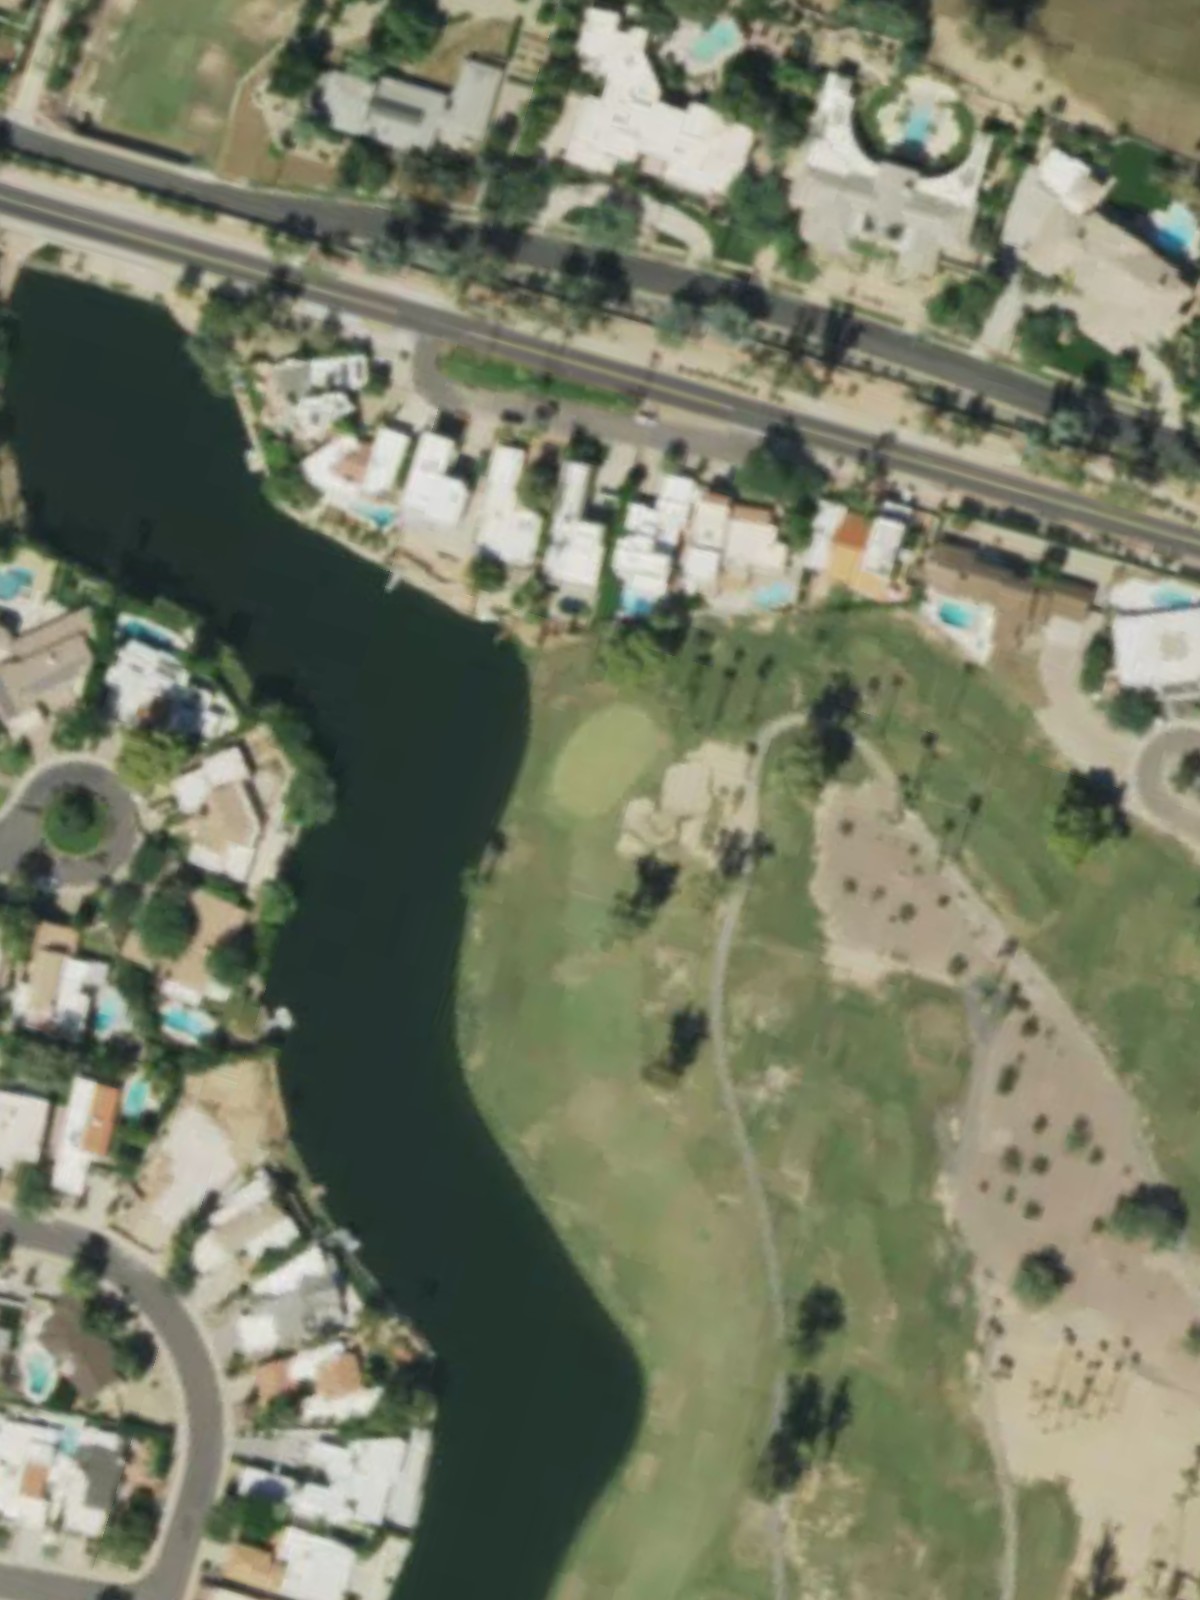
Mccormick Ranch
Scottsdale, AZ
Get PDF Yardage Book
We'll email you the PDF link. No spam, ever.
Create Your Game Plan
Pick your tees, enter your bag, and get a personalized shot-by-shot strategy for every hole.
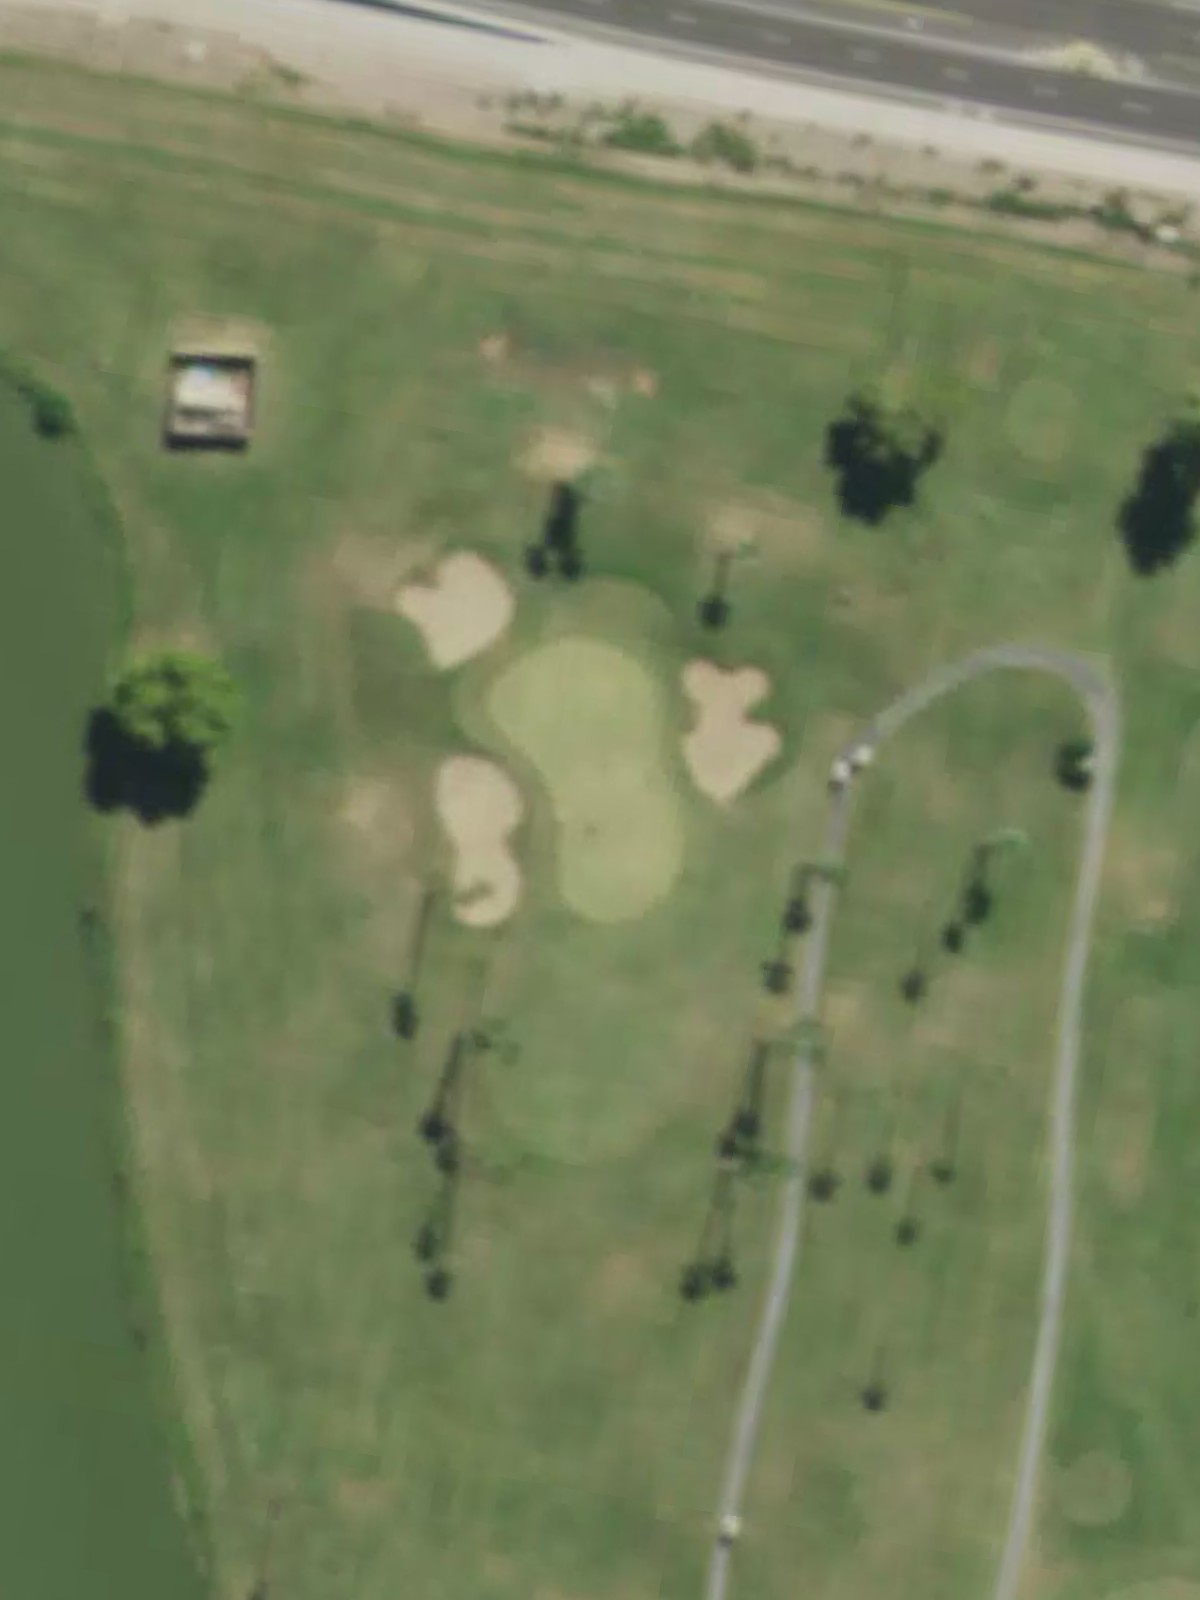
A straightforward par 4 where the fairway remains relatively open before narrowing in the approach zone. The green is protected by bunkers on the right side, demanding accuracy on the second shot.
A strong par 4 with a demanding second shot into a well-guarded green. Strategic placement off the tee is essential to avoid trouble and set up the proper angle of approach.
A long par 5 that offers birdie opportunity for those who navigate the fairway effectively. The hole's length requires thoughtful club selection and positioning for the approach into the green.
A short but tricky par 4 that punishes wayward shots despite its modest yardage. Strategic placement is essential, as the hole's compact design leaves little margin for error around the green.
A brief par 3 that plays deceptively simple from the tee. The small green requires precision, and any miss can lead to difficult recovery shots.
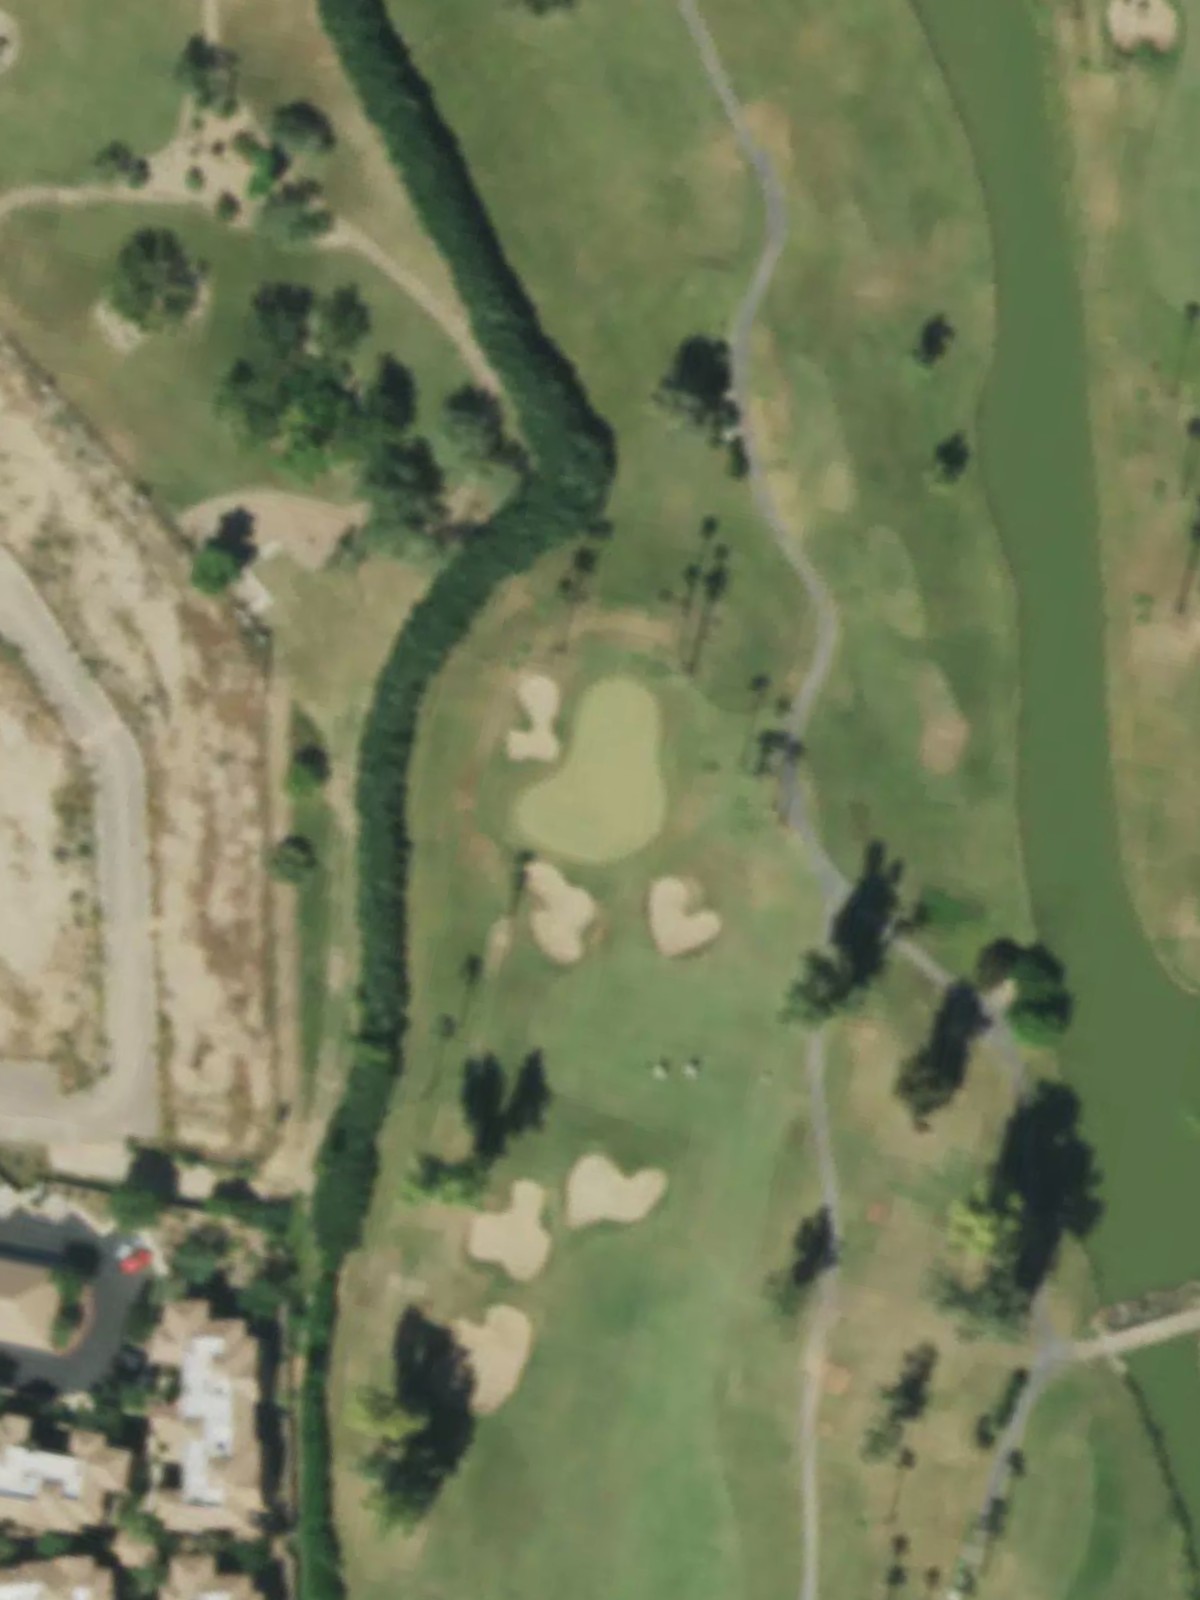
A par 4 of moderate length with strategic bunkering around the landing area and green. The hole demands controlled approach work to avoid sand and position for par.
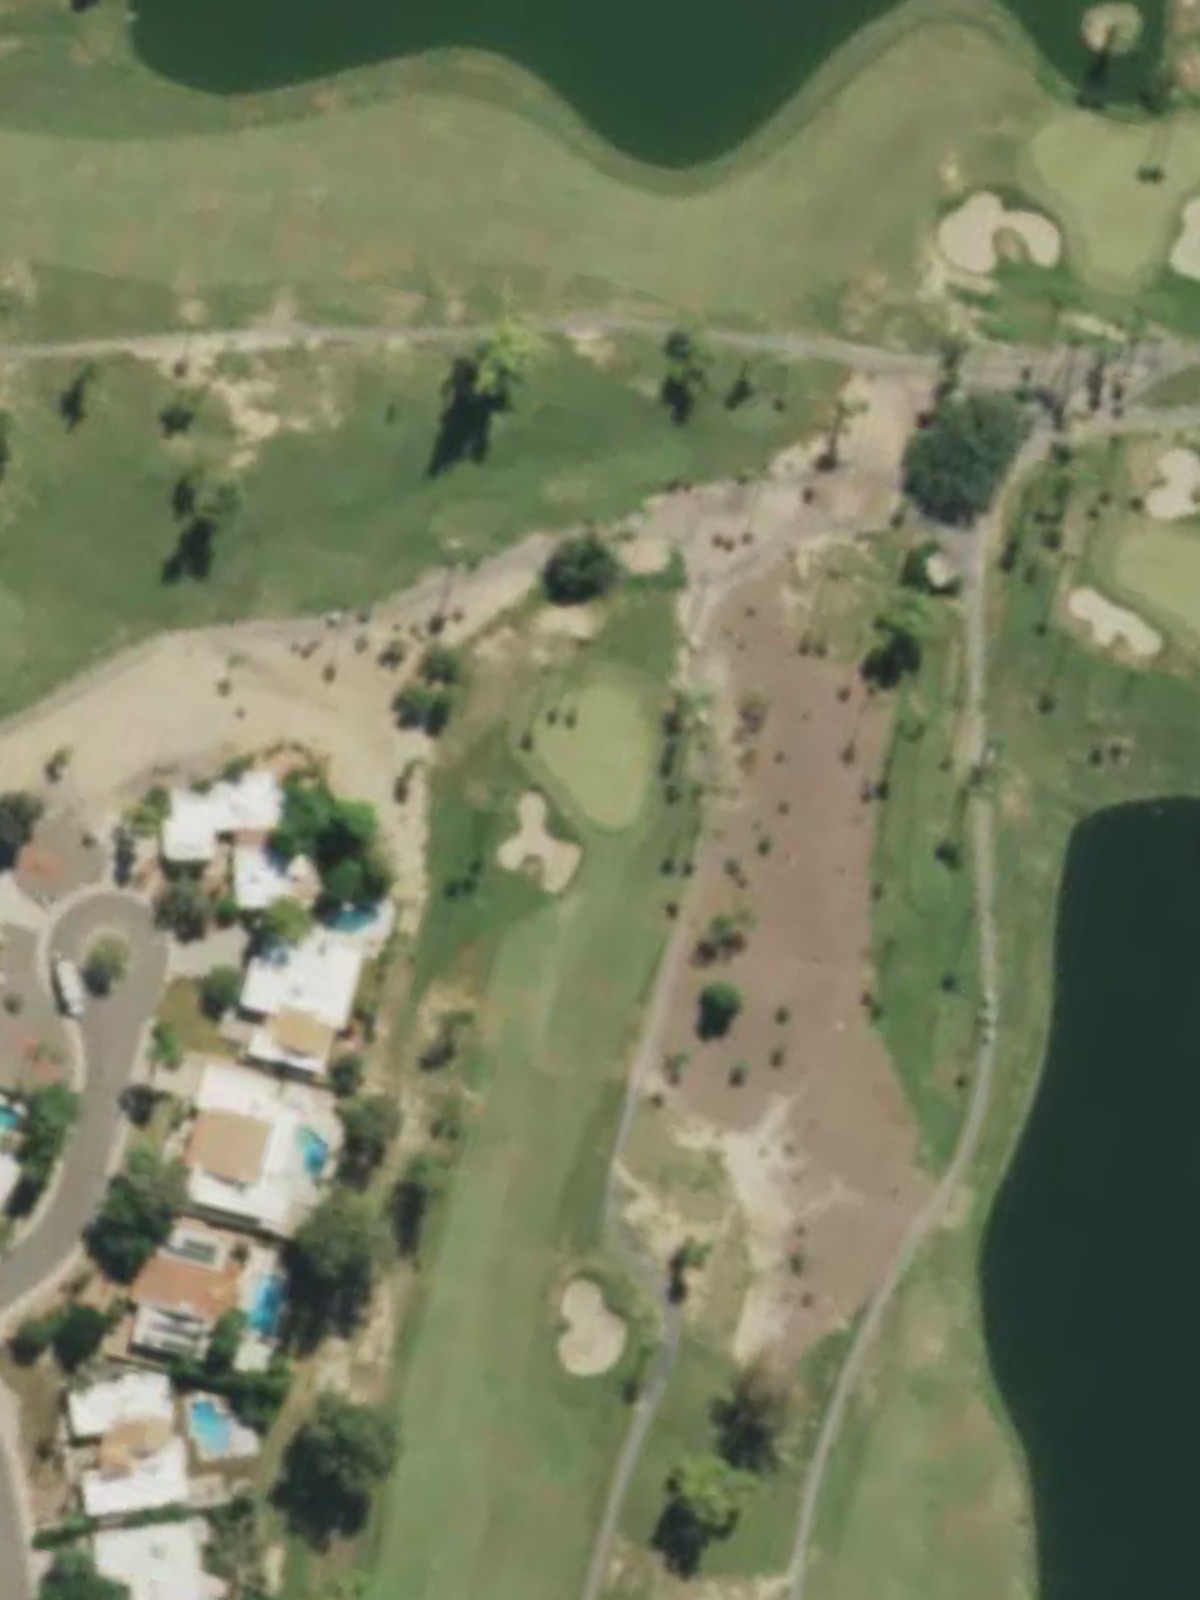
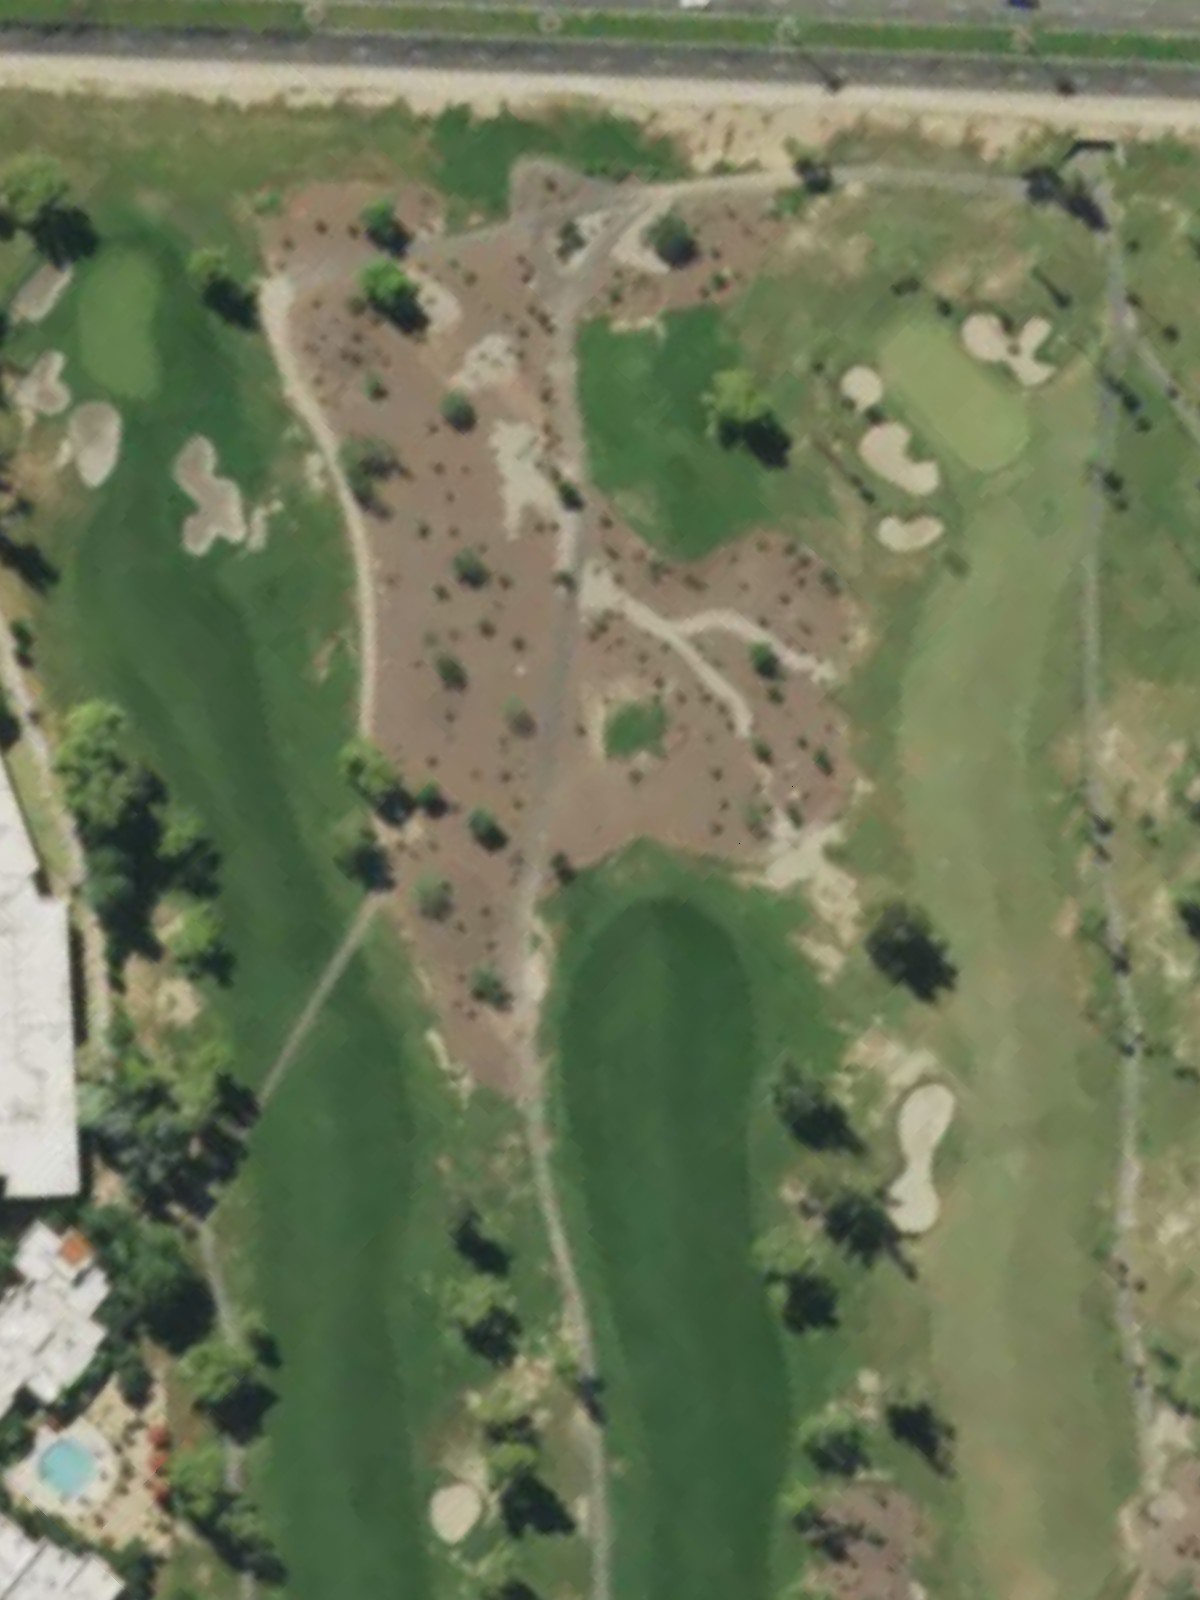
The most difficult hole on the course, this lengthy par 5 tests every aspect of the game. Length and positioning are critical as the hole features significant trouble throughout.
A very short par 3 where precision trumps distance. The tight green complex demands an accurate strike despite the modest yardage.
A challenging par 4 that plays as one of the course's most difficult holes. Hazards frame both sides of the fairway, and the green is well-defended, leaving little margin for error.
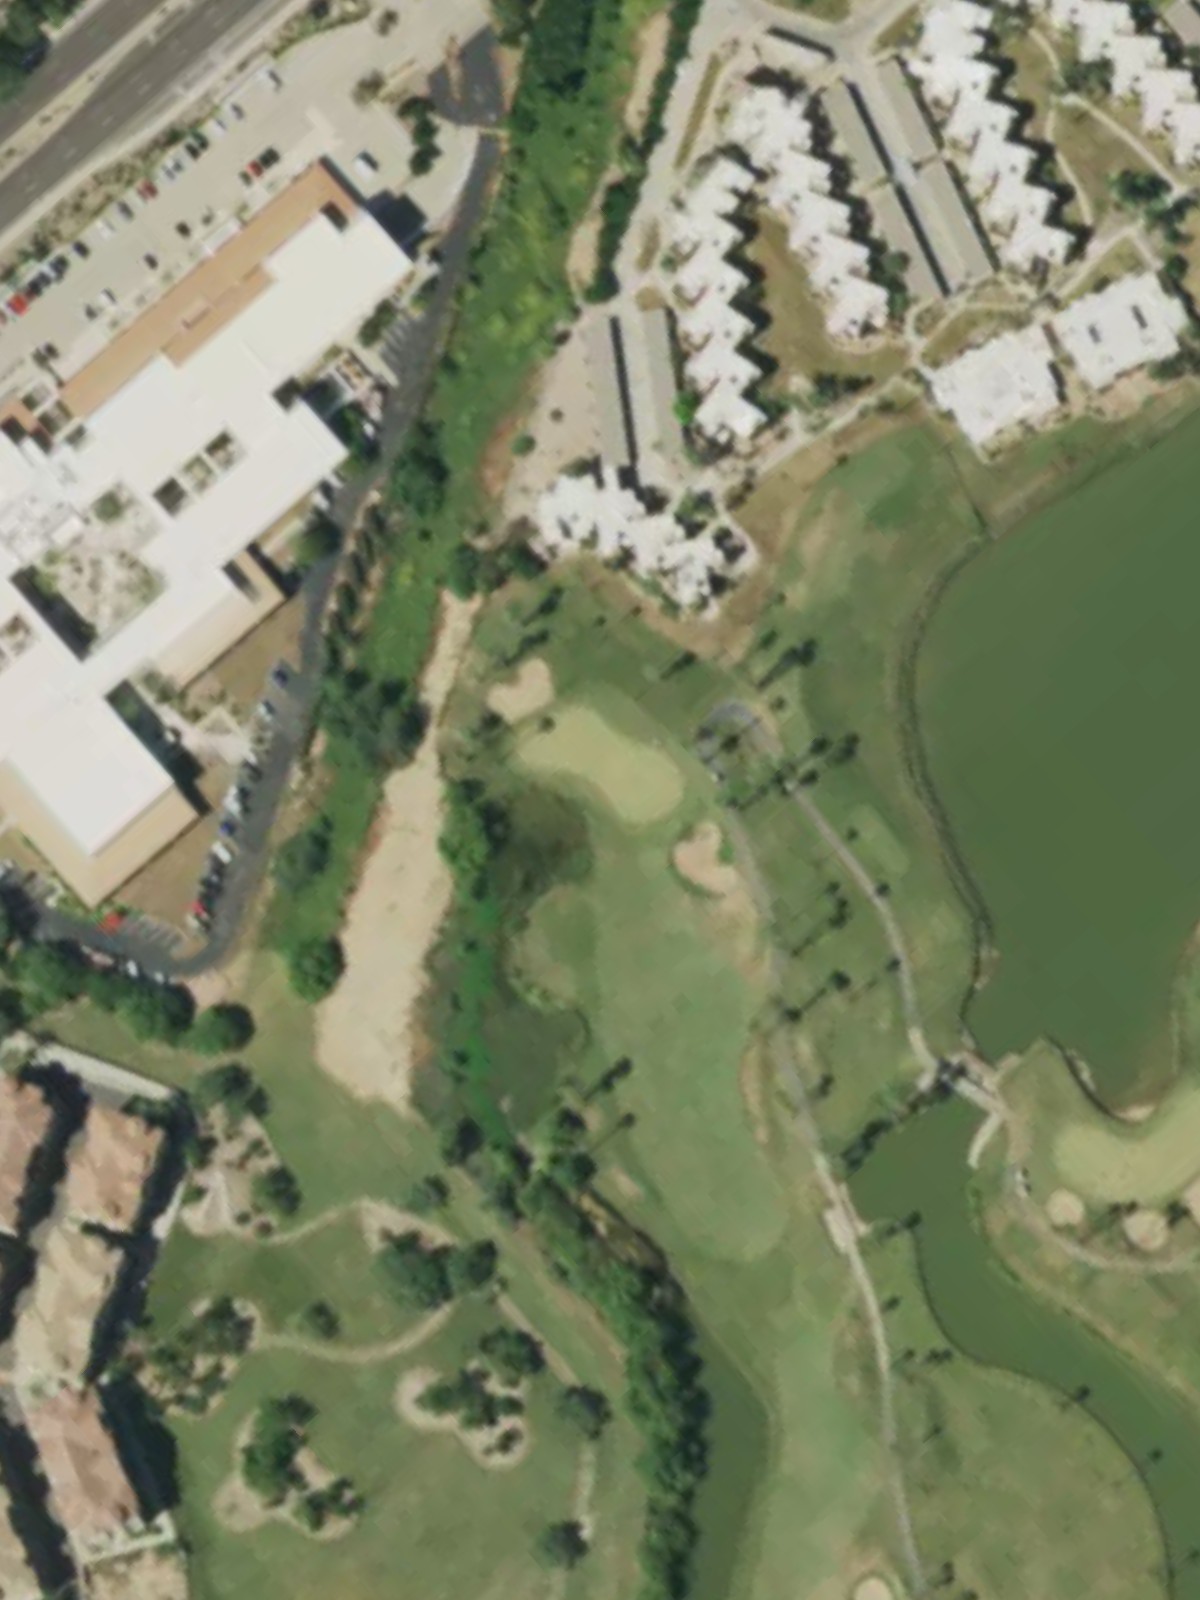
A mid-length par 4 with a relatively straightforward design. The fairway provides a reasonable landing area, though the approach must be clean to avoid trouble around the green.
A solid par 4 with good width off the tee but increased difficulty at the green. Proper positioning on the fairway sets up the best angle for an accurate second shot.
A substantial par 5 that rewards aggressive yet controlled play. The hole's length and routing create strategic options, allowing players to attack or play conservatively depending on their positioning.
A short par 3 with modest yardage that provides a breather between longer holes. Despite its length, the green's design and surrounding contours offer enough complexity to challenge accuracy.
A compact par 4 with a tight design that emphasizes precision over power. The confined fairway and green complex demand disciplined, accurate shotmaking.
One of the course's sternest tests, this par 4 ranks 4th in difficulty and stretches nearly 450 yards from the back tees. The combination of length, hazards, and green complexity makes it a formidable obstacle.
A long and imposing par 5 that ranks second in course difficulty at over 550 yards from the tips. The hole's substantial length and strategic hazard placement reward careful planning and execution.
The shortest hole on the course, this par 3 plays well under 200 yards and offers a chance for an aggressive birdie attempt. The compact green and immediate surroundings provide a fitting setup for risk-reward play.
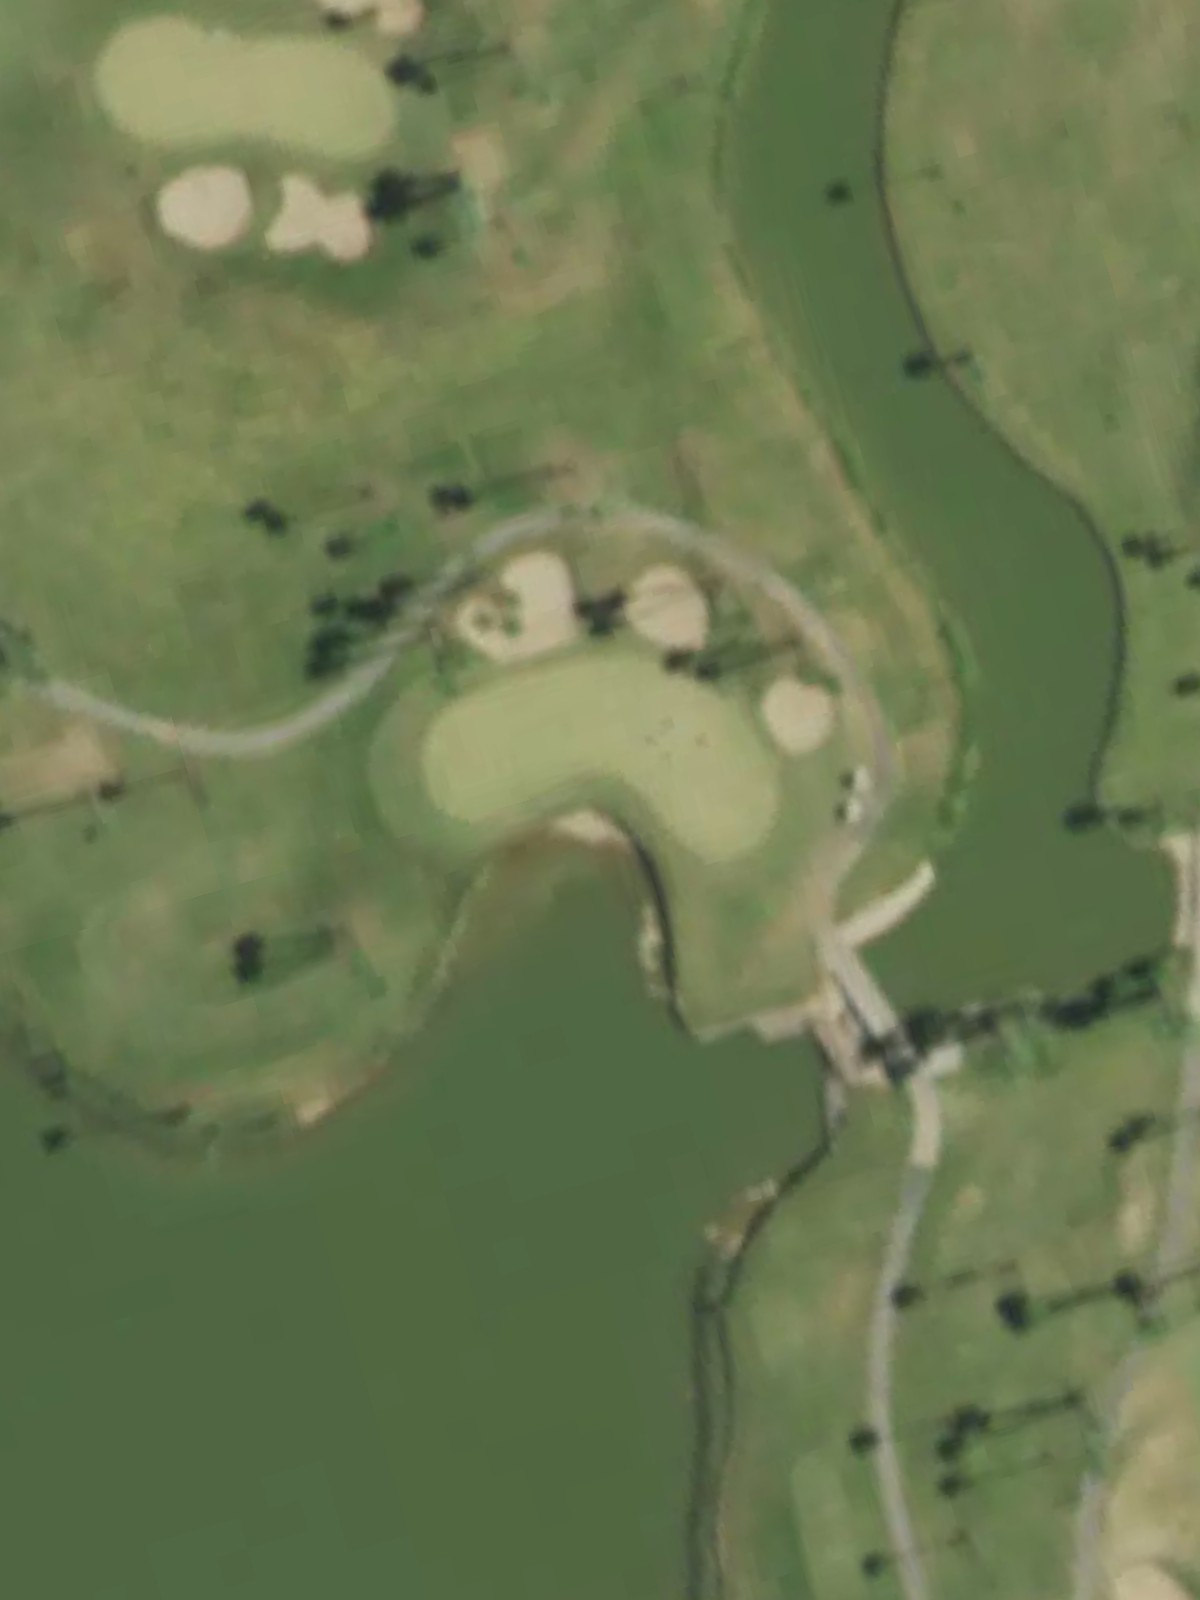
A strong closing par 4 that finishes the round with a proper test of shotmaking. The hole's length and design create a dramatic finale, demanding solid execution down the stretch.
Scorecard
| Hole | 1 | 2 | 3 | 4 | 5 | 6 | 7 | 8 | 9 | Out | 10 | 11 | 12 | 13 | 14 | 15 | 16 | 17 | 18 | In | Tot |
|---|---|---|---|---|---|---|---|---|---|---|---|---|---|---|---|---|---|---|---|---|---|
| Par | 4 | 4 | 5 | 4 | 3 | 4 | 5 | 3 | 4 | 36 | 4 | 4 | 5 | 3 | 4 | 4 | 5 | 3 | 4 | 36 | 72 |
| HCP | 13 | 9 | 5 | 7 | 15 | 11 | 1 | 17 | 3 | 14 | 10 | 6 | 16 | 12 | 4 | 2 | 18 | 8 | |||
| blue | 377 | 382 | 533 | 426 | 206 | 389 | 537 | 187 | 394 | 3431 | 384 | 412 | 509 | 192 | 413 | 449 | 556 | 183 | 422 | 3520 | 6951 |
| blue/white combo | 377 | 382 | 533 | 371 | 182 | 389 | 537 | 150 | 369 | 3290 | 384 | 412 | 509 | 162 | 413 | 412 | 509 | 148 | 389 | 3338 | 6628 |
| white | 333 | 357 | 509 | 371 | 182 | 367 | 480 | 150 | 369 | 3118 | 348 | 373 | 497 | 162 | 325 | 412 | 509 | 148 | 389 | 3163 | 6281 |
| brown | 311 | 331 | 467 | 349 | 148 | 334 | 446 | 109 | 349 | 2844 | 328 | 357 | 462 | 140 | 309 | 383 | 476 | 122 | 373 | 2950 | 5794 |
| red | 284 | 307 | 427 | 275 | 122 | 245 | 386 | 80 | 252 | 2378 | 287 | 332 | 418 | 126 | 276 | 345 | 462 | 83 | 335 | 2664 | 5042 |