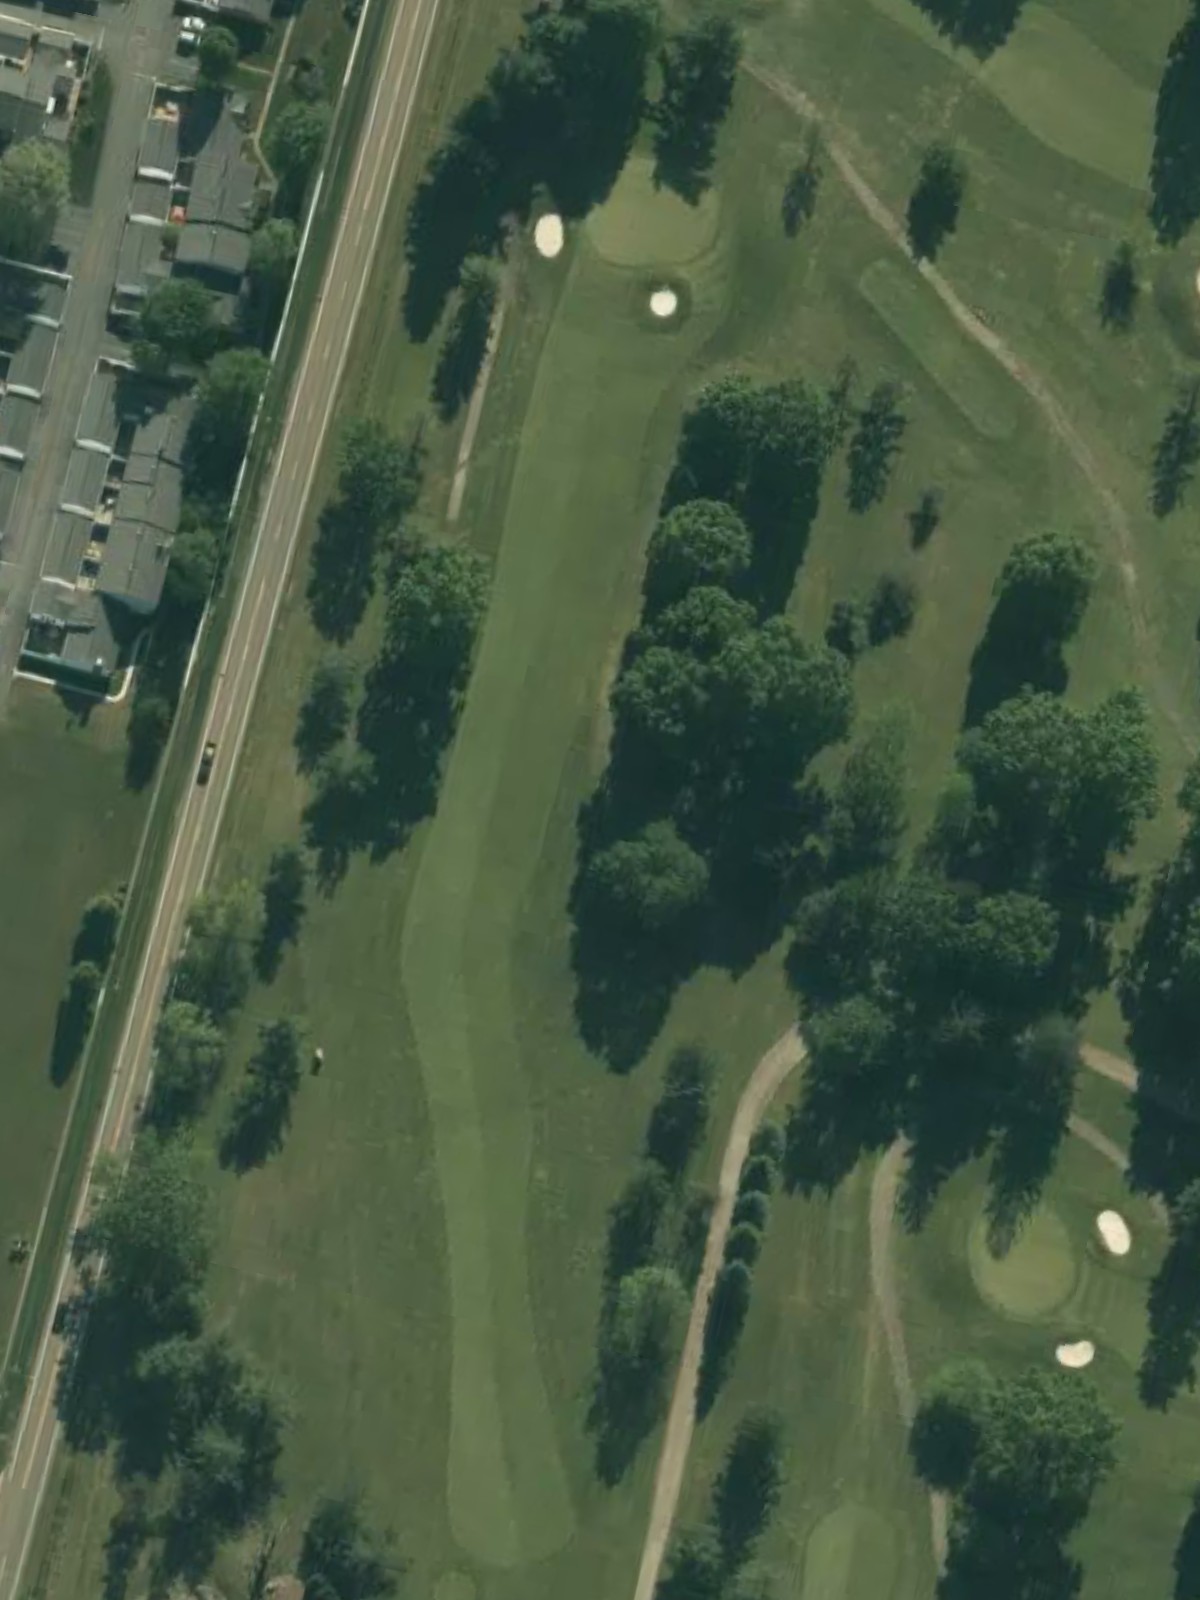
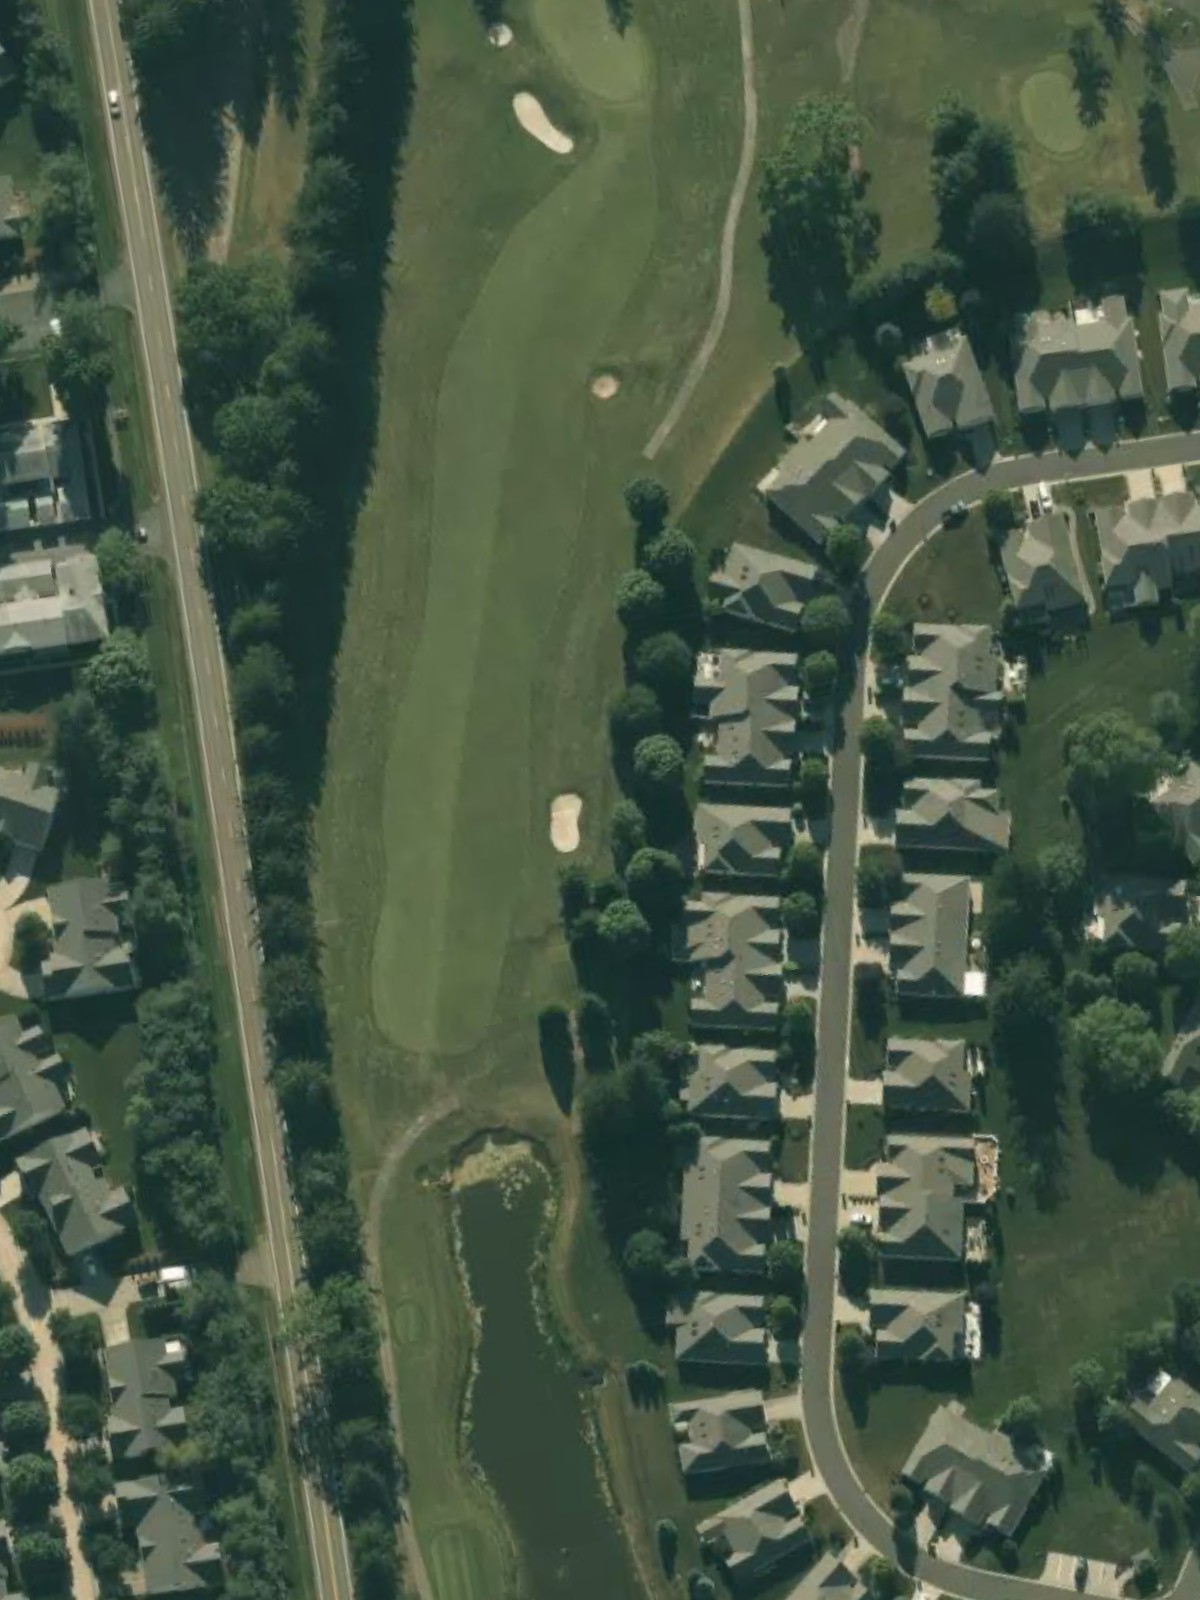
Mayfair Country Club is an 18-hole golf course in Uniontown, OH with a par of 71. It offers 4 tee sets: gold (6,240 yards, slope 133, rating 70.3), white (5,929 yards, slope 128, rating 68.9), black (5,598 yards, slope 124, rating 67.2), red (4,720 yards, slope 118, rating 63.4). The hardest hole is #16, a par 5 playing 399 yards from the first tee.
Mayfair Country Club
Uniontown, OH
Get PDF Yardage Book
We'll email you the PDF link. No spam, ever.
Create Your Game Plan
Pick your tees, enter your bag, and get a personalized shot-by-shot strategy for every hole.
A straightforward par 4 playing to a moderate length with a relatively open fairway. The approach to the green tightens considerably, with bunkers guarding the right side and demanding accuracy on the second shot.
A short par 4 that plays downhill from an elevated tee, offering a birdie opportunity for aggressive play. Water guards the left side of the green, while bunkers protect the right, making precision off the tee essential.
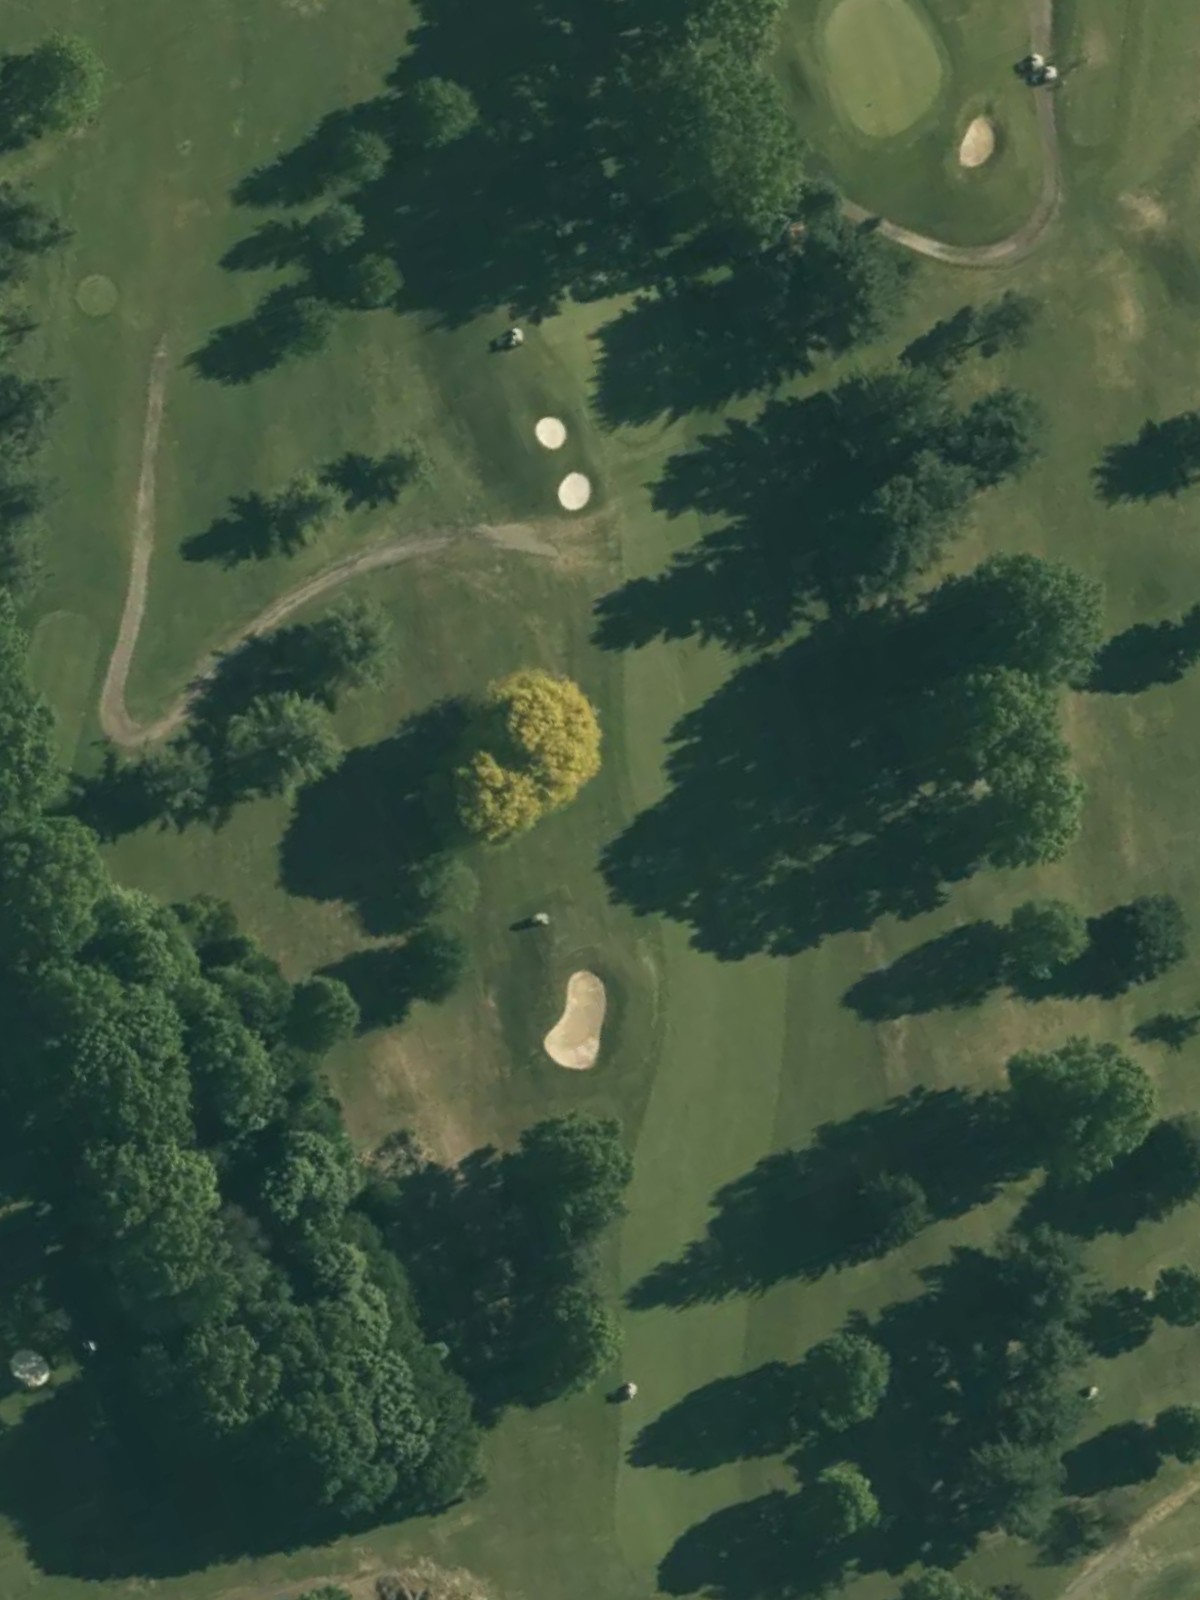
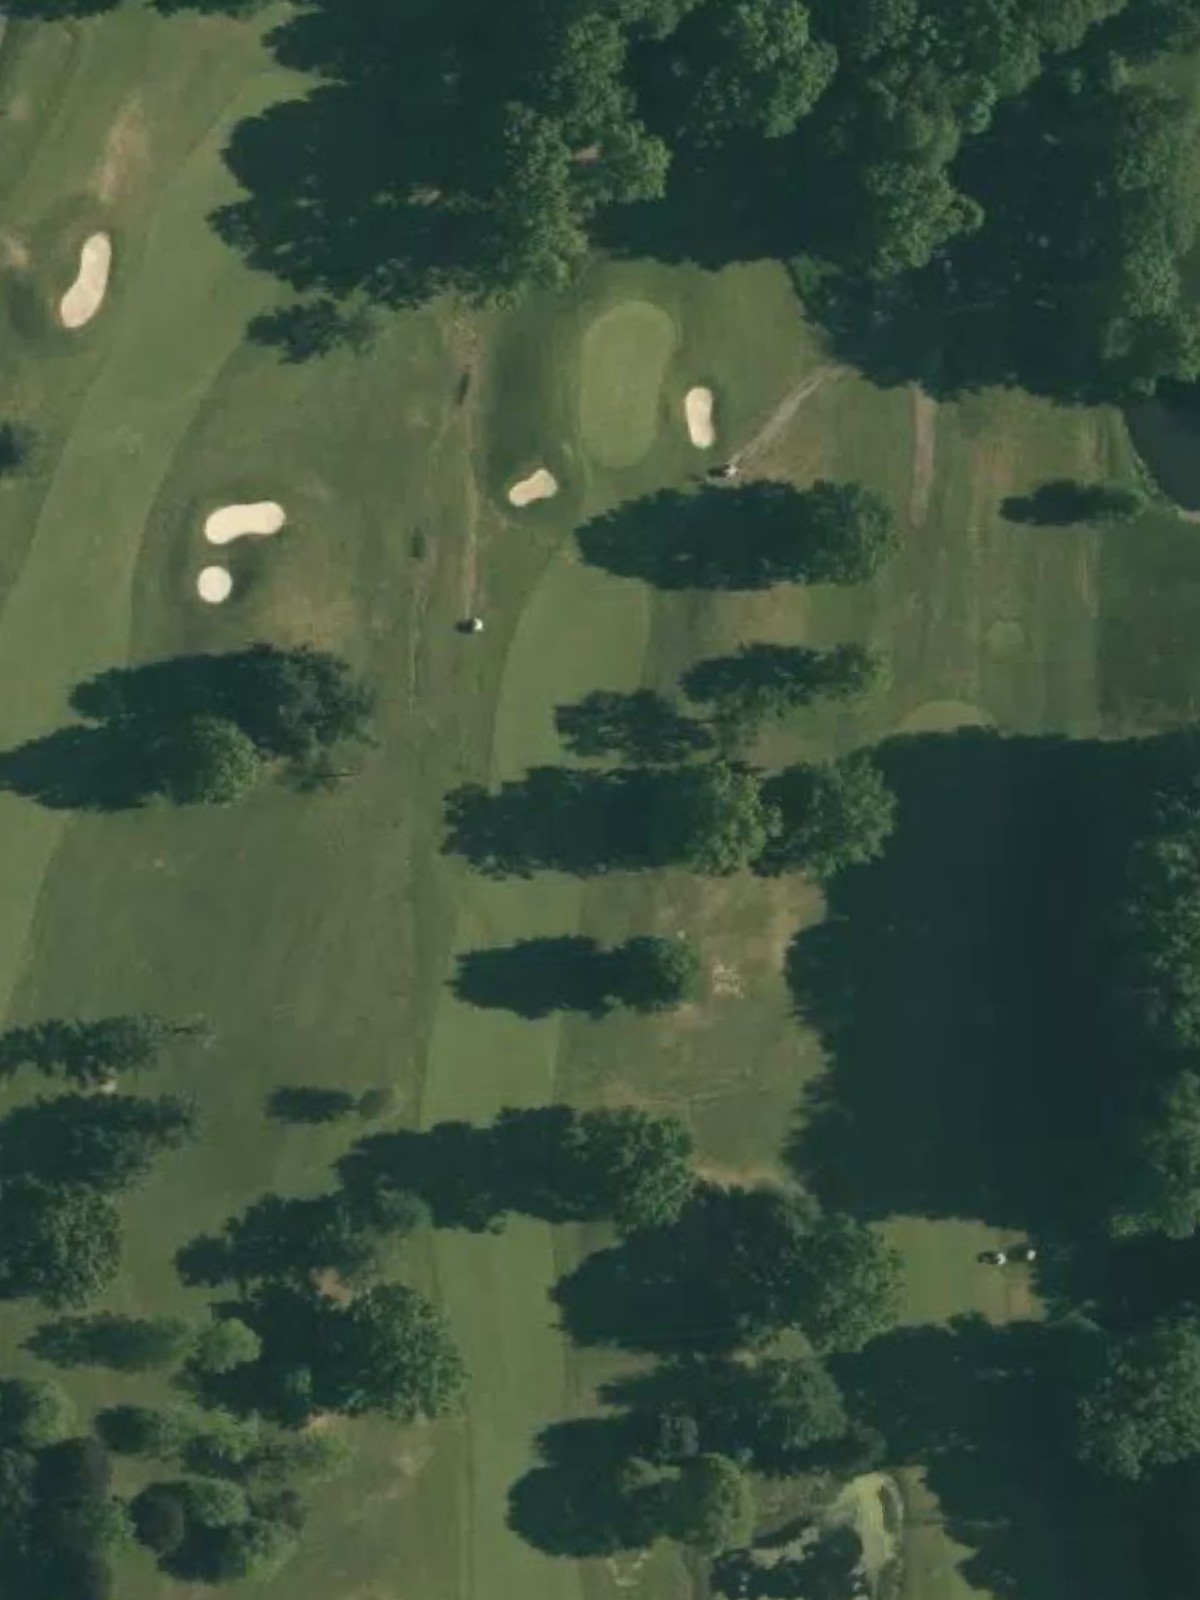
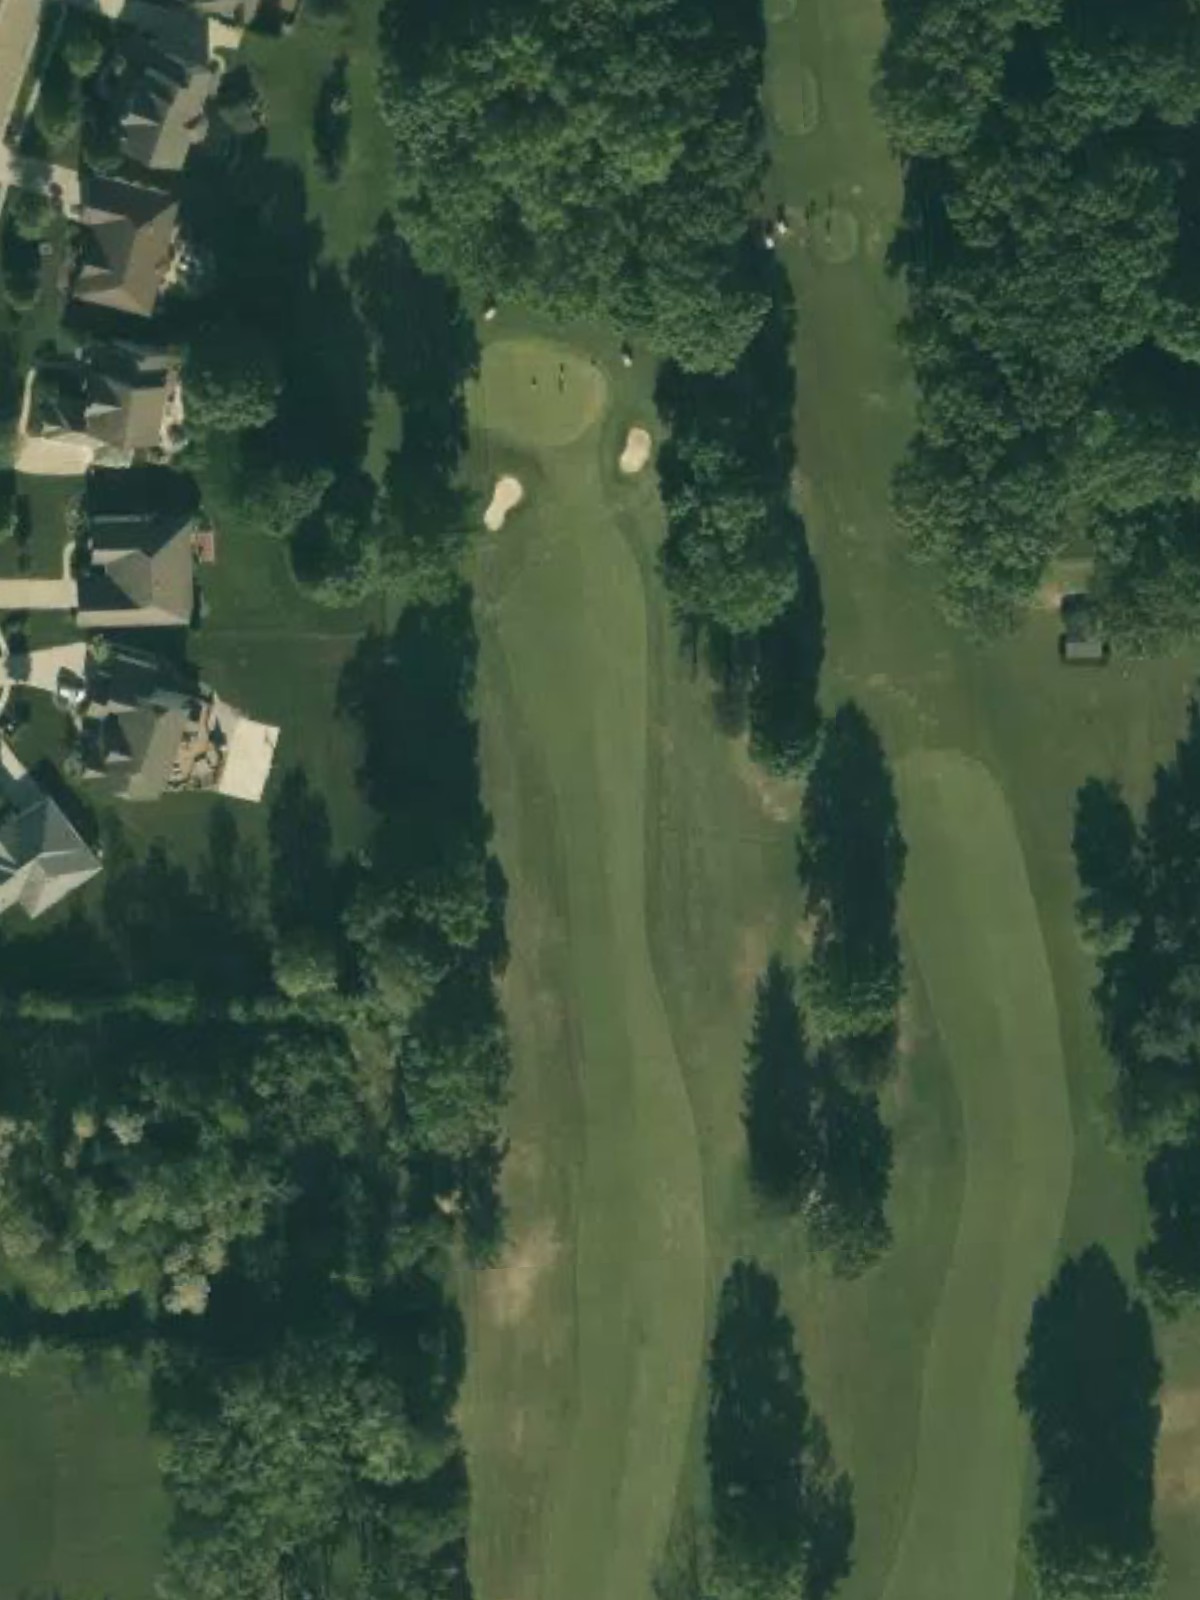
A short par 3 with a narrow, well-bunkered green that demands an accurate tee shot. The green's small target area and surrounding hazards make club selection and distance control critical.
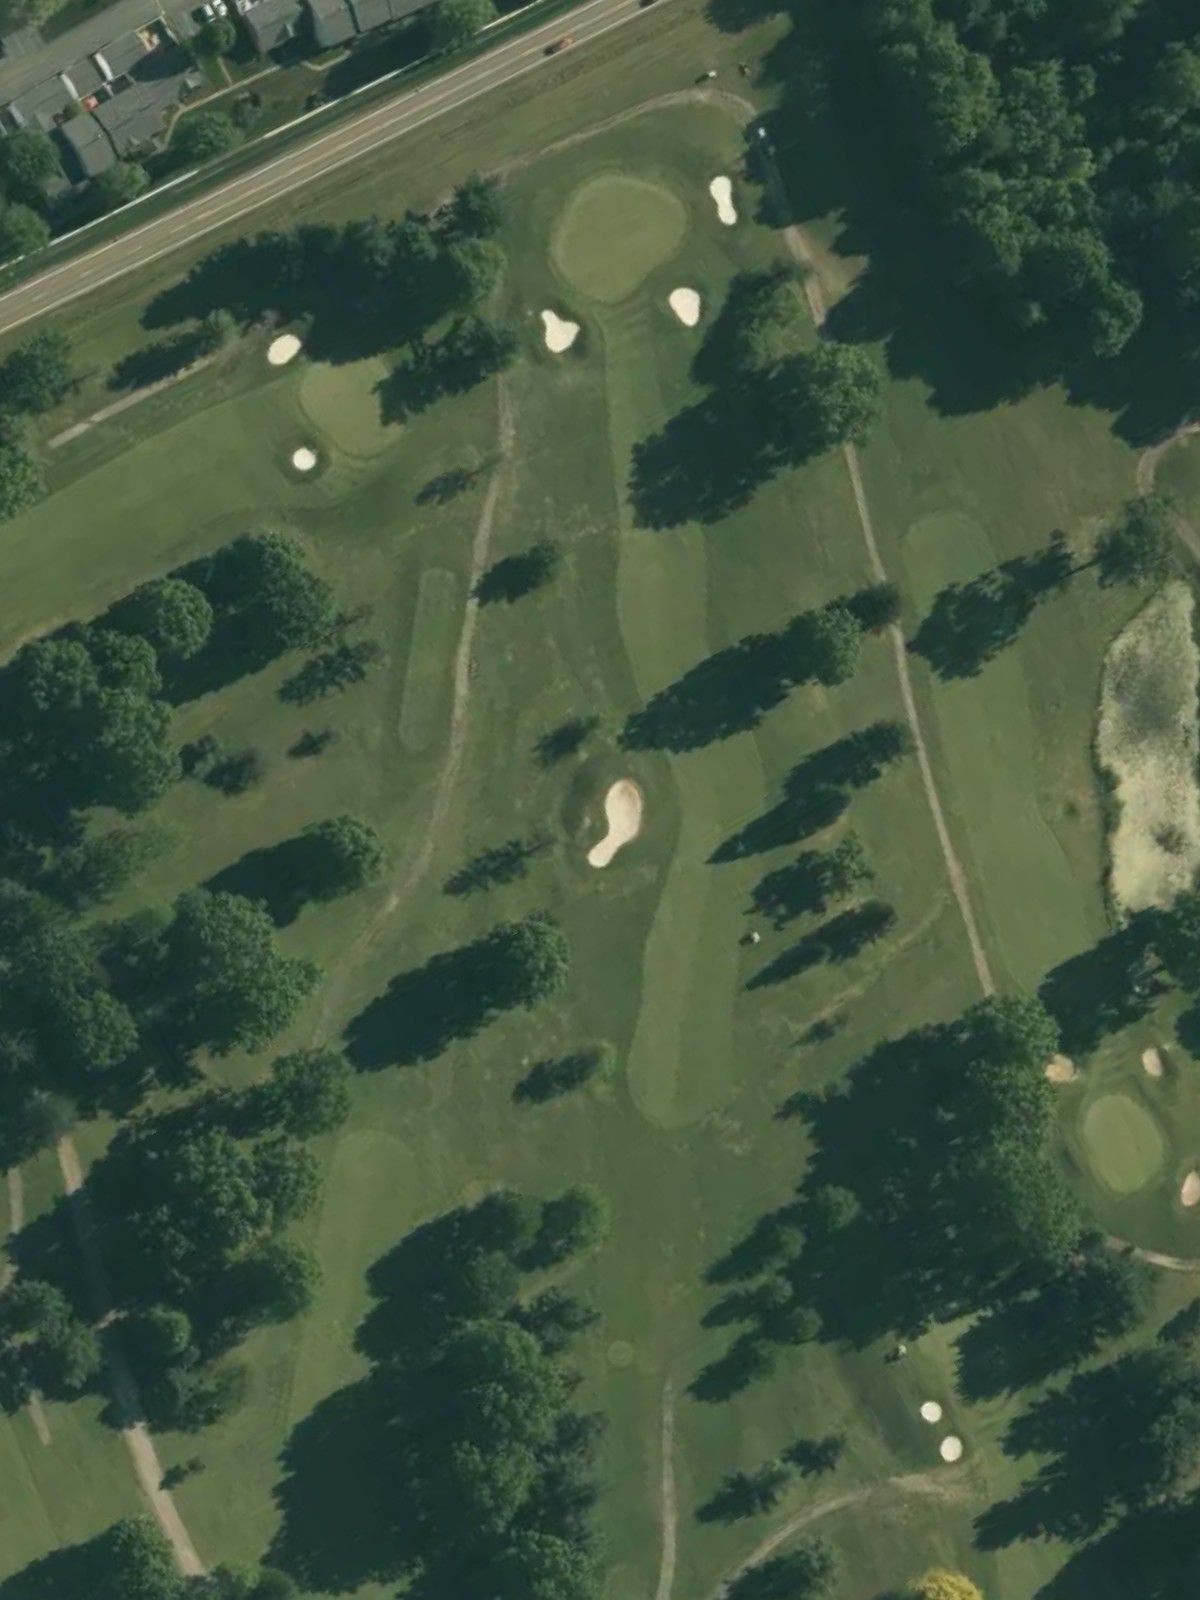
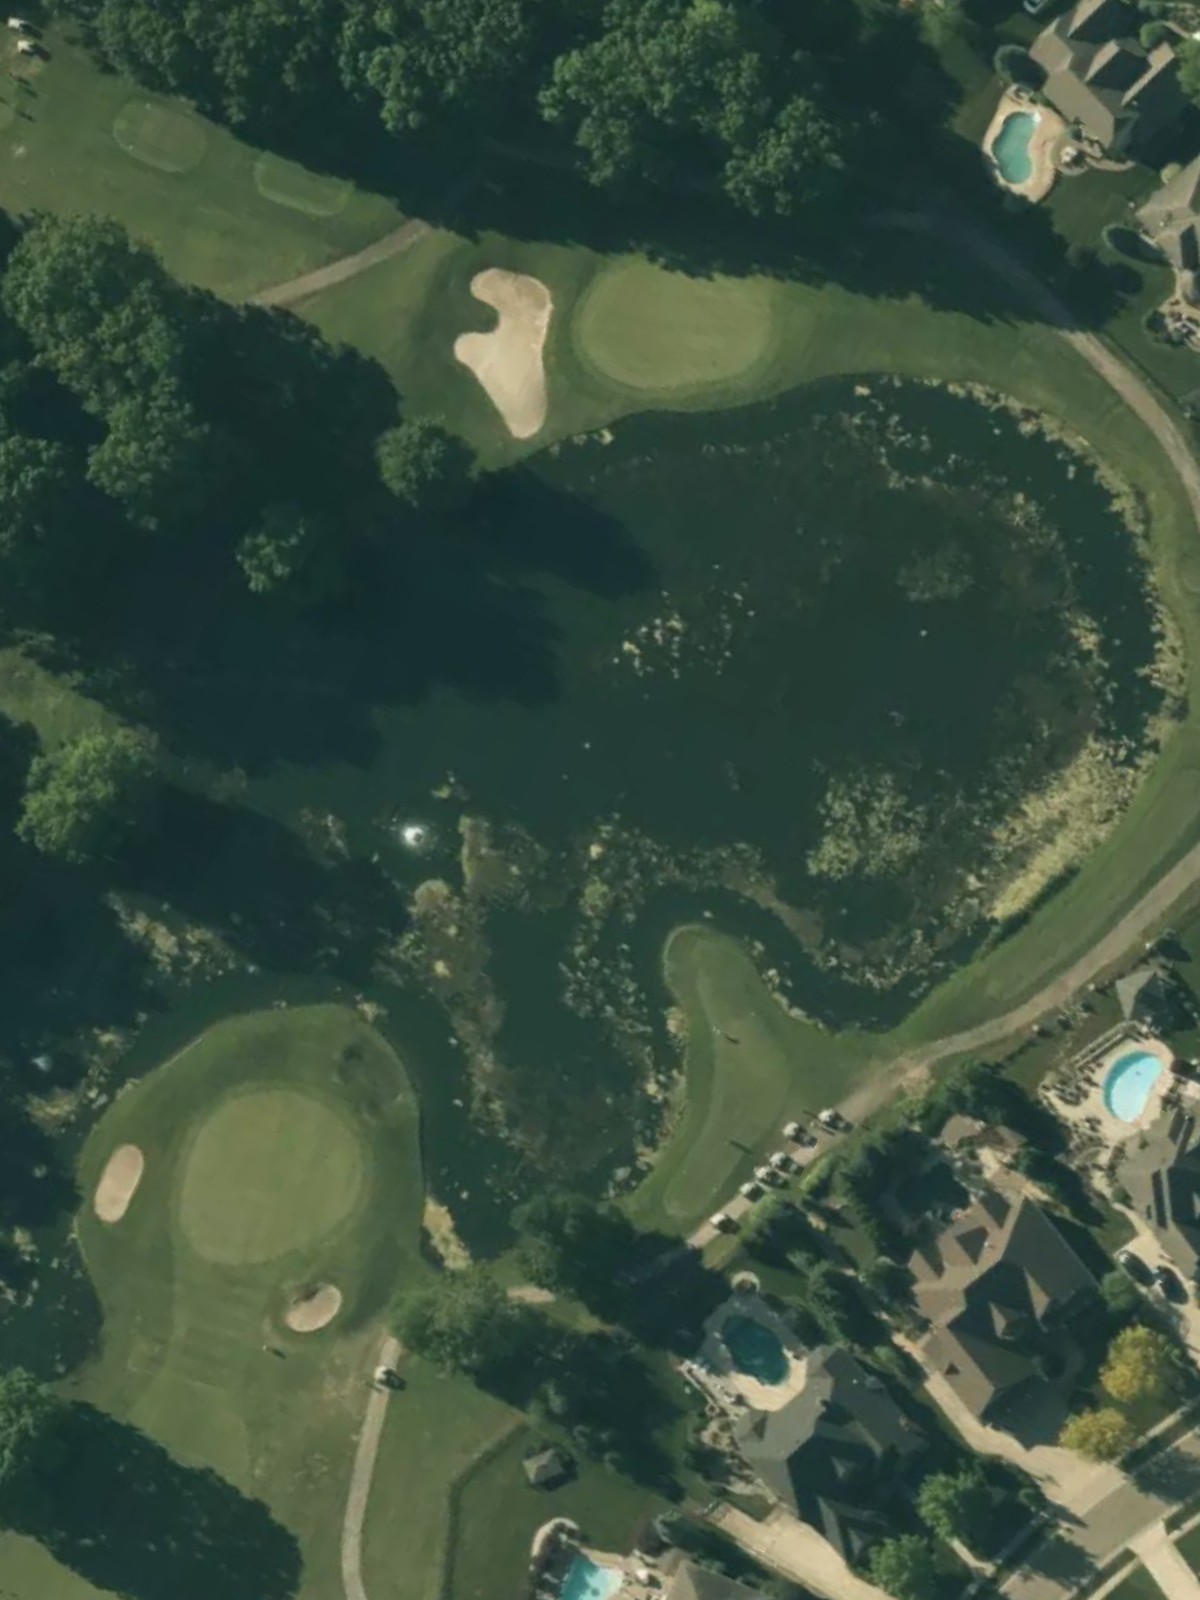
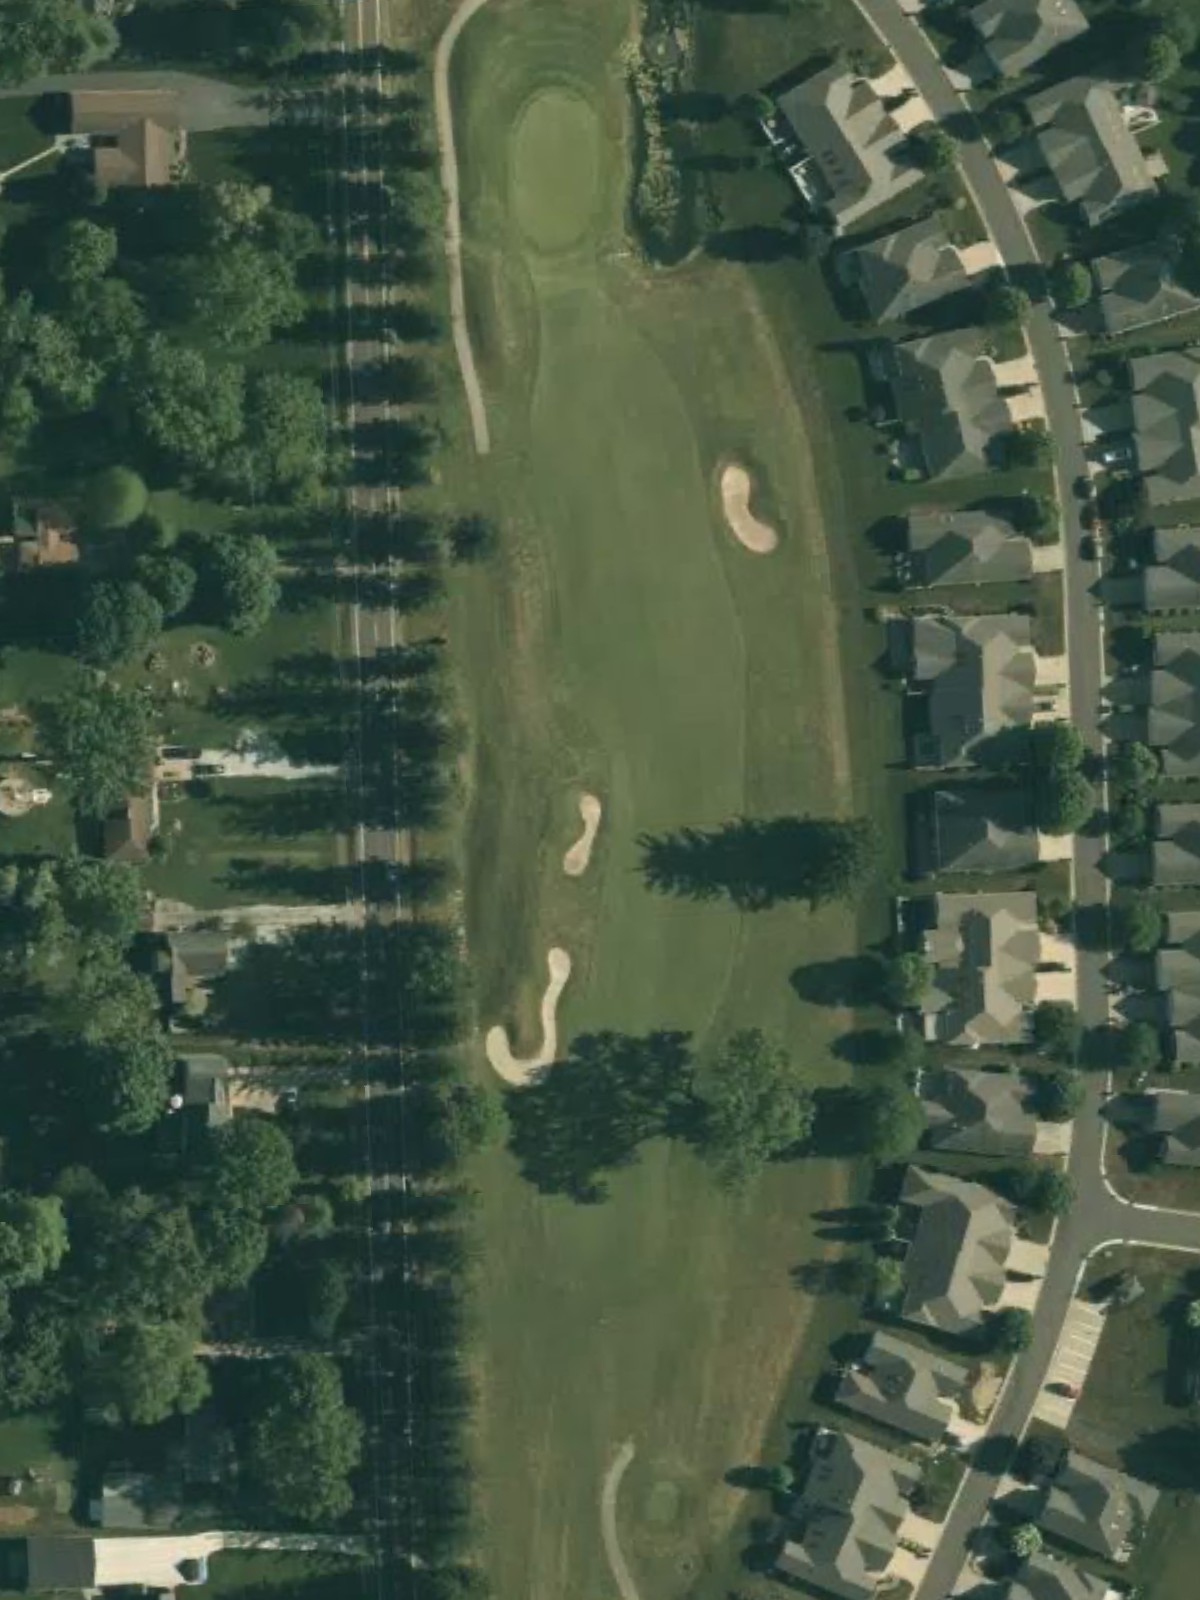
A lengthy par 5 that curves gently through the course with a generous landing area off the tee. Water hazards frame the hole on the left, while the elevated green is guarded by bunkers, testing the third shot.
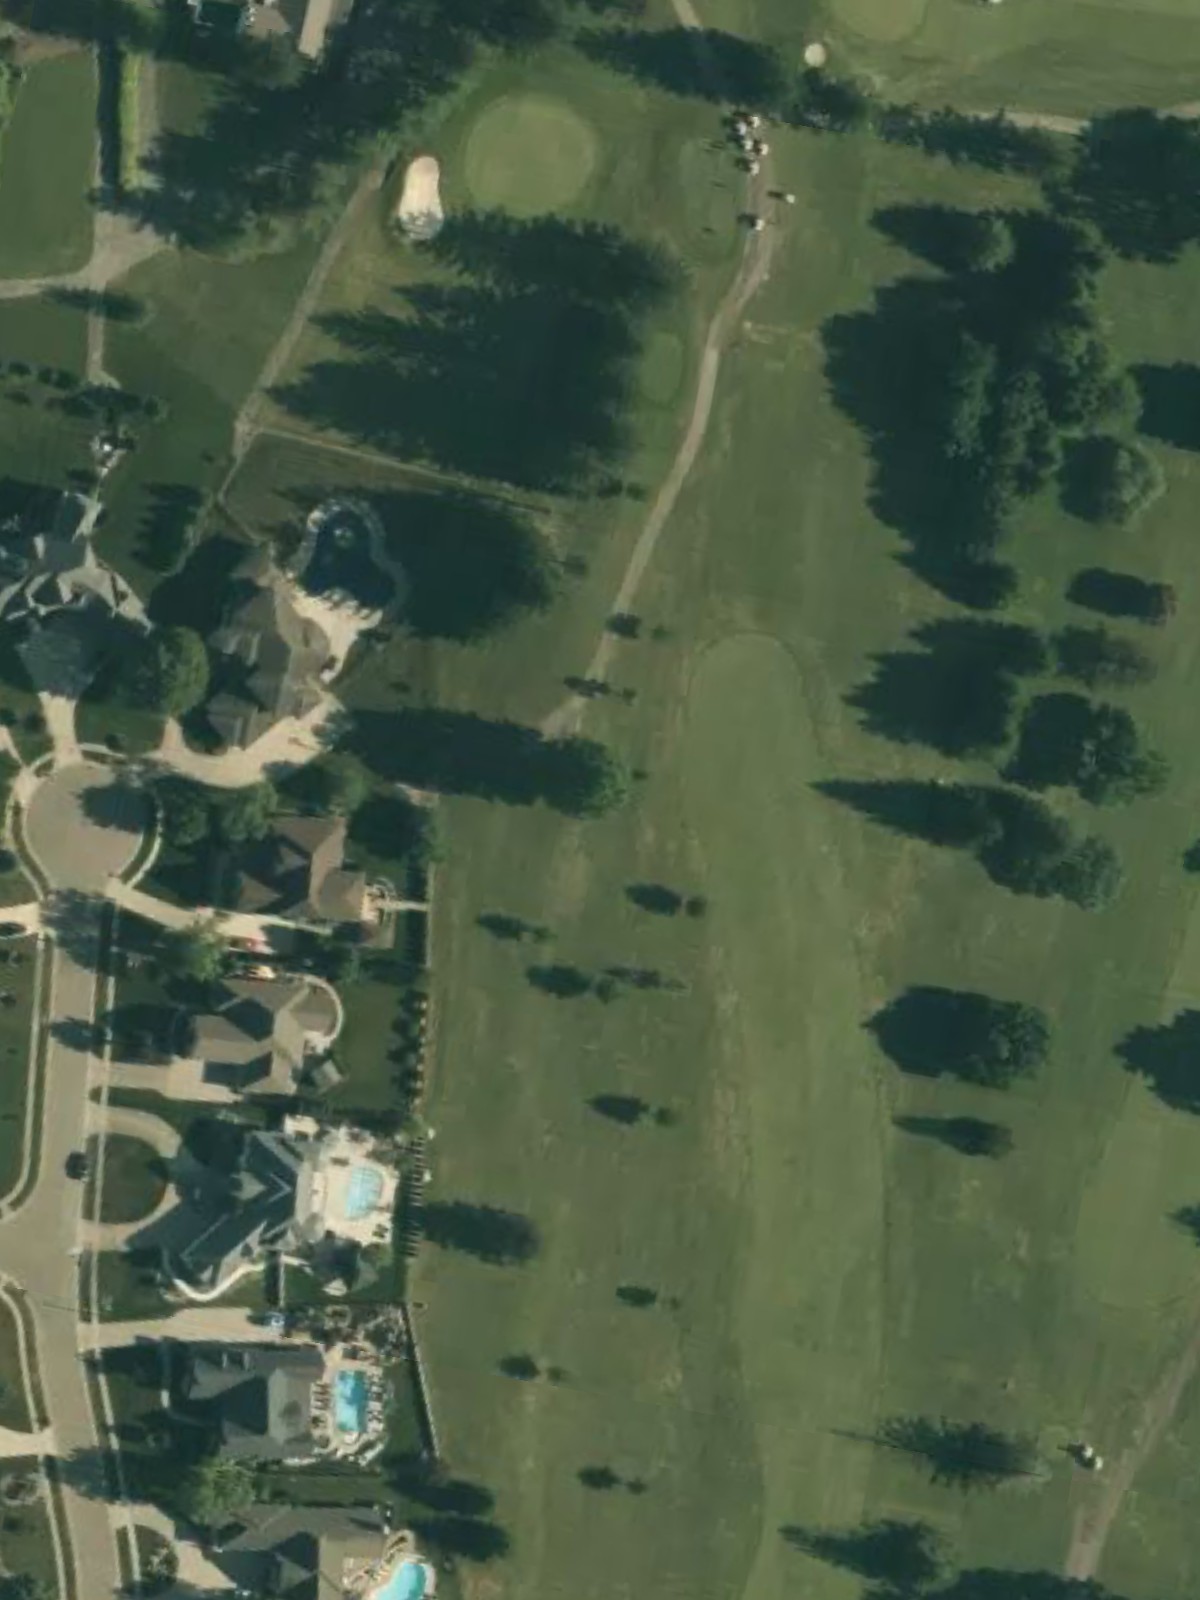
A short, relatively straightforward par 4 that rewards solid tee shots with a manageable approach. Light bunkering around the green means accuracy is less penalizing, making this a good scoring opportunity.
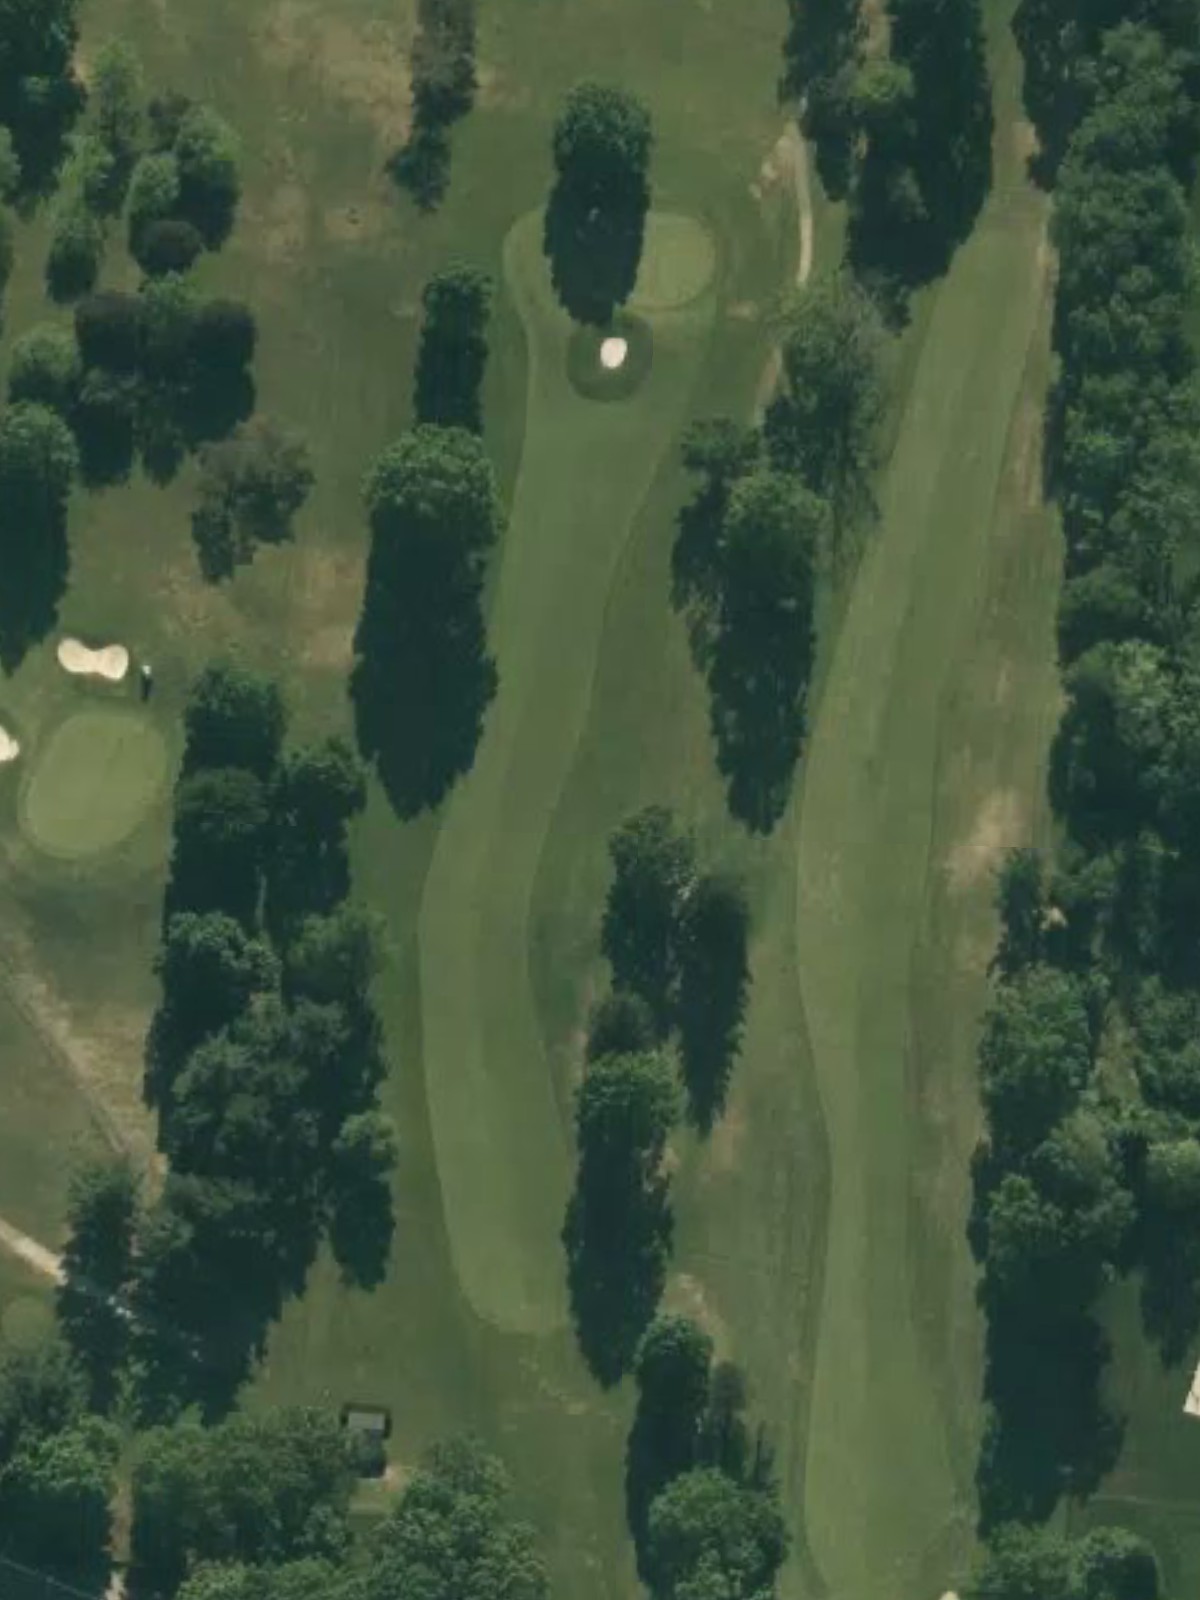
A moderate par 4 with a fairway that narrows progressively toward the green. Strategic bunkering frames both sides of the landing area, and the green's depth requires careful distance judgment on the approach.
A challenging par 4 that ranks as one of the course's most difficult holes, playing to a full length with a well-defined shape. Hazards tighten around the green, and the approach is the critical test of this hole.
A short par 4 that plays easier than its yardage suggests, offering a good birdie chance with smart positioning. Light hazarding allows for aggressive play, making this an opportunity hole on the front nine.
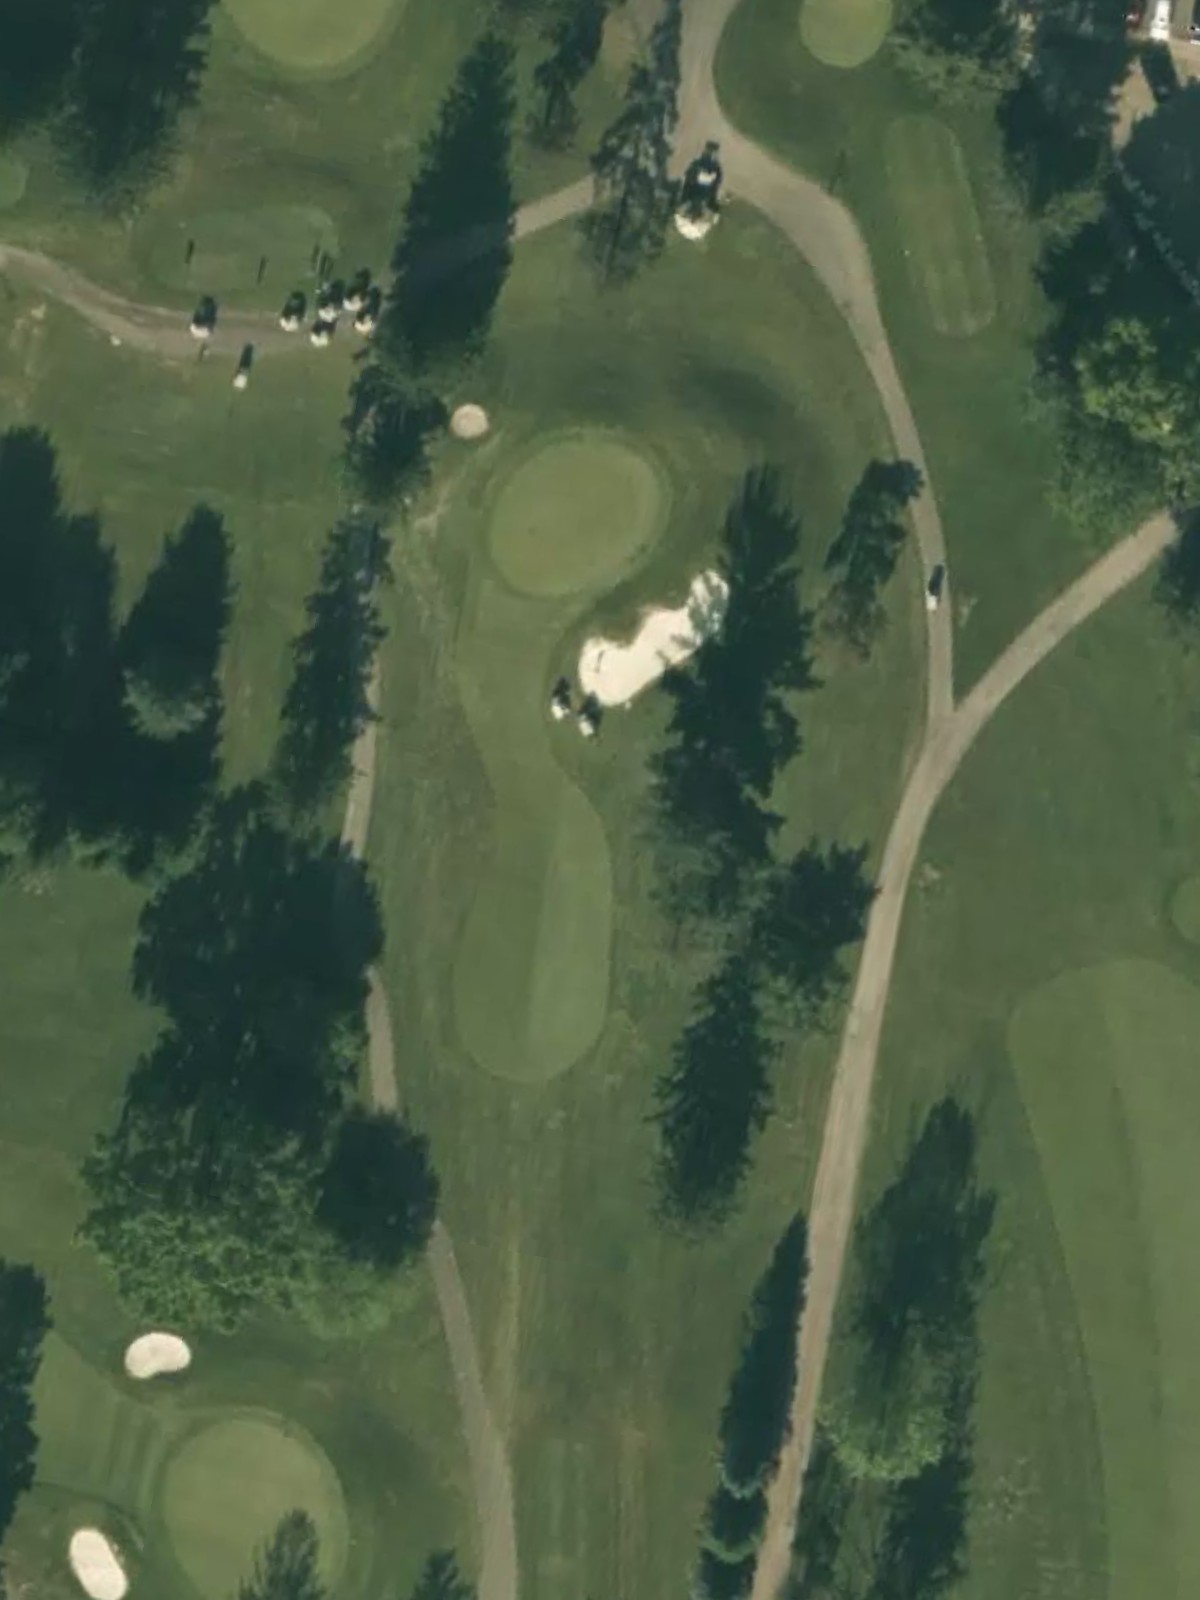
A diminutive par 3 that plays to the shortest yardage on the course, but the small, well-protected green demands precision. The bunkers surrounding the green punish anything offline, despite the short distance.
A par 4 that plays uphill from the tee with a fairway that opens in the landing zone. The elevated green is set back and protected by bunkers, and the uphill approach makes the second shot longer than it appears.
A very short par 3 with a diminutive green tucked between hazards. Despite the brief yardage, the tightly bunkered green and confined target area make this deceptively difficult and require a precise tee shot.
A strong par 4 that ranks among the course's most demanding holes, with a fairway that narrows significantly near the green. Water and bunkers converge on the approach, creating a challenging finishing test for the second shot.
A moderate par 4 with a relatively straightforward layout and decent fairway width. Bunkers frame the green on both sides, and the approach is the key to avoiding trouble on this mid-length hole.

A challenging par 4 that plays to its length with a fairway narrowing toward the landing area. Hazards guard both sides of the approach, and the well-bunkered green punishes any errant second shots.
A solid par 4 with a fairway that offers good width in the landing zone but tightens near the green. Strategic bunkering and water on the left side of the approach create the primary challenge on the second shot.
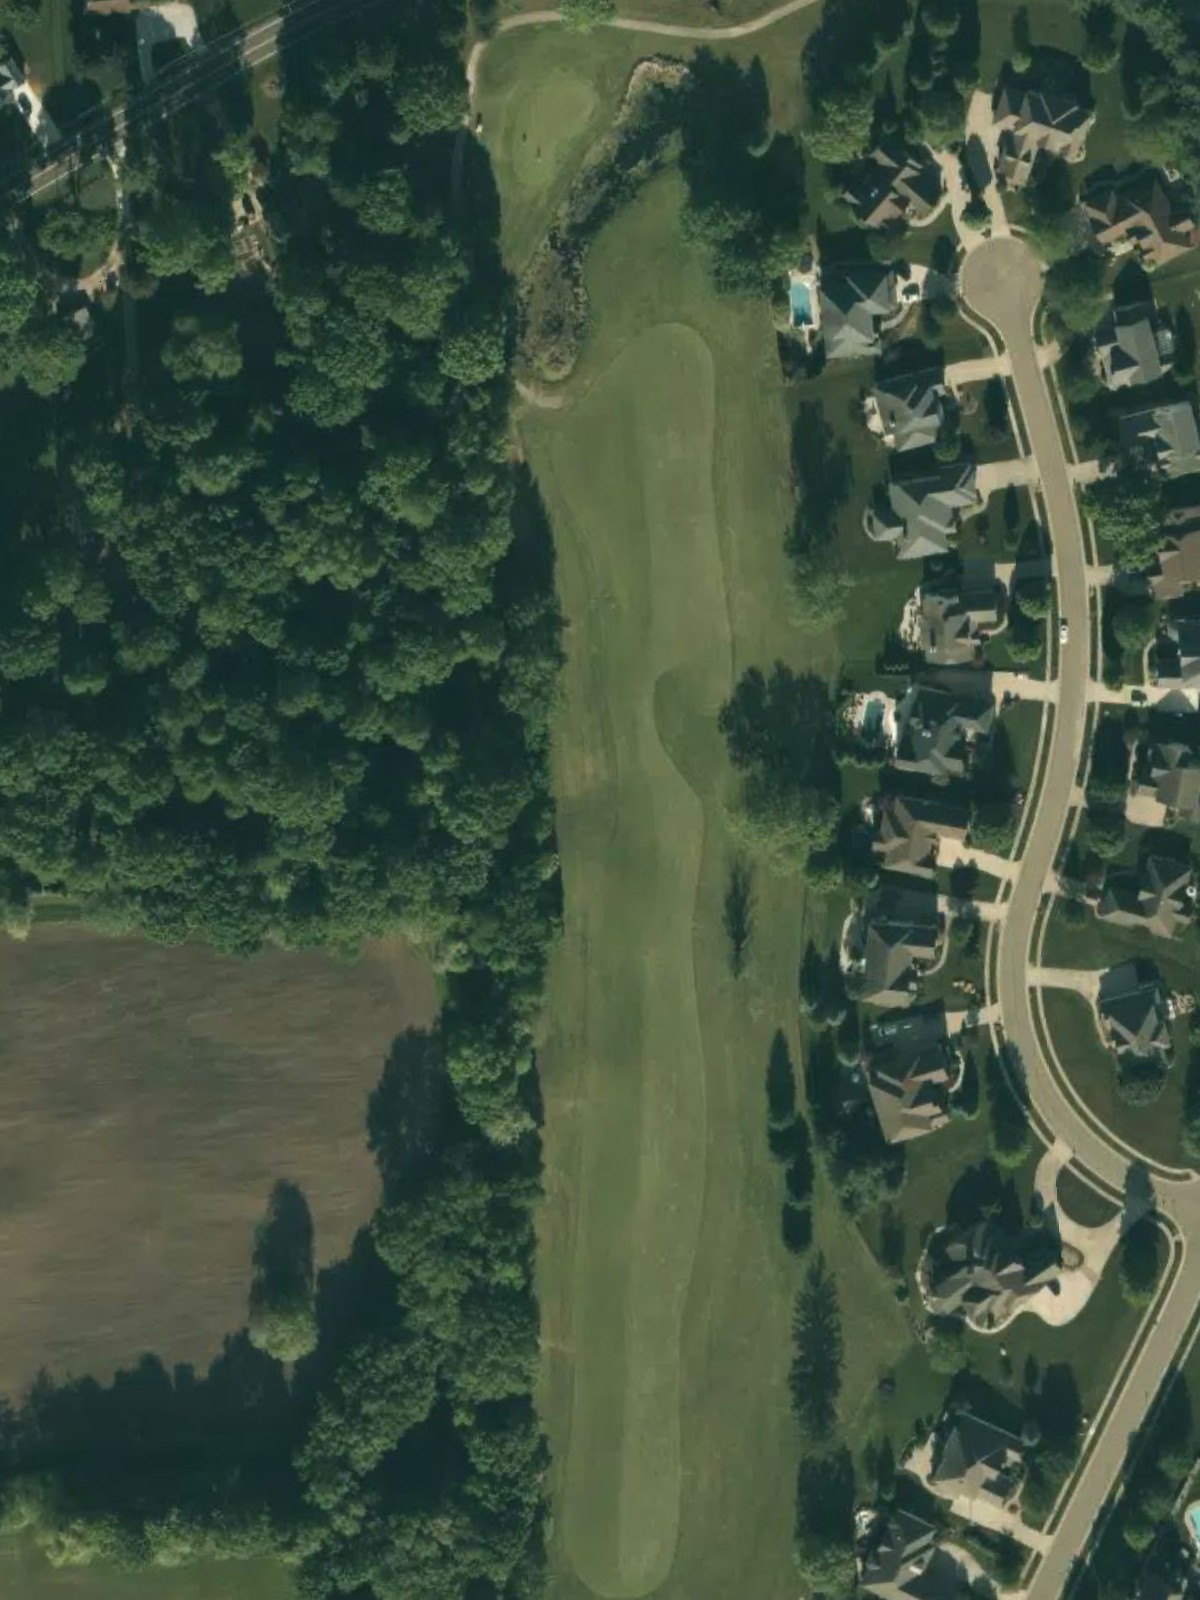
The course's signature par 5 and a strong finishing test, playing to a substantial length with dramatic hazards throughout. Water frames the left side from tee to green, while bunkers guard the right, making positioning crucial on both the drive and layup.
A well-bunkered par 4 with a fairway that bends slightly and narrows toward the green. The approach is guarded by strategic bunkers on both sides, requiring both distance control and directional accuracy.
A strong finishing par 4 that plays to full length with a fairway tightening at the critical landing zone. Water threatens the left side of the approach, while bunkers guard the right, making the second shot a dramatic conclusion to the round.
Scorecard
| Hole | 1 | 2 | 3 | 4 | 5 | 6 | 7 | 8 | 9 | Out | 10 | 11 | 12 | 13 | 14 | 15 | 16 | 17 | 18 | In | Tot |
|---|---|---|---|---|---|---|---|---|---|---|---|---|---|---|---|---|---|---|---|---|---|
| Par | 4 | 4 | 3 | 5 | 4 | 4 | 4 | 4 | 3 | 35 | 4 | 3 | 4 | 4 | 4 | 4 | 5 | 4 | 4 | 36 | 71 |
| HCP | 4 | 10 | 12 | 6 | 14 | 8 | 2 | 16 | 18 | 13 | 17 | 5 | 15 | 7 | 11 | 1 | 9 | 3 | |||
| gold | 396 | 281 | 164 | 491 | 310 | 363 | 395 | 332 | 153 | 2885 | 367 | 130 | 361 | 376 | 410 | 372 | 539 | 360 | 440 | 3355 | 6240 |
| white | 384 | 268 | 153 | 479 | 299 | 353 | 382 | 321 | 145 | 2784 | 355 | 109 | 338 | 368 | 397 | 360 | 506 | 334 | 378 | 3145 | 5929 |
| black | 373 | 256 | 141 | 437 | 288 | 342 | 363 | 303 | 133 | 2636 | 330 | 109 | 310 | 360 | 383 | 349 | 439 | 316 | 366 | 2962 | 5598 |
| red | 296 | 214 | 122 | 341 | 266 | 285 | 325 | 260 | 119 | 2228 | 239 | 88 | 276 | 294 | 319 | 282 | 399 | 284 | 311 | 2492 | 4720 |