Marshall Golf Club is an 18-hole golf course in Marshall, MN with a par of 72. It offers 3 tee sets: blue (6,601 yards, slope 130, rating 71.9), white (6,266 yards, slope 127, rating 70.4), yellow (5,795 yards, slope 124, rating 68.1). The hardest hole is #7, a par 5 playing 544 yards from the first tee.
Marshall Golf Club
Marshall, MN
Get PDF Yardage Book
We'll email you the PDF link. No spam, ever.
Create Your Game Plan
Pick your tees, enter your bag, and get a personalized shot-by-shot strategy for every hole.
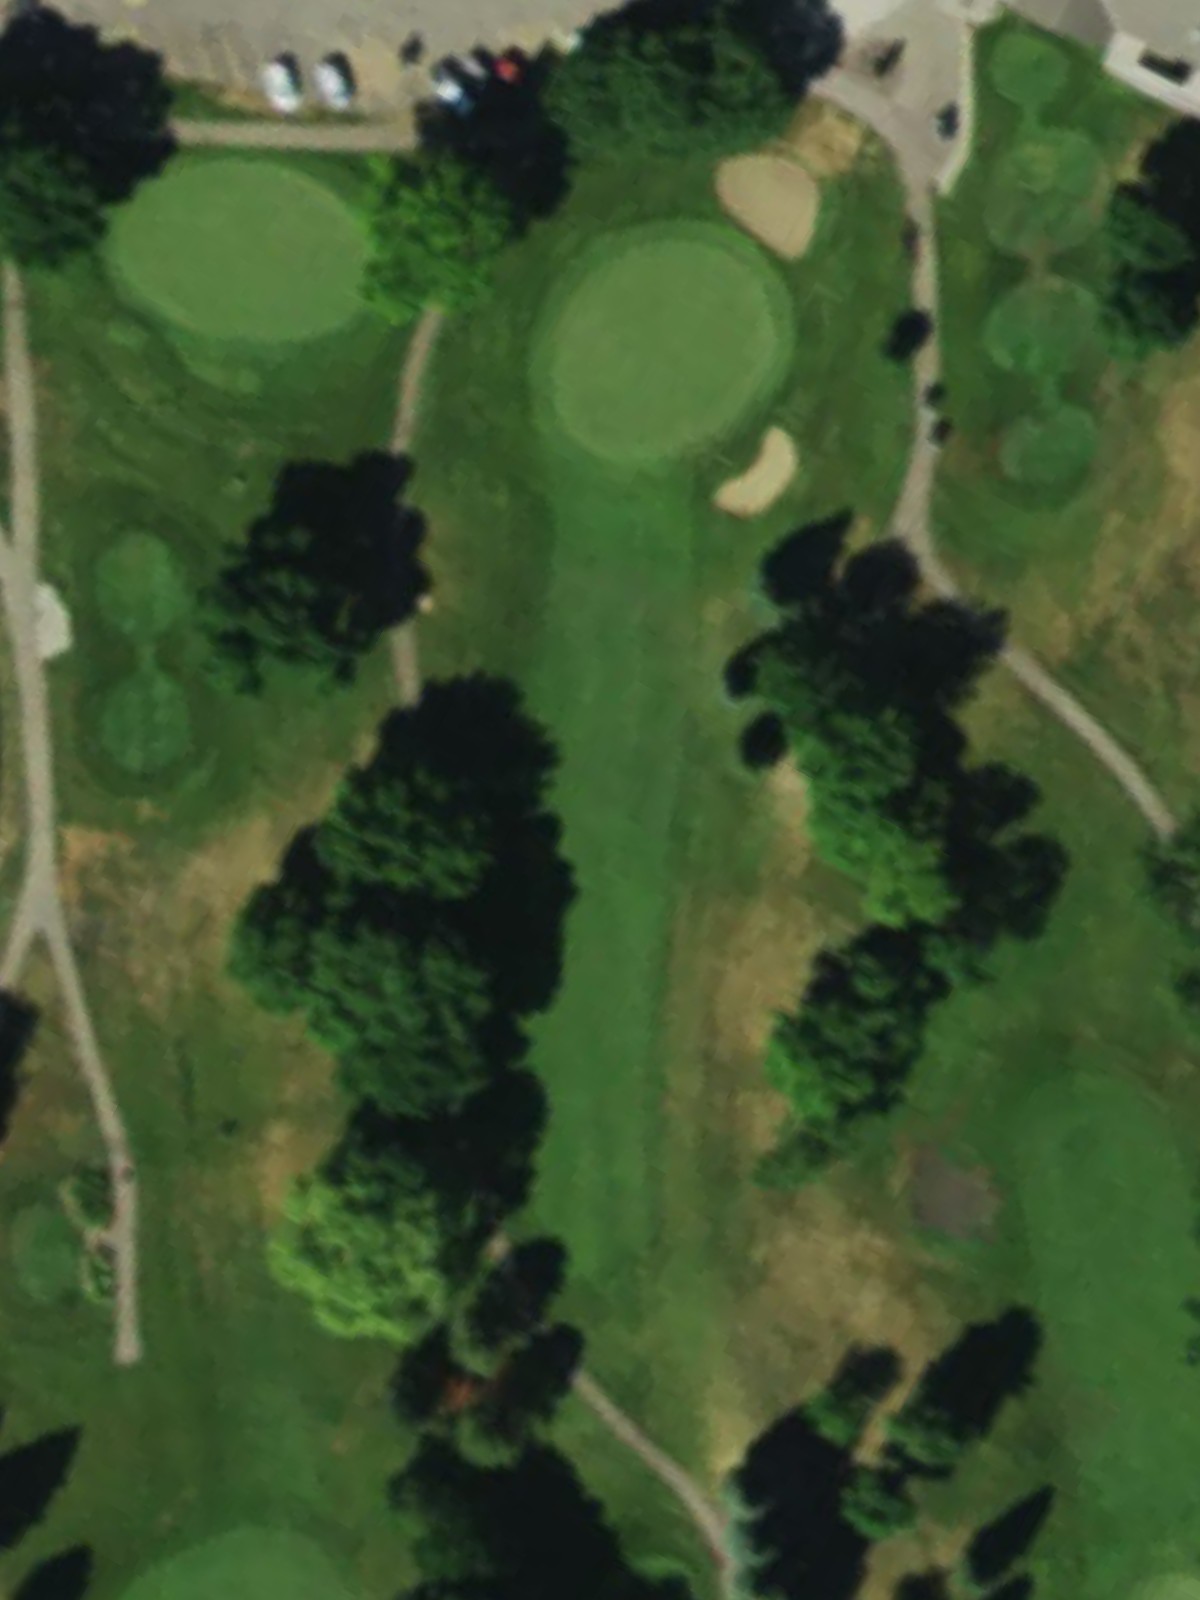
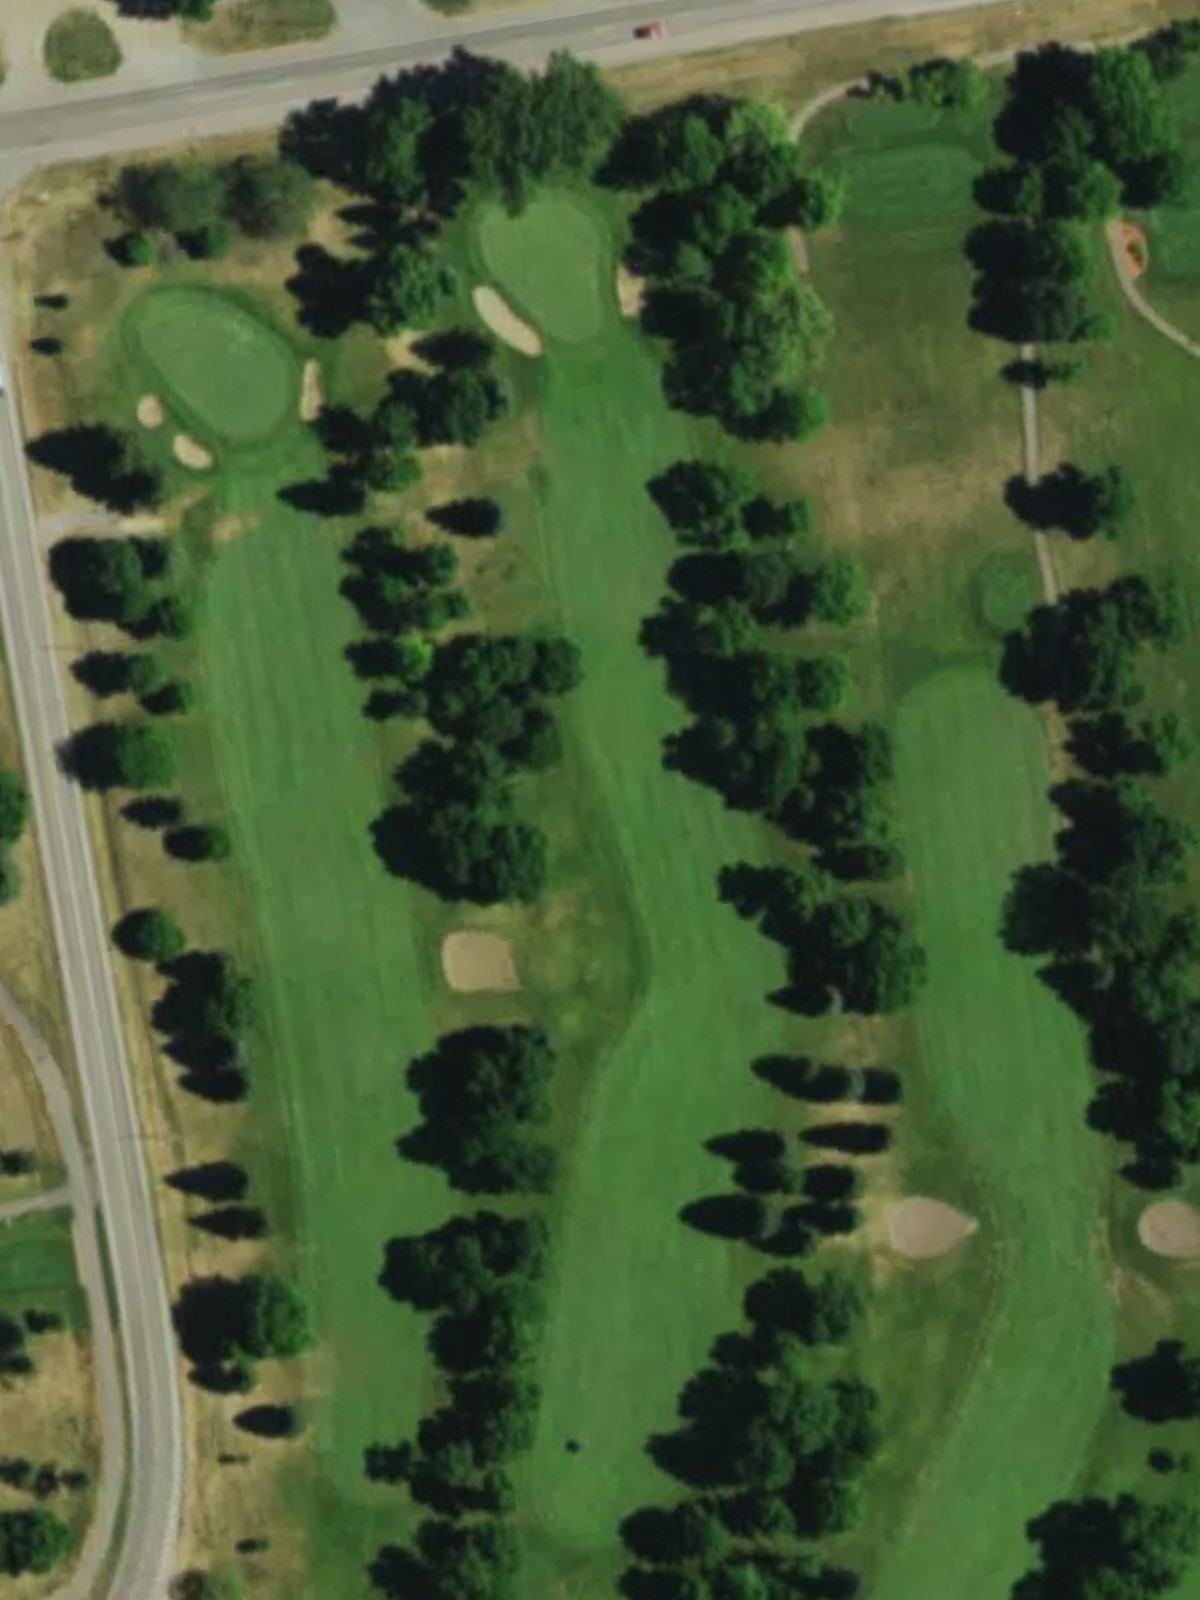
A long par 5 playing straightaway with a wide fairway that gradually narrows as it approaches the green. The approach shot demands accuracy, as bunkers guard both sides of the green and demand precise placement for scoring opportunities.
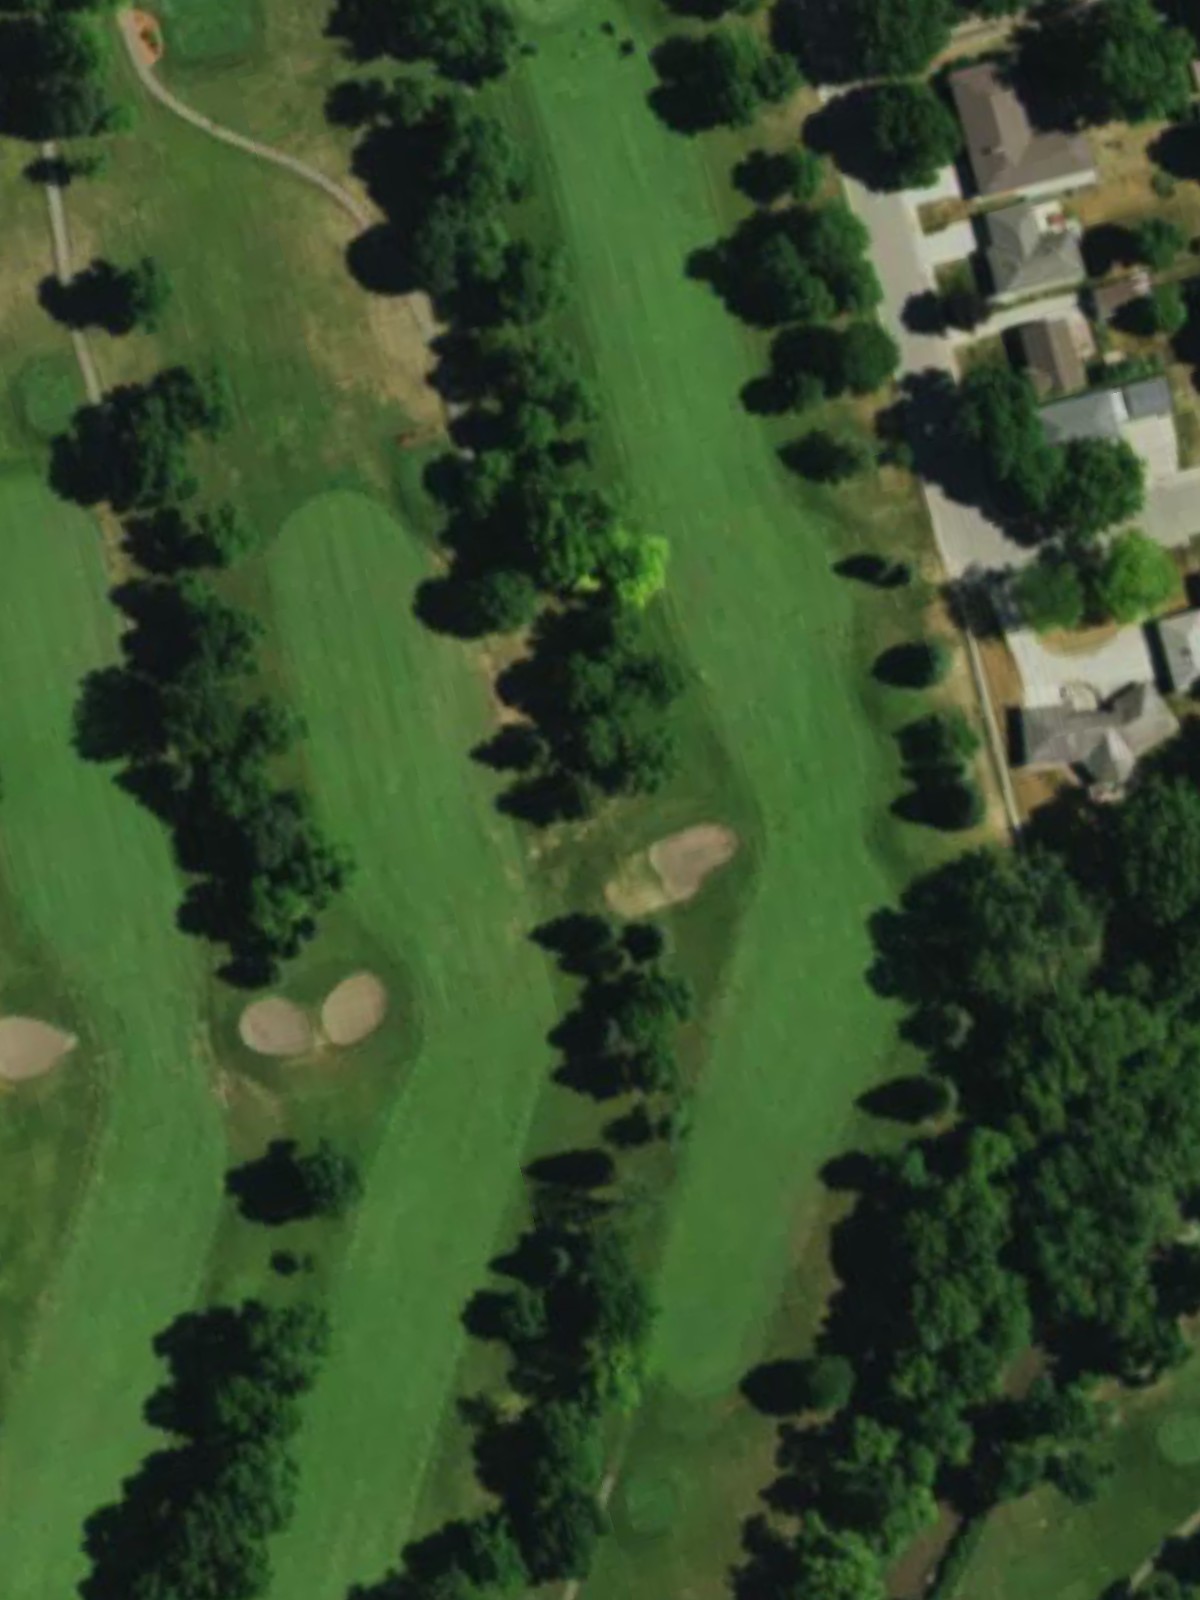
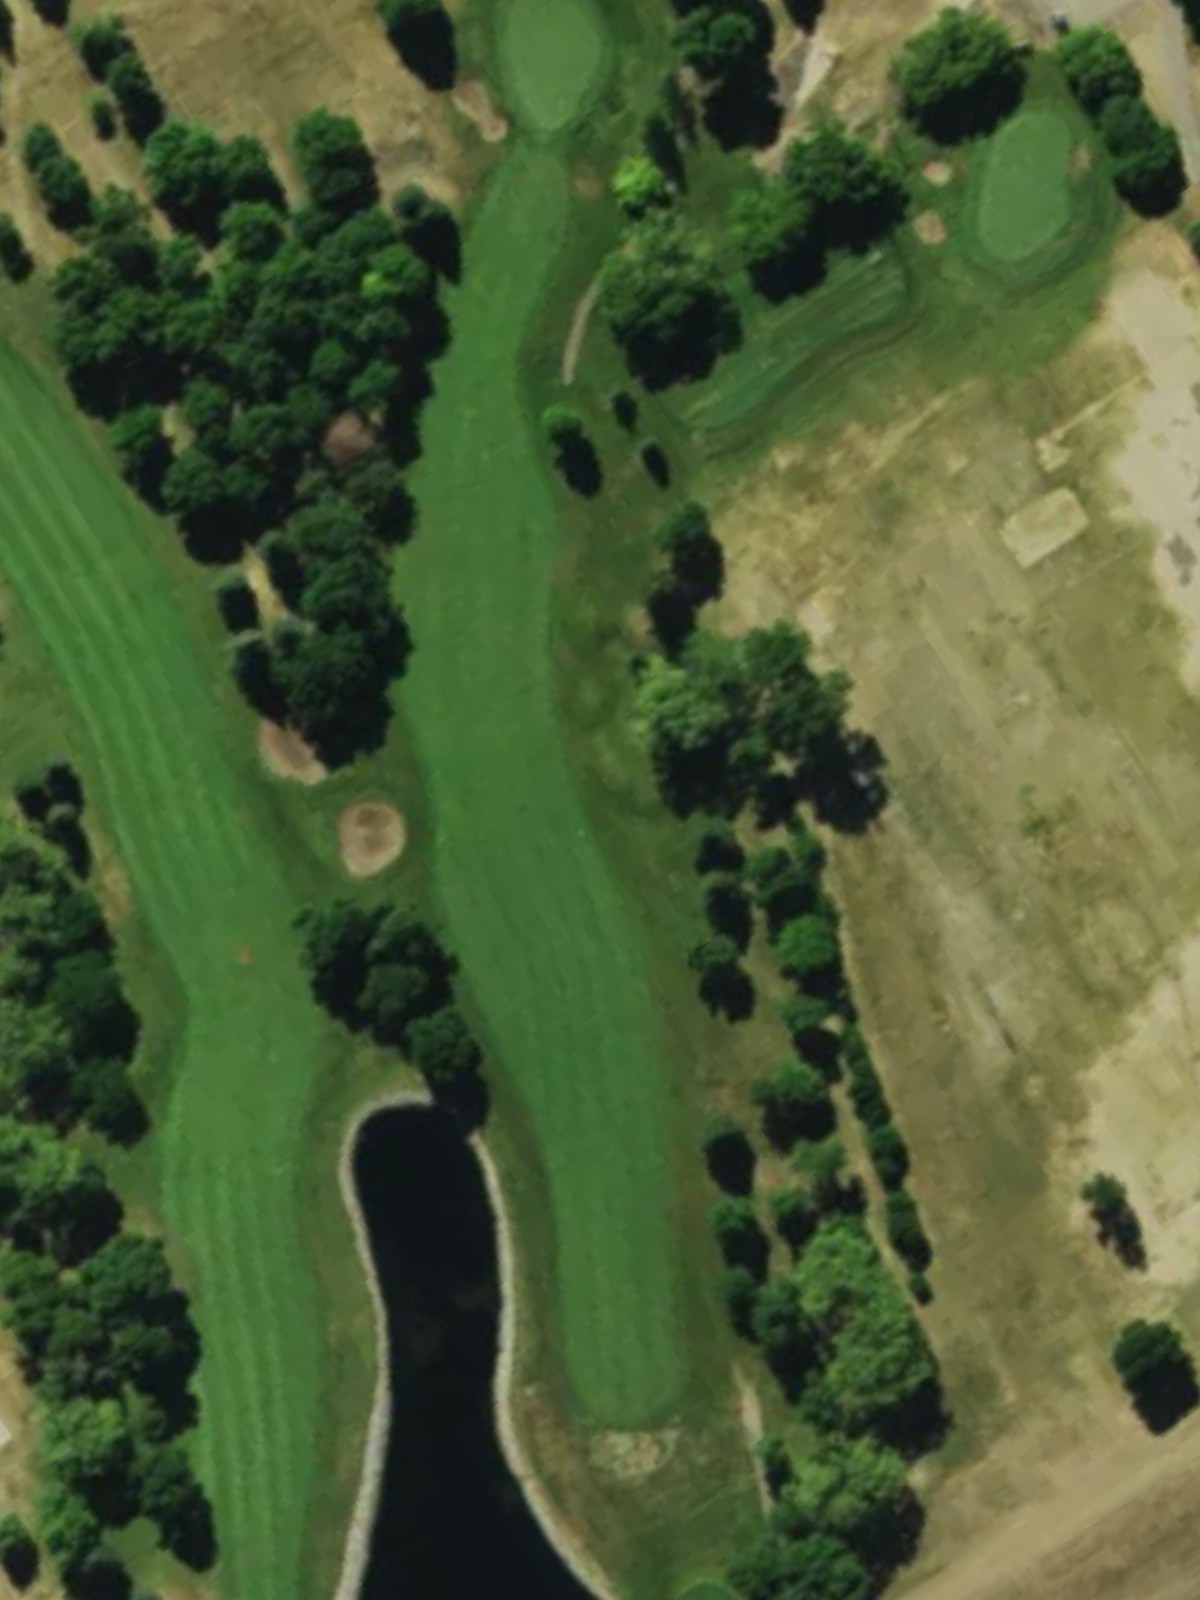
A strategic par 5 that ranks among the course's most difficult holes, requiring three well-struck shots to reach the green in regulation. Water hazards and bunkering around the green create a challenging finish to this uphill hole.
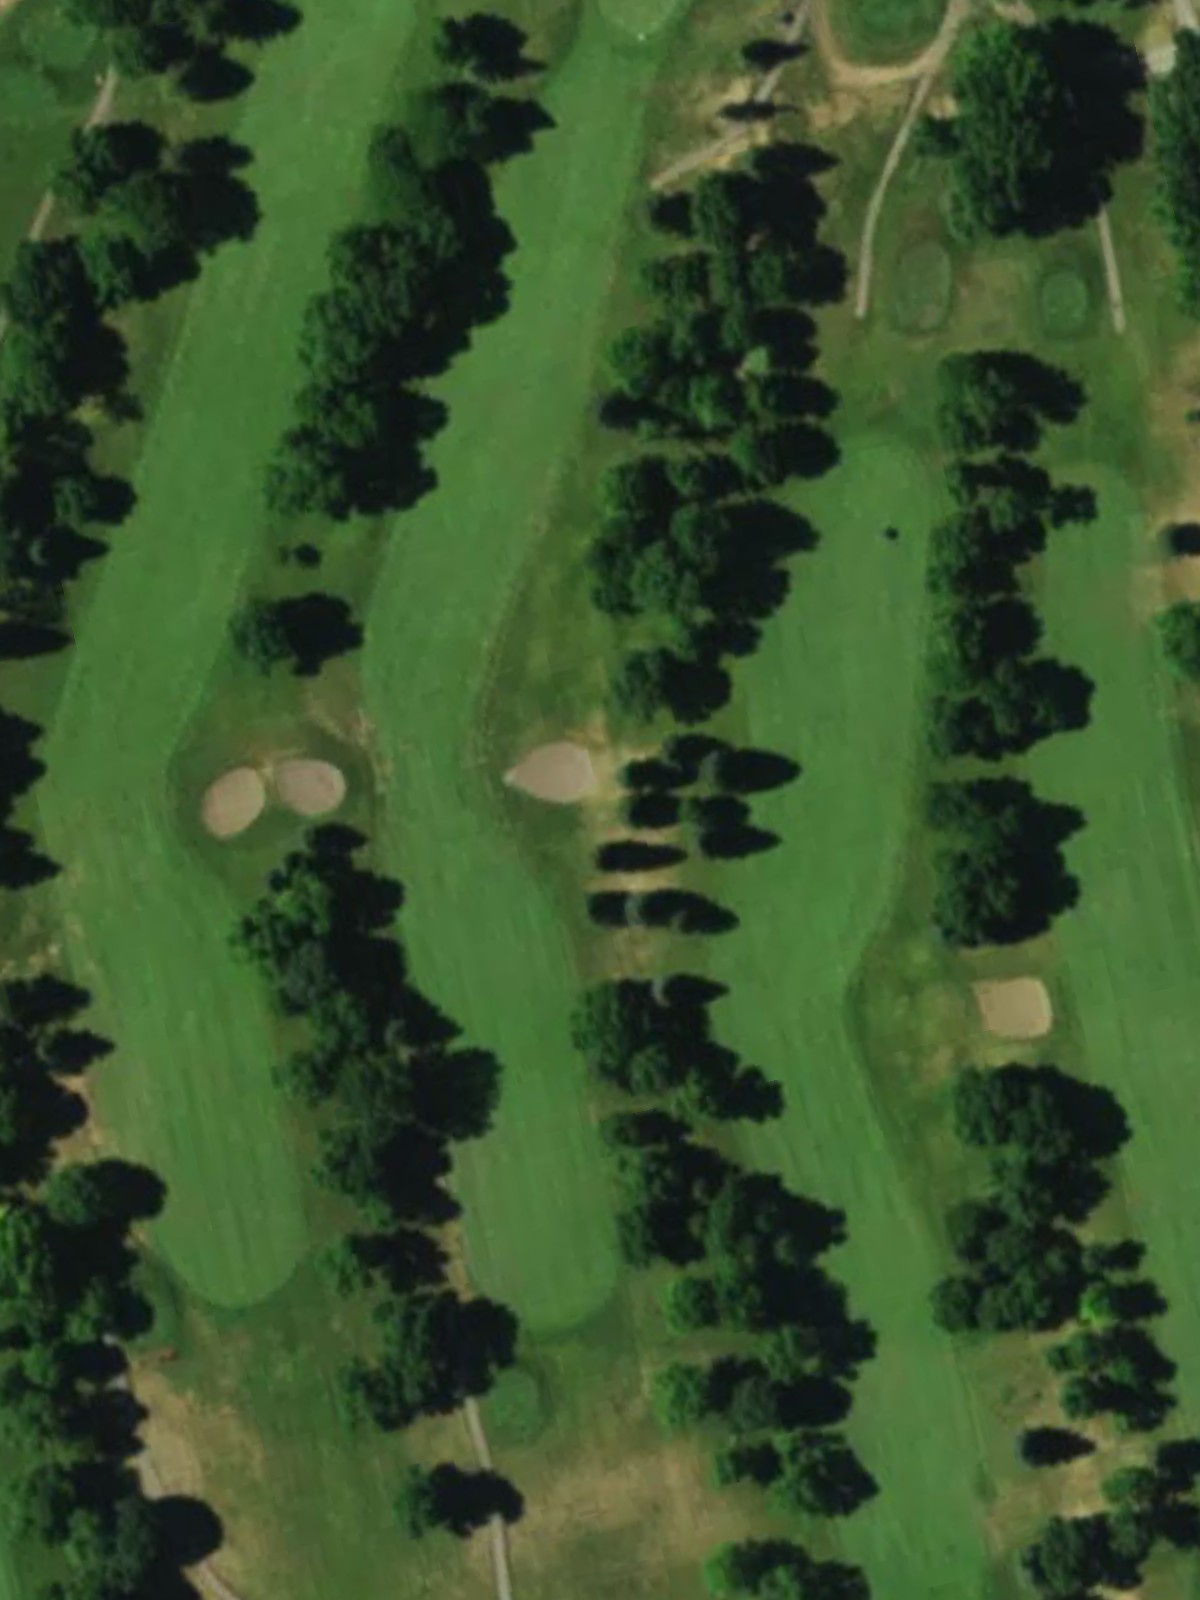
A short par 4 offering an inviting scoring opportunity with a relatively open fairway and modest length. The green is well-bunkered, making the approach shot the critical element despite the hole's modest yardage.
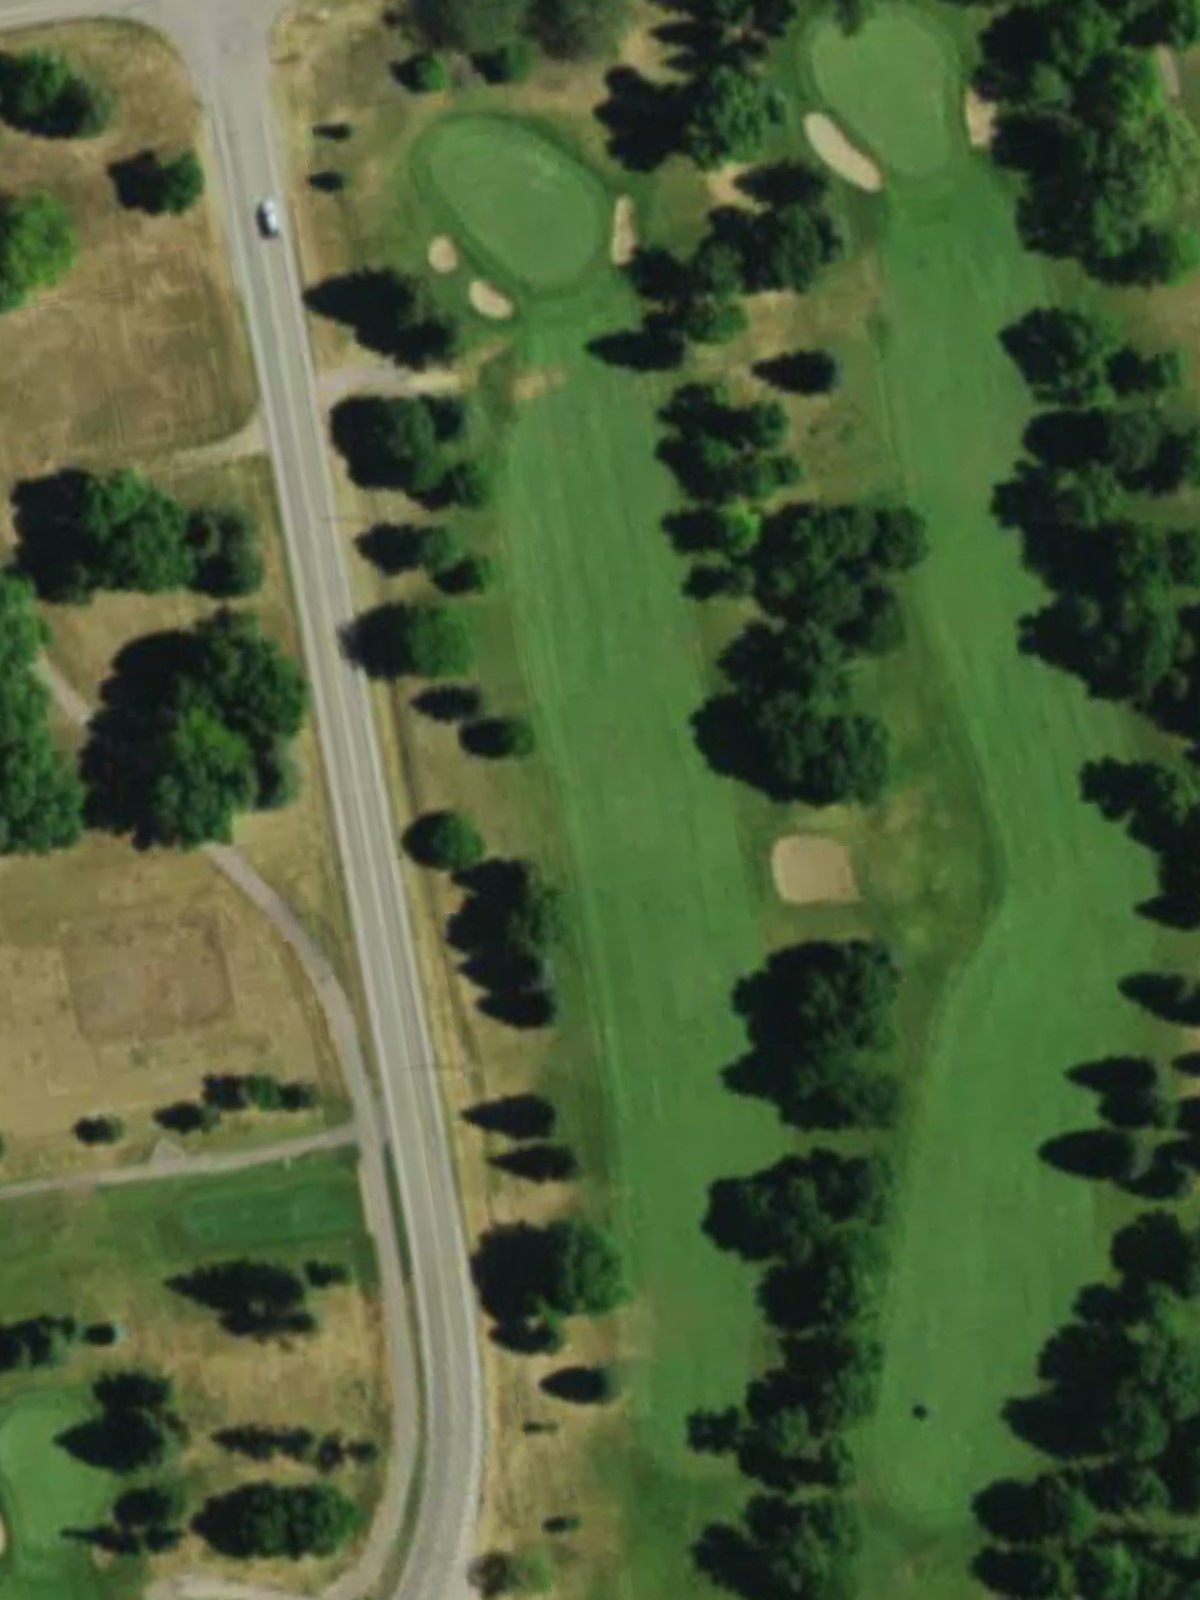
A mid-length par 3 with a moderate target that plays straightforward without significant visual deception. Bunkers frame the green, particularly on the right side, and the exposed green demands an accurate tee shot.
A strong par 4 that plays uphill throughout its length, making distance management critical to reaching the green in regulation. Strategic bunkering down the left side of the fairway and around the green rewards precise shot placement.
A short but demanding par 3 played over a hazard to a well-protected green. The compact nature of the hole belies its difficulty, with bunkers and water creating a challenging target despite modest yardage.
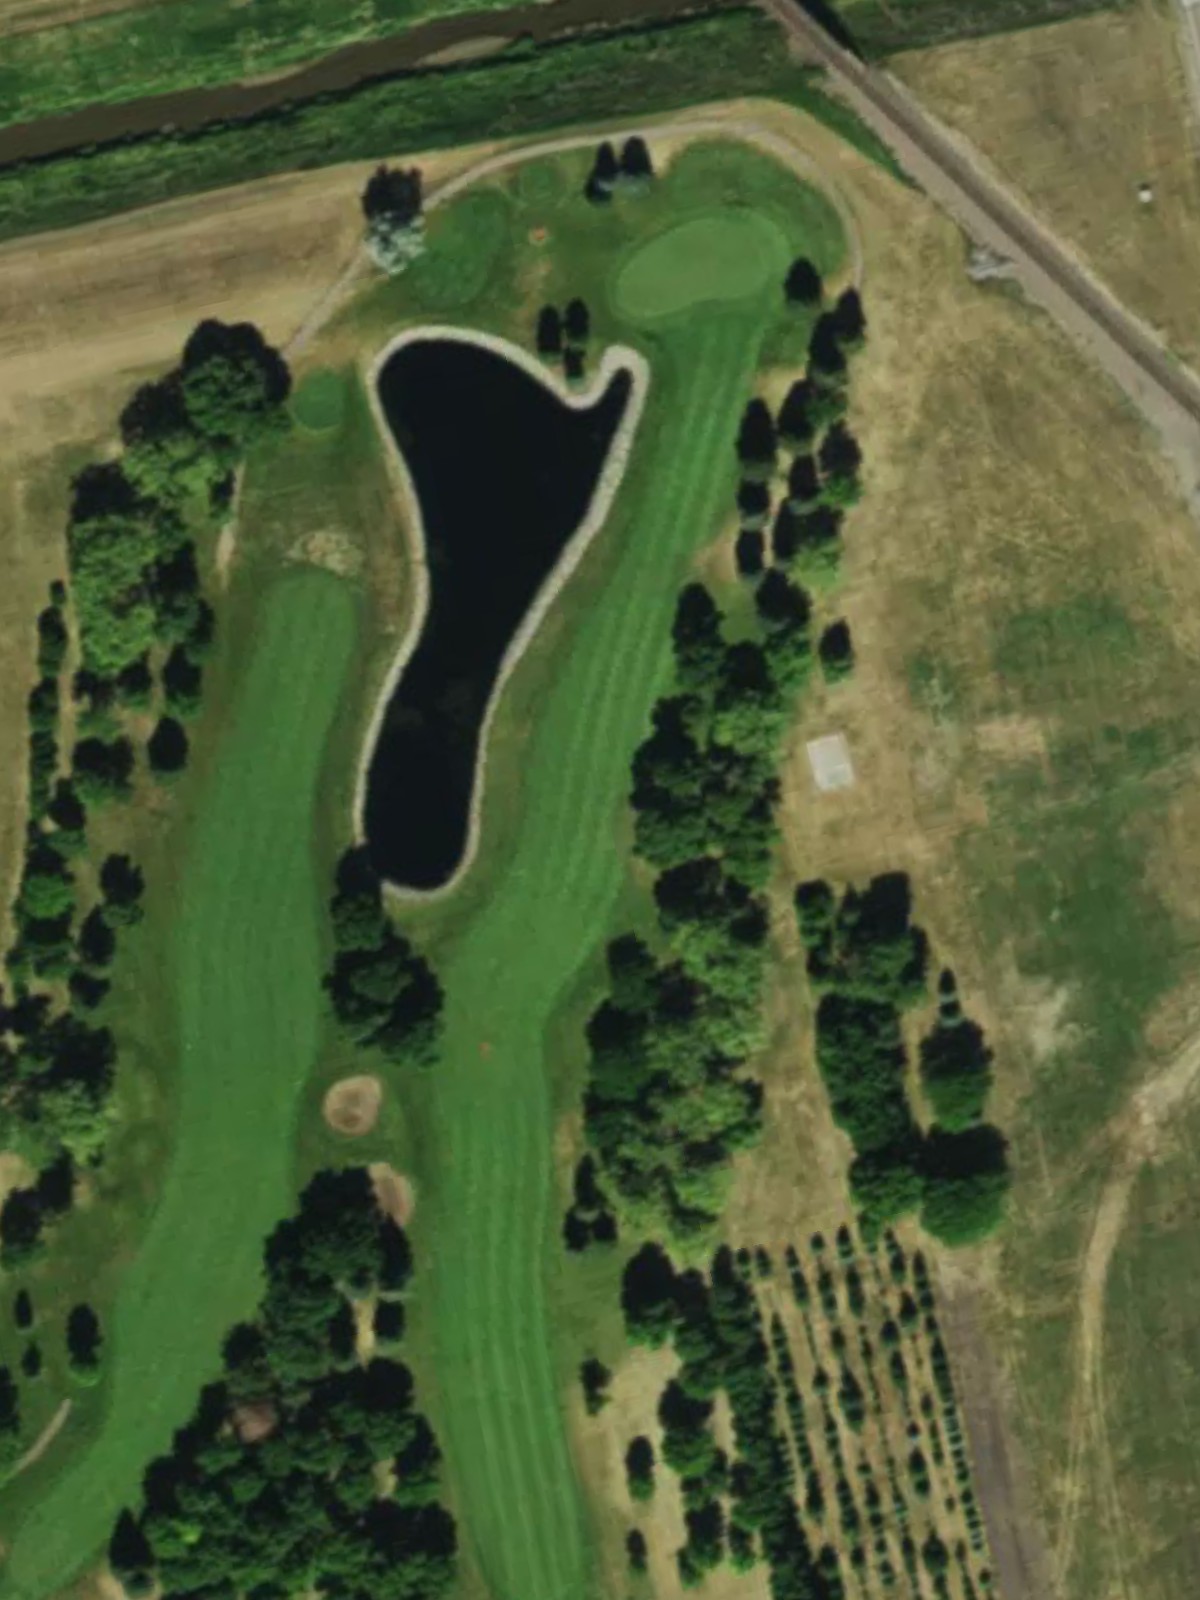
The course's most formidable par 5, this three-shot hole requires power and precision from tee to green with strategic hazards positioned throughout the layout. Water and bunkering create decision points on both the drive and approach shots, making this the signature hole of the front nine.
A long par 4 that ranks among the course's most difficult holes and demands two strong consecutive shots to succeed. Hazards pinch the fairway at 250 yards, and the well-bunkered green is particularly severe on its right side.
A short par 3 playing to a modest green that appears deceptively simple from the tee. Bunkers surround the green, and the hole's brevity should not mask the precision required for consistent scoring.

A mid-length par 3 with a straightforward layout but strategic hazard placement that punishes inaccuracy. The green is surrounded by bunkers and requires a confident strike to a relatively compact target.
A challenging par 4 that plays longer than its yardage suggests, with the fairway tightening in the landing area and approach zone. Well-positioned bunkers and a severely contoured green make this one of the back nine's most demanding holes.
A solid par 4 with a fairway that narrows at the 300-yard mark, forcing strategic positioning off the tee. The approach to a well-bunkered green requires careful distance control and accuracy.
A moderate par 4 with a relatively straightforward routing that offers reasonable birdie opportunity despite solid bunkering around the green. The fairway allows room for error off the tee, shifting the emphasis to the approach shot.
An interesting par 5 that plays shorter than standard, creating a risk-reward dynamic for aggressive players pursuing the green in two shots. Strategic water and bunker placement throughout the hole demand thoughtful course management.
A strong par 4 that ranks among the course's most difficult holes and plays every bit of its distance with no margin for error. Hazards tightly frame both sides of the fairway, and the approach to the green is equally demanding.

The course's shortest par 3, this hole plays to a compact, well-protected green surrounded by bunkers. Despite modest yardage, the exposed nature of the green and surrounding hazards create a deceptively challenging target.
A strong par 4 with a fairway that slopes laterally and narrows as it approaches the green, demanding strategic positioning off the tee. The well-bunkered green sits on a raised platform, adding to the difficulty of the approach shot.

The course's closing par 5 provides a dramatic finishing hole with strategic hazards positioned throughout the routing. Water and bunkering create decision points for all three shots, making this a memorable conclusion to the round.
Scorecard
| Hole | 1 | 2 | 3 | 4 | 5 | 6 | 7 | 8 | 9 | Out | 10 | 11 | 12 | 13 | 14 | 15 | 16 | 17 | 18 | In | Tot |
|---|---|---|---|---|---|---|---|---|---|---|---|---|---|---|---|---|---|---|---|---|---|
| Par | 5 | 5 | 4 | 3 | 4 | 3 | 5 | 4 | 3 | 36 | 3 | 4 | 4 | 4 | 5 | 4 | 3 | 4 | 5 | 36 | 72 |
| HCP | 9 | 5 | 15 | 13 | 7 | 17 | 1 | 3 | 11 | 16 | 6 | 10 | 14 | 12 | 4 | 18 | 8 | 2 | |||
| blue | 552 | 515 | 312 | 168 | 370 | 203 | 544 | 442 | 170 | 3276 | 195 | 426 | 400 | 380 | 435 | 375 | 168 | 410 | 536 | 3325 | 6601 |
| white | 513 | 479 | 307 | 158 | 355 | 178 | 523 | 408 | 163 | 3084 | 182 | 390 | 392 | 350 | 465 | 365 | 160 | 365 | 513 | 3182 | 6266 |
| yellow | 495 | 460 | 266 | 149 | 295 | 166 | 507 | 340 | 157 | 2835 | 162 | 375 | 310 | 330 | 444 | 340 | 148 | 348 | 503 | 2960 | 5795 |