Maroon Creek Club is an 18-hole golf course in Aspen, CO with a par of 71. It offers 9 tee sets: black (6,957 yards, slope 143, rating 72.2), black/maroon (6,771 yards, slope 140, rating 71.1), maroon (6,583 yards, slope 135, rating 70.4), maroon/blue (6,287 yards, slope 131, rating 69), blue (6,177 yards, slope 129, rating 68.5), blue/green (5,840 yards, slope 123, rating 67), green (5,646 yards, slope 119, rating 66.3), green/red (5,156 yards, slope 110, rating 63.6), red (4,920 yards, slope 104, rating 62.7). The hardest hole is #10, a par 4 playing 347 yards from the first tee.
Maroon Creek Club
Aspen, CO
Get PDF Yardage Book
We'll email you the PDF link. No spam, ever.
Create Your Game Plan
Pick your tees, enter your bag, and get a personalized shot-by-shot strategy for every hole.
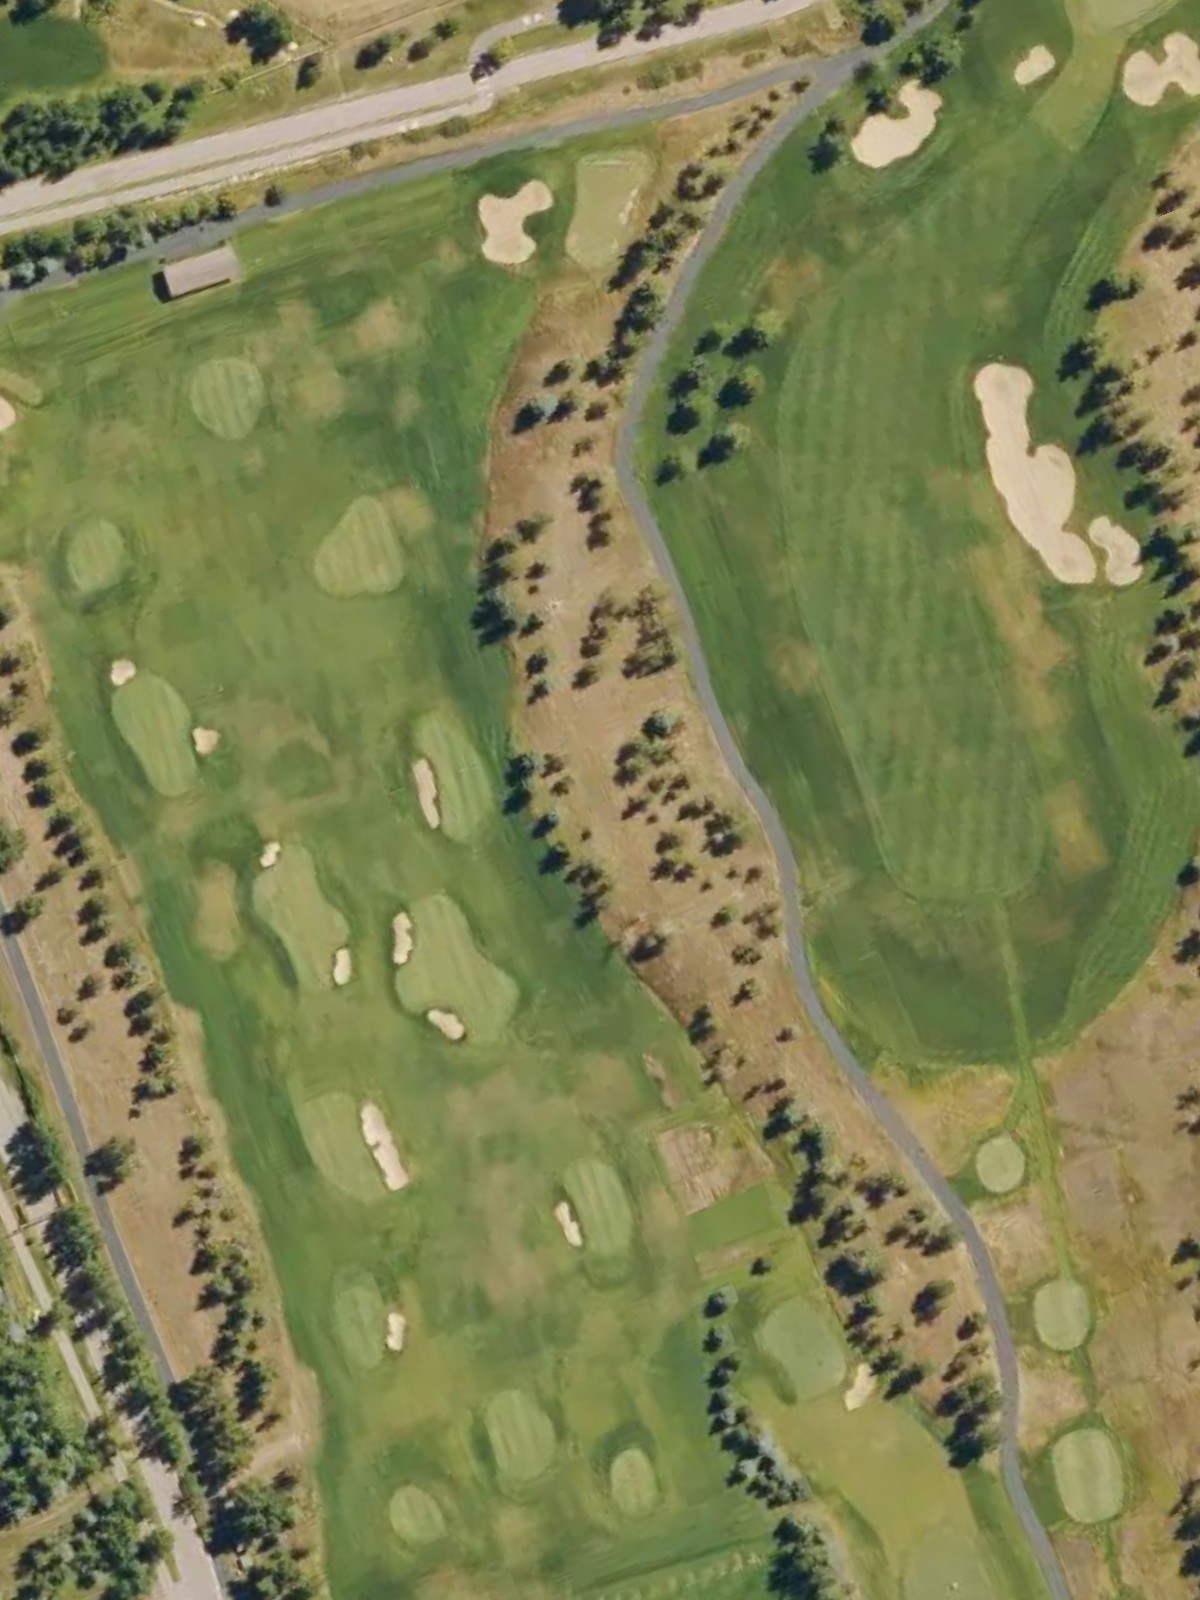
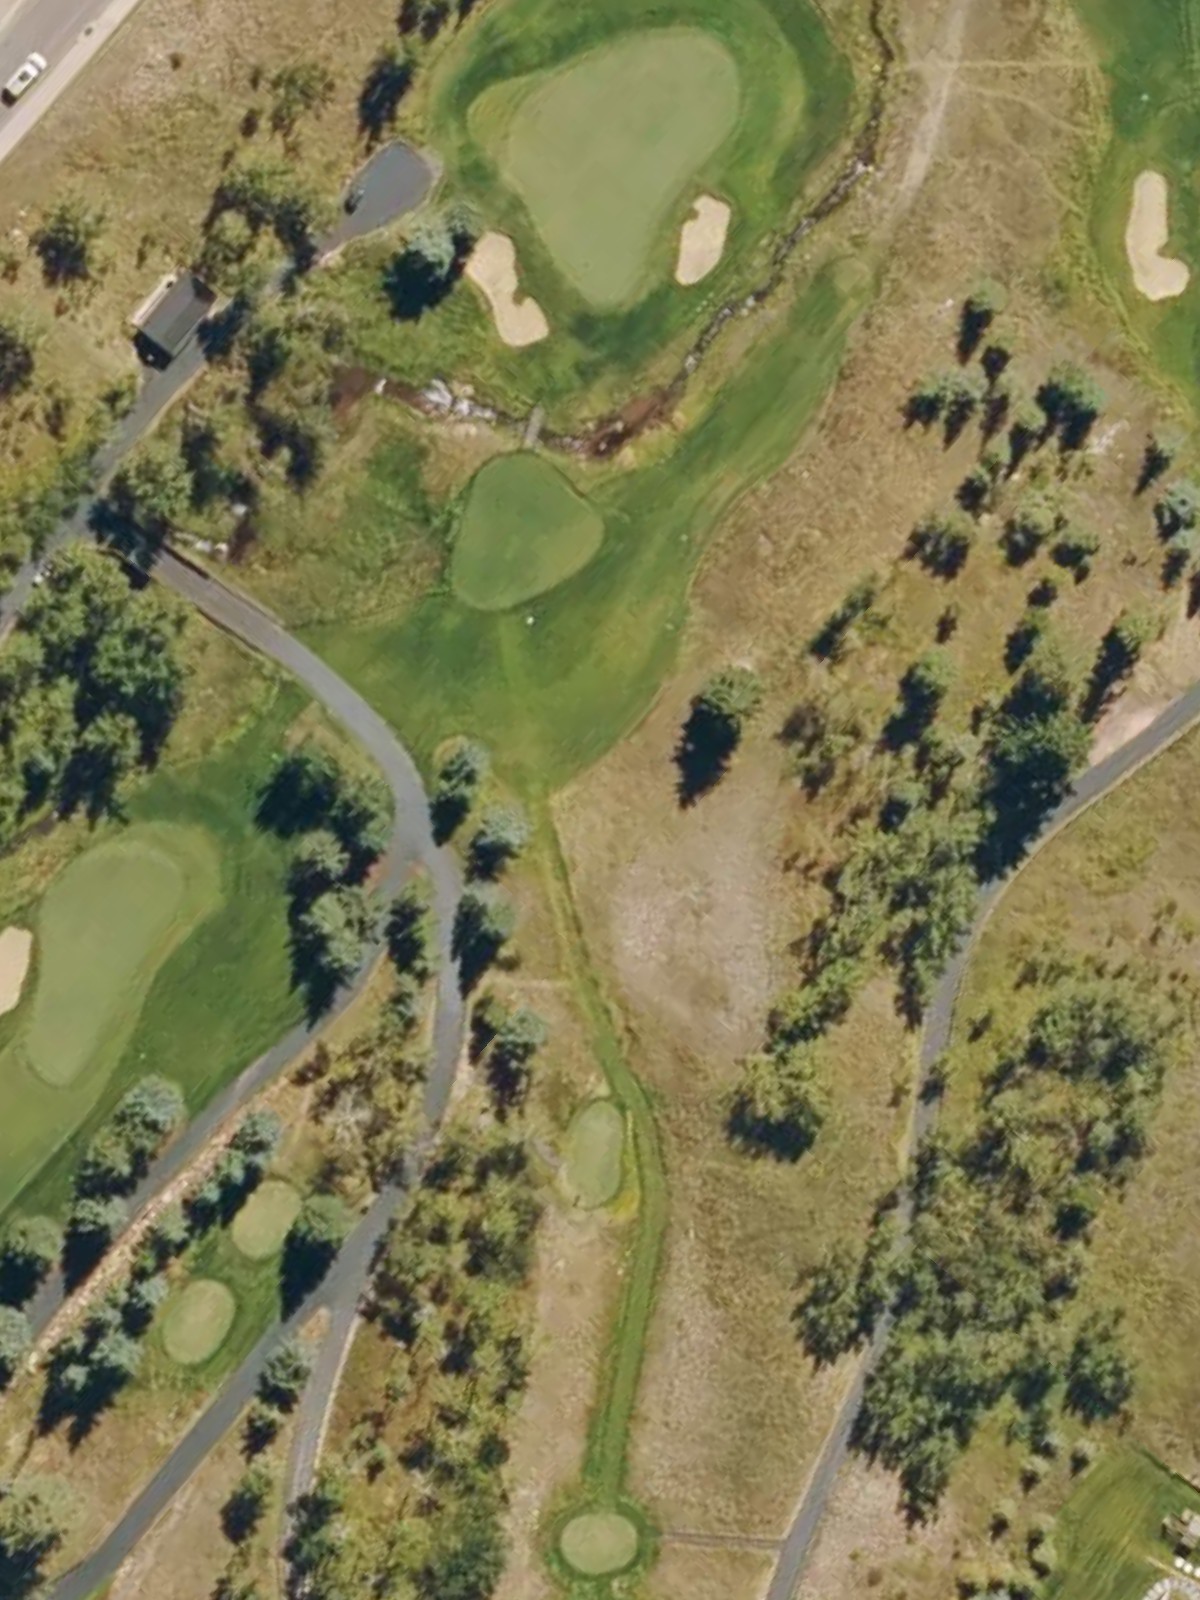
The opening hole is a straightforward par 4 that plays to a receptive green. The fairway is generous off the tee but narrows slightly on the approach, with modest bunkering right of the green creating the primary scoring challenge.
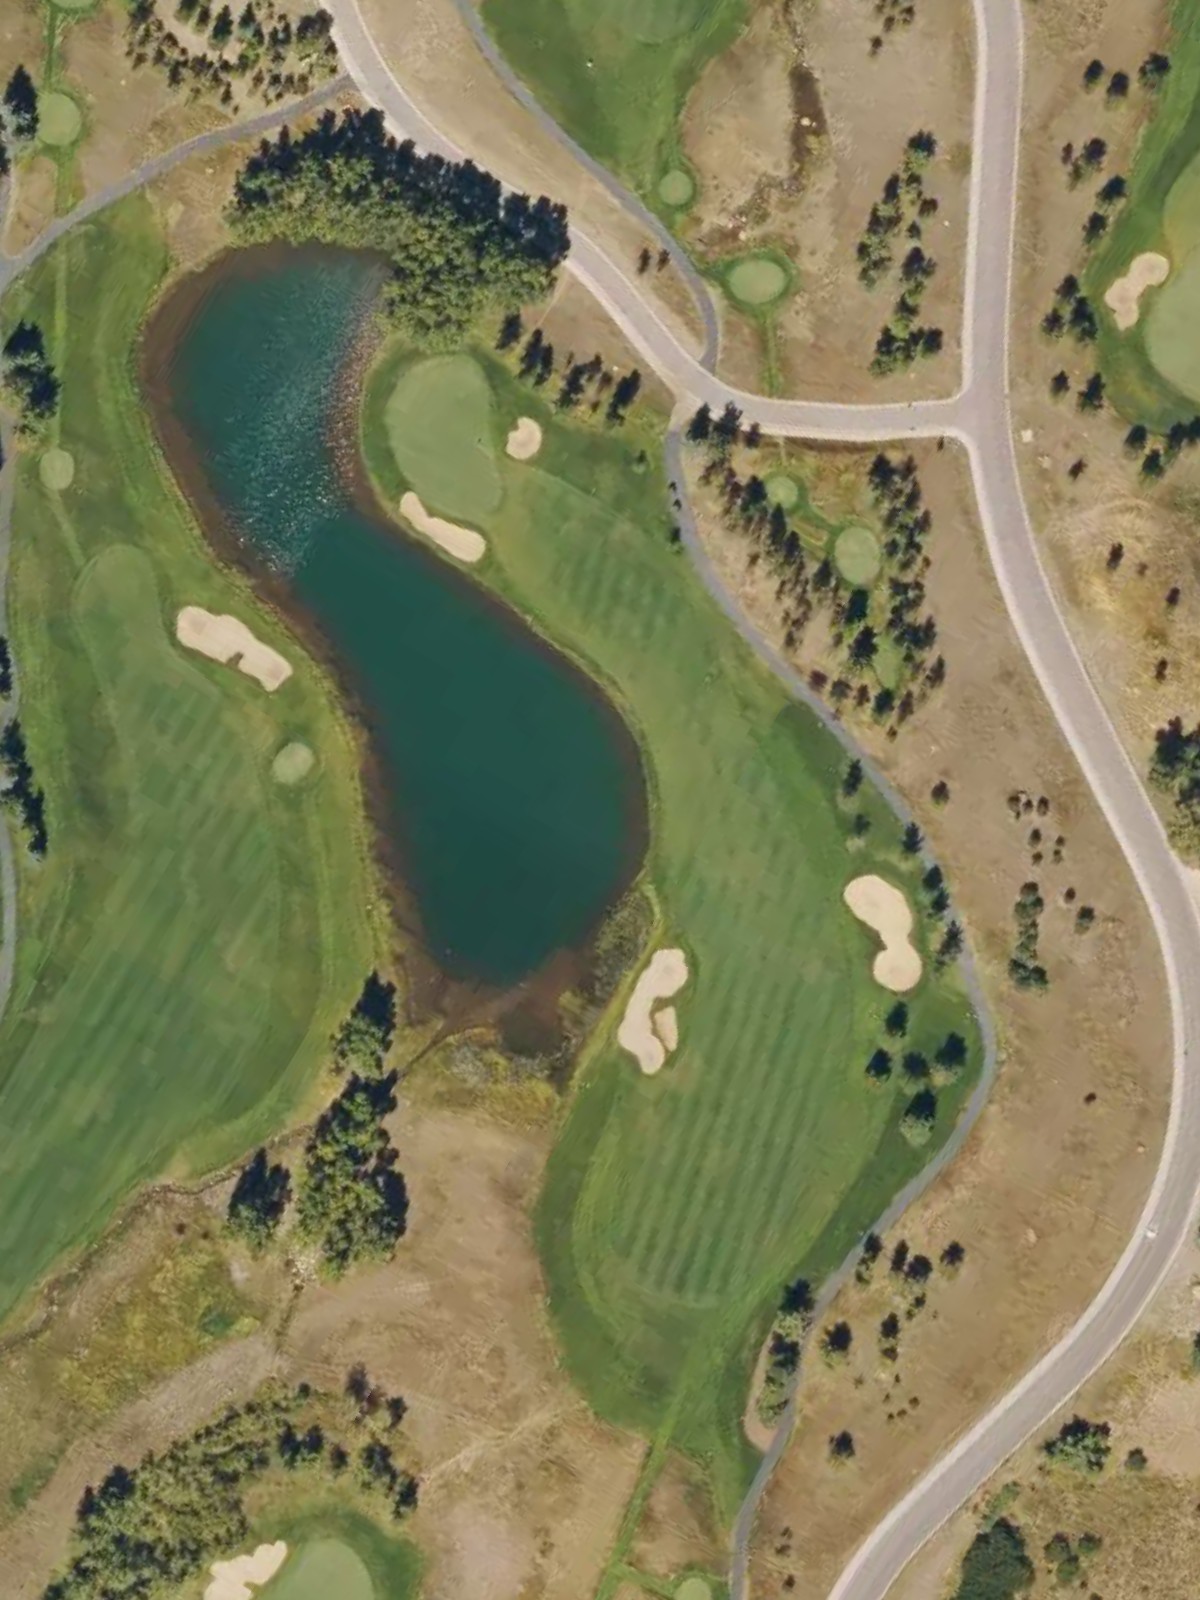
A long par 5 that rewards aggressive play but demands accuracy throughout. The fairway is relatively open, allowing for strategic positioning, though bunkers and rough become more prominent as the hole stretches toward a well-guarded green.
A short par 3 with a straightforward approach to a relatively accessible green. The primary challenge is club selection and holding the green, as bunkers frame the sides and back of the target.
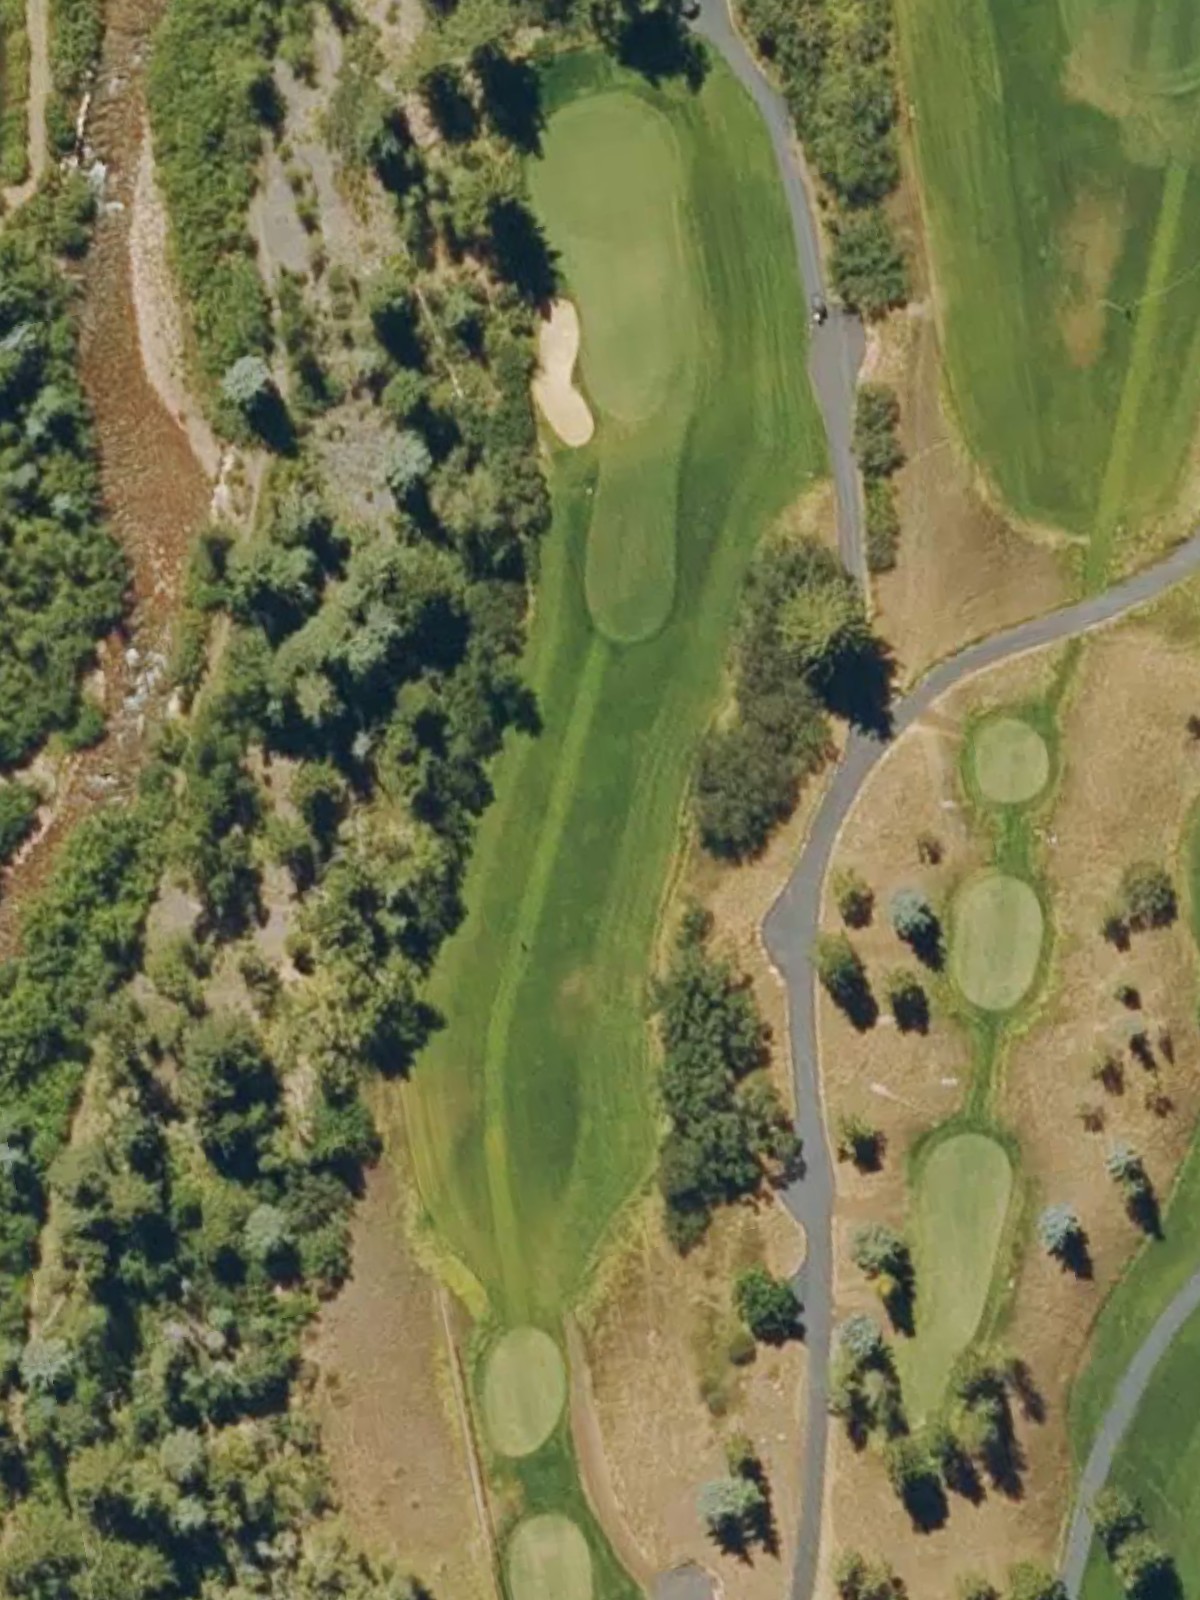
A demanding par 4 ranked among the course's most difficult, requiring precise execution from tee to green. Trouble lurks on both sides of the fairway, and the approach shot is protected by bunkers that demand an accurate final blow.
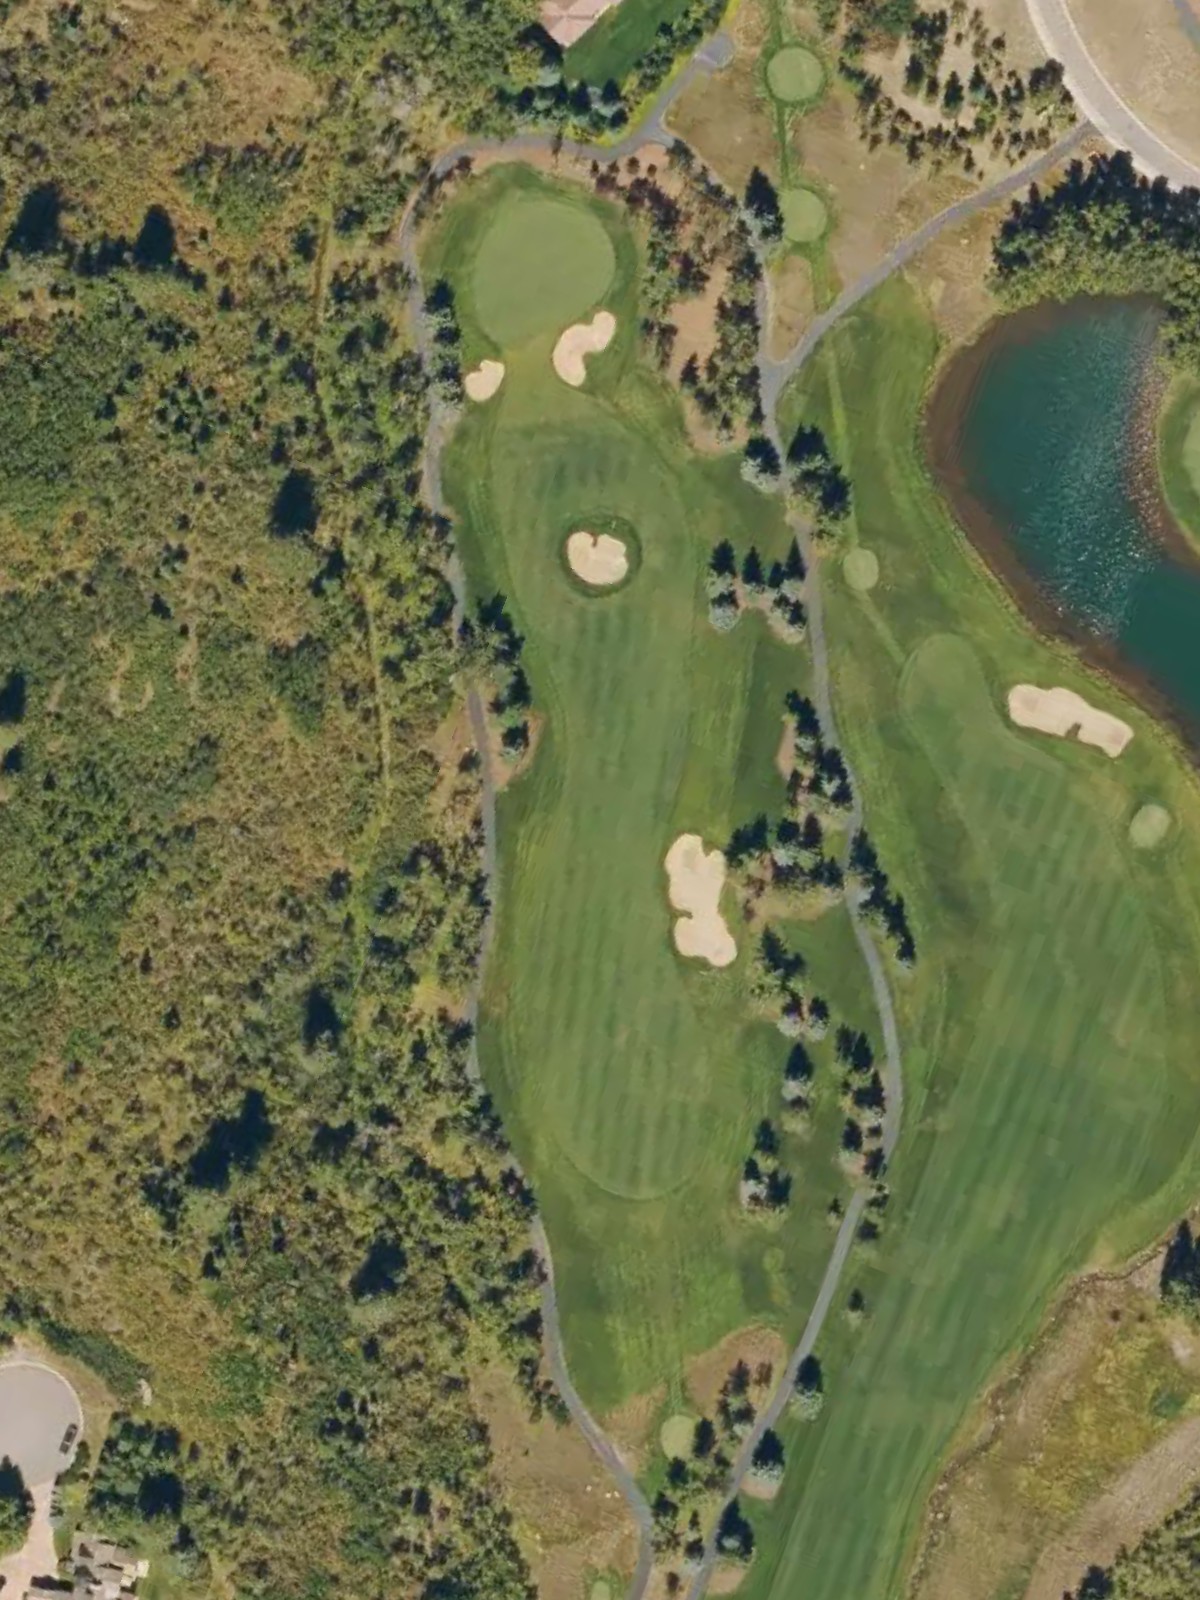
The second-most-handicapped hole on the front nine, this par 4 presents a significant test with a tight fairway that offers little margin for error. Hazards flank the approach zone, making the second shot as demanding as the drive.
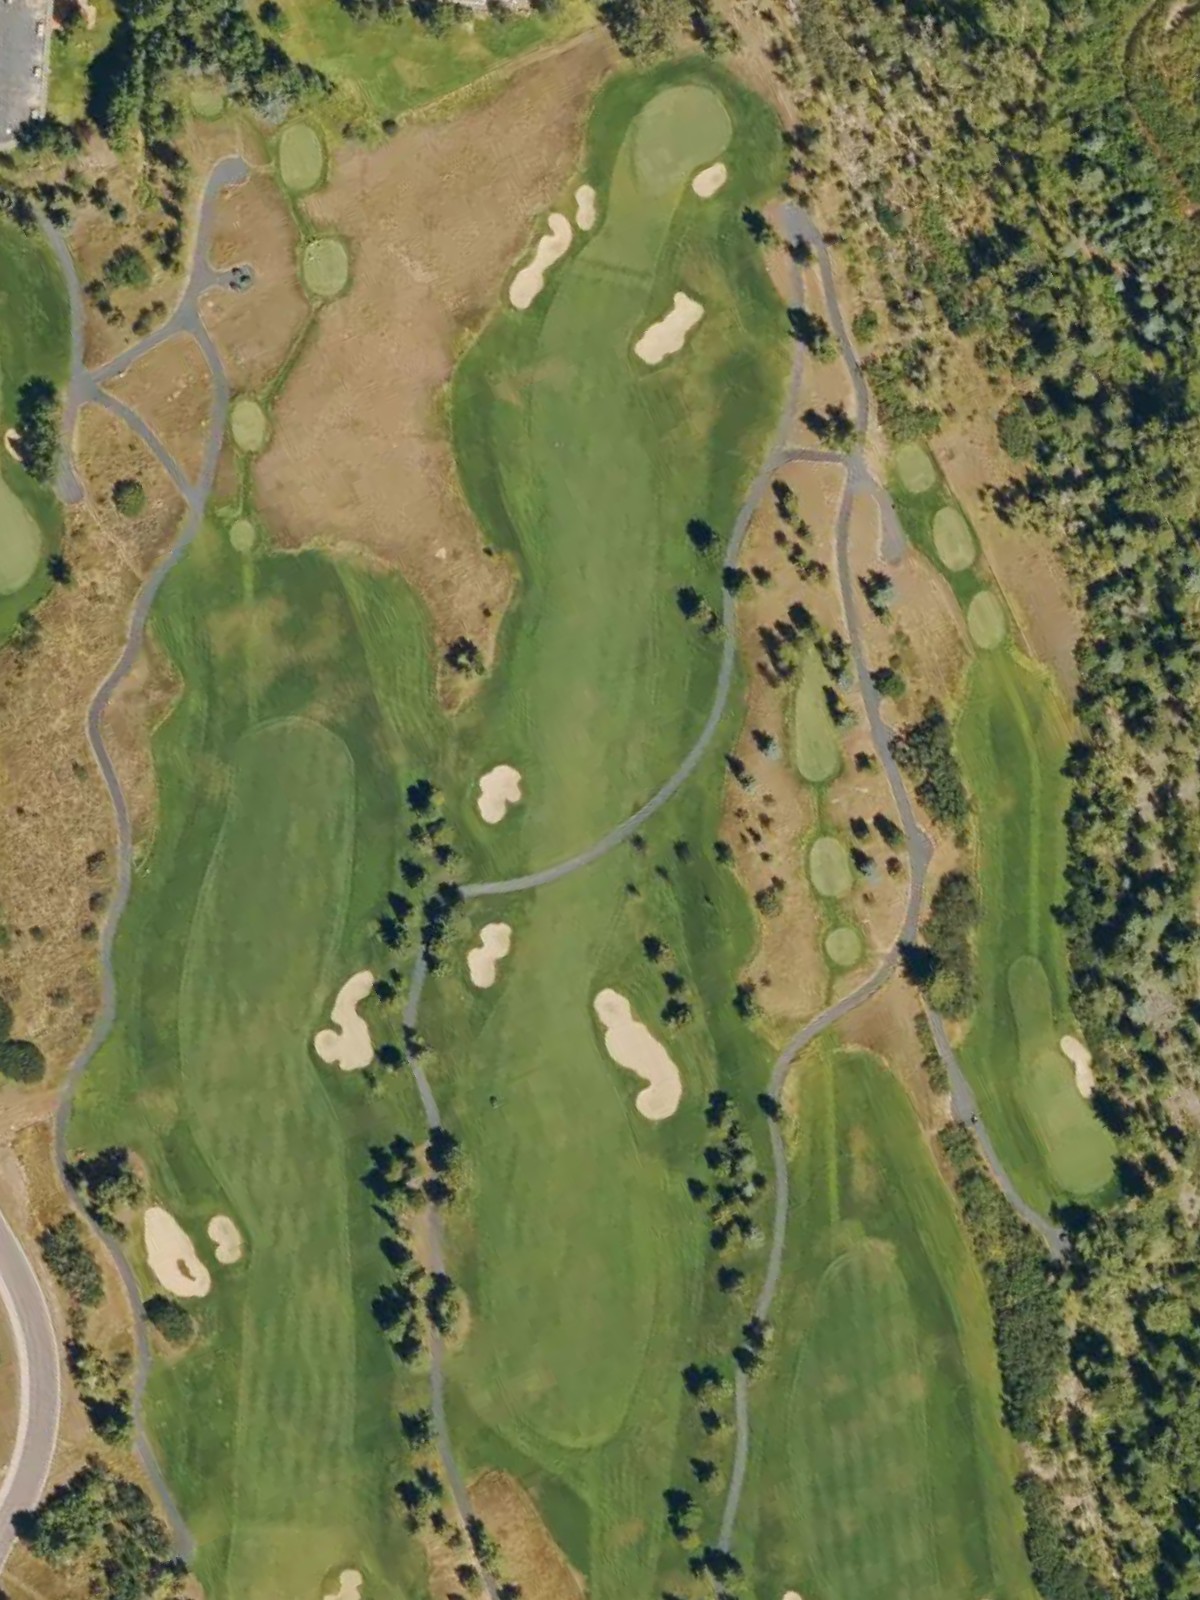
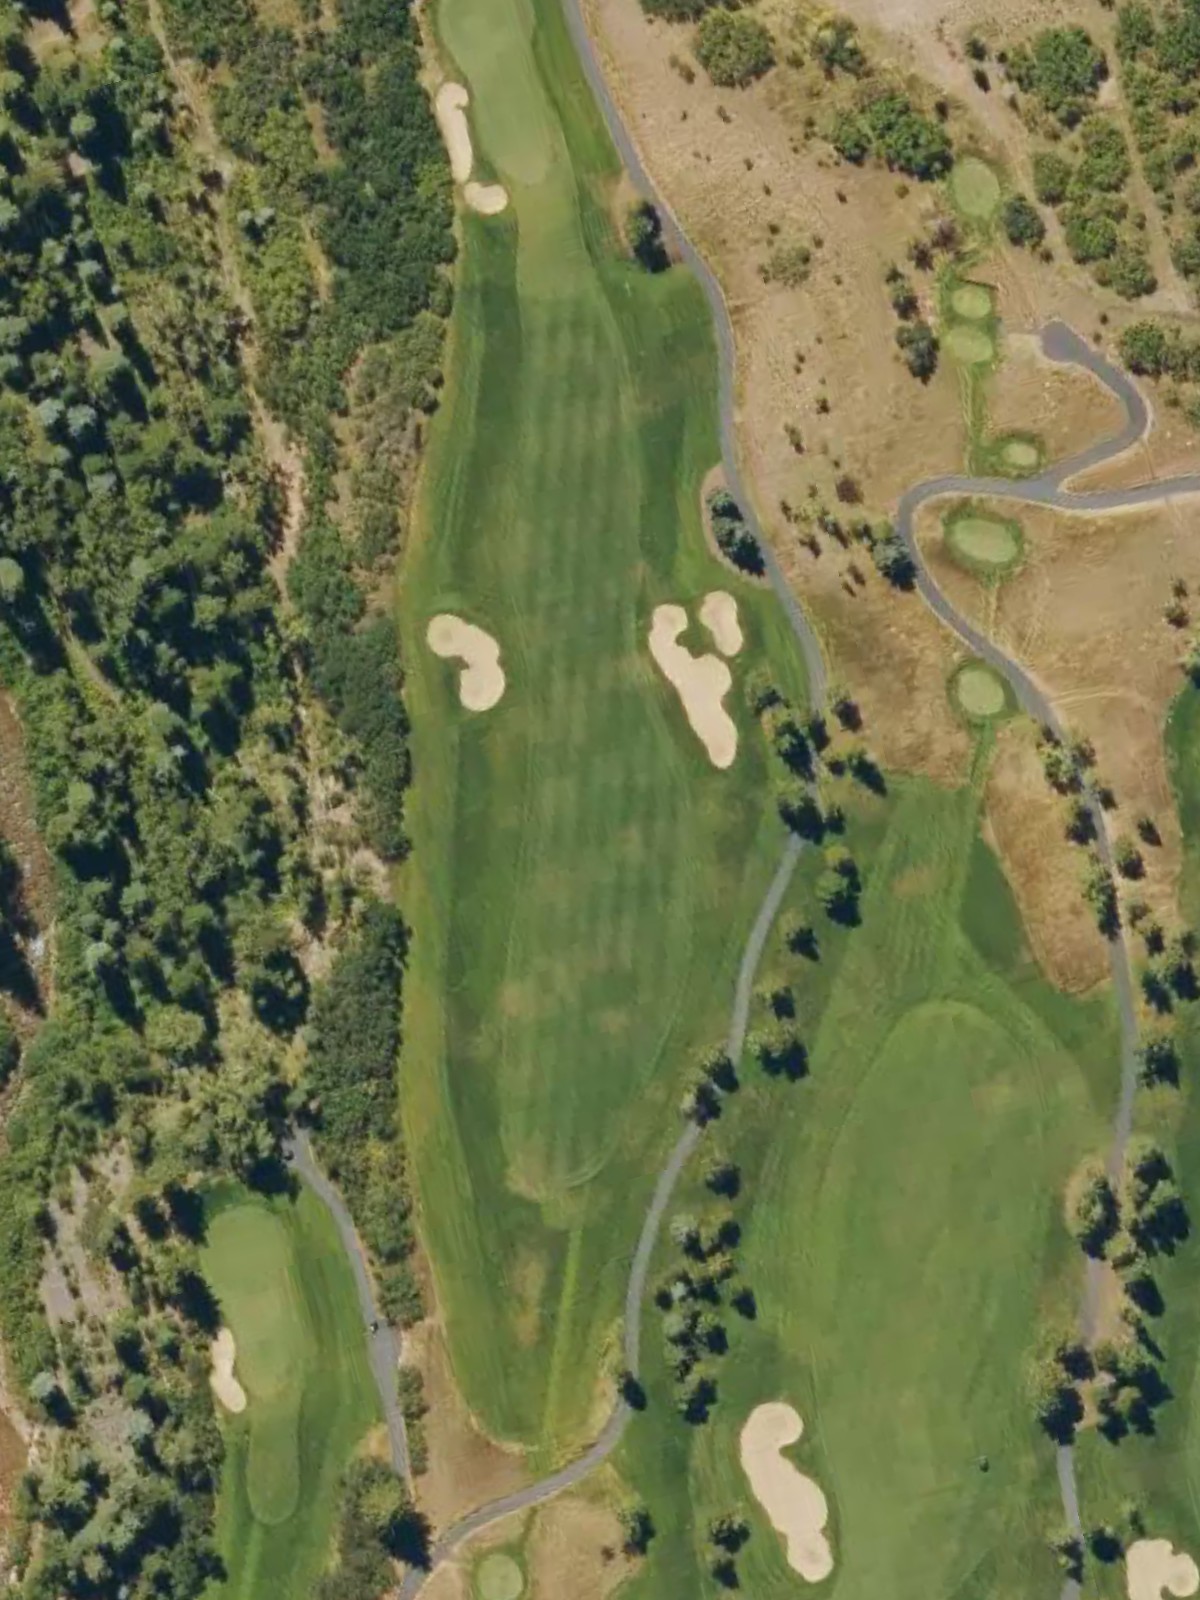
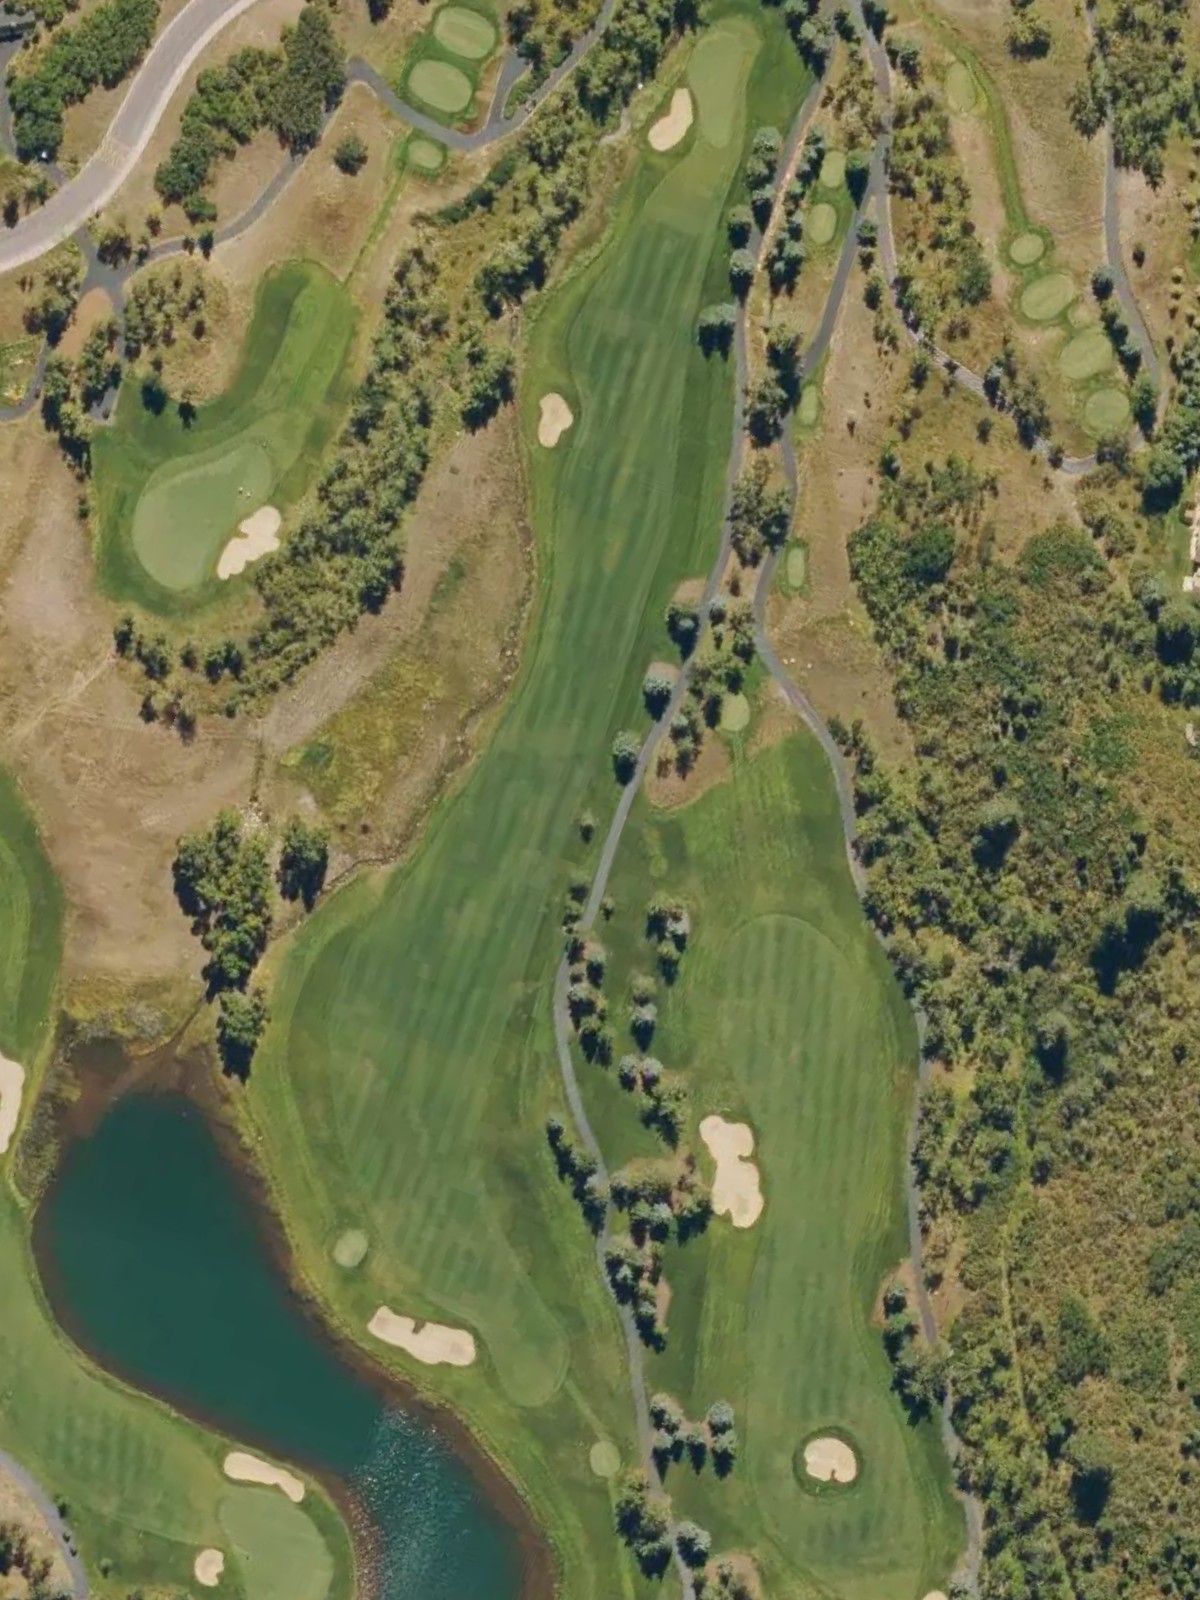
A substantial par 5 that offers multiple routing options for players of different abilities. The hole's length and bunkering strategy reward smart positioning, though the green remains vulnerable to a well-struck approach shot.
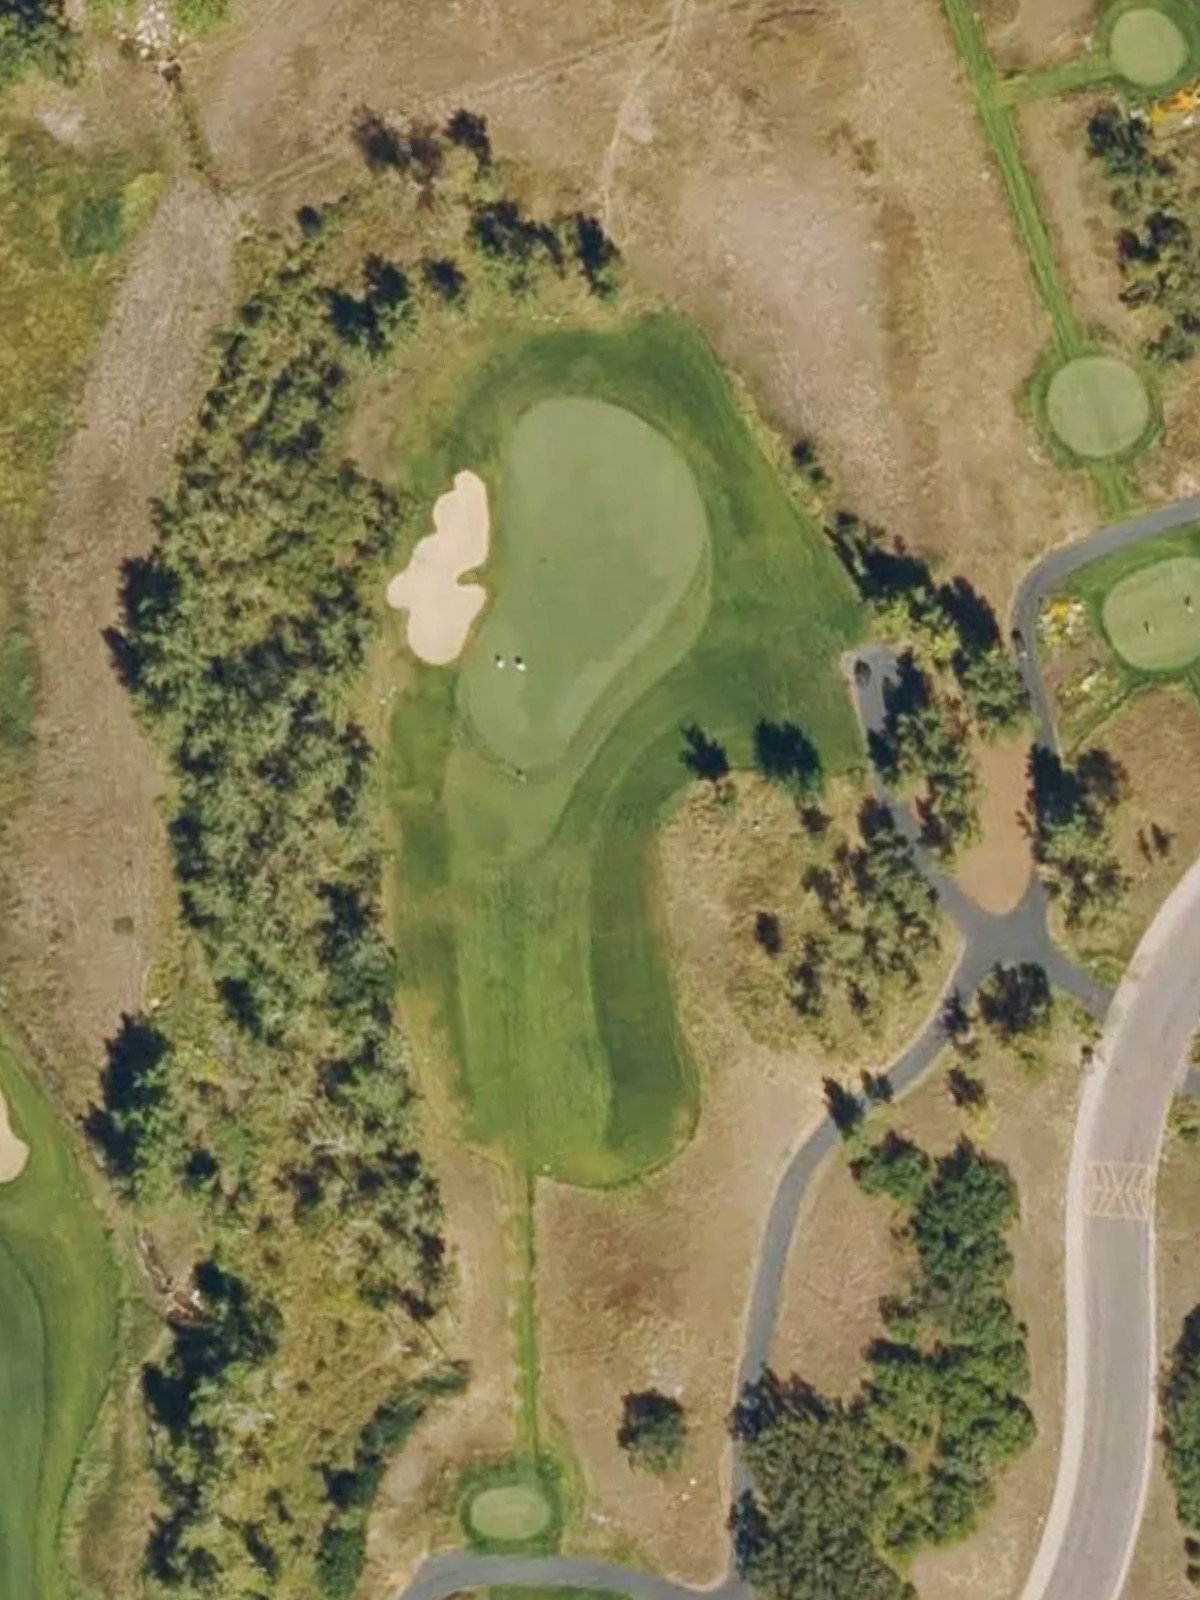
A short par 3 that appears deceptively simple but demands accurate distance control. The green's tight perimeter and modest depth mean accuracy trumps distance on this modest one-shotter.
A challenging par 4 that ranks fourth in difficulty on the course, with a fairway that tightens considerably on the approach. Bunkers and surrounding trouble make the second shot a critical test of precision.
The shortest hole on the course, this par 3 offers a deceptively simple appearance with minimal green. Wind and elevation shifts become the primary factors in club selection for this brief but exacting test.
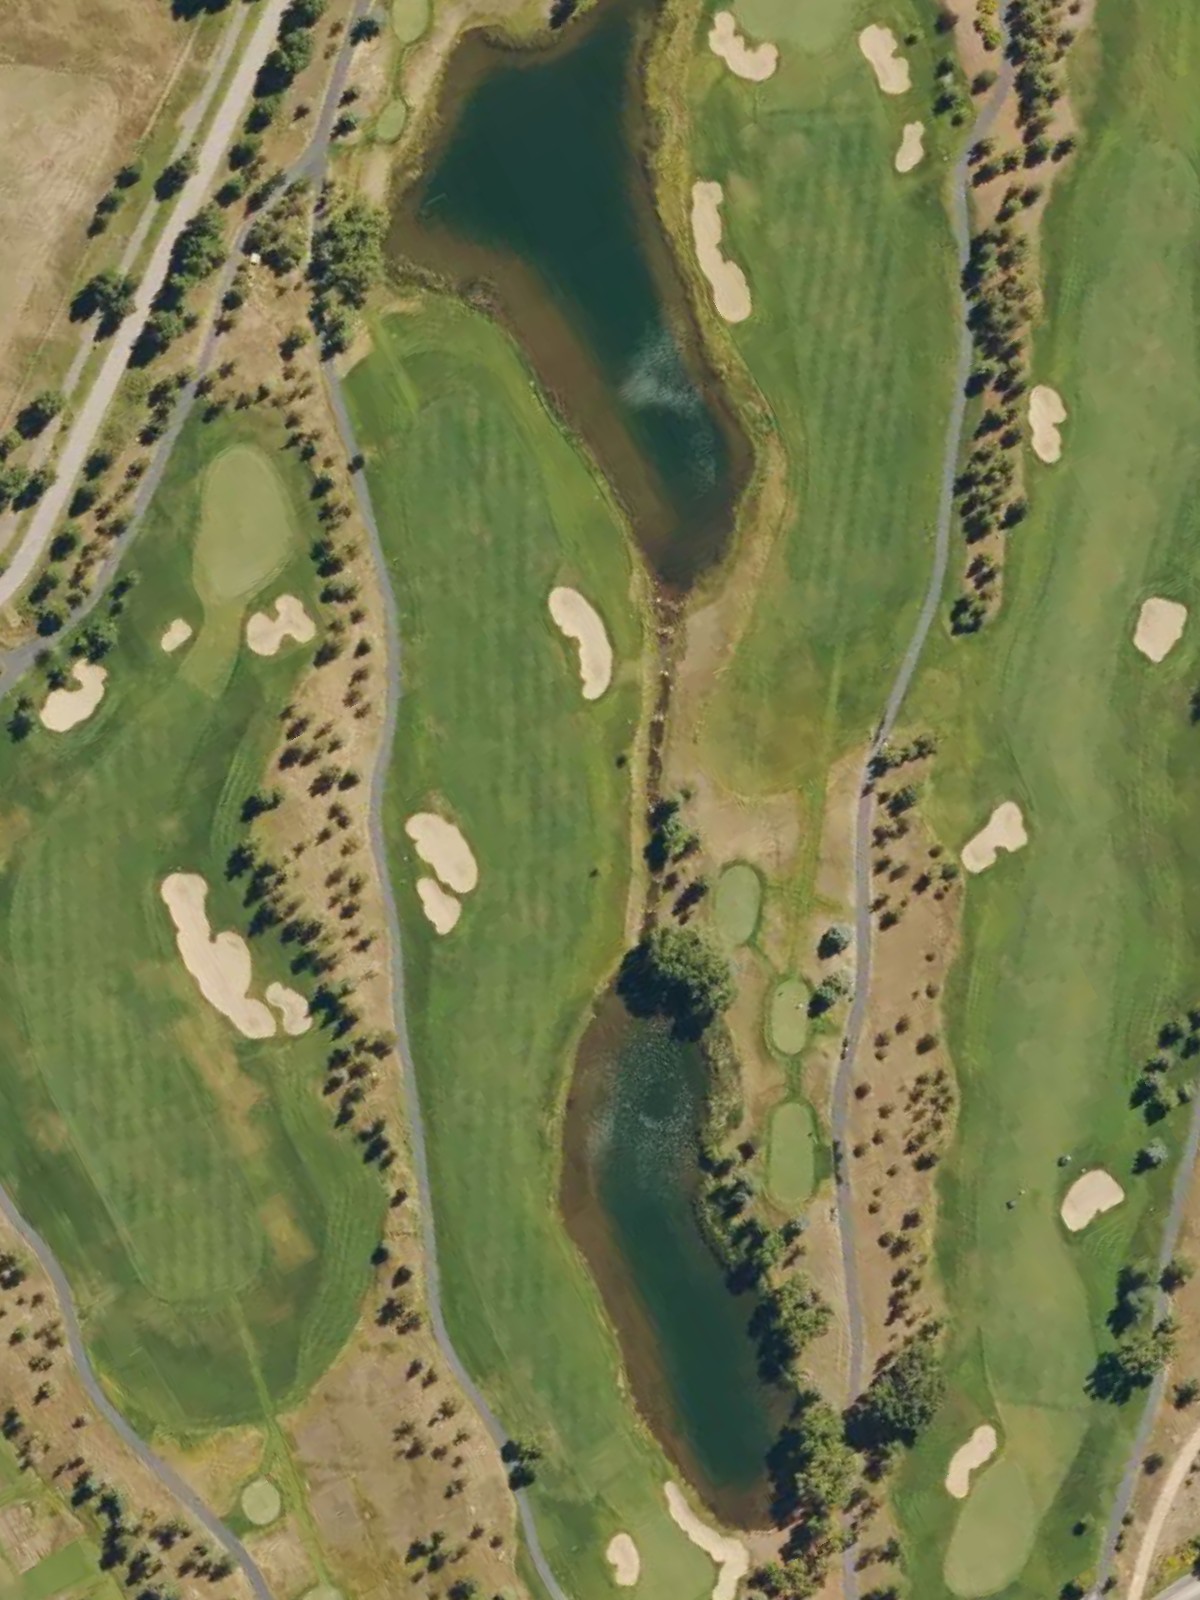
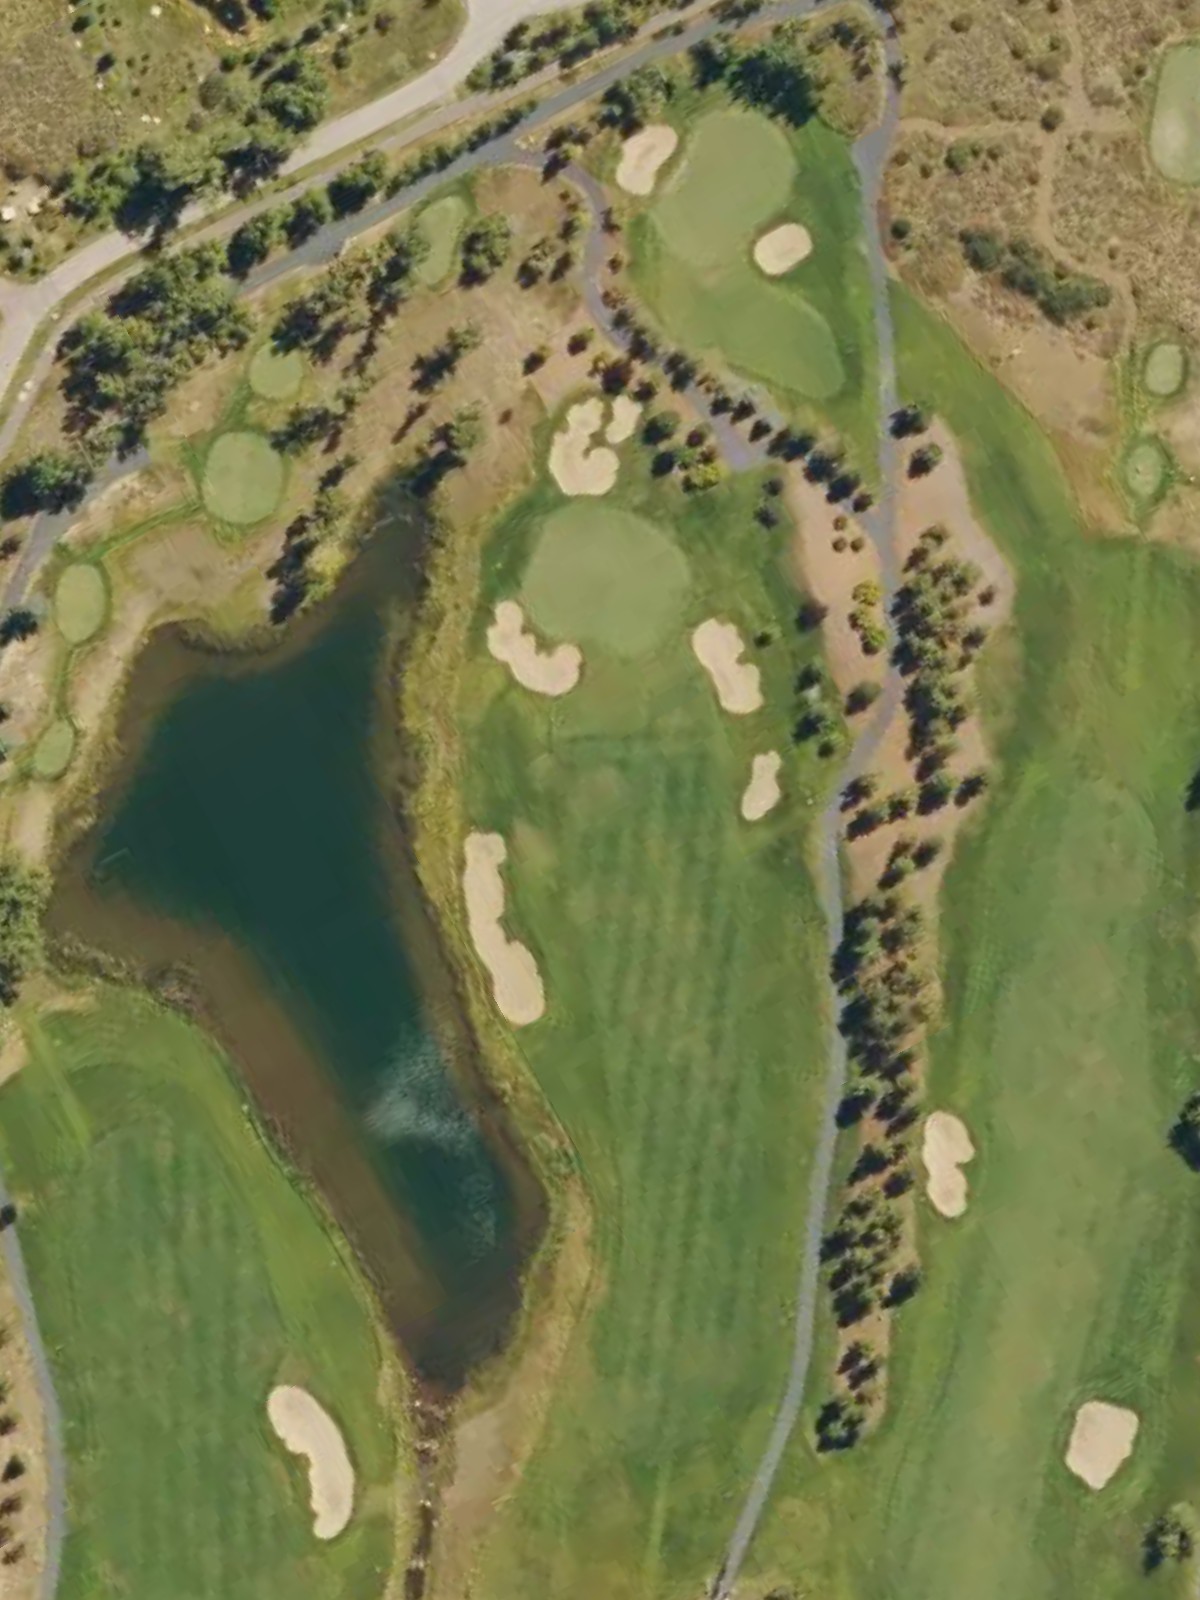
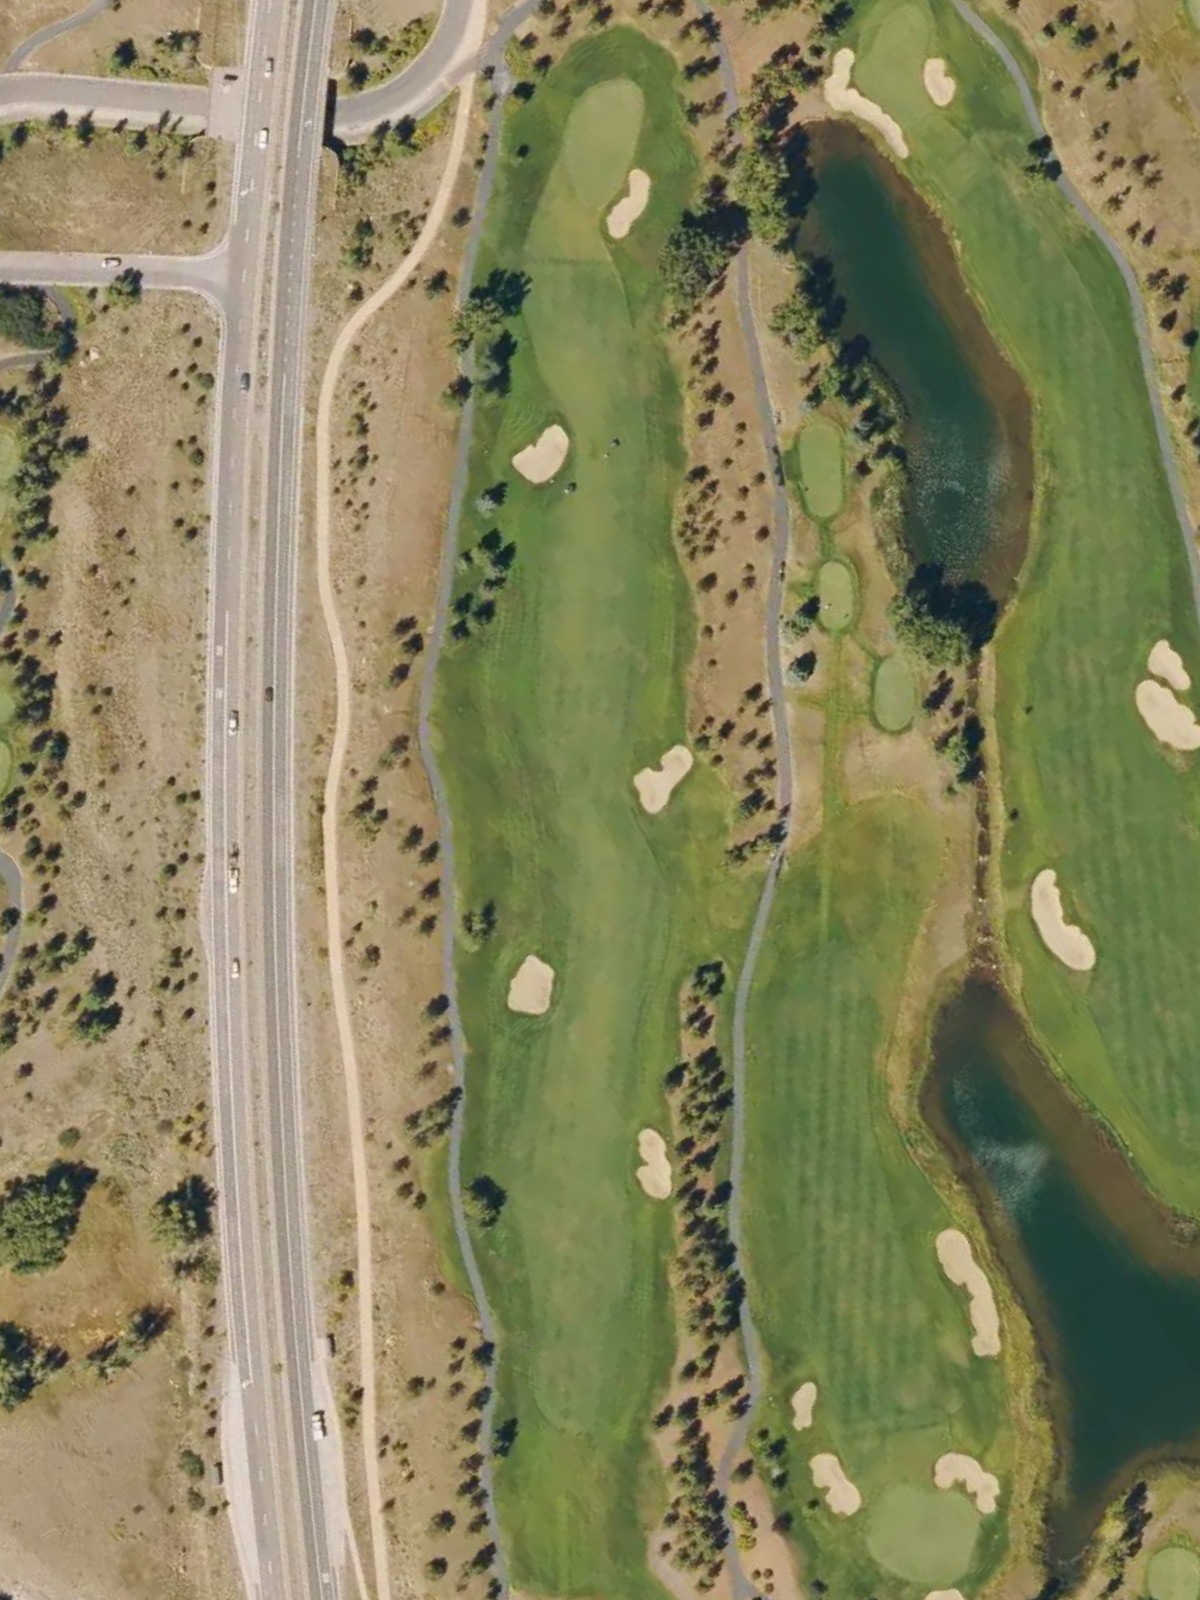
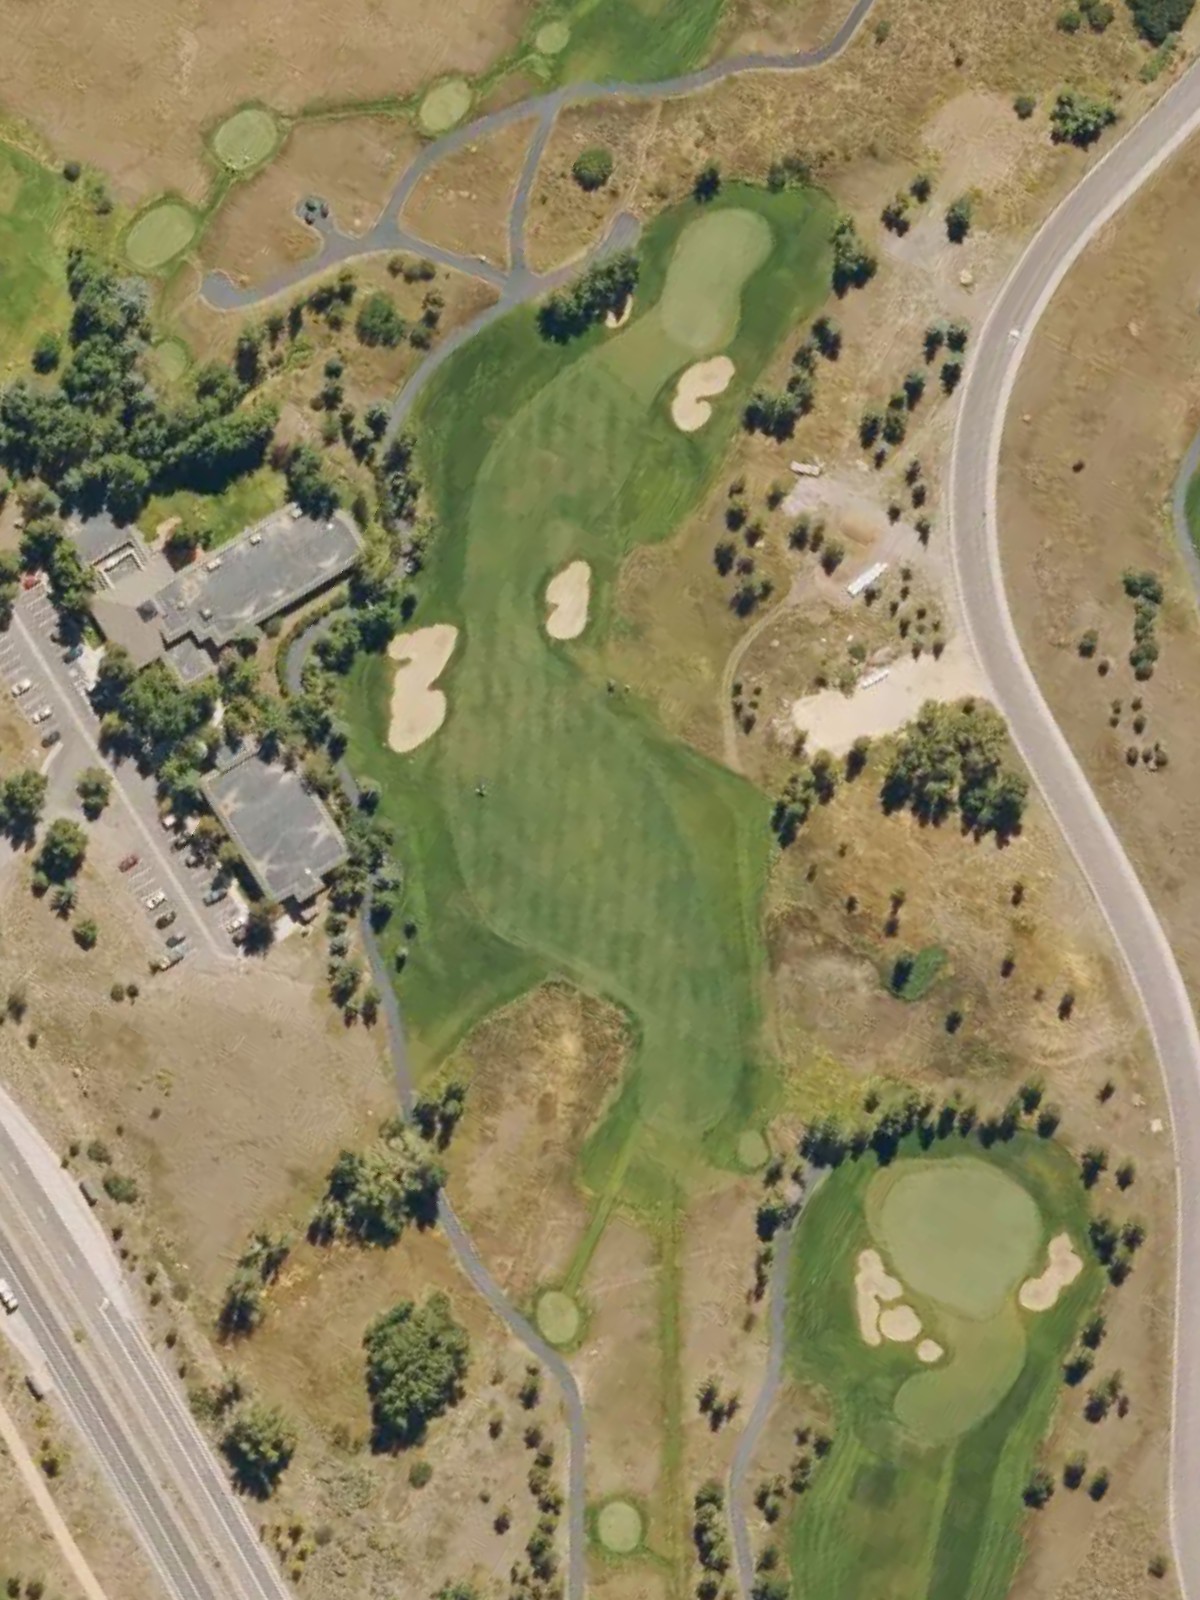
The stroke-one handicap hole, this par 4 presents the most significant challenge on the back nine with a long, exacting approach. Fairway management and a precise second shot are essential to avoid trouble flanking both sides of the approach zone.
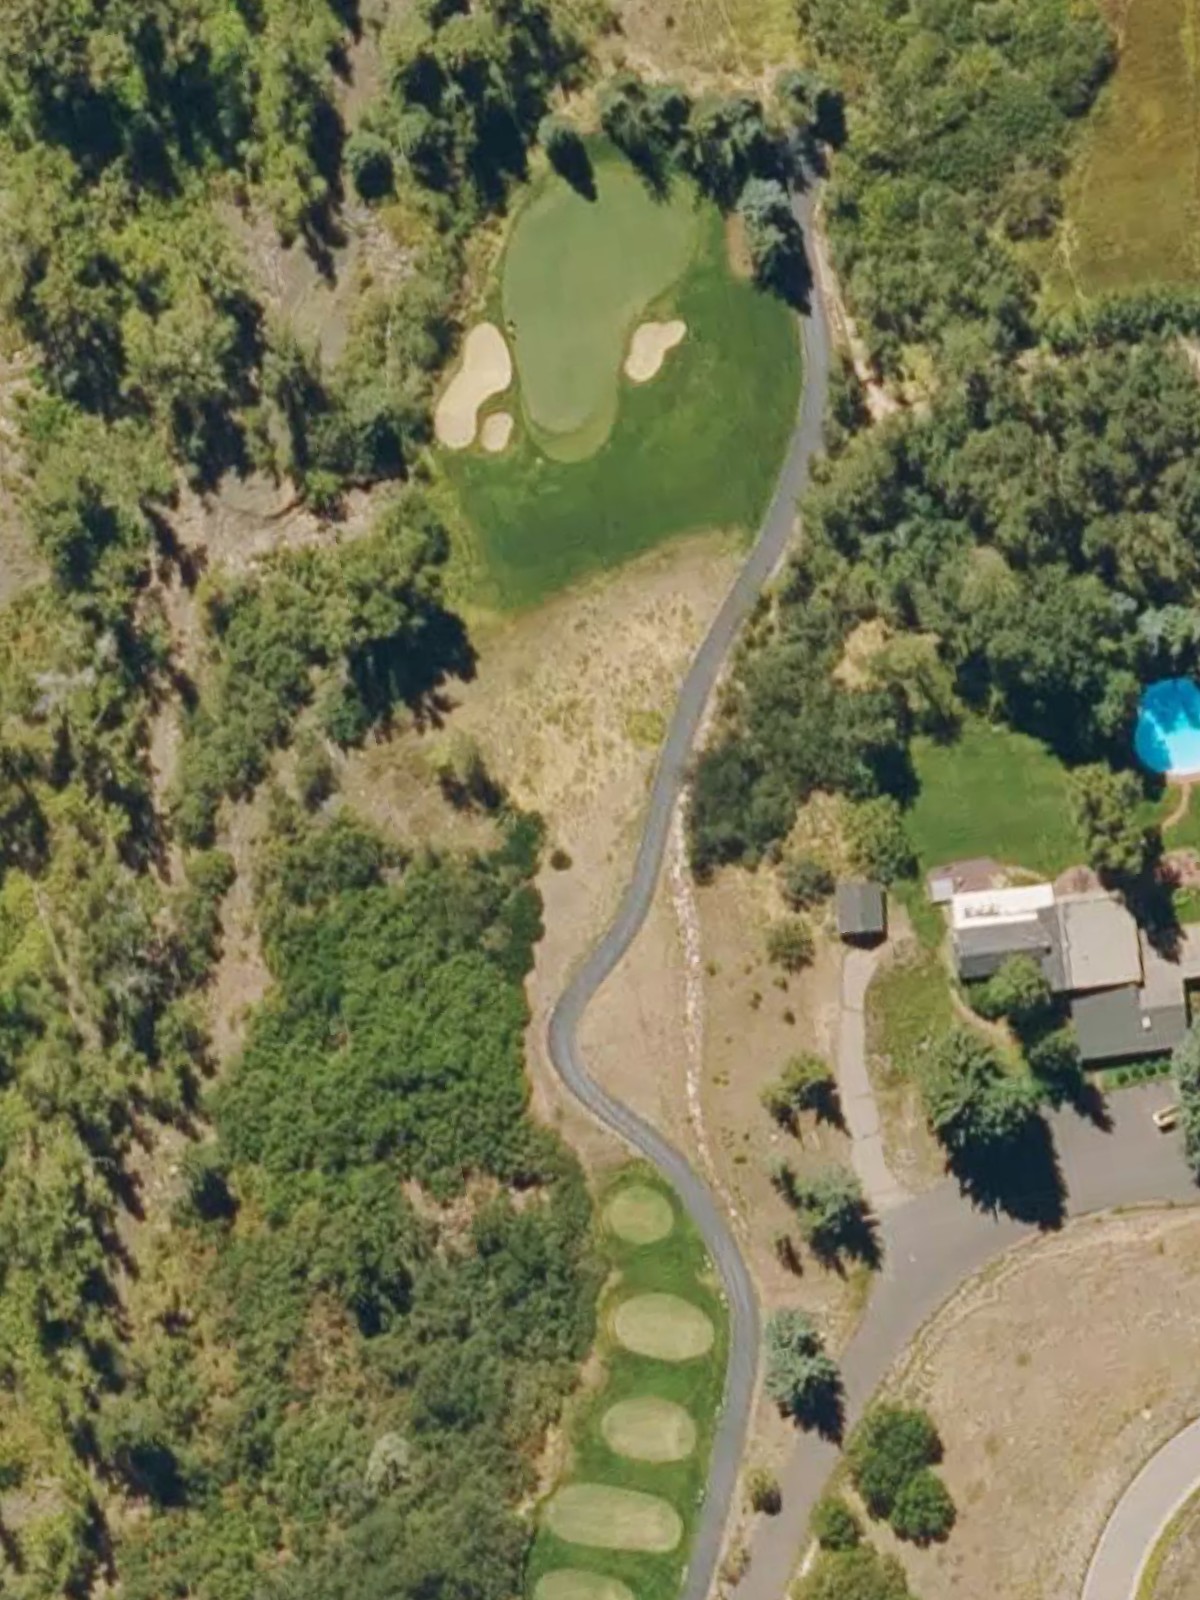
A short par 3 with considerable variation between tee boxes, testing the golfer's ability to adjust to distance. Strategic bunkering and green contours make accuracy paramount despite the modest yardage.
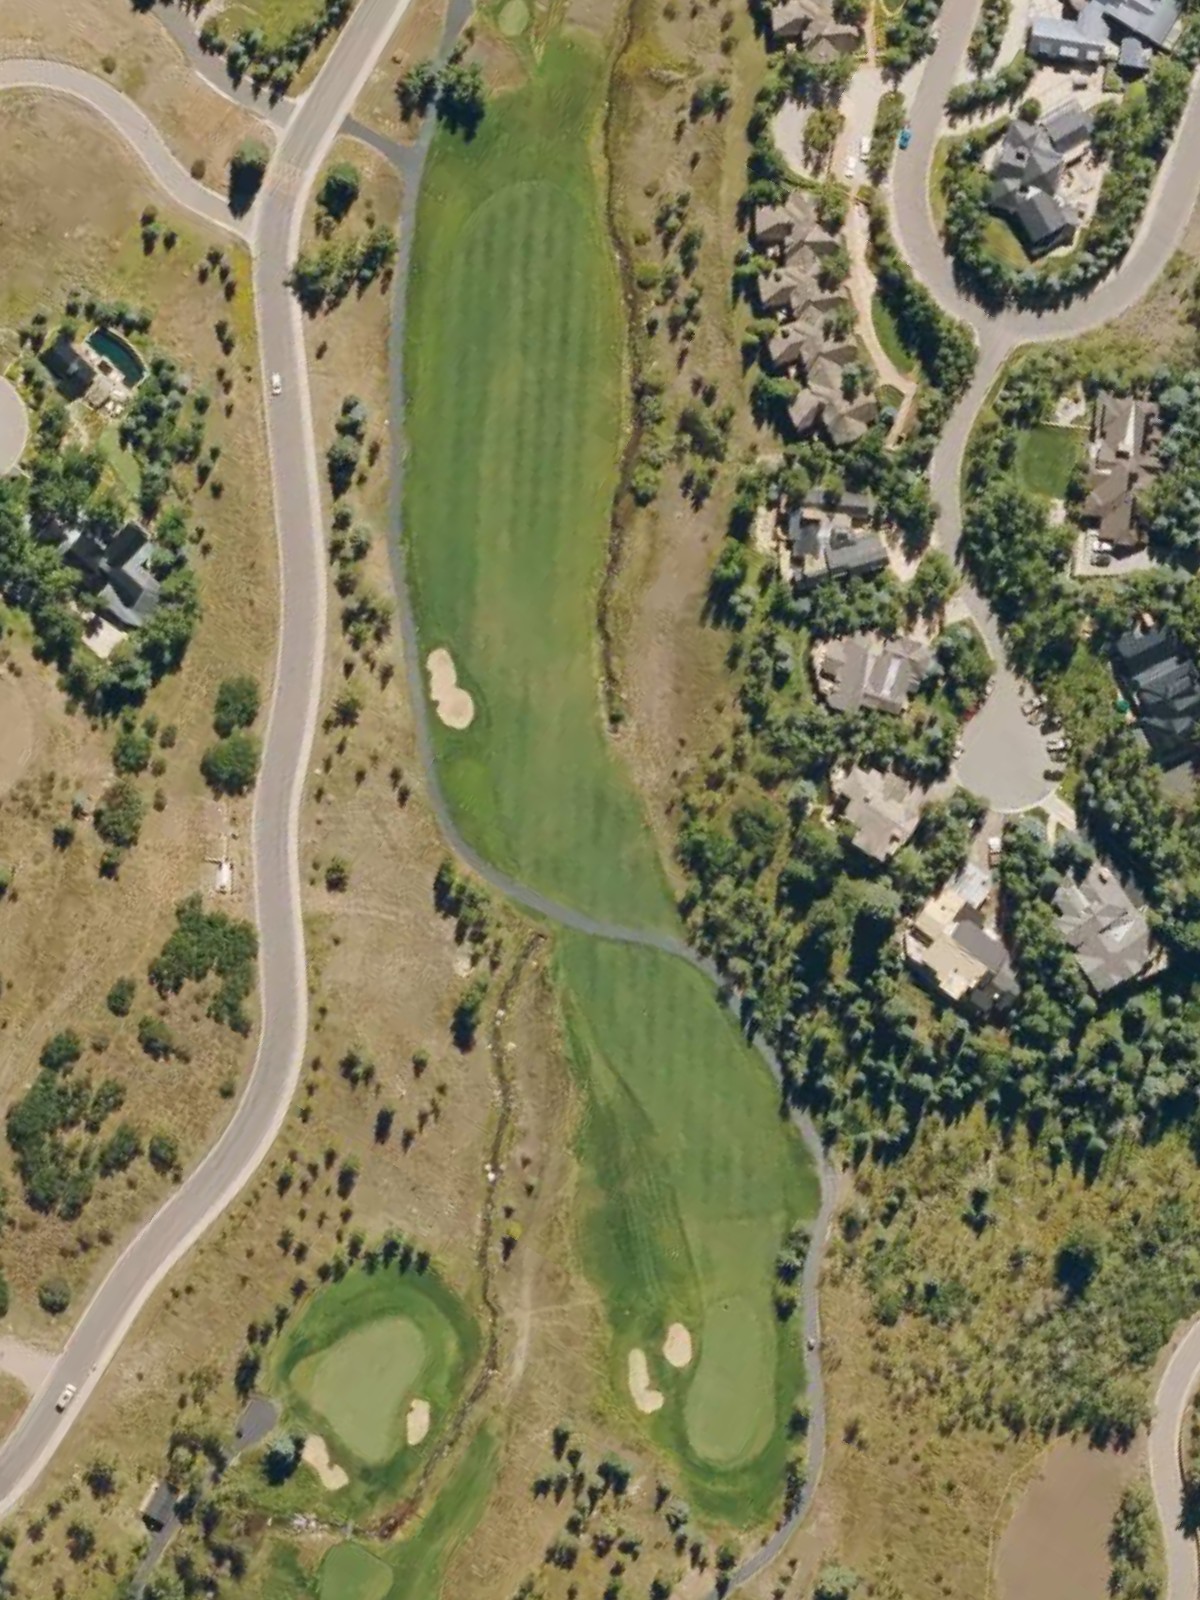
A mid-length par 4 with notable distance variance across tee boxes and a fairway that demands positional awareness. The approach area is well-protected, making the correct line off the tee critical to scoring opportunity.
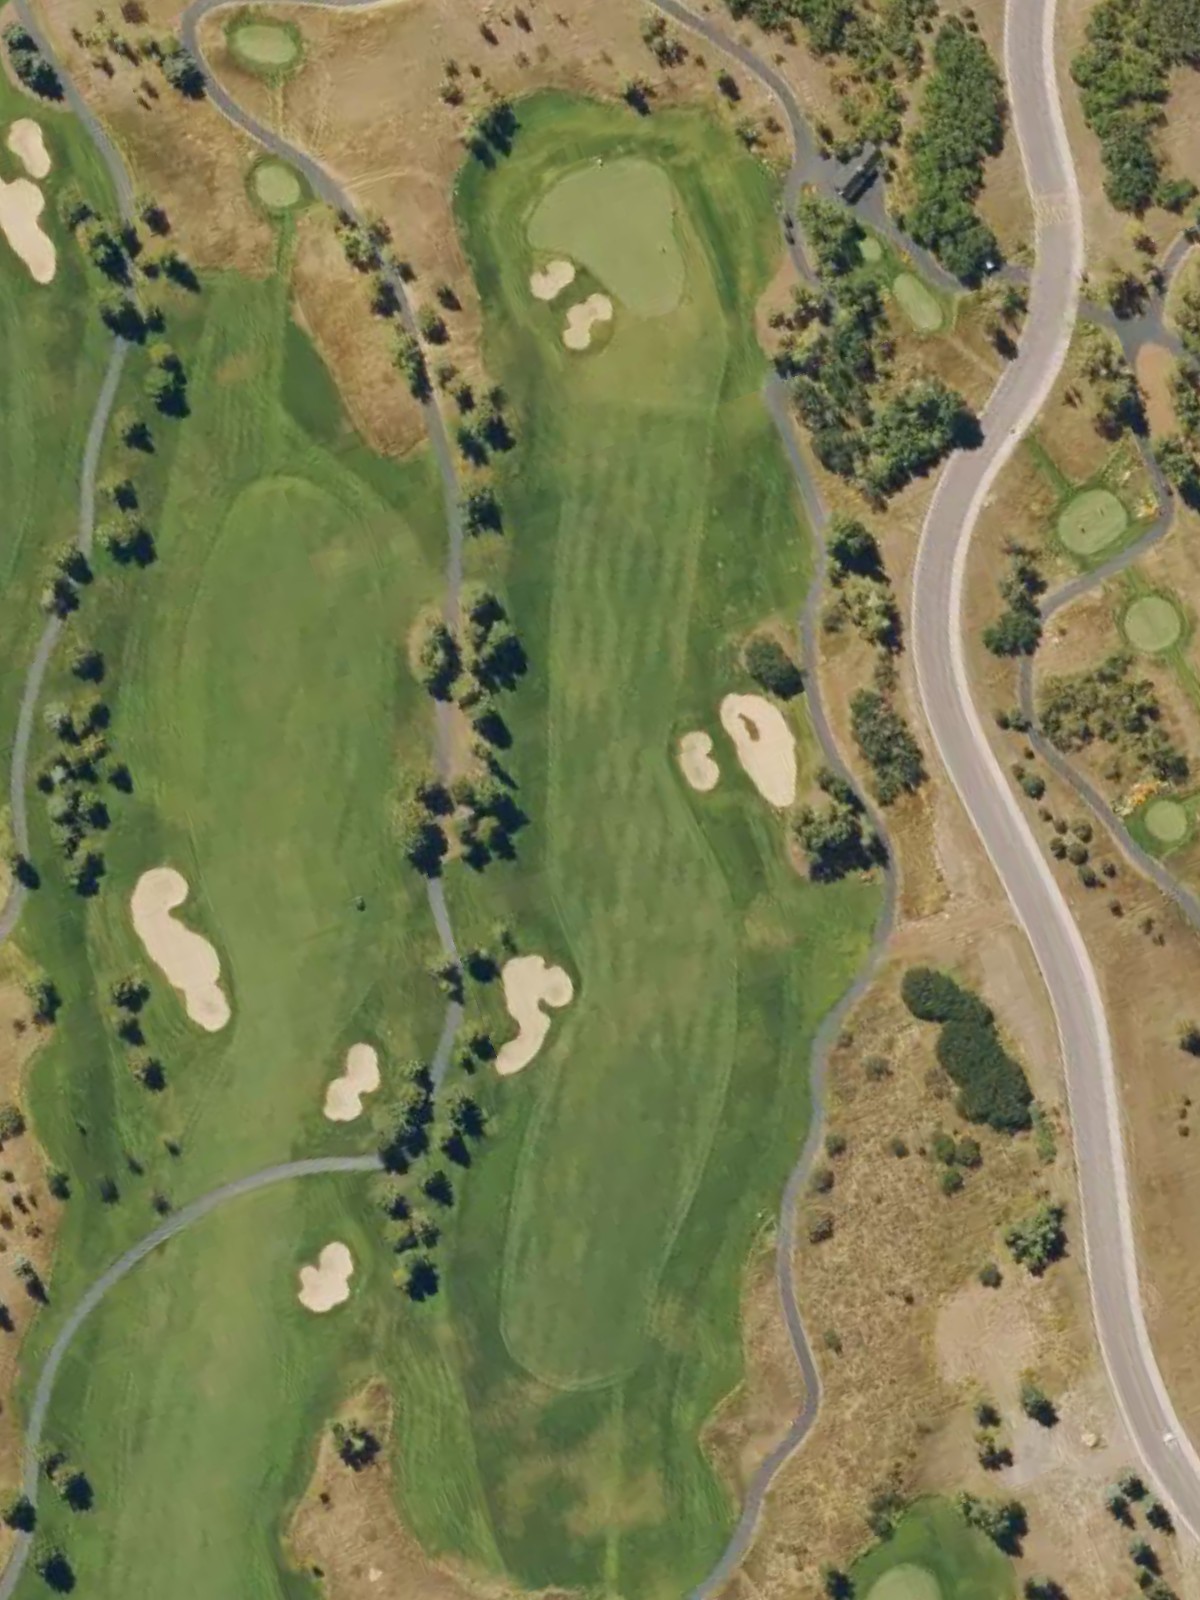
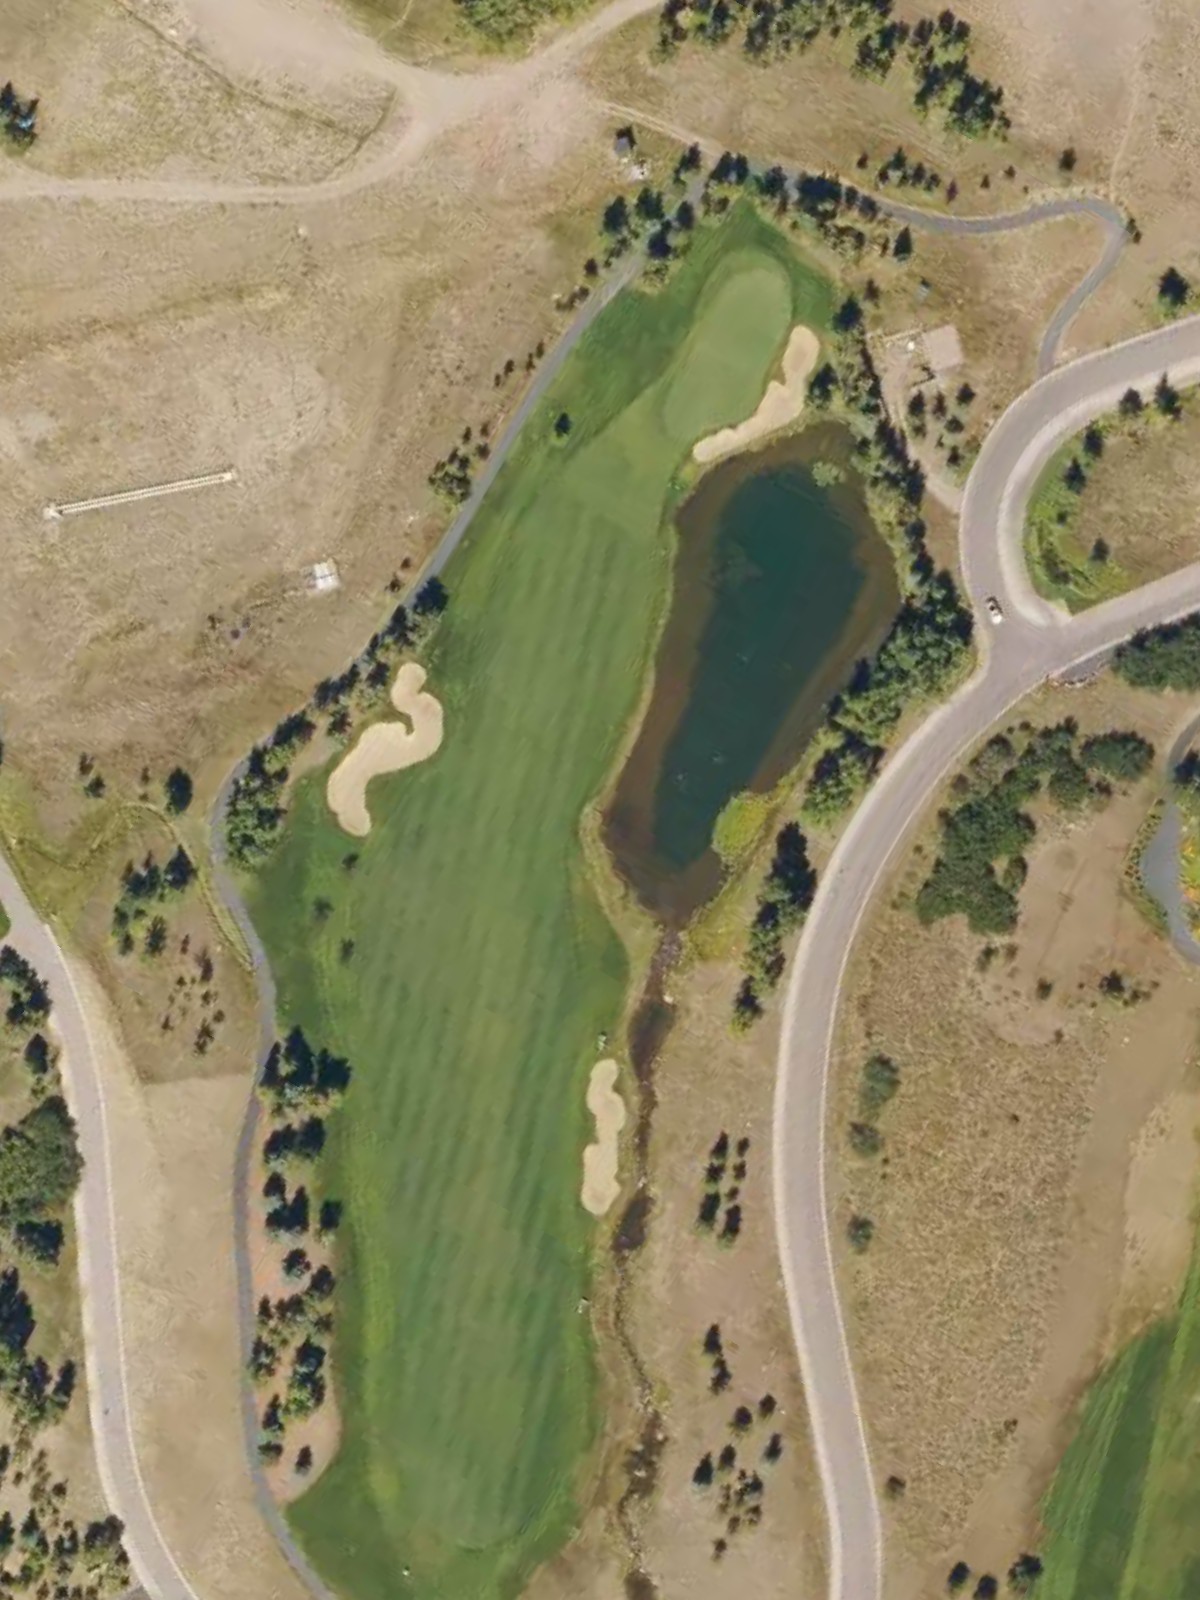
The third-handicap hole, this long par 5 presents a formidable challenge requiring three solid strikes to reach the green in regulation. Bunkers and rough strategically placed throughout demand careful routing and disciplined execution.
A very short par 3 that offers relief in terms of distance but demands pinpoint accuracy to a compact green. The minimal target area and surrounding hazards make this a deceptive one-shotter despite its humble yardage.
A mid-range par 4 with significant length variation across tee boxes and fairway that tightens toward the green. Strategic bunkering and approach hazards make this a solid mid-back-nine test of control.
A fifth-handicap hole that demands excellence, this par 4 features a tight fairway corridor with trouble on both sides. The approach shot requires precision into a well-bunkered green that accepts only the most accurate strikes.
A shorter par 4 that provides strategic respite near the finish, though the compact fairway still demands an accurate drive. The green's bunker protection and modest size ensure that wayward approaches are severely penalized.
The closing par 5 concludes the round with a substantial test requiring two well-struck shots to position for the approach. A mix of length and strategic hazarding throughout the hole creates a fitting finishing challenge.
Scorecard
| Hole | 1 | 2 | 3 | 4 | 5 | 6 | 7 | 8 | 9 | Out | 10 | 11 | 12 | 13 | 14 | 15 | 16 | 17 | 18 | In | Tot |
|---|---|---|---|---|---|---|---|---|---|---|---|---|---|---|---|---|---|---|---|---|---|
| Par | 4 | 5 | 3 | 4 | 4 | 5 | 3 | 4 | 3 | 35 | 4 | 3 | 4 | 5 | 3 | 4 | 4 | 4 | 5 | 36 | 71 |
| HCP | 18 | 8 | 10 | 6 | 2 | 12 | 14 | 4 | 16 | 1 | 11 | 13 | 3 | 17 | 7 | 5 | 15 | 9 | |||
| black | 441 | 563 | 228 | 408 | 441 | 548 | 188 | 408 | 163 | 3388 | 454 | 221 | 431 | 567 | 185 | 450 | 434 | 320 | 507 | 3569 | 6957 |
| black/maroon | 381 | 563 | 212 | 389 | 425 | 548 | 188 | 393 | 163 | 3262 | 454 | 205 | 431 | 567 | 185 | 433 | 407 | 320 | 507 | 3509 | 6771 |
| maroon | 381 | 517 | 212 | 389 | 425 | 523 | 170 | 393 | 153 | 3163 | 454 | 205 | 417 | 556 | 168 | 433 | 407 | 280 | 500 | 3420 | 6583 |
| maroon/blue | 381 | 517 | 187 | 359 | 394 | 523 | 170 | 393 | 153 | 3077 | 419 | 185 | 417 | 530 | 168 | 368 | 390 | 280 | 453 | 3210 | 6287 |
| blue | 345 | 509 | 187 | 359 | 394 | 515 | 163 | 382 | 141 | 2995 | 419 | 185 | 414 | 530 | 151 | 368 | 390 | 272 | 453 | 3182 | 6177 |
| blue/green | 345 | 509 | 178 | 314 | 349 | 515 | 163 | 350 | 141 | 2864 | 372 | 185 | 364 | 497 | 151 | 368 | 337 | 272 | 430 | 2976 | 5840 |
| green | 310 | 501 | 178 | 314 | 349 | 472 | 145 | 350 | 128 | 2747 | 372 | 171 | 364 | 497 | 135 | 340 | 337 | 253 | 430 | 2899 | 5646 |
| green/red | 310 | 437 | 142 | 314 | 318 | 472 | 145 | 327 | 128 | 2593 | 372 | 122 | 281 | 339 | 135 | 304 | 337 | 243 | 430 | 2563 | 5156 |
| red | 276 | 437 | 142 | 261 | 318 | 439 | 139 | 327 | 114 | 2453 | 347 | 122 | 281 | 339 | 116 | 304 | 313 | 243 | 402 | 2467 | 4920 |